

This lesson takes pieces made in Lessons 2-8 and joins them into one quilt layout.
For those of you just surfing: If you like this quilt and have EQ7, EQStitch or EQ Mini software, go get the Kaleidoscope Collection.
What on earth were you thinking Andrea?
So I hope you’ve learned some tricks in EQ and EasyDraw after doing these lessons. I just couldn’t keep the quilt a secret much longer.
As I was drawing these blocks, I kept wanting to do more… go more complex. But that kept breaking the wedges into more than one section.
I was adding blocks to the traditional section one day and noticed something. It was one of the blocks I didn’t put in because the wedge was broken into too many pieces.
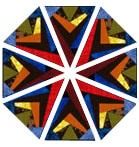
I had taken one of the plain striped kaleidoscopes and drawn lines parallel to the wedge-sides.
It started making triangles… lots and lots of little ones.
Then I noticed those triangles had the same proportions of the original wedge.
Oh no…
Could it really be that easy?
I know this is a kaleidoscope,… but could it also be my layout?
I thought about it some more… and yes, it could really be that easy! If all the blocks were from the same library and printed at the same size… it is! Then they’re guaranteed to fit together!
I tested my theory and…
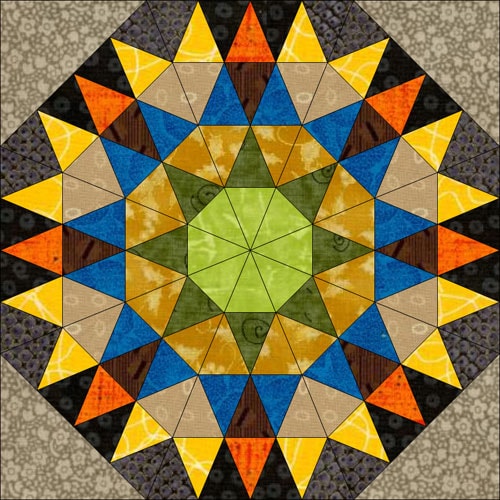
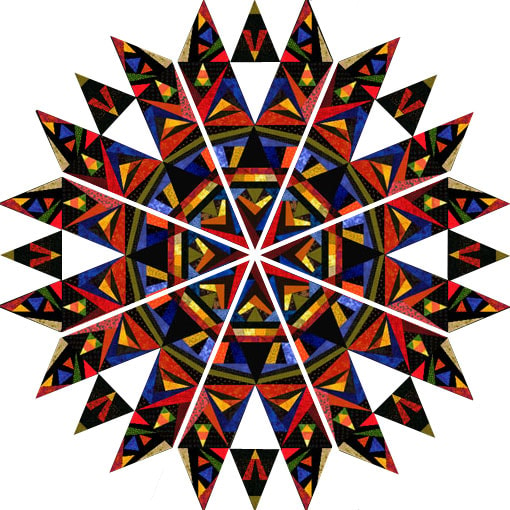
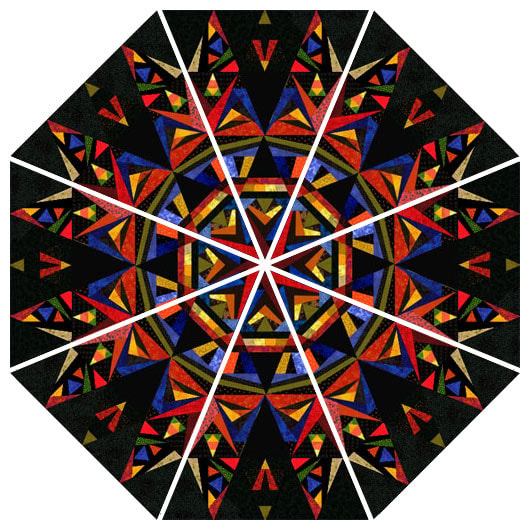
Voilá! I came up with this virtual quilt design…
It took me a month of long nights to finish the center. My husband even moved the sewing machine into the office/computer room so I wouldn’t get lonely sewing all the time.
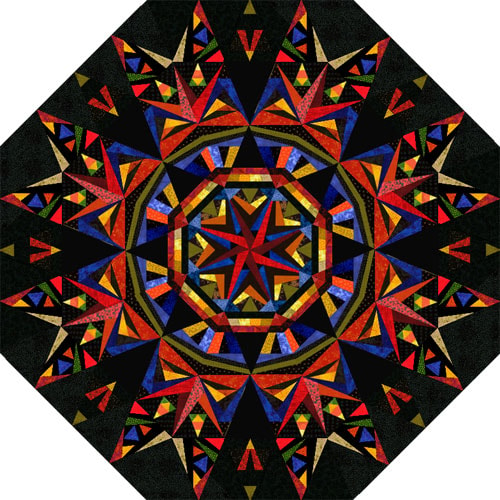
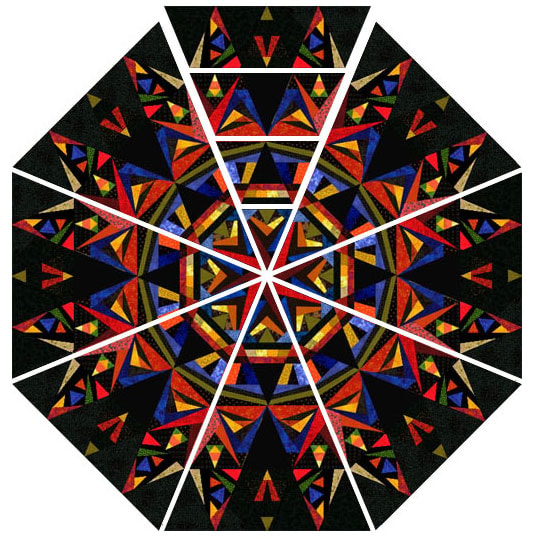
This is what the actual quilt center looks like (click the image below for a larger view):

Unfinished Kaleidoscope Medallion by Andrea Bishop
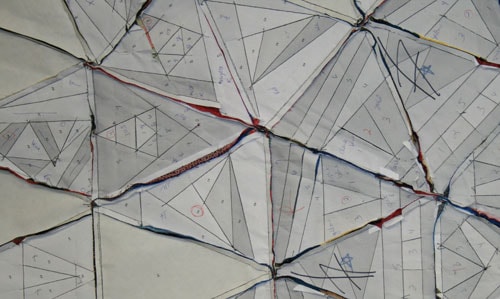
And yes, I used the Kaleidoscope Collection wedges printed from EQ to make every piece! See?
(Yes, I know I need to learn the freezer paper technique so there’s no paper to tear off… )
So here’s what I want you to do:
Find a big space to lay this all out. It’s going to be big. All our quilts will be similar, but have different blocks and different fabrics and different placement. It should be really cool to see a gallery of these.
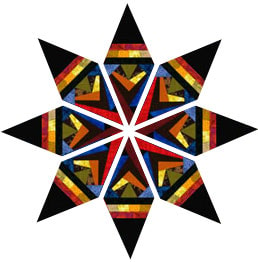
- Take 02 Kaleidoscope Collections – Let it Snow! - and lay the 8 wedges side by side to form the center octagon.
- Take the pieces you made in 03 Kaleidoscope Collections – Foundation Fundamentals- and put each of the 8 end-to end with the previous 8 wedges.
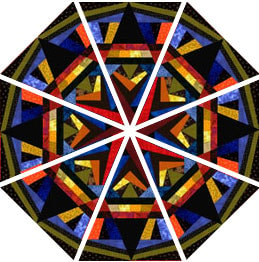
- Take 06 Kaleidoscope Collections – Alternate Blocks! - the 16 Snow Squall wedges – and separate them into their pairs (8 are mirrored, 8 are not). If you didn’t mirror half, don’t worry… it will just make the quilt spin differently. There are no mistakes! Put the first 8 to the left of the points going around clockwise. Put the second 8 to the right going around clockwise. It may form a blocky-circle for you.
- Now find the three groups of wedges: 04 Kaleidoscope Collections – Foundation Fundamentals, 05 Kaleidoscope Collections – Poppies! Making the Cover Quilt, and 07 Kaleidoscope Collections – Color Theory 101 (which you may still need to make) Separate each group of 16 into two stacks of 8 (some may be mirrored or in different colors – keep those together).
- Pick one set of 16 and put them end to end with the Snow Squall wedges. Remember to do the first 8, then the second 8 and watch your placement.

- Pick the next set of 16 and put them “in the corners” between the wedges. Do the first 8, then the second 8 and watch your placement.
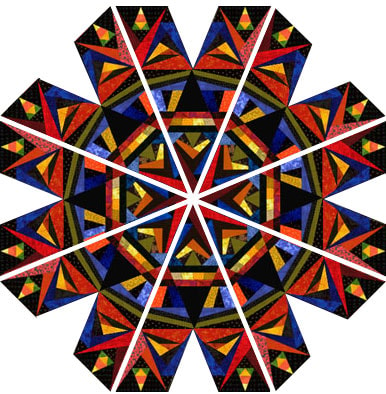
- Pick the last set of 16 and put them end to end with the wedges you just finished. Do the first 8, then the second 8 and watch your placement.
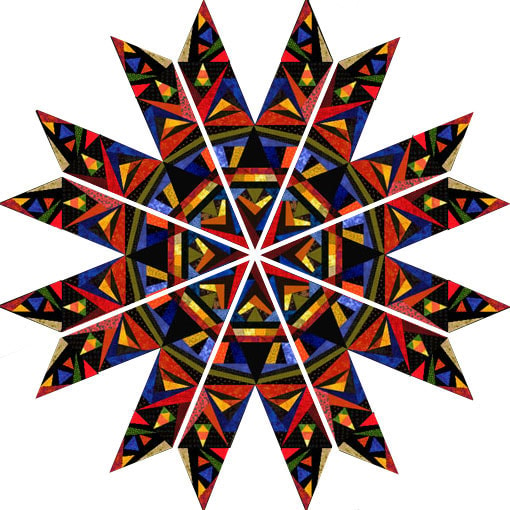
- Take your 8 Poppy wedges from the 05 Kaleidoscope Collections – Poppies! Making the Cover Quilt lesson and put them in between the set of 16 you just placed.
- Take your 40 plain wedges from lesson 08 Kaleidoscope Collections – Fussy Cutting & Rotating Fabric and fill in the holes to make a complete octagon.
- Now it’s laid out… but you still have to sew… ack! Think in ROWS… and do one row at a time.Skip the center and go to row 2. I know you probably have more experience sewing than I do, since this is my second solo-quilt. But, if there are any other beginners out there, here’s what I did.To put two wedges together, I picked up the pair in the same orientation in which I had them laid down. I folded them RIGHT sides together along their common edge. I stuck a pin through the corner of the solid seam line into the corner of the solid seam line that I was trying to join it with. I did that at both ends and then wiggled the pieces/pins until it was nice and flat and tight. Then I started really pinning down that edge and removed the two loose pins from the corners. Before sewing… I unfolded slightly and took a peek to make sure the triangles were going in the right directions so would unfold correctly. I sewed the seam and took out the pins, then repeated the process to finish out the row. Once the row was finished, I laid it back in place with the other pieces.I recommend doing the same joining process for the other 7 rows that are the same.
- Then start on row 3. Do all eight row 3′s.
- Then start on row 4. Do all eight row 4′s.
- Then sew the rows together into eight big wedges.
- Play around in EQ7 to see what borders you like and finish your quilt as you’d like!
-Andrea : )


