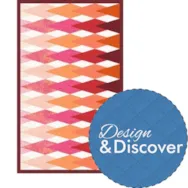
We’ve updated Club EQ! It’s now called Design & Discover! Now you can follow along with a lesson and submit your version of the design right on the blog with a link up. If you have a blog, make sure to add your site too. Let’s visit each others’ blogs and all get to know each other! Now on to the lesson… This month we are making two strip quilts. 1. Click Quilt Worktable 2. Click New Quilt and Vertical Strip 3. Click on the Layout tab 4. For the first strip choose Pieced Blocks for a Strip Style and 5 for the Number of Blocks. For the second strip choose Half Drop Blocks for a Strip Style and 5 for the Number of Blocks. For the third strip choose Pieced Blocks for a Strip Style and 5 for the Number of Blocks. For the fourth strip choose Half Drop Blocks
Design & Discover
Design and Discover – includes Strip Quilt Lesson!
Posted 02-01-2018 by Heidi | Posted in: Club EQ Design & Discover
Club EQ is now Design and Discover! Plus Lesson and Challenge!
Posted 01-01-2018 by Heidi | Posted in: Club EQ Design & Discover
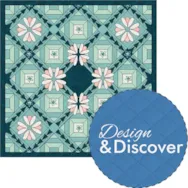
We’ve updated Club EQ (again!)! Now you can follow along with a lesson and submit your version of the design right on the blog with a link up! To Link Up Your Photo Scroll down to the comment form at the end of this post. Fill in your info and make sure you select an image for your comment (this will be the photo of your quilt). If you have a blog, make sure to add your site too. Let’s visit each others’ blogs and all get to know each other! Now on to the lesson… We are going to be making this quilt (or your own variation! If you don’t want to use the specific blocks I’ve used, that’s OK!). It has things on different layers, sashing, stencils…lots of fun stuff! Click on Quilt Worktable Click On-Point Layout Enter these settings: Click the Design tab Click Block Tools Click
Design & Discover – Using Panels!
Posted 12-01-2017 by Heidi | Posted in: Club EQ Design & Discover EQ8
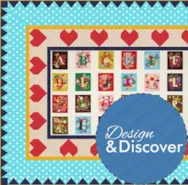
Using Panels! A question that we get a lot is how to use panels in quilts. So, that is what we are doing this month! Here is the quilt I created. Download the EQ8 project here. I used Petit Fleurs Alphabet Blocks Fabric Panel by Carolyn Gavin for Windham Fabrics. (There is a whole line of fabrics that go along with it and I think they are adorable.) First I searched the internet to get a full image of the panel. (If you are using a panel you already have and can’t find the image on the internet you can take a picture of it on your phone and email it to yourself.) I saved the image to my desktop. Now, open EQ8. Click Libraries > Photo Library (Here is more information on when to import something as a fabric and when to import it as a photo.) Click the
Design & Discover – Quick Quilts!
Posted 11-01-2017 by Heidi | Posted in: Club EQ Design & Discover EQ8
November Challenge: Your first EQ8 Quilts! We want to see them! What are you making in EQ8?!? Here are some of my first quilts that I made in EQ8. Both are from Quick Quilts! Here is how I did the first one: File > Open a Quick Quilt Project I chose T-Shirt Quilts and clicked OK. I like the first layout so when it opened in Sketchbook I clicked Edit. Now this says it’s for a t-shirt quilt but I want to use photos. So, under the Design Tab, I clicked Photo Tools Then I clicked Open Library I clicked the Import button > From Image files and navigated to my photo files. Use your Shift key on your keyboard to select more than one at a time and click Open. Click Select all Photos Click Add to Sketchbook Click Close Click the Set Photo tool and click on a
