We’ve updated Club EQ! It’s now called Design & Discover! Now you can follow along with a lesson and submit your version of the design right on the blog with a link up. If you have a blog, make sure to add your site too. Let’s visit each others’ blogs and all get to know each other!
Now on to the lesson…
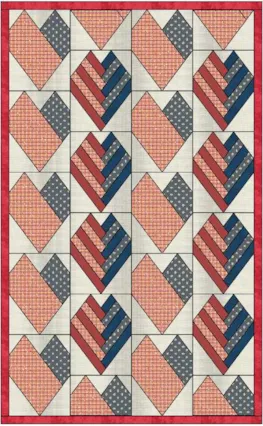
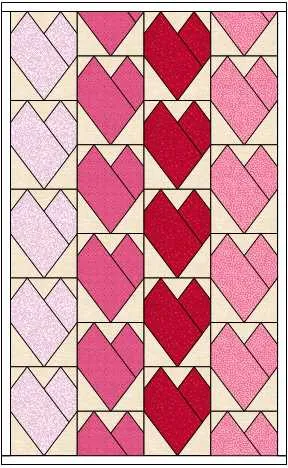
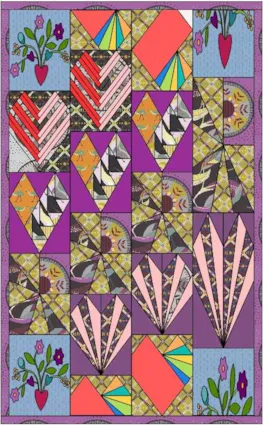
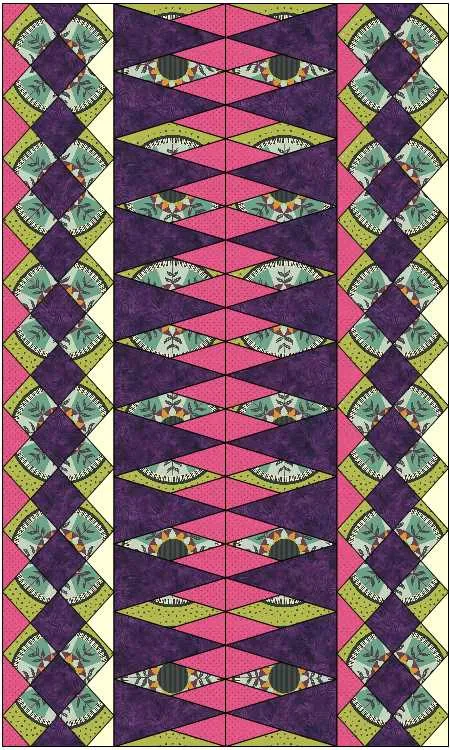
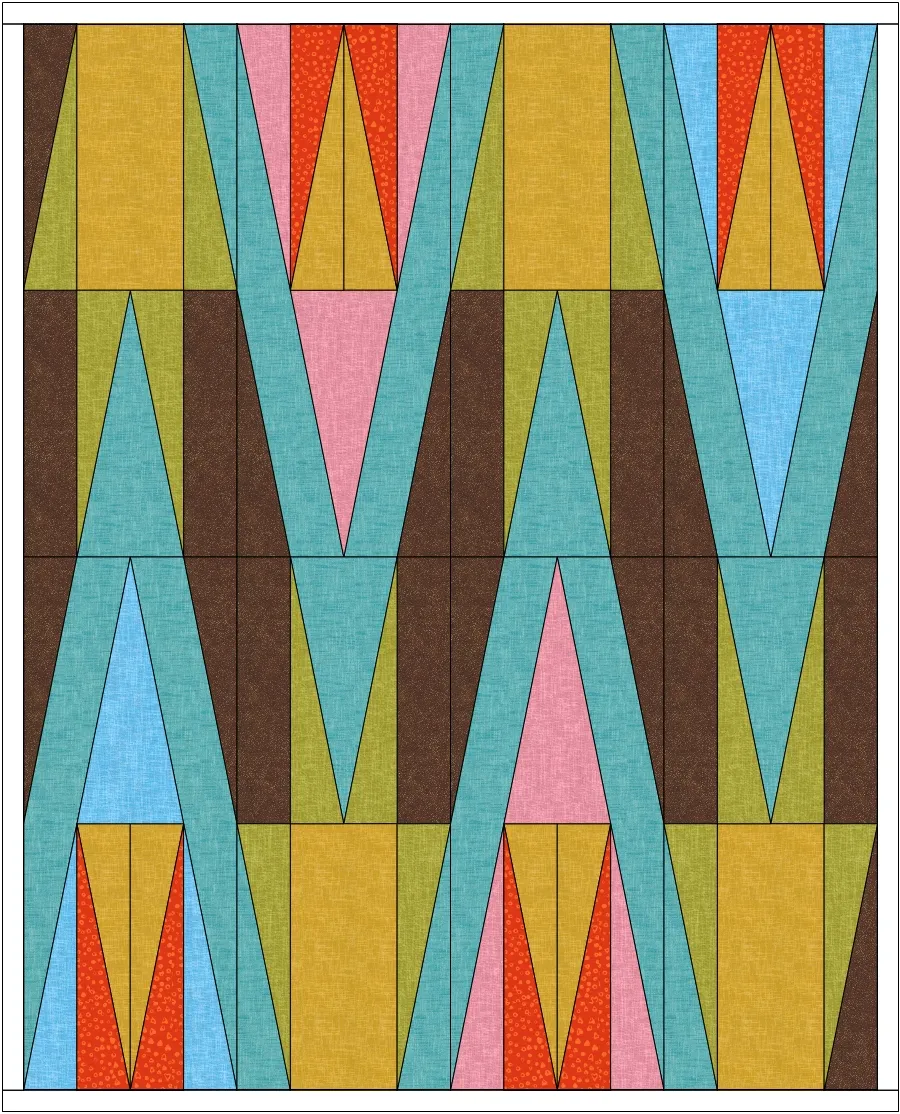
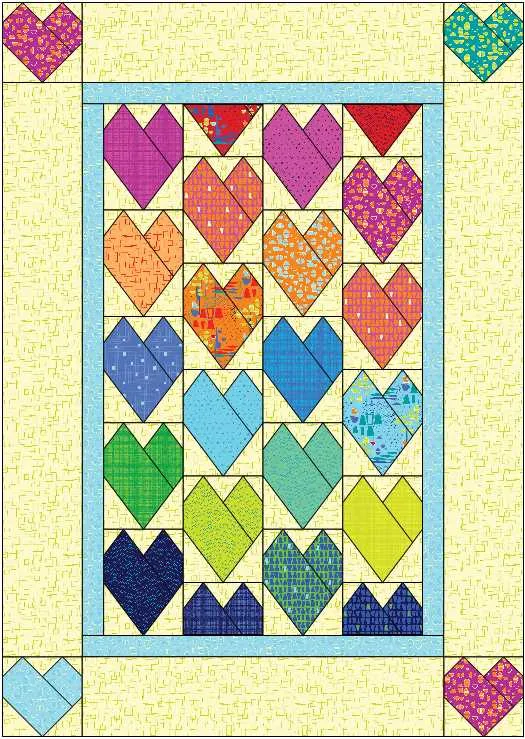
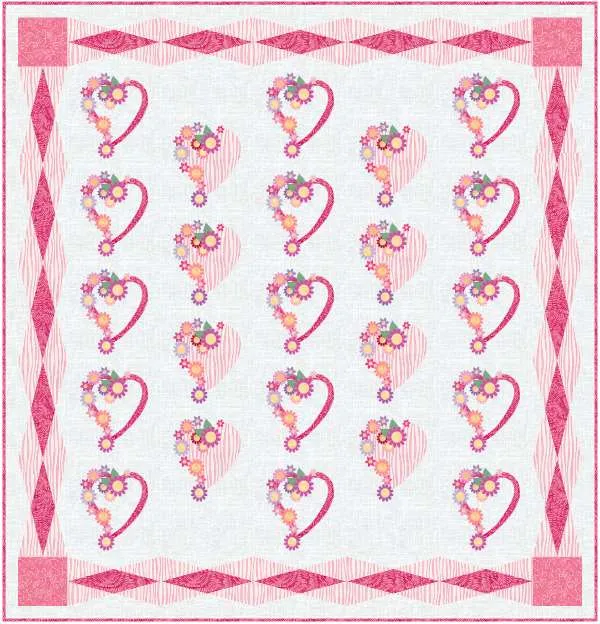
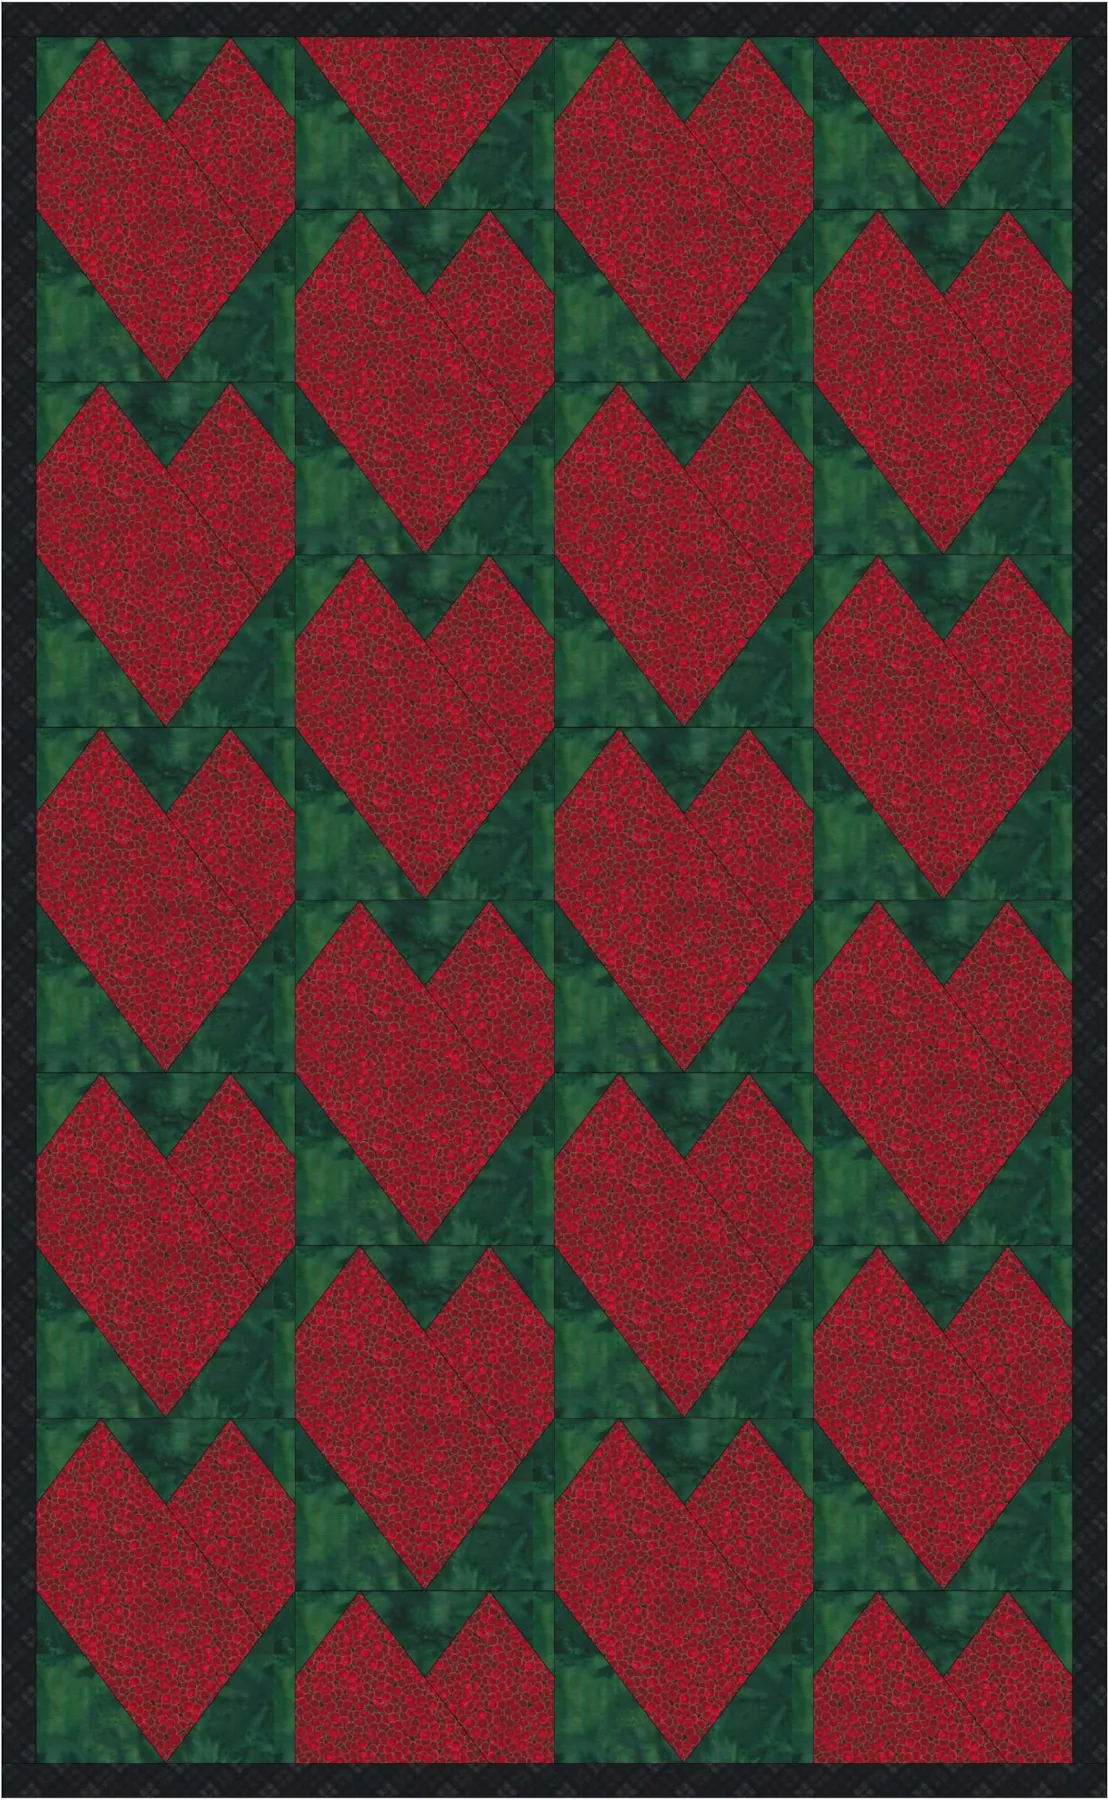
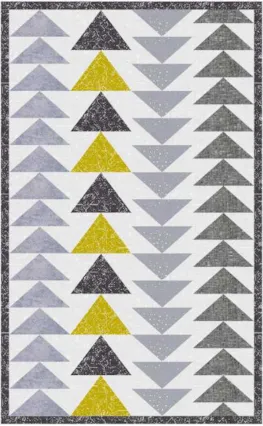
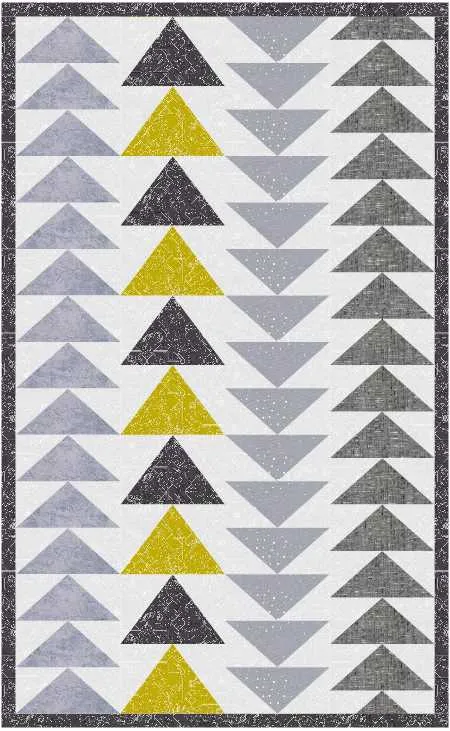
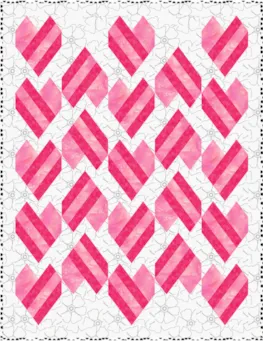
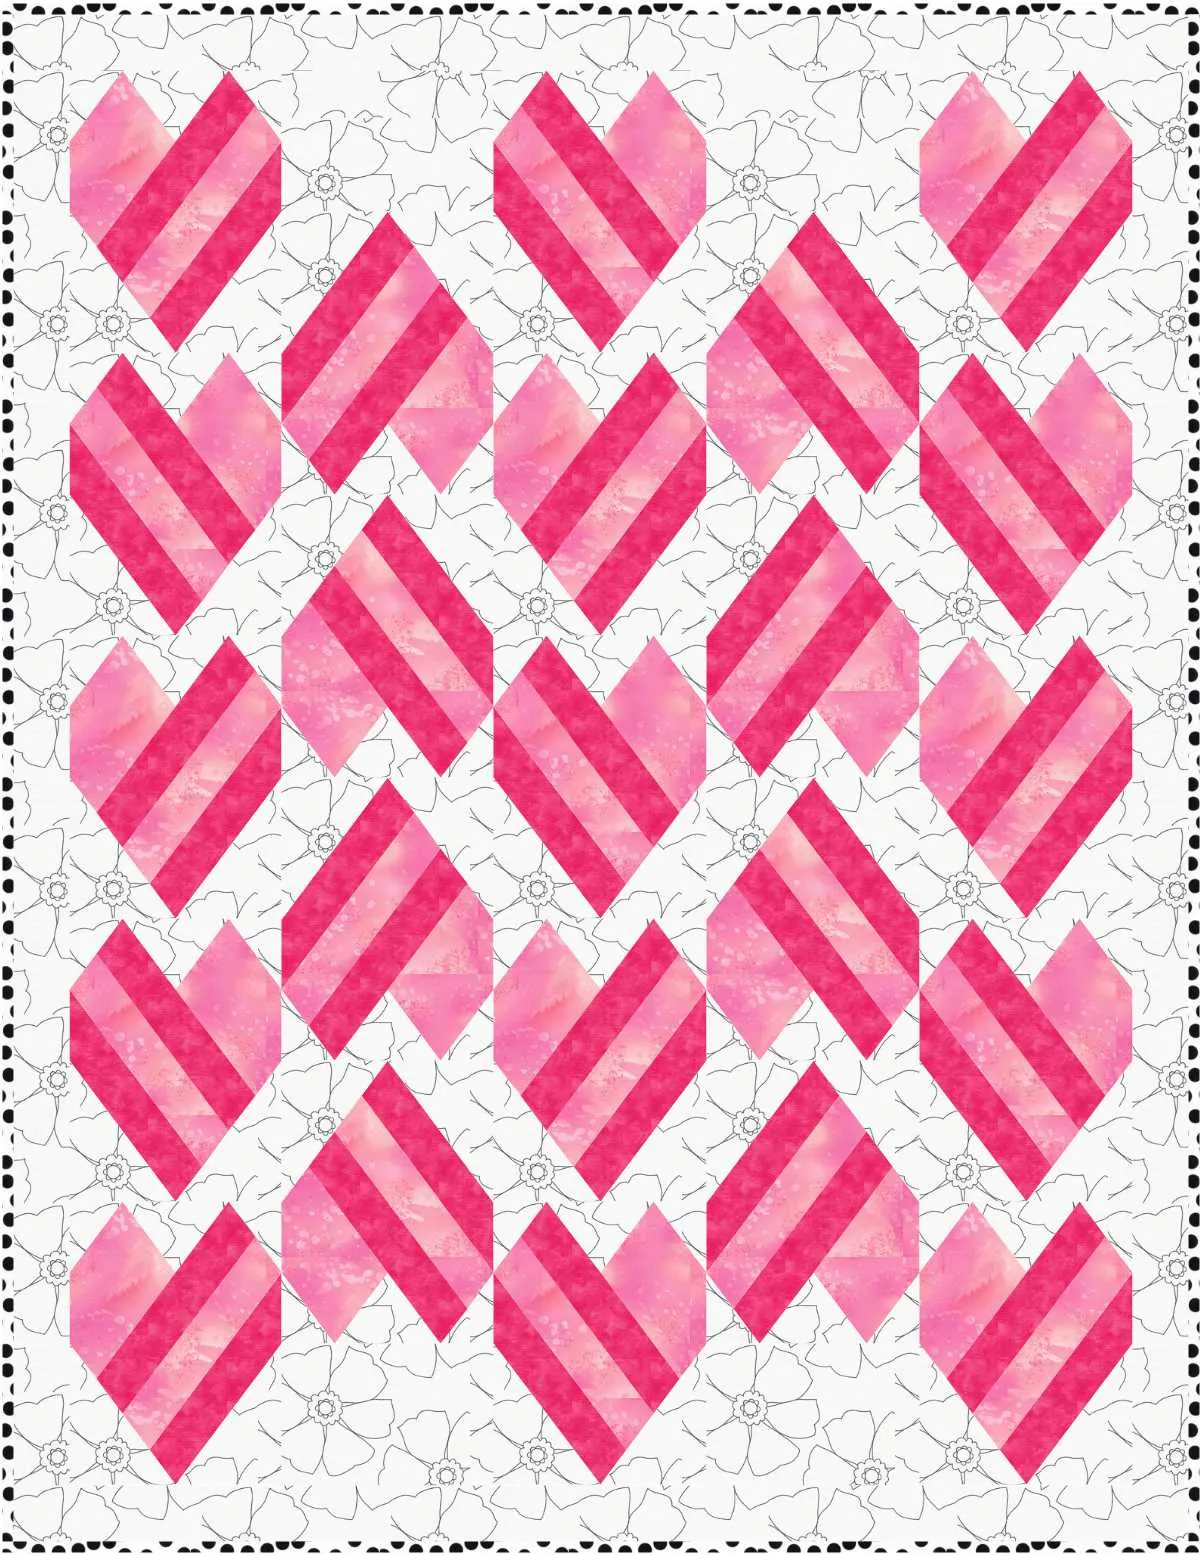
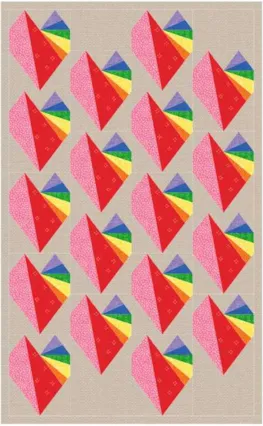
This month we are making two strip quilts.
1. Click Quilt Worktable

2. Click New Quilt and Vertical Strip

3. Click on the Layout tab

4. For the first strip choose Pieced Blocks for a Strip Style and 5 for the Number of Blocks.

For the second strip choose Half Drop Blocks for a Strip Style and 5 for the Number of Blocks.
For the third strip choose Pieced Blocks for a Strip Style and 5 for the Number of Blocks.
For the fourth strip choose Half Drop Blocks for a Strip Style and 5 for the Number of Blocks.
5. Click the Design tab and Block Tools

6. Click Open Library

7. Click Search > By Notecard

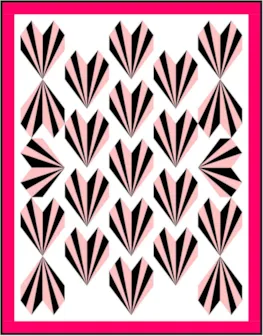
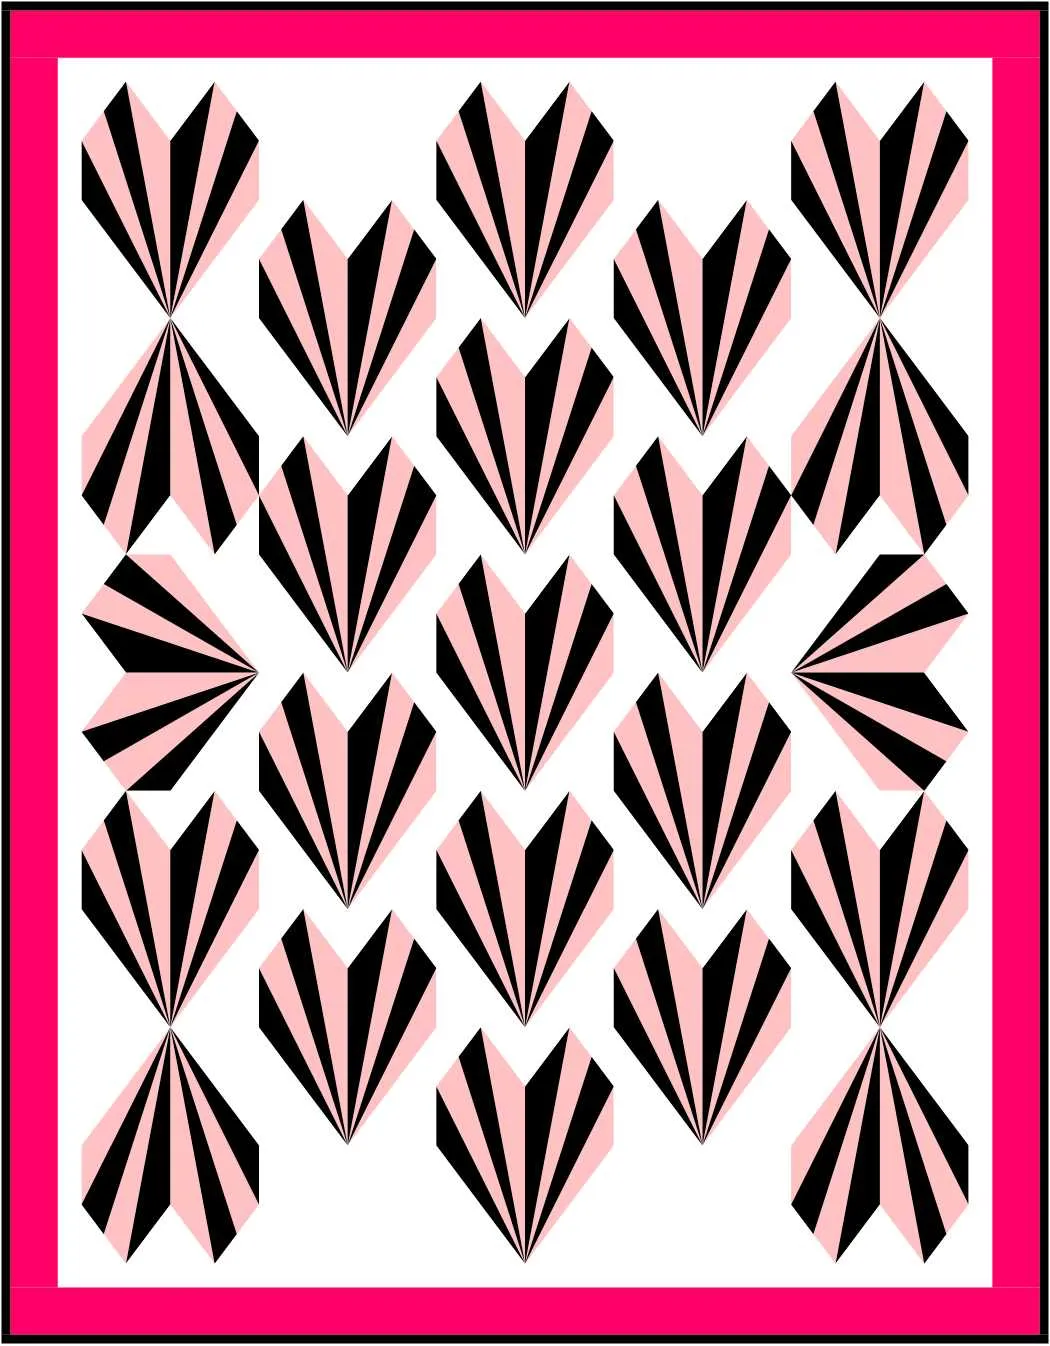
8. Type in heart and click Search

9. Click on a heart block and click Add to Sketchbook

10. Click Set Block
11. Click on the heart block
12. Hold down your Ctrl key on Windows computers or Cmd on a Mac on your keyboard and click on a space in the quilt until it’s filled with hearts.

13. Experiment with other blocks, if you want, and color as desired

14. Click Add to Sketchbook and be sure to name your project to save it.

15. If you want to post the image to our link up, then click the Print & Export tab and click Export

16. Type in a file name and click Save. (You’ll see how to post your image at the end)
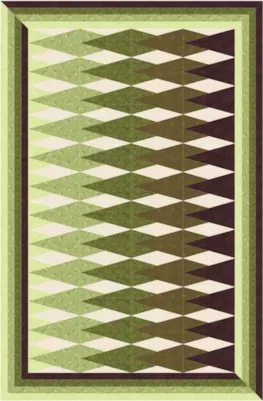
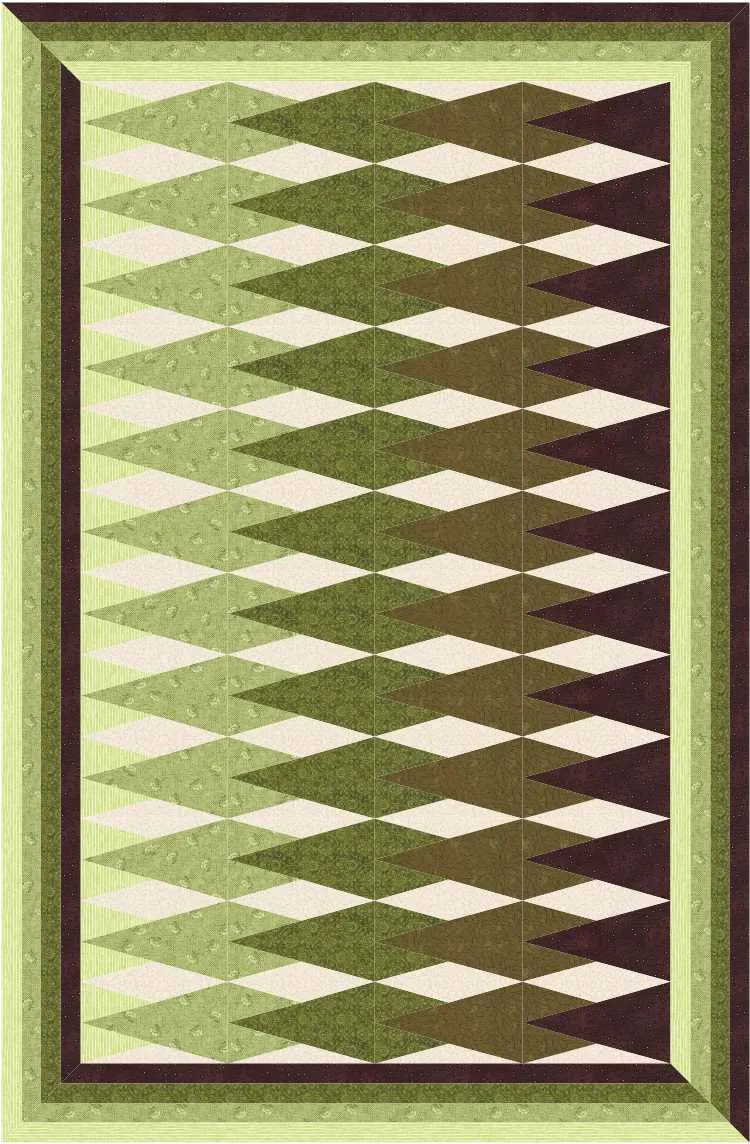
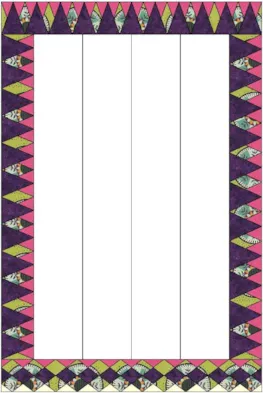
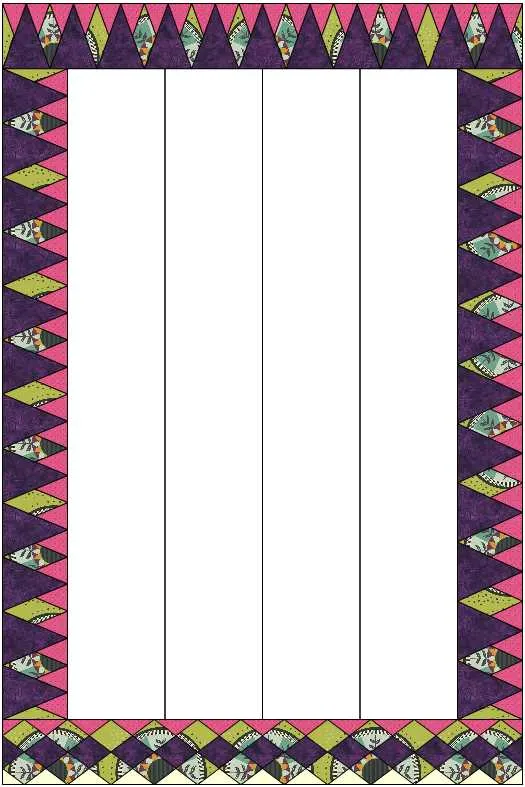
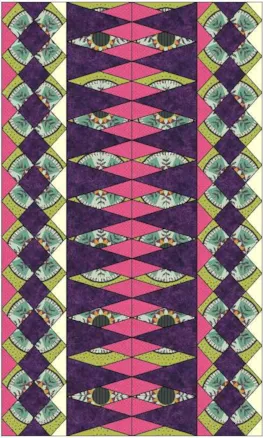
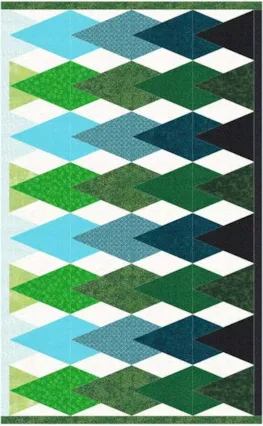
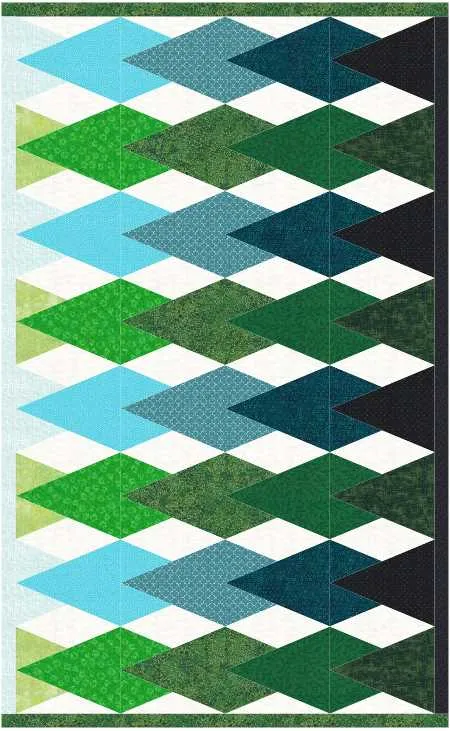
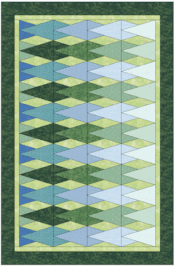
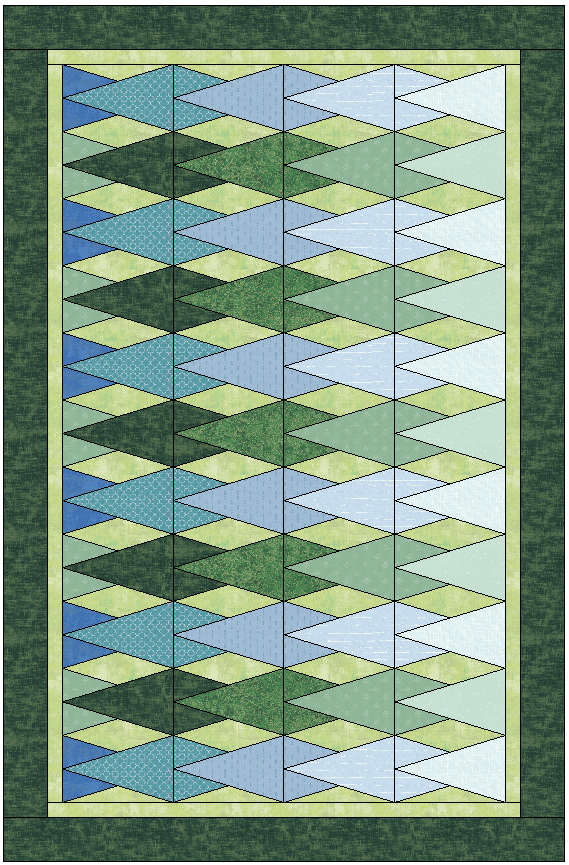
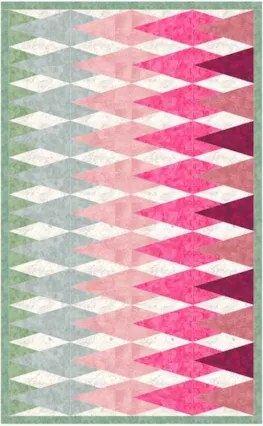
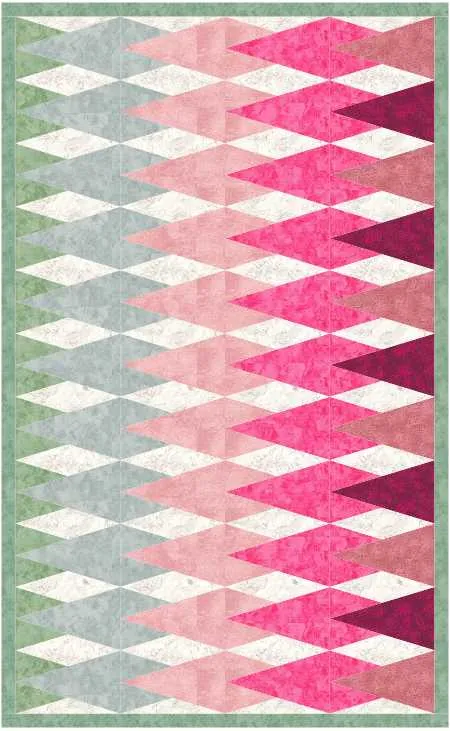
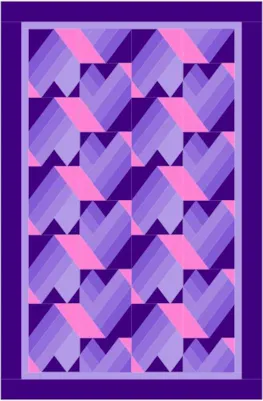
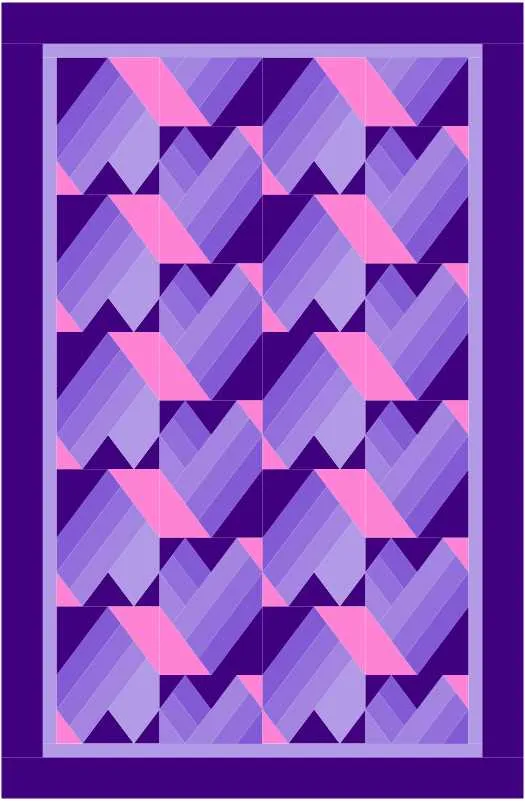
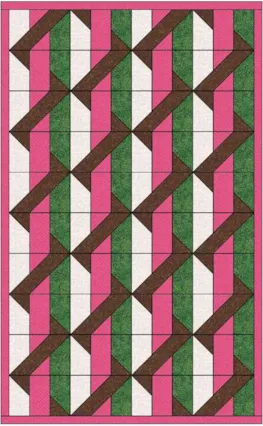
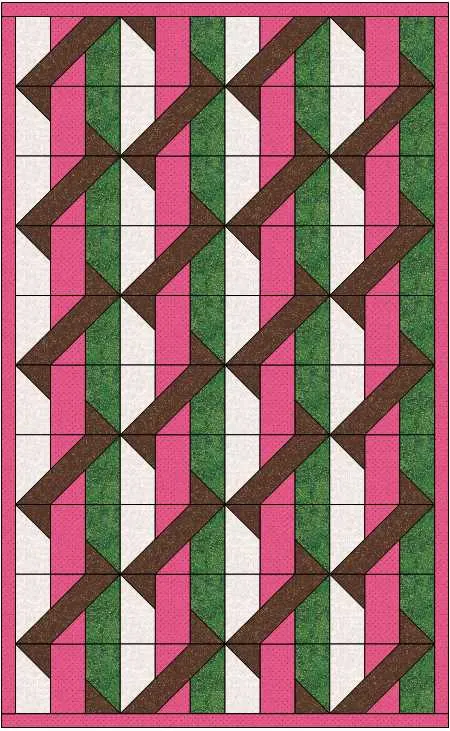
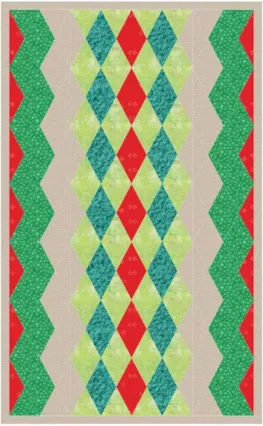
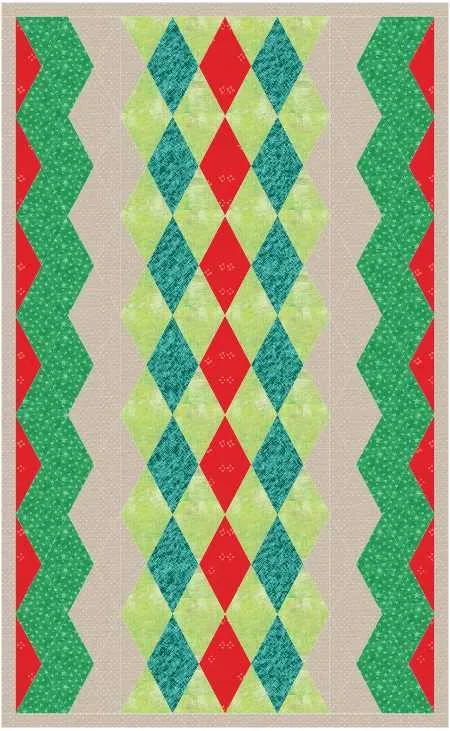
Now, let’s try something a little different for the second quilt…
1. Click New Quilt and Vertical Strip

This time we are going to leave the strips plain and the default widths.
2. Click the Design tab and Block Tools

3. Click Open Library

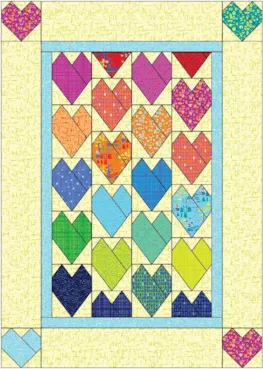
4. Navigate to EQ Libraries > EQ8 Libraries > Border Blocks > Single Block Patterns 7-12 and choose a block. I used 11 Big and Little Points In. Click on the block and click Add to Sketchbook.

5. Click the Set Block tool and click to place the block in the spaces in the quilt.

6. Experiment with other blocks if you would like and recolor it as you wish.

7. Click Add to Sketchbook to save

8. Then, click the Print & Export tab and click Export

9. Type in a file name and click Save
10. To post your image click to comment on this post. Fill in your info and then click Browse. Go to: Documents\My EQ8\Images
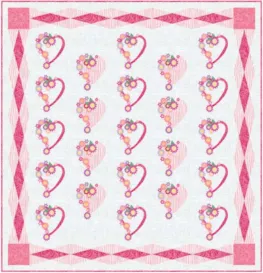
(You can post the images of both of your quilts, if you would like. )

We hope you like this new format and lesson! I can’t wait to see the quilts you design!