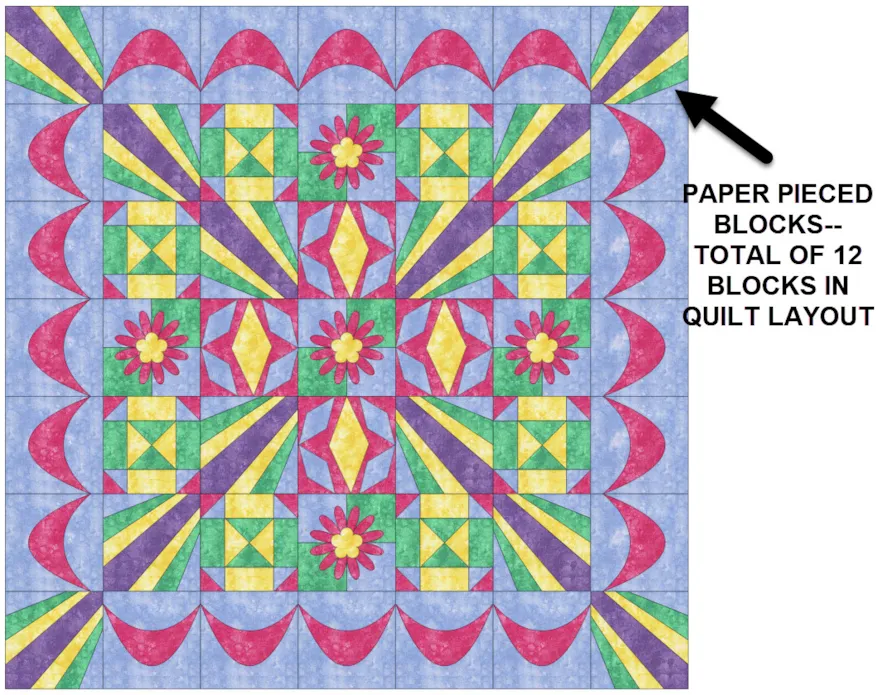
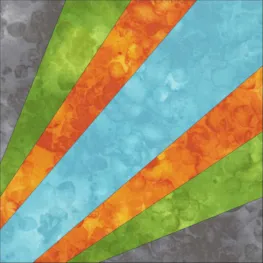
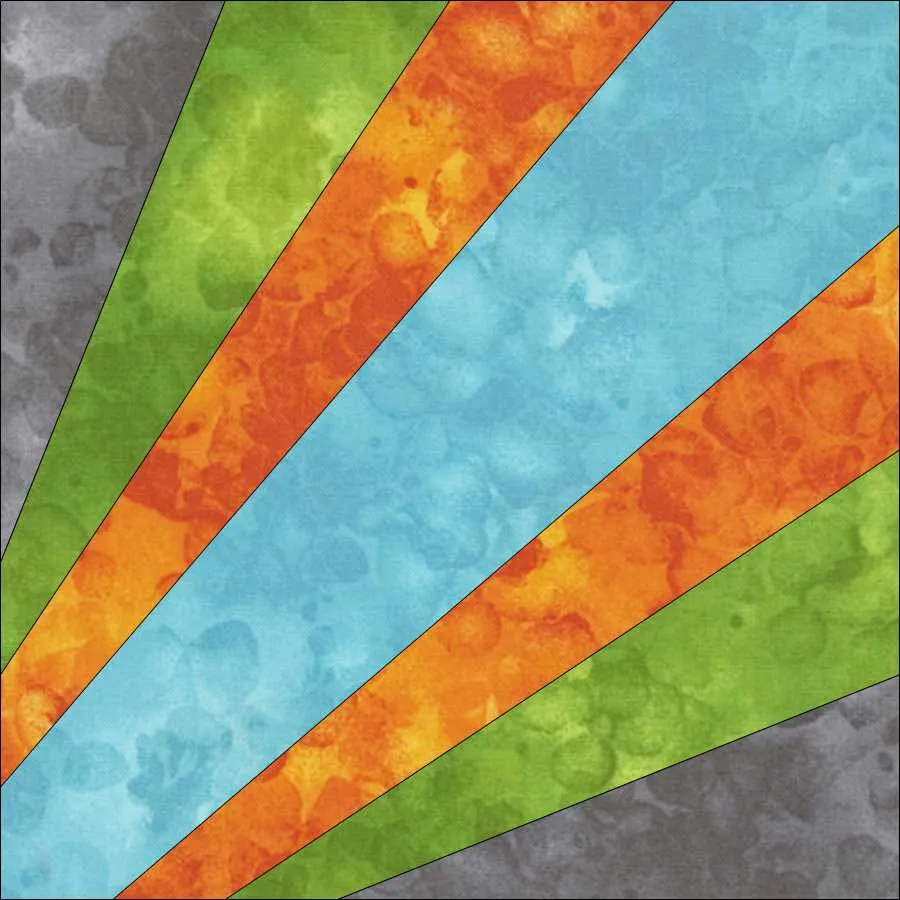
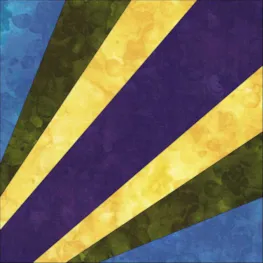
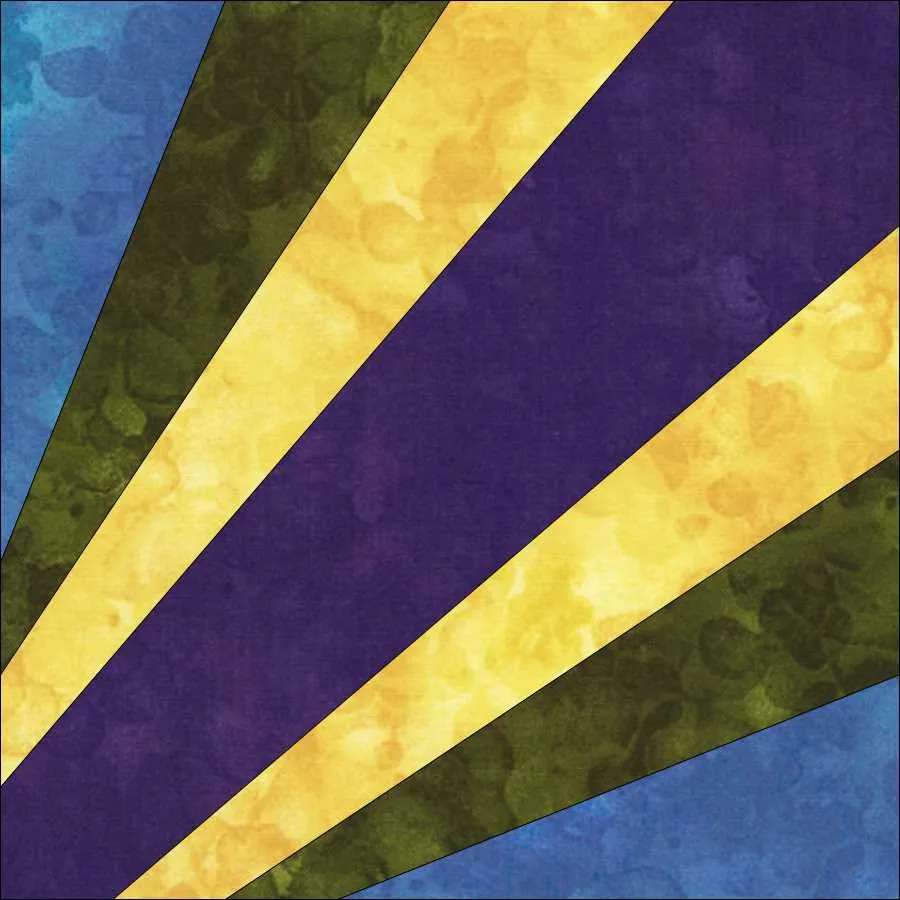
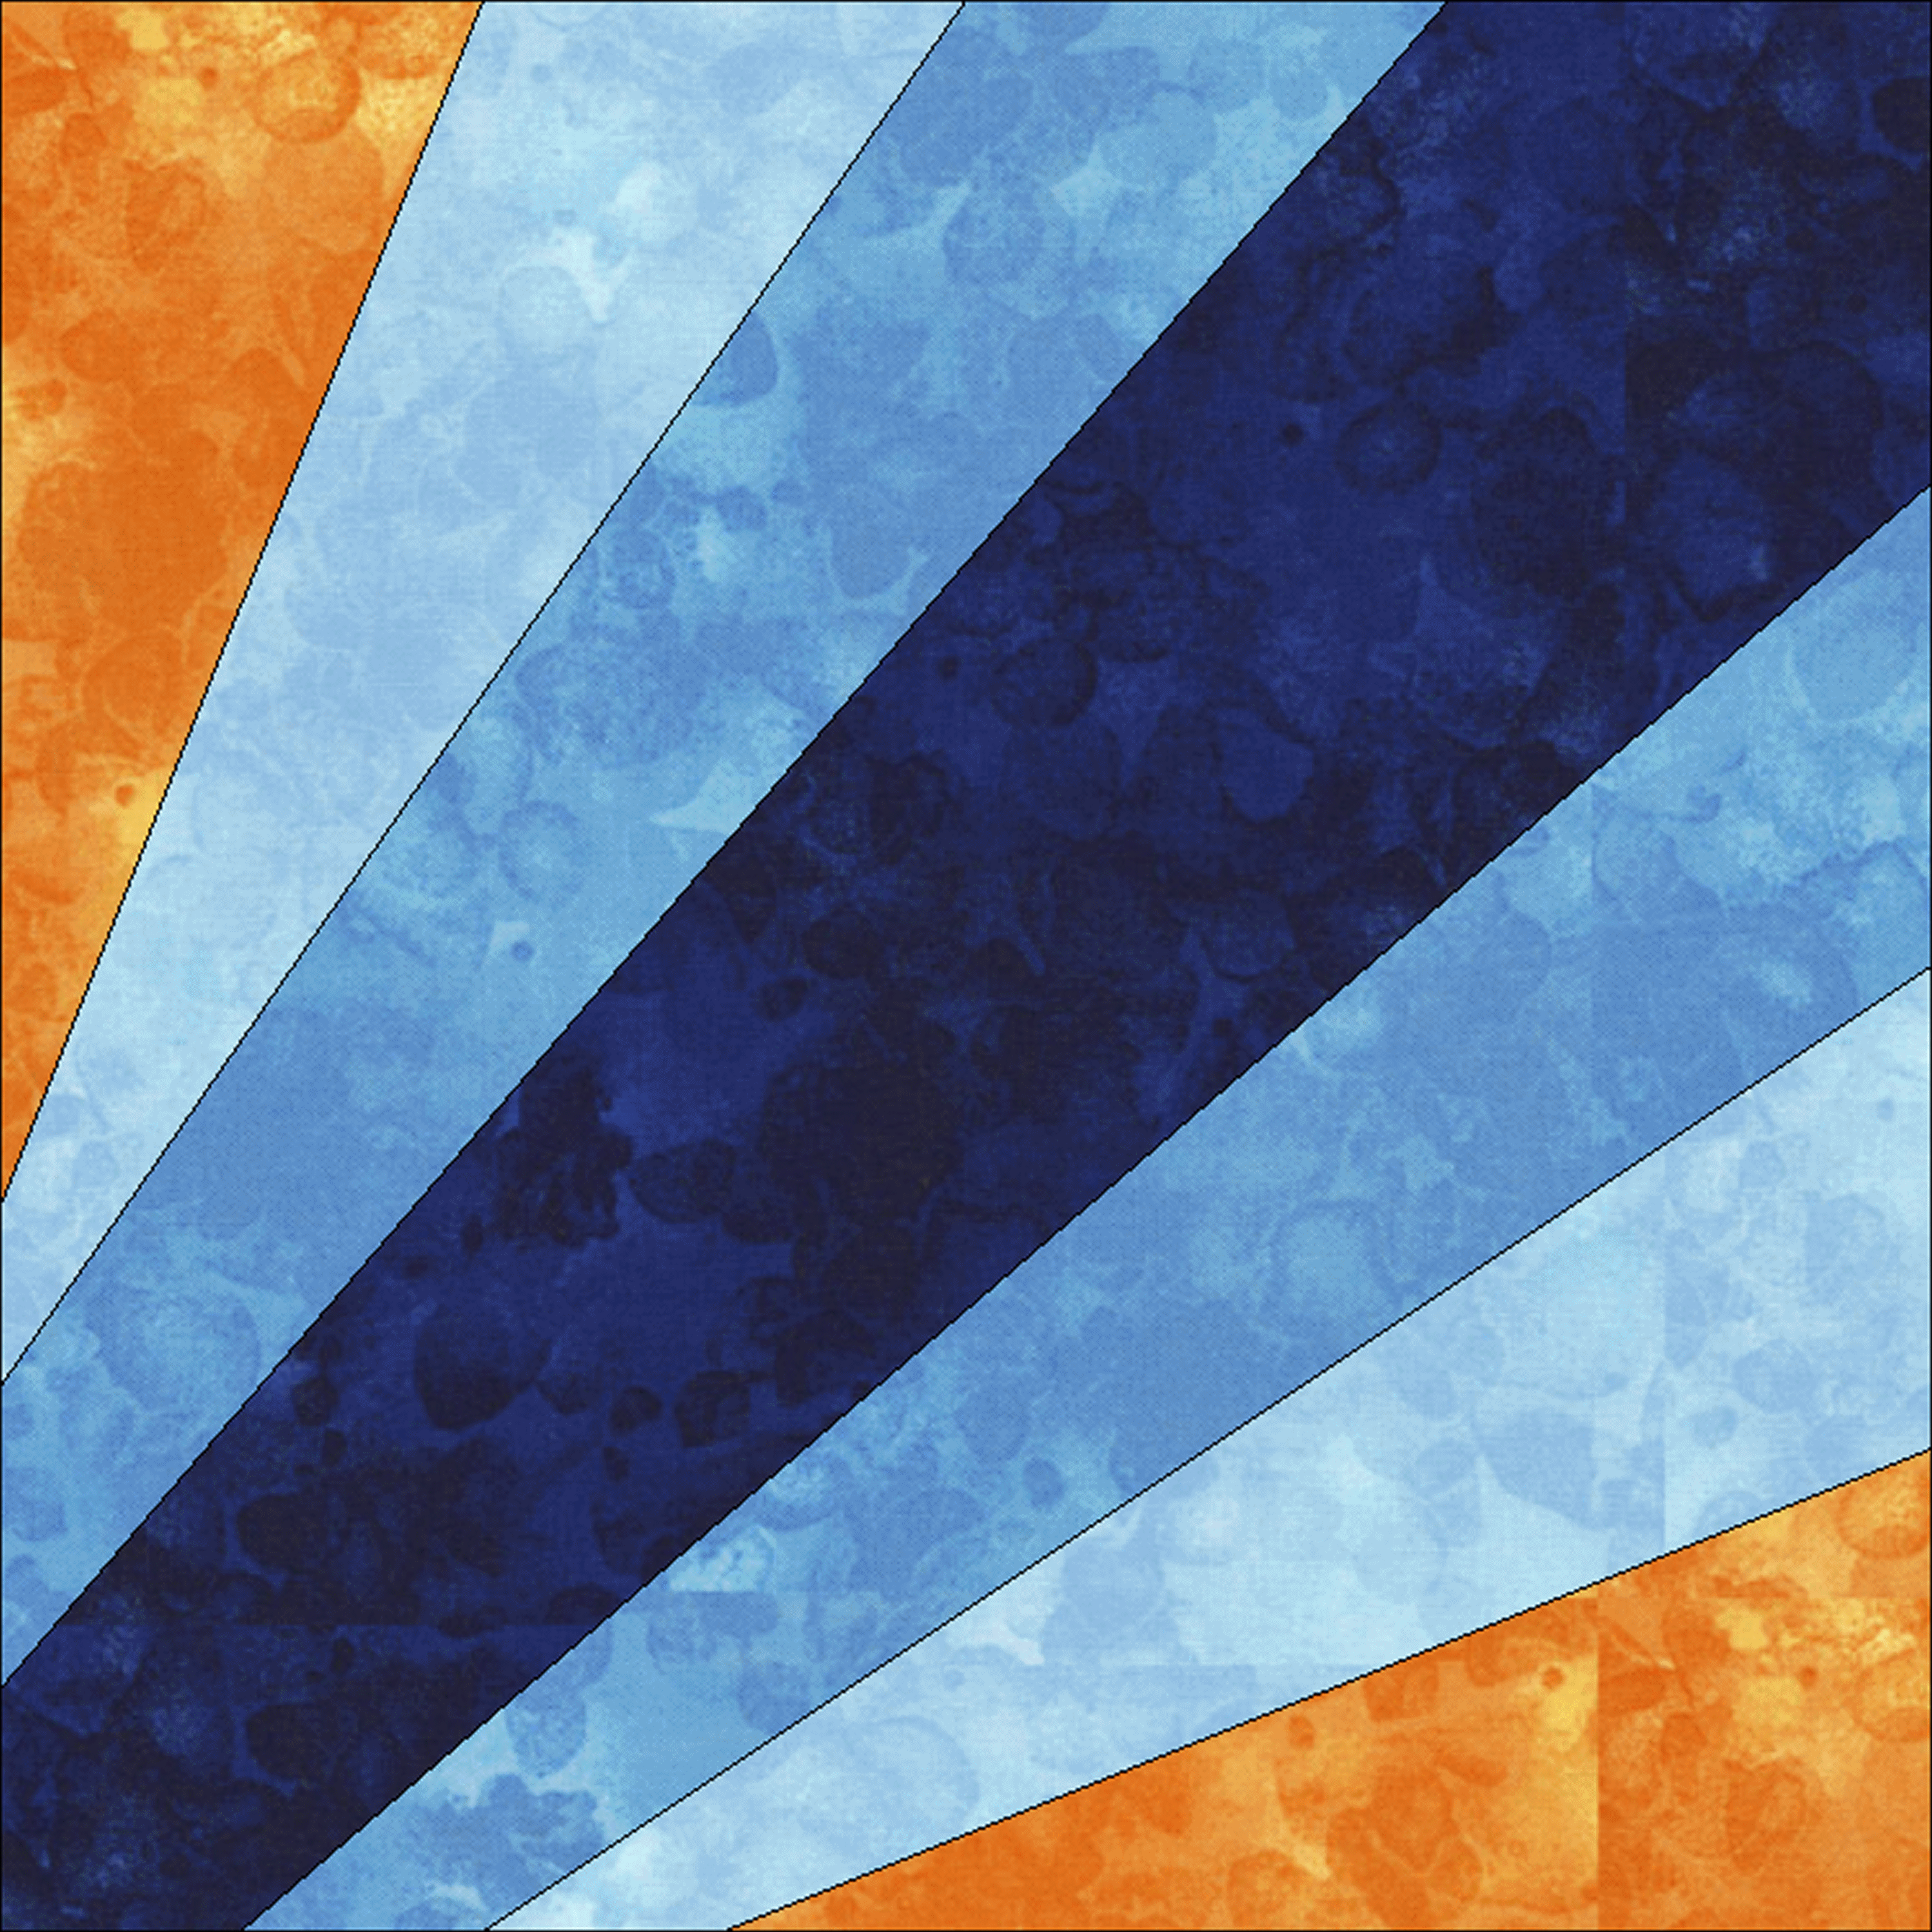
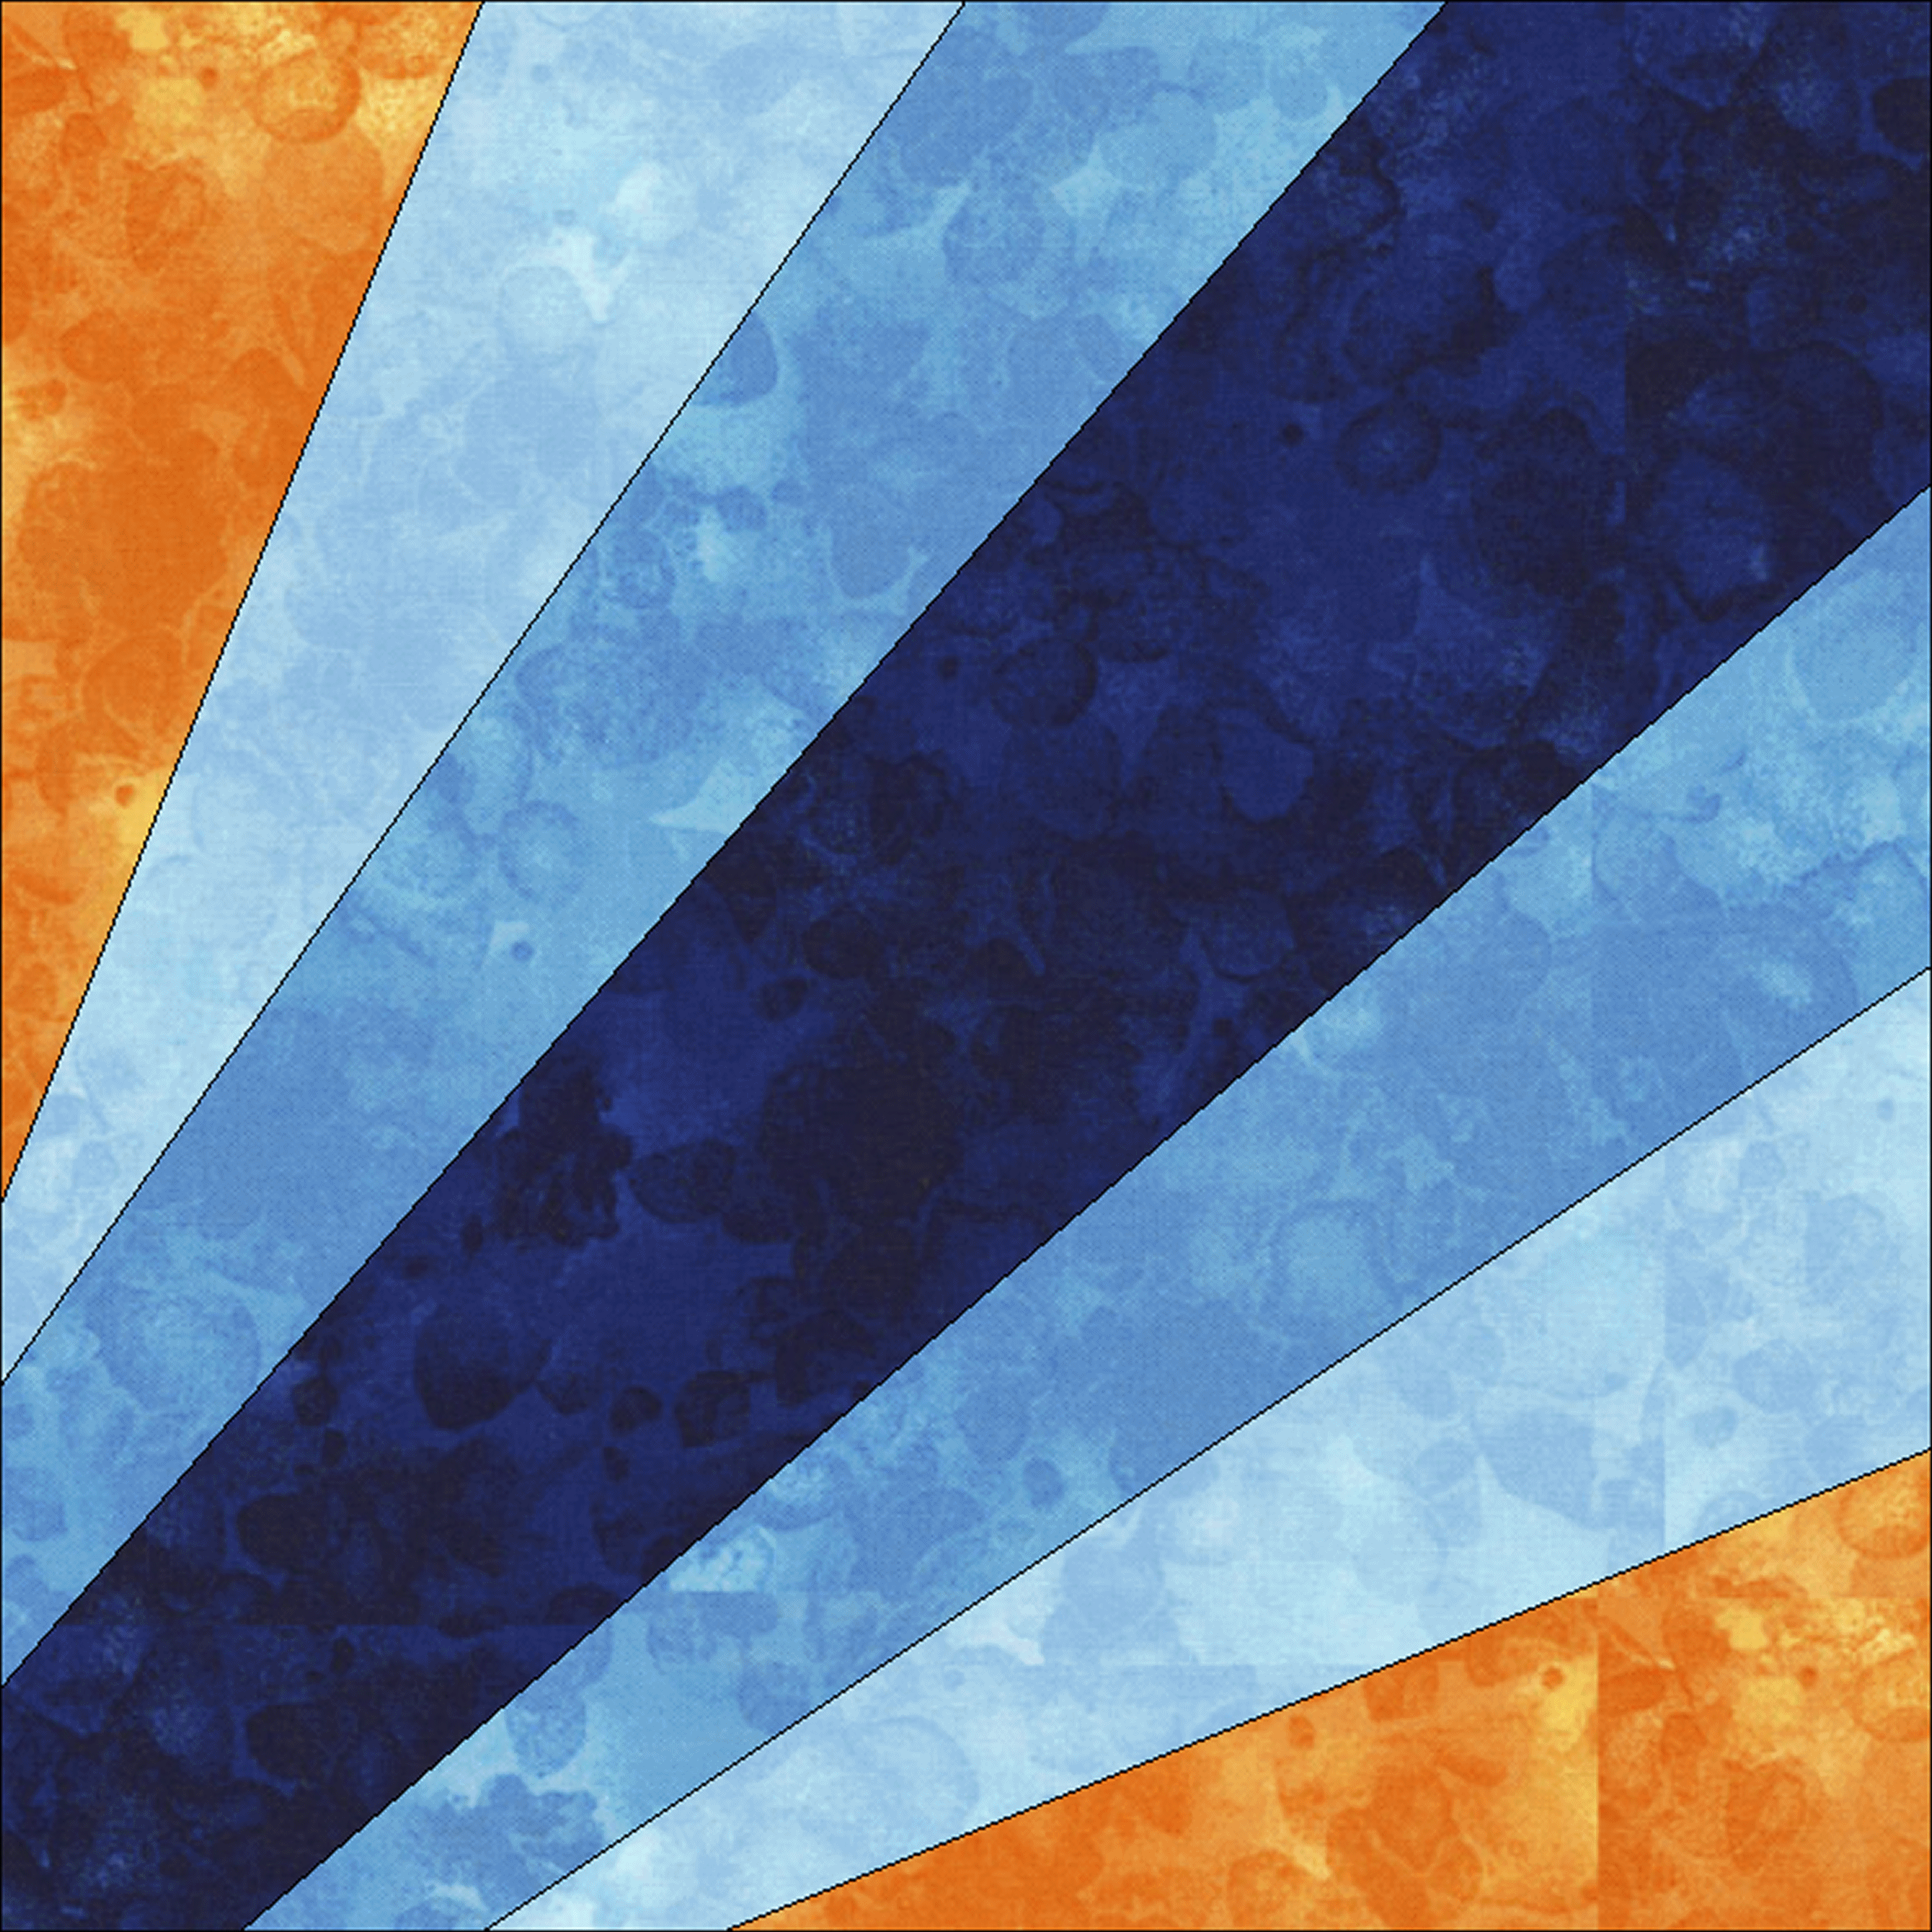
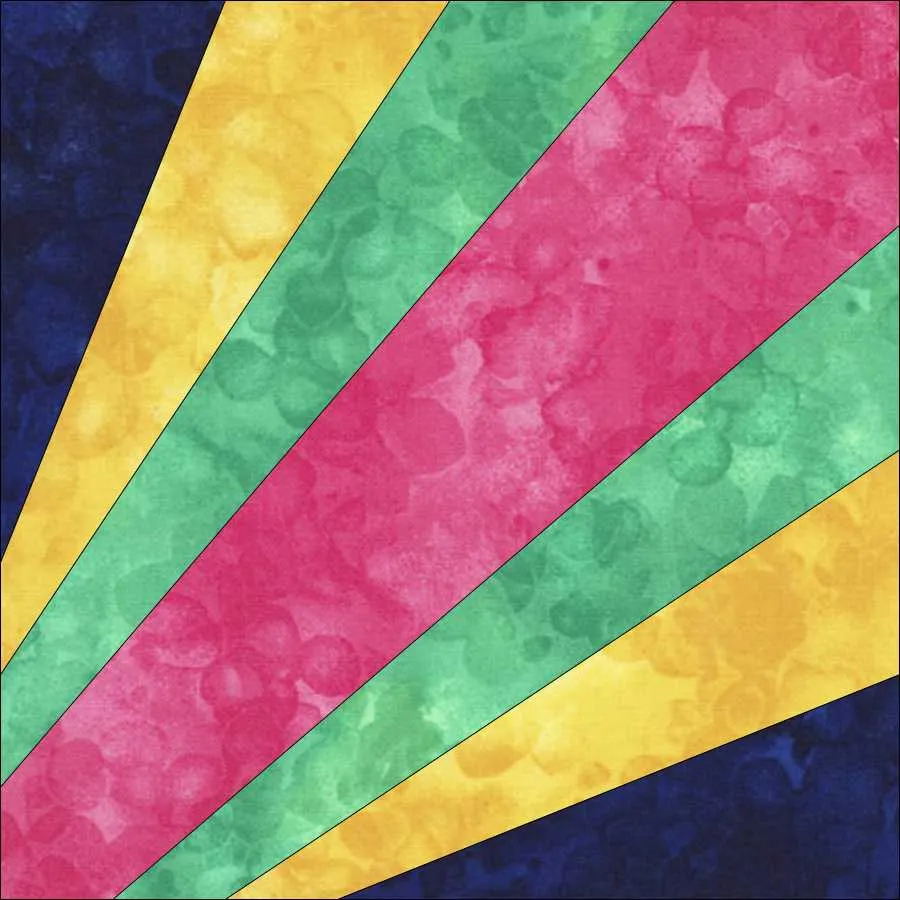
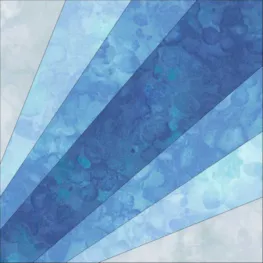
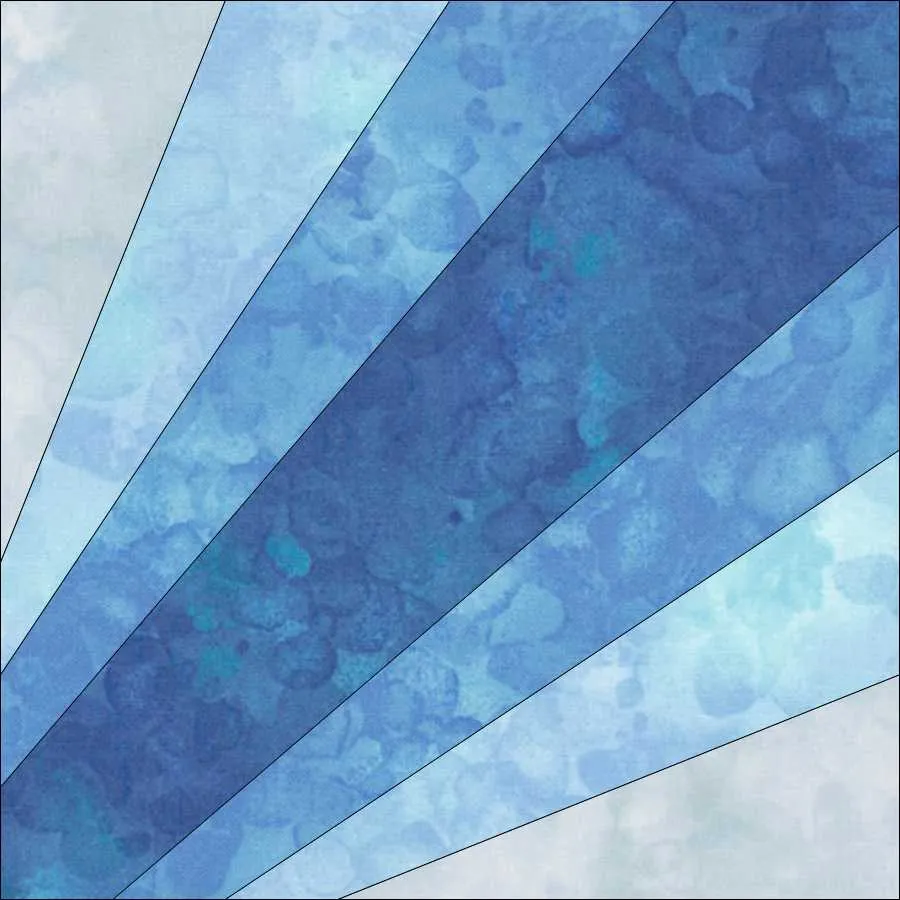
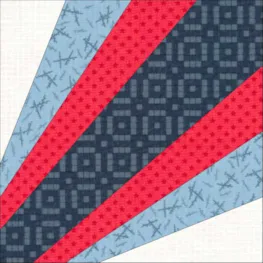
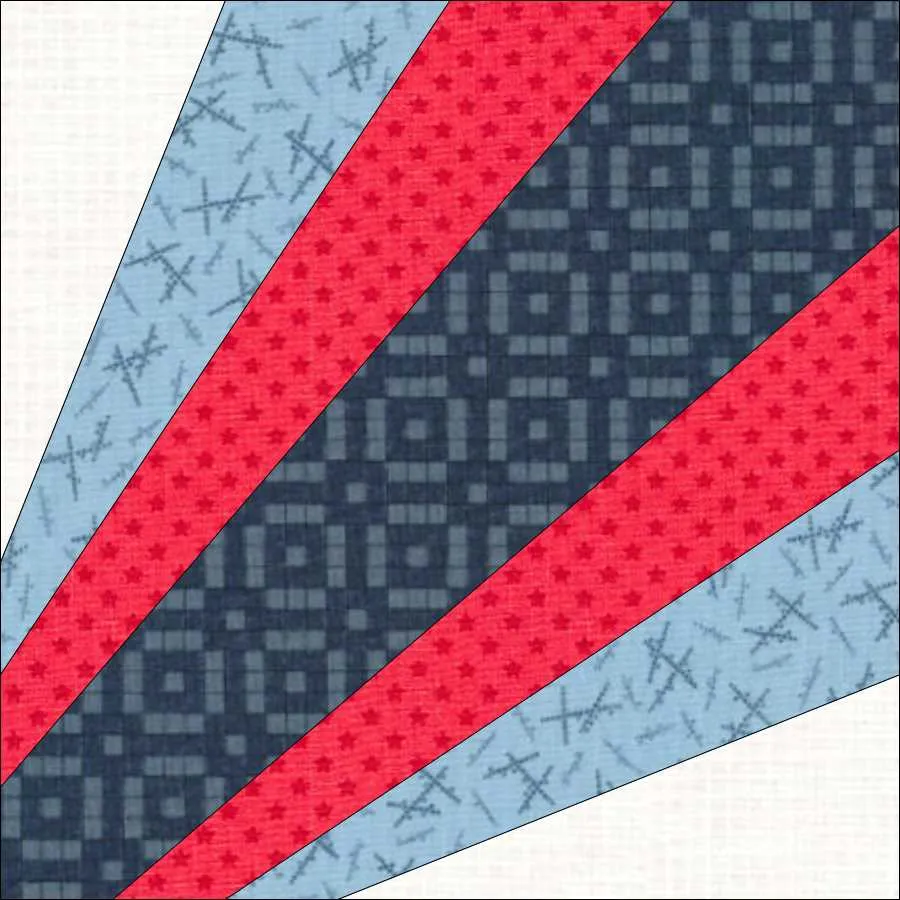
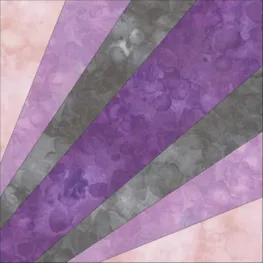
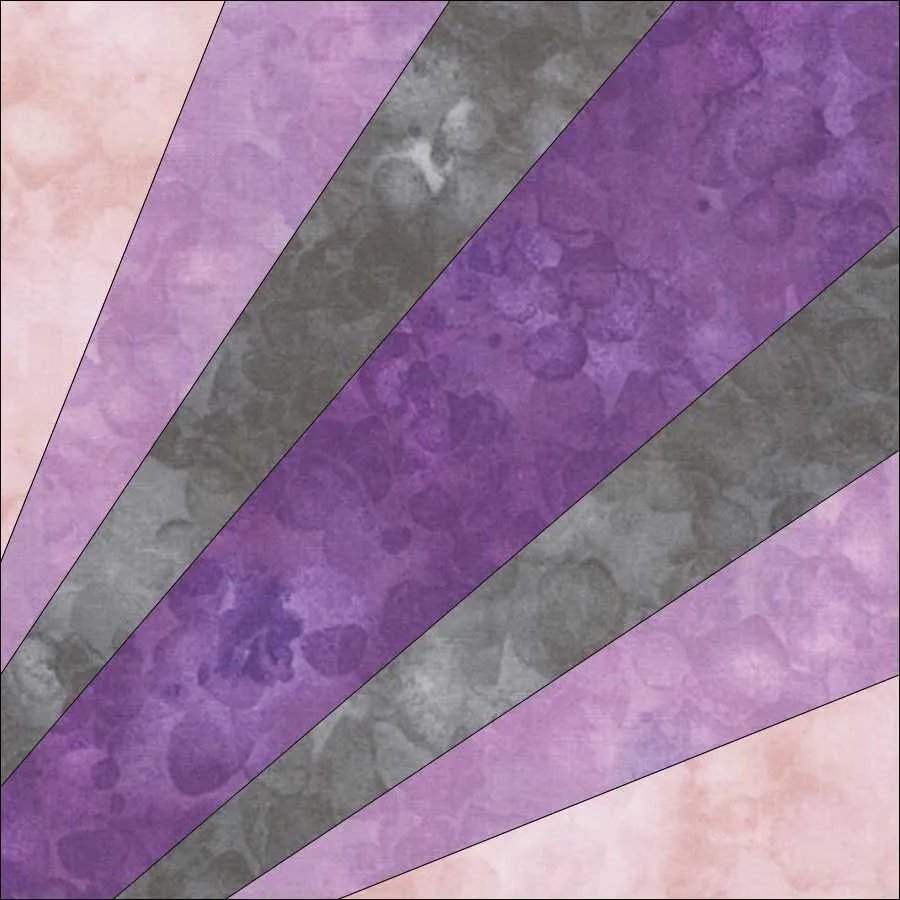
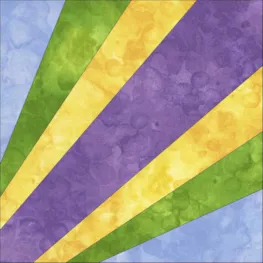
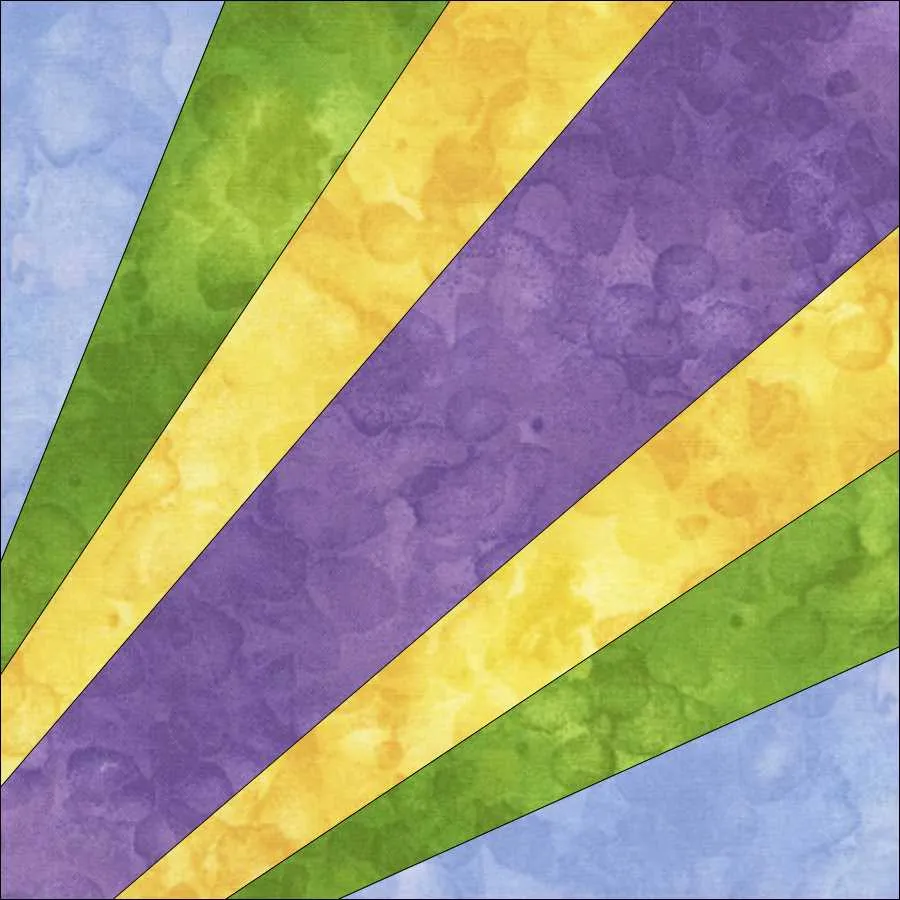
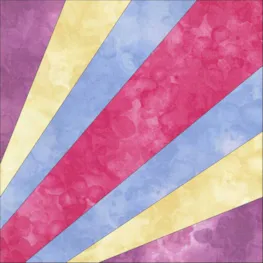
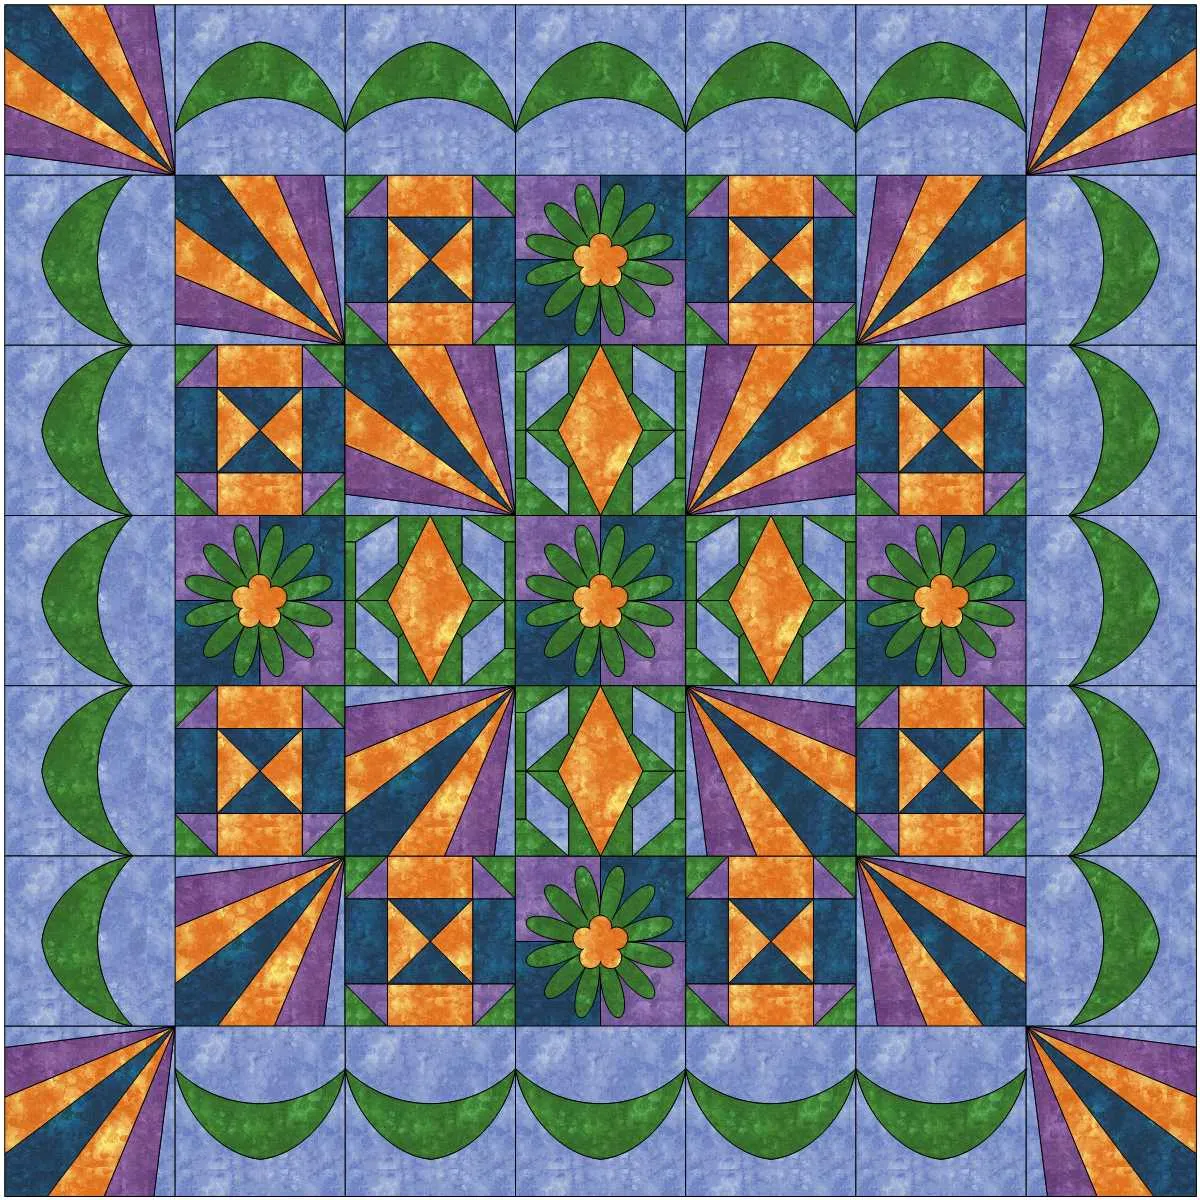
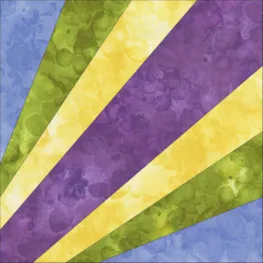
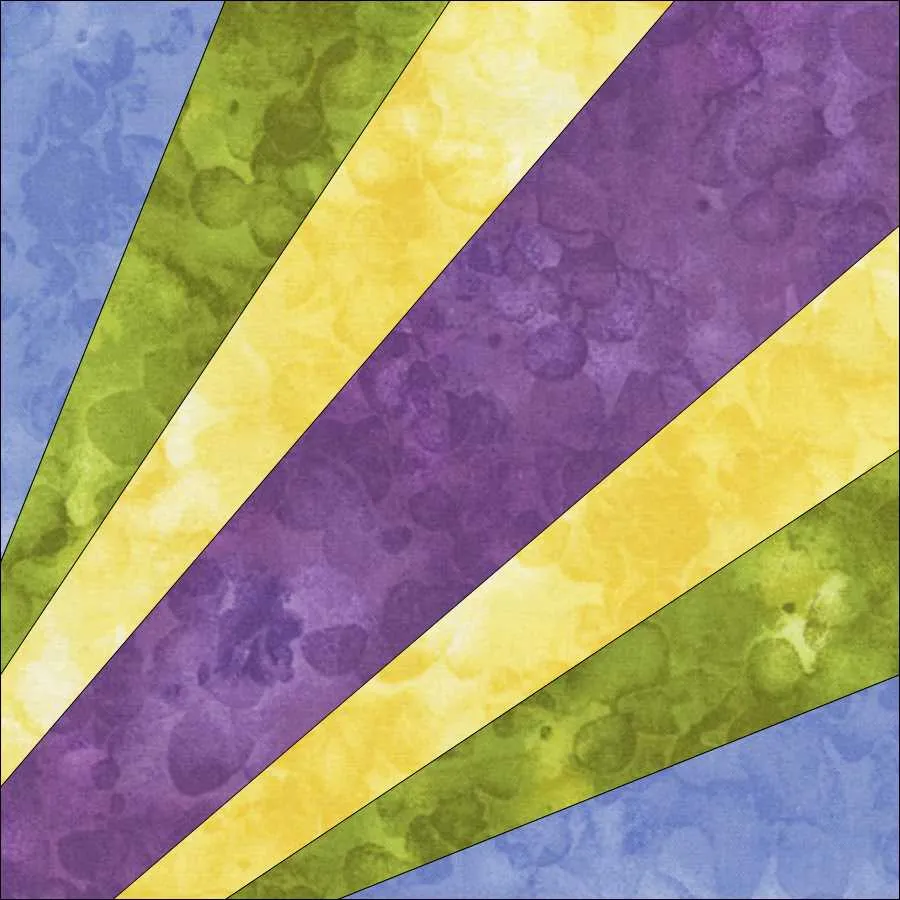
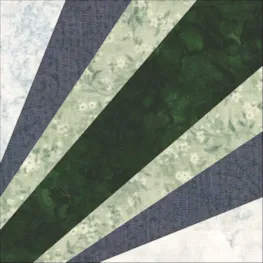
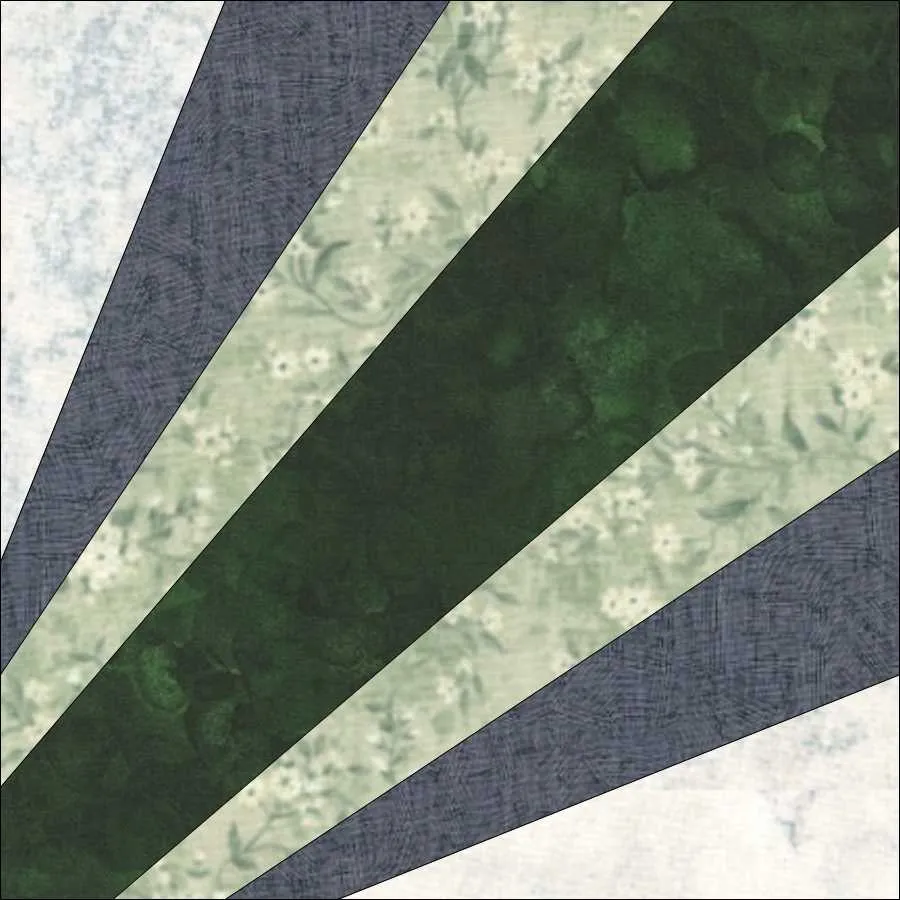
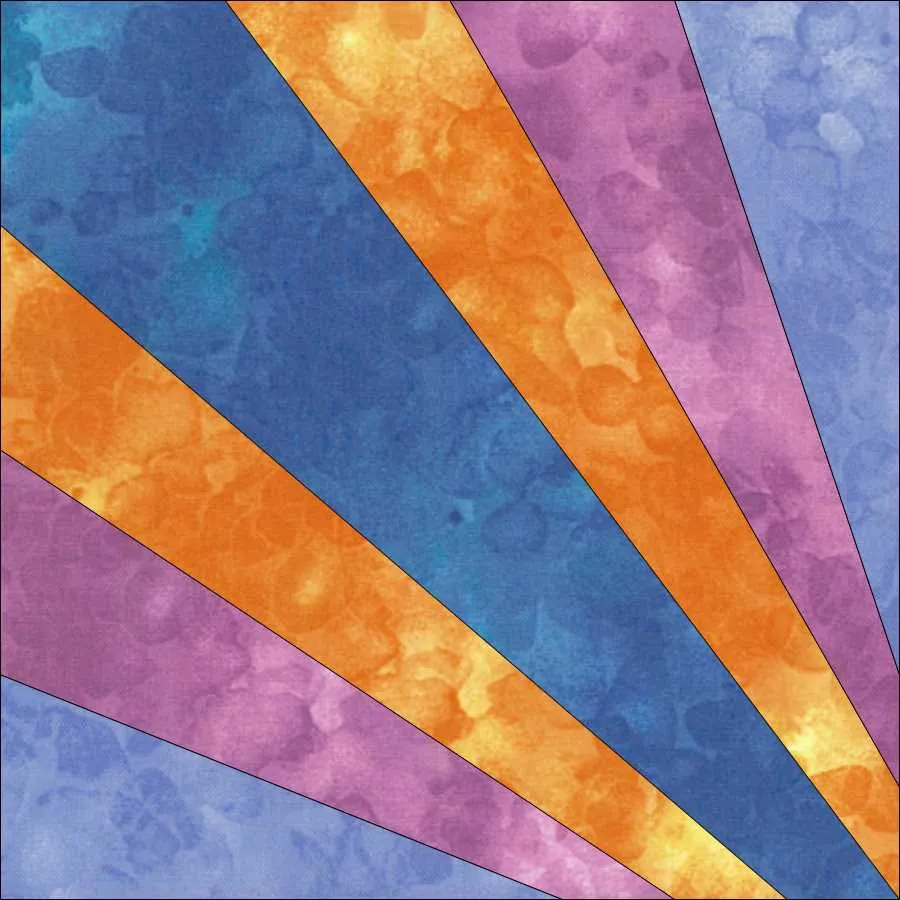
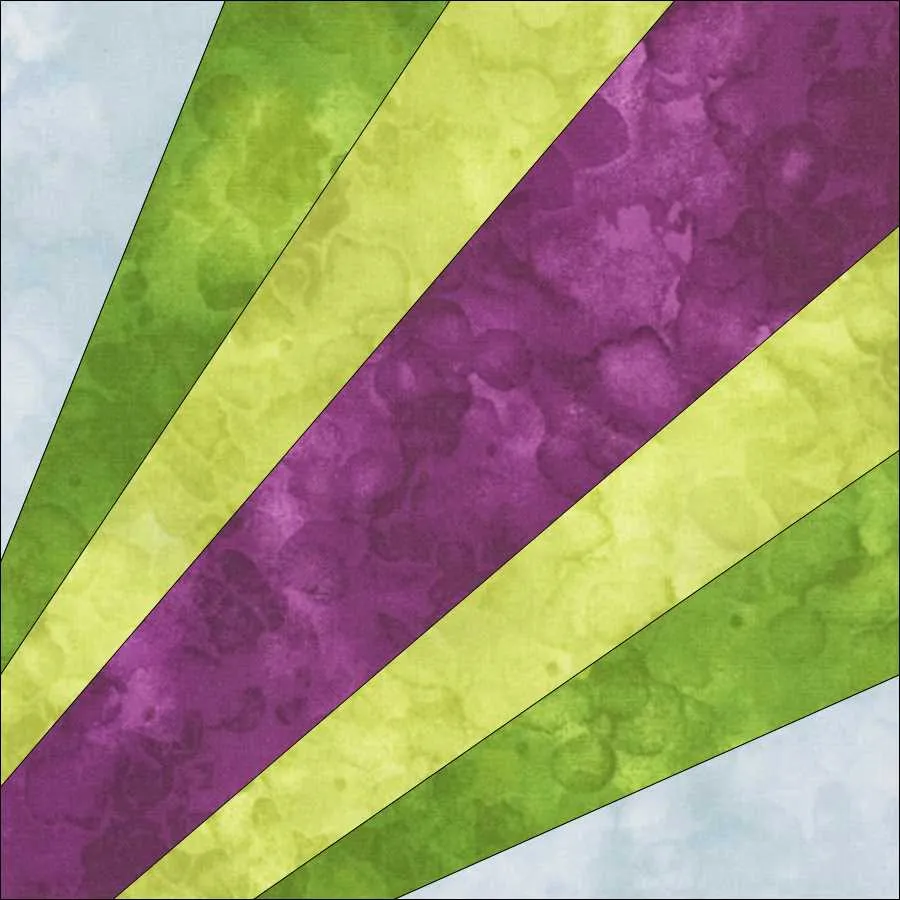
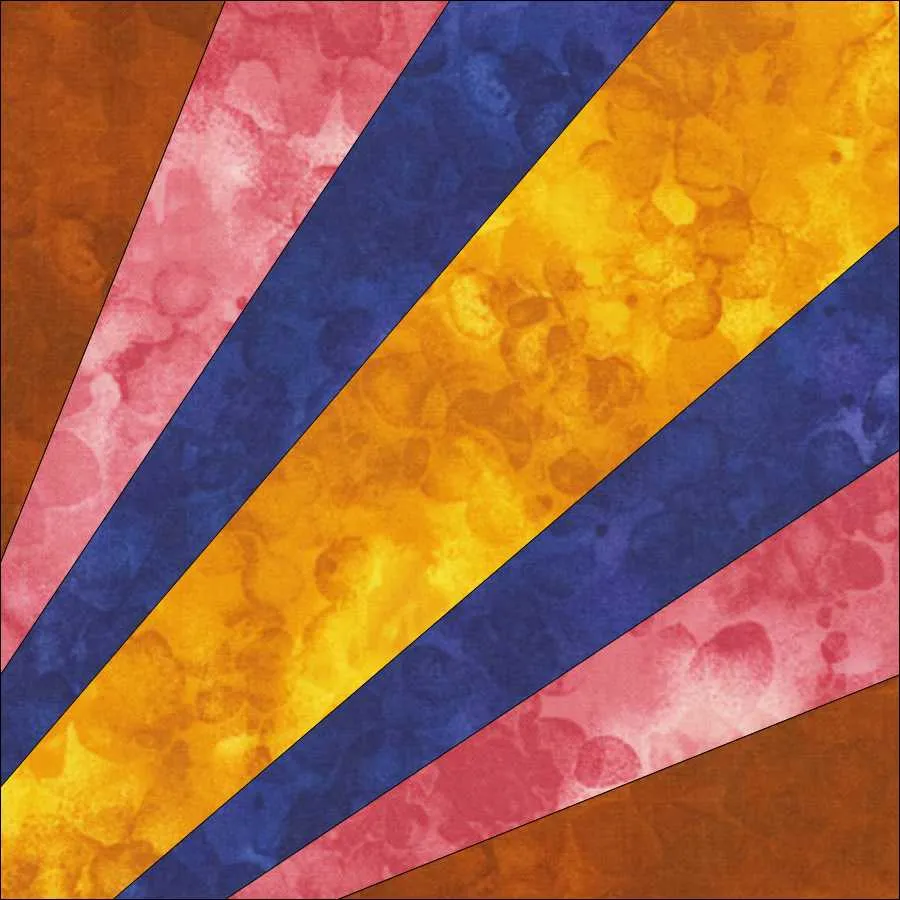
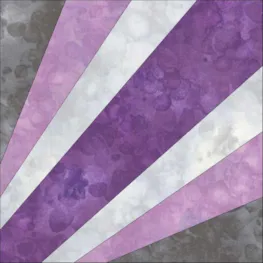
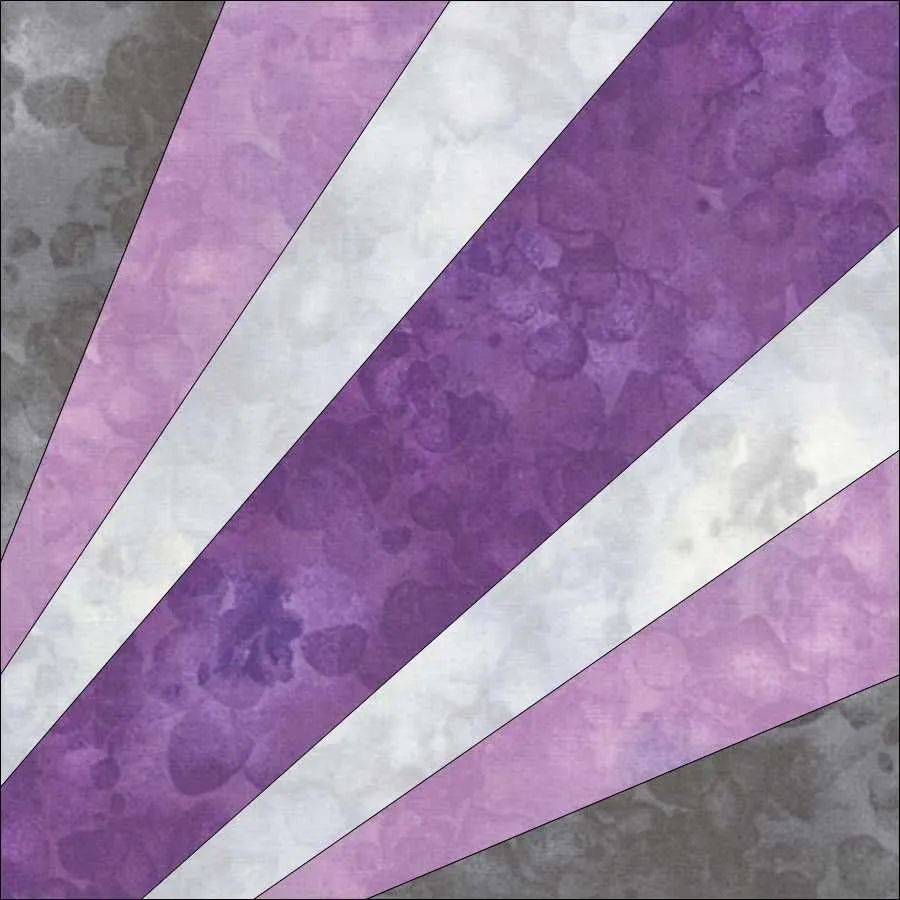
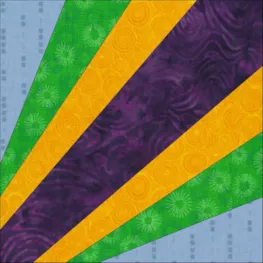
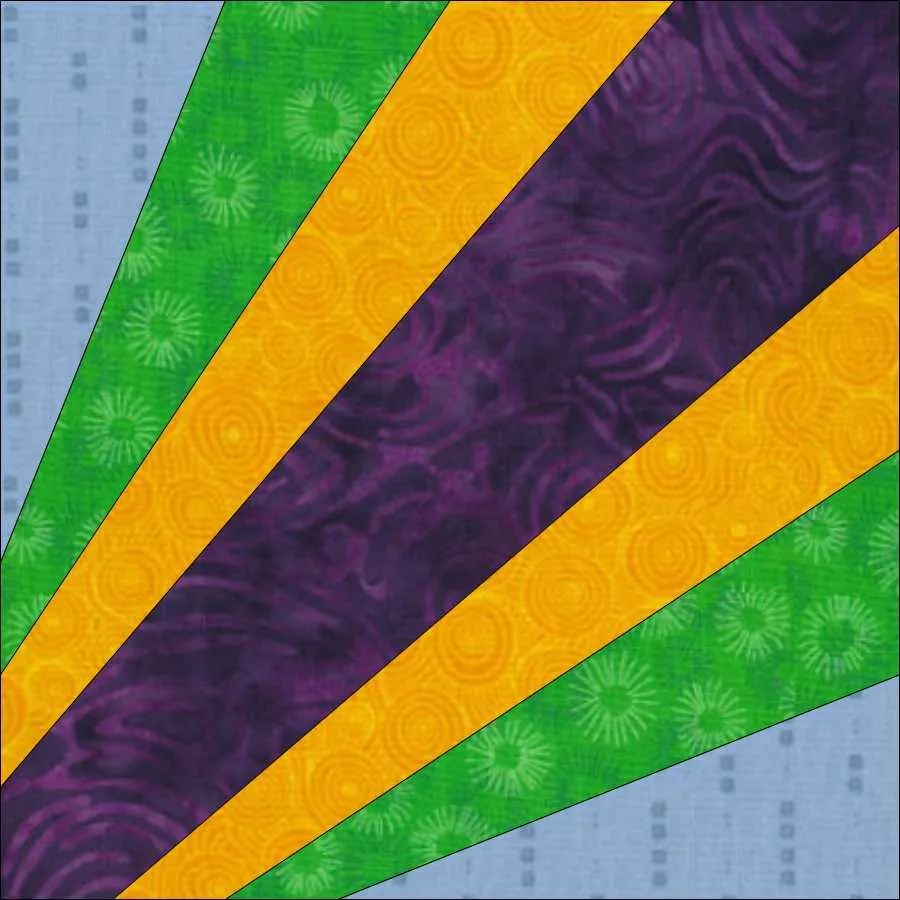
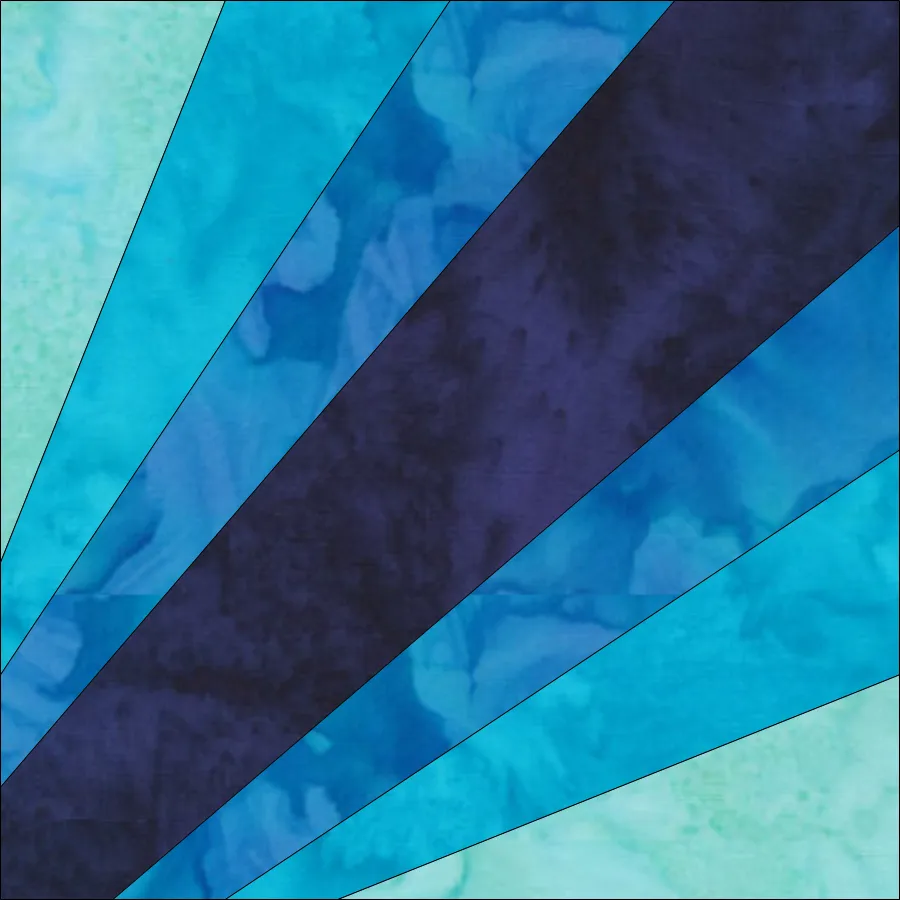
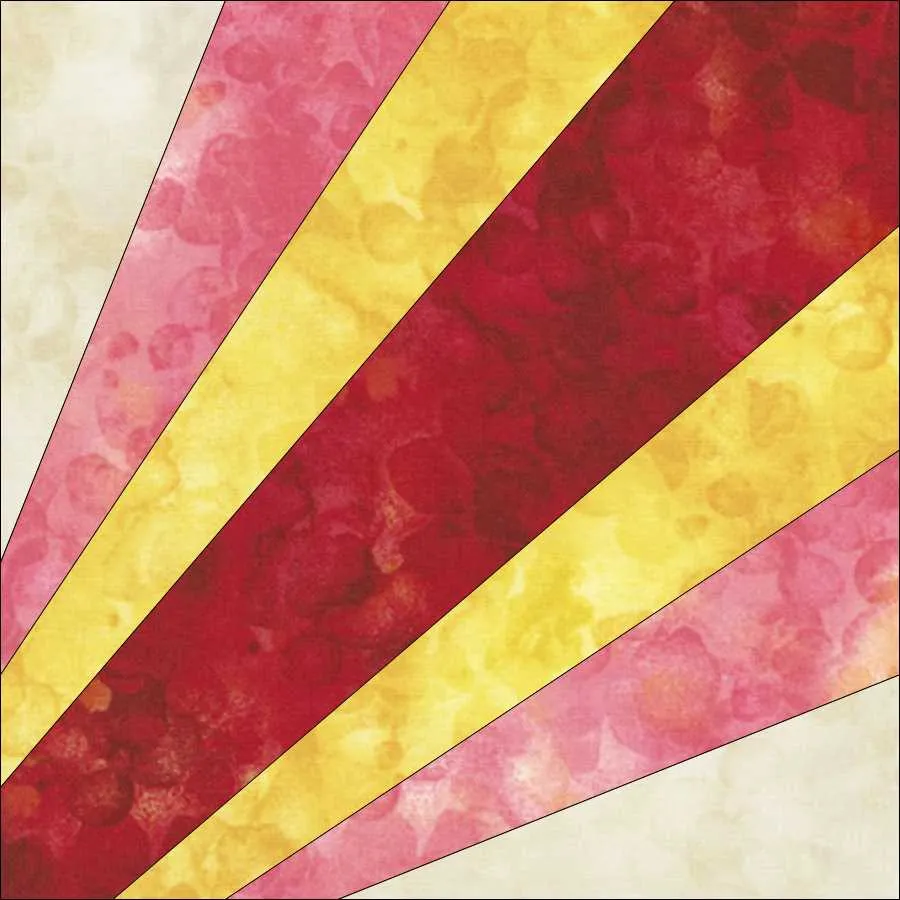
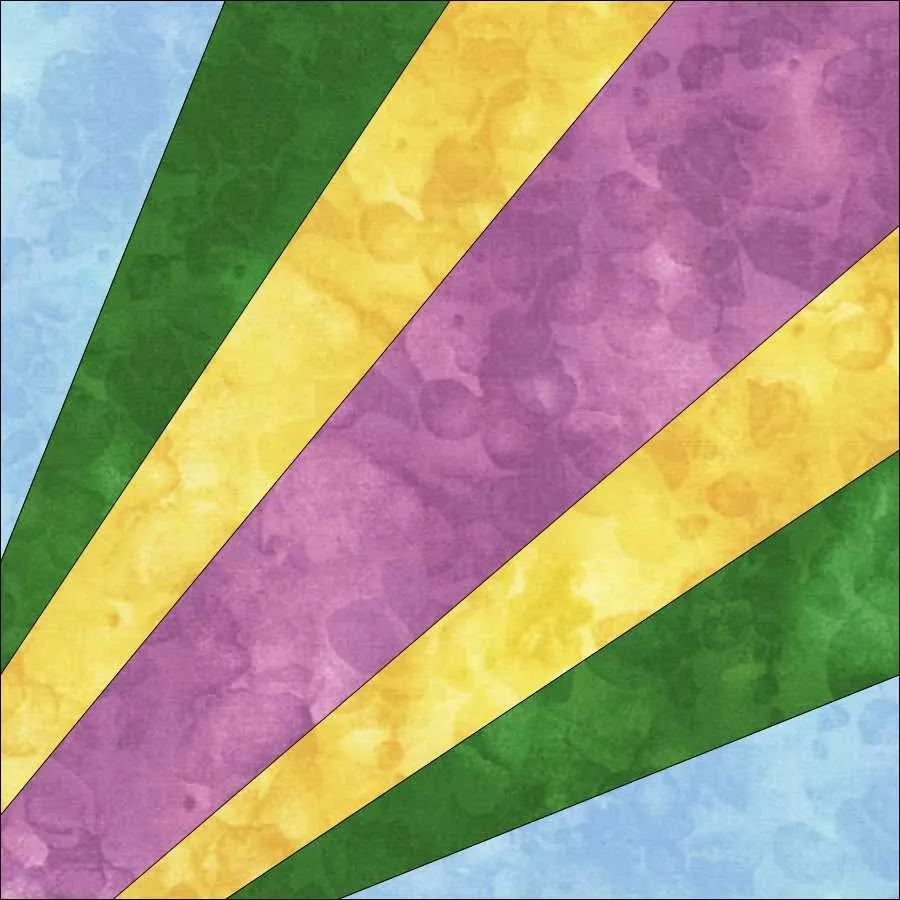
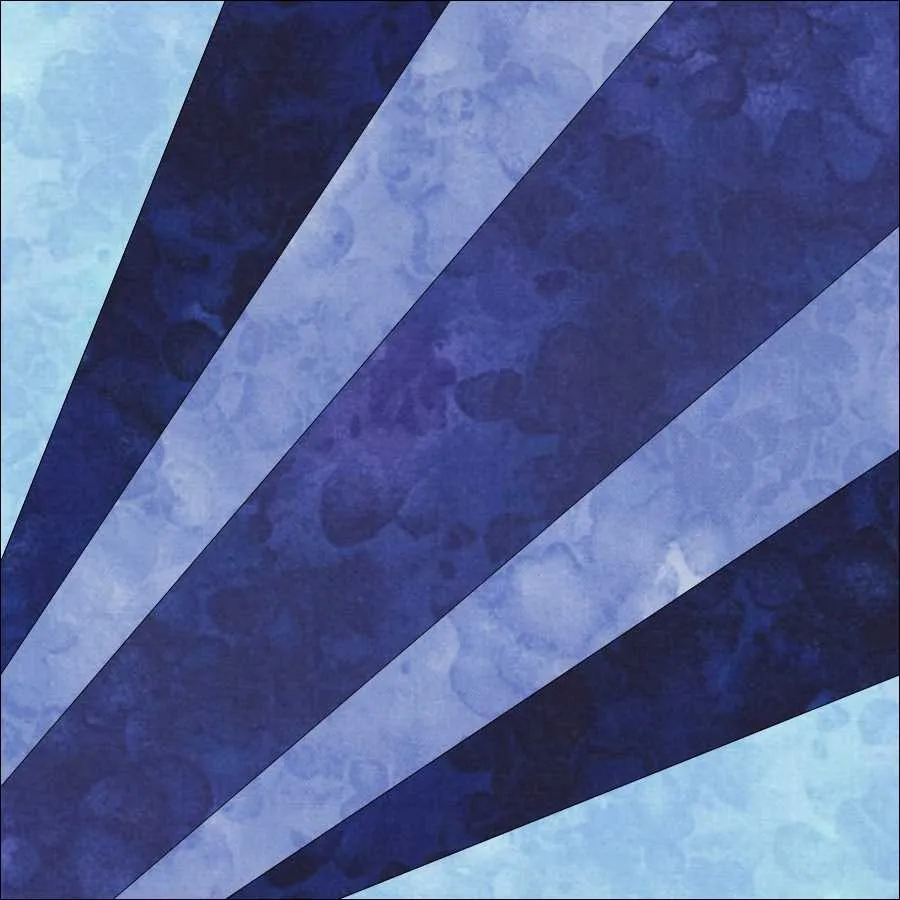
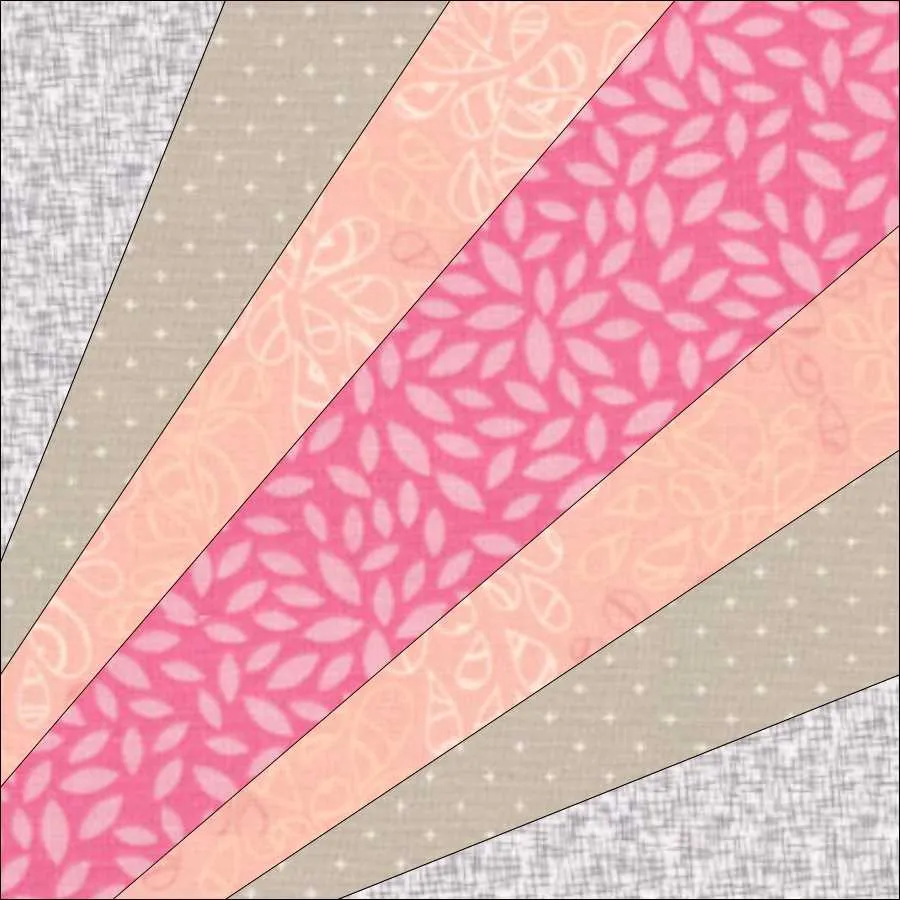
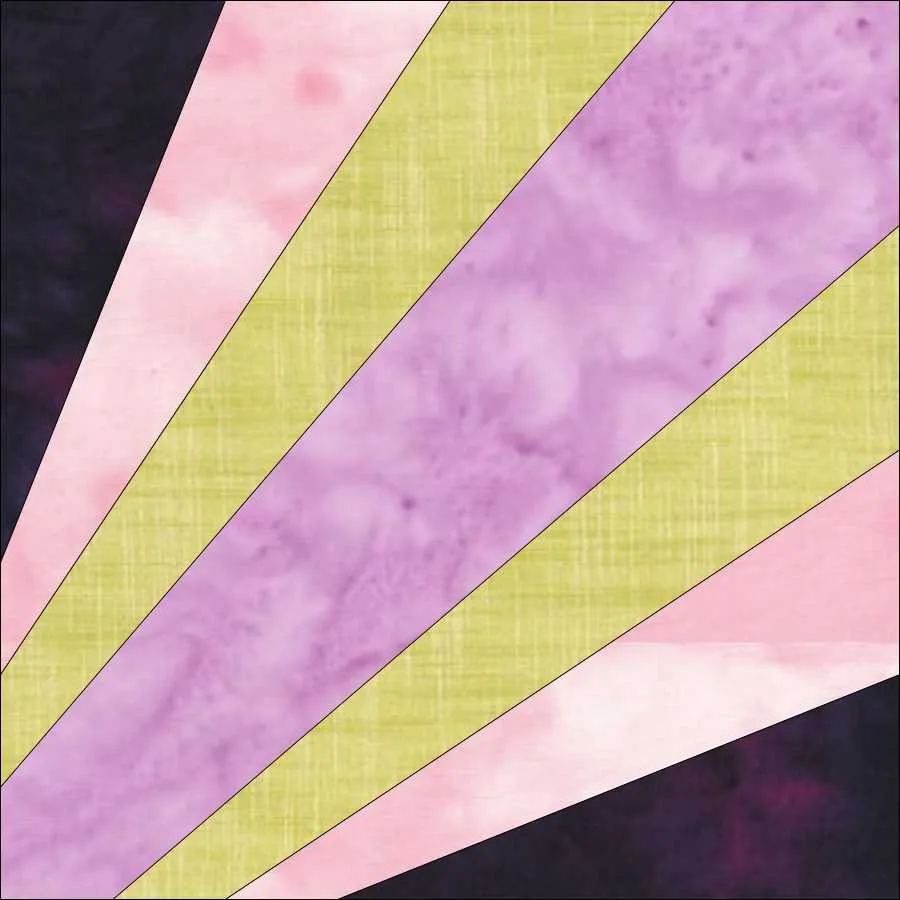
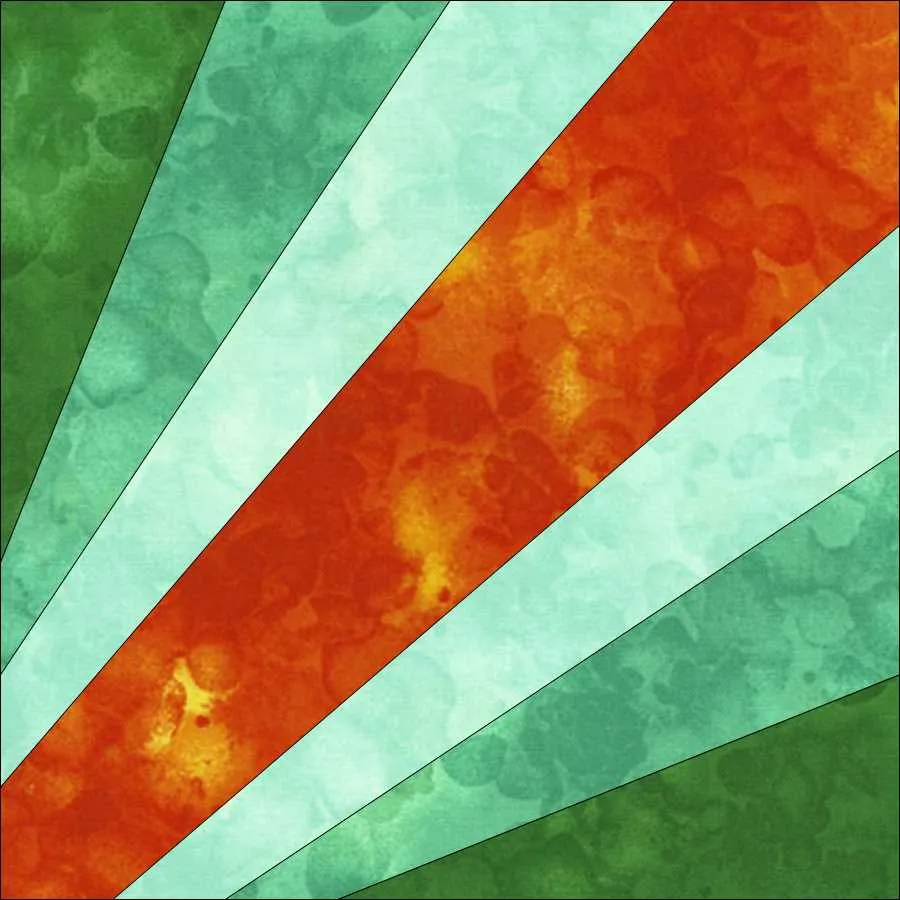
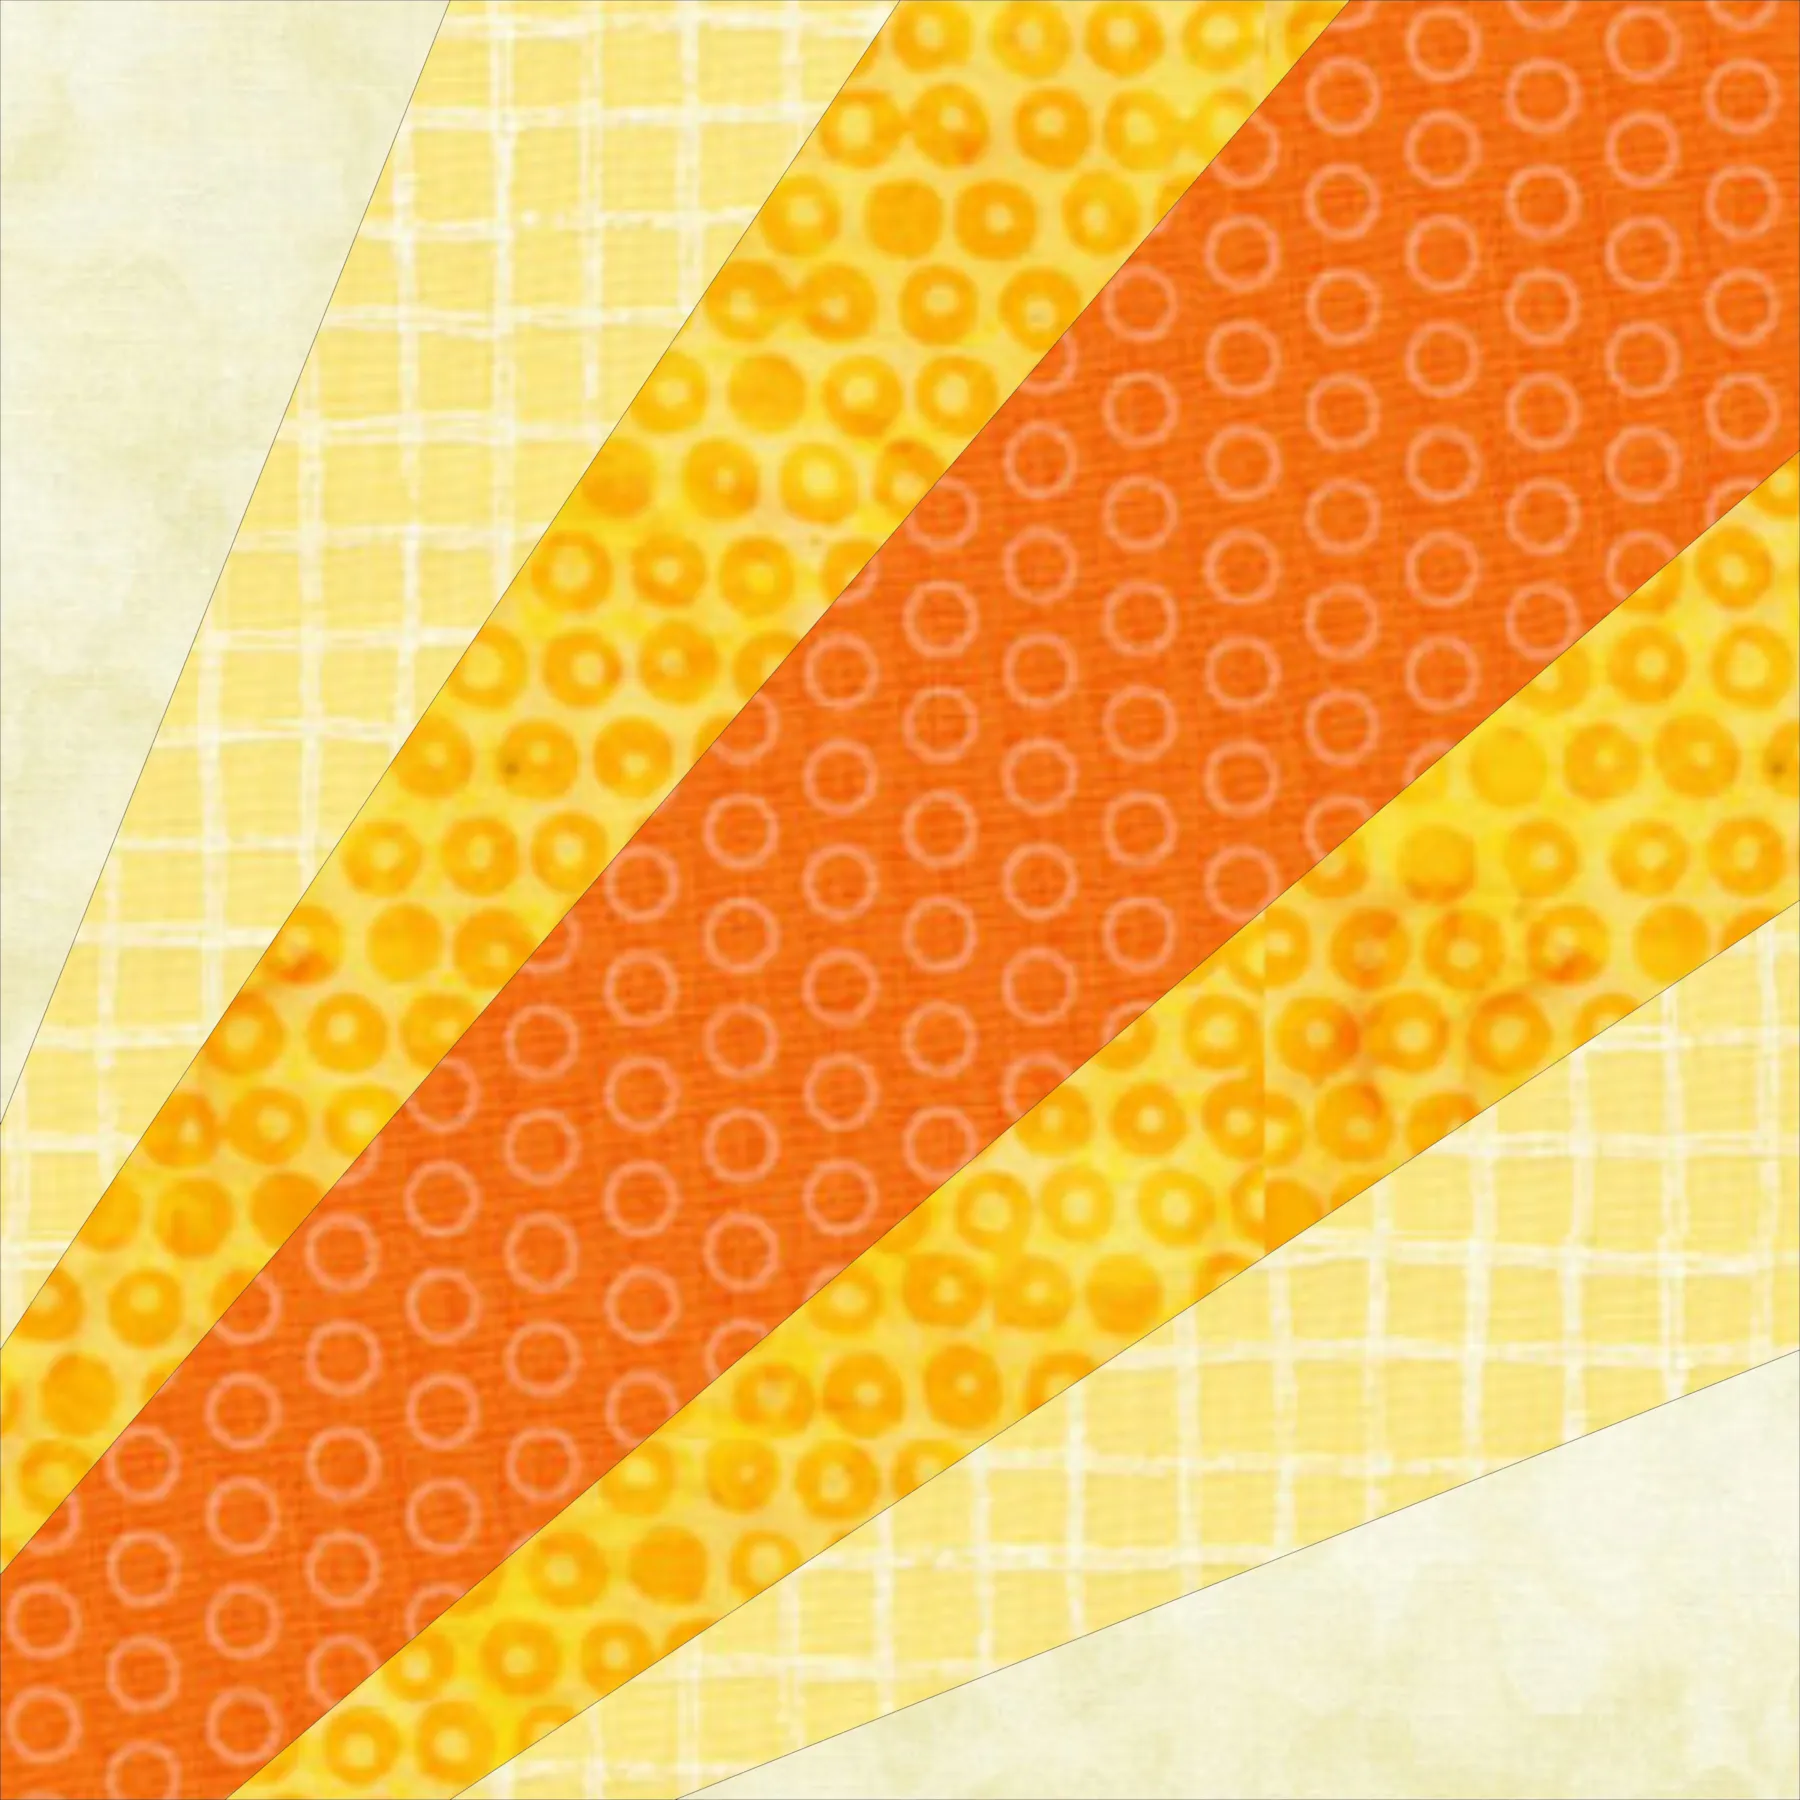
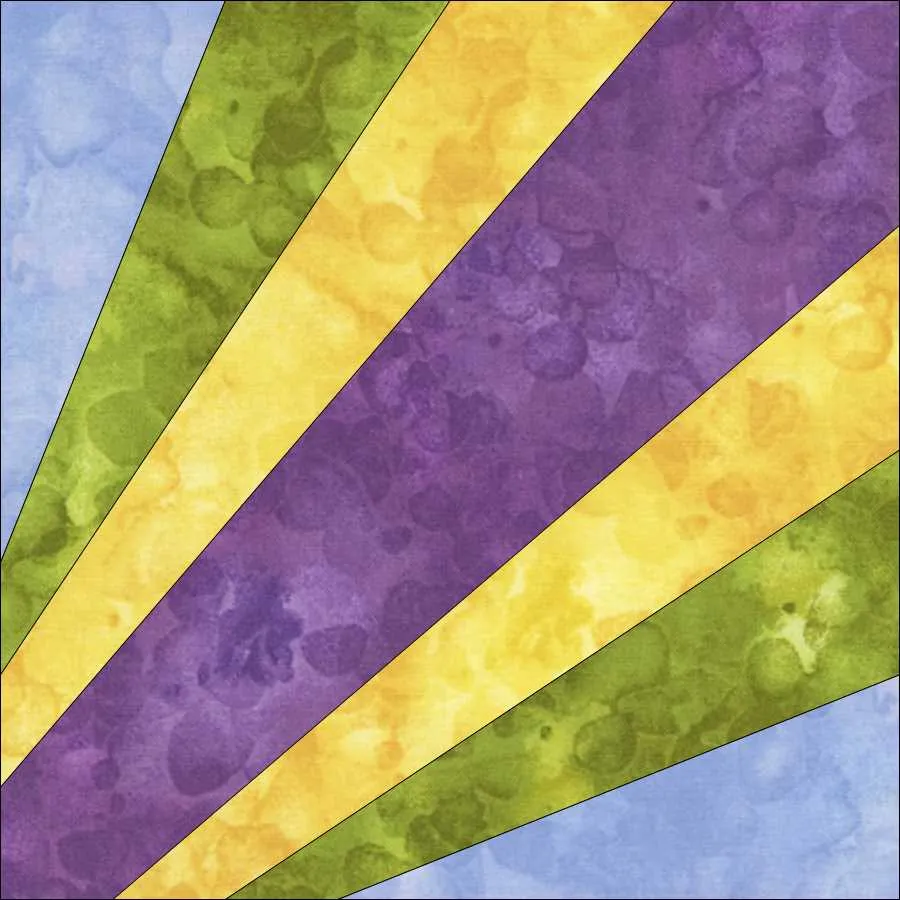
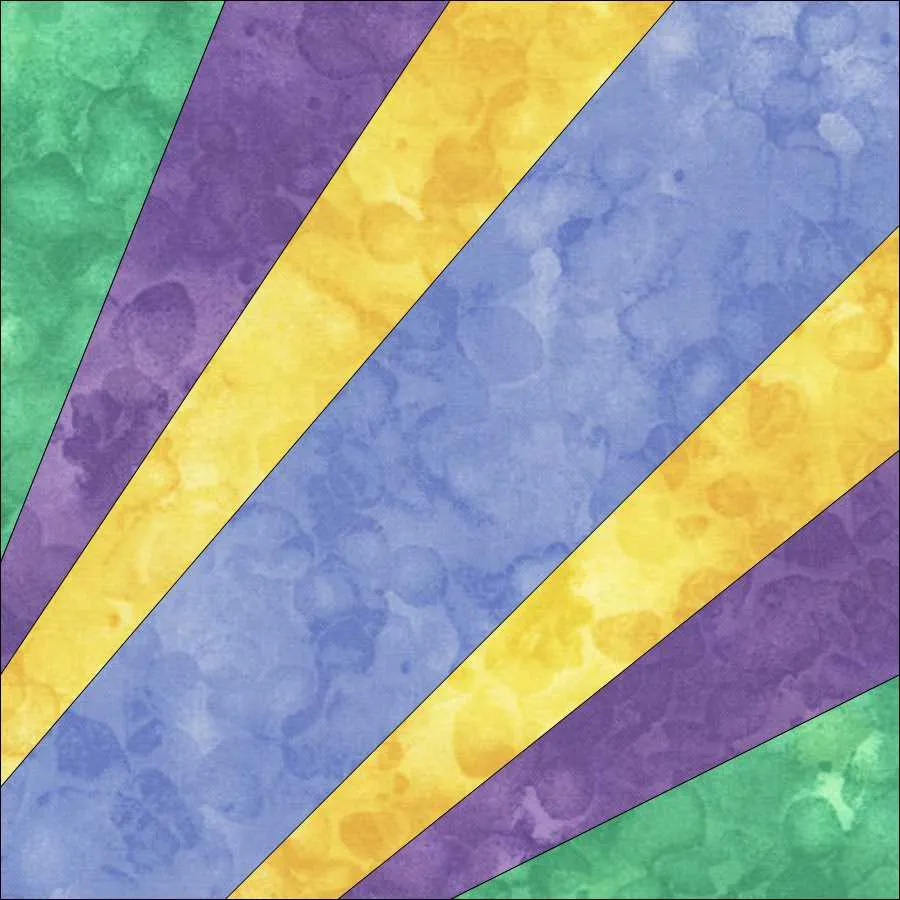
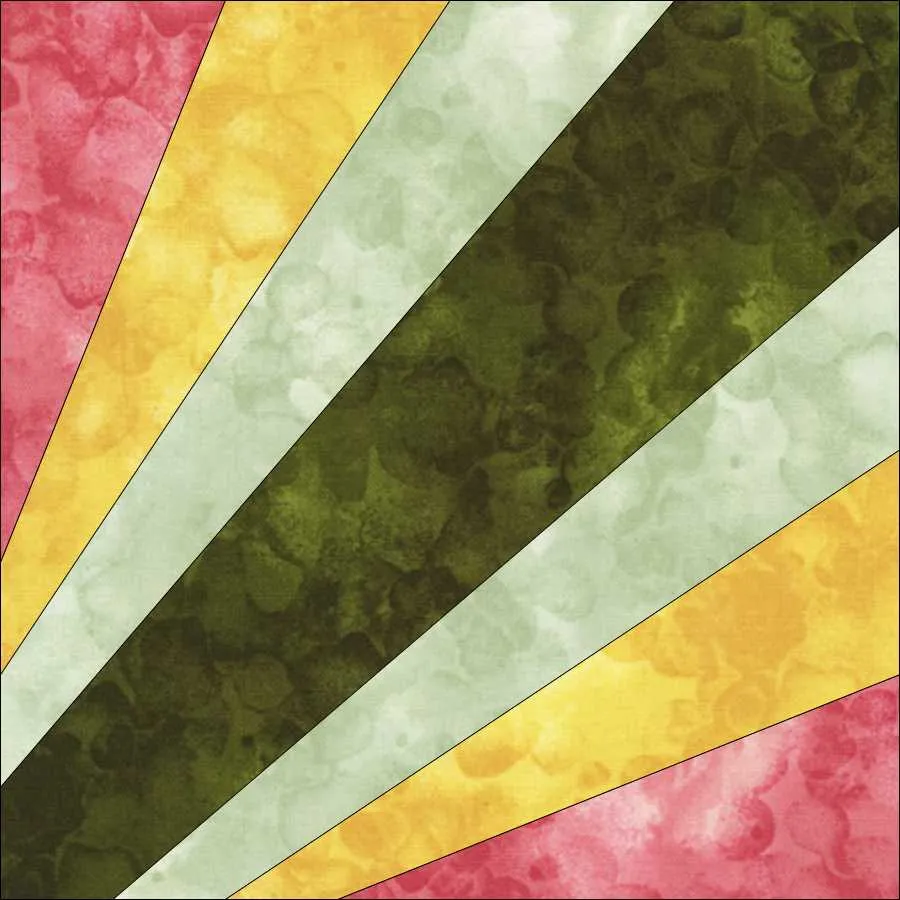
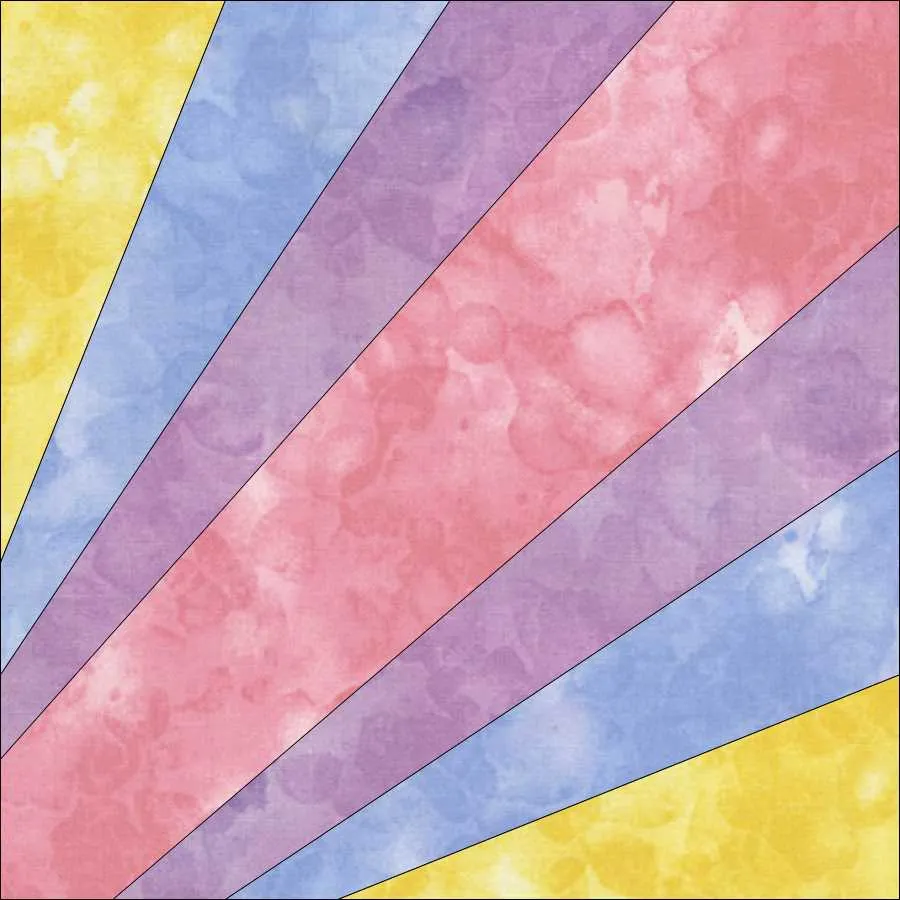
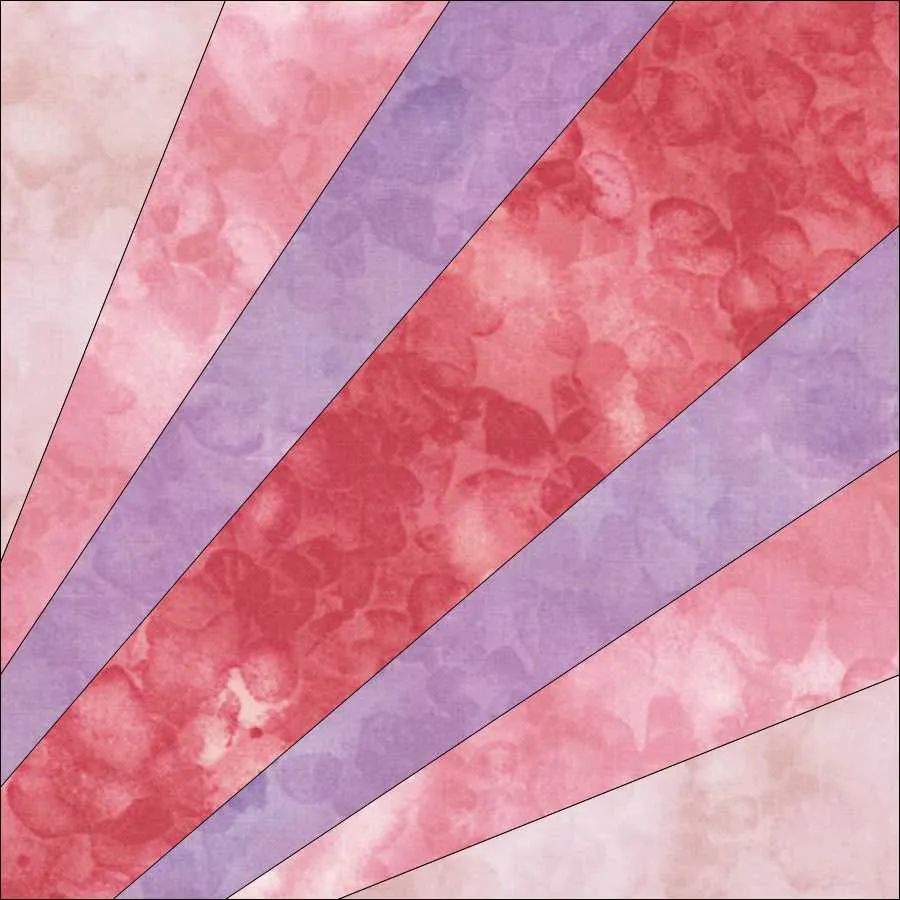
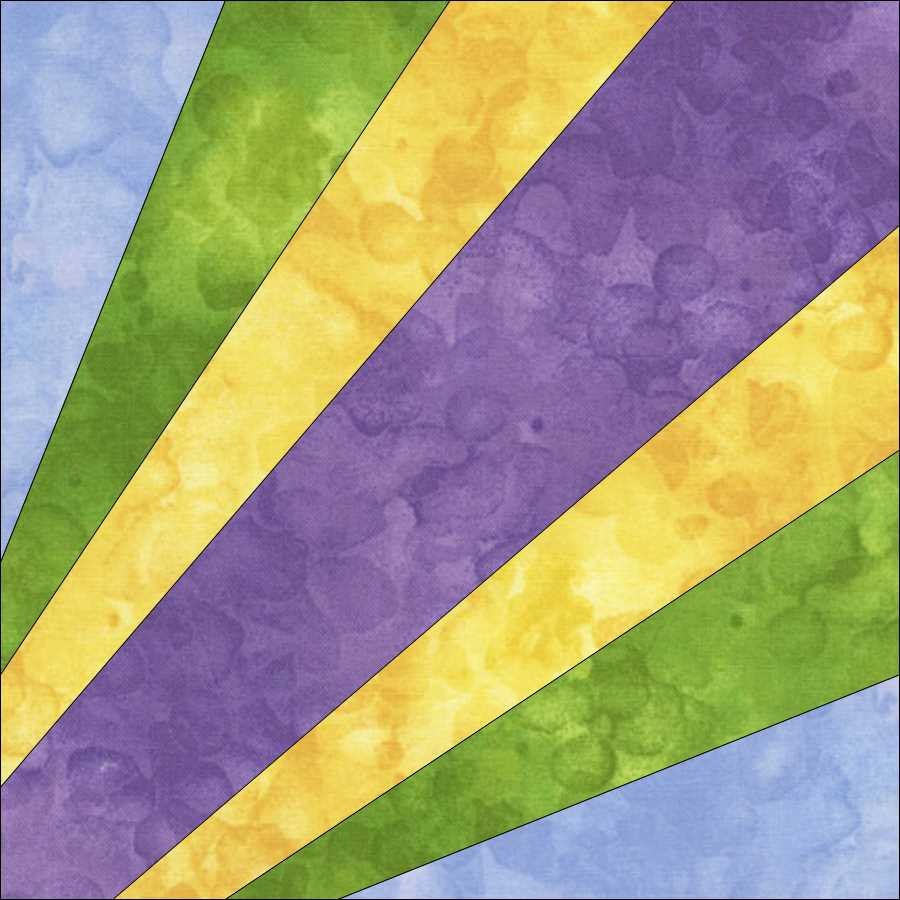
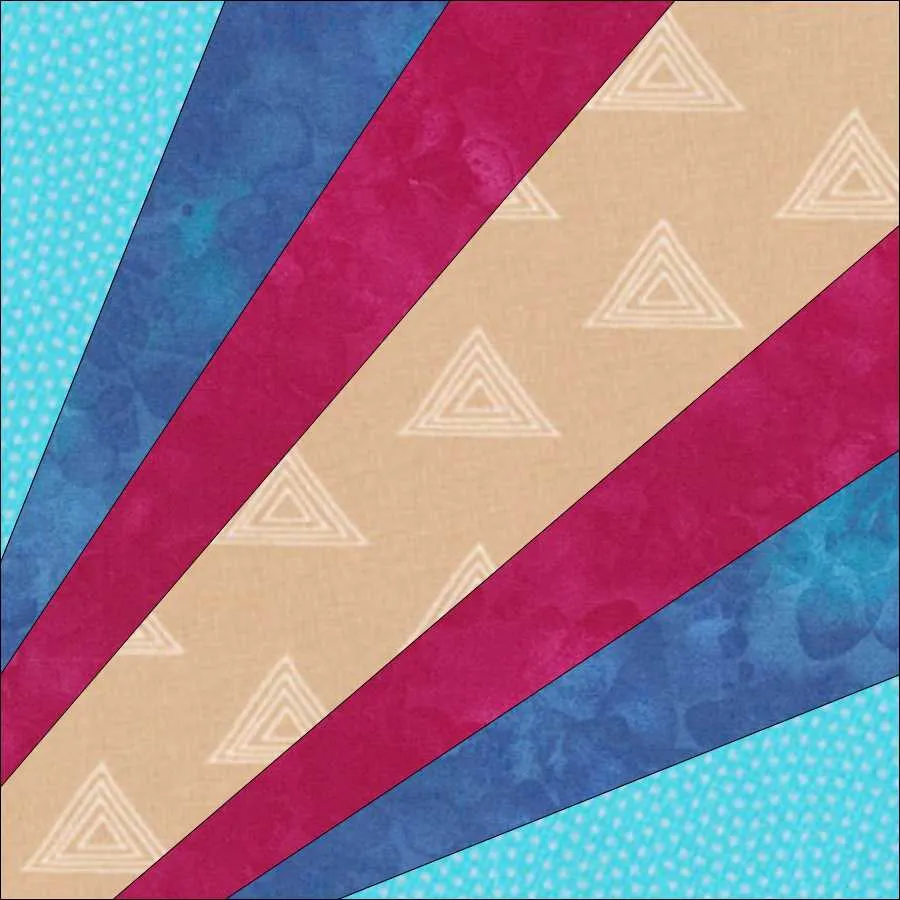
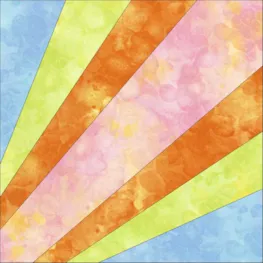
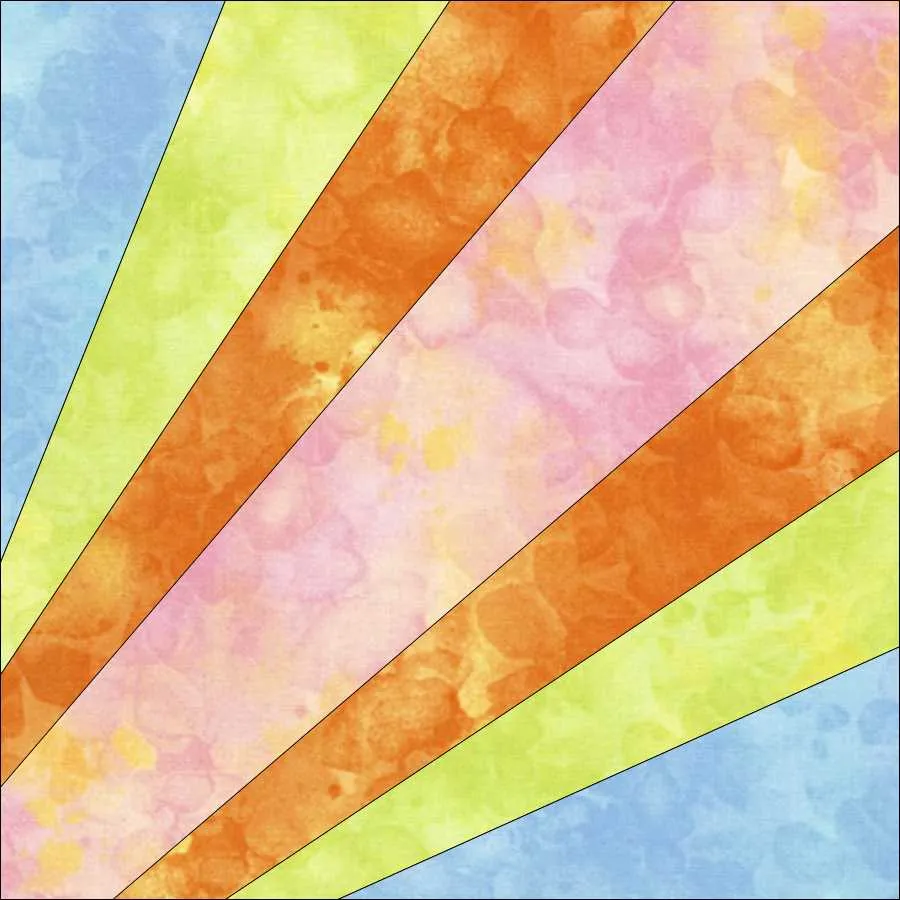
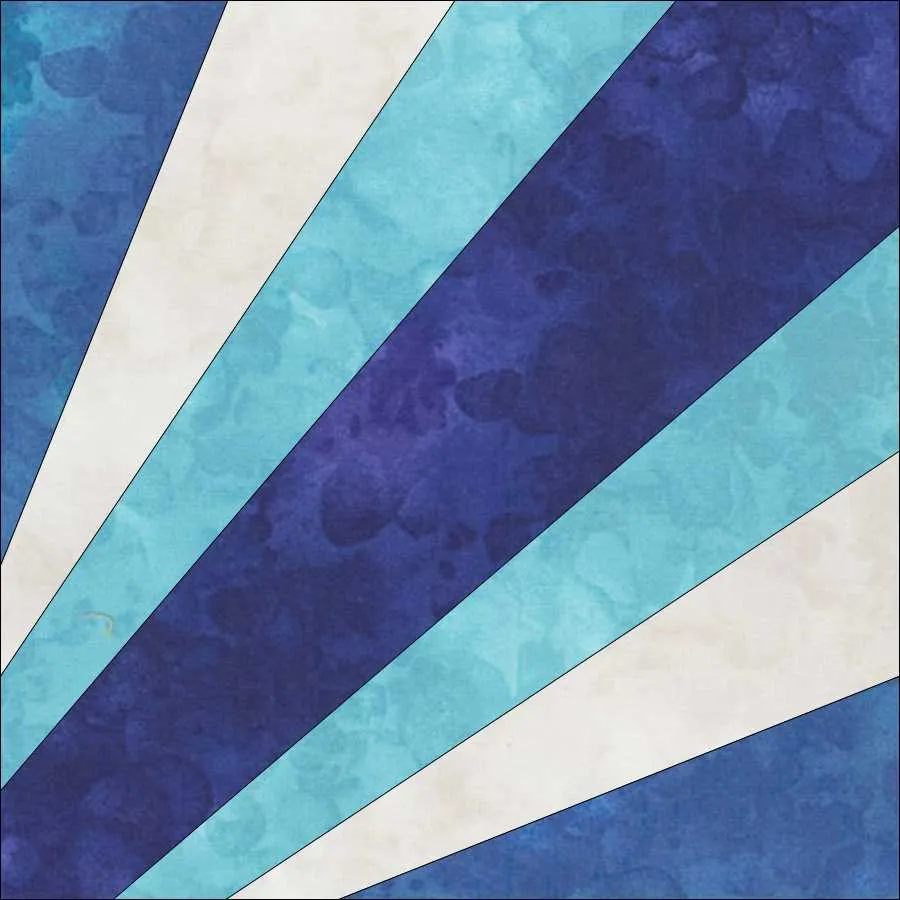
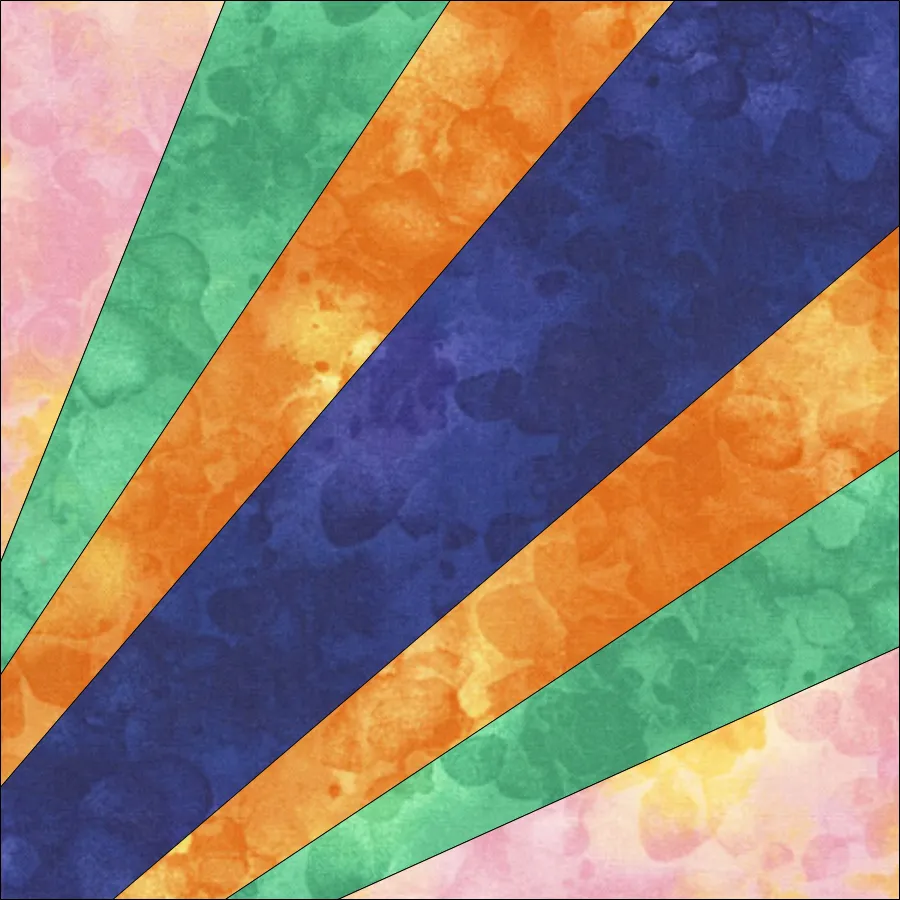
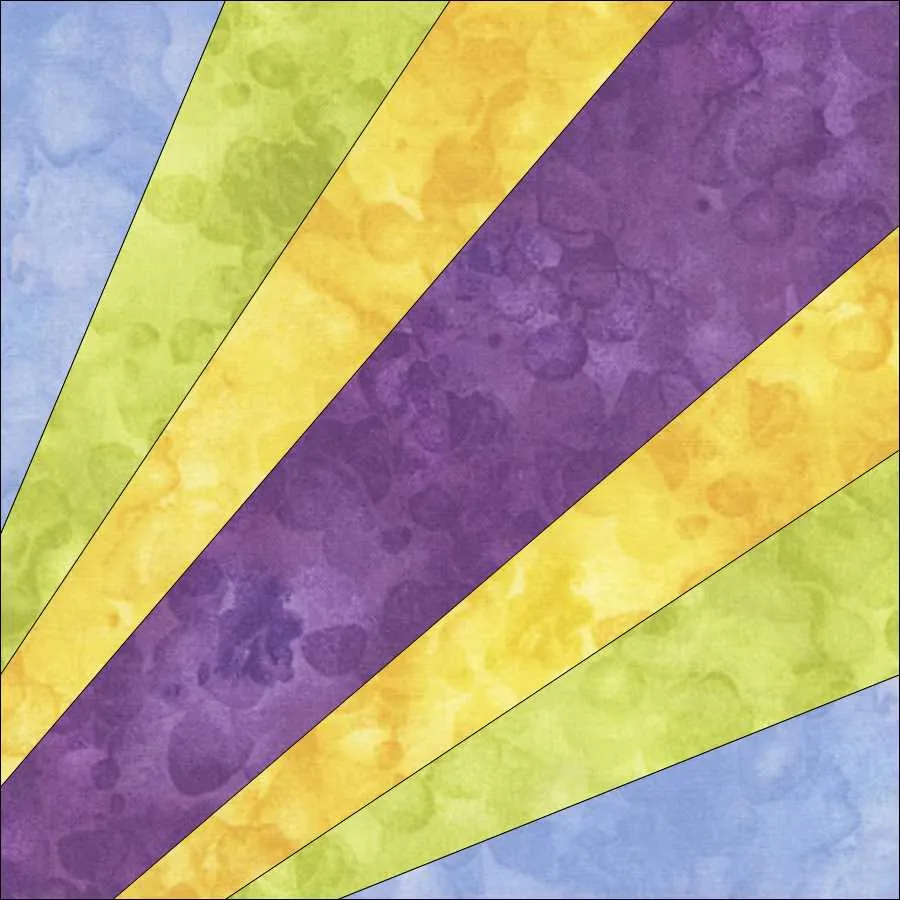
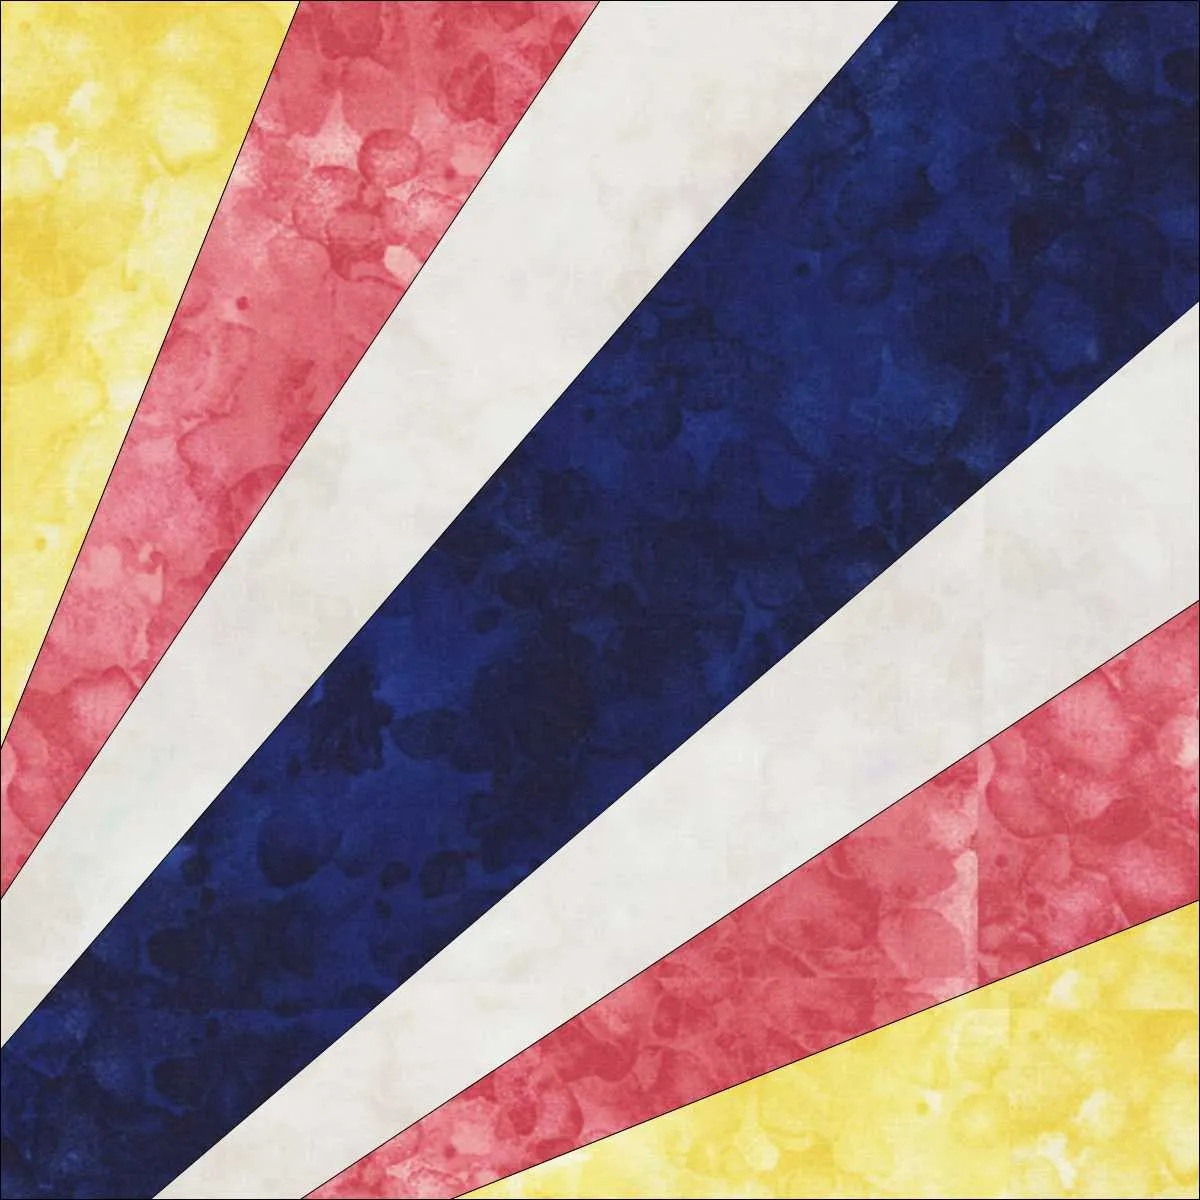
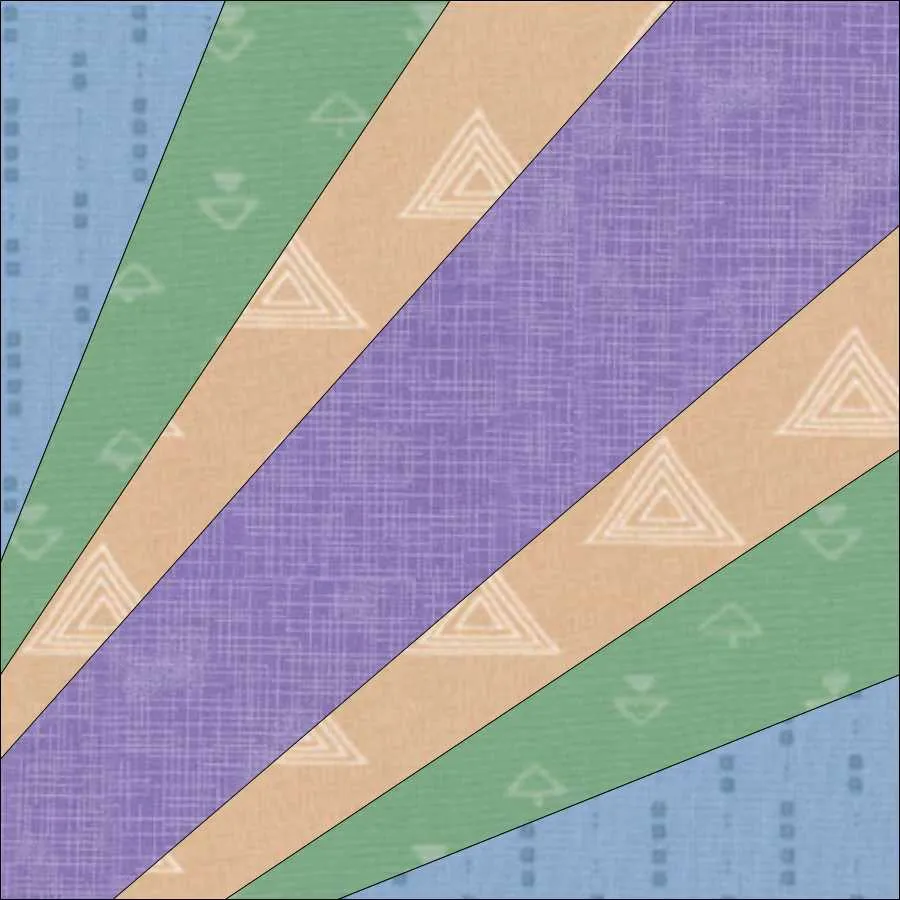
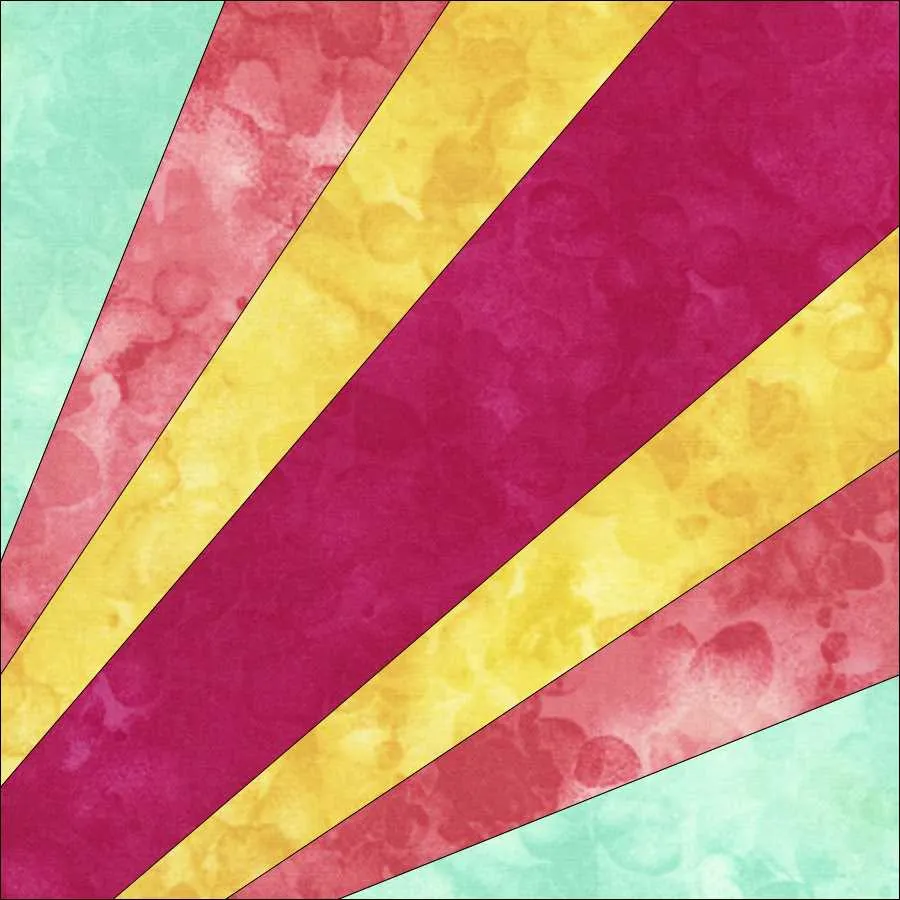
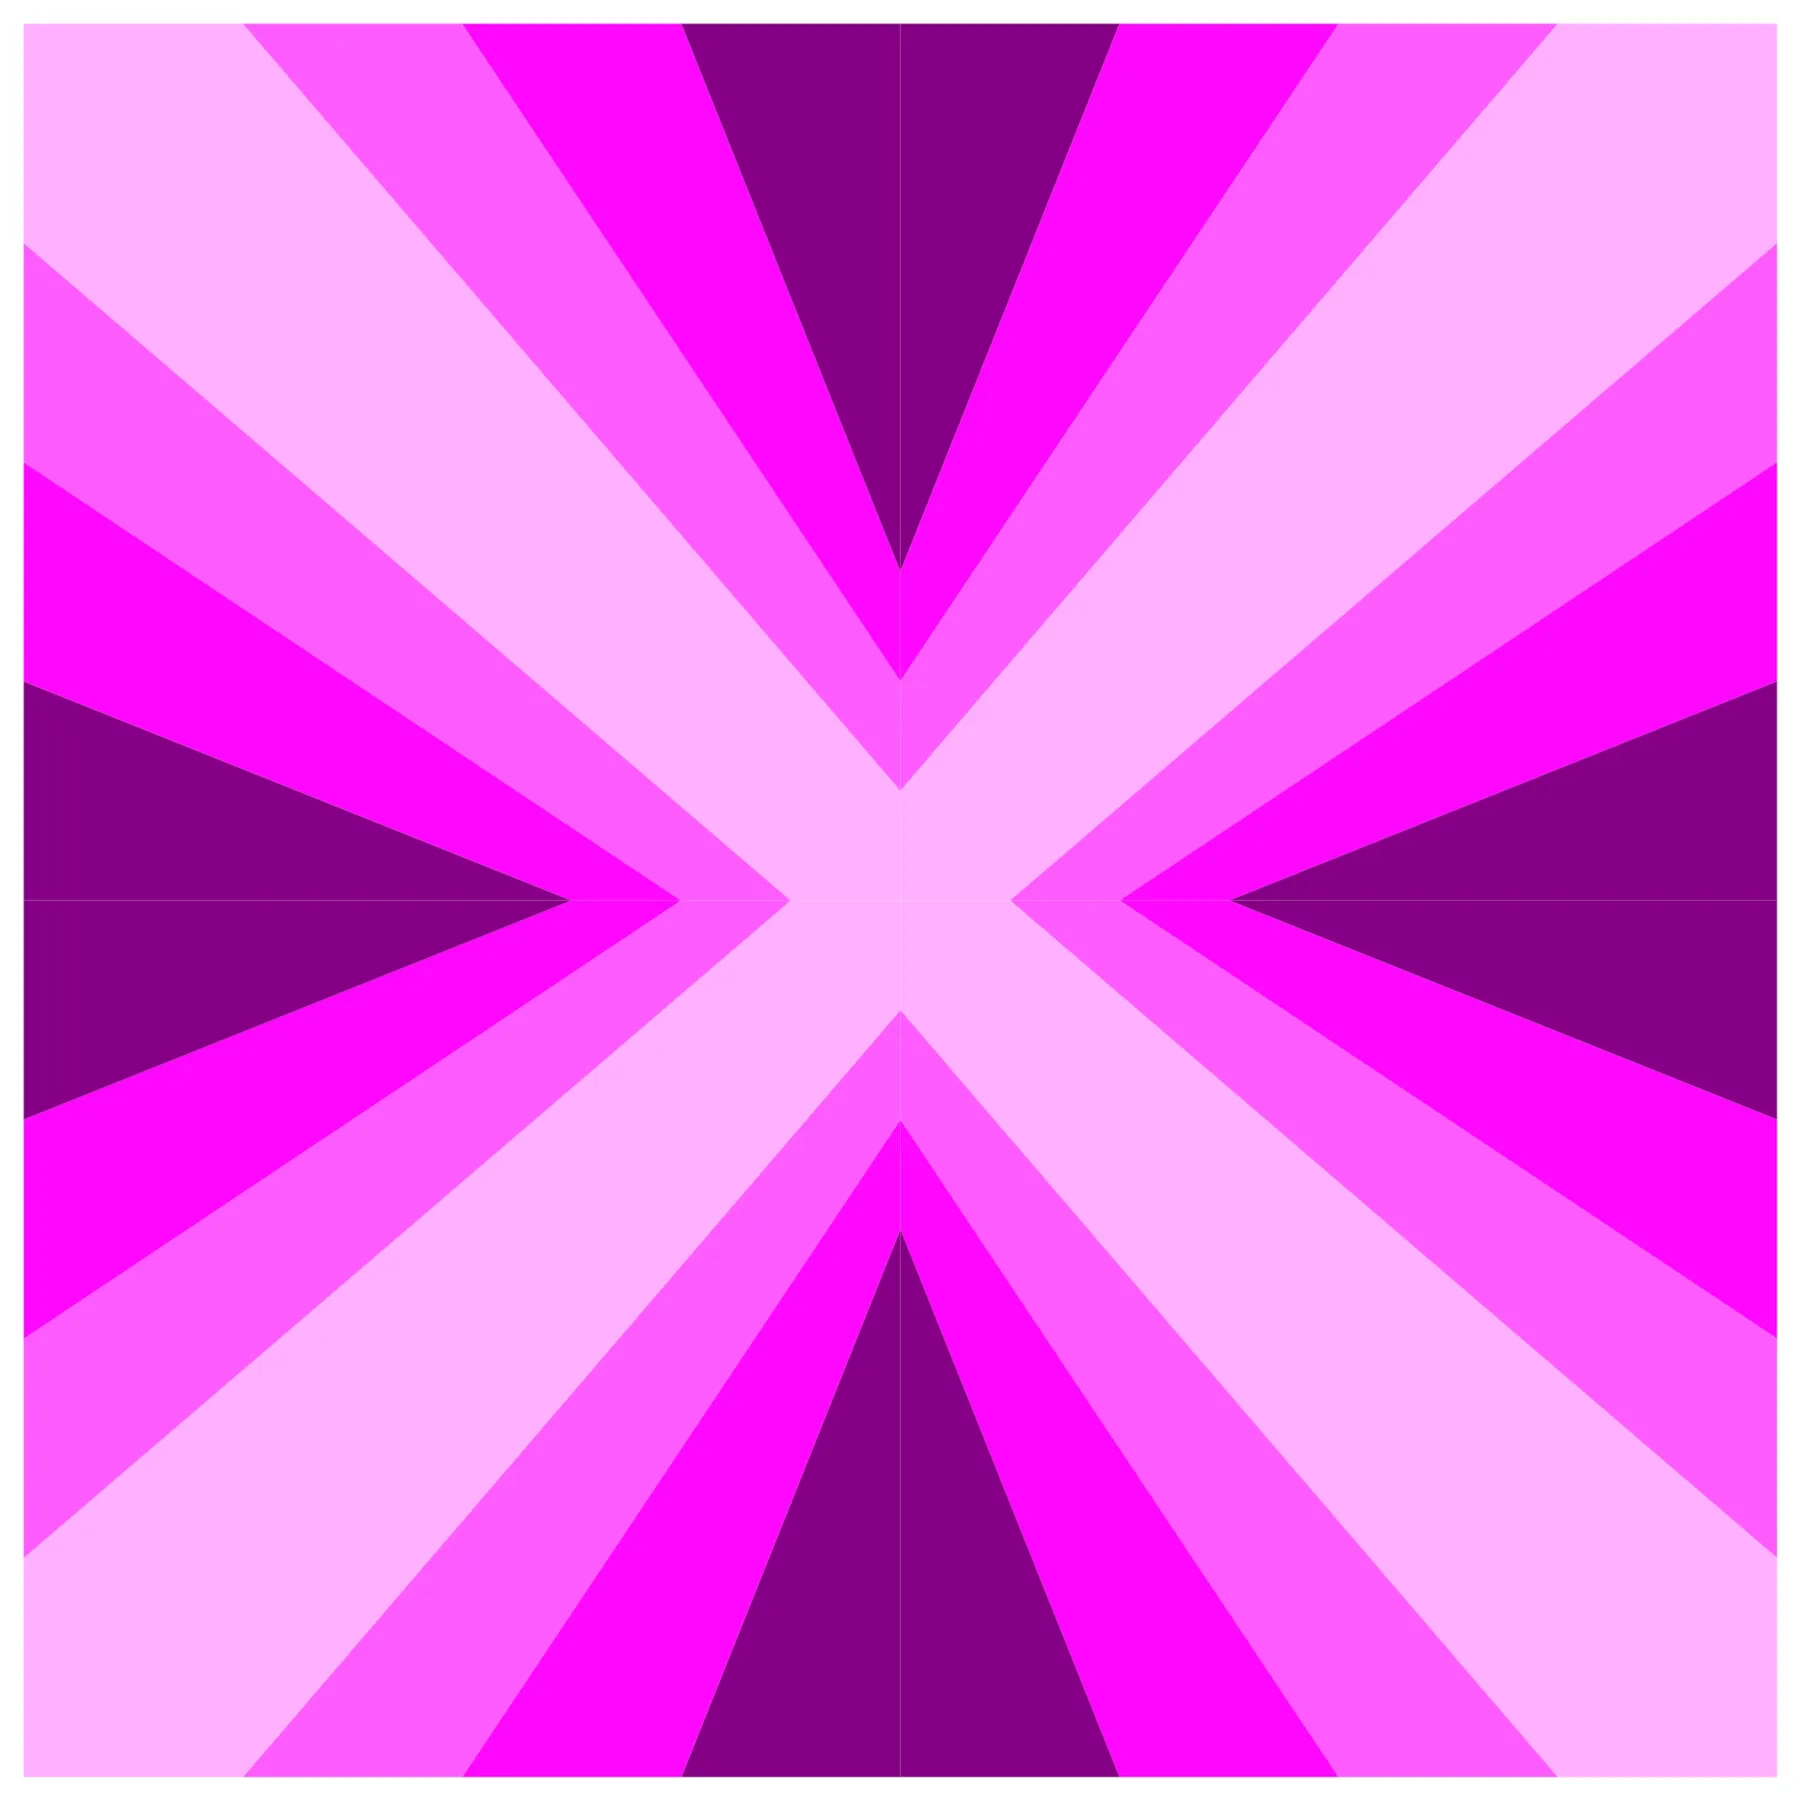
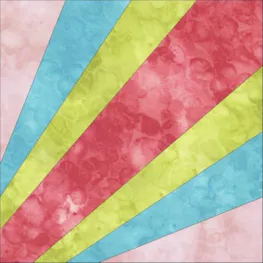
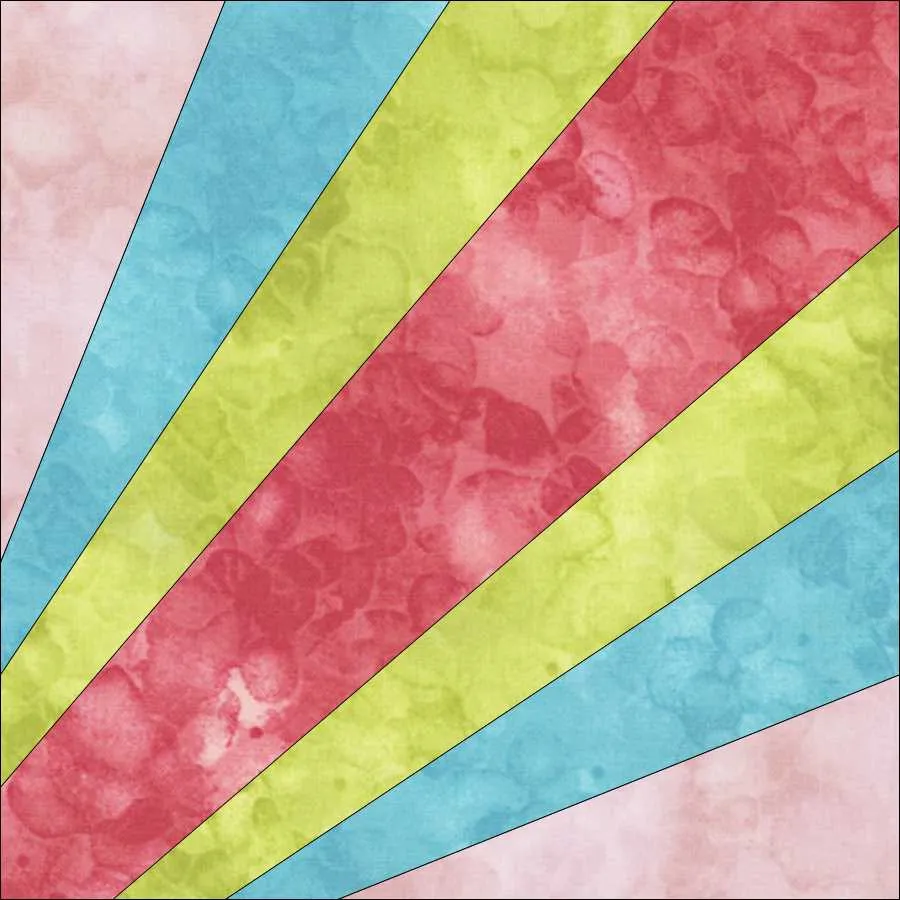
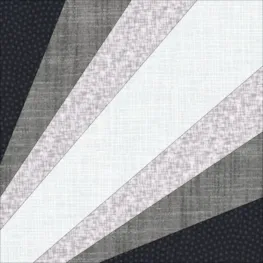
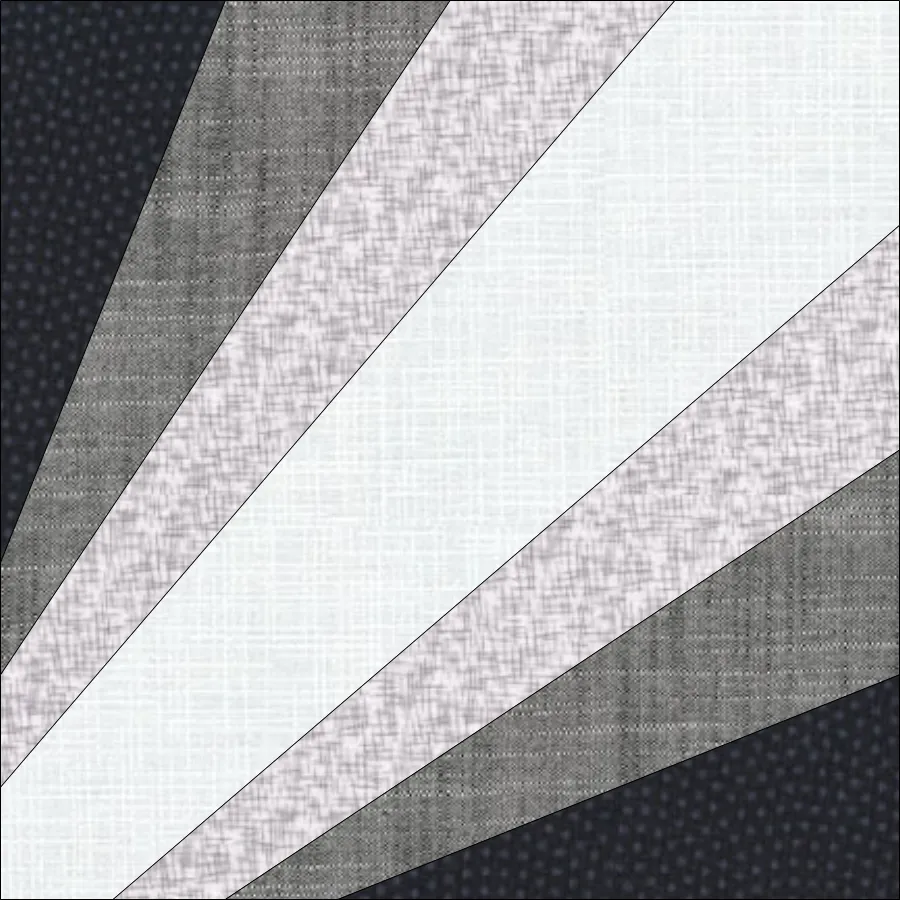
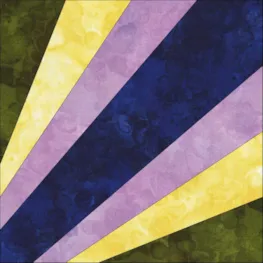
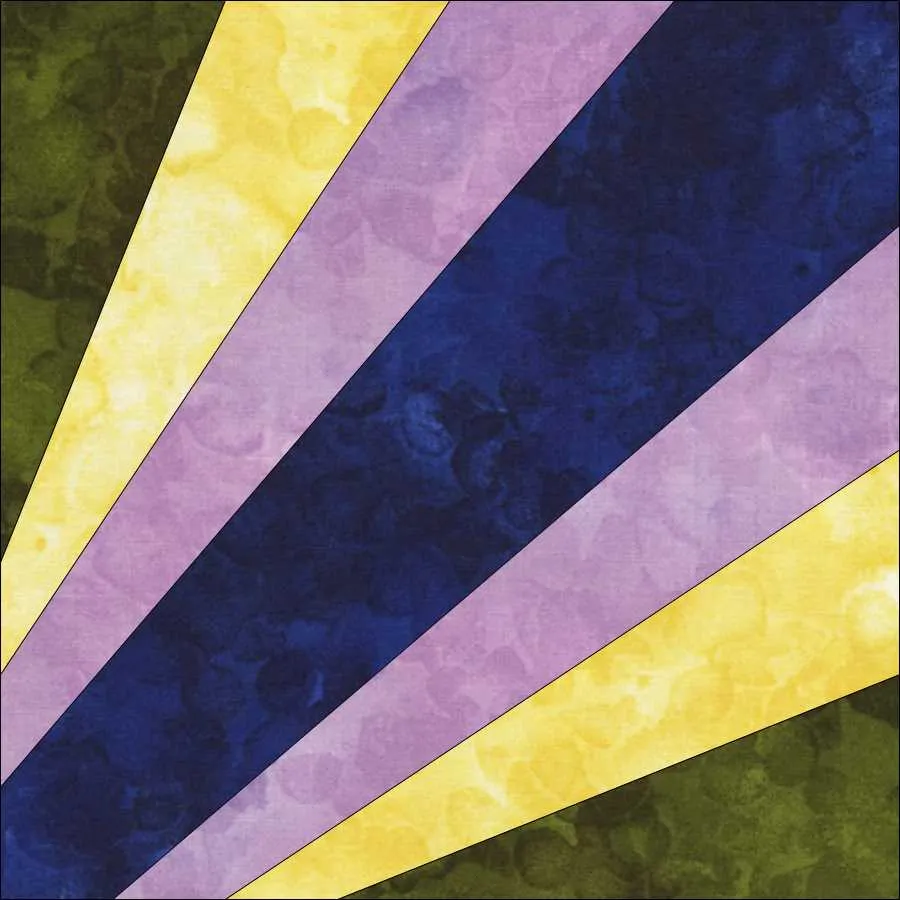
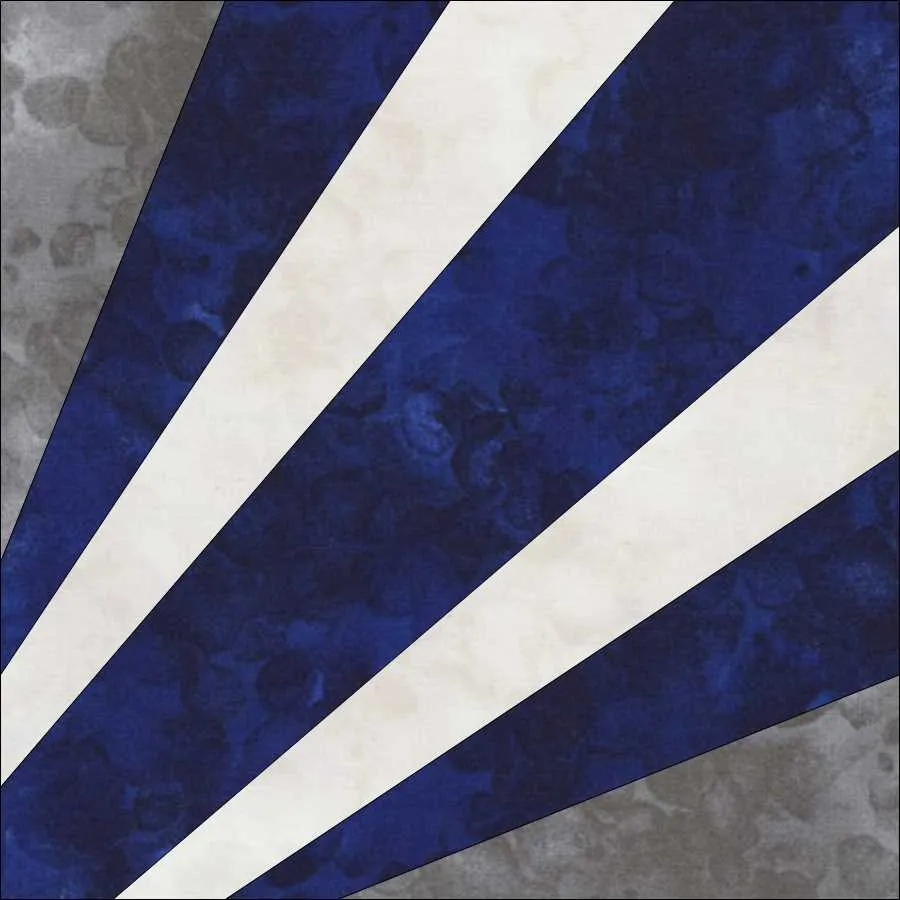
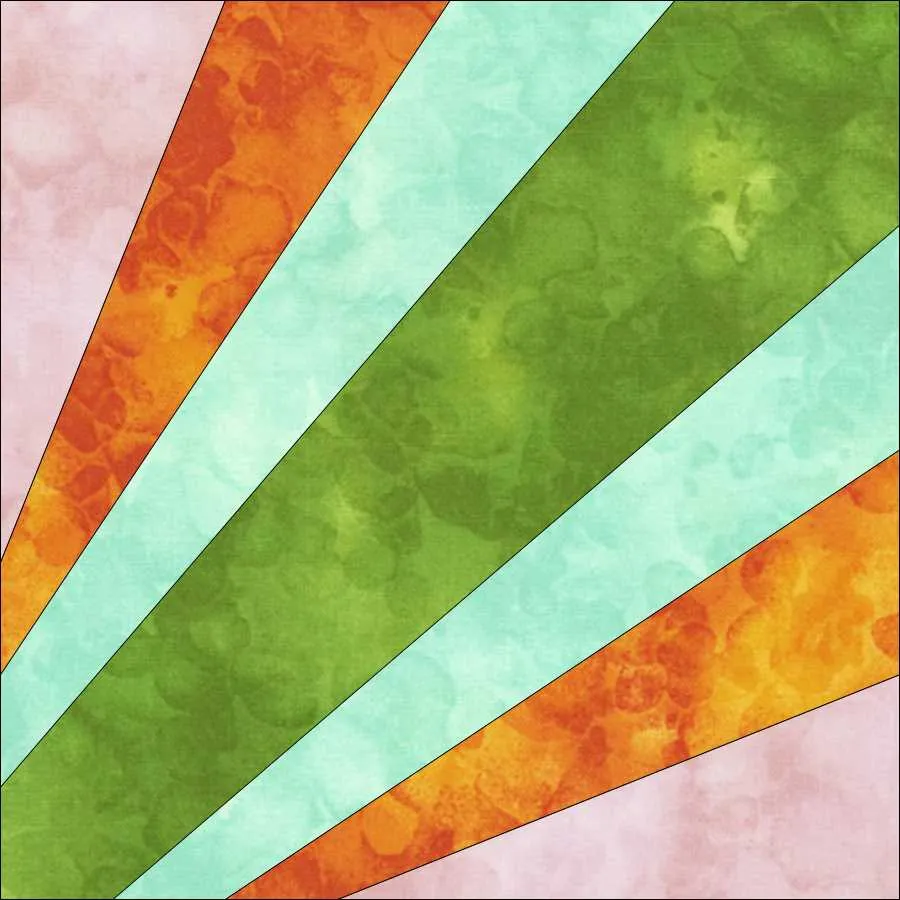
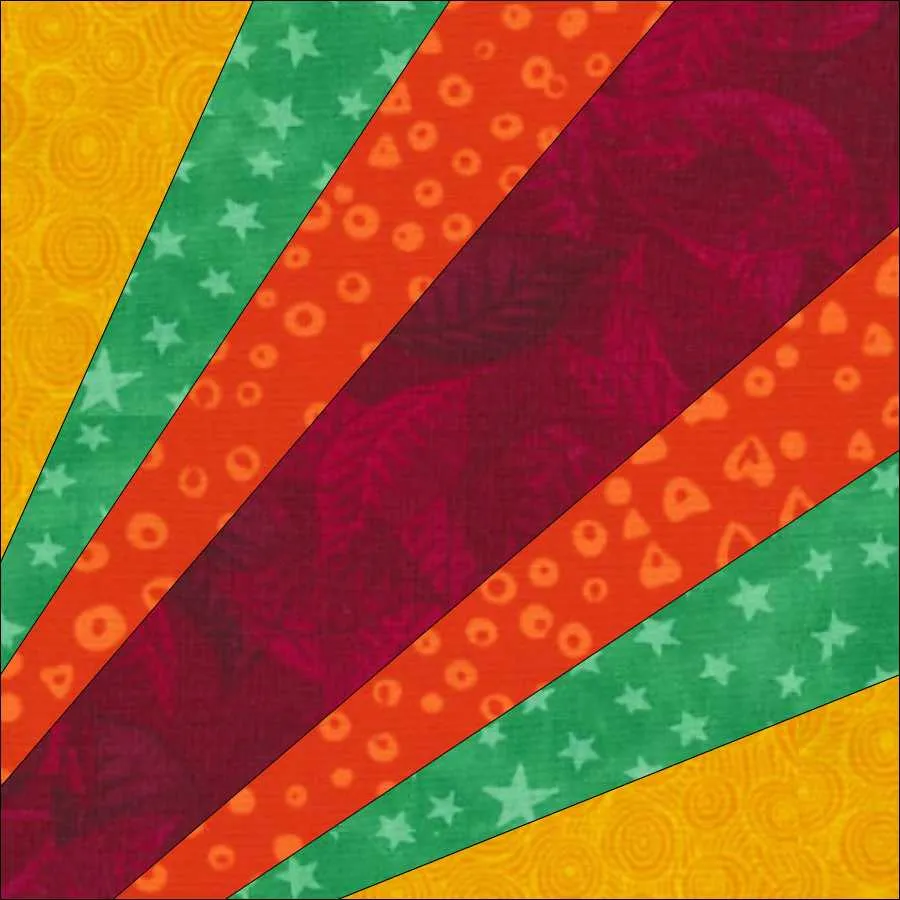
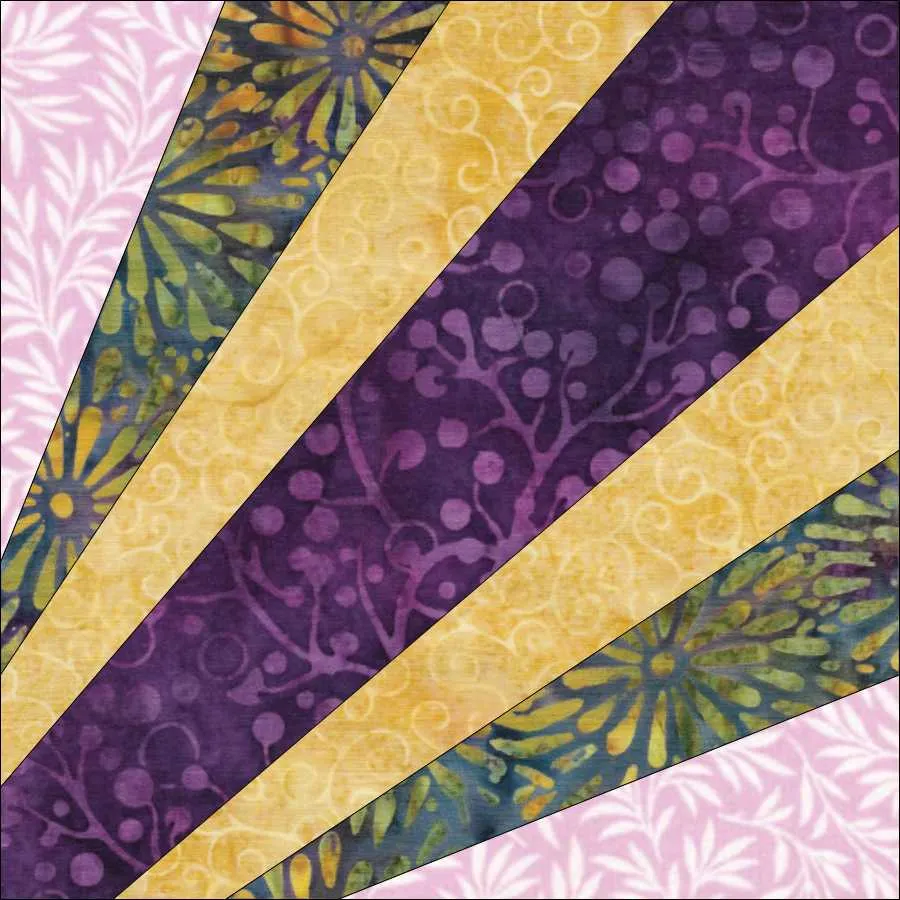
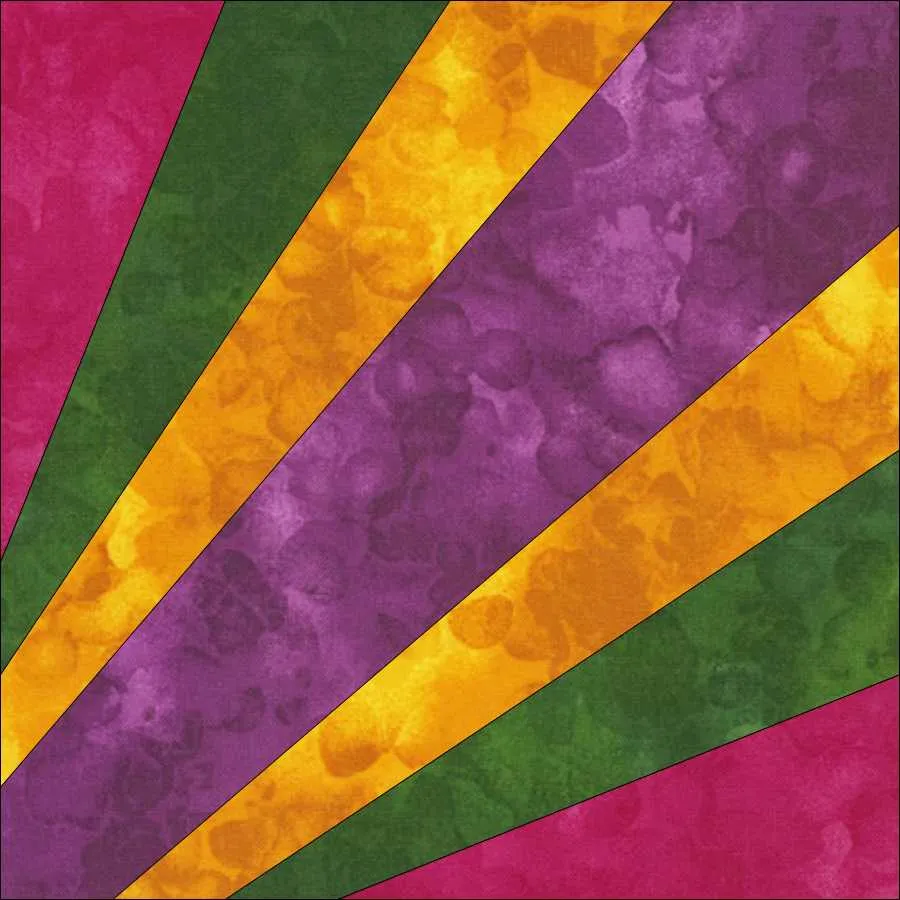
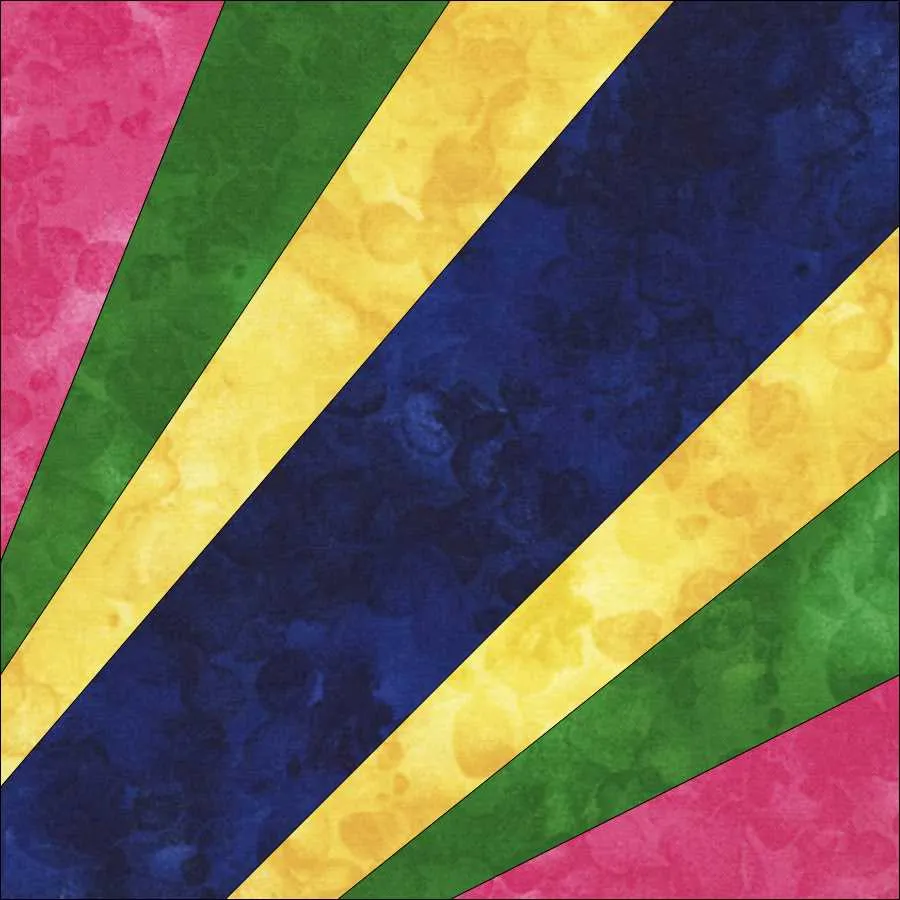
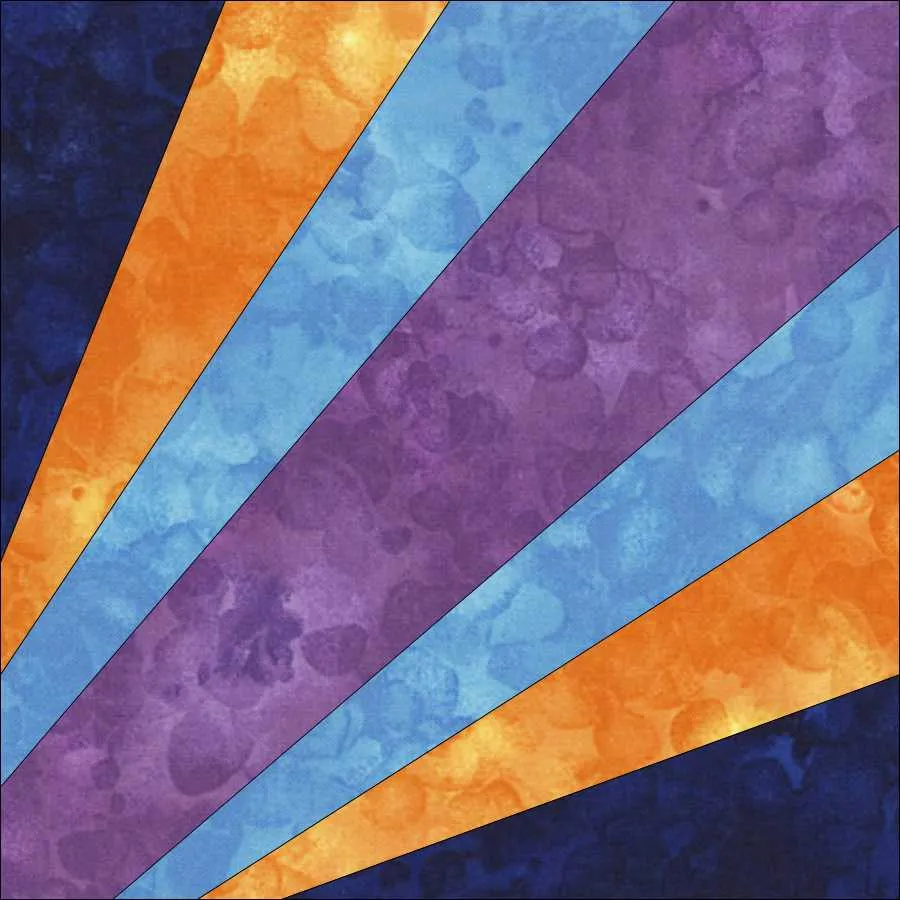
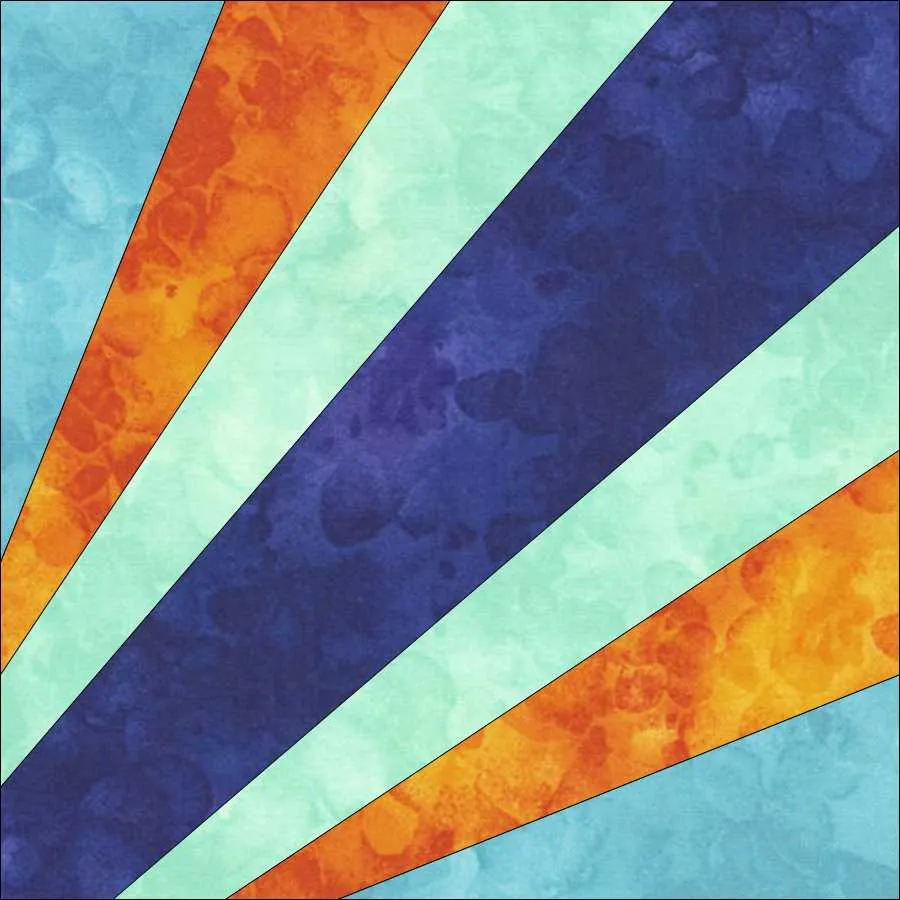
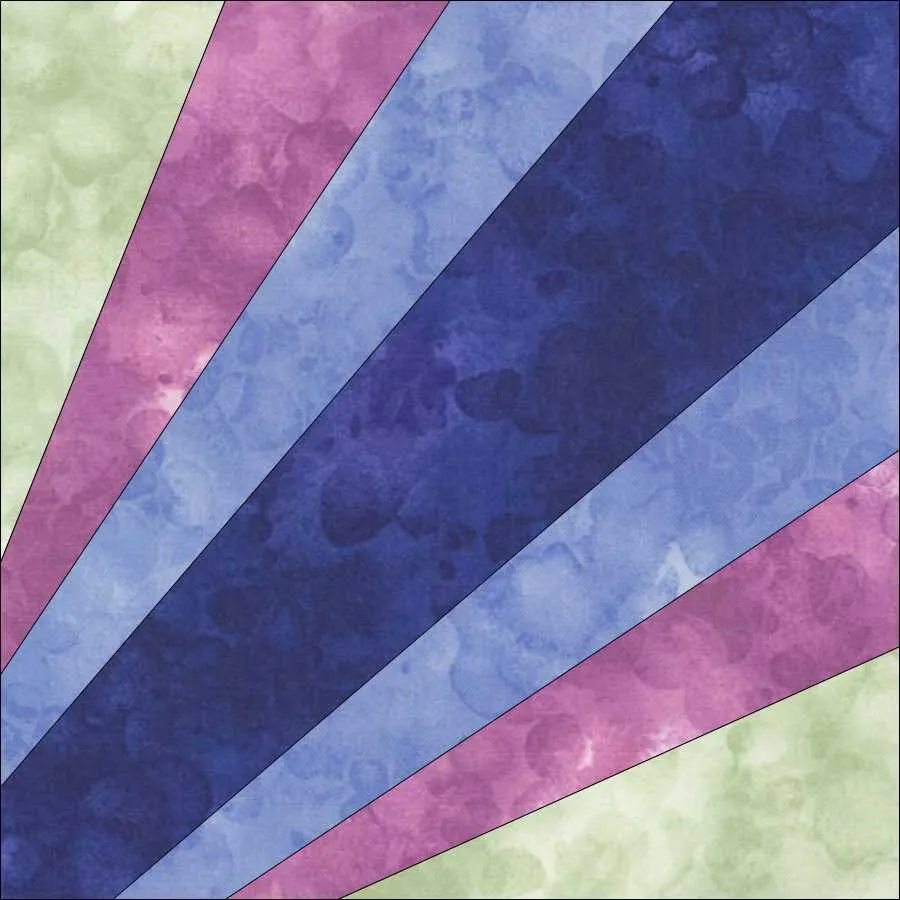
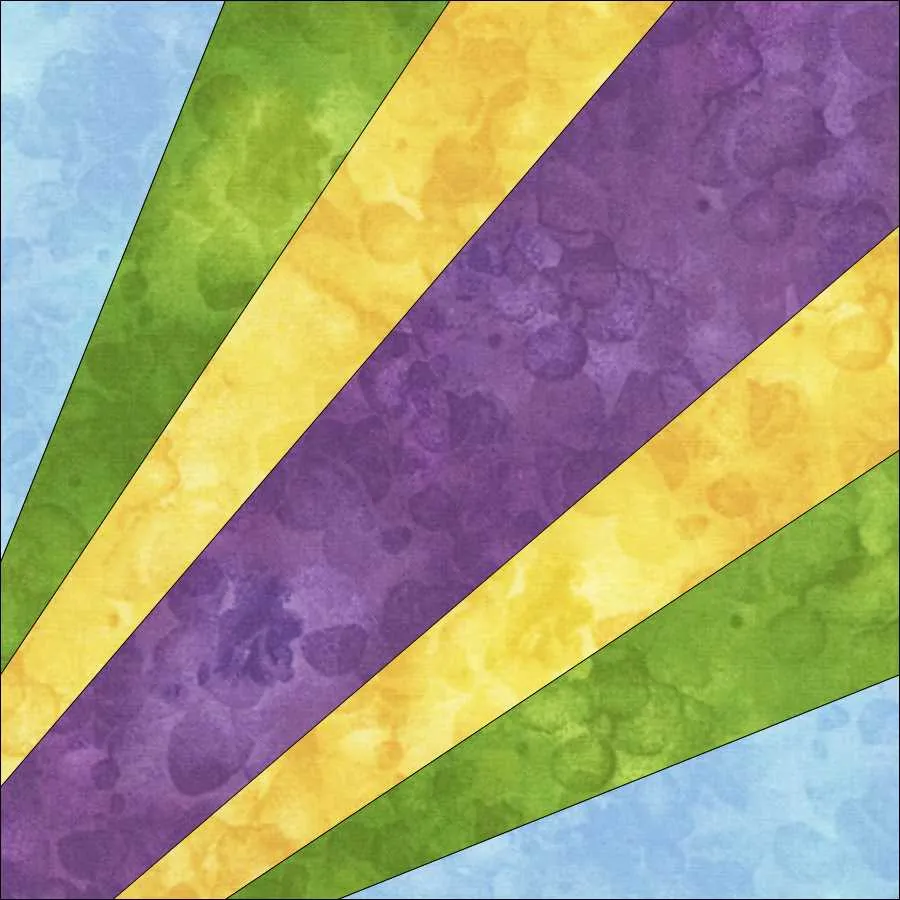
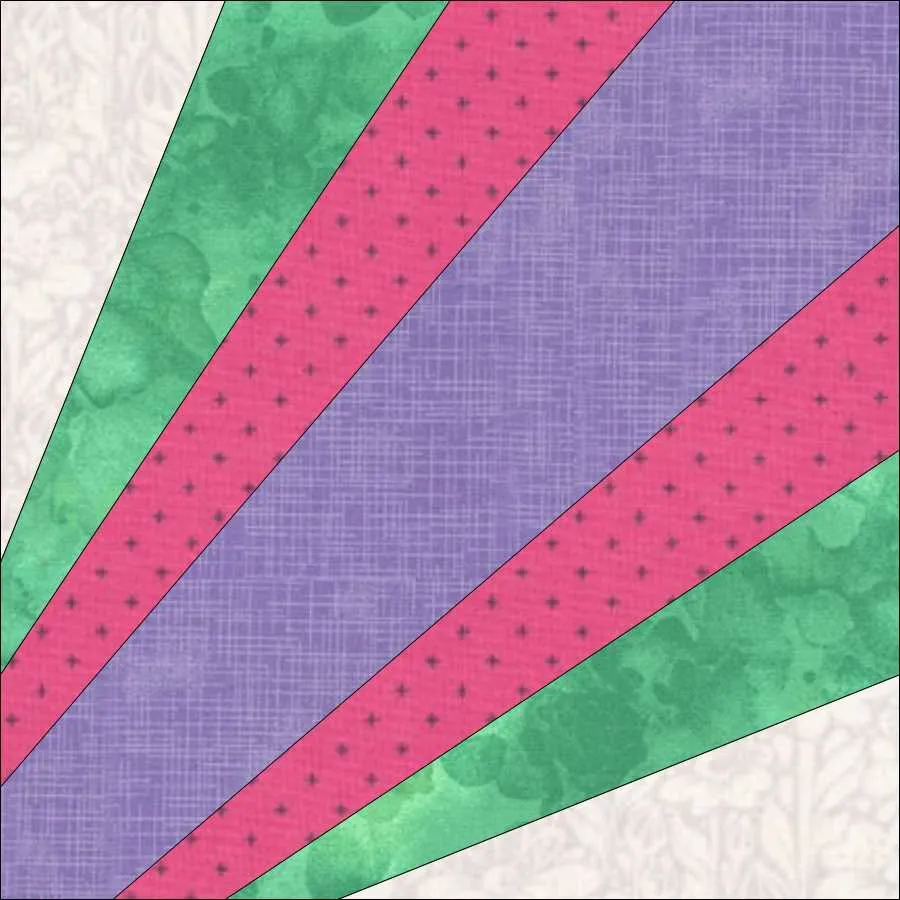
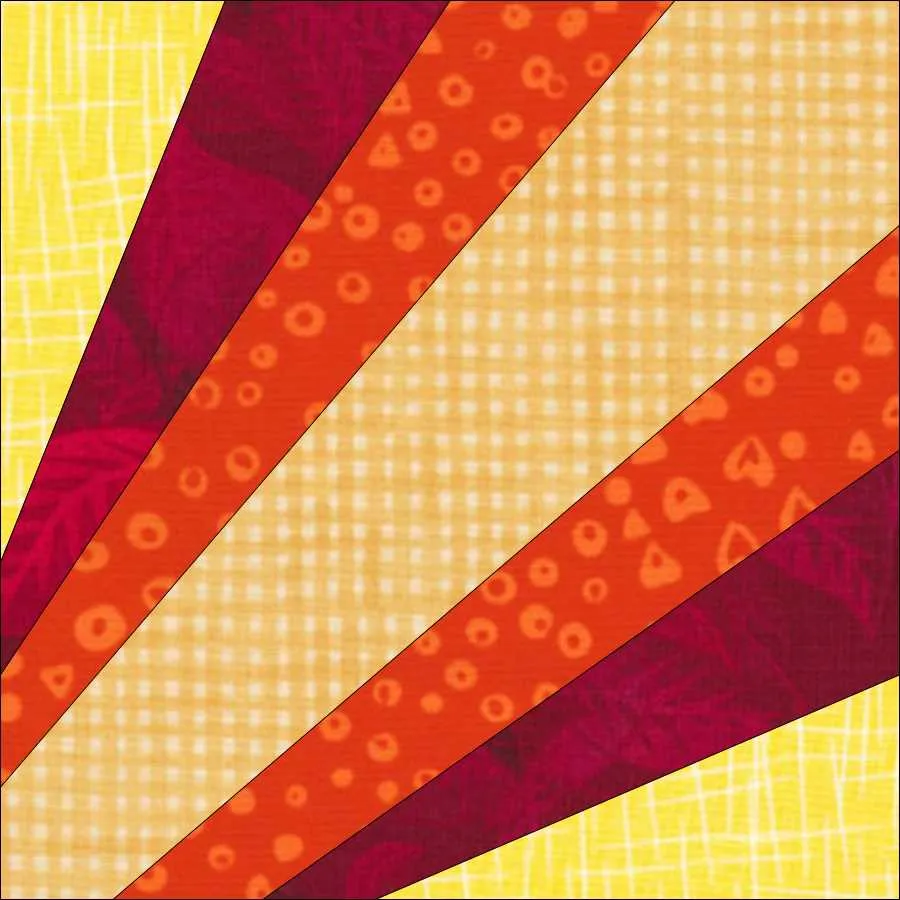
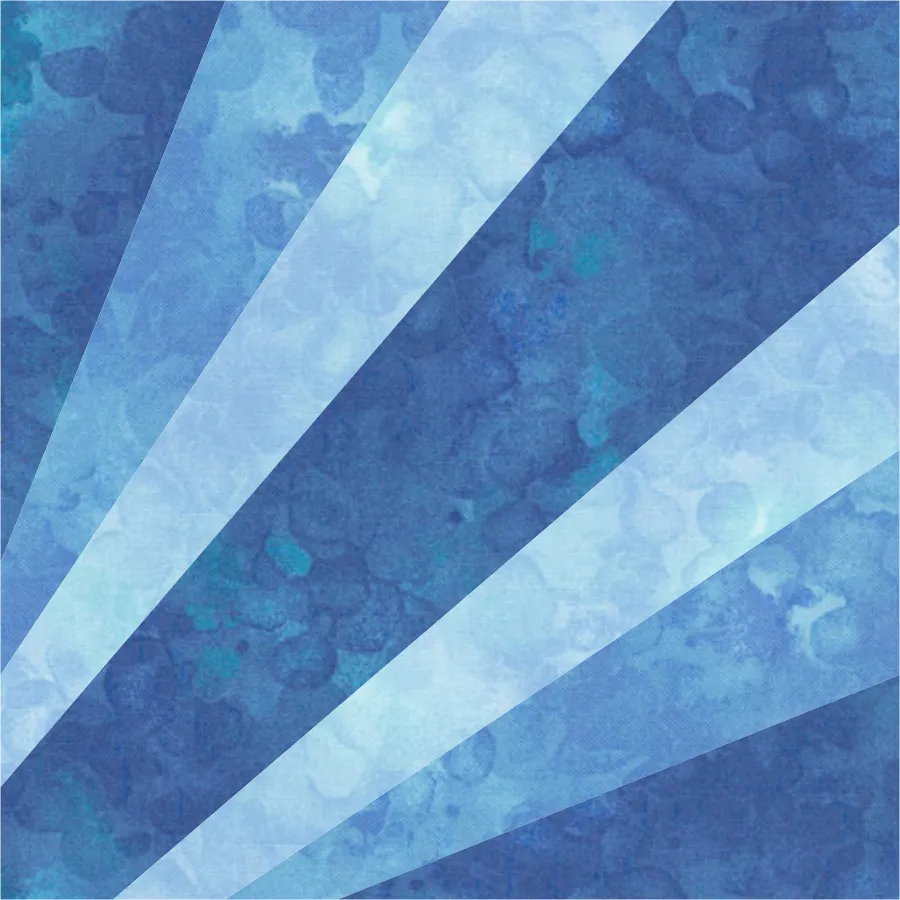
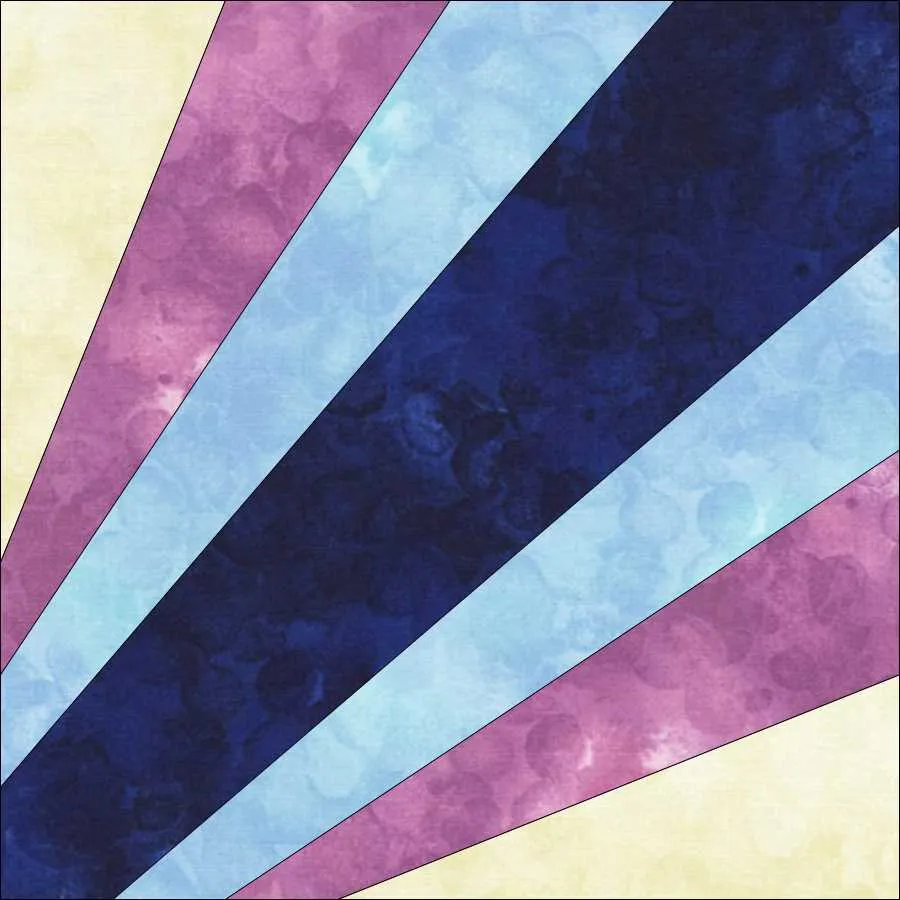
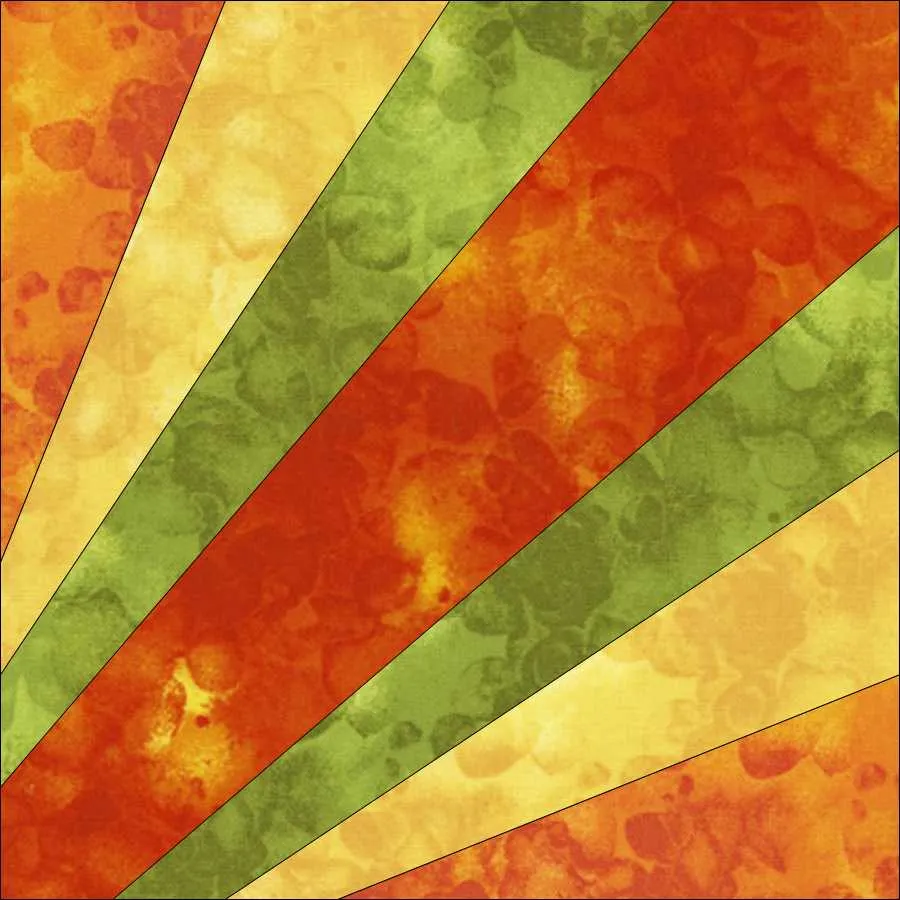
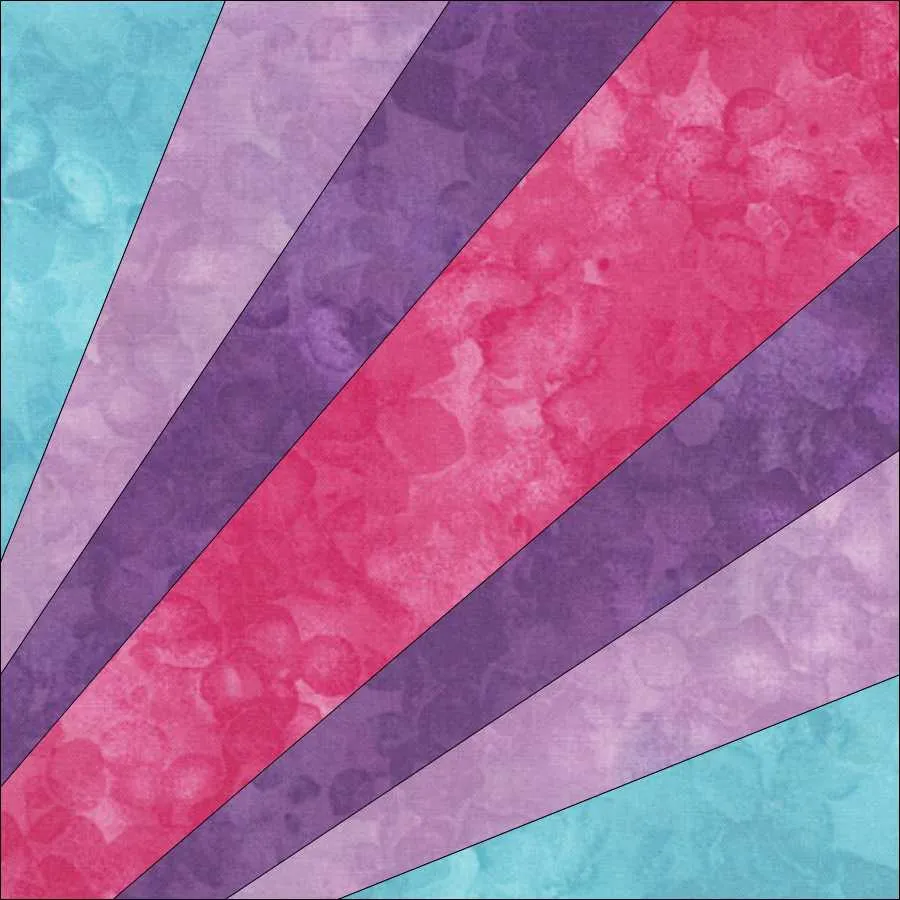
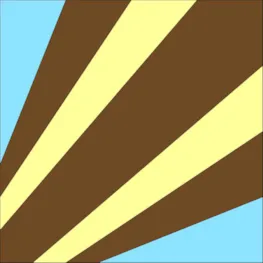
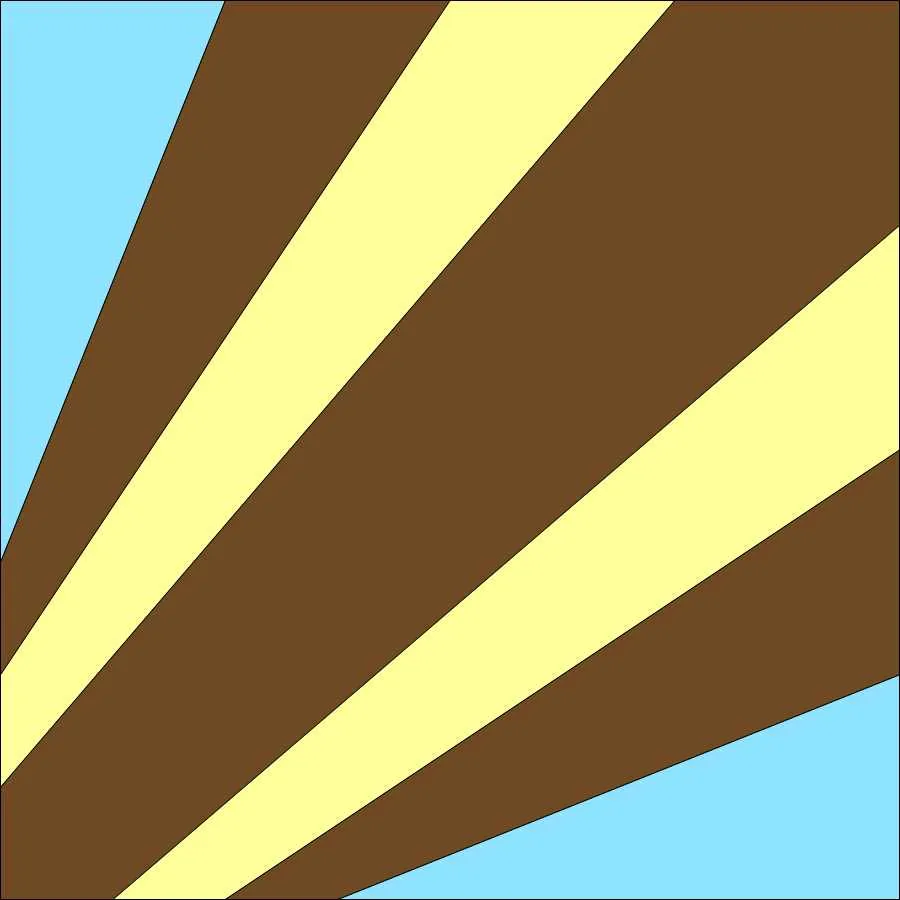
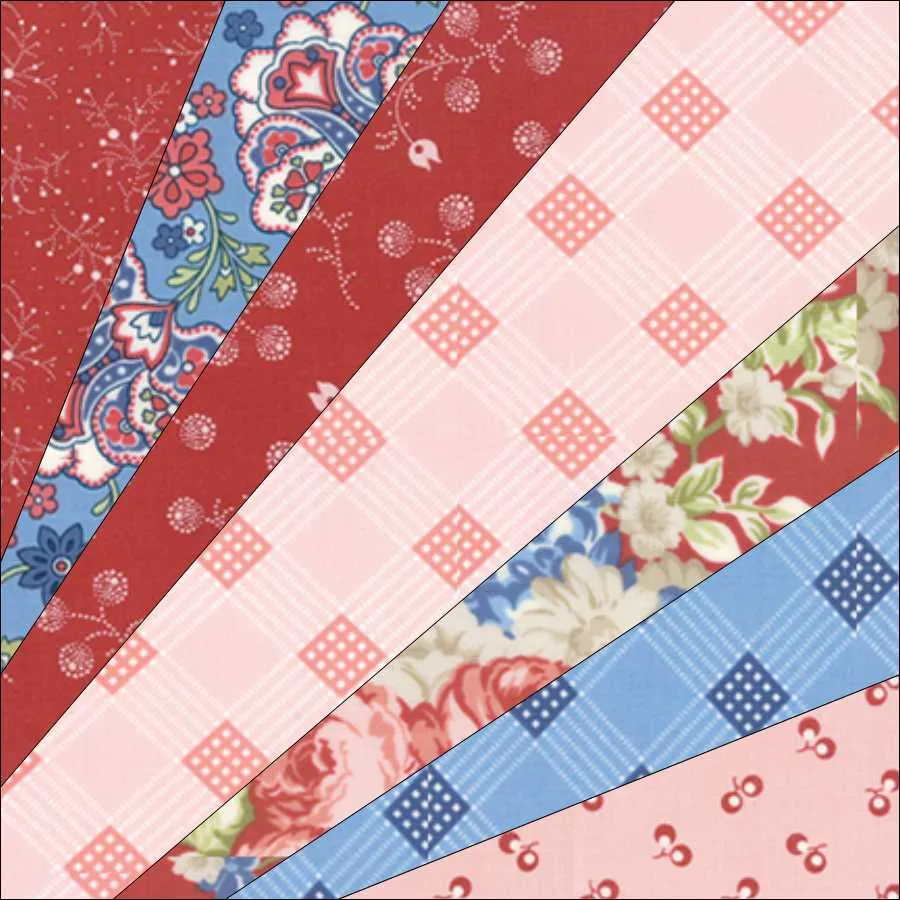
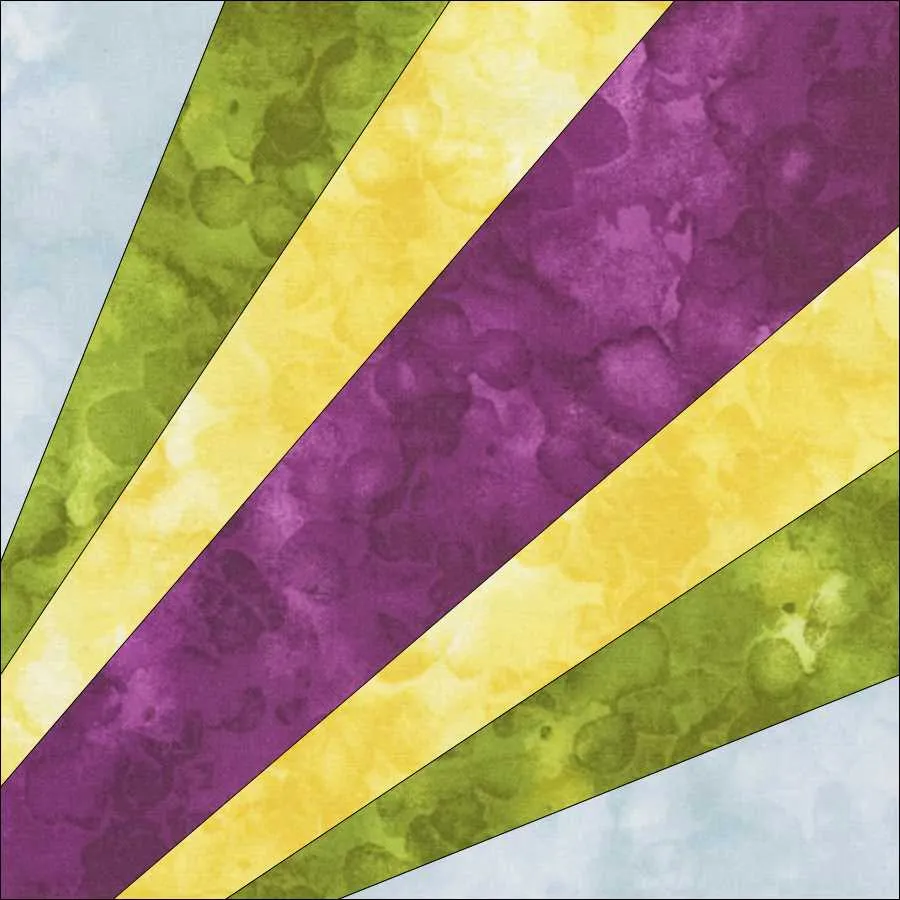
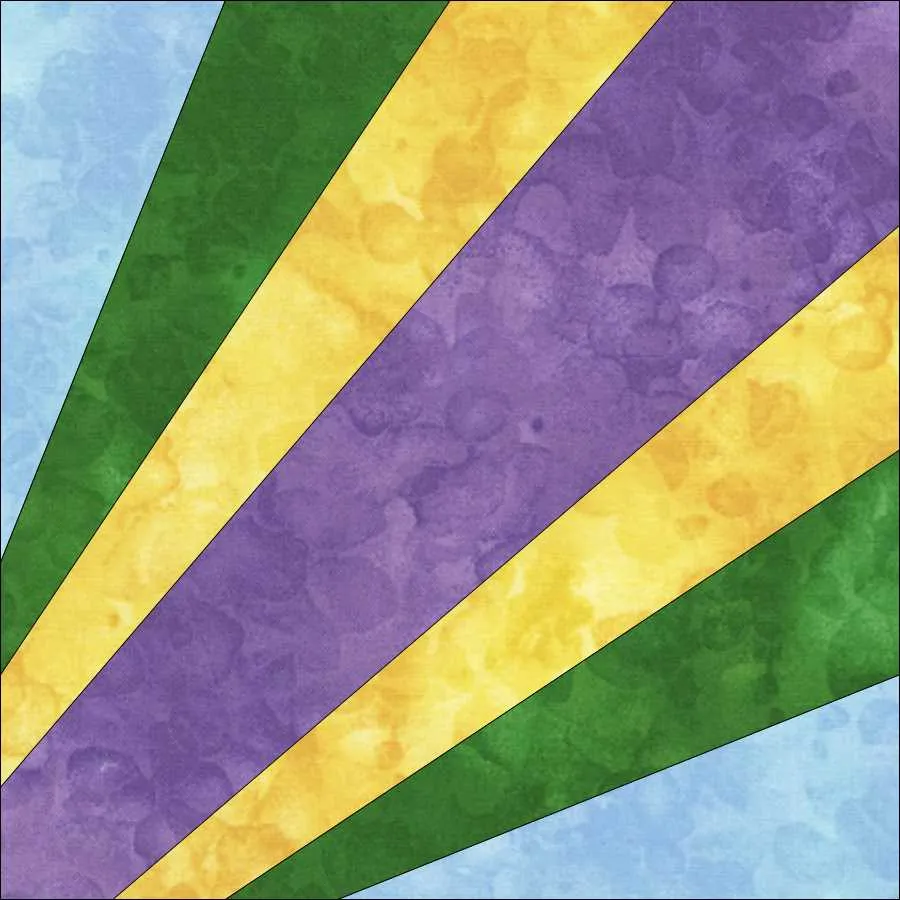
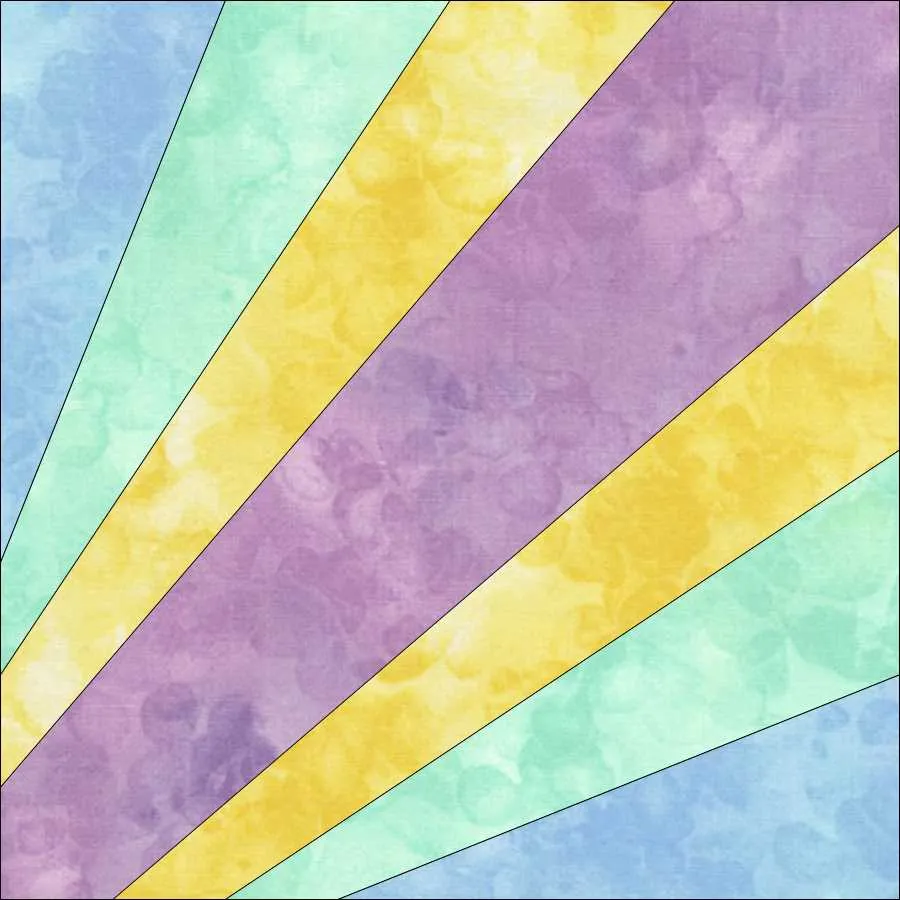
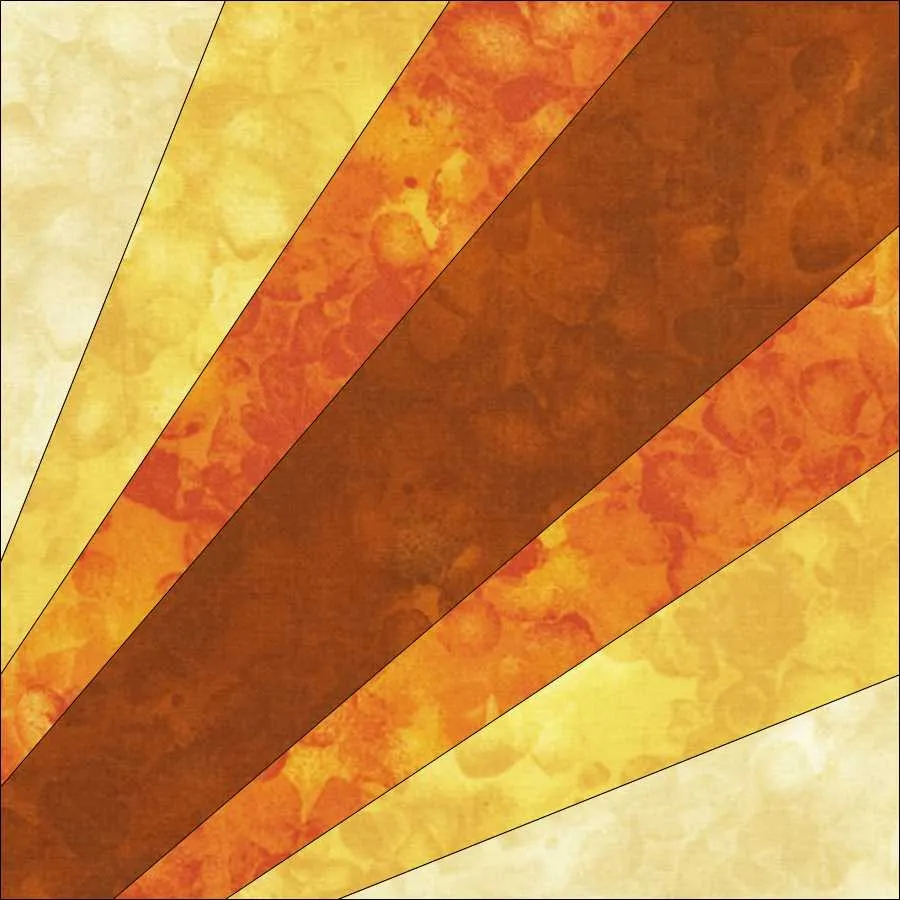
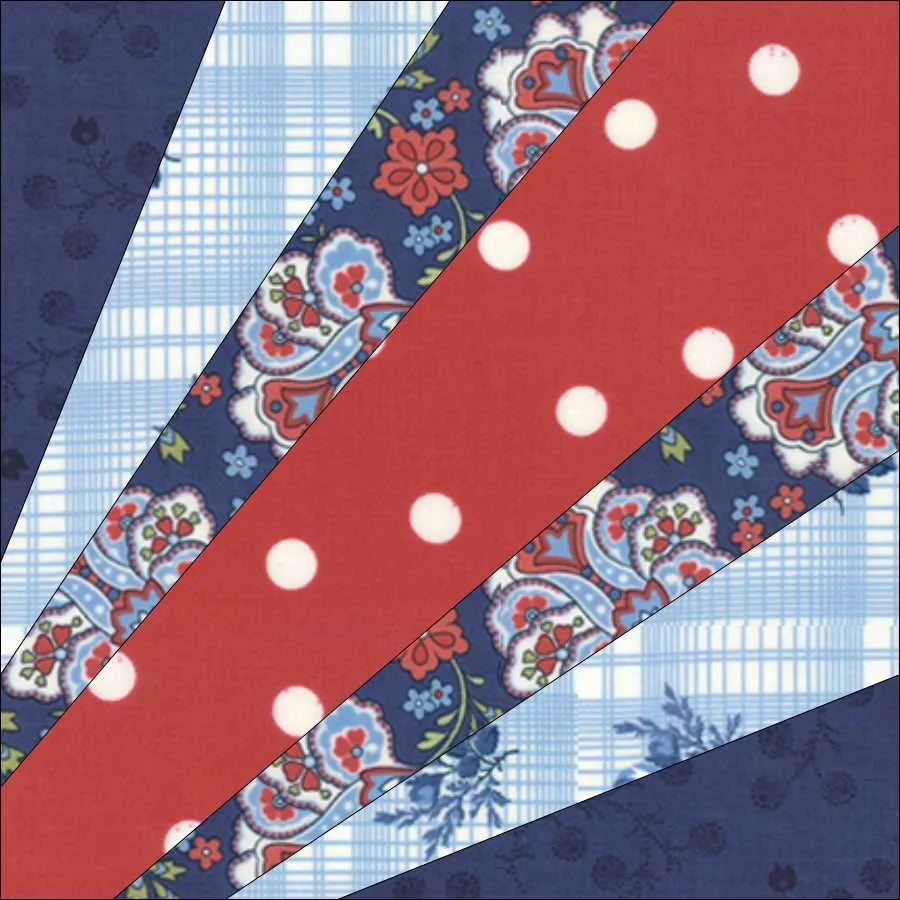
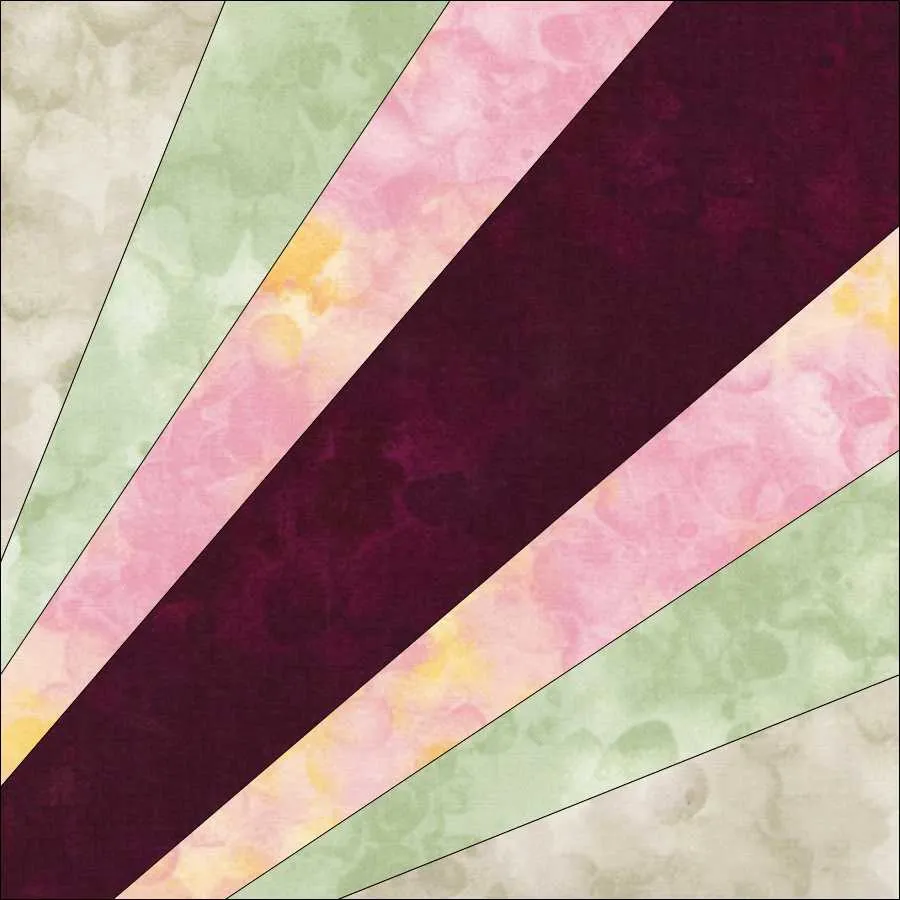
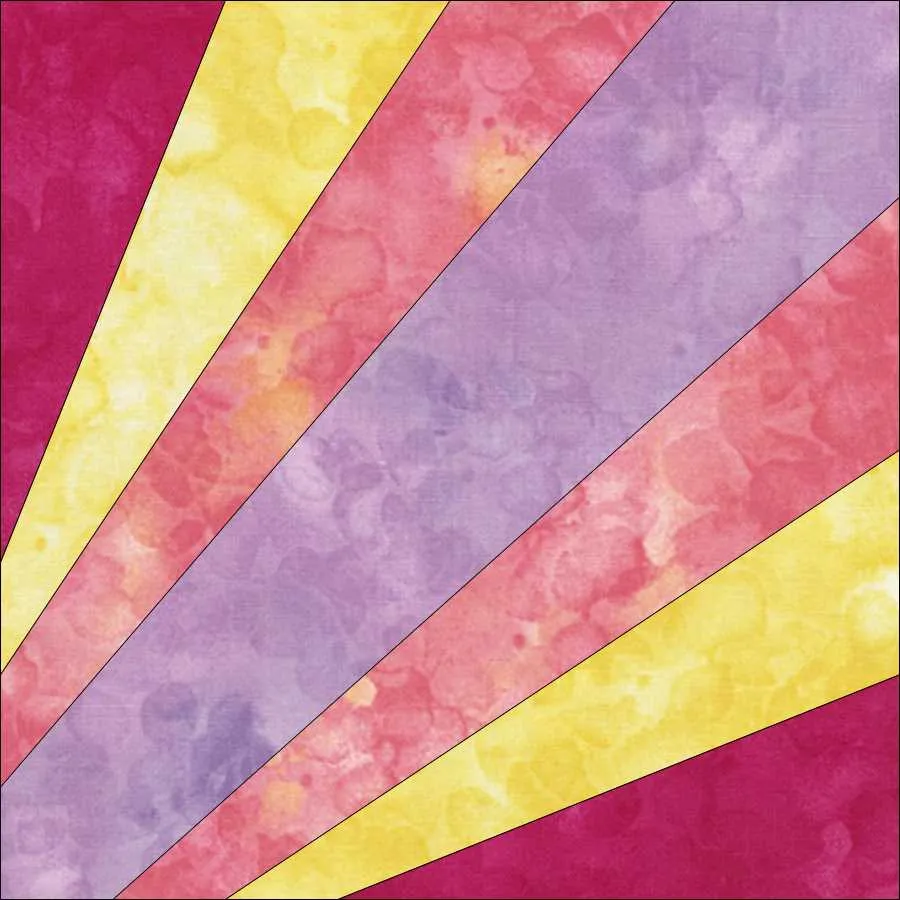
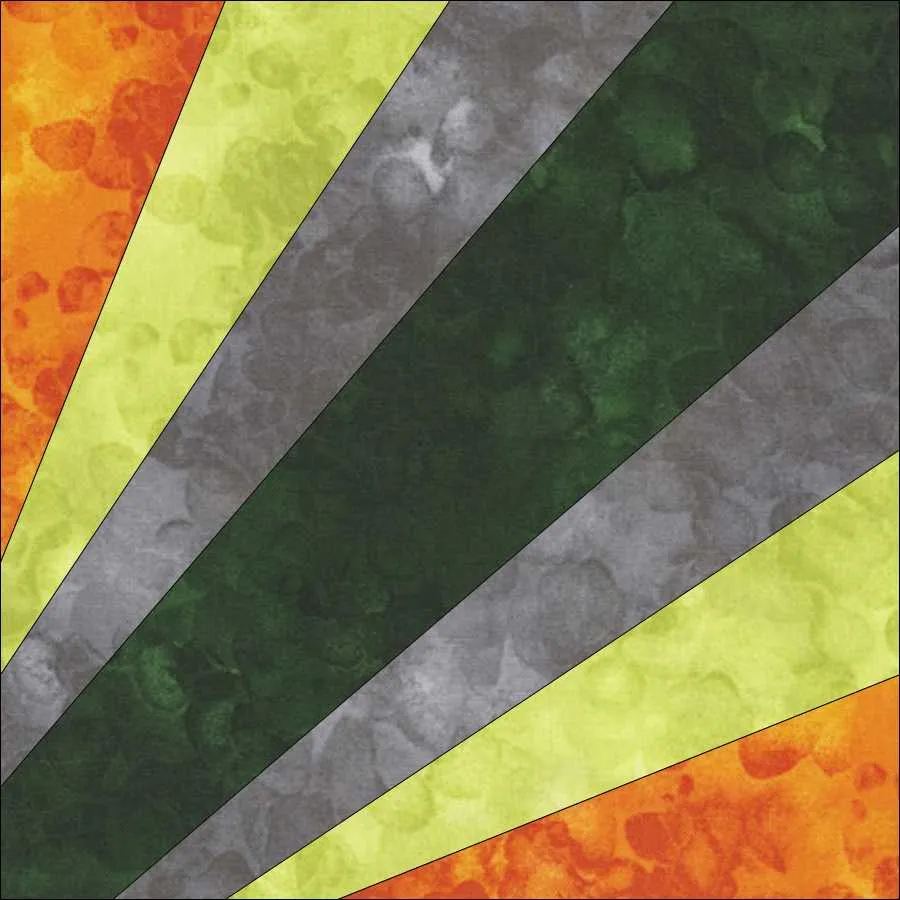
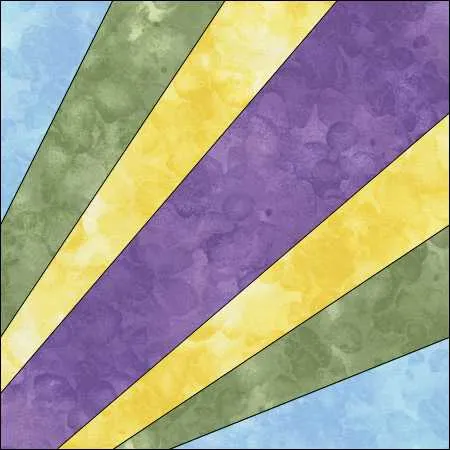
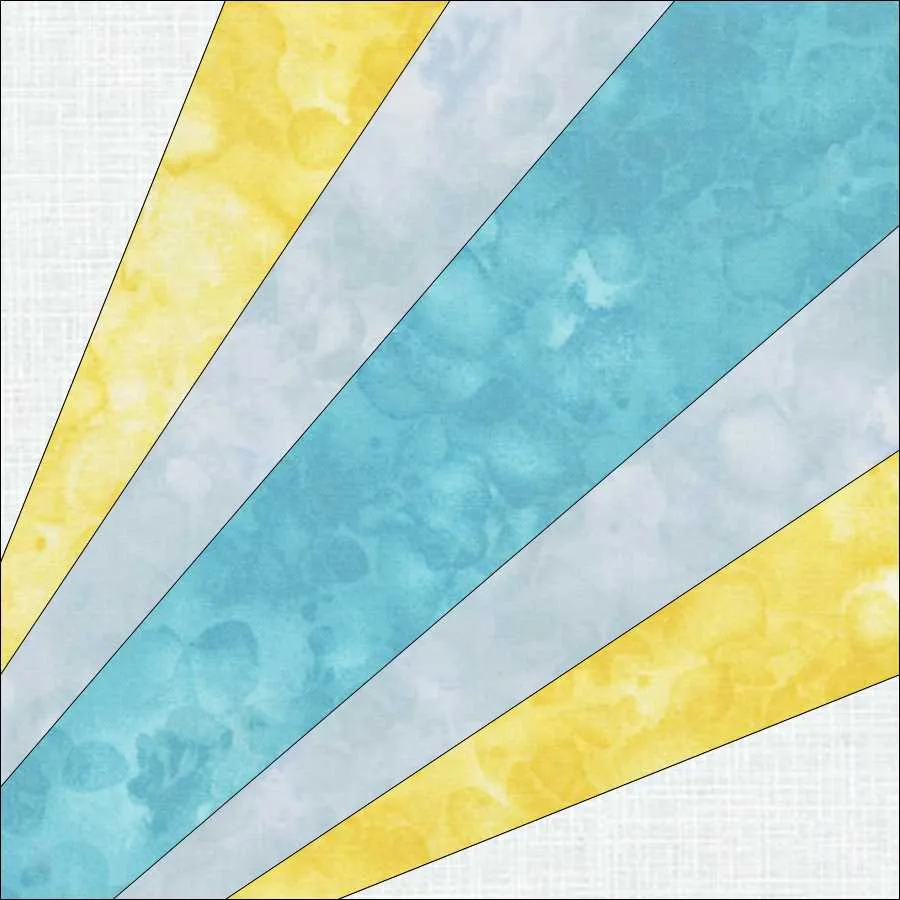
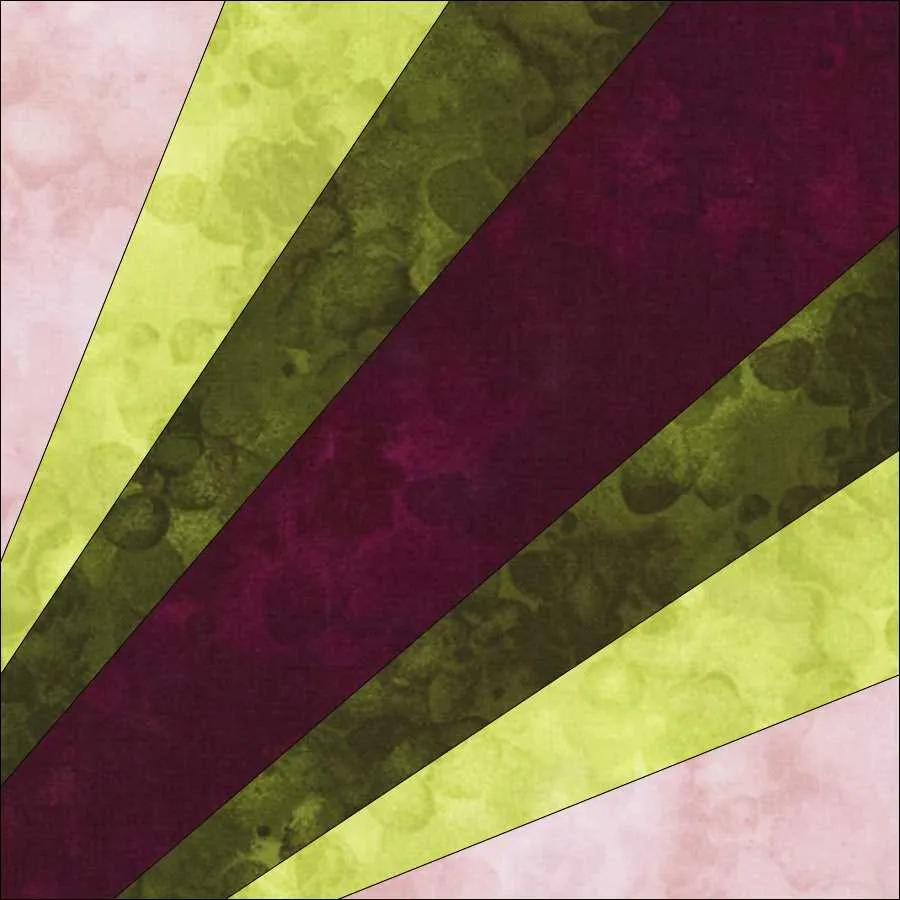
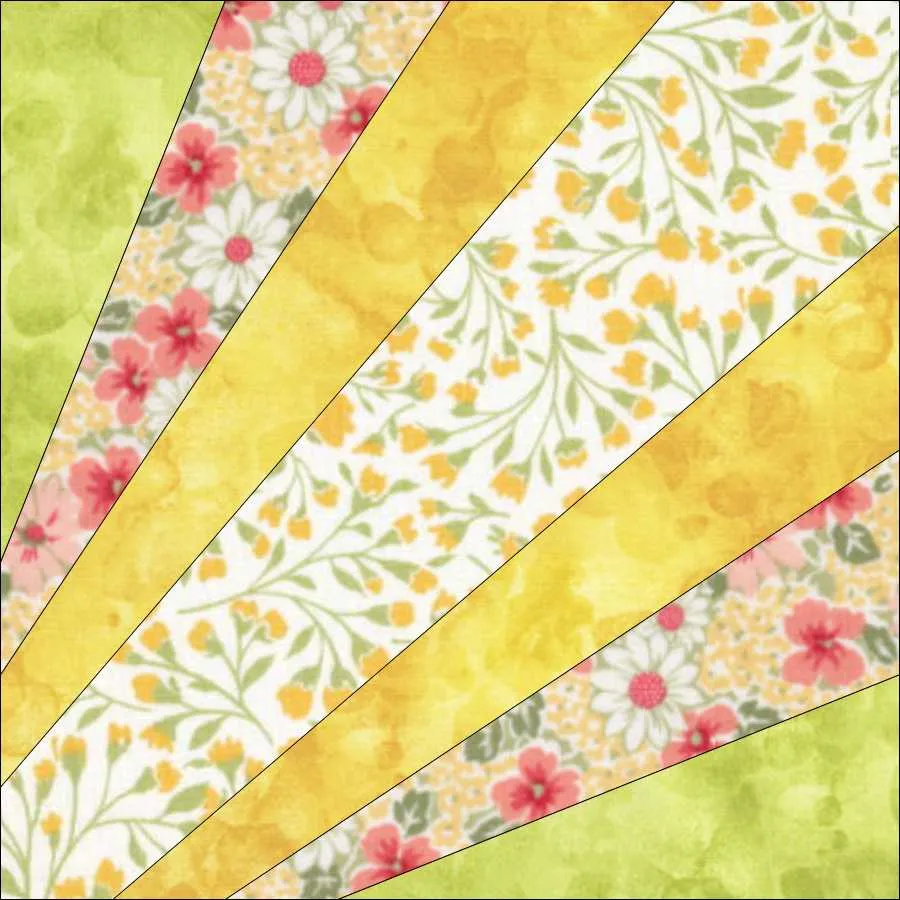
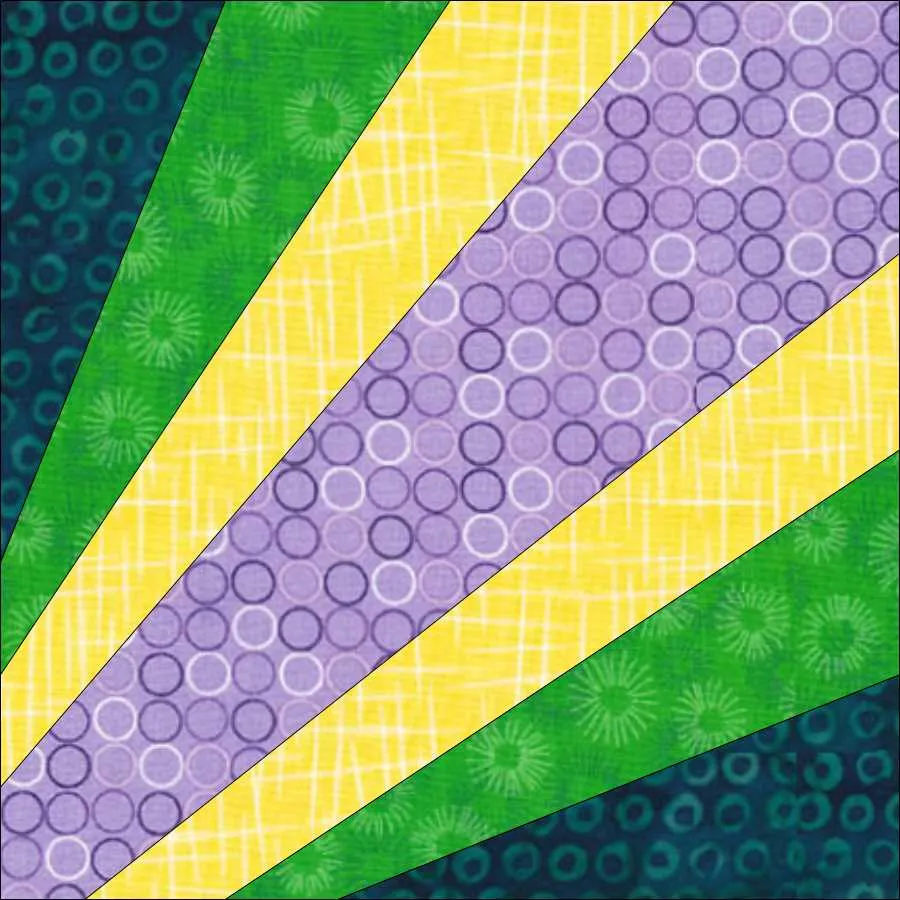
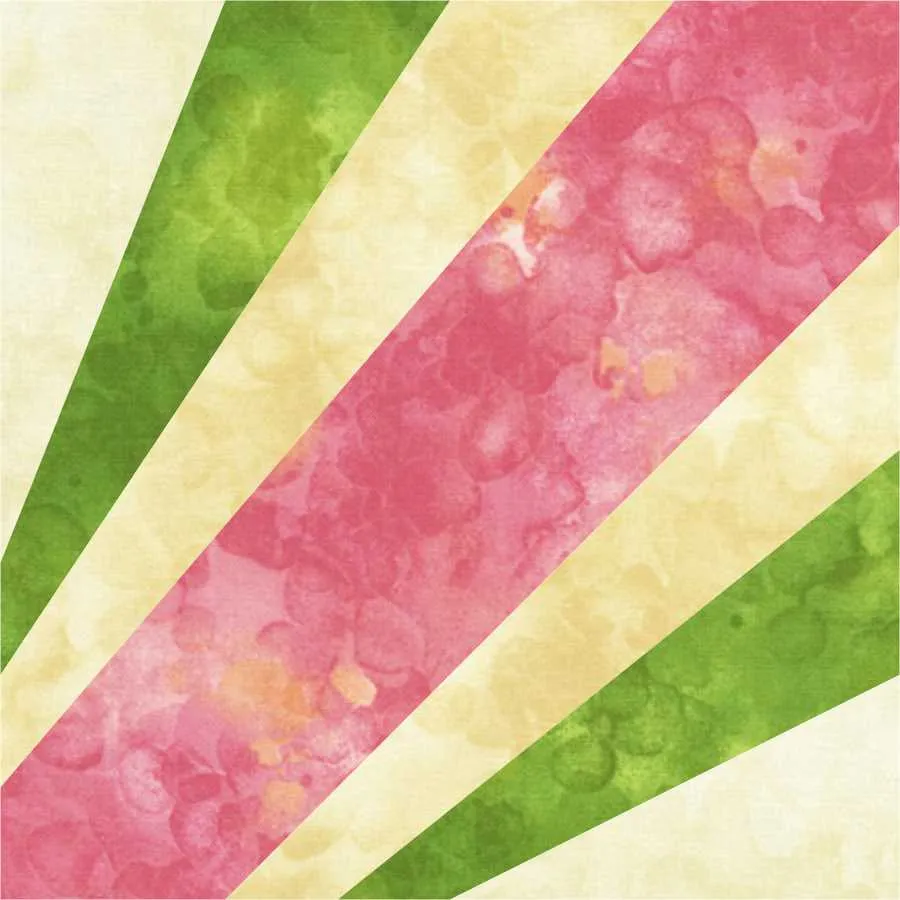
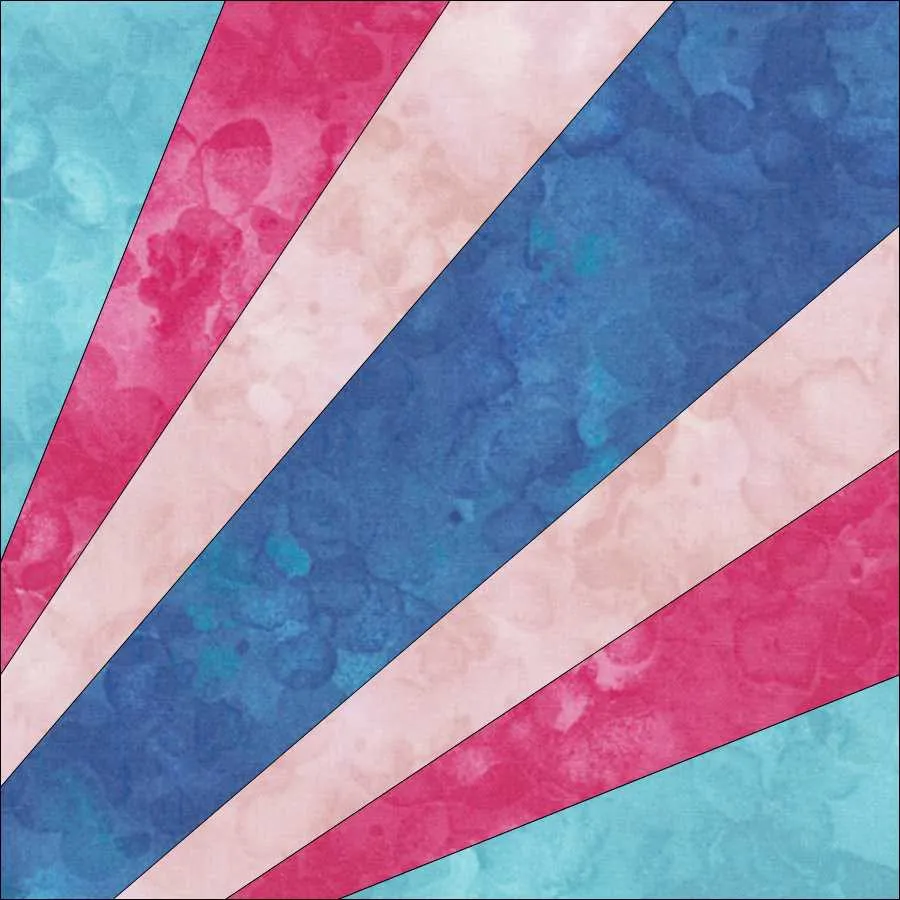
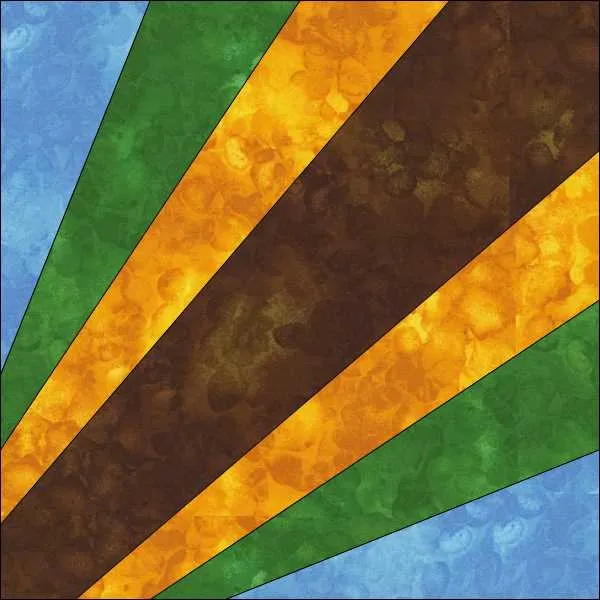
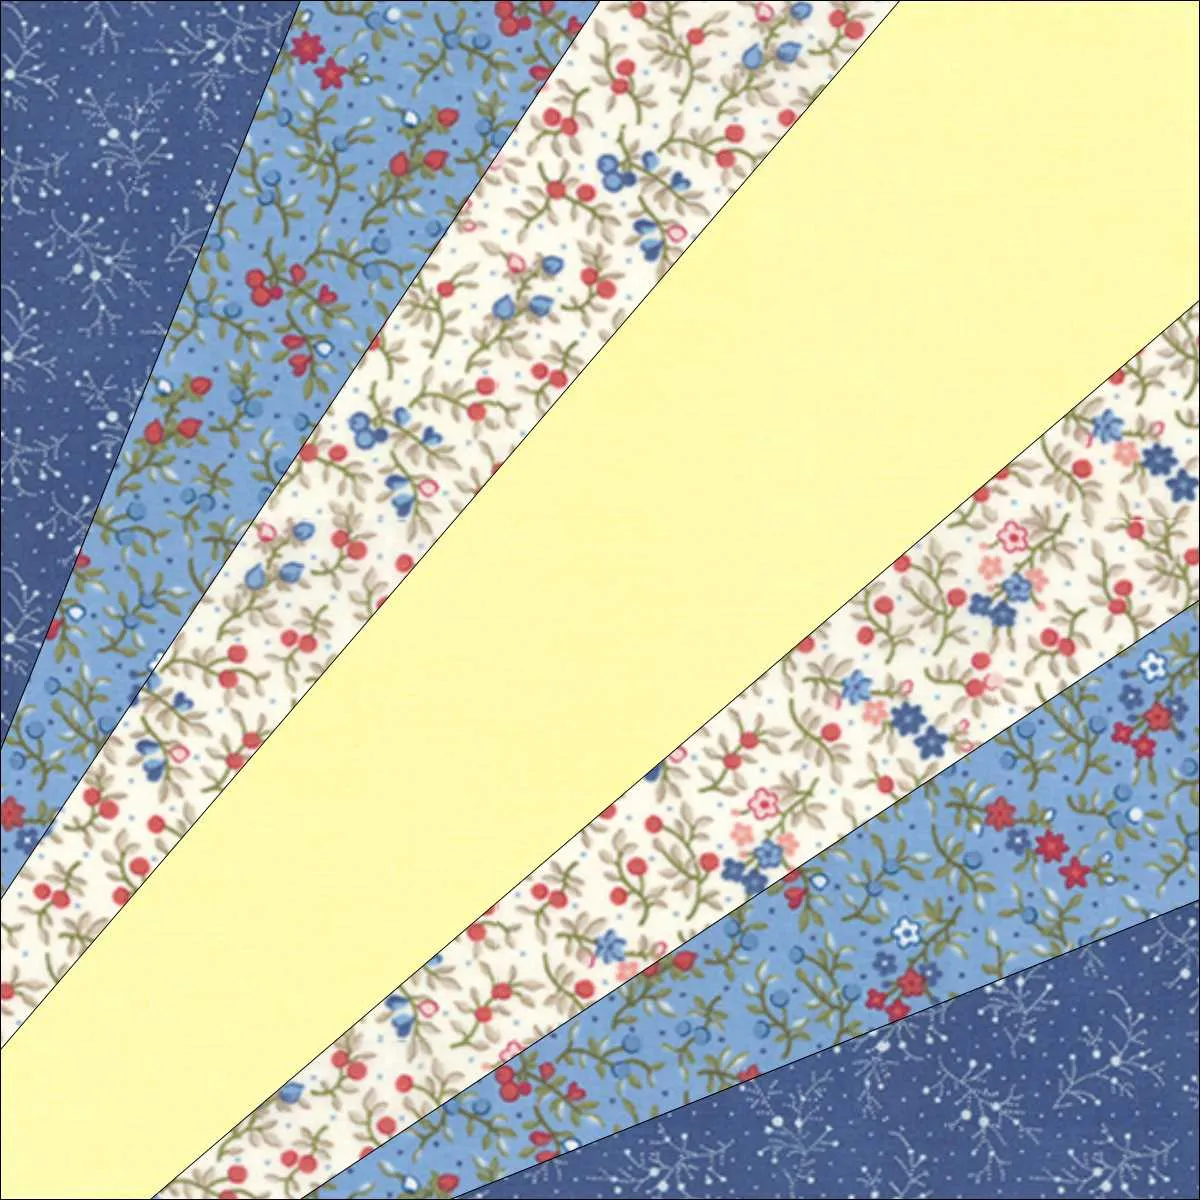
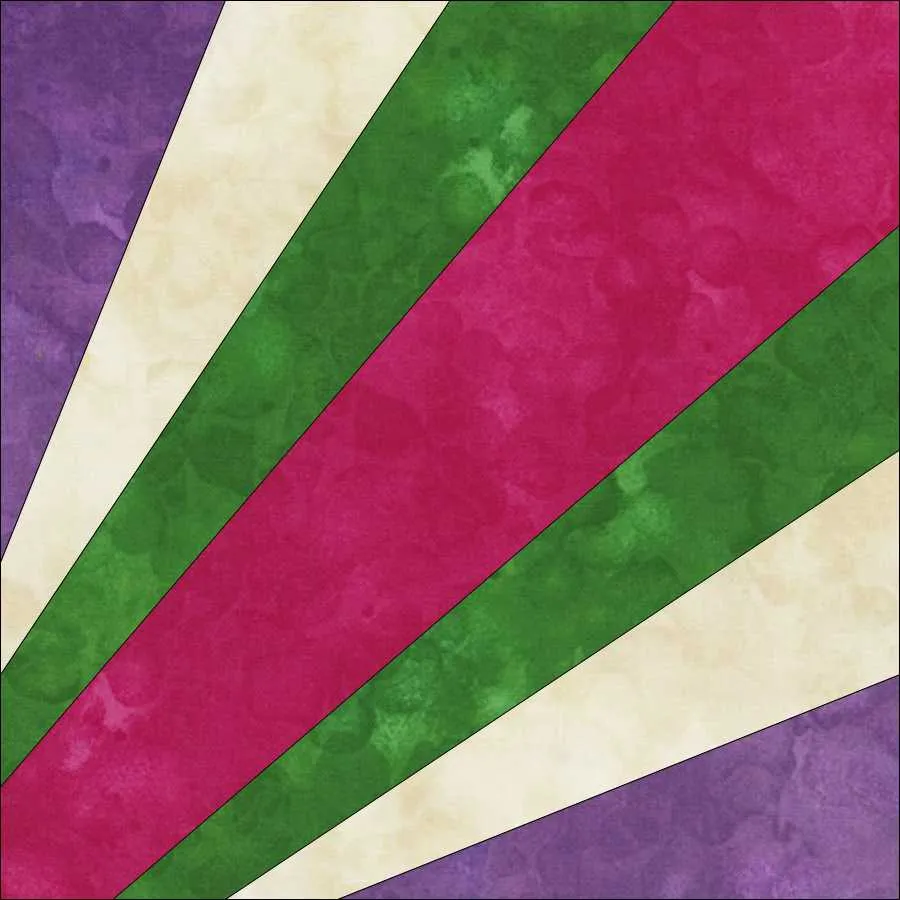
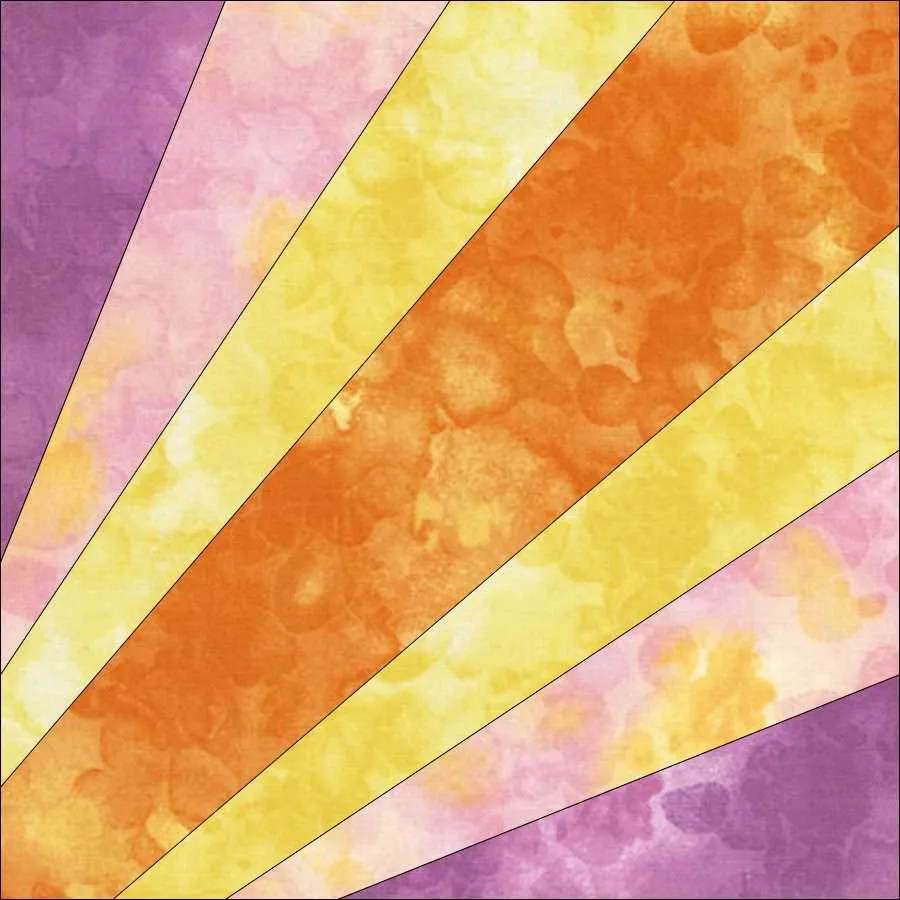
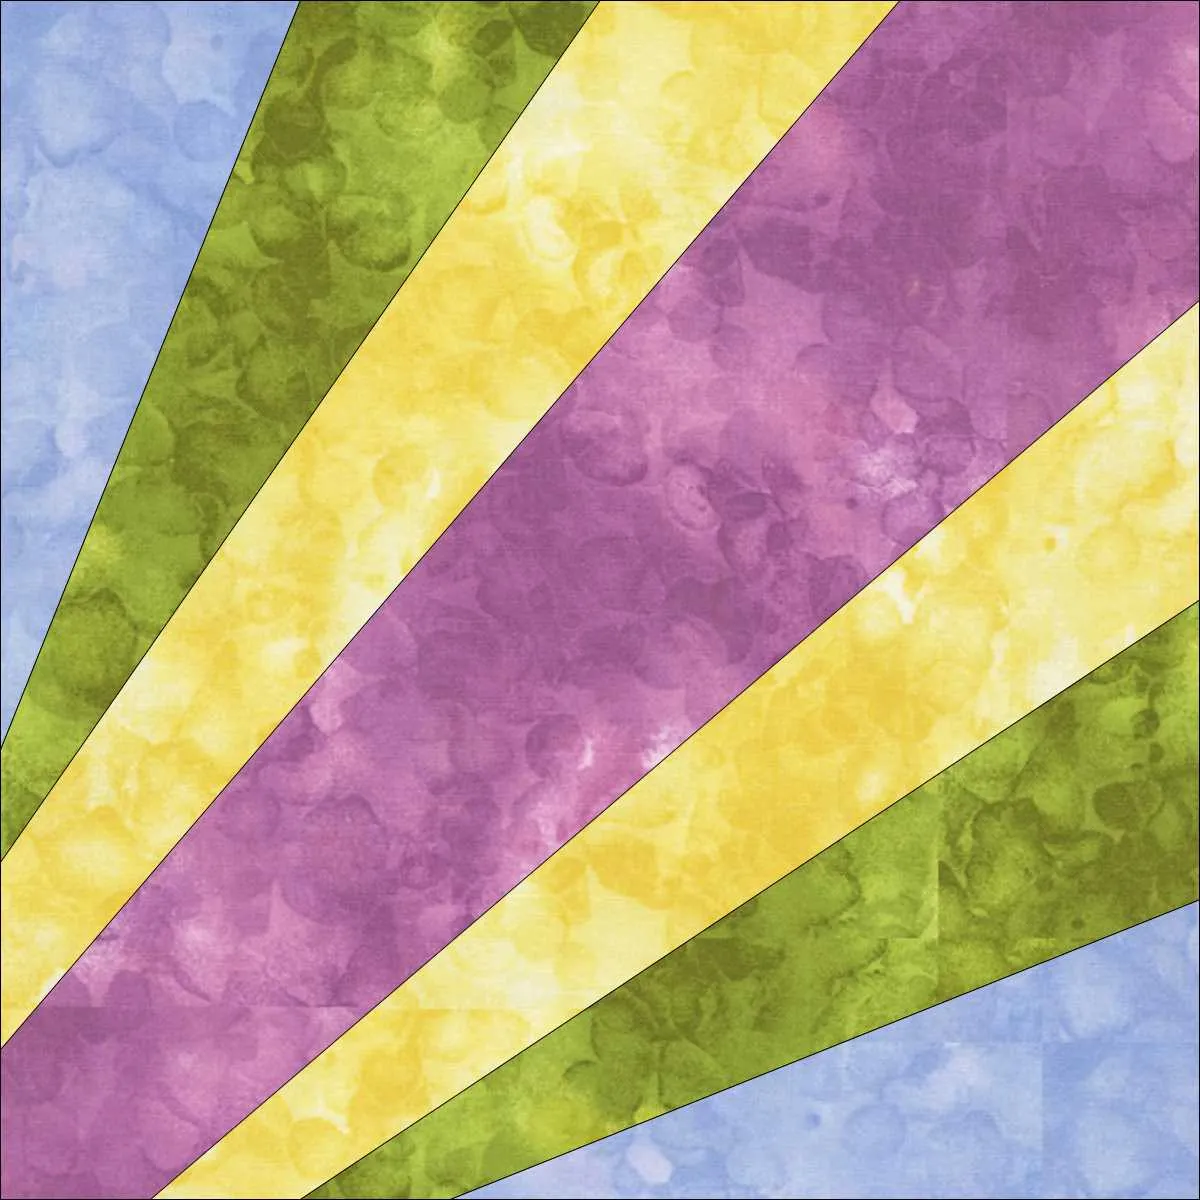
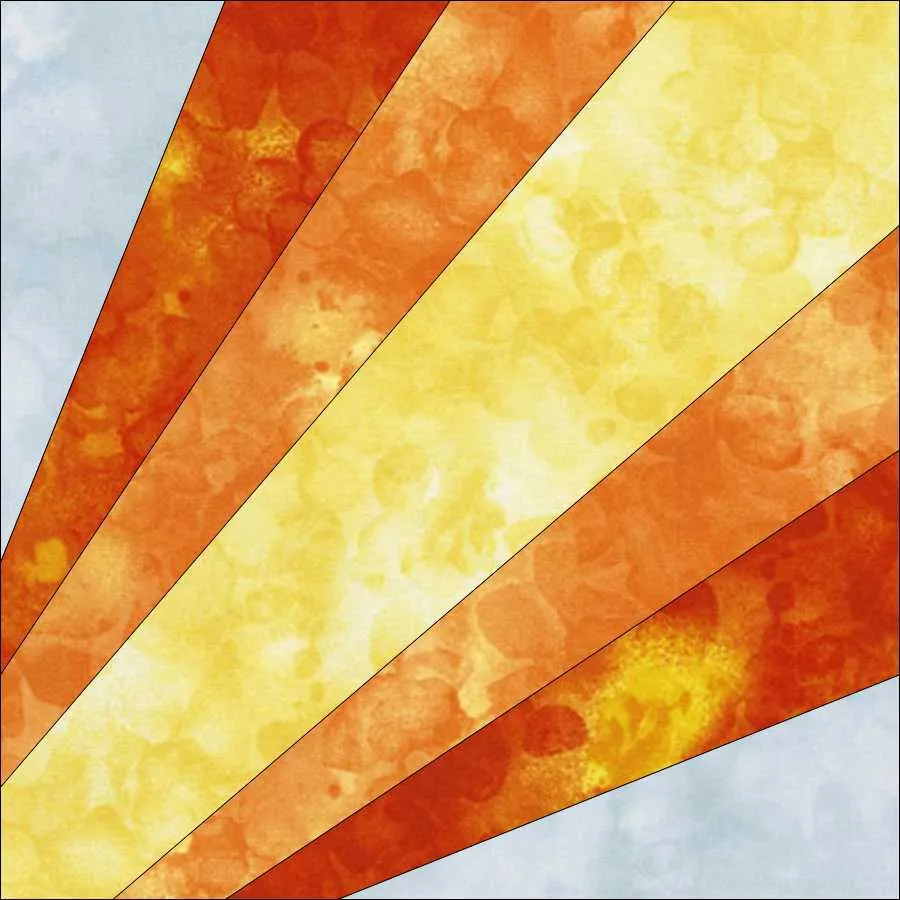
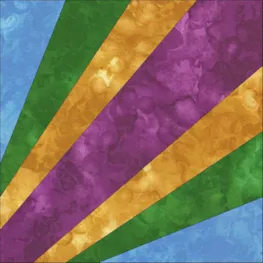
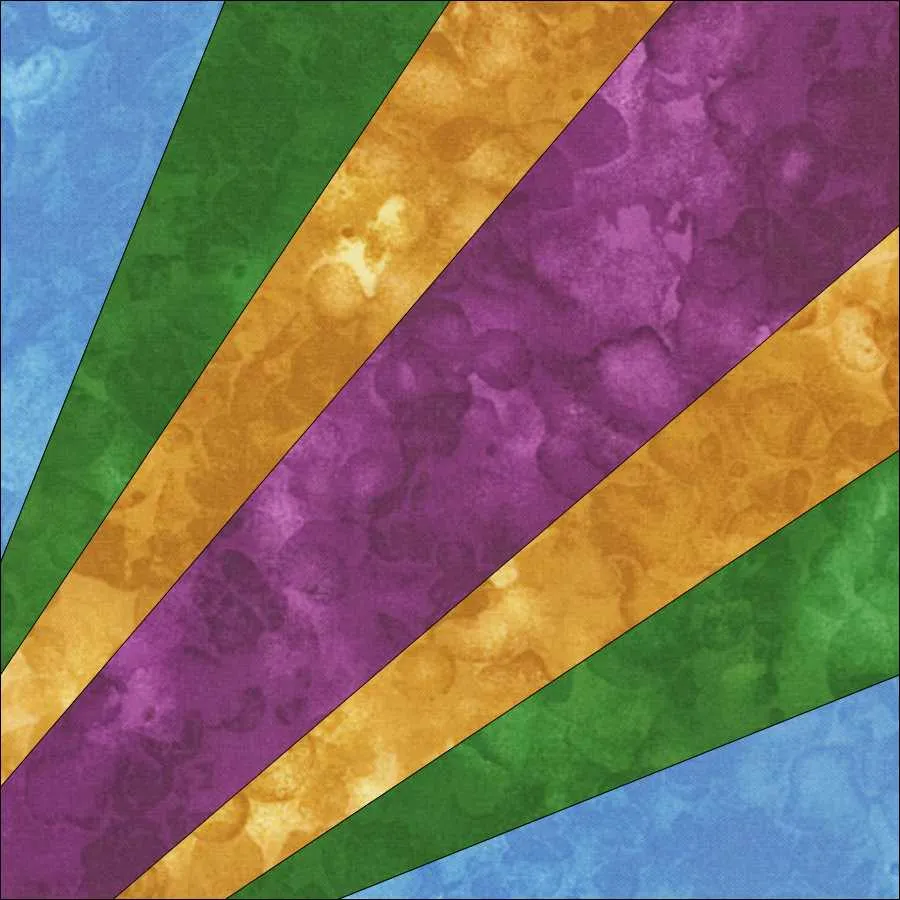
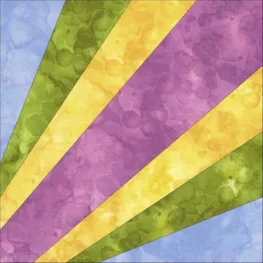
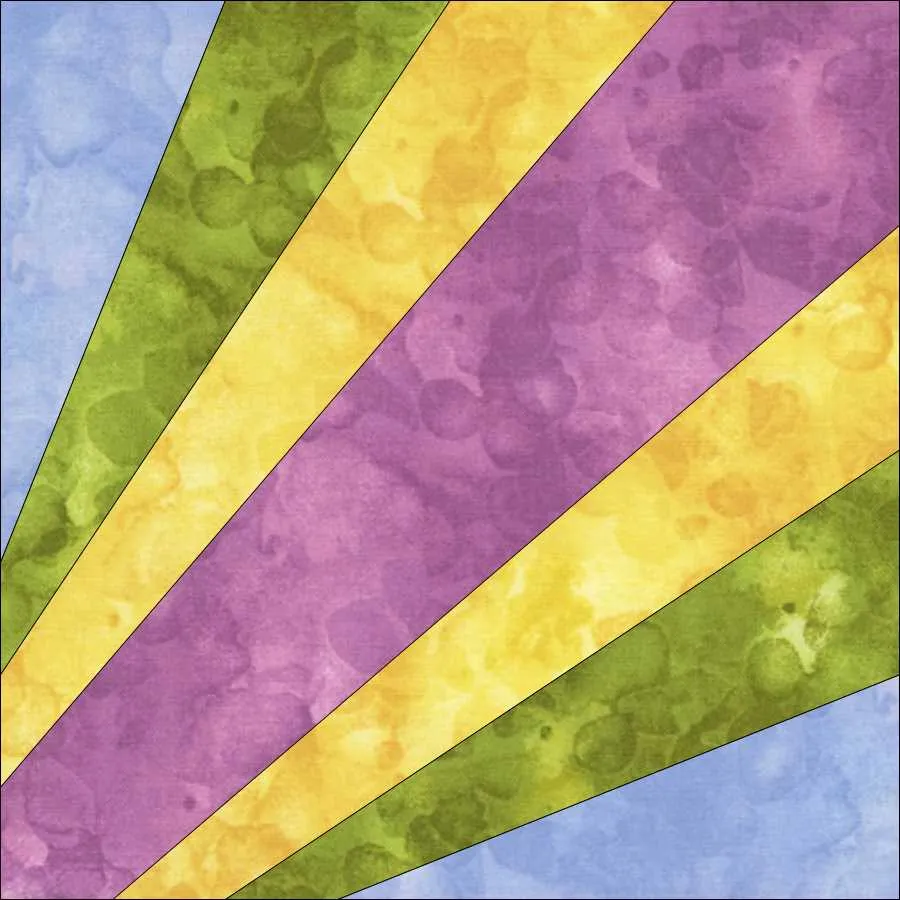
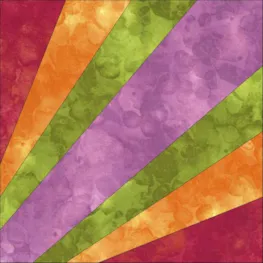
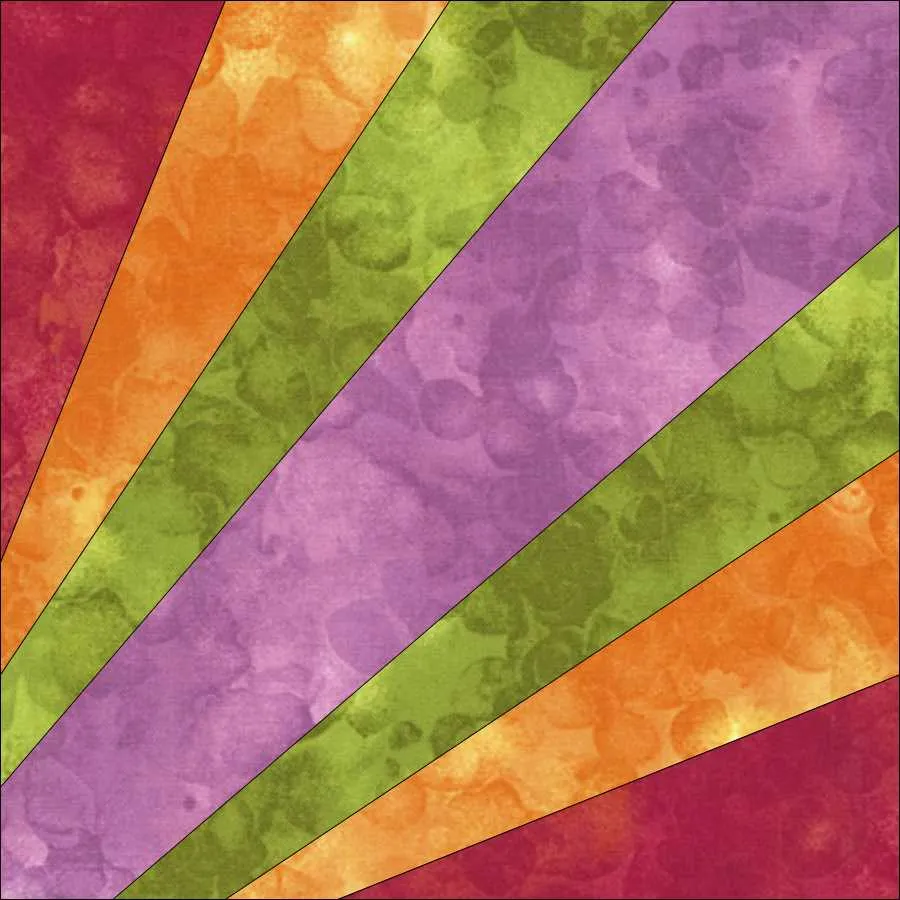
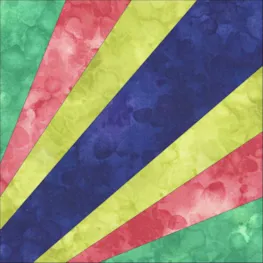
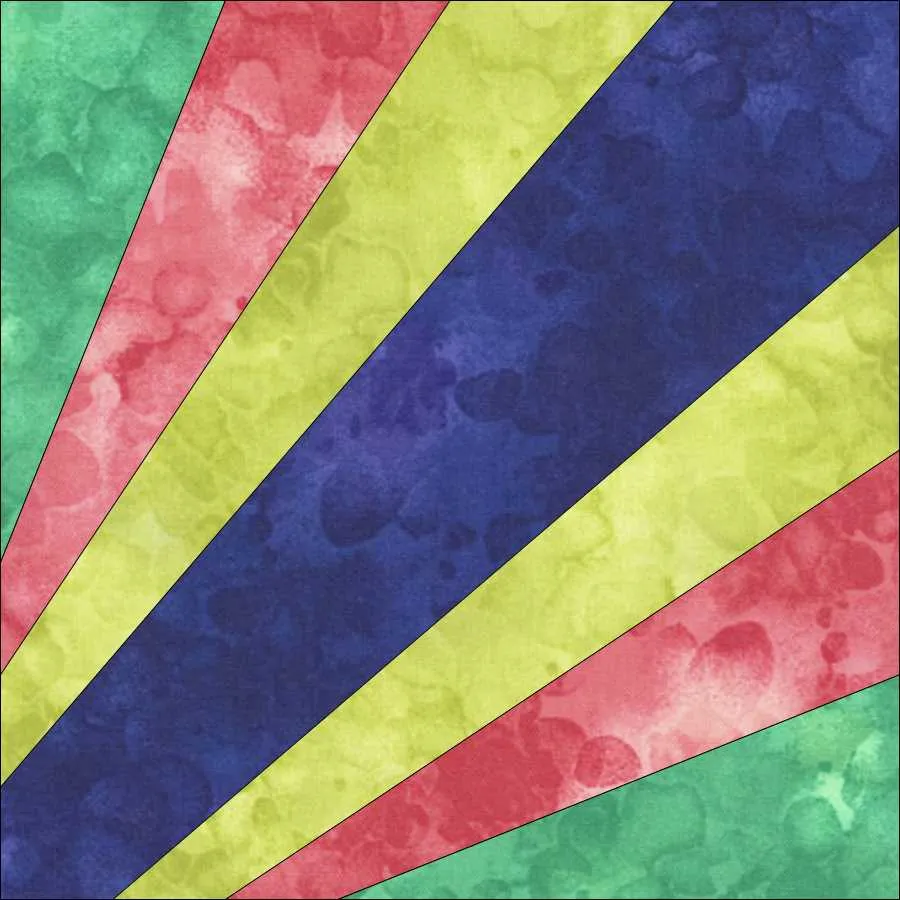
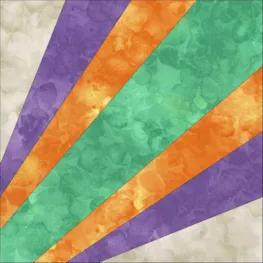
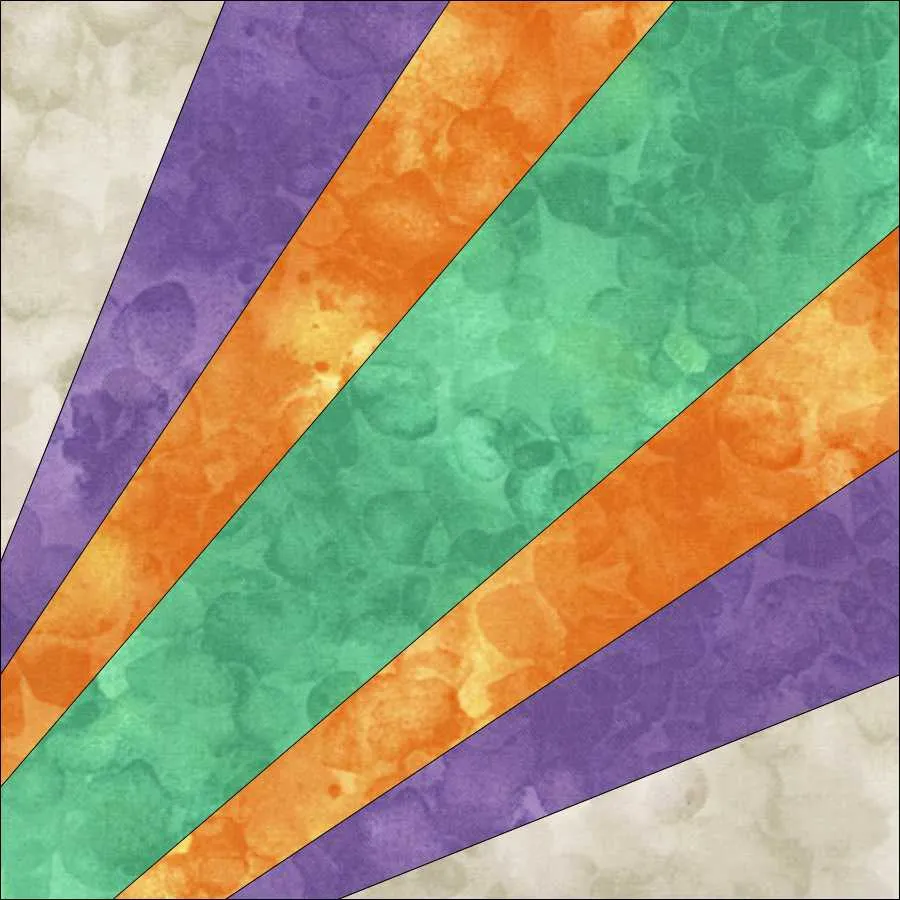
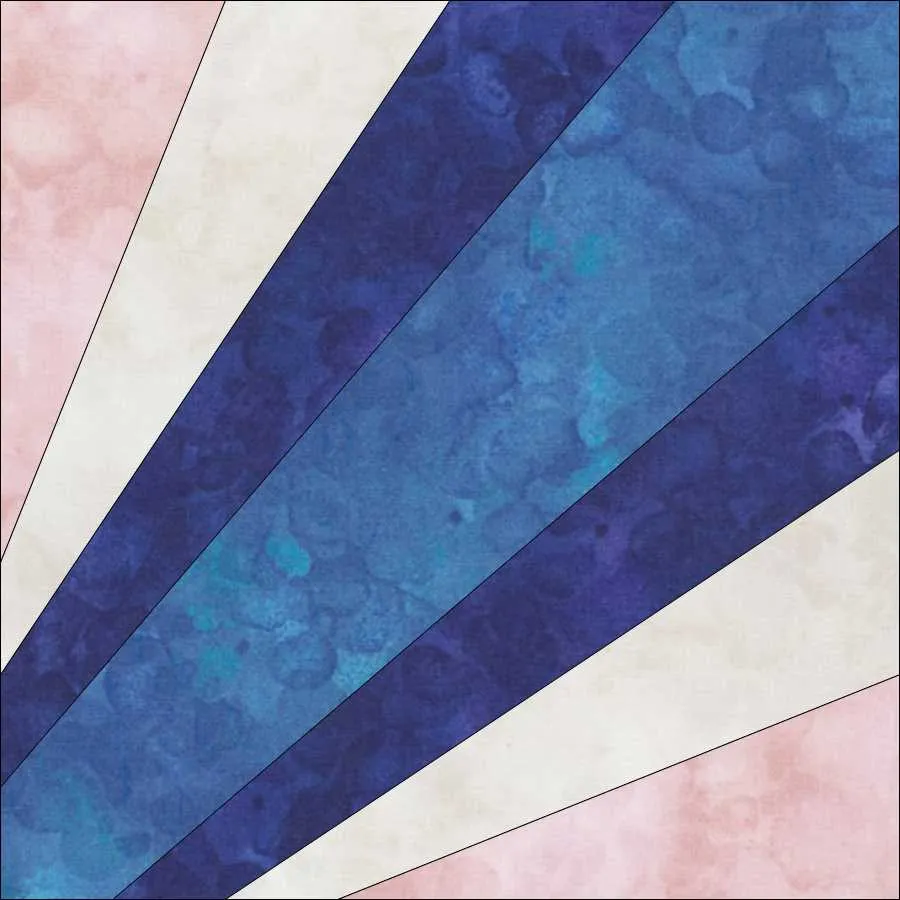
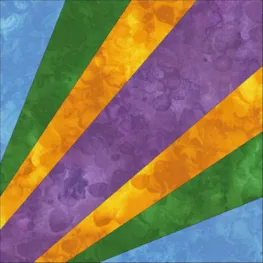
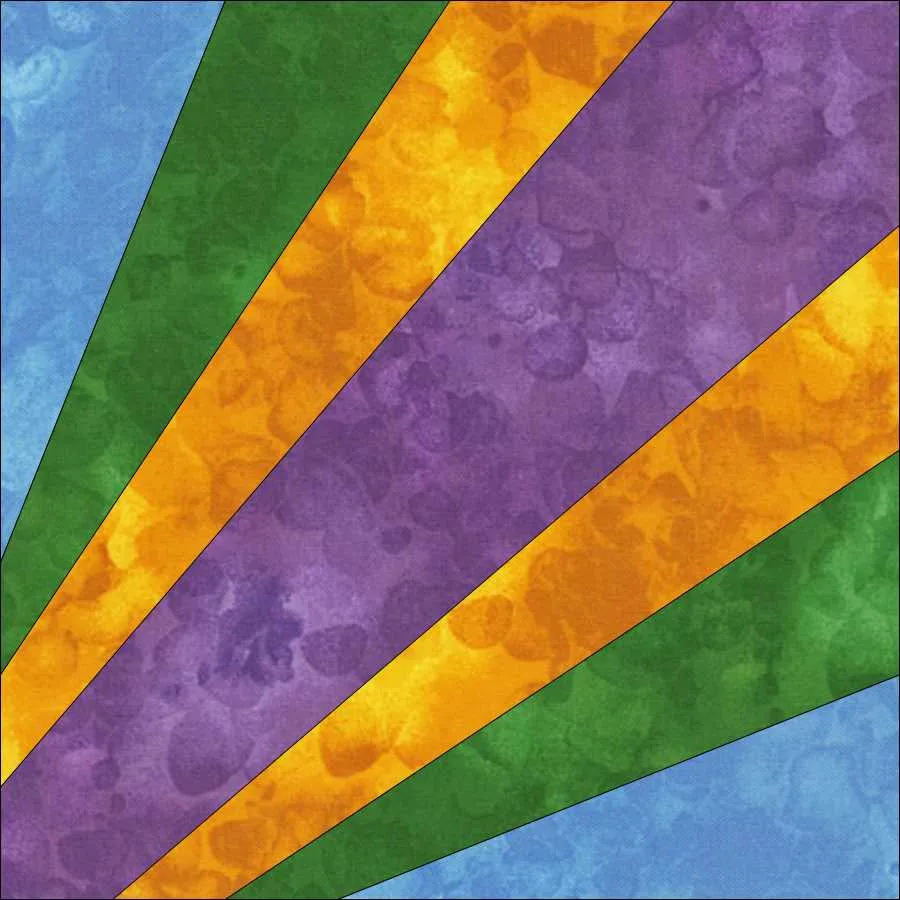
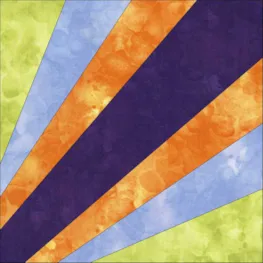
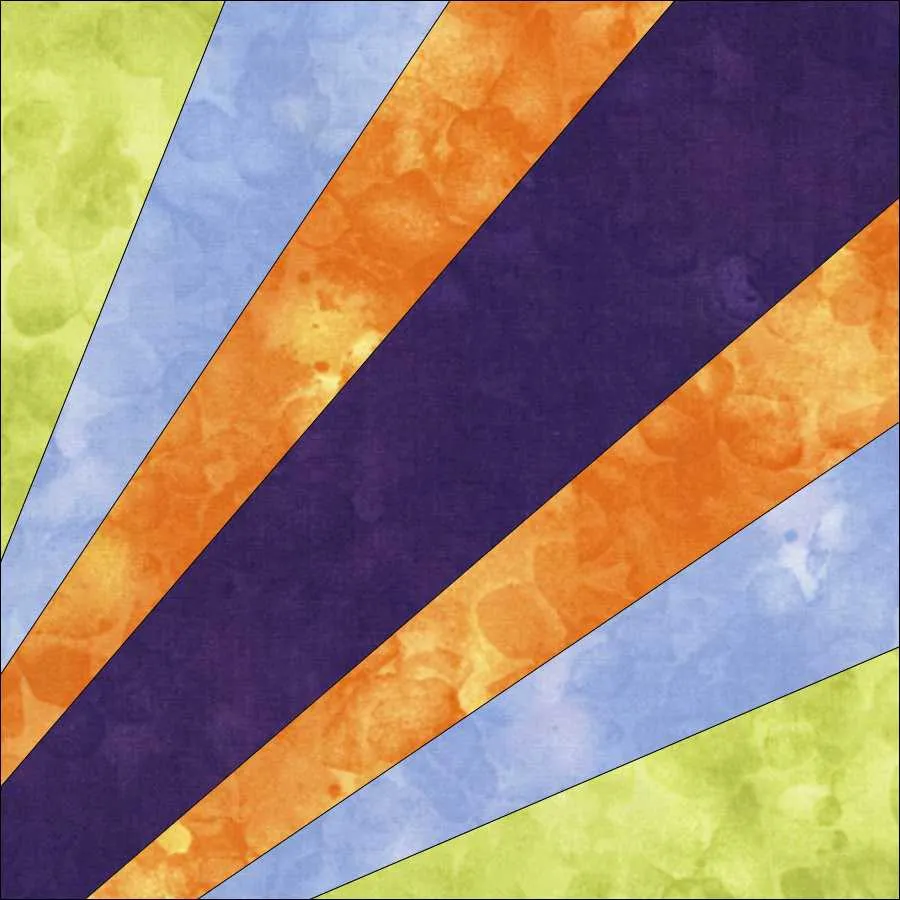
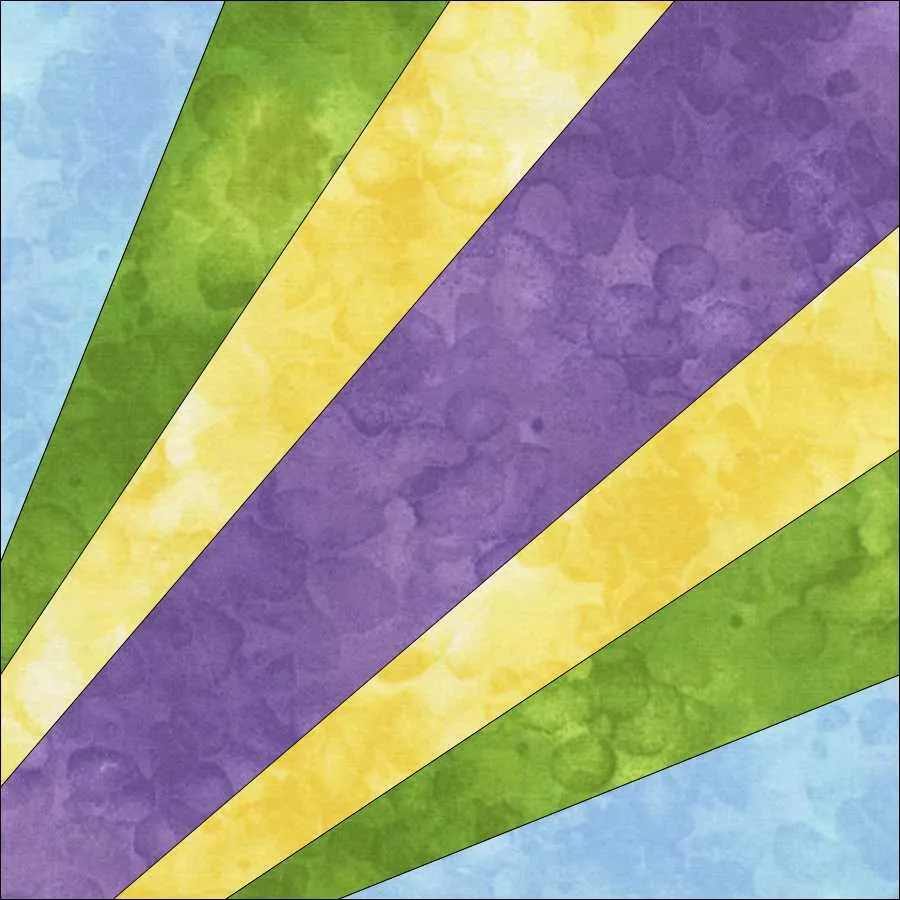
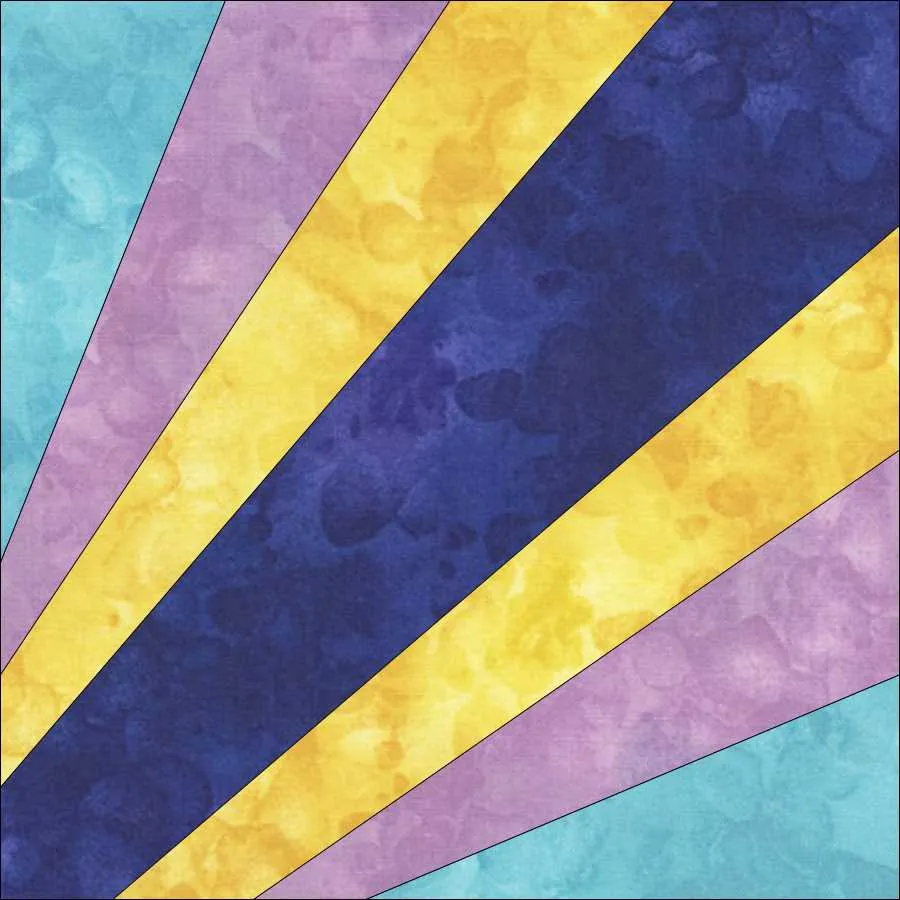
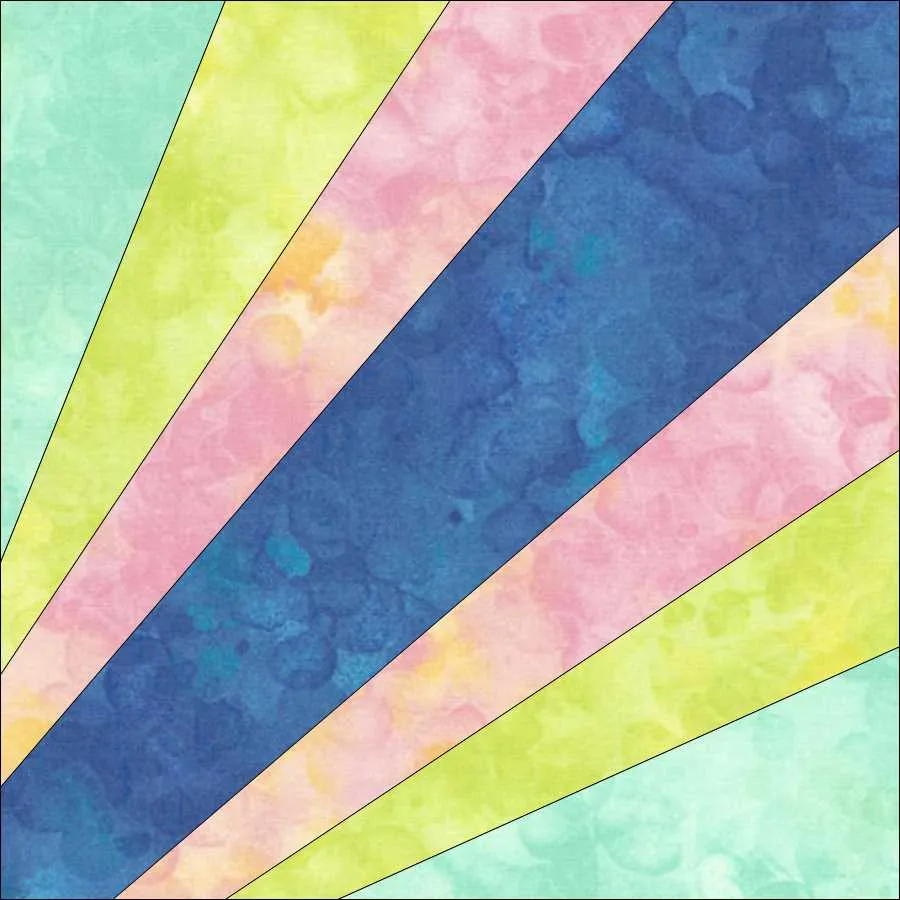
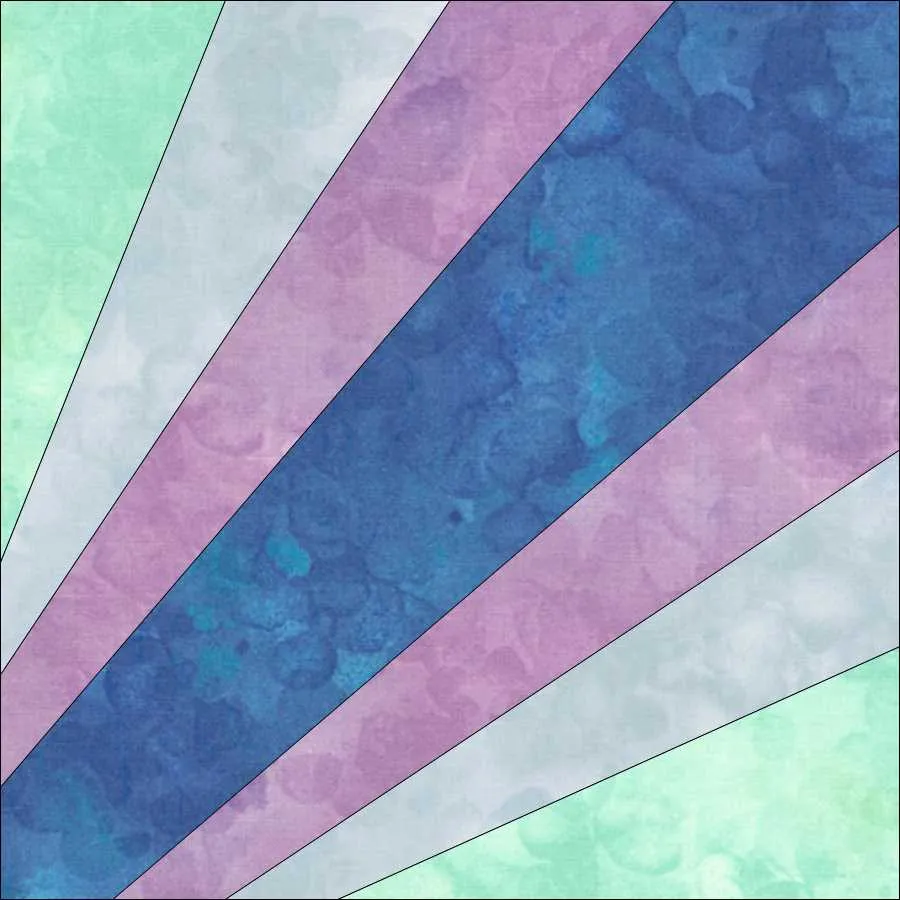
Welcome back. This is the second lesson in the DESIGN AND SEW LESSON WITH YVONNE. Over the course of the lessons we will be creating 4 different types of blocks–pieced, paper pieced, applique motifs,and pieced block with an applique added within the size of the block. In this lesson we will create a paper pieced block for our quilt; print the pattern for the block; and upload an image of our creation to the blog page for everyone to see. You will decide if you just want to create a virtual quilt or actually stitch the blocks required for the quilt layout.
Our finished block size will be 8 inches. All blocks in this quilt design will be 8 inches.
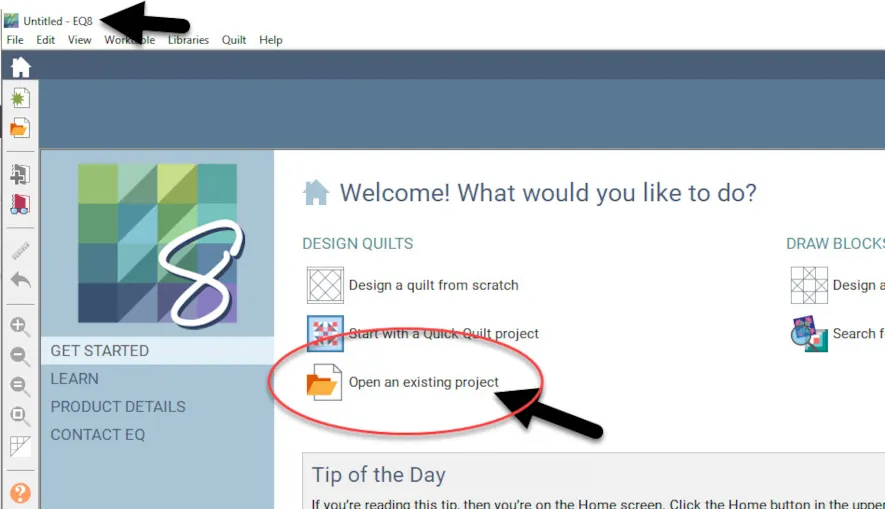
Double click on your EQ8 icon  on the desktop to launch the program.
This time when we open an existing project we will click on the folder to open the project on the main area of the screen. Notice that the program still opens with an untitled project for the title.
NOTE: This method of opening the project is different from what we did in lesson one. There are multiple ways to do the same thing using different tools/methods. As we go along in class lessons I will vary the way things are done so you can see that there is more than one way to accomplish a task. You will determine with time your favorite way to complete a task using whichever tool you prefer.
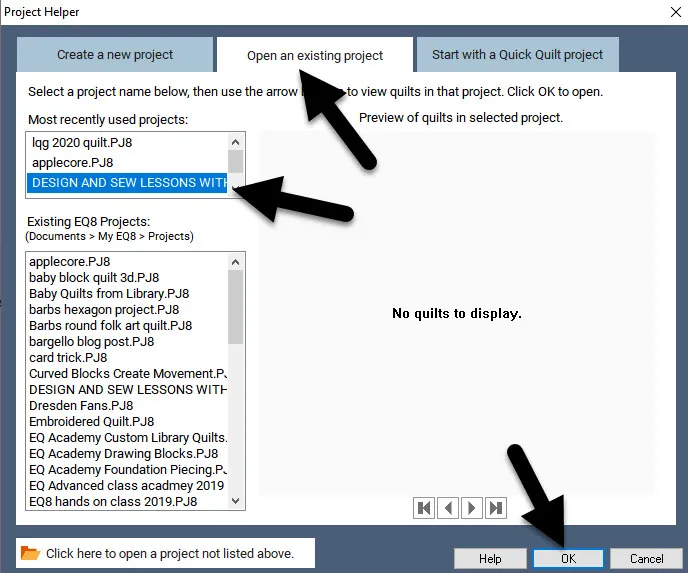
The project helper screen will open. I have been using my program for several things since the last lesson, so my DESIGN AND SEW LESSONS WITH YVONNE is not the first item listed under the ‘open an existing project’ tab. If you do not find your project listed in the top box, look below to the bottom box to find the project. Click on the project title to select it and then click on the OK in the bottom of the box to open the named project folder.
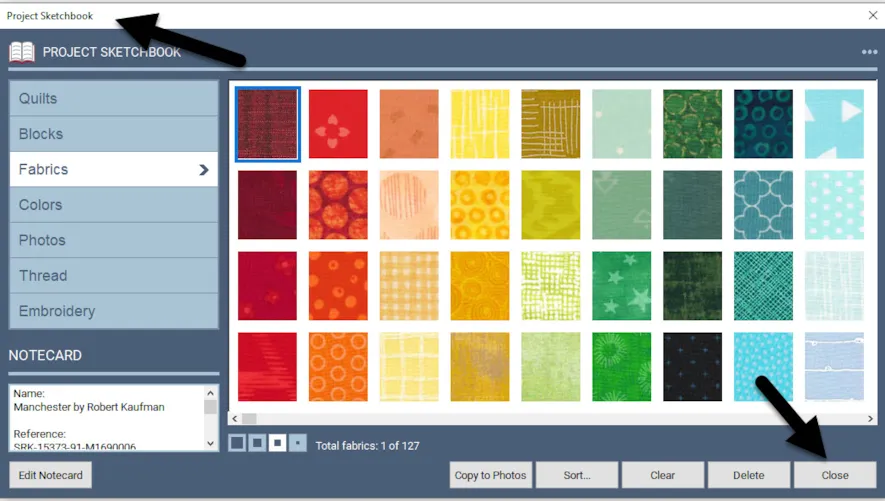
The project sketchbook will open. Click on the ‘close’ at the bottom of the box to close the sketchbook.
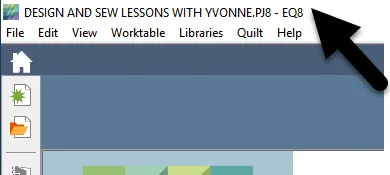
Confirm at the top of the screen that you are indeed in the project folder named DESIGN AND SEW LESSONS WITH YVONNE.
To create a block, you need to be on the block worktable. In the upper right corner of the screen, click on the block worktable icon.
At the top of the screen you will see all the different tabs that apply to block construction on the block worktable.
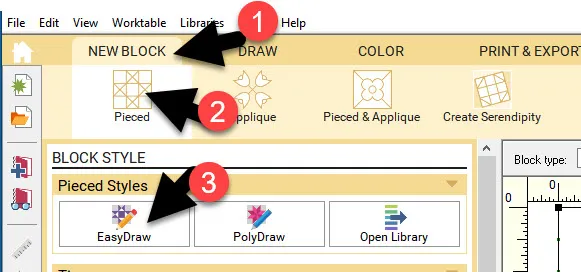
Under the ‘new block’ tab, click on ‘pieced’ and then click on the ‘easy draw’ heading. A paper pieced block is created by drawing lines on the easy draw block worktable.
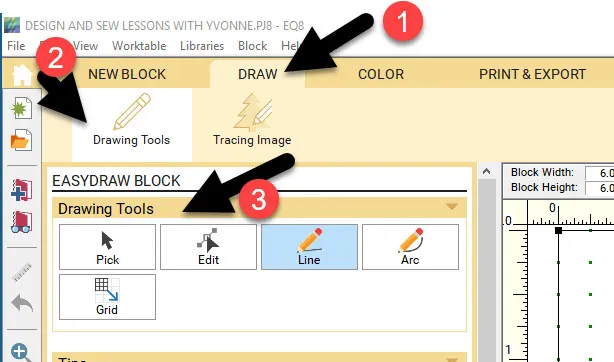
All of the drawing tools necessary to create different easy draw blocks will appear at the left side of the worktable area after you click on the draw tab at the top of the screen.
The default drawing tool is the straight line pencil.![]() This is indeed the tool we will be using to create our paper pieced block.
This is indeed the tool we will be using to create our paper pieced block.
The default block size for EQ8 is 6 inches with snaps set at 24. This makes the snap dots fall on the 1/4 inch marking across the block.
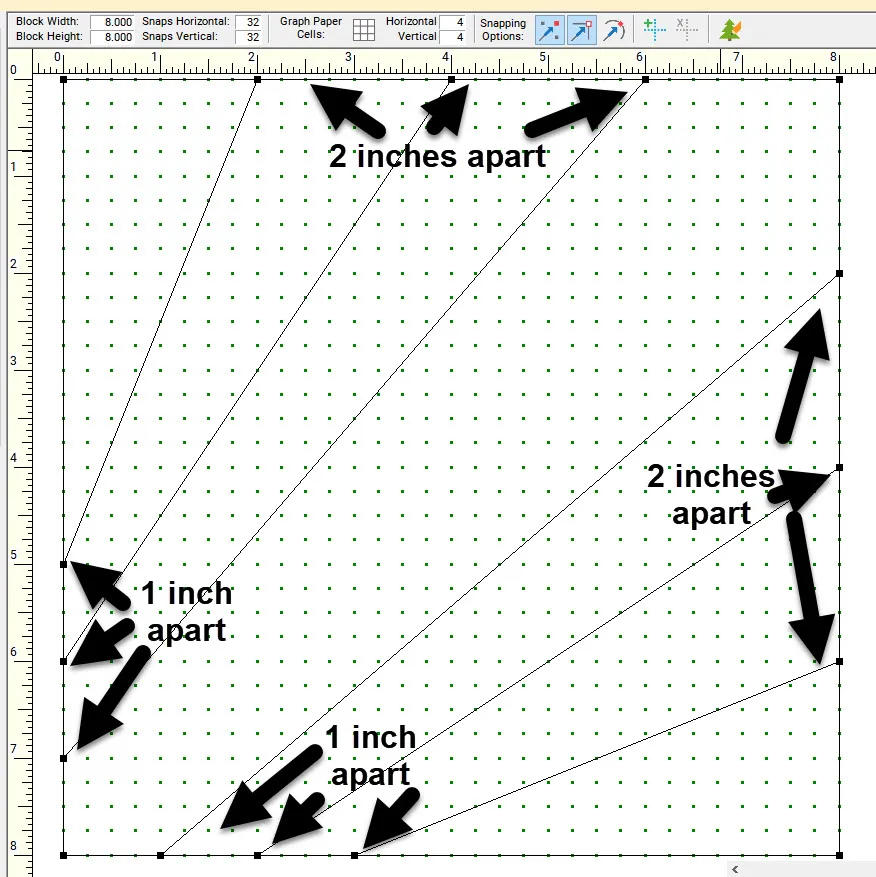
Our quilt layout will be using 8 inch blocks. We need to change the size of the block worktable and change the snaps to align with the 1/4 inch marks on the rulers of the block worktable. Type in 8 x 8 inches for size of the block and the snaps set to 32 x 32 at the top of the worktable area. Look at the rulers along the top and side of the block worktable to see that the snaps align with the 1/4 inch markings.
NOTE: When setting up blocks, it is easier to draw the blocks when the snaps are a multiple of the block size. Example– 8 x 4 = 32.
The snapping options’ when turned on’ will have a blue background around them. By default the snap to grid ![]() and snap to drawing nodes
and snap to drawing nodes ![]() are turned on.
are turned on.
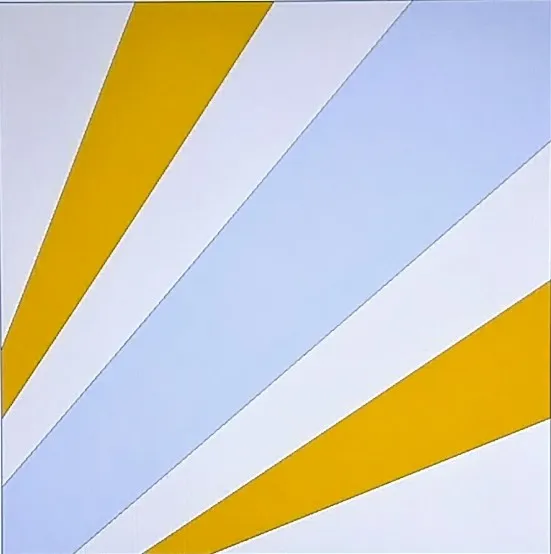
Block drawing rules apply to each of the block styles we will be creating. The rule for an EasyDraw block is that all lines must connect to the outer edge of the quilt block. A free floating line in the middle of an EasyDraw block that does not connect with other lines to the outside can not be read by the program and you will get an error message.
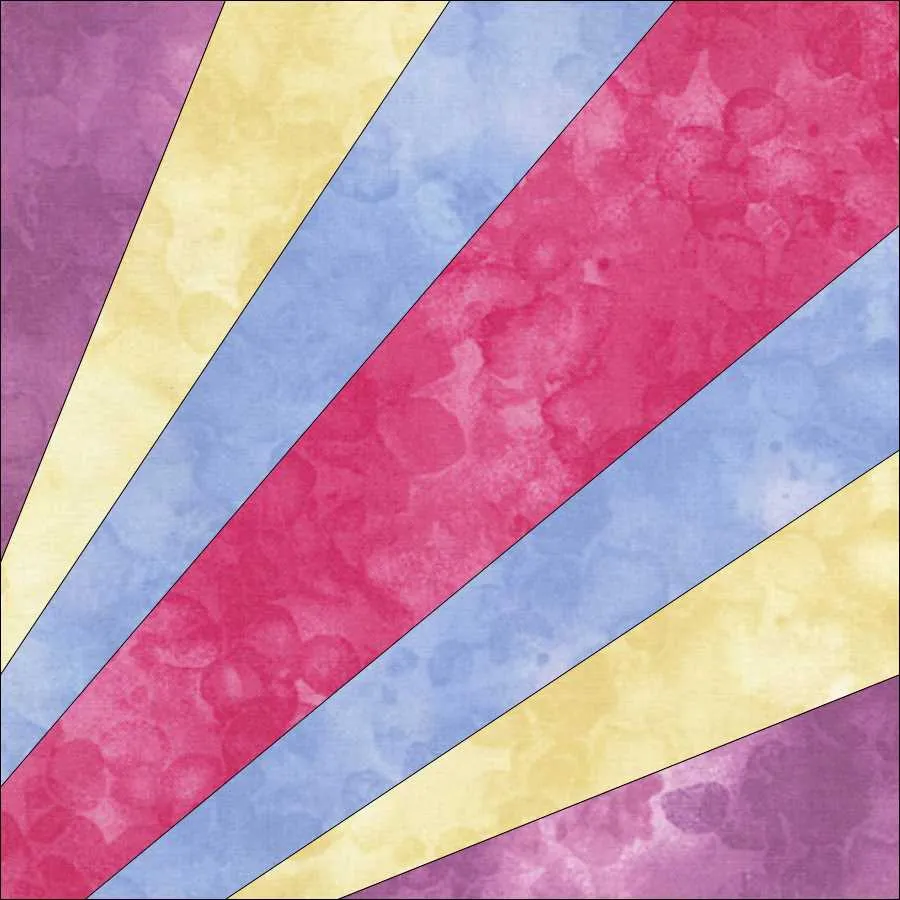
With the line drawing tool,![]() click/hold/drag/release the mouse to create the lines from outer point to outer point of the block as shown below. The lines will ‘snap’ to the edge nodes.
click/hold/drag/release the mouse to create the lines from outer point to outer point of the block as shown below. The lines will ‘snap’ to the edge nodes.
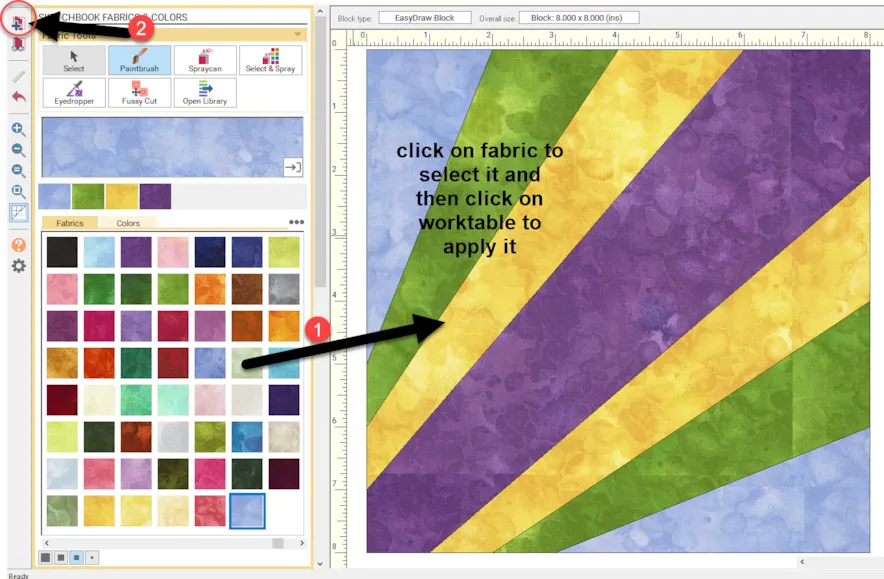
By adding to the sketchbook as you are drawing, you will save the creative steps along the way. If the program crashes for some reason, you will not have lost the work you did up to this point. Be sure to add to sketchbook frequently as you work.
NOTE: I purposely draw my paper pieced blocks so there is not a seam into the corners of the blocks. There would be too much bulk to deal with when stitching if several blocks all come together with multiple seams in the corners.
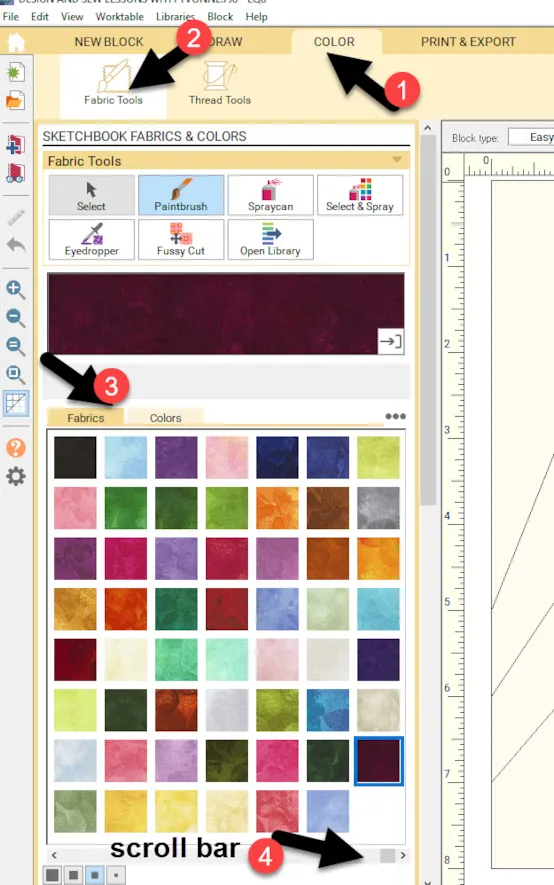
Click on the color tab at the top of the screen. The fabric library will show in the fabric tools at the left side of the block worktable. Use the scroll bar at the bottom of the fabric tools to scroll to the far right side of the box. You will find your ‘Solidish’ fabric palette that we downloaded in lesson one.
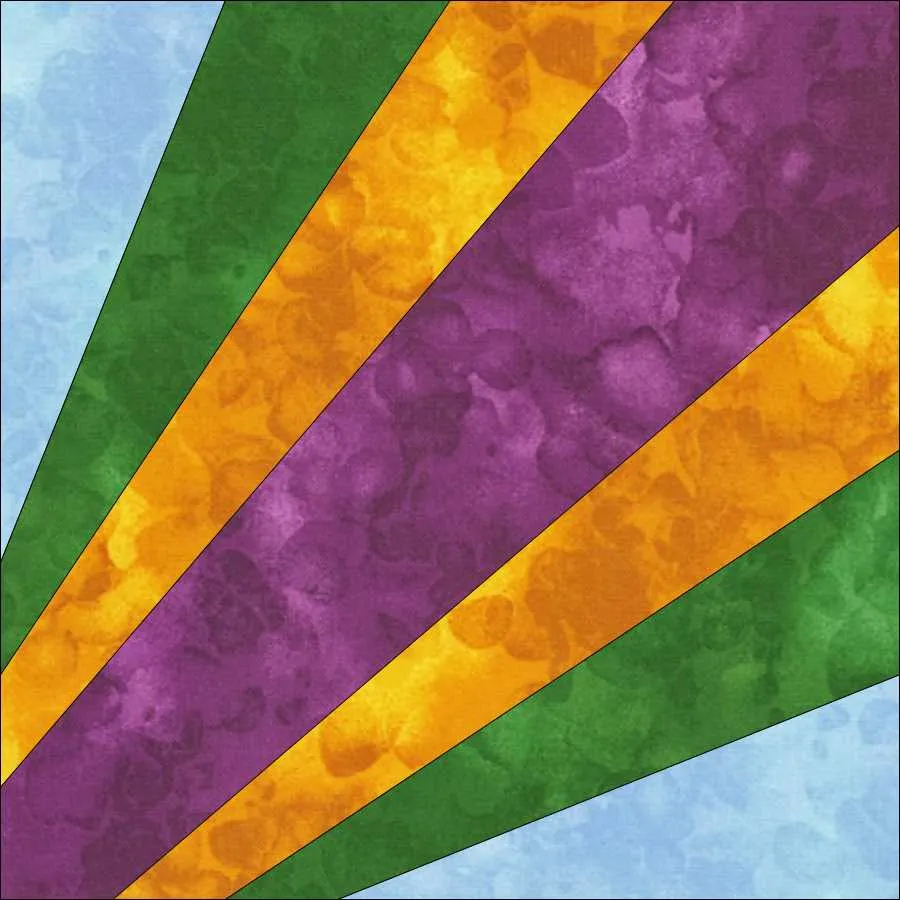
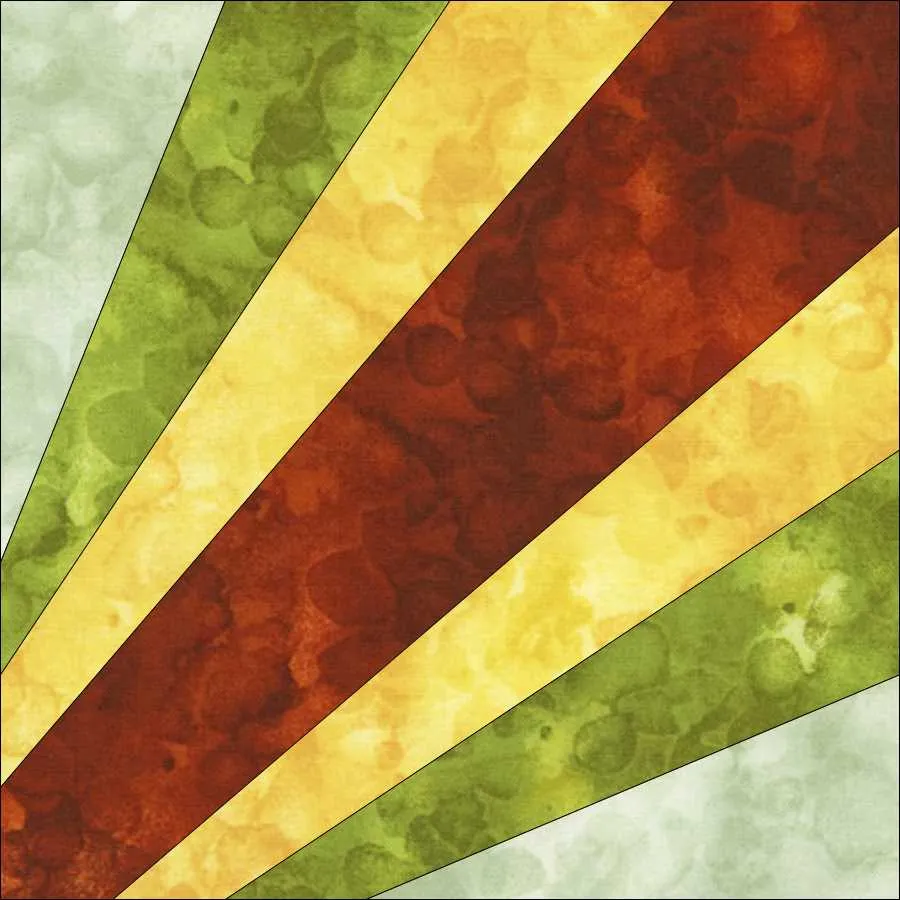
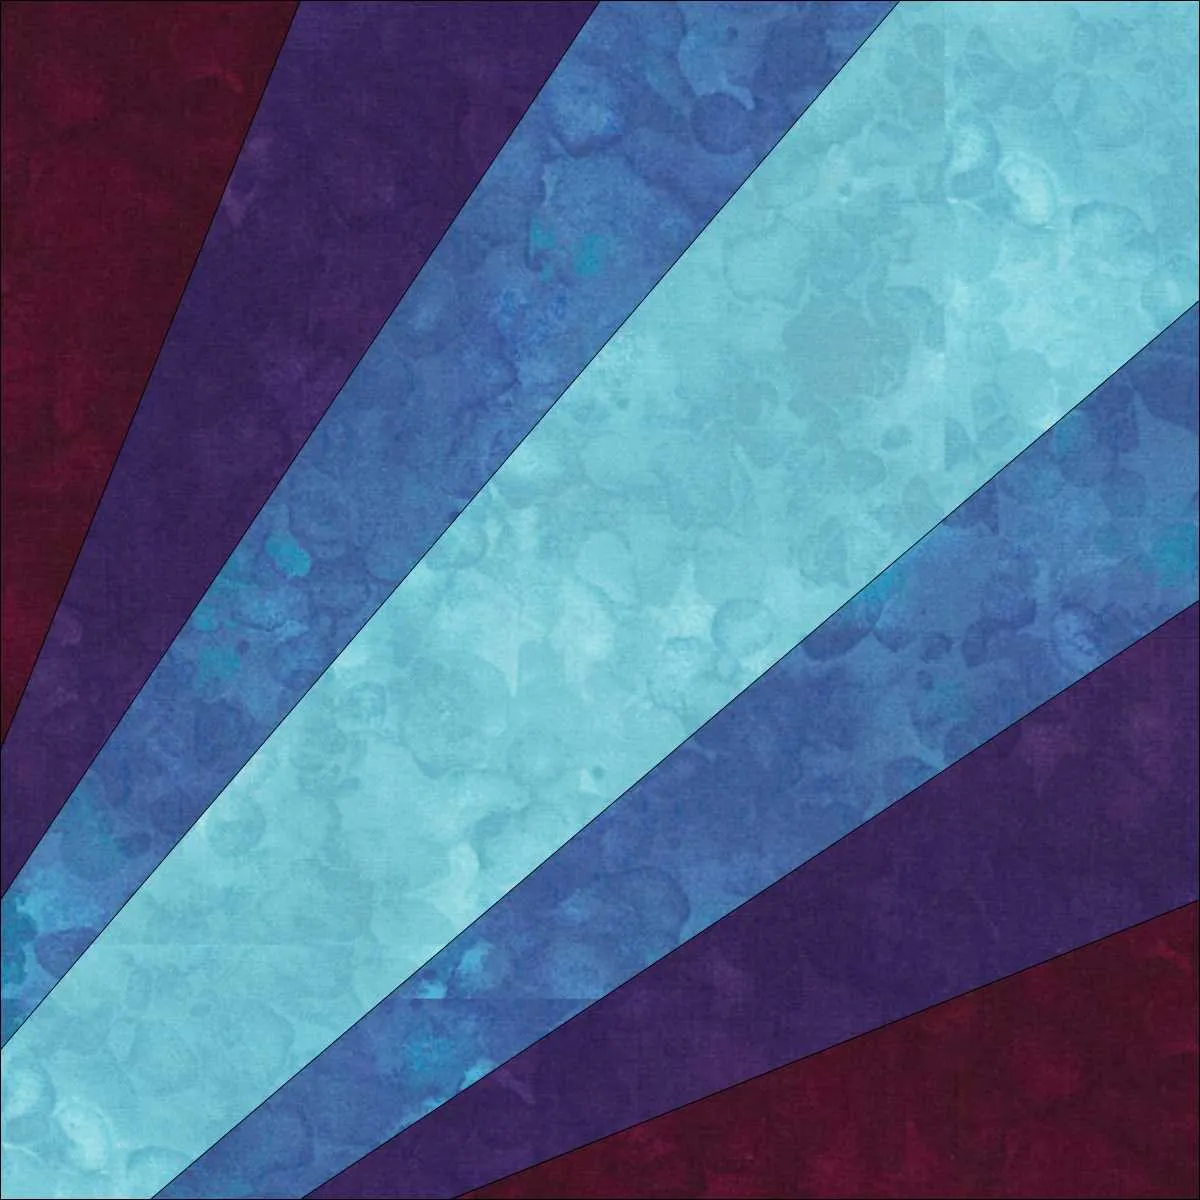
Click on any fabric of your choice to select it. You will see a blue selection box around your fabric choice. Move the cursor over to the worktable and click once to place the selected fabric in each of the areas. Be sure to add to sketchbook when done.
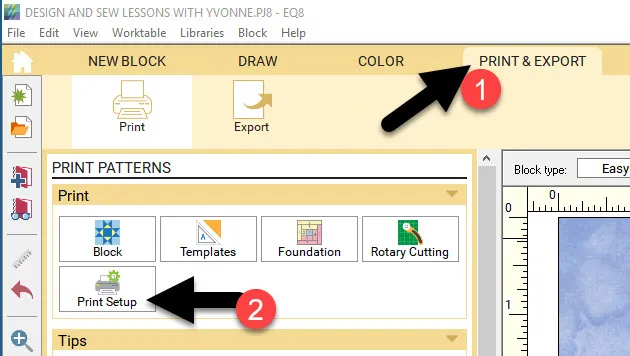
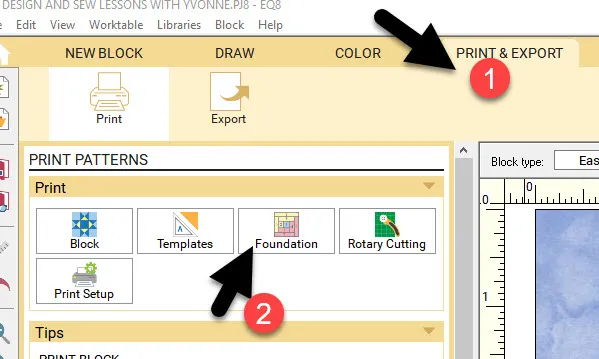
You will print your block now for your pattern piece. Click on the ‘print and export’ tab at the top of the screen. On the left side you will find the print tools. Click on the ‘print setup’ tool to begin.
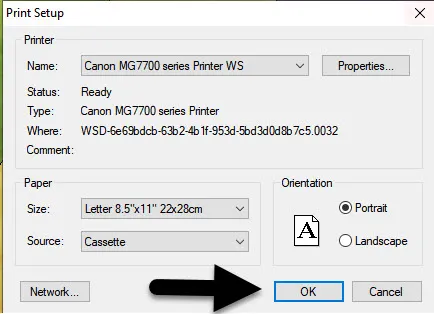
A print setup box will open. This is where you will set the specifics of your own printer. I just have a standard printer and I use 8.5 x 11 inch paper in my printer. Yours may look a little different. Set the preferences you need in order for EQ8 to speak to your printer when printing your block patterns. Click on the OK at the bottom of the box.
In the print tools at the left side of the screen, click on the ‘foundation’ tool. ![]()
NOTE: Paper piecing and Foundation piecing are essentially the same thing. Paper piecing involves stitching the fabrics on a paper pattern and removing the paper after stitching. Foundation piecing is stitching the block fabrics on a light weight fabric backing with the pattern printed onto it (usually light weight muslin) and the foundation fabric stays in the block construction. The method of stitching this pattern is up to you. I use the word Paper Piecing in my instructions but it is exactly the same as EQ8 foundation piecing.
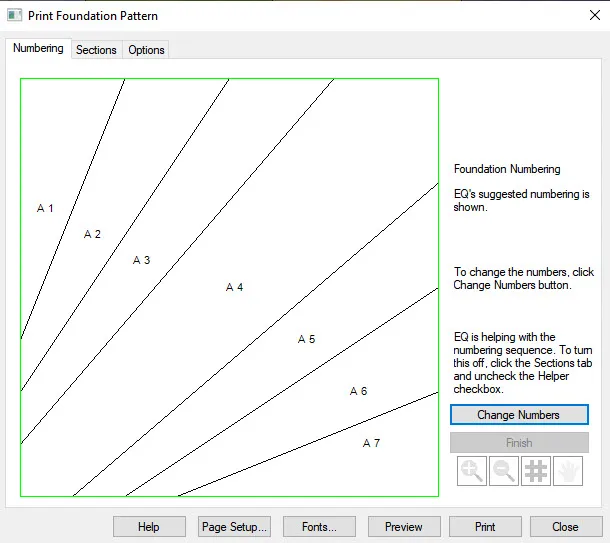
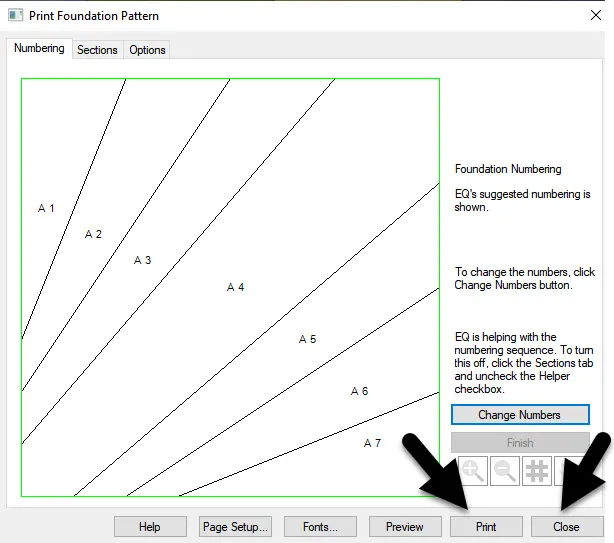
The print foundation pattern box shows up. It opens on the numbering tab. As this is a simple straight forward block, EQ is able to add the numbering for us.
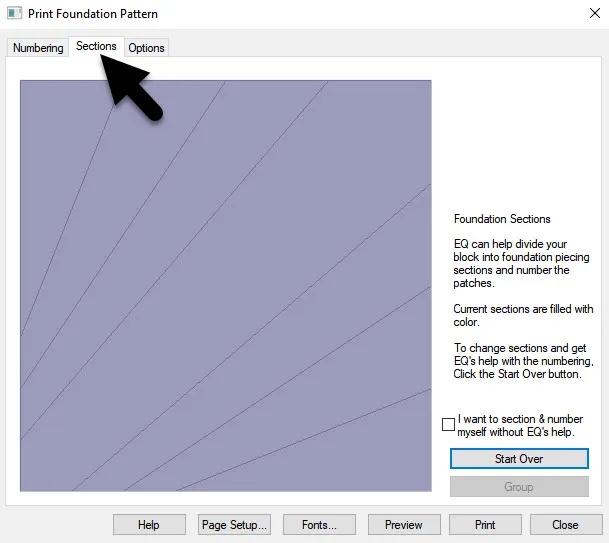
Click on the sections tab in the pattern box. You will see we can create this block in one section. No subsections are required.
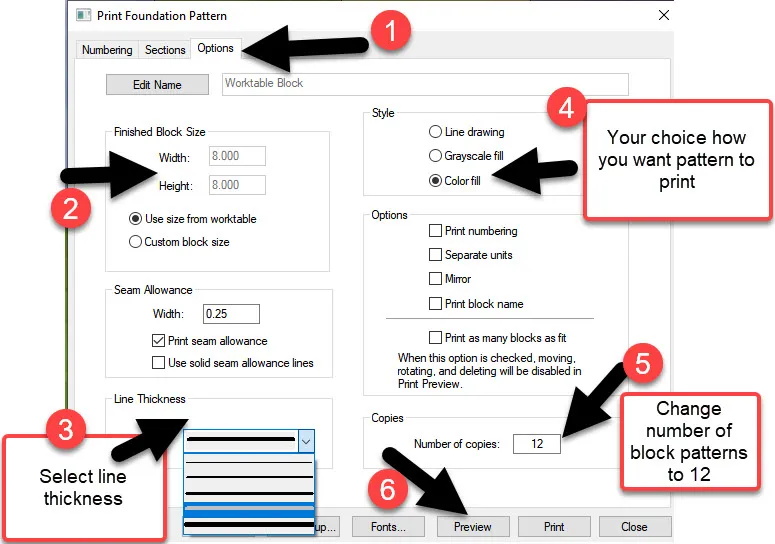
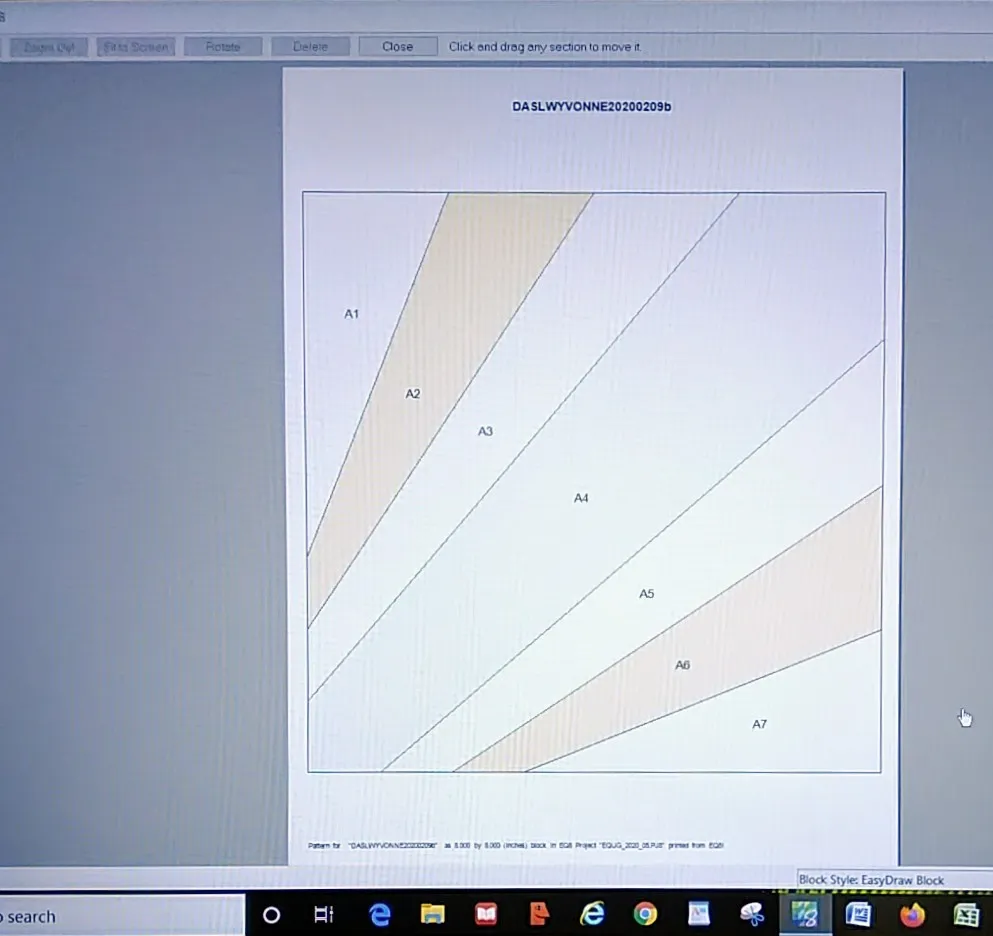
Click on the options tab in the pattern box. You will see that EQ8 automatically fills the block size for us. The seam allowance is automatically set to the standard 1/4 inch. You can change the line thickness of your pattern in the drop down menu if you need to see it more clearly. The style is defaulted to ‘color fill’ but you can change that to grayscale or line drawing if you wish. All of the options are checked/turned on but I uncheck all those for paper piecing because I want to save paper when printing the pattern and the options takes up space on the printed page. We have 12 blocks to create if you are going to sew the quilt as designed for class. Change the number of copies to be 12 in the box on the lower right side to print 12 patterns for the block.
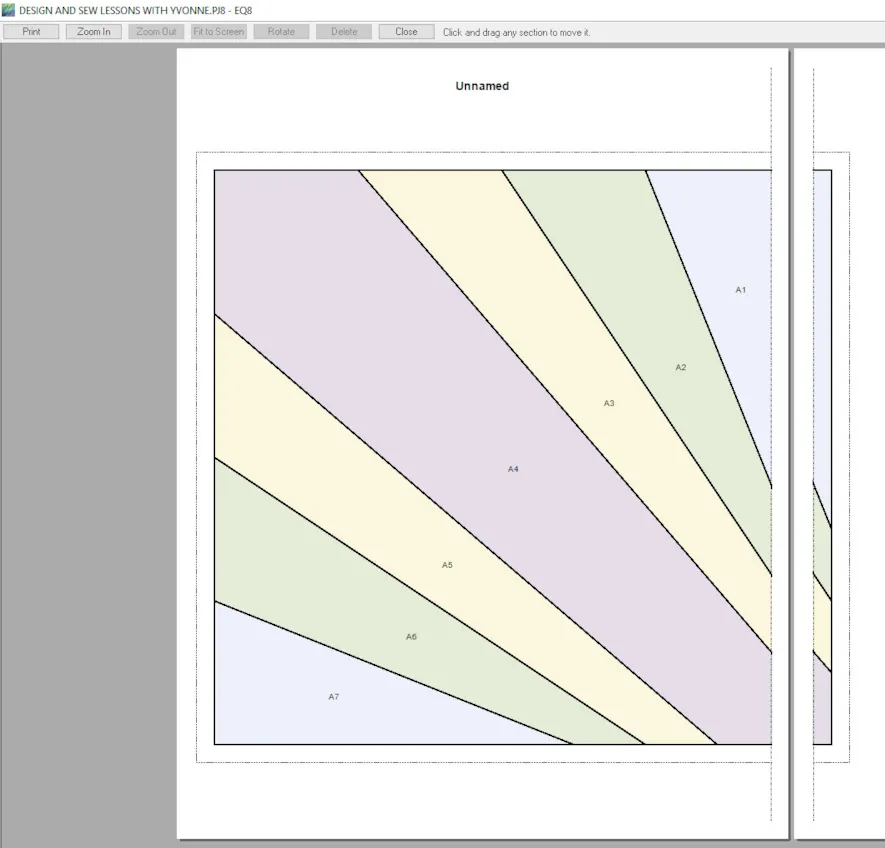
You can preview your pattern by clicking on the preview at the bottom of the box. I suggest you always do this before printing. You can make some changes to save space on the paper at this point if you preview first.
The pattern is one piece but it won’t fit on my paper size for my printer. EQ recognizes this and prints the pattern over two pieces of paper. I would need to join those two pieces with tape before I begin to stitch my block.
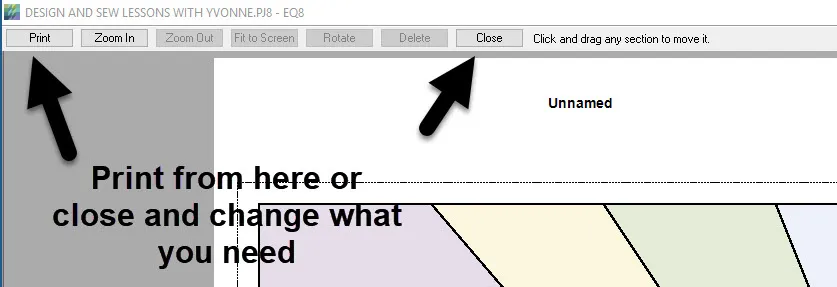
If you are satisfied with the pattern layout, you can print from this screen by clicking on the ‘print’ box at the top of the screen. If you are not happy with the layout, color, etc., you can click on the ‘close’ at the top of the screen and change your settings for the pattern options. I would click on the ‘print’ on this page if you are sewing the quilt we are highlighting in this DESIGN AND SEW LESSONS WITH YVONNE.
NOTE: You can also print from the pattern box without doing the preview. (I don’t recommend that.) After printing, close the box by clicking on the close at the bottom.
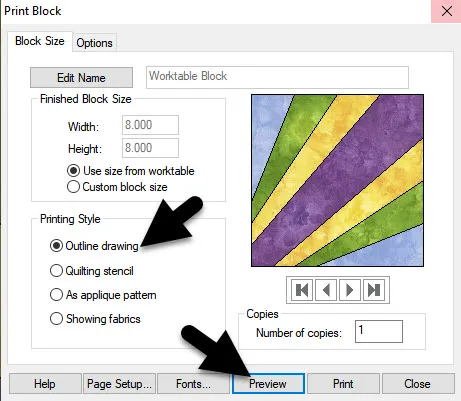
In the print patterns choices at the left side of the screen, click on the ‘block’ icon.![]() In the pop up print block box, click on the ‘outline drawing’ and then click on ‘preview’ at the bottom of the box.
In the pop up print block box, click on the ‘outline drawing’ and then click on ‘preview’ at the bottom of the box.
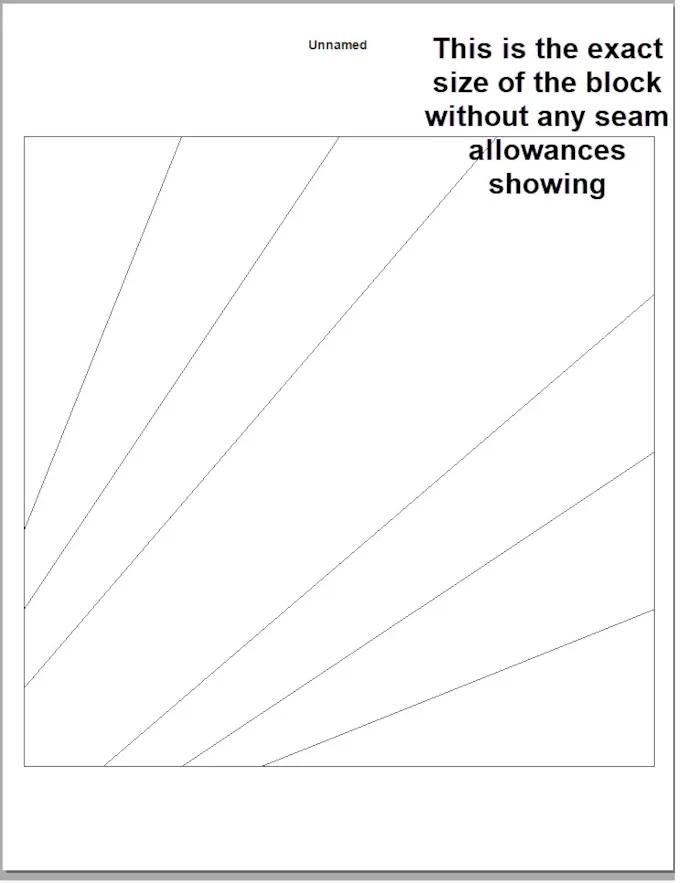
The screen preview shows you the entire block available to print on a single sheet of paper. There is no numbering available and no seam allowances shown. If you are a confident paper piecer, you may choose to create your pattern print out from this screen. When creating patterns for others, I would not recommend using this as your pattern choice. Close the print options by clicking on the close at the top of the screen.
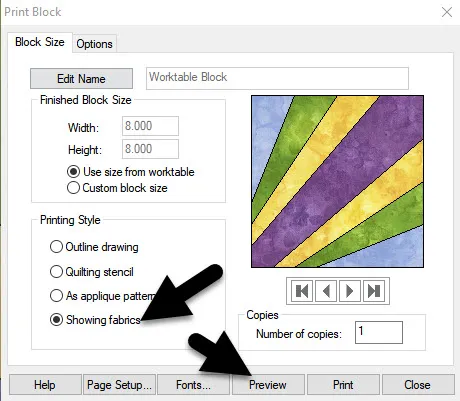
On the print block box, you may choose to change the print style to ‘showing fabrics’ and use it as a reference for color placement. If you are a pattern designer creating patterns for sale to others, you could choose this view for printing to include in your pattern directions.
Close the box when finished viewing the options.
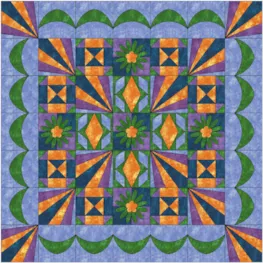
We will be placing all our blocks into a quilt layout after they have all been constructed. For now, we are just creating the blocks in preparation for a quilt layout.
STEPS TO CREATE AND SUBMIT AN IMAGE TO THE COMMENT BOX–
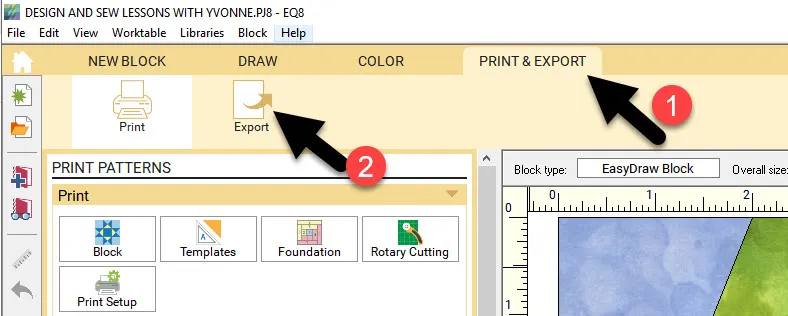
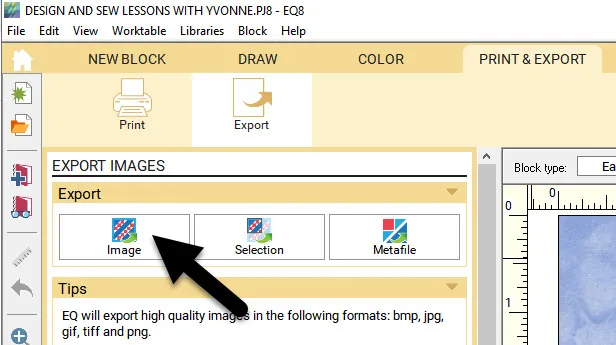
1. On the block worktable, click on the print and export tab at the top of the screen and then click on the export tool on the ribbon.
2. Click on the image icon ![]() on the box at the left side of the screen.
on the box at the left side of the screen.
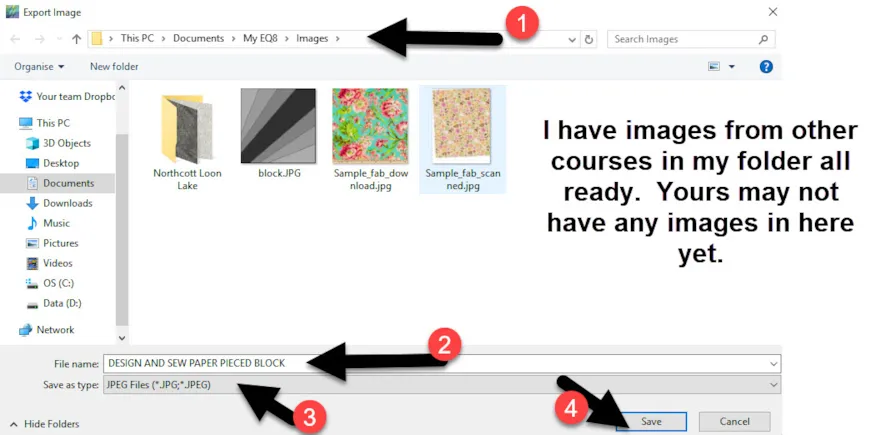
3. In the pop up box, navigate to the Documents> My EQ8> Images Folder. Type the name of the block DESIGN AND SEW PAPER PIECED BLOCK. Choose either a PNG or JPG file as the type and click the save button.
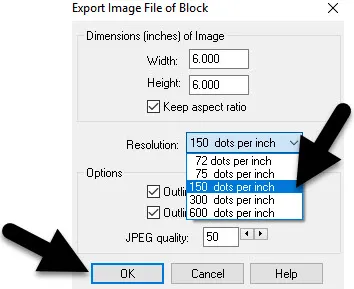
In the next box, change the image resolution to 150. Nothing else needs to be done. Click OK in the bottom of the box.
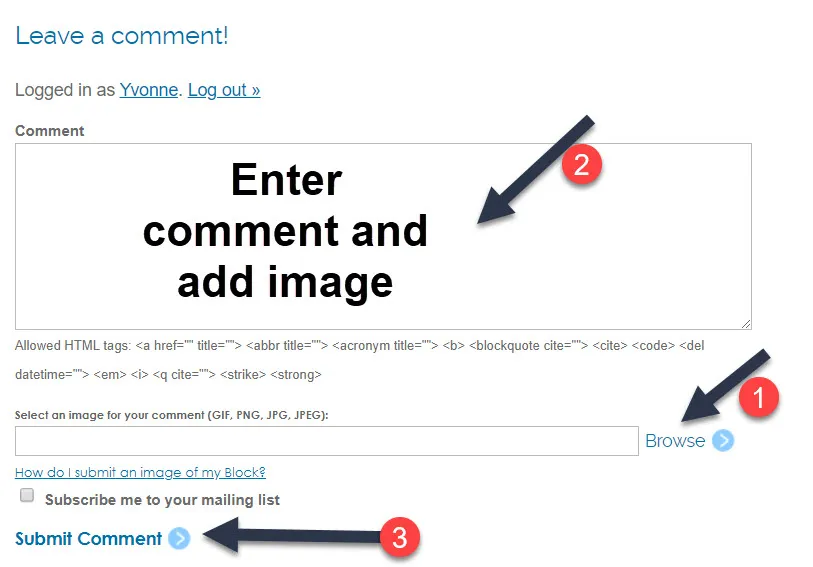
4. In the comment box at the bottom of the blog page, click on browse and navigate to your block image in DOCUMENTS>My EQ8>Image folder and select the block image to upload to the comment area.
We want to see your blocks and any explanation you want to add in the comments box on the blog page. NOTE: The comment section of the blog is only for sharing our blocks from our EQ8 project folder. We can not use any other images to post to the blog page.
At the bottom of the blog page, under the comment box you will see a browse button to navigate to the image of your block. After you have uploaded your image and written your comment, make sure you click on the ‘submit comment’ under the box on the blog page.
There is another section called “How do I submit an image of my block” that you can click on and it will take you to the instructions from the EQ website.
Watch a Video Lesson!
Click play to watch the video for this lesson.
Want to download the video to watch later? Click an option below:


