
 The Row by Row Experience® began in 2011 with 20 quilt shops across New York State. Since then thousands more stores in the US, Canada and Europe have joined the fun. Travelers collect row patterns, then create stunning quilts with those rows … and no two are alike!
The idea is to travel, shop and collect patterns. Then combine your rows to form your quilt! Row by Row Taste the Experience started June 21, 2019 and the collecting ends September 3, 2019. Here is more information.
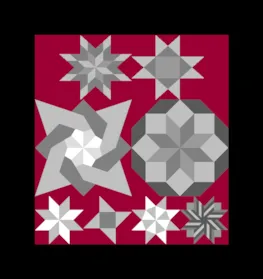
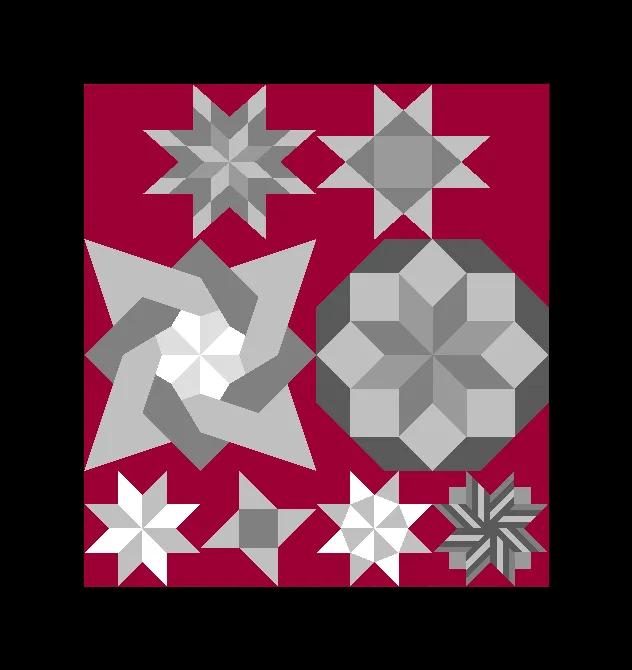
There are four different sizes you may receive from quilt stores.

You will likely get a variation of all these sizes. How do you make them all fit together? With EQ8, of course! ![]()
Follow along with the lesson and create a quilt to submit right on our blog. If you have a blog, make sure to add your site too. Let’s visit each others’ blogs and all get to know each other! Let’s get started!
There are a few different ways to approach this.
The first way is using borders.
- Click the NEW QUILT tab
- Click the LAYOUT tab > Horizontal
- Make your quilt 54 x 6 and 1 x 1 blocks. Perfect fit for a Long Tall Sally.
(You may need to change your Layout Options if it won’t allow you to go higher than 48. Also please note, If you want to make your borders wider and it seems like EQ8 won’t let you, you just need to change your Quilt Worktable Options.)
- Click the BORDERS tab
- Choose a Blocks for Border Style
- Make the Top border 18 inches and all other borders 0
- Make 3 blocks in the border. Now you have spots for three Foxy Boxy rows.

- Add another Blocks style border
- Make the Top border 9 and all other borders 0
- Make 6 blocks in the border. You have a spot for one RxR Classic with 18 inches of extra space. (We’ll see how to deal with that later.)

- Add another Blocks style border
- Make the Top border 12 and all other borders 0
- Make 2 blocks in the border. You have a spot for two Short and Sassy rows.

However, the rules say that you need at least eight rows and right now we only have 7.
Let’s add one more RxR Classic. - Check the box that says Clone the selected border
- Click on the RxR Classic row
- Click the Insert button

- Click Add to Project Sketchbook
 If you haven’t named your project yet, EQ8 will prompt you to do so. (To be saved, your item needs to be in the Sketchbook AND your project needs to be named. Here is more information.)You can use photos of your completed rows and use them to design. See this past Design & Discover for more information.
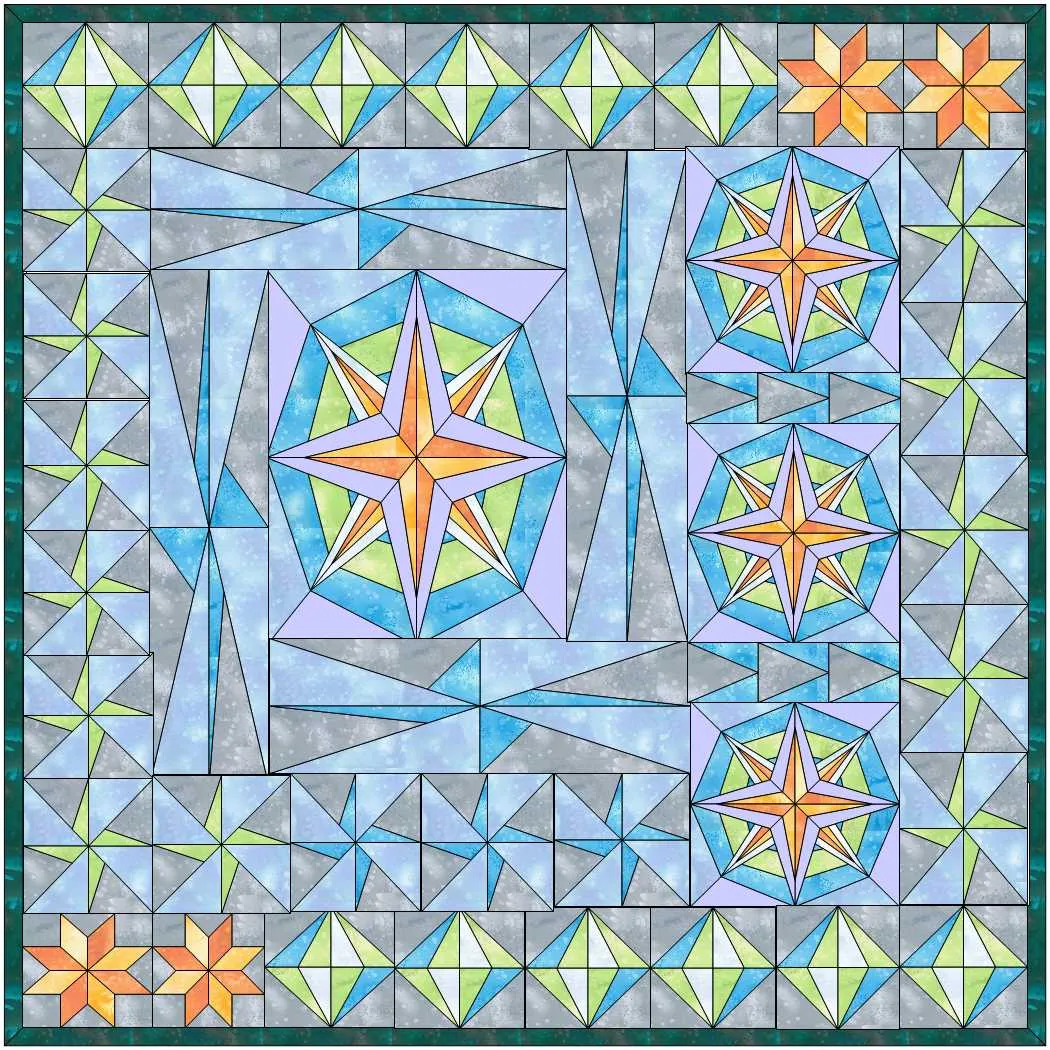
In this example I just used blocks. As you can see I centered the RxR Classics and added a block on each side to even out the design and width.

- Click Add to Project Sketchbook
Another way to do it is to use the borders as guides but place the rows on Layer 2.
You can also place somethings on Layer 1 and some on Layer 2.
In this example I placed the basket on Layer 2 and centered and resized it using the Adjust tool. It’s going to be a Short and Sassy so make sure the size is 27 x 12.

- Don’t forget to click Add to Project Sketchbook
when you have something you like.You could also design a layout using Custom Set.
- Click New Quilt > Custom Set

- I clicked the BORDERS tab and clicked DELETE but you can keep it if you’d prefer.
- Click the LAYOUT tab and make the quilt 54 x 54

- Click the DESIGN tab > Block Tools > Set Block
- Click the Three Dots Option and choose Add Plain Block

- Drag the Plain Block onto the quilt
- Use the Adjust tool to change the size to Row by Row sizes.
- Use the Adjust tool to move the blocks around to get a layout that you like.In the example the Row by Row sizes are blue and the filler spots are green.

- Once you have a layout you like click Add to Project Sketchbook
- Then you can start popping blocks (or photos of your actual rows) into the spaces.

- Once you have a layout you like click Add to Project Sketchbook
- If you want to post images of your quilt backs, here is how to export the images.

- To post your image click to comment on this post. Fill in your info and then click Browse. Go to: Documents\My EQ8\Images


I can’t wait to see your quilts! I hope you enjoyed the lesson!
If you have questions about the lesson feel free to post them below.
If you have questions about something else EQ related, please contact techsupport@electricquilt.com.


