Do you have blocks that you’ve already sewn but aren’t sure what to do with? Did you know you can import photos or scans of the blocks into EQ and play with them to help you decide what to do? Follow along with the lesson and submit your version of the quilt right on the blog with a link up. If you have a blog, make sure to add your site too. Let’s visit each others’ blogs and all get to know each other!
(Before getting started, keep in mind any of the images can be viewed larger by clicking on them.)
The first step is to get images of all the blocks.
If you are scanning your blocks try to use 72 or 75 dpi.
If you are taking photos of your blocks try to make sure the blocks are laying flat, so there are no shadows on the block.
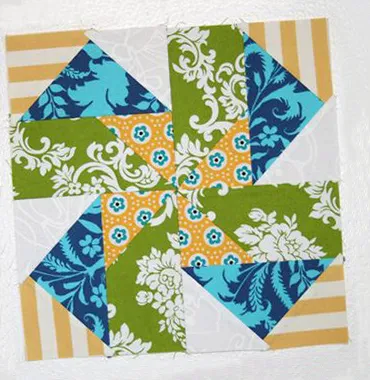
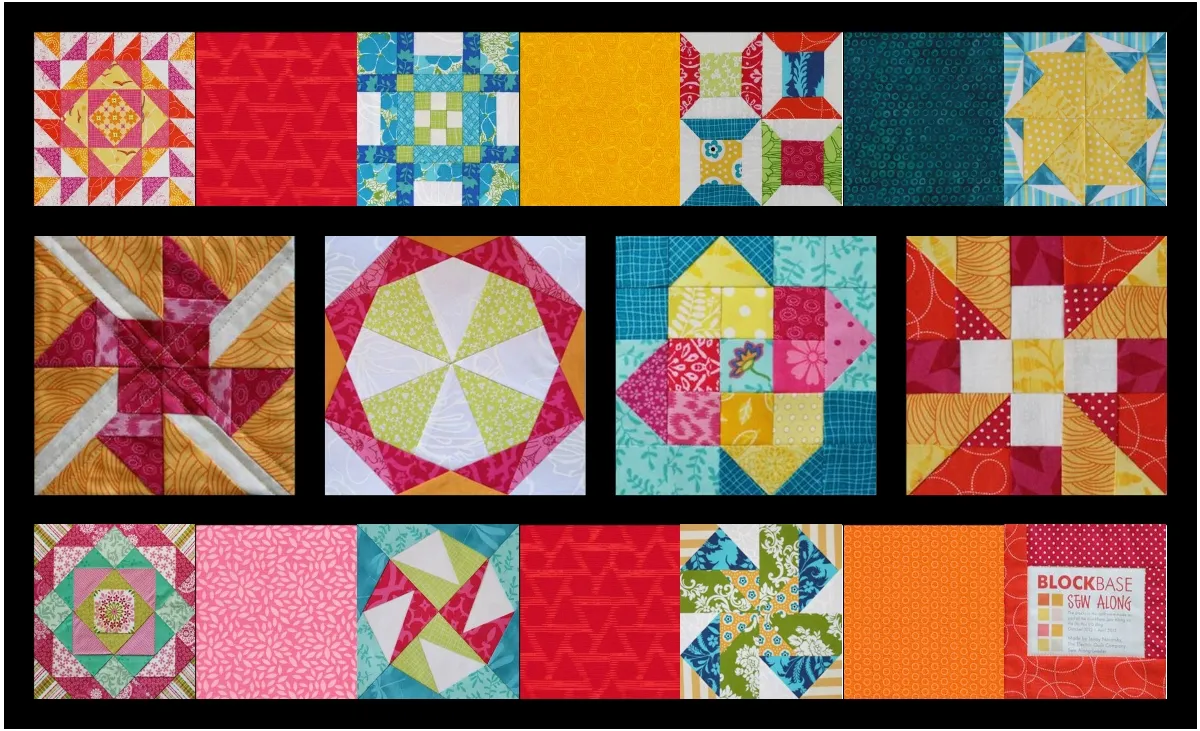
I am using the blocks from Jenny’s BlockBase Sew Along. I love the blocks she made and she did a great job sewing them! If you would like to work with these blocks too, you can download them here. (Or again, feel free to use blocks of your own if you would like to!)
You can see that our first block needs straightened and cropped. In the downloaded files it is called, “block1336_Uncropped”.
Let’s get started!
- Open EQ8
- Click on Image Worktable
- Click Import Image
- Navigate to your block image and select it.
- Click Open
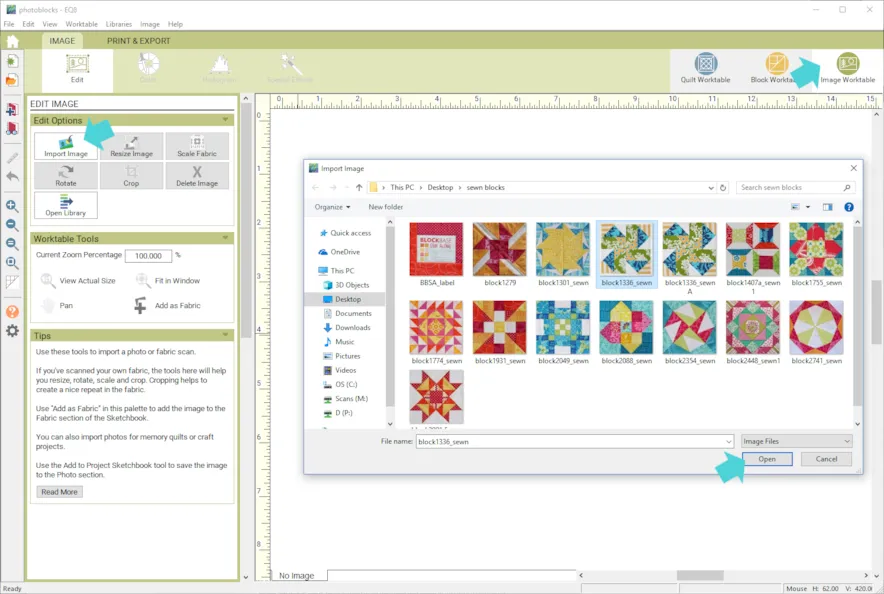
- Click the Rotate button
- Click Straighten and draw a line from one edge of your block to the other.
- Click Apply Straighten
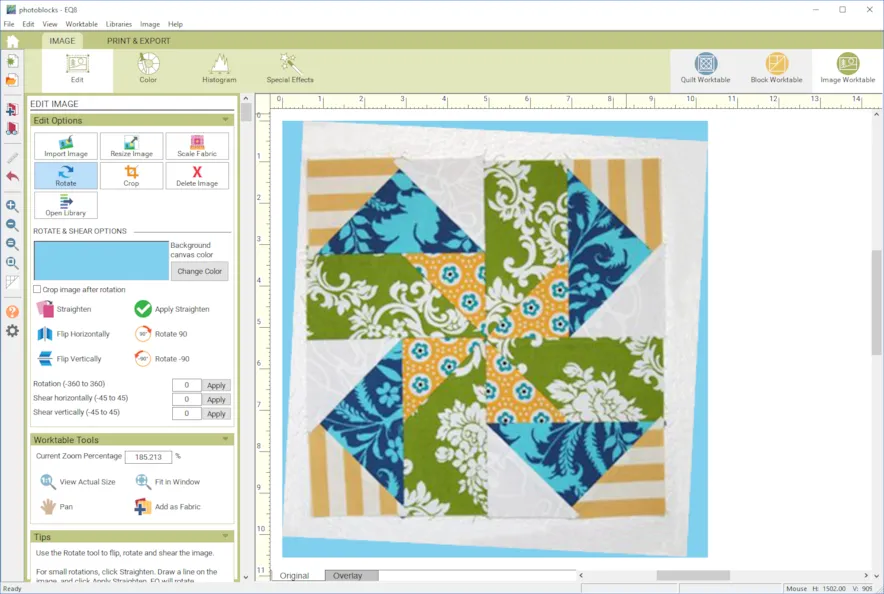
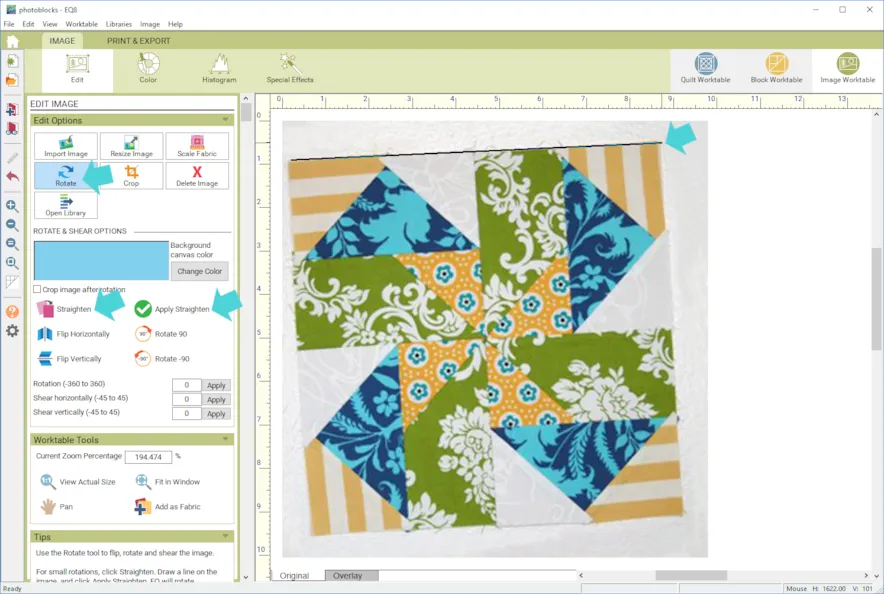 Whoa! Look at that! Your block is straight!
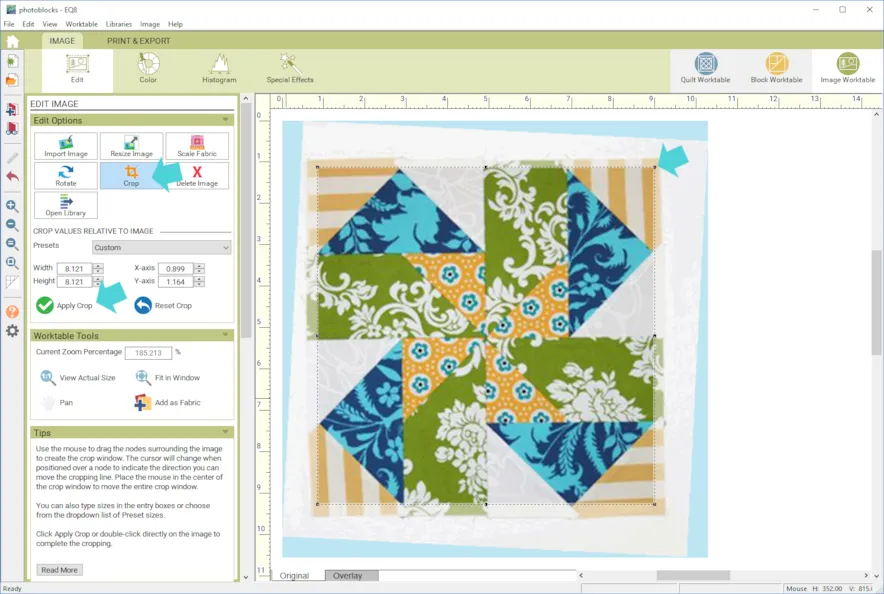
- Now, click the Crop button. Drag the crop line in. Be sure to also take the seam allowance into account. If your blocks is square, make sure the crop is square. Mine says 8.121 x 8.121. The fact that it’s not a “nice” number or not the size of your sewn block is ok. We will take care of that in a minute. If your block is not square, then make sure it is the correct ratio.
- Click Apply Crop.
- Now click Resize Image
- Type in the size of your actual sewn block. Mine is 10 x 10.
- Click Add to Project Sketchbook

If you haven’t named your project yet, EQ8 will prompt you to do so. (To be saved, your item needs to be in the Sketchbook AND your project needs to be named. Here is more information.)Repeat for as many blocks as you would like. (All of the other blocks from the downloaded files are rotated, cropped and ready to go.) - Now click Quilt Worktable > Custom Set
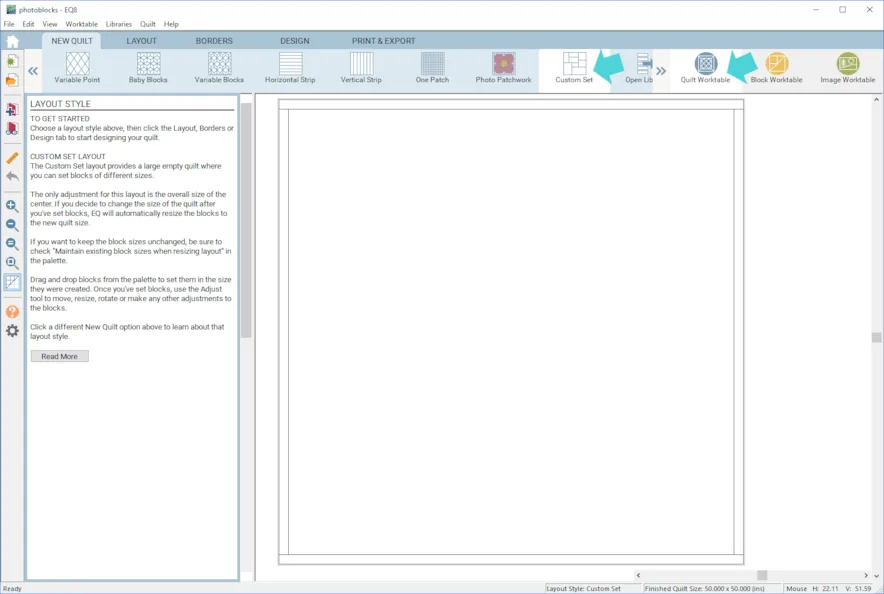
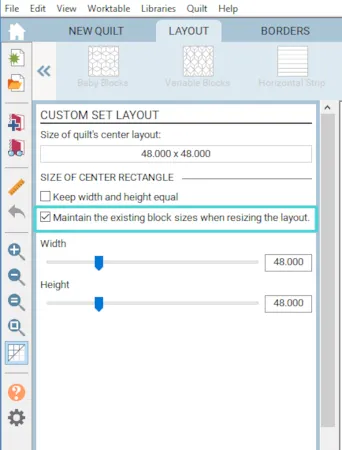
- I clicked the LAYOUT tab and made my center 25 x 25 because I know that works for my blocks. Of course, you can make it whatever you want. And of course this can be changed later.TIP: Check Maintain existing block sizes when resizing layout if you do not want the content of layers resized when resizing your quilt. For example, if this option is unchecked, a 10″ x 10″ photo will scale down in size when the quilt is changed to a smaller size, keeping the contents proportional.
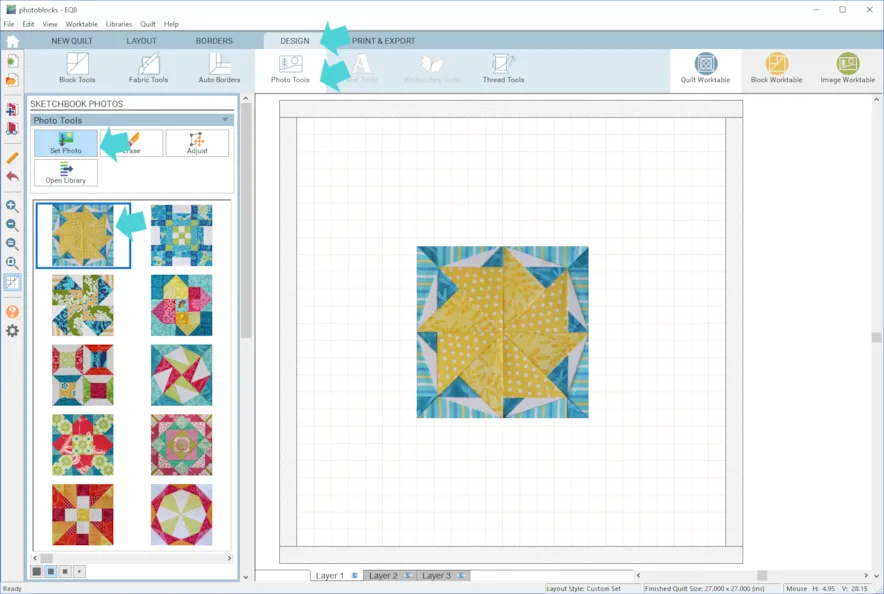
- Click the DESIGN tab > Photo Tools > Set Photo
- Click on a block and drag it to the quilt. It will automatically be the size you made it on the Image Worktable!
- Use the Adjust tool to move the blocks around the quilt.
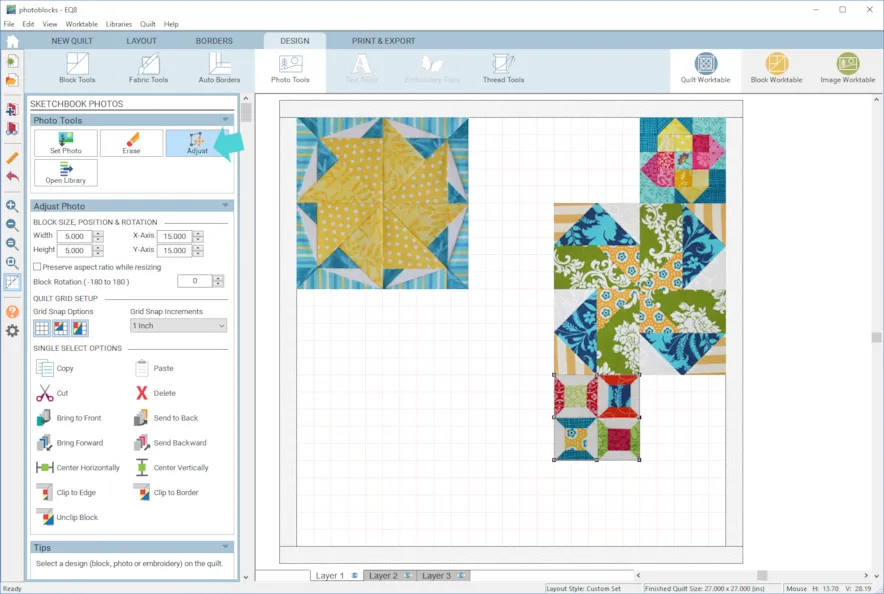
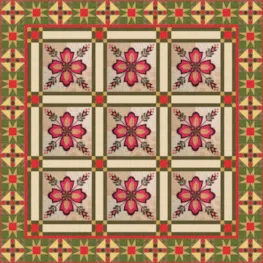
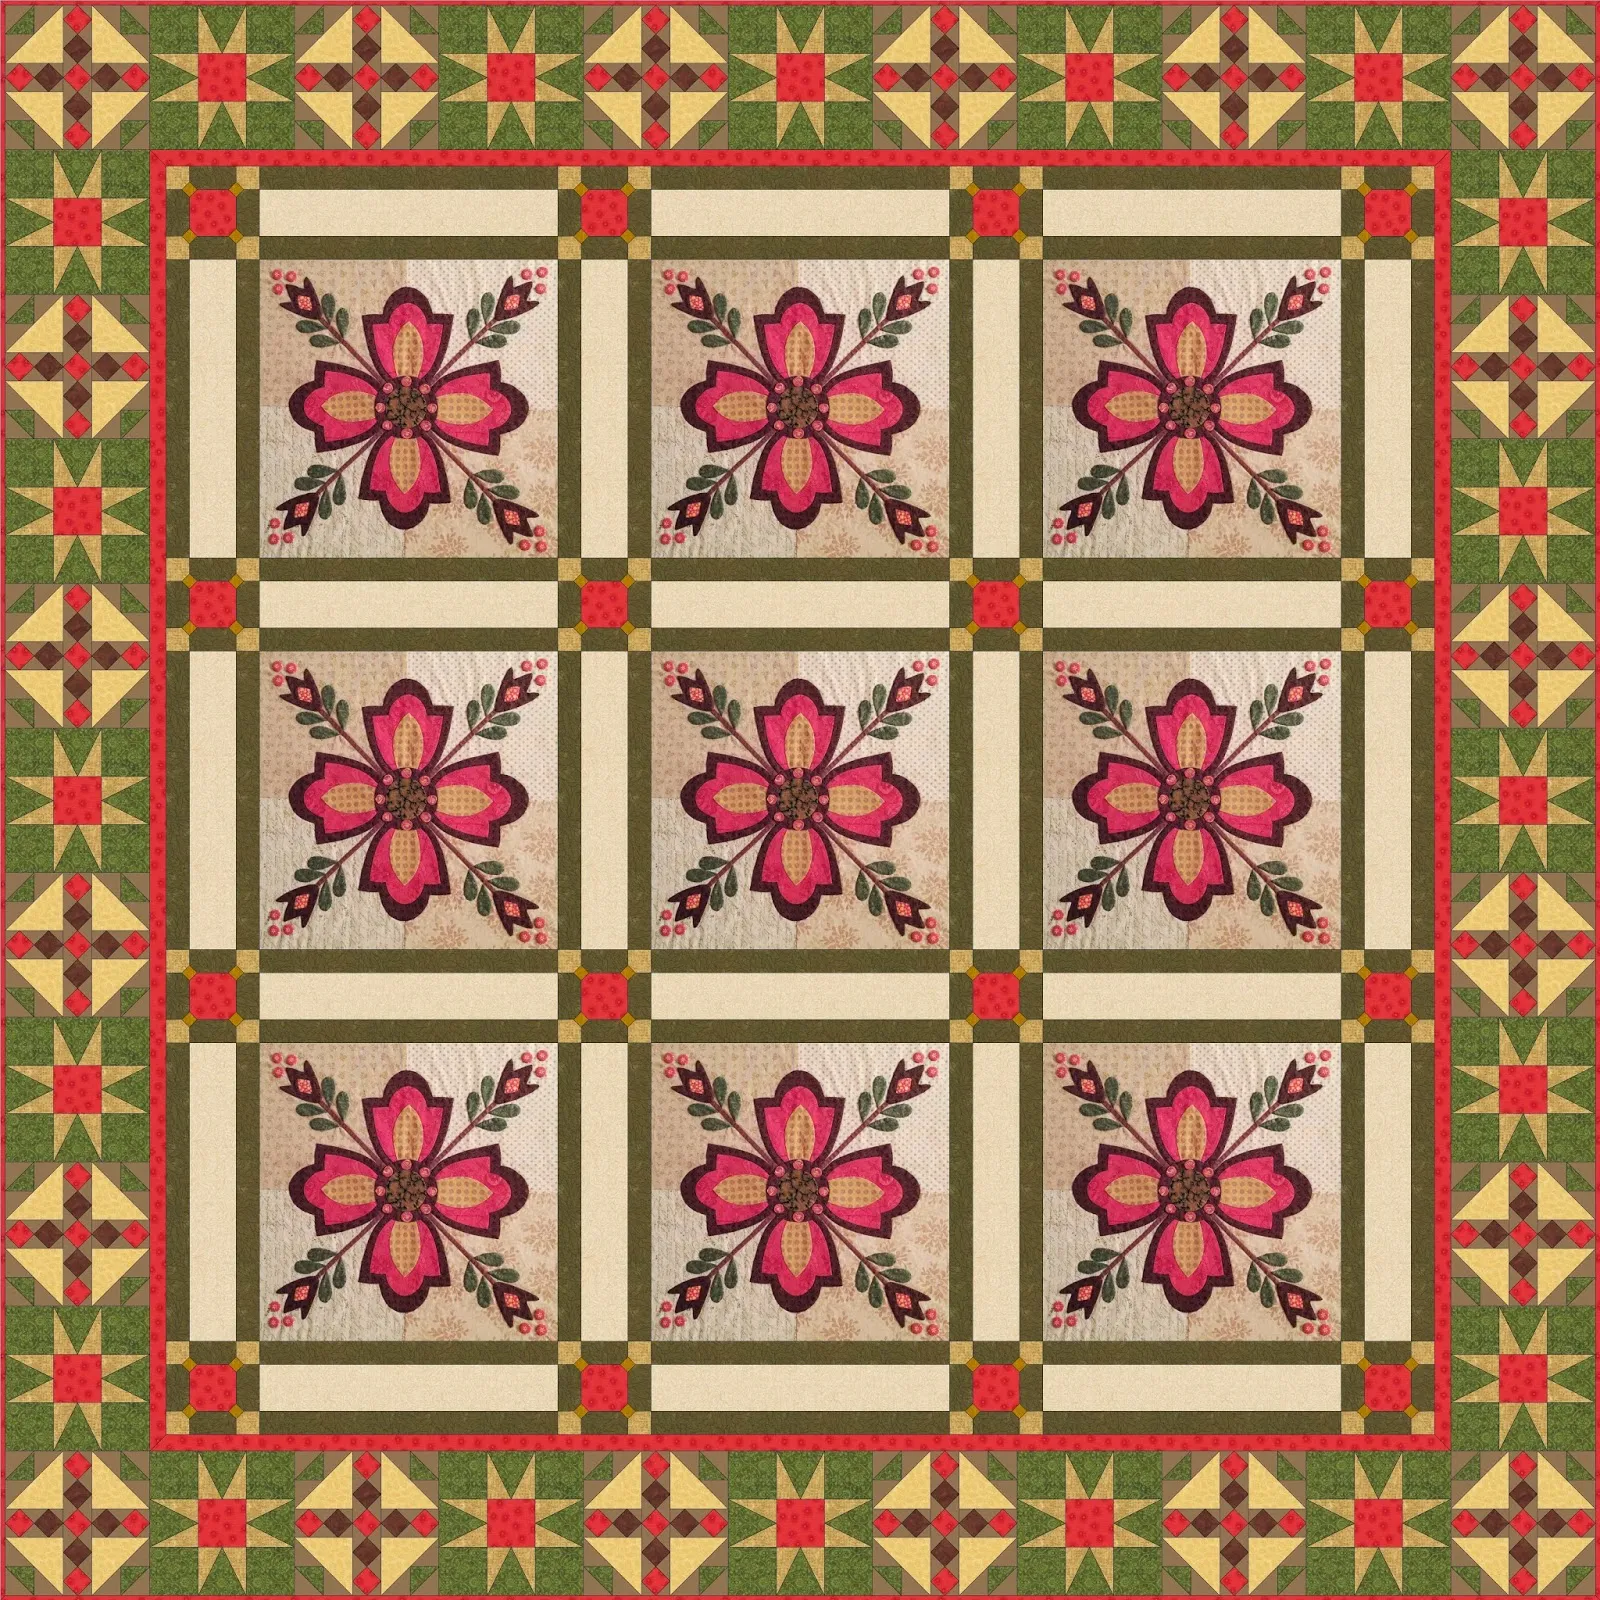
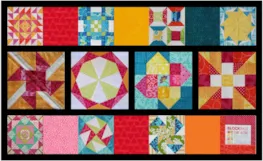
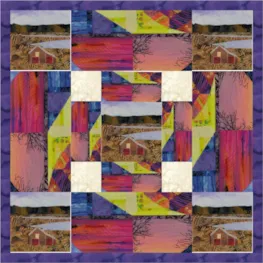
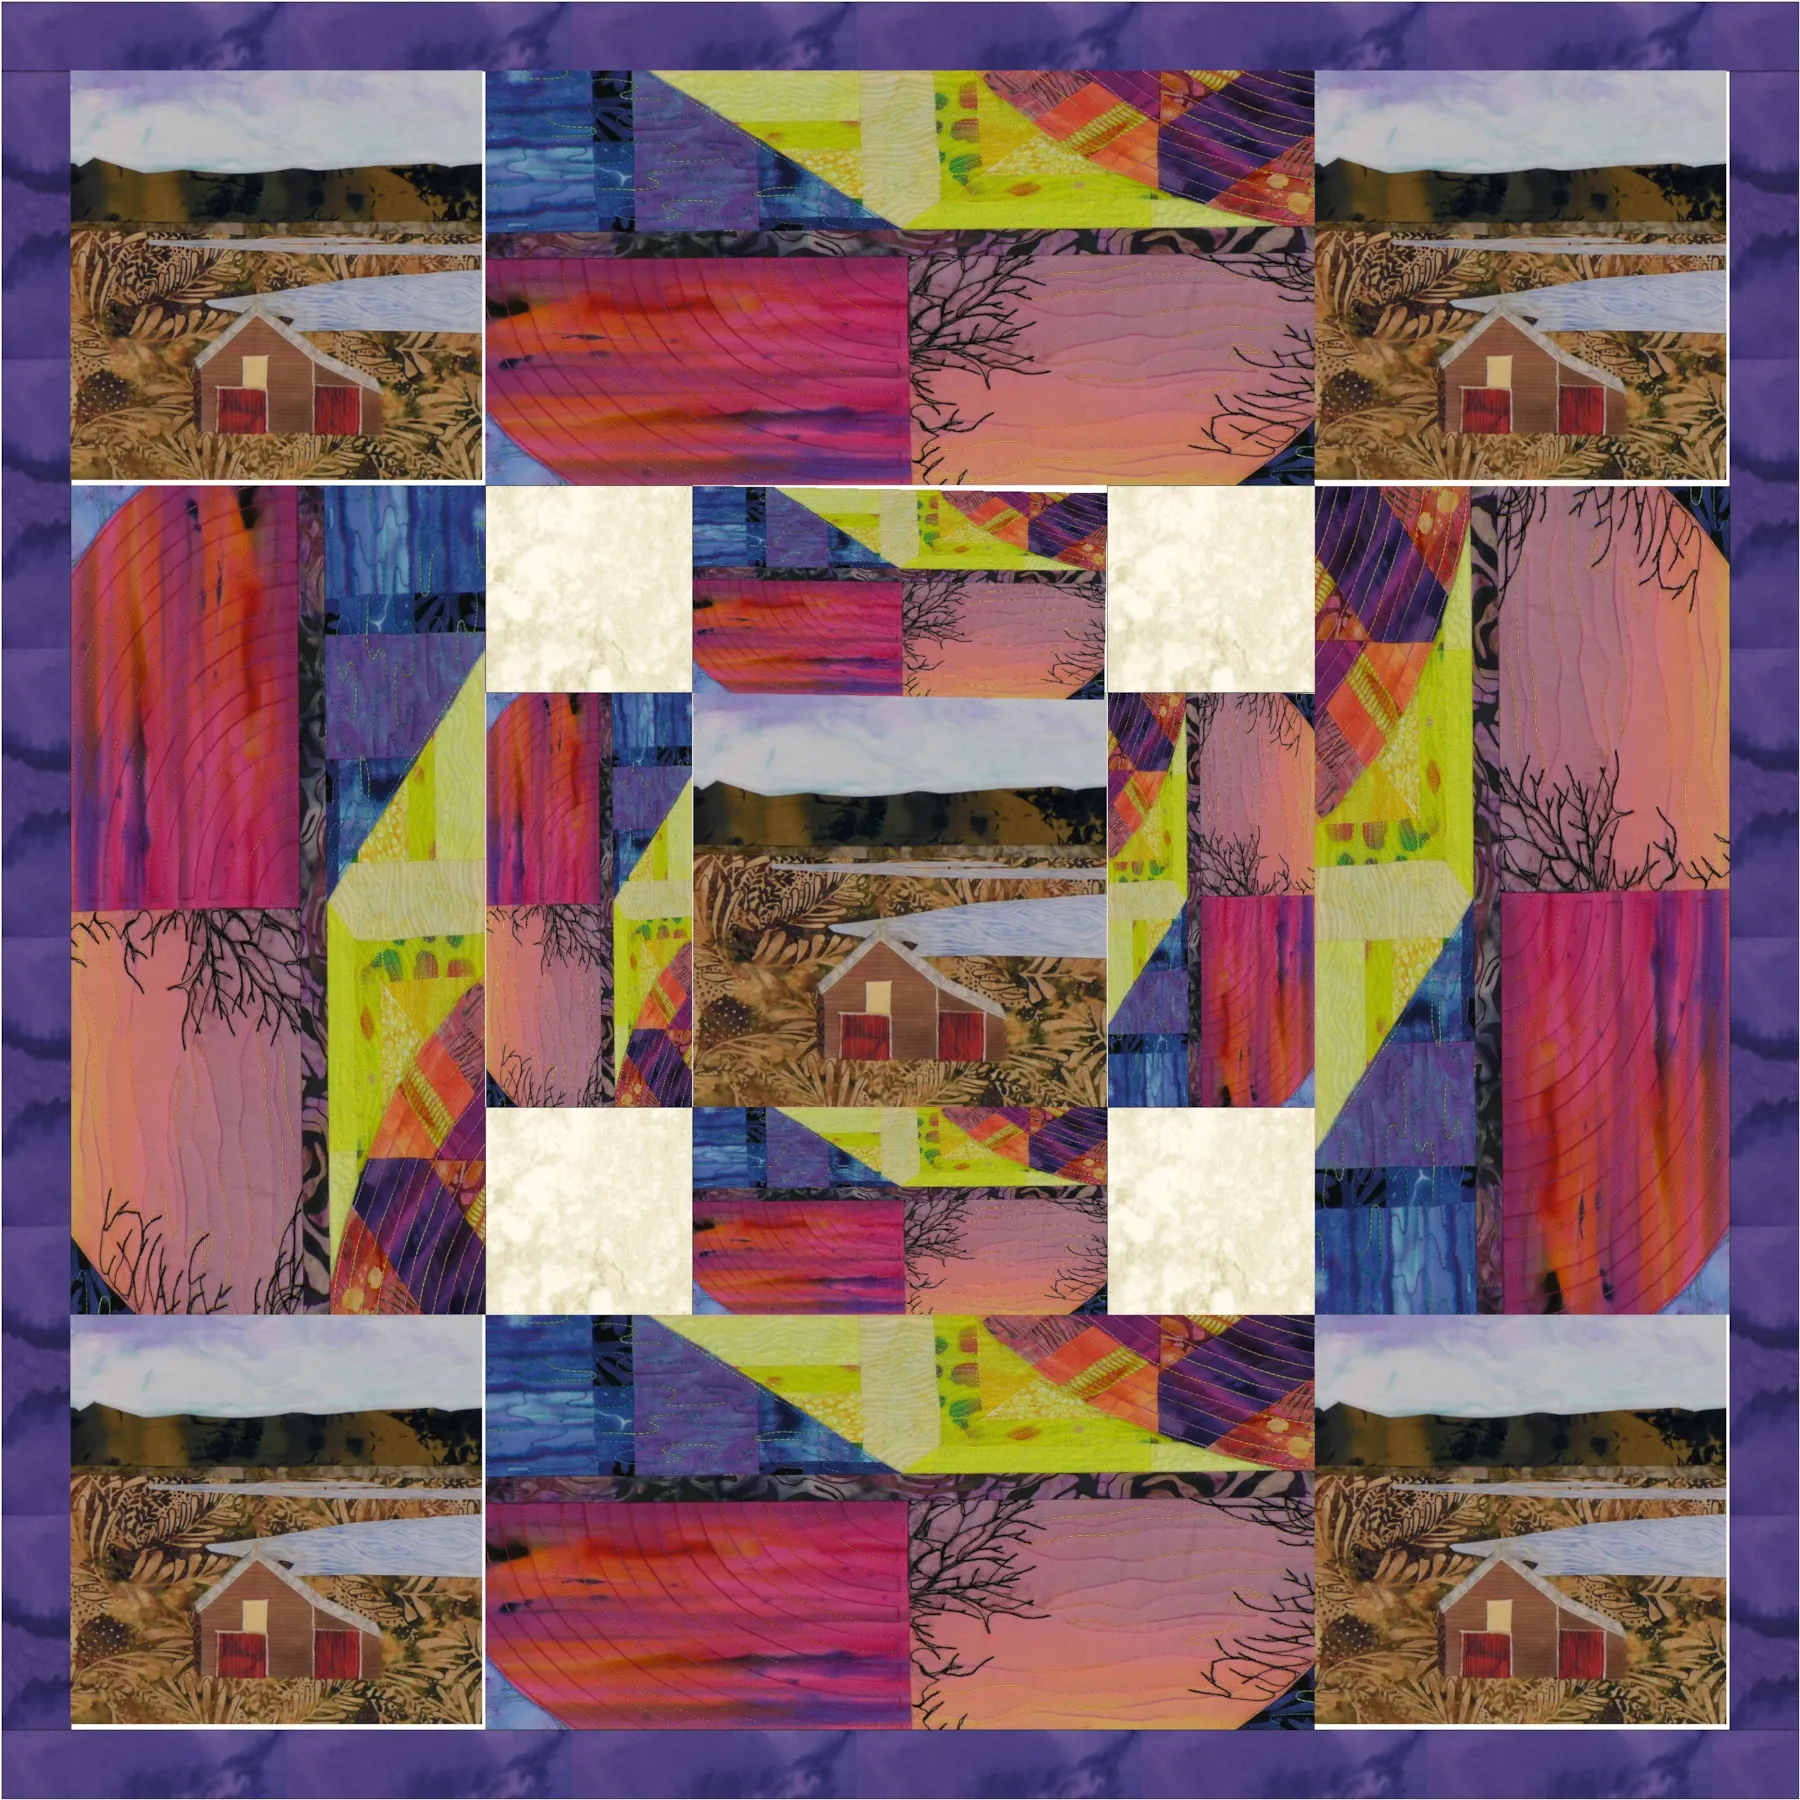
See more tips for Custom Set quilts. Here is the first design I came up with…
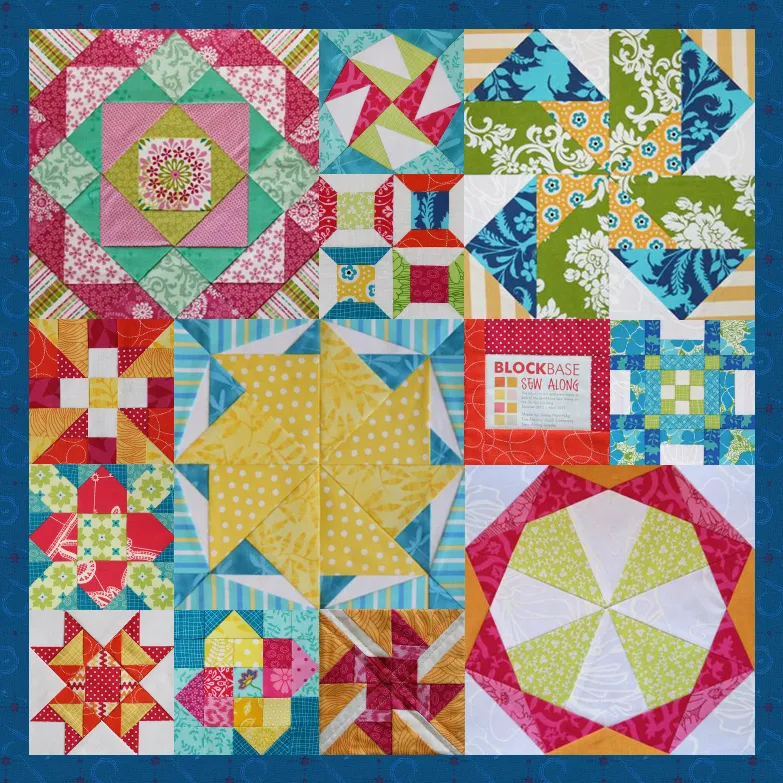
But then I wanted to see what it would look like with some space between the blocks so I used a plain block to add sashing. You can see how to do this here.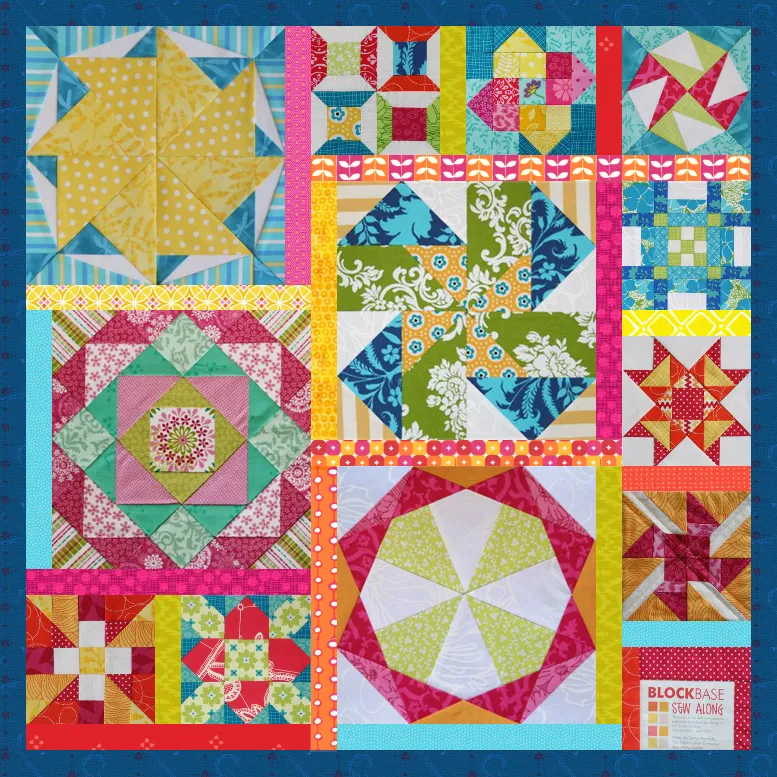
Now let’s try something besides Custom Set.
Always be sure to click Add to Project Sketchbook for any quilt you want to keep before starting something new.
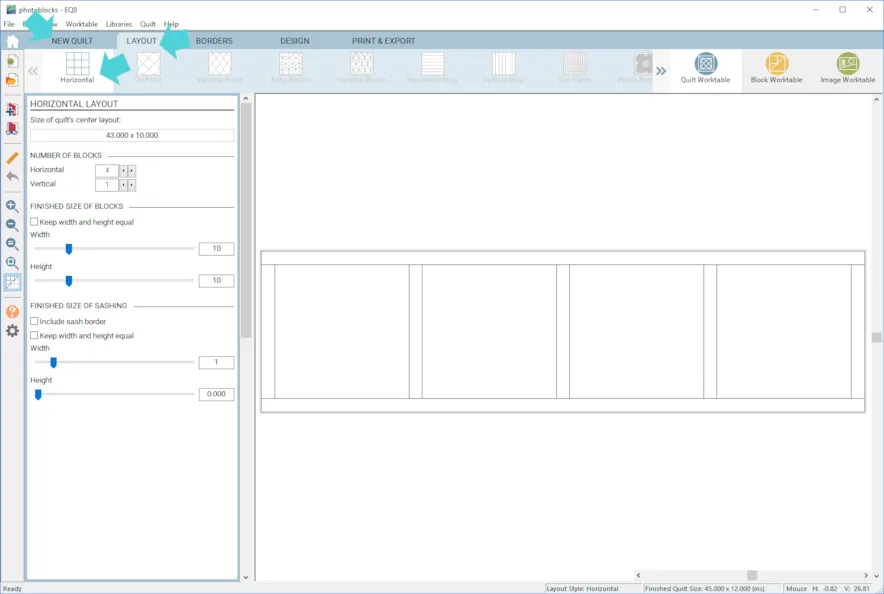
 - Click New Quilt > Horizontal
- Click the LAYOUT tab
- Make your quilt 4 Horizontal x 1 Vertical with a sashing of 1 inch. (This is what works with my number of blocks but feel free to do a different number.)
- I made my blocks 10 x 10 but you can make them the size of your actual sewn blocks.
- Click the BORDERS tab
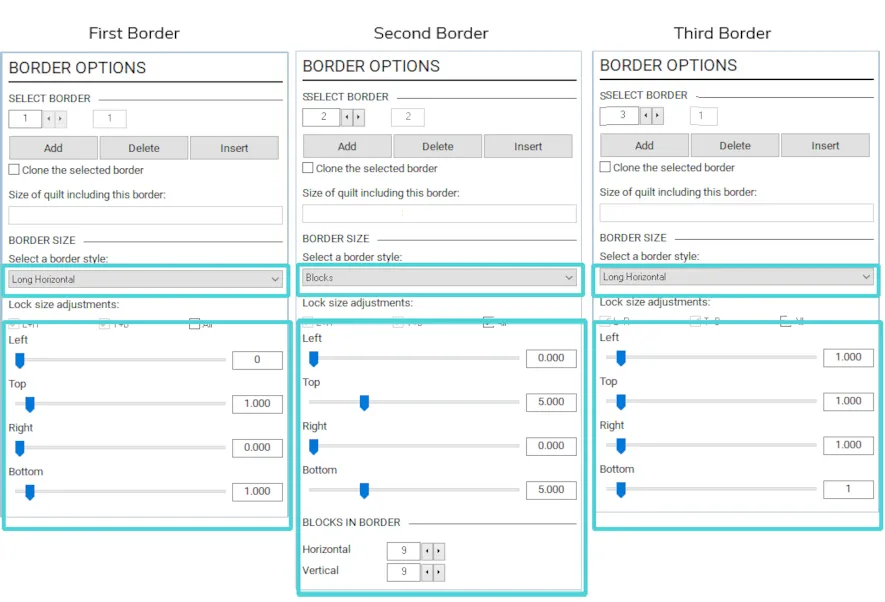
First Border – Style: Long Horizontal with 1 inch on Top and Bottom, 0 on Left and Right
Second Border – Style: Blocks border 5 inches on Top and Bottom, 0 on Left and Right with 9 blocks in the border
Third Border – Style: Long Horizontal with 1 inch on all sides
- Click the DESIGN tab > Photo tools > Set Photo
- Now when you place a photo in the quilt the photo will change to the size of the square you put it in. So if I were to put one of my 10 inch blocks in a 5 inch space, it would resize to 5 inches. If you already have your blocks made, you don’t want this to happen so be aware of that!
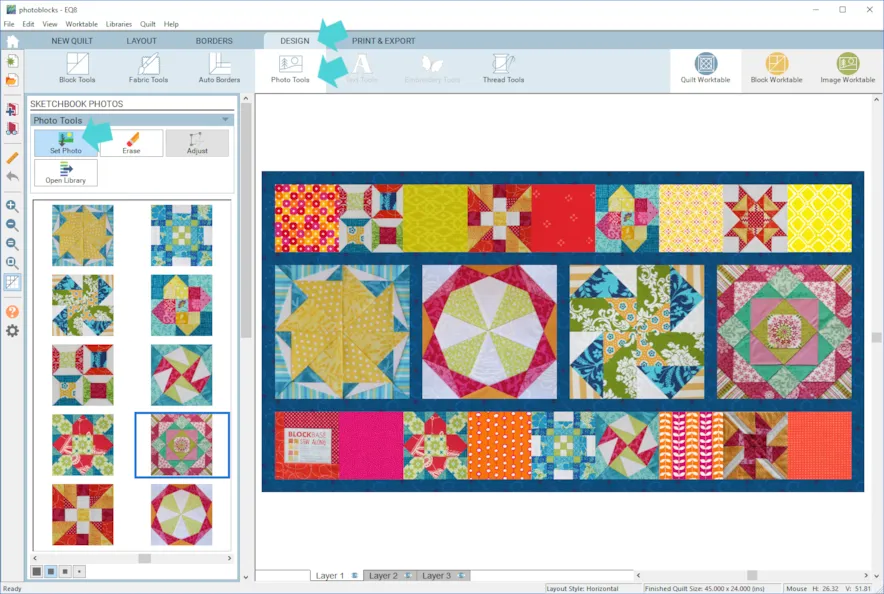
- Add to Project Sketchbook

- If you want to post images of your quilts, here is how to export the images.
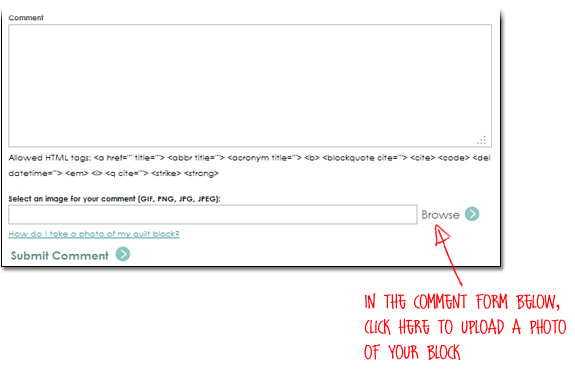
- To post your image click to comment on this post. Fill in your info and then click Browse. Go to: Documents\My EQ8\Images
I can’t wait to see your quilts! I hope you enjoyed the lesson!
If you have questions about the lesson feel free to post them below.
If you have questions about something else EQ related, please contact techsupport@electricquilt.com.


