Working with ombré fabrics in EQ8 may be a little tricky if you don’t understand how images are cropped, repeated (or tiled), and displayed in EQ8.
With most fabrics we recommend cropping to the repeat or not more than about 7 inches. Below is a fabric that doesn’t have a repeat so was cropped at a inconspicuous spot. Even when you see where the fabric tiles it isn’t very obvious. (Click on the image to make it larger.) When you place the fabric in a block you can’t see the tilling at all, and even if you did it would be easy to get rid of with a little fussy cutting.

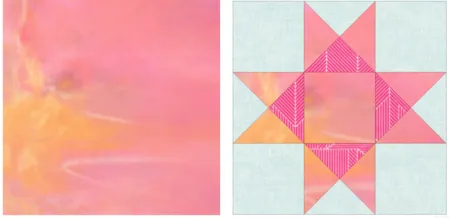
But, because of the way ombré fabrics are designed, those techniques don’t work very well. If you imported this fabric (Peony by Jennifer Sampou)…

Cropped it to 7 inches and added it to a block, it would look like this…you would not get any of the fuchsia, dark pink, and purples in the original fabric (even if you fussy cut).
Let’s use Jennifer Sampou’s SKY Ombré’s to learn some better techniques for ombré fabrics.
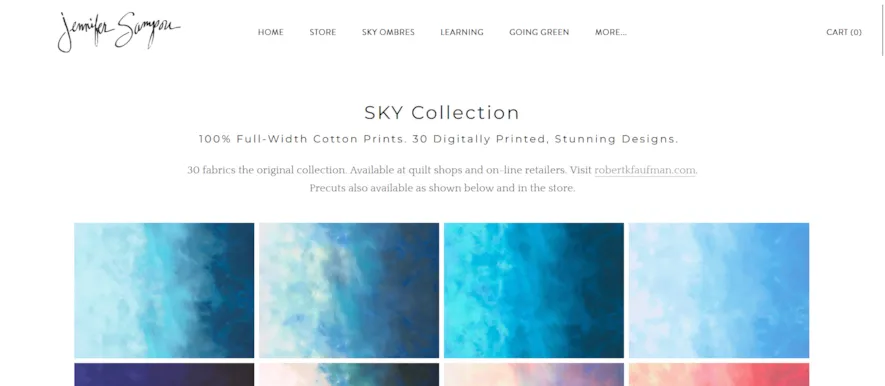
- On Jennifer’s site right click on one of the fabric images and choose Save Image As. Repeat if you would like to use multiple fabrics.
- Navigate to where you would like the file saved and click Save.
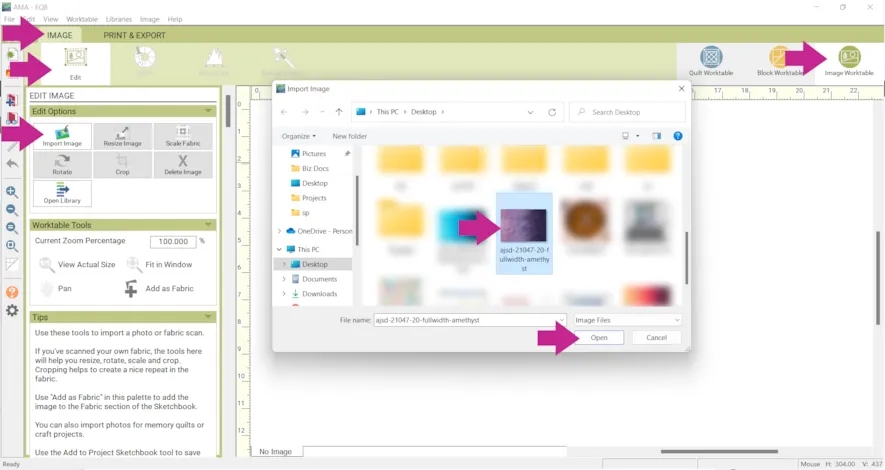
- Open EQ8 and click the Image Worktable.
- Click the IMAGE tab > Edit > Import Image
- Navigate to where your fabric file is saved and select it.
- Click Open.
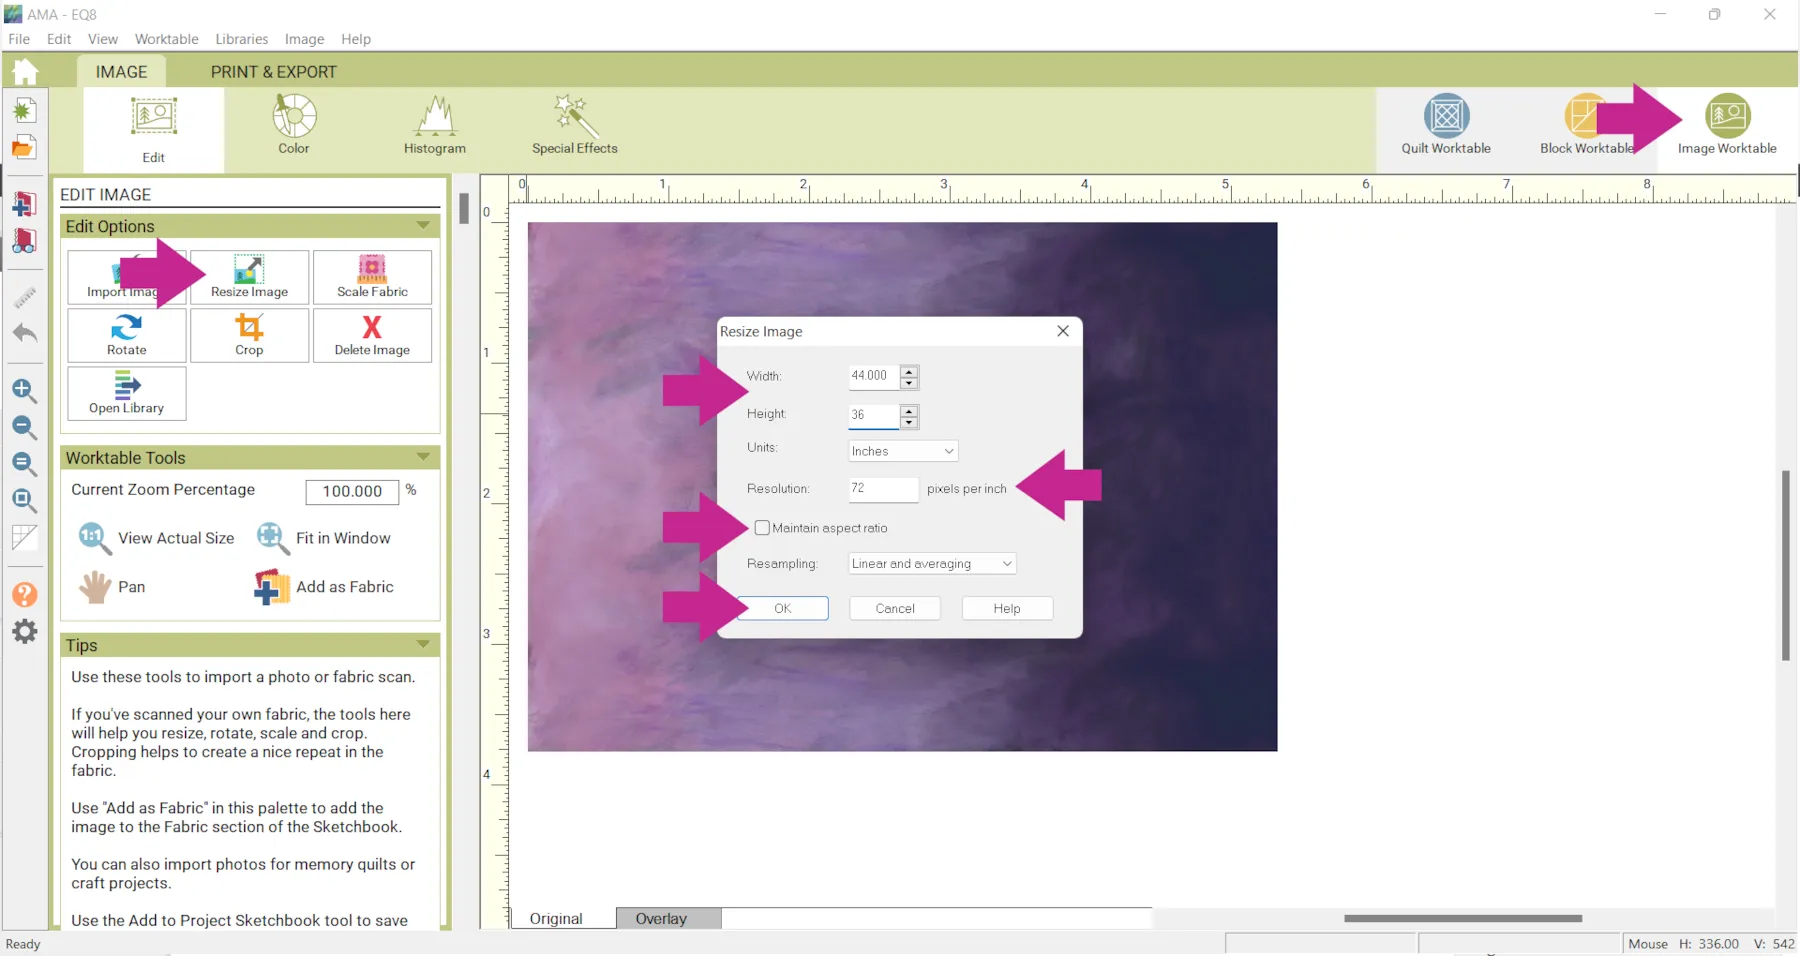
- Click Resize Image
- Uncheck Maintain Ratio
- Change the Resolution to 72 (images in EQ8 should always have a 72/75 resolution)
- Change the Width to 44 and the Height to 36, so it represents a yard of fabric. Click Ok.

- Click the Fit to Worktable button
- Click Add as Fabric
- Also click Add to Project Sketchbook
 . If the project is unnamed EQ8 will prompt you to do so. (To be saved, your item needs to be in the Sketchbook AND your project needs to be named. Here is more information.)

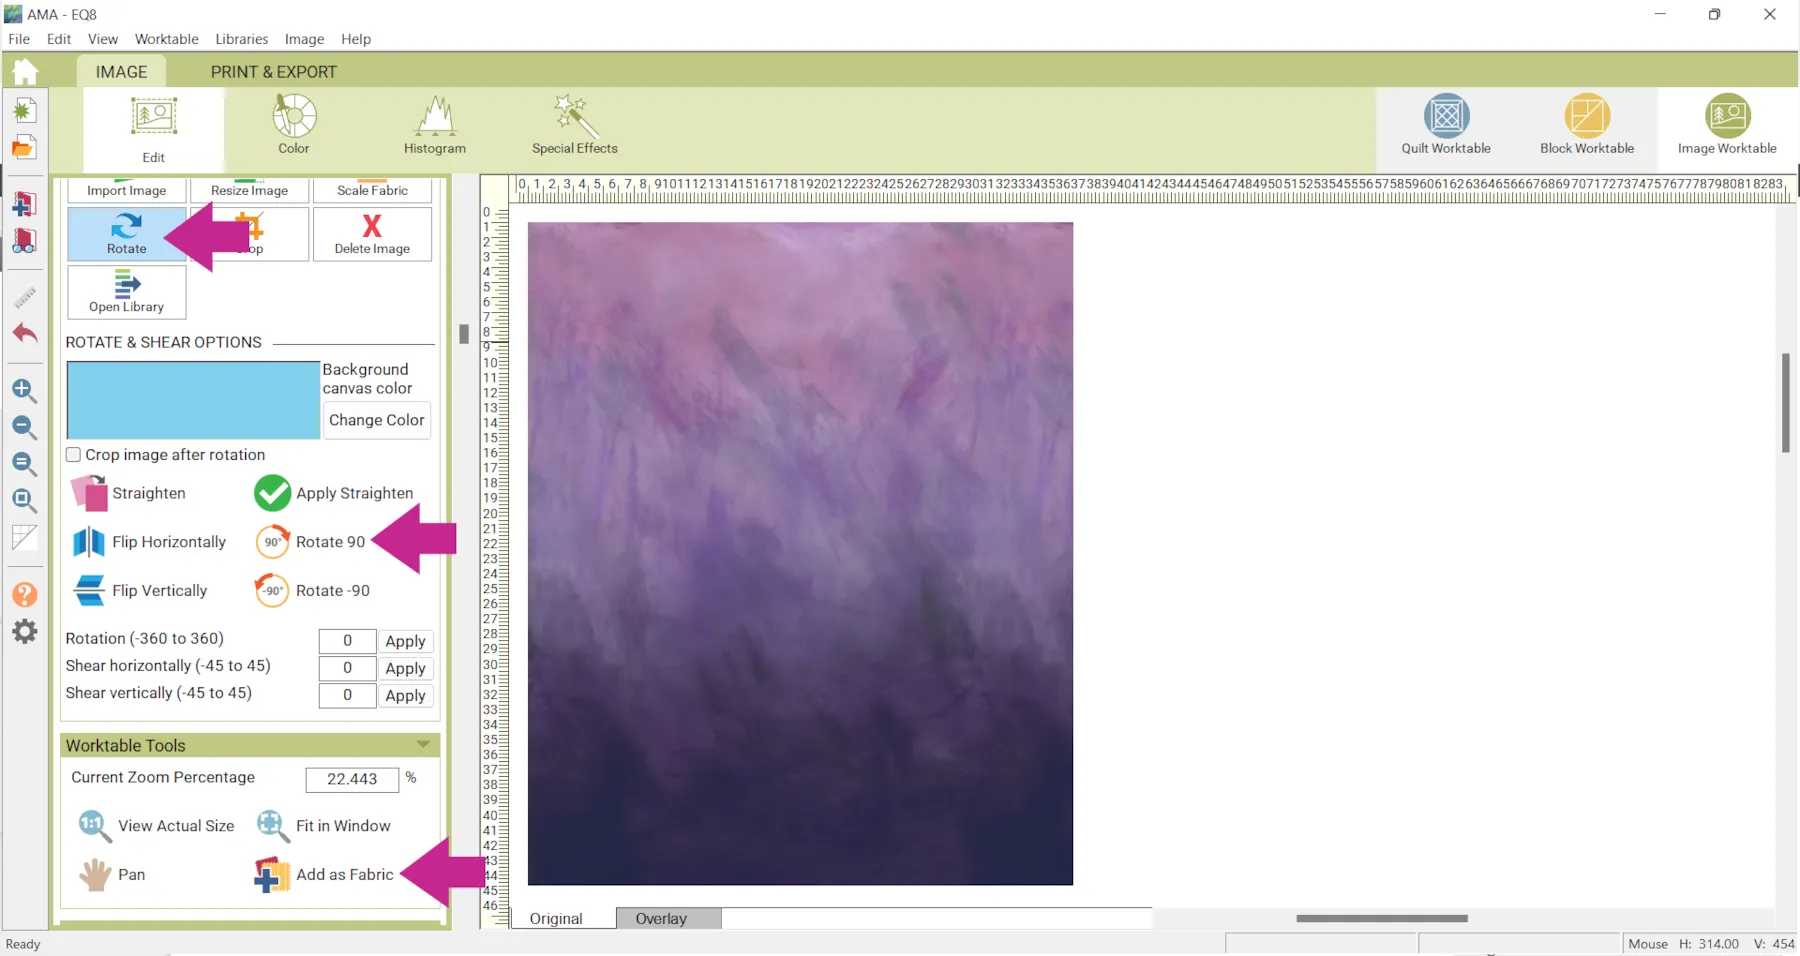
- Click the Rotate tool
- Click Rotate 90 degrees
- Click Add as Fabric
 Clicking Add as Fabricadds the image to your Sketchbook as fabric.
When you click Add to Project Sketchbook it gets added as a Photo.
Here is more information about the differences in using fabrics and photos.
Jennifer’s website says the repeat of the fabric is 24 inches. Again, in EQ8 in most cases you DO want to crop to the repeat. (The large files sometimes cause EQ8 to go slowly.) We’ll see how it works for the ombré fabric.
- Click the Fit to Worktable button
- Click Crop
- Drag the selection until the width says 24.00 inches
- Click Apply Crop
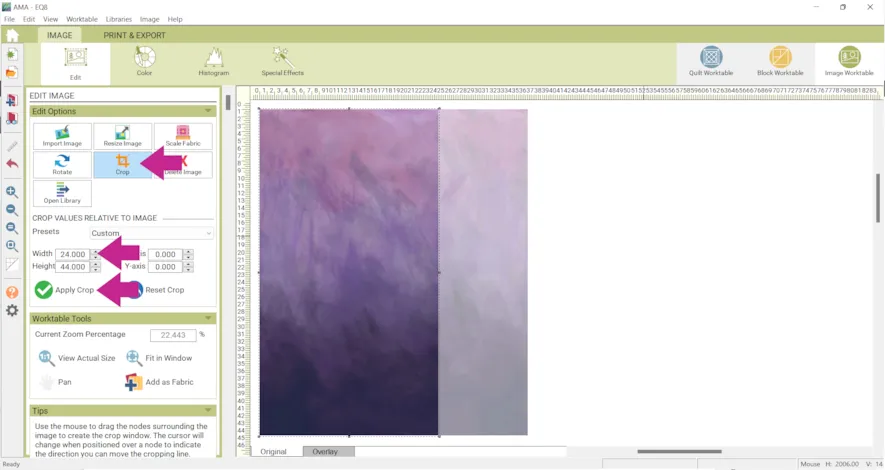
- Click Add as Fabric and Add to Project Sketchbook.
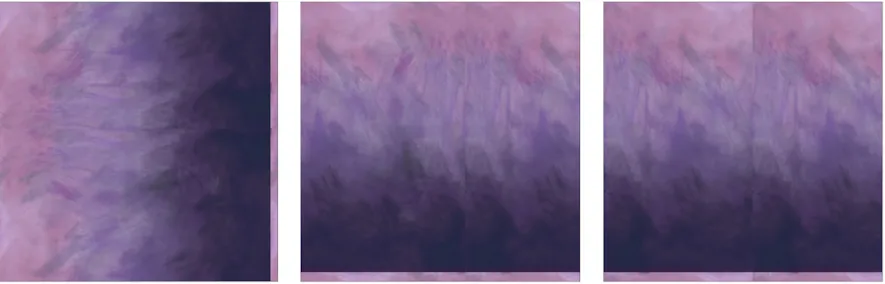
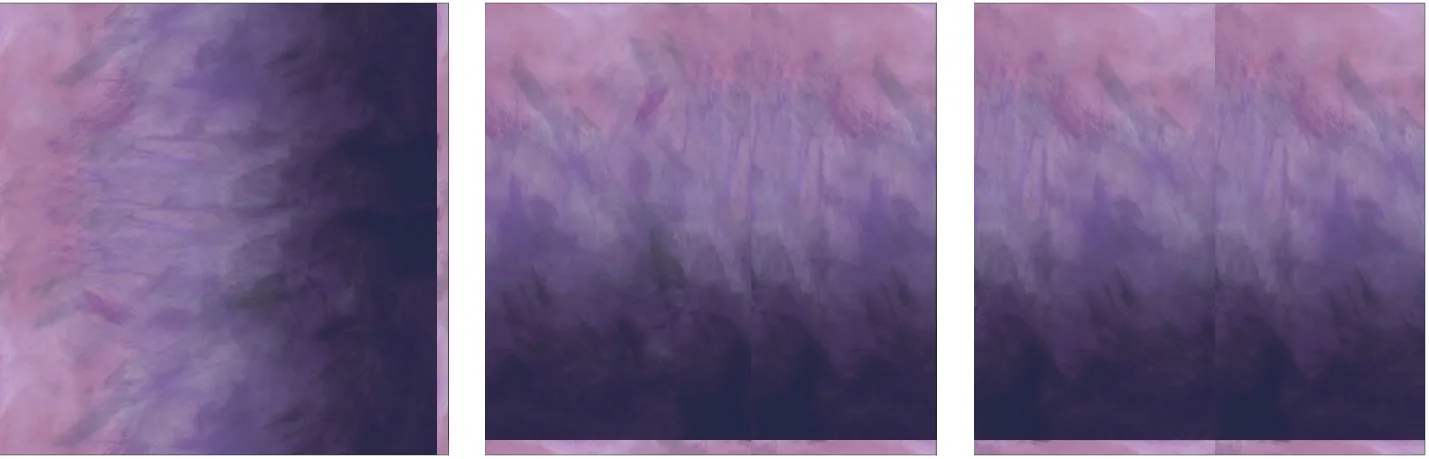
Below the fabrics are shown in 45 x 45 layouts.
● In the first example the repeat is shown on the right side (because the fabric is cropped to 44 inches).
● The second and third show the repeat at the bottom (because the fabric was rotated).
● The third is the fabric that is cropped to the 24-inch repeat. In addition to the repeat at the bottom you can see it very slightly at 24 inches. It’s your preference if you crop to the 24 inches, but especially if you’ll be using a lot of fabrics in your project you need to keep file size in mind.
While fabrics repeat, photos do not.
On Layer 1 photos resize to fit in whatever size patch they are set it.
On Layer 2 photos can be resized to whatever size you would like with the Adjust tool.
However, with a situation like this, we are trying to represent how an actual piece of fabric would look so we need to keep that in mind. In another example, if you designed a strip quilt (that was less than 44 inches long) and used the first two fabrics this is how it would look. However, if you rotate the fabric in the first strip it would look just like the second.

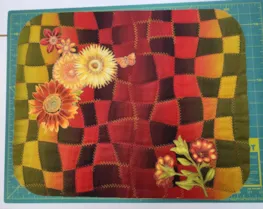
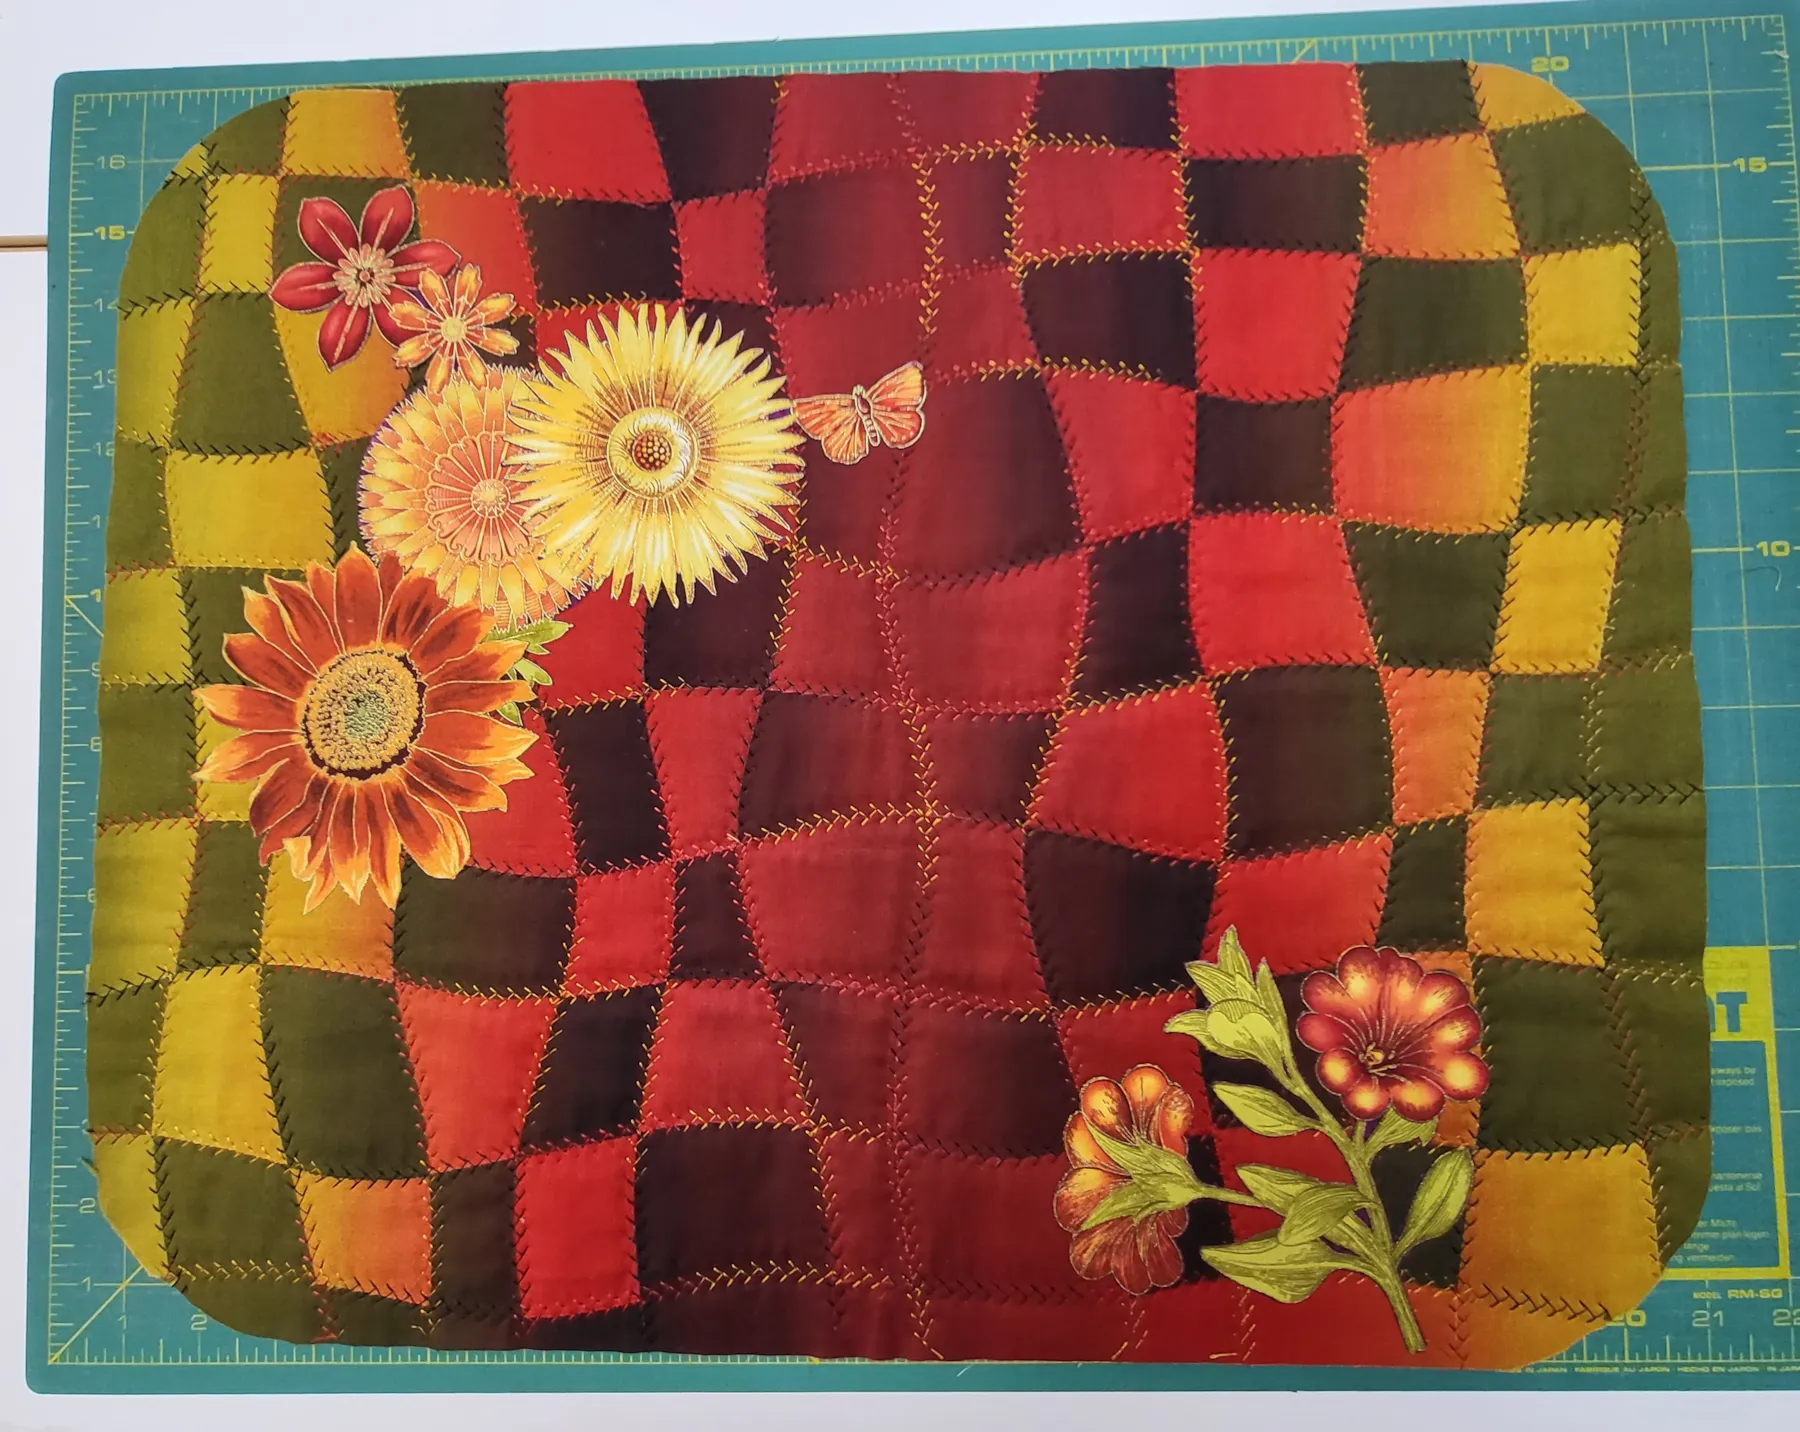
In the quilt below the top border the fabric is one piece so you can see the full gradient. In the pieced blocks each patch is the same. You would use the fussy cut tool to show the gradient.
In the example above the quilt is 44 inches so the ombré fabric fits perfectly. If the quilt is larger than 44 inches the fabric would start tiling. However, if it repeats, I want it to go from light to dark, dark to light instead of light to dark, light to dark.
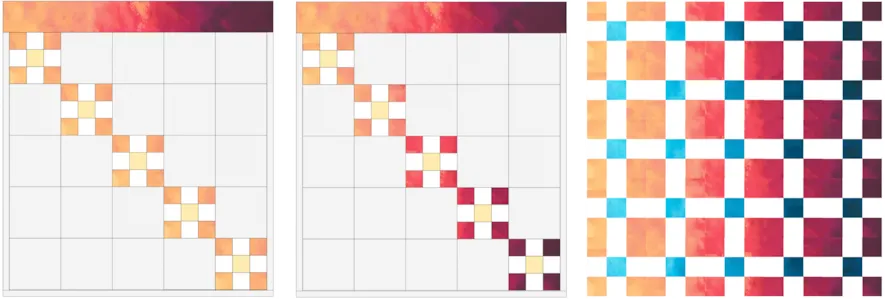
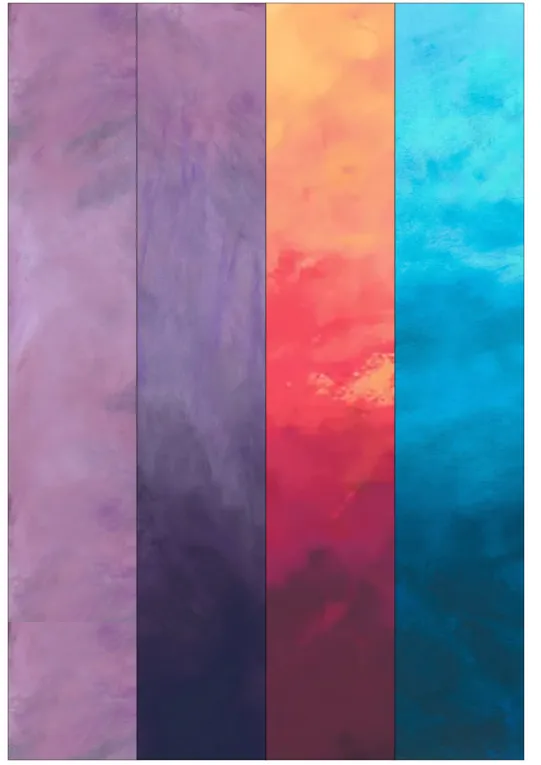
Here are a few examples…
● In the first example it is the fabric as is.
● The second example is 3 photos. The fabric is distorted because EQ8 is resizing the 36-inch fabric into a 5-inch border.
● The third example is photos that have been cropped to 5 inched wide (because that is the width of the border) but then there is still a resized piece at the end that would have to crop again for it to display correctly.
● The fourth example is the fabric as is, on Layer 2, split into 3 blocks. The fabric is flipped in the second block.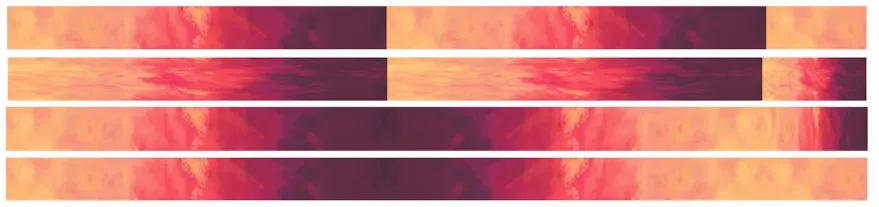
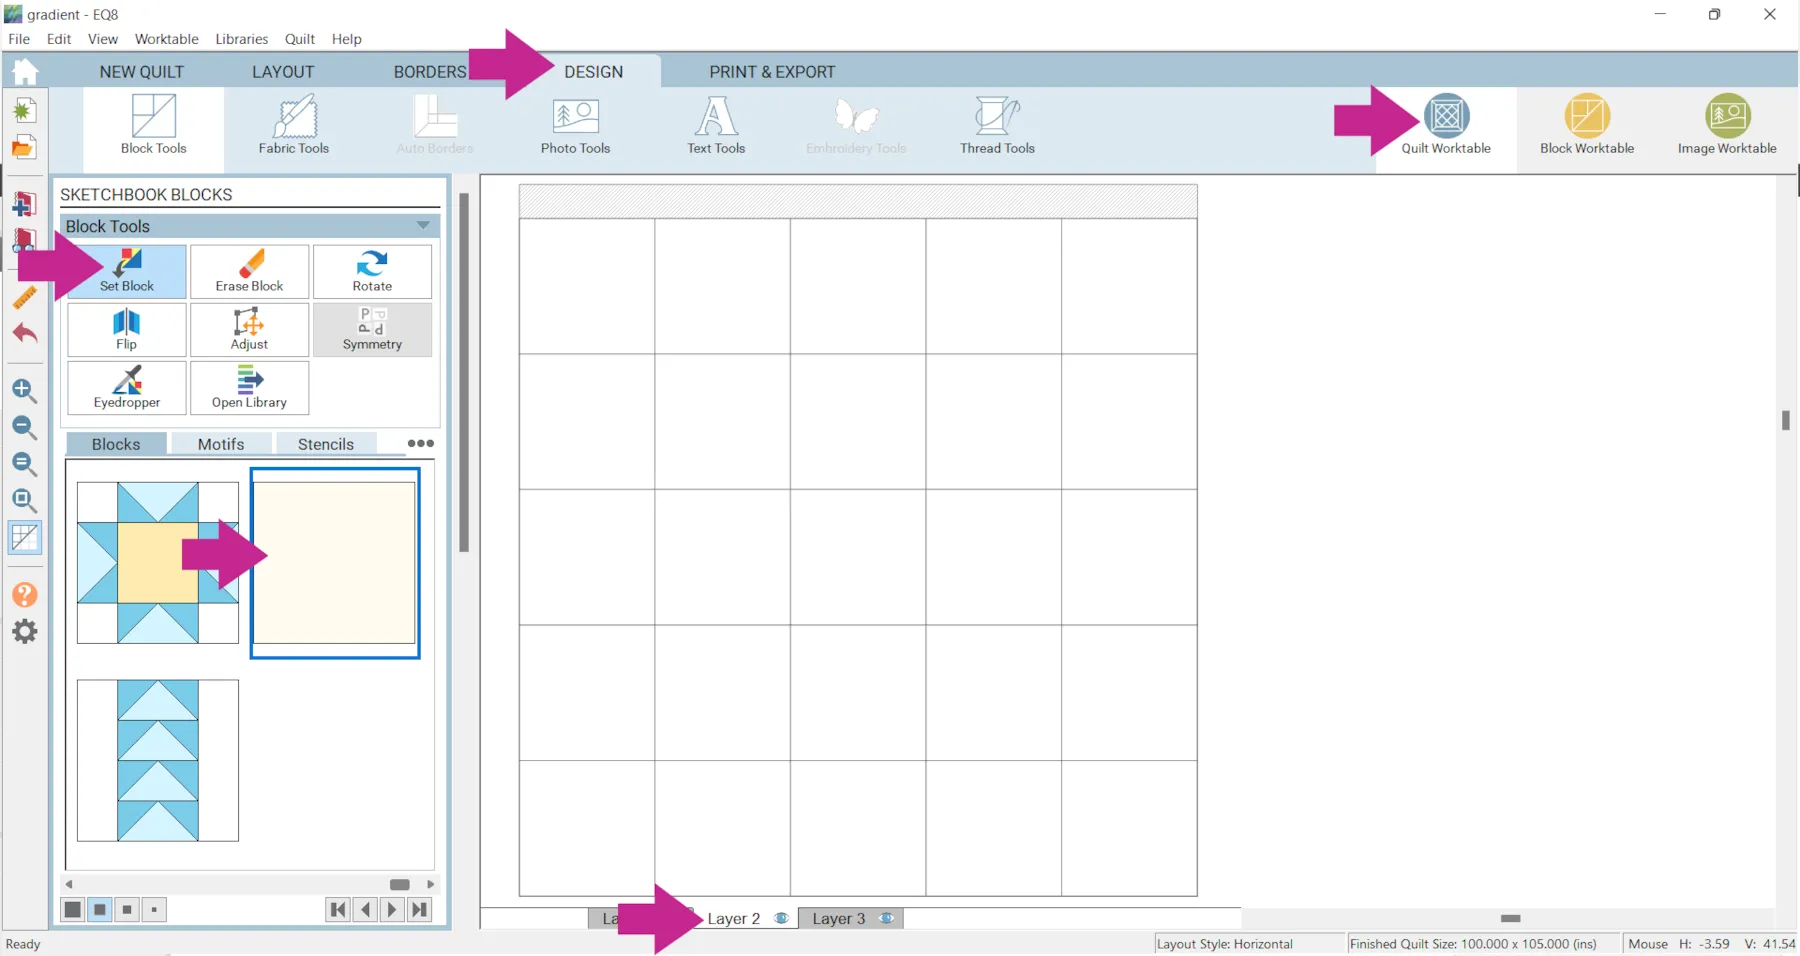
Let’s see how to create the fourth border. - Create a quilt that is 100 inches wide and has a border that is 5 inches wide. (In the example the quilt is horizontal, 5 x 5, with 20-inch blocks.)
- Click Quilt Worktable > DESIGN tab > Set Block > Plain Block > Layer 2

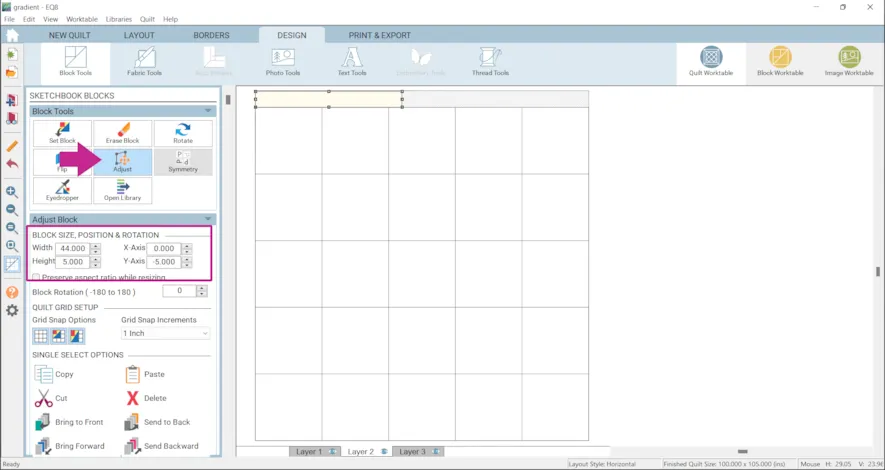
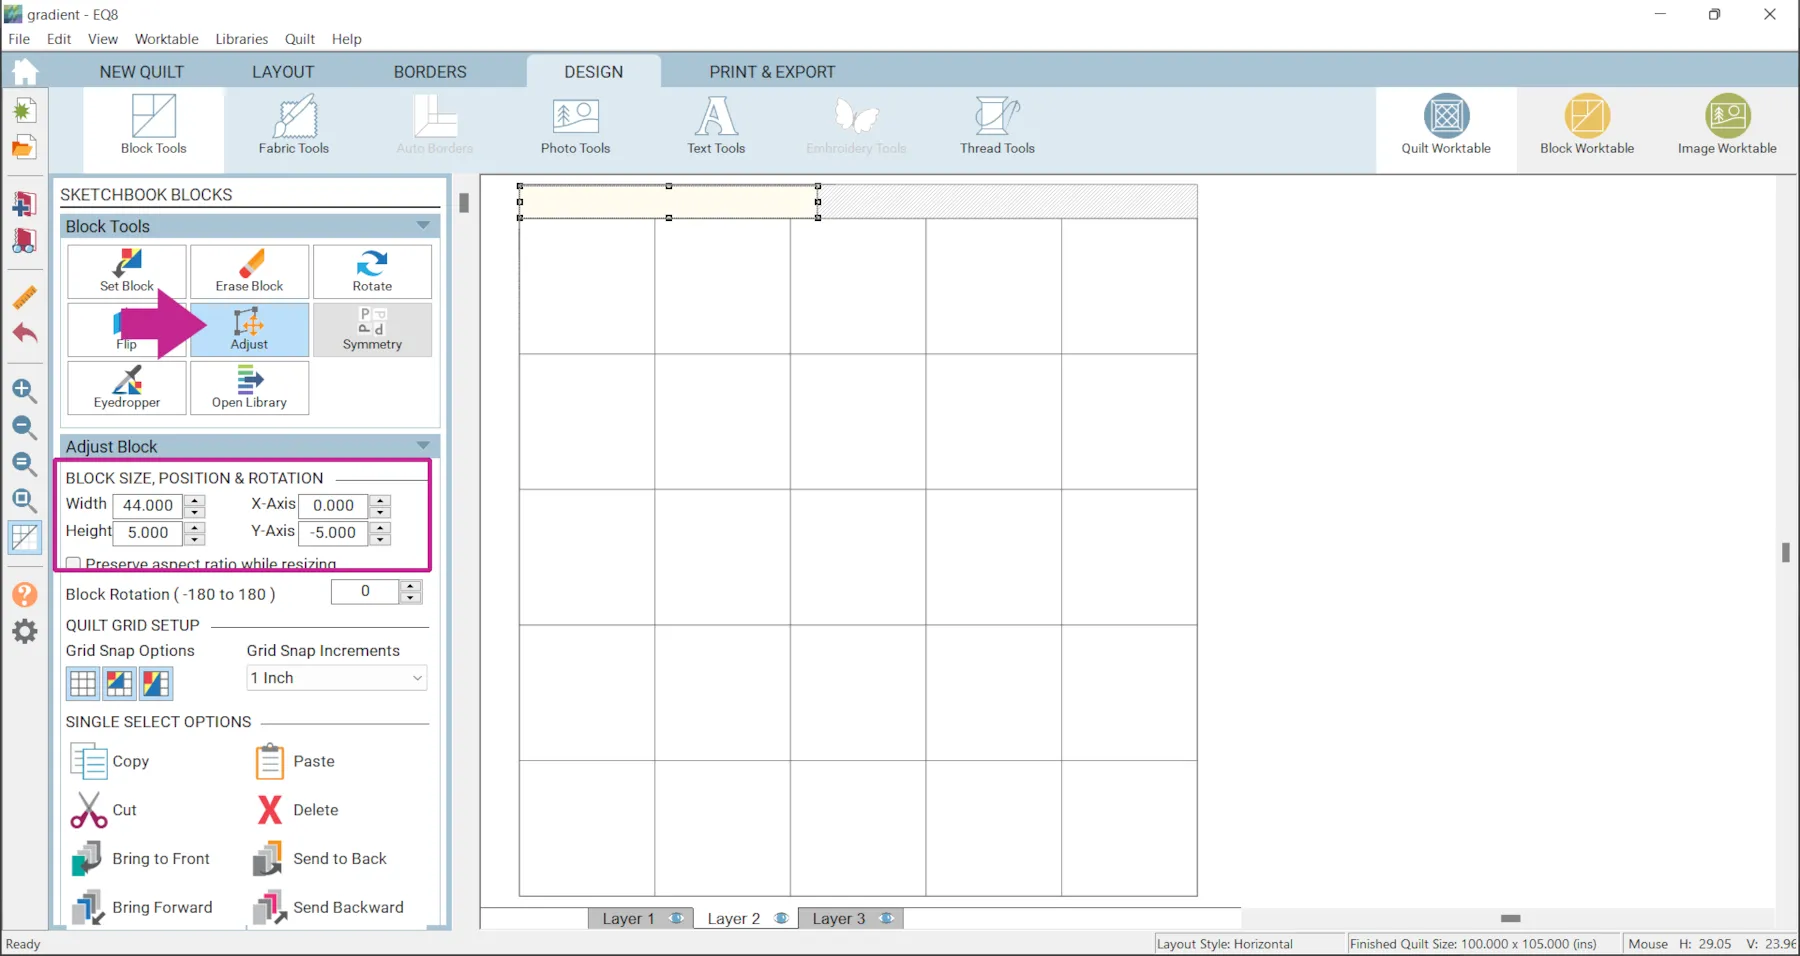
- Click Adjust and click on the block
- Under BLOCK SIZE, POSITION & ROTATION enter:
Width: 44
Height: 5
X-Axis: 0
Y-Axis: -5
- Copy and paste (Ctrl + C/Cmd + C and Ctrl +V/Cmd + V on your keyboard) the block and move the second block to:
X-Axis: o
Y-Axis: -5 - Paste again and enter:
Width: 12
Height: 5
X-Axis: 88
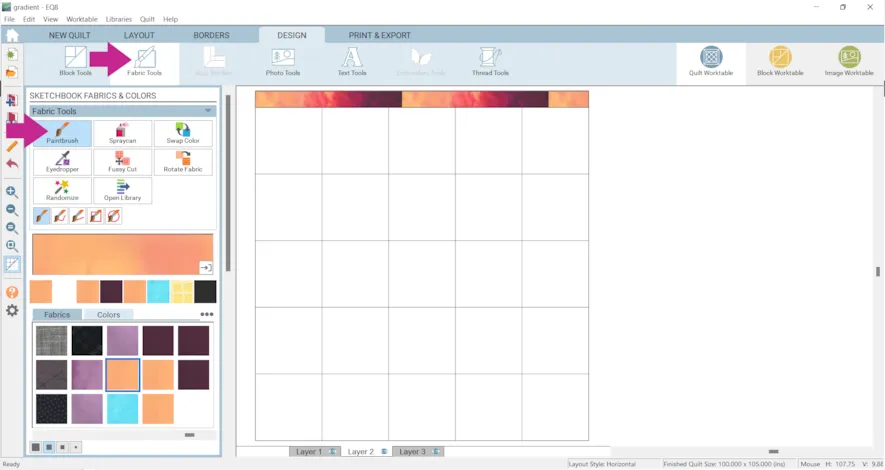
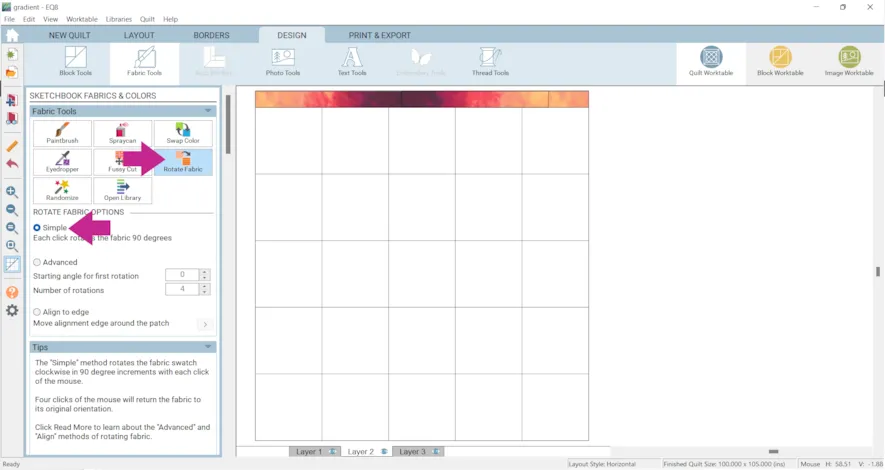
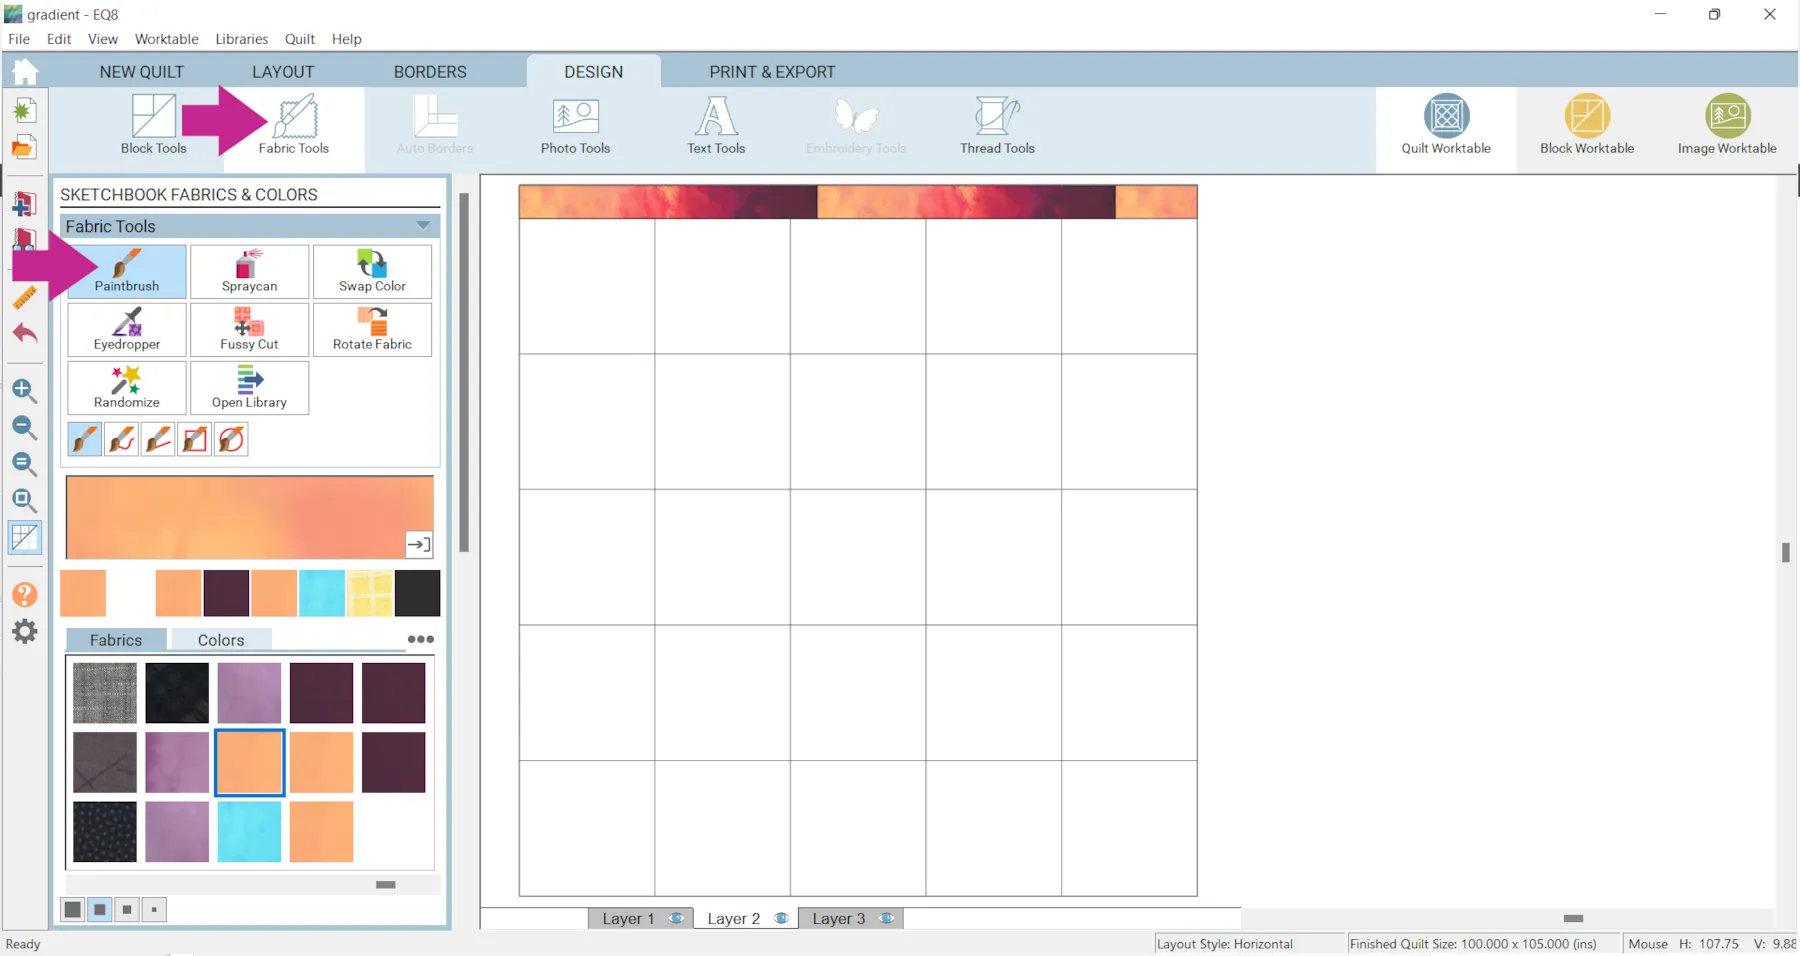
Y-Axis: -5 - Click Fabric Tools > Paintbrush and set the fabric
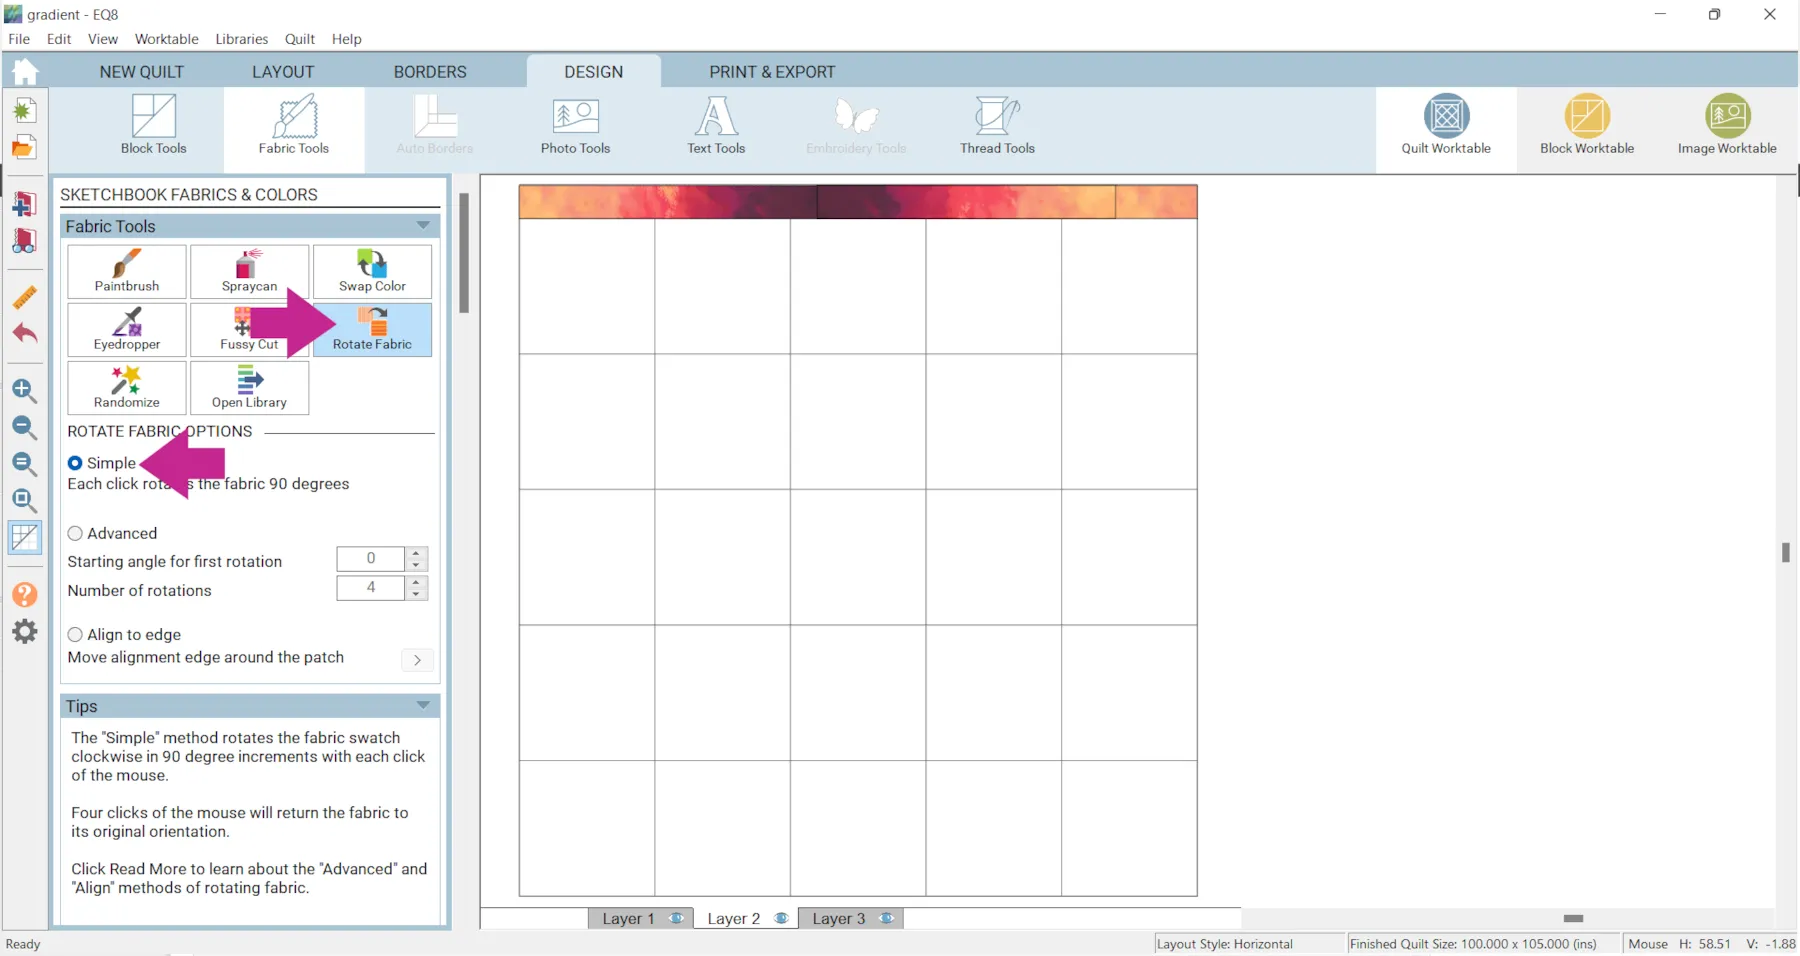
- Click Rotate Fabric
- Select Simple
- Click on the second block twice.
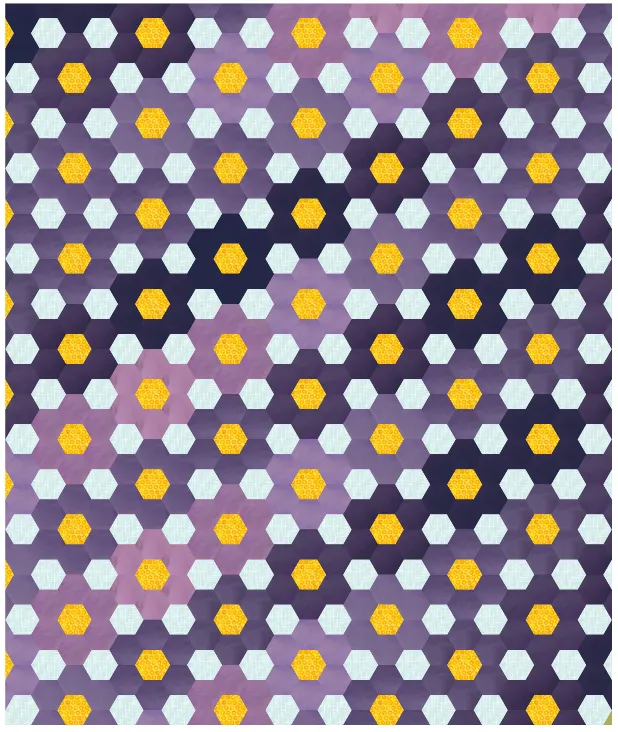
Instead of Fussy Cutting each piece another option is to crop the fabric into different section. It depends on your preference and the quilt design which way will look better and be faster.
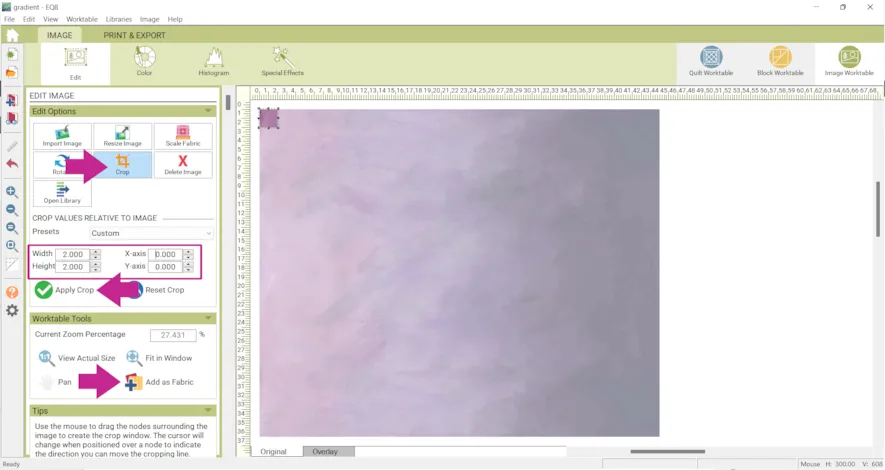
For example, a one-patch quilt with hexagons that templates would be 2 inches by 1.75. - Click View Project Sketchbook > Photos and select your fabric.
- Click Edit to Image Worktable
- Click Crop
- Under Width and Height enter: 2 (because the pieces maximum cut is 2 inches)
- Under X-axis enter: 0
- Click Apply Crop
- Click Add as Fabric
- Repeat steps 32-38 while adding 2 to the X-axis every time. So, the second time it would be 2, third time 4, fourth time 6, etc.
- Then use all the different cropped fabric to color your quilt.


Have fun experimenting with these beautiful fabrics! If you want to post images of your quilt, here is how to export the images.
To post your image click to comment on this post. Fill in your info and then click Browse.
Go to: Documents\My EQ8\Images
I can’t wait to see what you’ve done! I hope you enjoyed the lesson!
If you have questions about the lesson feel free to post them below.
If you have questions about something else EQ related, please contact techsupport@electricquilt.com.
If you have suggestions for new Design & Discover lessons feel free to comment below or email Heidi@electricquilt.com.