Applique is the easiest way to create large areas of a design. Adding embroidery onto, inserted into, and embellished around applique fabrics will increase the interest in the design. Also, it makes the sewing at the machine go so much faster when the large areas are applique fabrics. Filling every area with stitches takes time and isn’t always necessary to make a nice design.
Open your EQStitch program ![]() from the desktop.
from the desktop.
Click on the work on stitching icon![]() at the top of the screen.
at the top of the screen.
Click on STITCHING>New Design>Machine Applique.
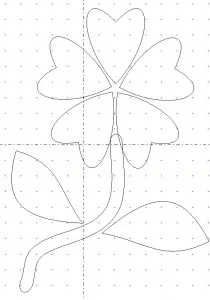
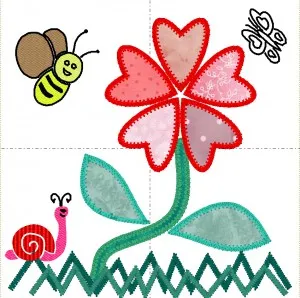
Use the shape tools and make a simple drawing of a flower with a stem and leaves.
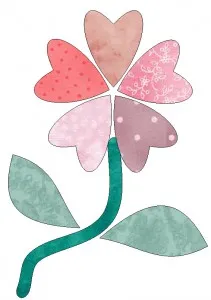
Click on the fabric tab and add fabric to all of the elements.
Click on the stitch tab and assign the edge stitches of your choice with the set applique edge tool.
Color the stitches with the set thread tool![]() .
.
Add the design to the sketchbook![]()
Since this is designed on the machine applique worktable, all the steps of the placement line, tack down line, and the edge stitch are automatically applied for us. The design is quick and easy to create and to sew out at the machine.
Click on the artwork tab at the bottom of the screen.
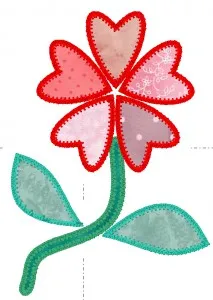
Using the same design elements, add embroidery around the outer edges of the applique design to add more overall interest to the simple design. You could use some of the stitch designs all ready completed in the stitch library of the program or draw your own.
Click on the fabric tab and make sure the fabrics have held to all the applique shapes. You may choose to add different fabrics for this design.
Click on the stitch tab at the bottom of the screen.
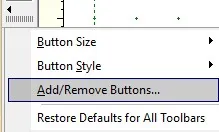
Make sure you have added the stitch tools to the toolbar at the right by clicking on the black arrow at the bottom of the toolbar and adding the buttons.
Use the stitch tools to apply the stitch properties for the embroidery elements around the applique flower design.
Be sure to add the new design to the sketchbook.![]()
Click on the artwork tab at the bottom of the screen.
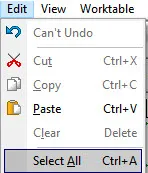
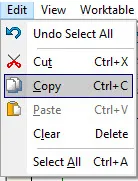
Click on EDIT>Select All and then EDIT>Copy the design to the clipboard.
Click on STITCHING>New Design>Embroidery.
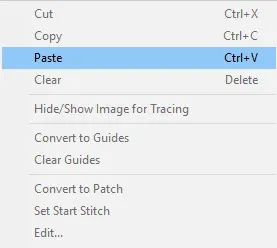
Move the cursor to the center of the worktable and RIGHT CLICK>Paste.
Center the design by clicking on the center selected objects icon![]() on the properties bar at the top of the screen while it is still all selected.
on the properties bar at the top of the screen while it is still all selected.
Now we can create our own applique by creating three or more layers of artwork for each element we want to add fabric to. By doing the applique on the embroidery worktable, we can decide if we want embroidery elements that will be added and covered by the edge stitch of the applique.
Draw in the extra embroidery elements you want to add to the applique pieces themselves for more interest to the fabric areas of the design.
NOTE: By creating applique on the embroidery worktable, you will not have the ability to see the fabrics and you will most likely need to use the move up/down tool on the stitch tab to order the layers of the design the way you need them. The advantage of using the embroidery worktable is that you can fill all the similar shapes with fabric at the same time instead of one element at a time.
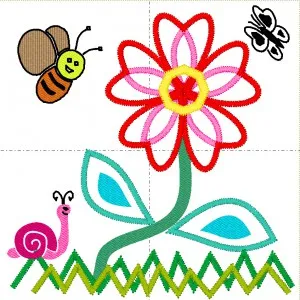
I created the applique design on the embroidery worktable to have fabric in the petals of the flower and the leaves off the stem. Each one of the shapes was cloned twice to make a total of three shapes for each element stacked one on top of the other. These stacked shapes represent the placement line, tack down line, and edge stitch. I inserted a shape in the center of each of the heart flower shapes between the tack down and edge stitch of the applique.
Once you have all the elements you need to create your stitch embellished applique fabrics, click on the stitch tab to assign the stitches.
Use the Move UP/Down tool ![]() to have the layers of the applique with the stitch embellishments in the correct order.
to have the layers of the applique with the stitch embellishments in the correct order.
Be sure to save your design to the sketchbook.![]()
To learn more about applique techniques, join me in the EQUniversity Class–EQStitch-Advanced Techniques for Applique





08-21-2016
11:20 am
In what formats will the design stitch and on what kind of embroidery machine?
Thanks,
Patty
08-21-2016
12:13 pm
Patty–All embroidery machine formats can be written by the program. You just export your design from the program in the file format you need for your machine. The program does not write long arm quilting files.
Yvonne
08-22-2016
11:03 pm
I’m thinking of purchasing EQStitch, i have a question, can I export designs from EQStitch directly to my JanomeMC 1100?
08-22-2016
11:45 pm
Yes Natalie, you can indeed send the design you create as a .jef file to your machine. You can send the file to a formatted USB stick or you can connect by firewire from the computer. Just remember, the file needs to be in the embf folder of the machine in order to read the design.
Yvonne