Open your EQStitch program ![]() and make sure you are on the embroidery worktable.
and make sure you are on the embroidery worktable.

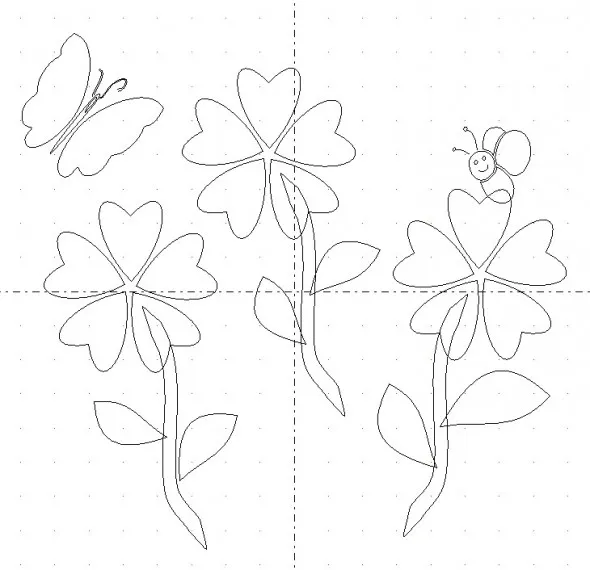
Now create a design with as many elements as you want. Overlap them and lay them one on top of the other to create layers of stitches.
Click on the stitch tab at the bottom of the screen.
Apply the stitch properties of your choice with the edge stitch ![]() and fill stitch tools.
and fill stitch tools.![]()
Notice how when elements are directly one on top of the other you may not be able to access the layer on the bottom.
Click on the Move UP/Down tool ![]() on the toolbar. Now you can see all the elements you drew as separate pieces.
on the toolbar. Now you can see all the elements you drew as separate pieces.
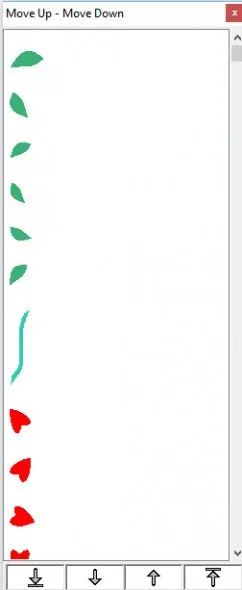
Click on a shape in the box to select it. It will have a bright green selection line around it.
Now move it to a new position with the move buttons a the bottom of the box.

Whenever layers overlap, if you move them to the top you can now apply stitches appropriately.
Once you have applied the stitches of your choice to the bottom layers, click on the Move UP/Down tool again and select the item you all ready moved to the top. Once it is selected, use the move buttons at the bottom of the box to move the selected item back to the proper placement.
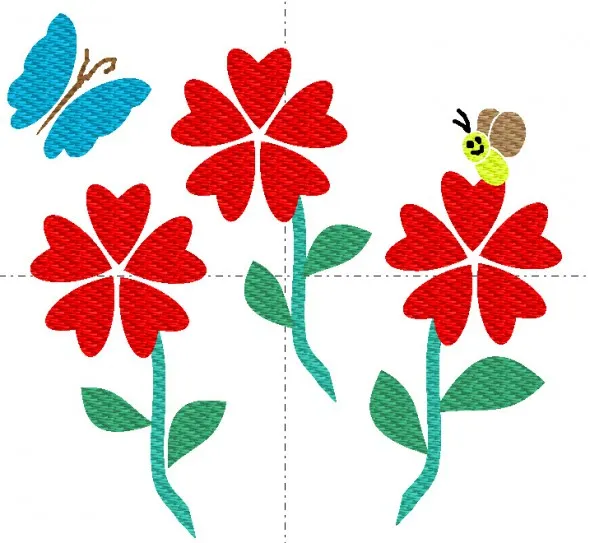
Below is my corrected layers design using the move tool.
FOR A MORE DESCRIPTIVE USE OF THE MOVE TOOLS, VISIT MY YOU-TUBE WEBSITE TO SEE A VIDEO OF THE MOVE TOOL IN ACTION.
https://www.youtube.com/channel/UCC8DhKA7yeR8i3bLJDEcMDg
Join me at EQAcademy, Denver, Colorado in September 2016.


07-10-2016
8:43 pm
Thanks. If I ever get that far it is useful info.
07-10-2016
11:05 pm
Thank you for the introduction to the Move tool. Your you-tube video really makes it clear. I do so enjoy your weekly lessons. Keep up the good work.