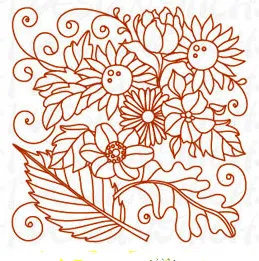
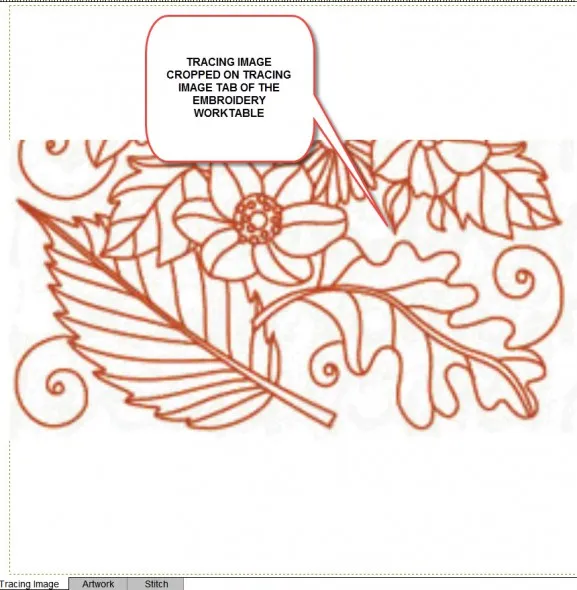
Remember the ‘Who’s on First?’ comedy routine by Abbott and Costello? Building digitized embroidery designs reminds me of this. My question is “What’s in Back and What’s in Front?” I can’t draw so I start with a copywrite free clip art design. Evaluate how intricate it is and decide if you want to use the entire design image or if you want to crop out a segment to use as your tracing image.
Determine your hoop size you will work with and bring in the cropped image onto the tracing tab for the embroidery worktable. Slightly fade the image on the tracing image tab so you can see your drawing lines on top of it.
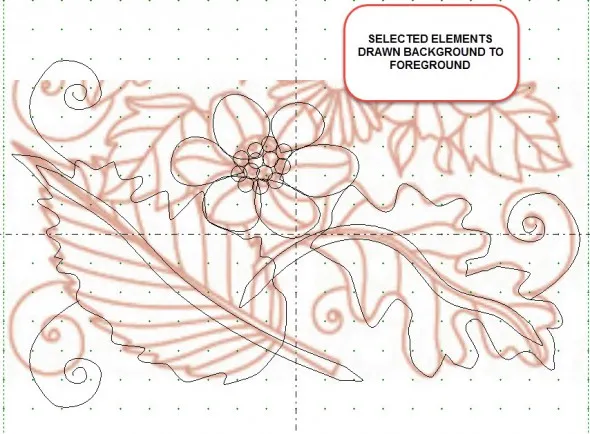
Click on the artwork tab and choose your drawing tool to trace the image. You do not need to trace all the elements.
Use a ‘critical eye’ and determine what is in back and what is in front. Begin drawing the background images first and then draw each layer one step at a time to build the layers upwards to the top. Add or delete elements that you determine you don’t want to use.
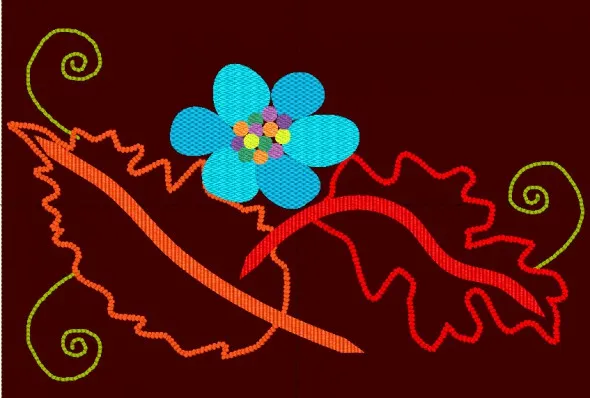
Click on the stitch tab and assign the stitches to the design. Consider color, stitch type and density, deleting edge stitches when necessary. Fill stitch texture and angle adds interest to the design. View the design with the background color similar to the fabric you will be stitching it onto.
NOTE: Coming soon is a new tool in the program to help us with changing and selecting the layers and to help with applying stitch types and colors to our design. Be one of the first people to work with the new tool at the EQAcademy in Ohio in April.


04-03-2016
6:59 pm
Oh, how cool is that!!! Since I can’t make it to Ohio – hope I don’t have to wait too long for the NEW tool!!! Love these EQ STITCH SUNDAYS!!! Thank you Yvonne!!
Linda
04-18-2016
9:36 am
When will the new tool be available to people who aren’t at the EQAcademy in Ohio?
Thank you Yvonne
Gwen