Snowy days are on their way if you don’t already have a pile outside. With visions of snowflakes and fun in the snow, I have just the thing to warm up your design skills. This lesson explores using prairie points, not just for a quilt border, but to add dimension to this frosty Winter Star quilt. We are going to use EQ8 to help us with the designing. Our secret weapon will be the magic of Layer 2 on the Design Worktable.
Quilt Layers
Remember there are three layers that you can work with in Electric Quilt. We are going to use the first two layers.
Layer 1 is made of of pieced or applique blocks sewn together to make the quilt top.
Layer 2 is for blocks, motifs and text that are sewn on top of the quilt top. You drag your blocks or motifs from the palette over to drop on the quilt. This is where we will add our prairie points.
Layer 3 is for quilting and embroidery. You can drag your stencils or embroidery pictures by dragging from the palette and dropping it onto the quilt.
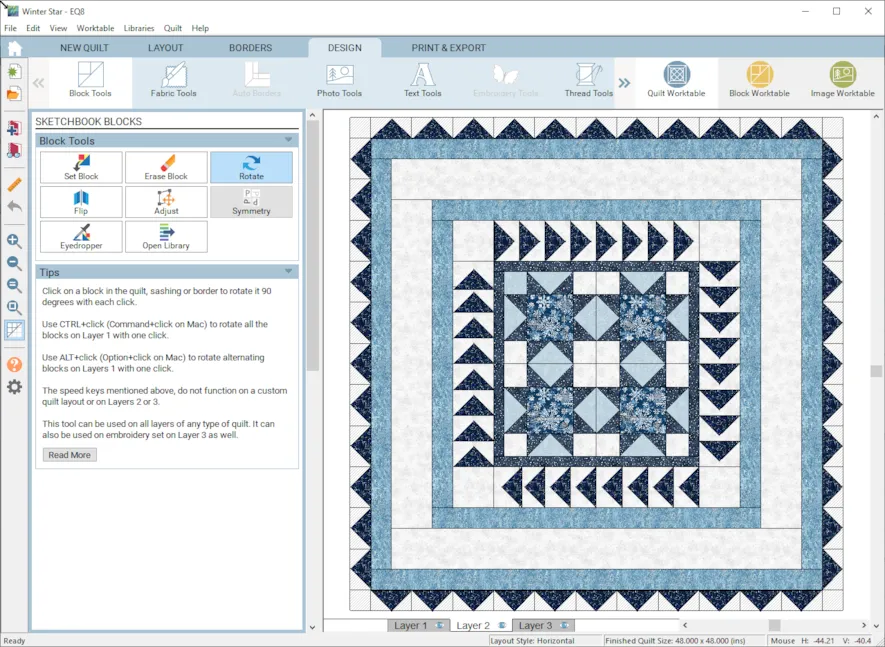
You can see the tabs for the different layers at the bottom of the design area when you are on the DESIGN tab.
Prairie Points
Prairie points are triangles made from folded fabric squares. For this little quilt we are using a triangle that is 4″ wide by 2′ tall. (You will need to cut a 4 1/2″ square to make that size.)
Quilty Math Tip: To calculate the size of your starting square: Take the finished height you want x 2 and add 1/2″. Example: we want a 2″ x 4″ prairie point. 2″ high x 2 = 4″, plus 1/2′ “ equals a 4 1/2″ square.
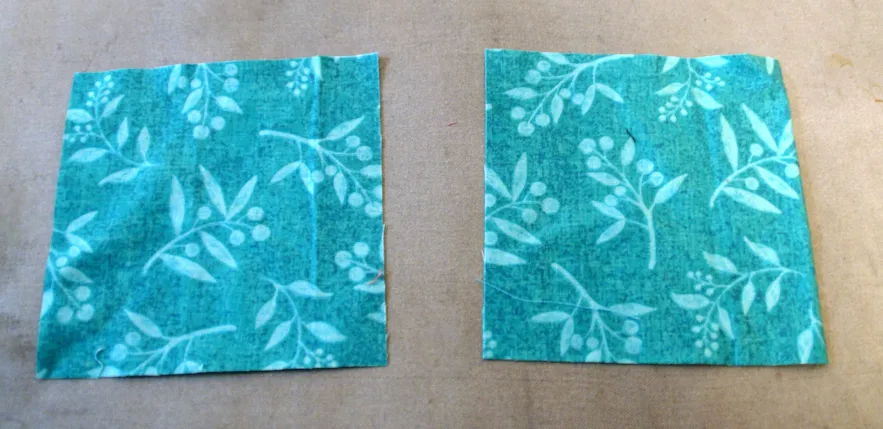
There are different ways to fold prairie points but I normally use this method. Take your squares.
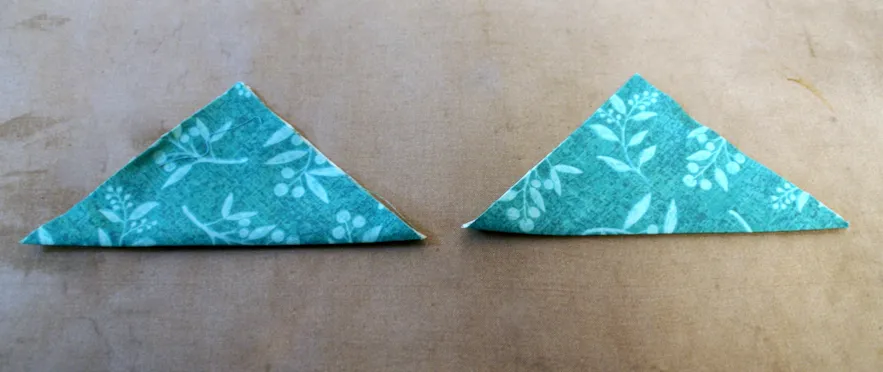
Fold them in half on the diagonal matching sides and press.
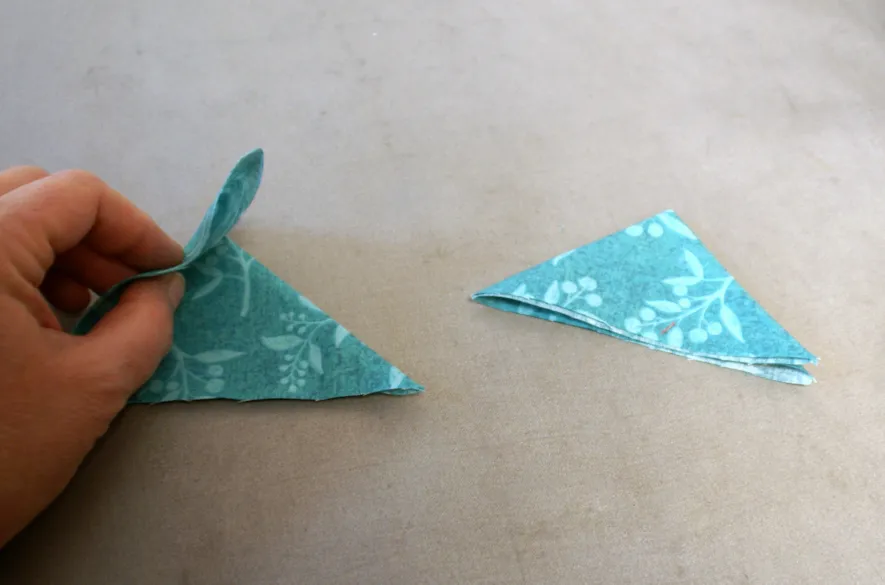
Then fold in half again. One side will have a fold and one side will have two folds.
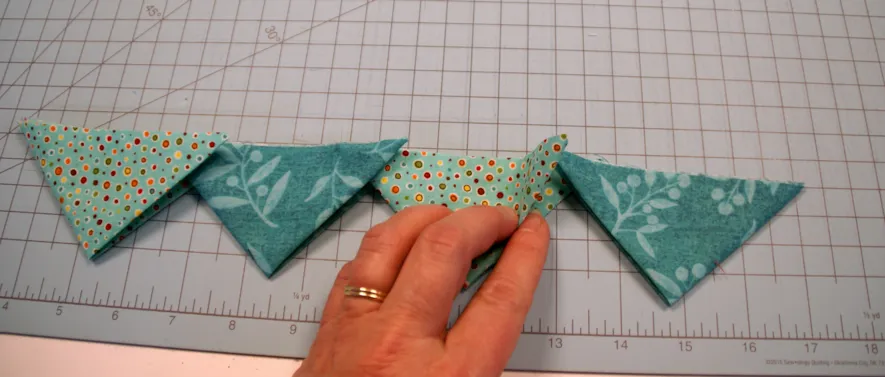
With this folded triangle or Prairie Point, you can use them in your quilt in different ways. You can nest them for the outside border instead of binding. you can nest them along an inner border facing in or out to add three dimensional interest.

You can also add them in seams for a border or block to add dimension and flare for your quilt design, like a three dimensional flying geese.
Now that you have an idea of how the prairie point can be used in your quilt, let’s start designing.

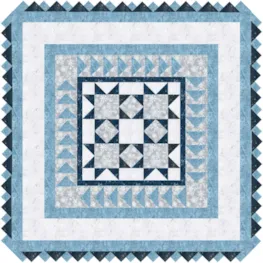
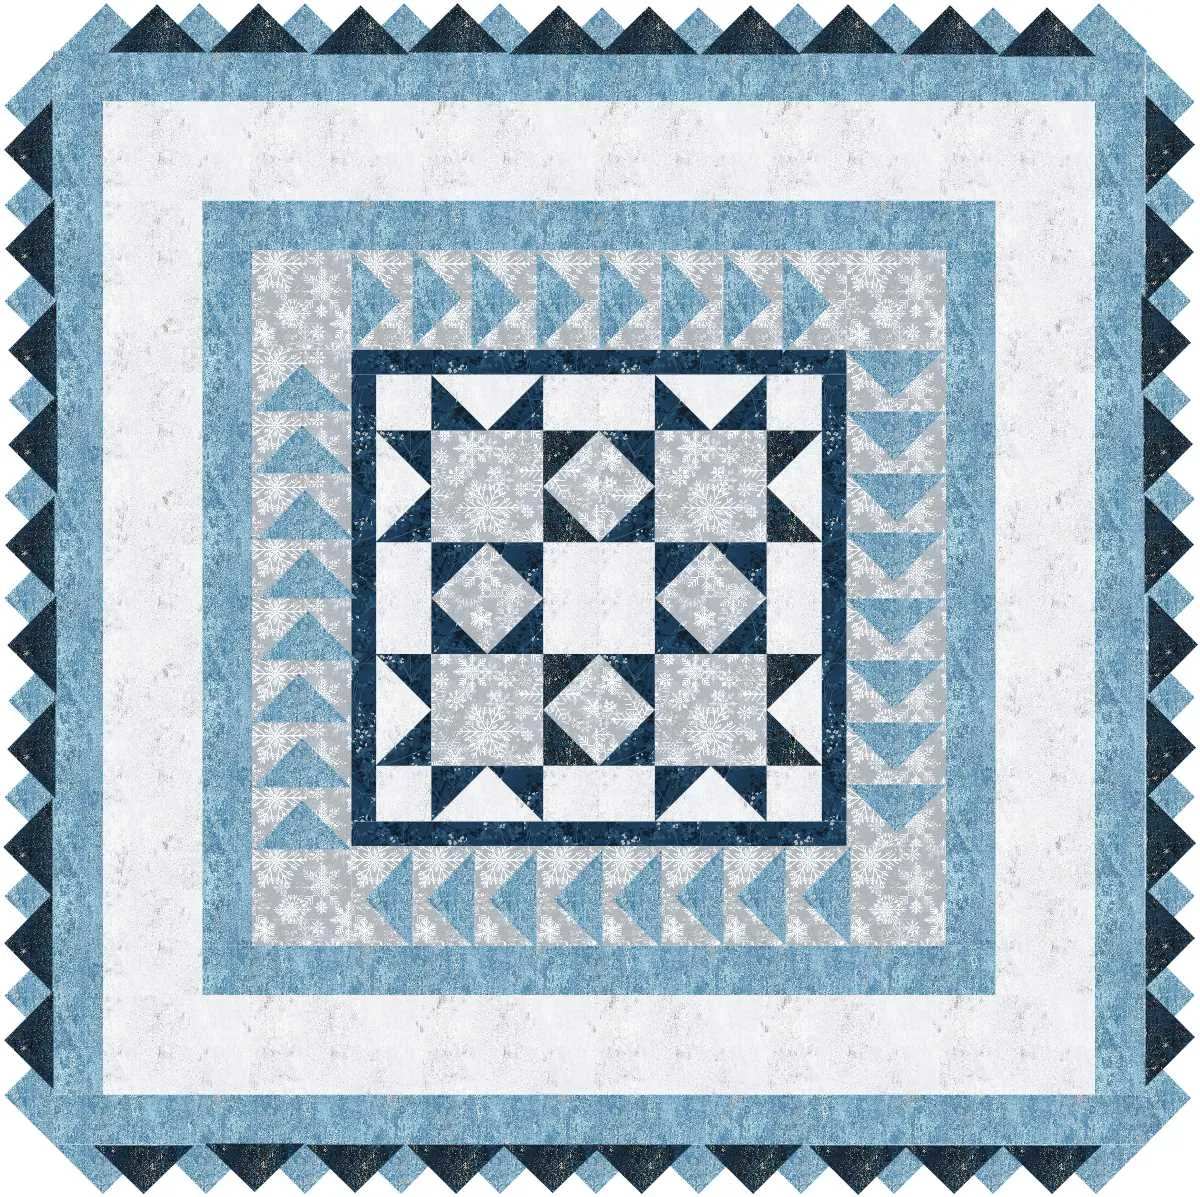
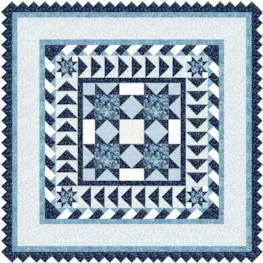
Note: For this Quilt i am using I am using the December 2020 free fabric of the month, First Snowfall by Hoffman fabrics. You can get it yourself HERE!
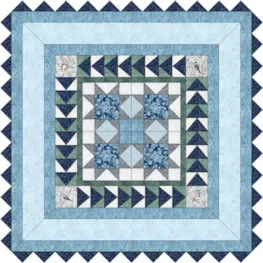
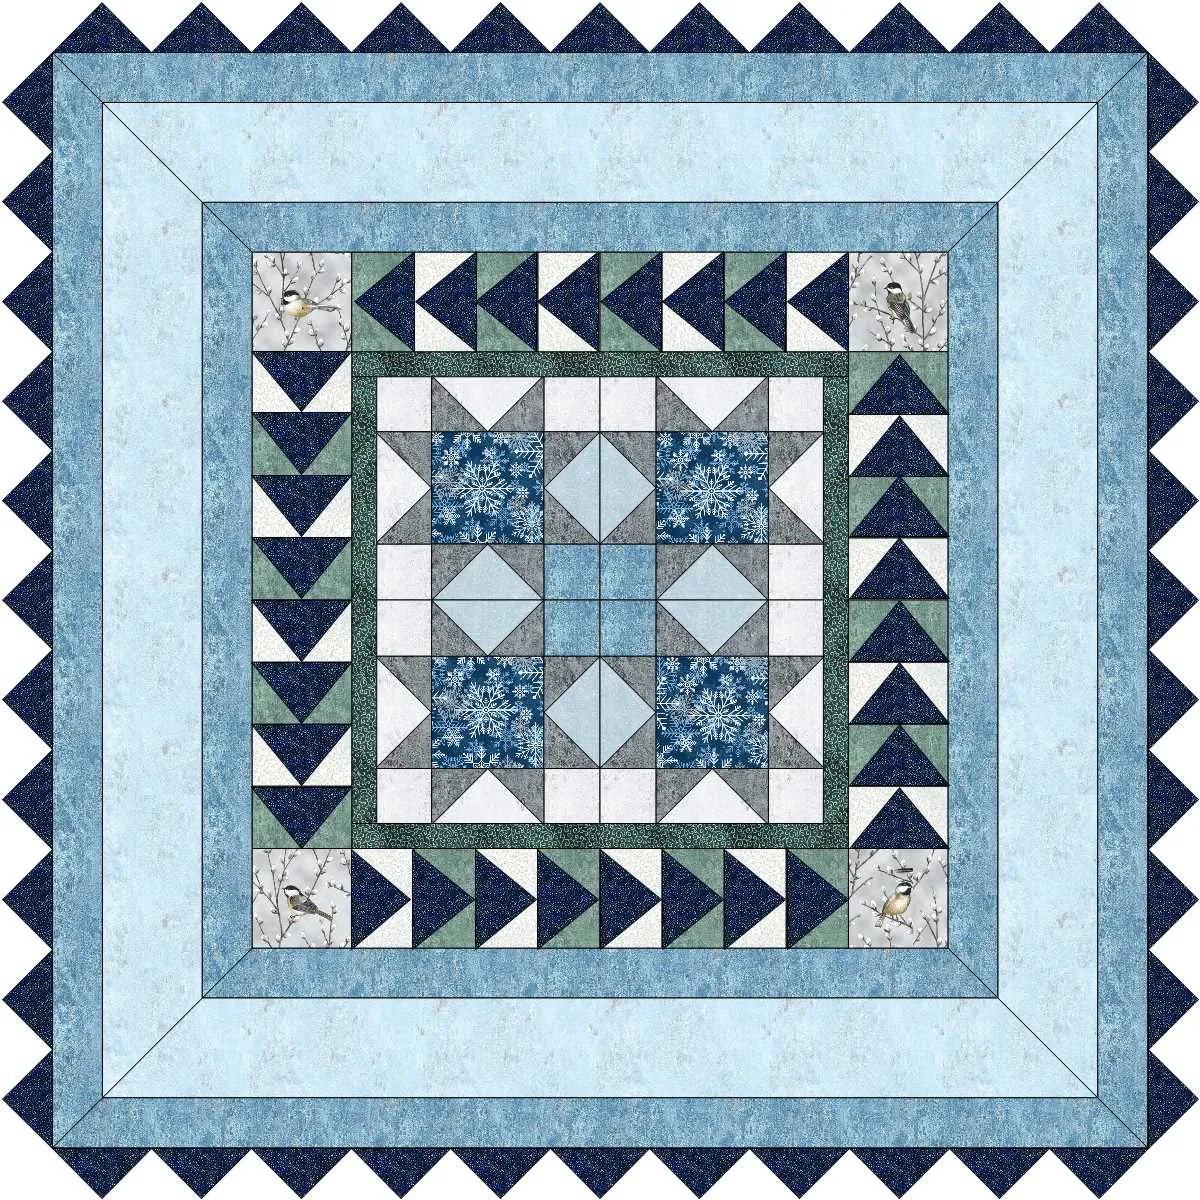
Winter Star Quilt
Skillset: Beginner/ Advanced Beginner
Size: 44″ x 44″
Skill Builders:
- Working with Layer 2
- How to use a virtual border
- How to mimic prairie points in your design
- Open EQ8.
- Let’s name the Project. The project name appears at the top left of the EQ8 Window. Right now the project says Untitled – EQ8.
- On the left side toolbar, click the New project button.

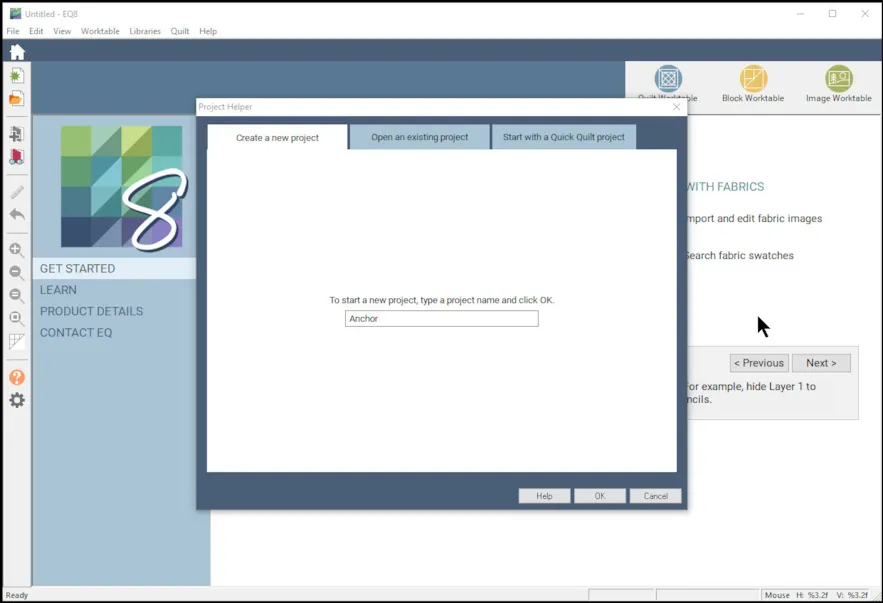
- On the Create a new project tab, type in the project name field Winter Star.
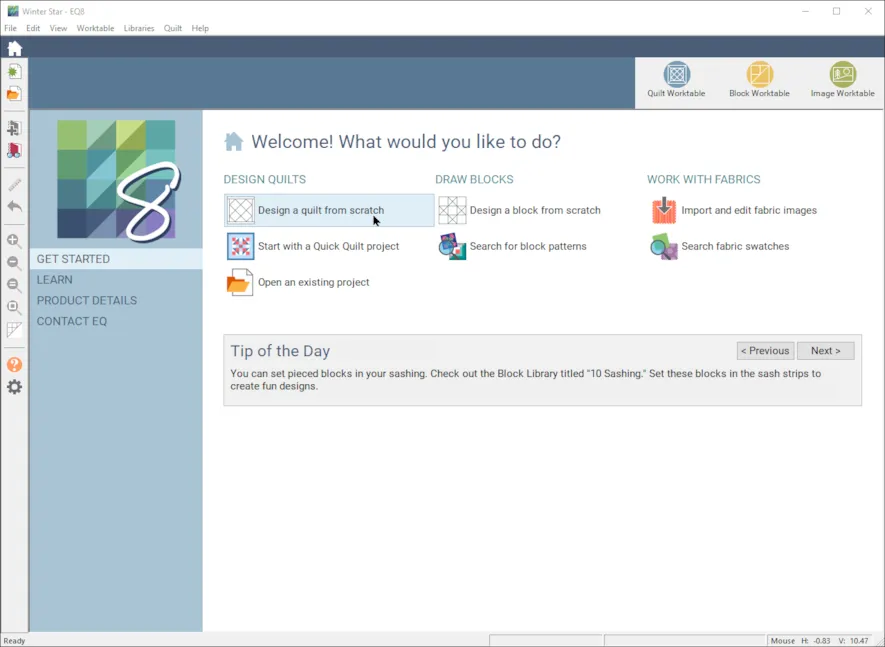
- Click OK. The box will close. Notice the project name Untitled has been replaced with Winter Star. Select Design a Quilt from Scratch under DESIGN QUILTS on the home page.
- Select NEW QUILT > Horizontal
- LAYOUT, Number of Blocks: H2 V2
- Finished Size of Blocks 9″, No sashing
- BORDERS
Border 1: Style Long Horizontal, lock All 1″
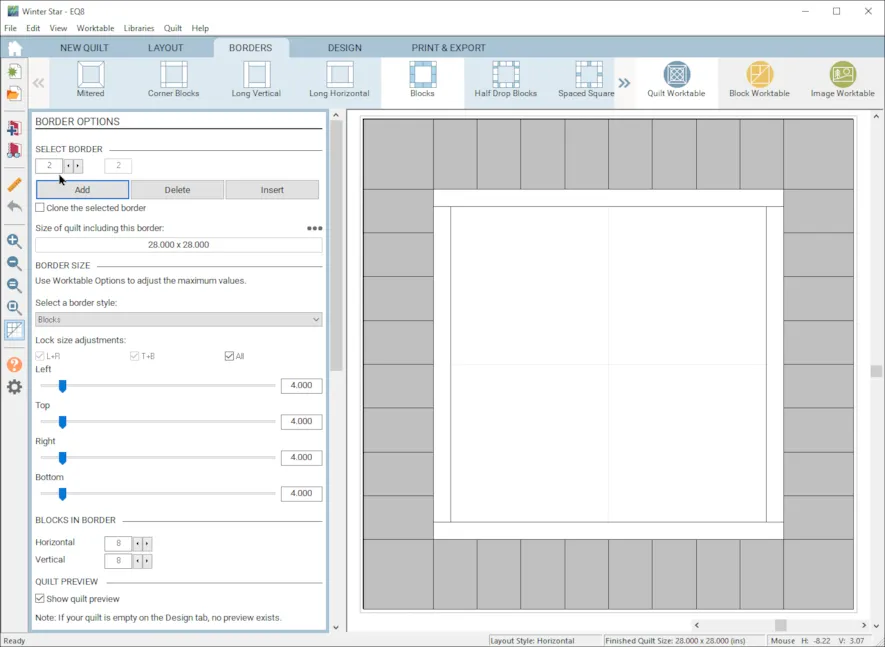 Add Border 2: Style Blocks, lock All 4″, Blocks in Border H8 V8
Add Border 3: Style Long Horizontal, lock all 2″
Add Border4: Style Long Horizontal, lock all 4″Add Border 5: Style Long Horizontal, lock all 2″
Add Border 5: Style Long Horizontal, lock all 2″
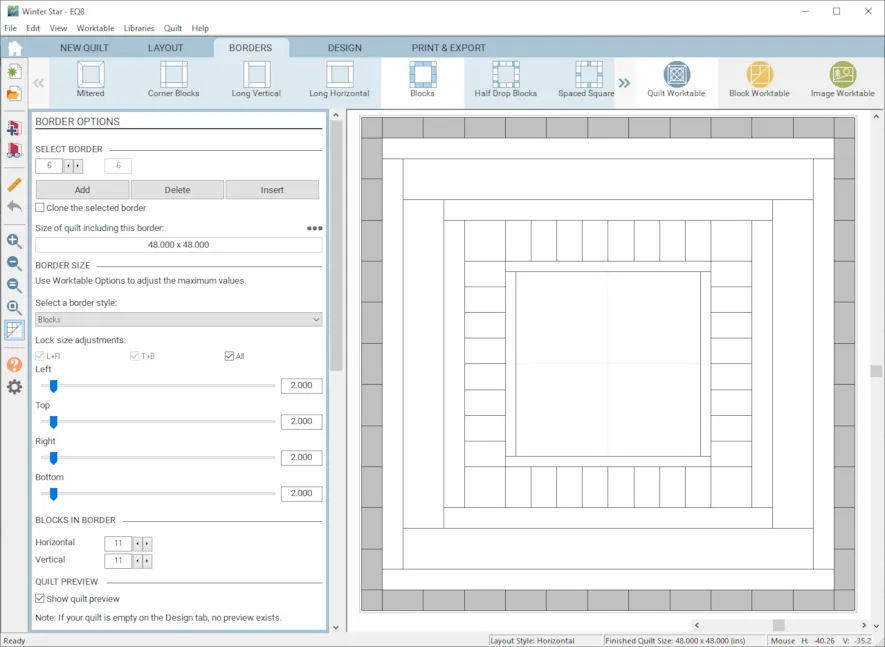
Add Border 6: Style Blocks, lock all 2″ Blocks in Border H 11 V 11 (This will be our prairie point virtual border.)
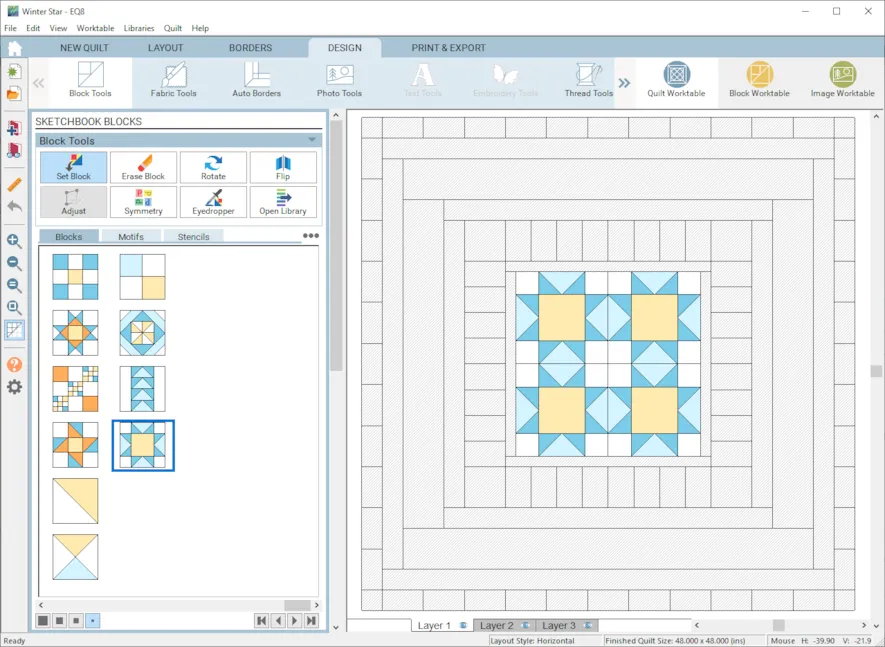
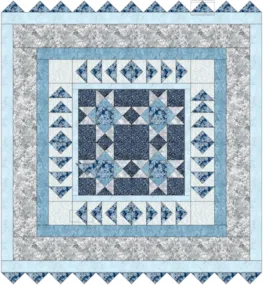
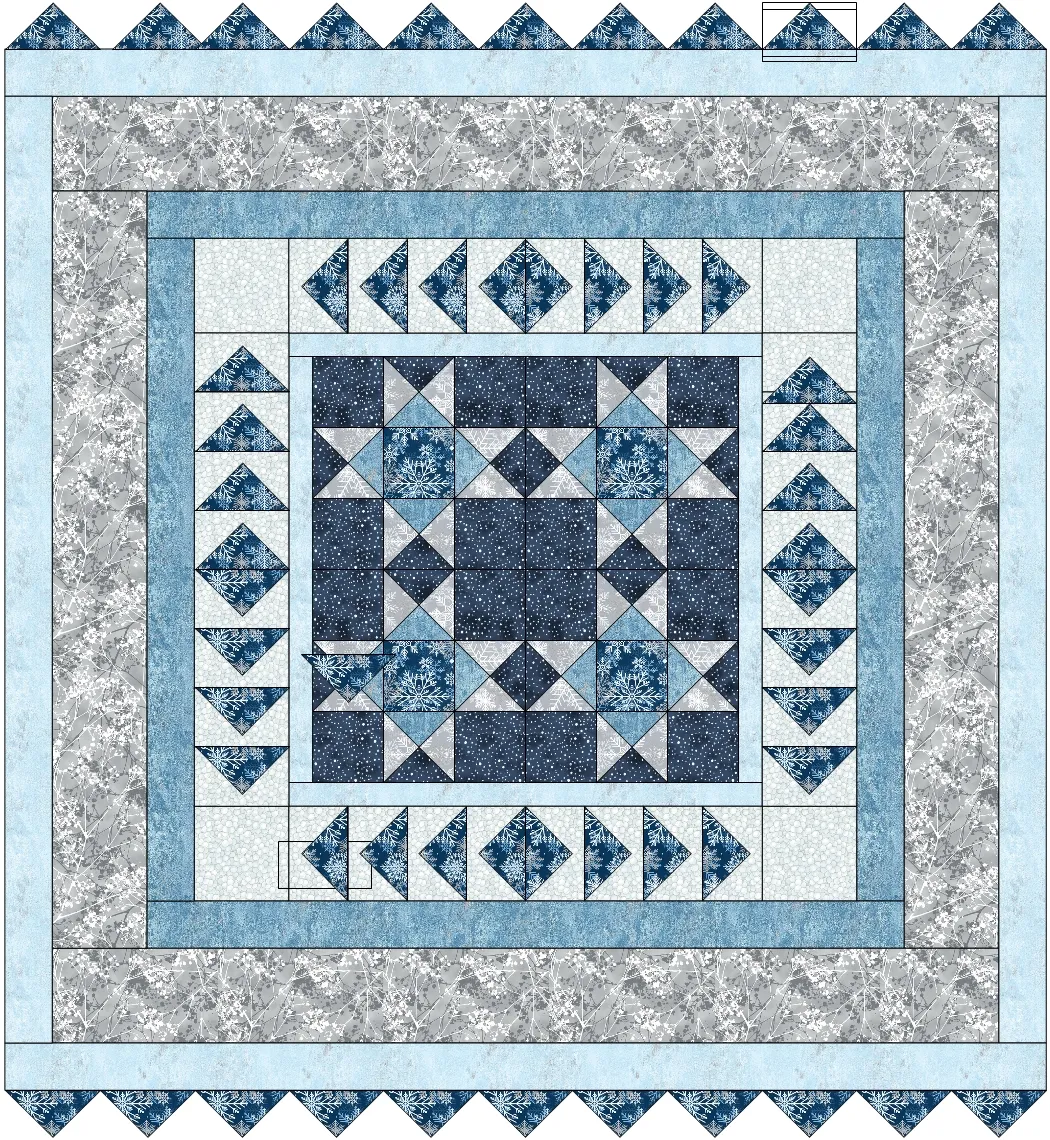
- Go to the DESIGN tab > Block Tools >Set Block. Drop in the EQ Default Variable Star into the 4 center blocks.
DESIGN > Fabric Tools > Open Library, Scroll down to the bottom of the EQ Fabric Library and look for the free December Monthly fabrics you loaded. 12-Hoffman First Snowfall. Select all the fabrics and add to the Sketchbook. Close.
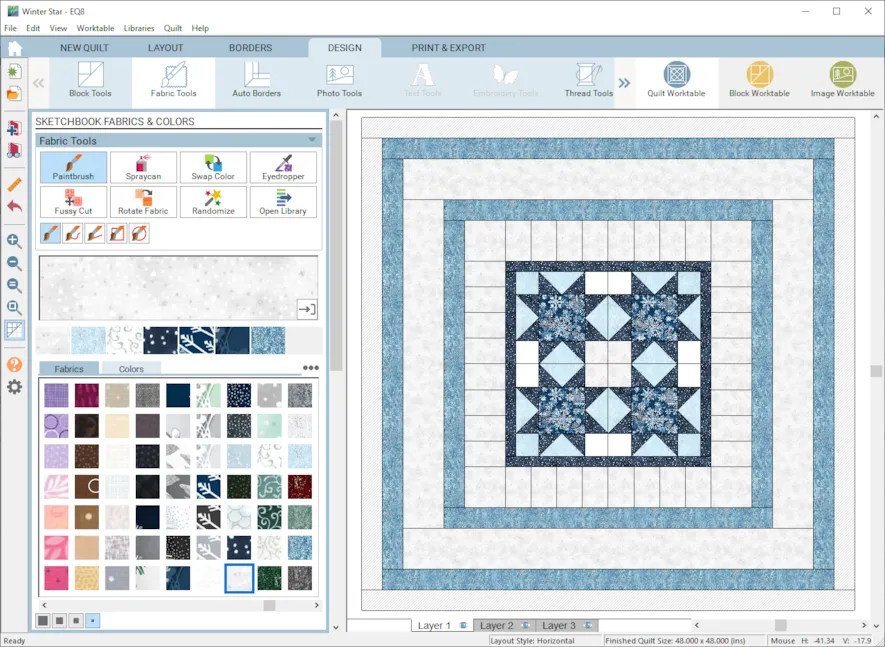
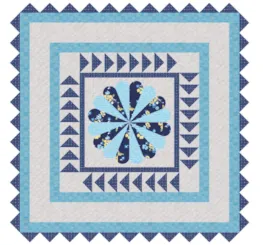
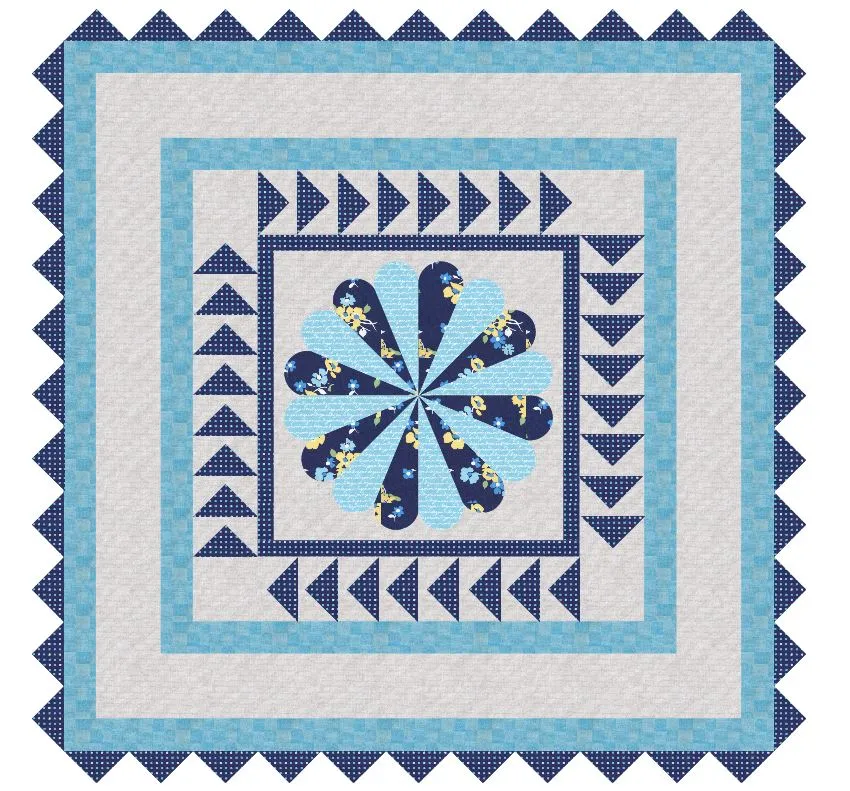
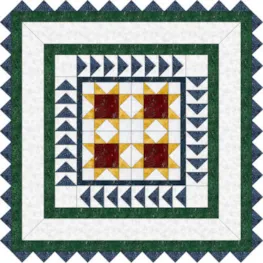
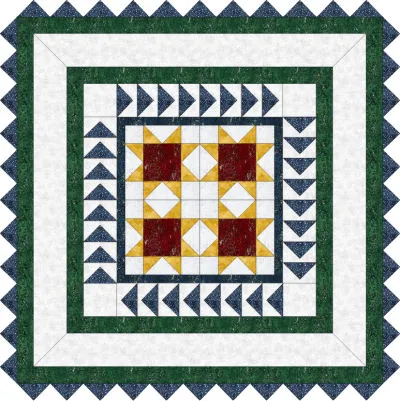
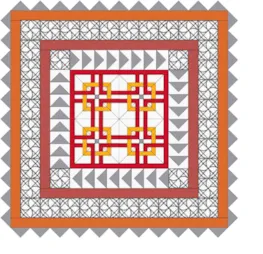
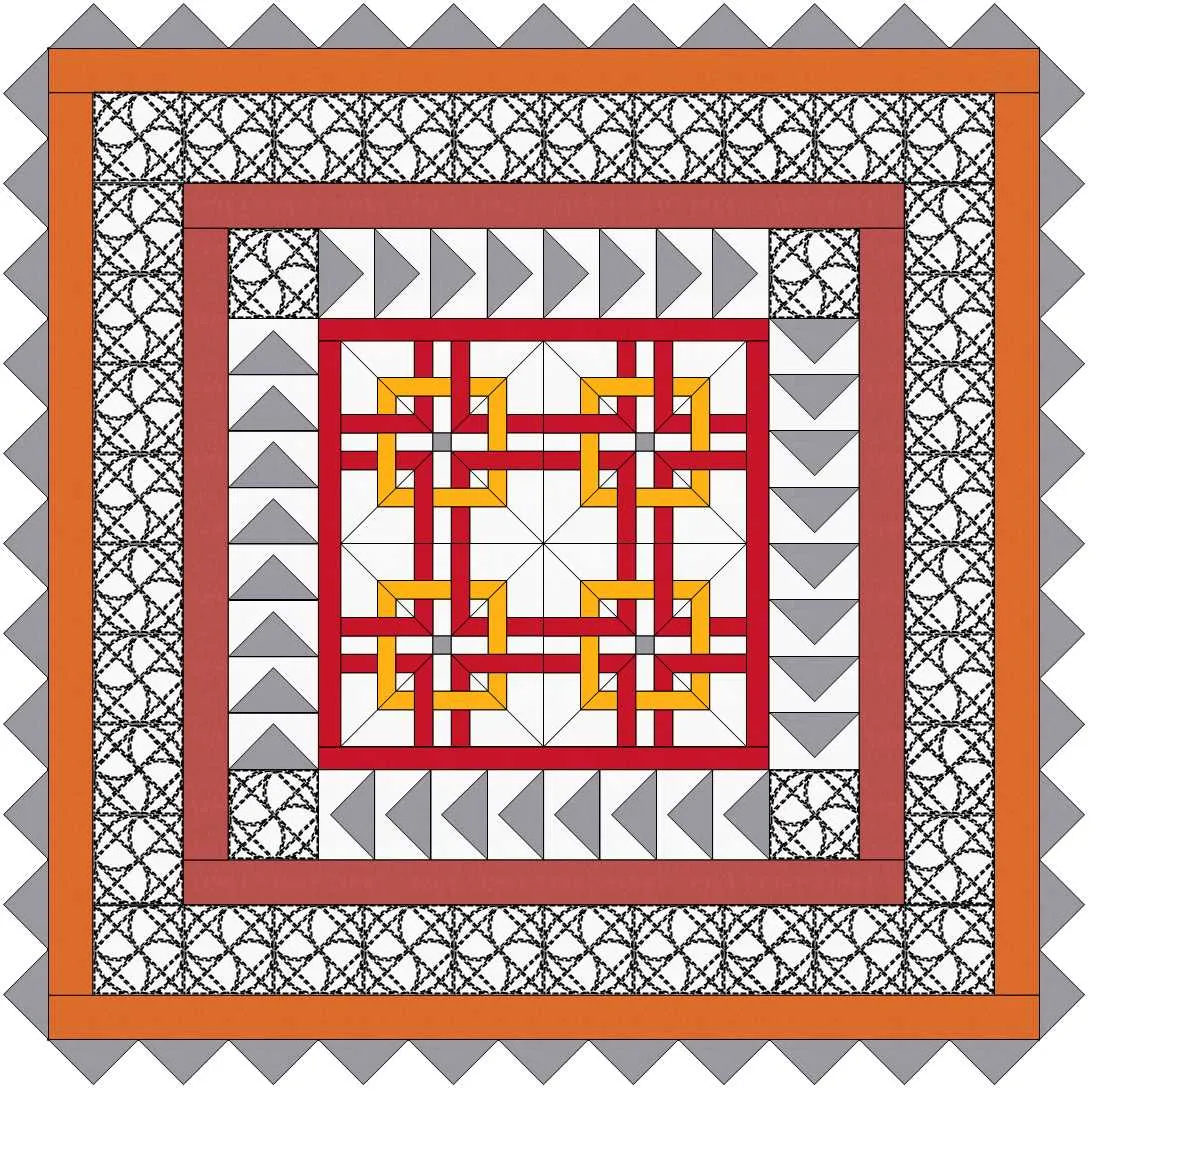
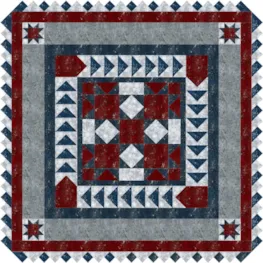
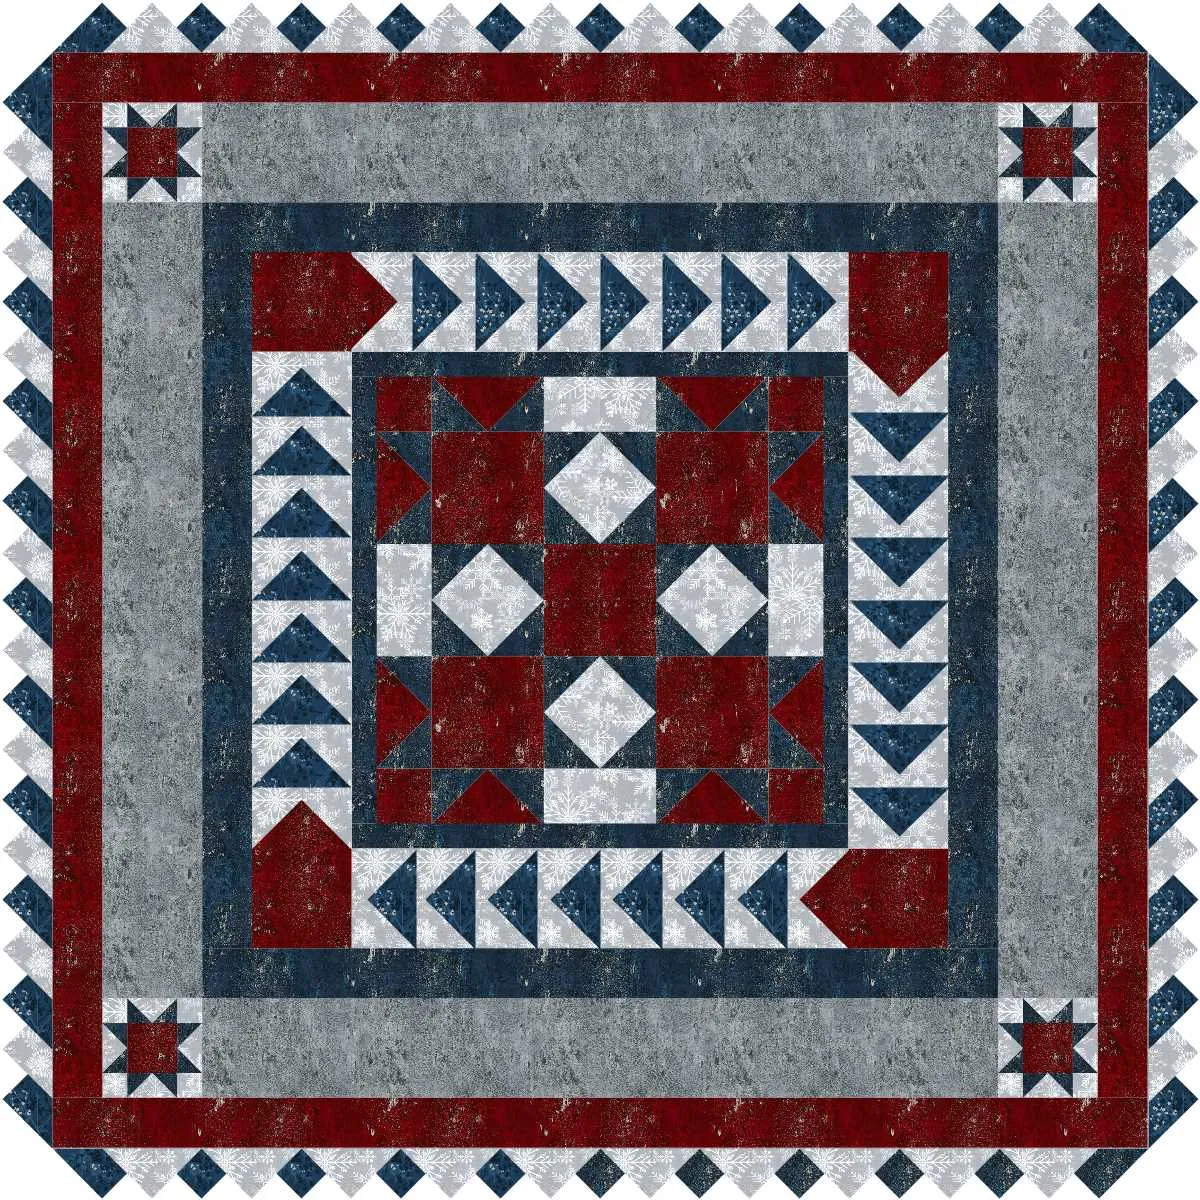
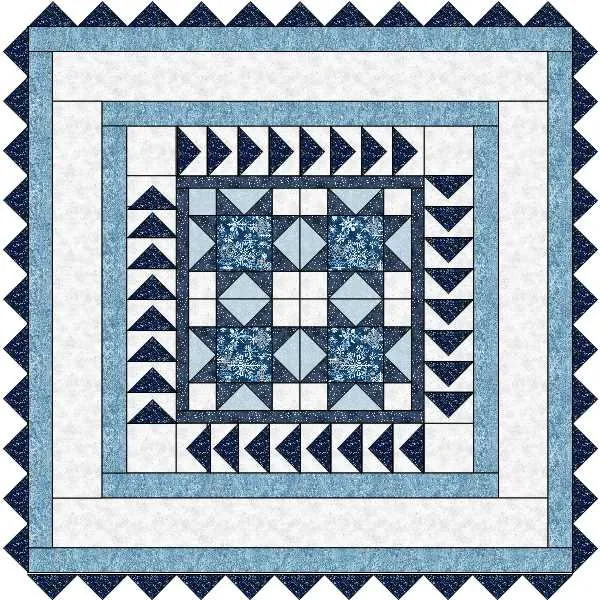
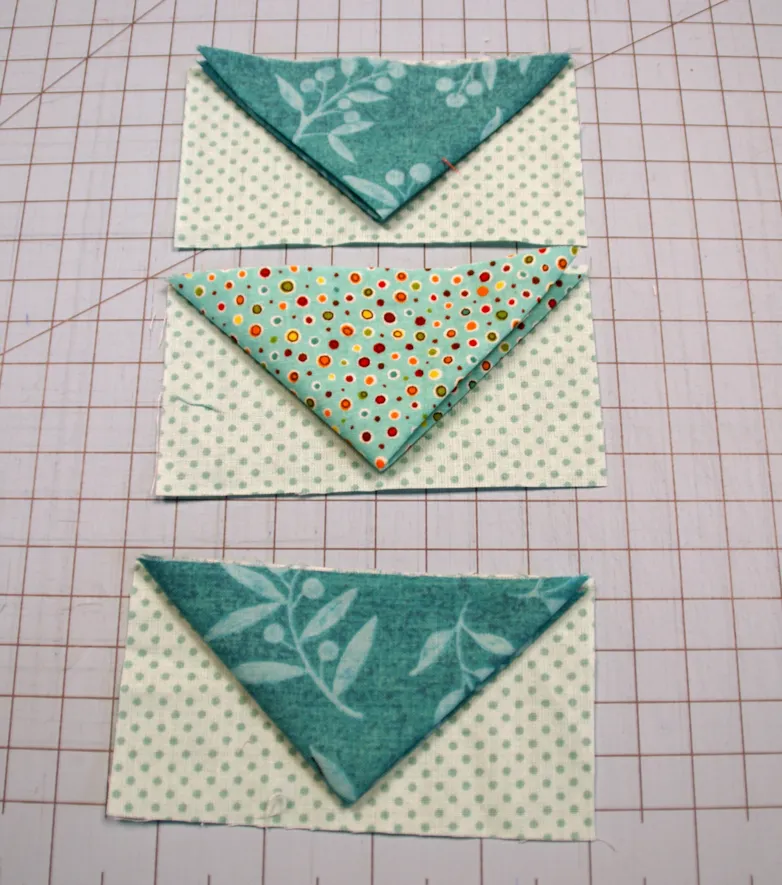
- Using the fabrics, color the quilt EXCEPT for Border 6, leave this border empty for now. using the picture above as a guide, be sure to leave the light fabrics as we will be adding darker prairie points over them. We want these borders colored because we want to have the fabric there to place the prairie points on and for calculating our fabric needs.
- We need to create our prairie point to add to the quilt. We will create a triangle motif to represent the folder prairie point.
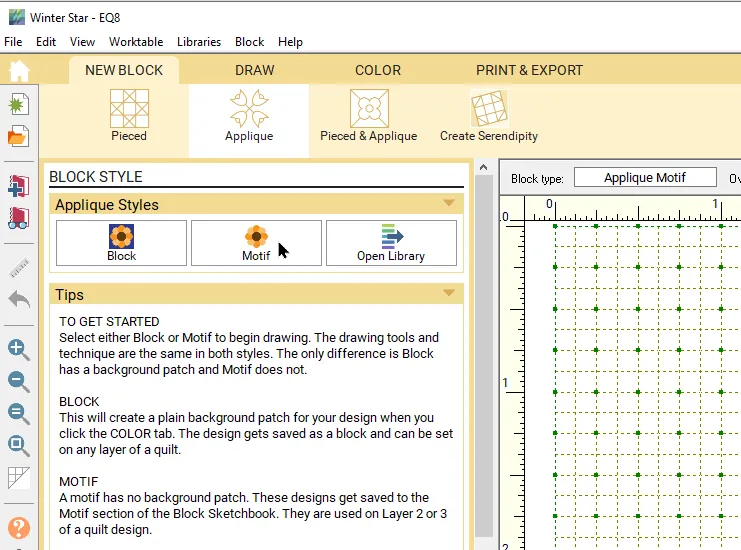
- Go to the BLOCK Worktable > NEW BLOCK > Applique > Motif.
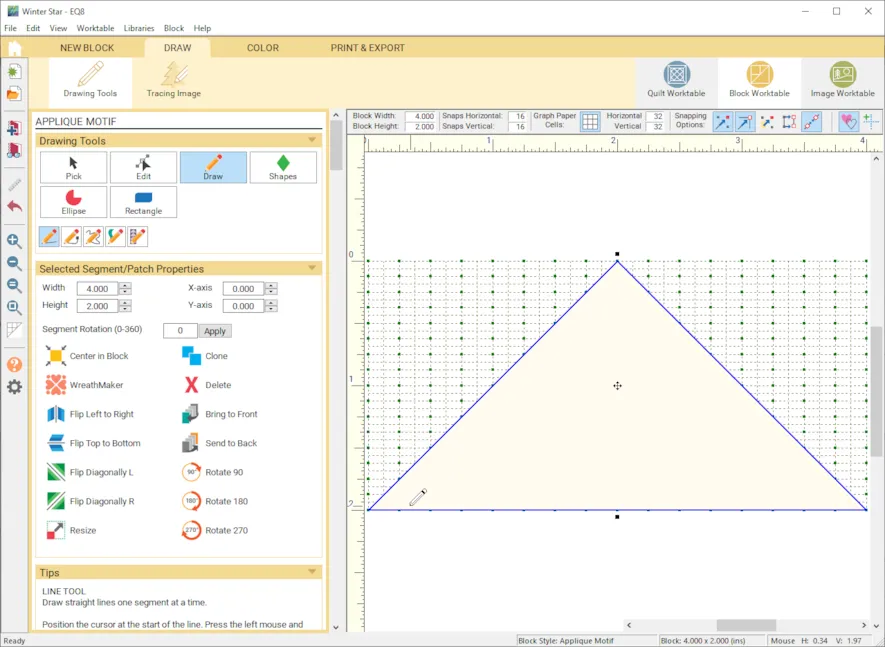
- In the precision bar, make sure you have a Block Height 2″, Block Width 4″. With the Line tool, draw a triangle as shown above. Go to the Color tab and choose a dark blue to color the triangle. Add to the Sketchbook.
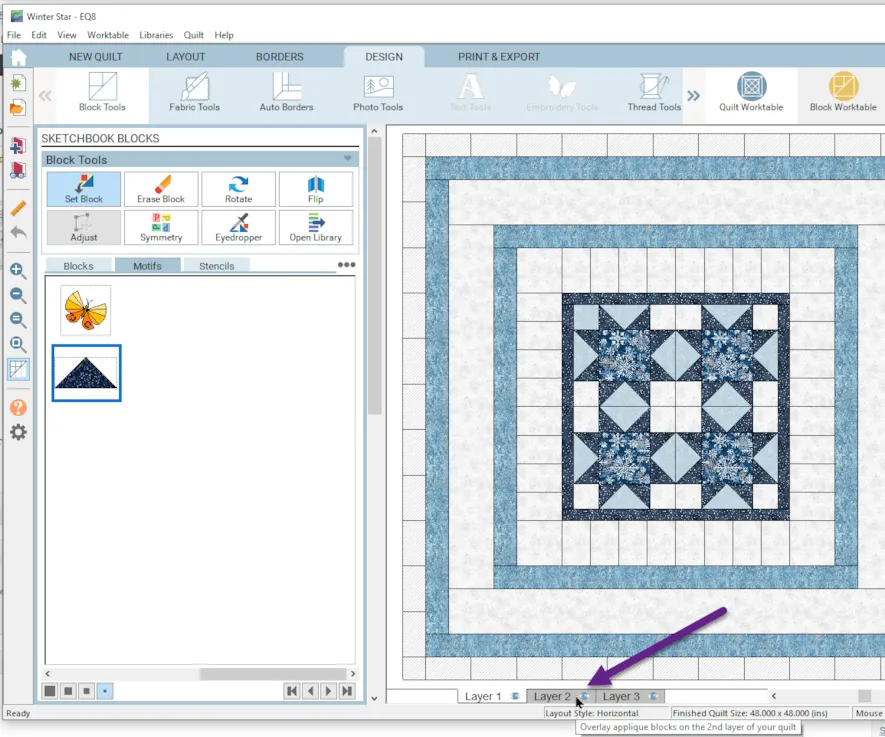
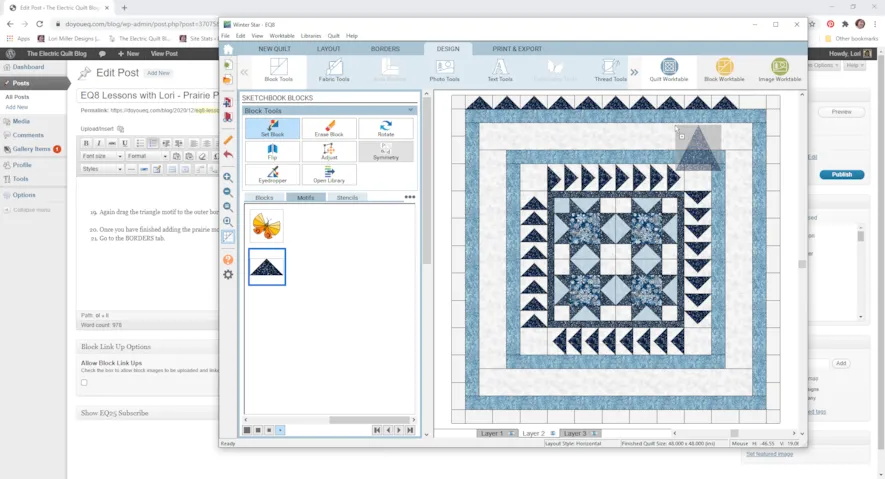
- Go back to the Quilt Worktable. Select Layer 2.
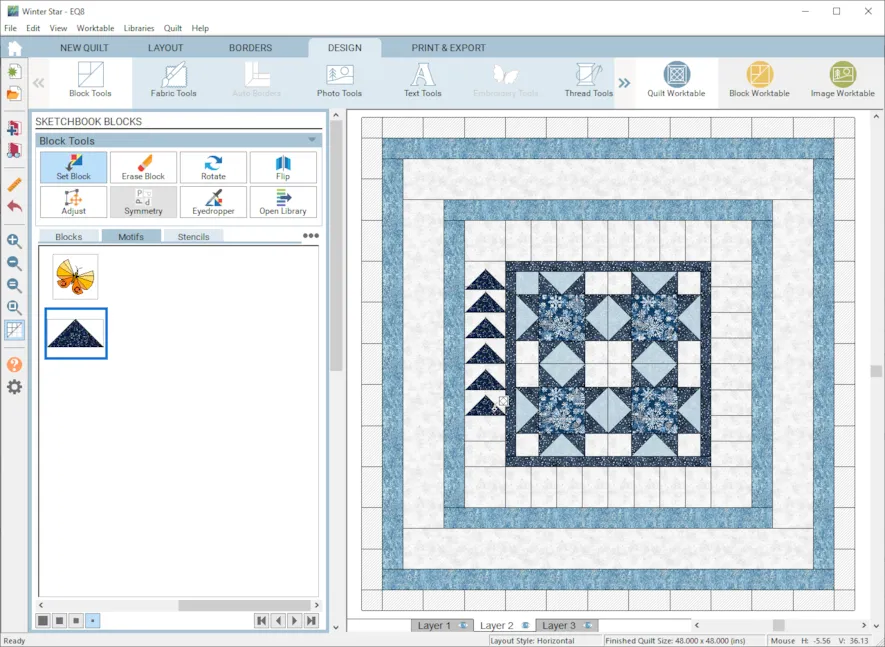
- Choose Block Tools > Motif tab. Drag your triangle over to the 2nd Border and place on a seam between the blocks. Continue to add your triangles (prairie points). I arranged them in a clockwise fashion all around the border. Use the Adjust and Rotate tools to help arrange the triangle. Changing height and width of the motif can help. Also, try zooming in for easier placement. This is placing the prairie point fabric over the border fabric as you would when constructing the quilt.
- Once you have the inner border, let’s create the Prairie Point Border. Make sure you are on Layer 2.
- Again drag the triangle motif to the outer border, Border 6. use the block lines to arrange the triangles. Continue all the way around the quilt.
- Once you have finished adding the prairie motif triangles all around the outside of the quilt, Add the quilt to the sketchbook. Now we can create a virtual border. This is the Layer 2 magic.
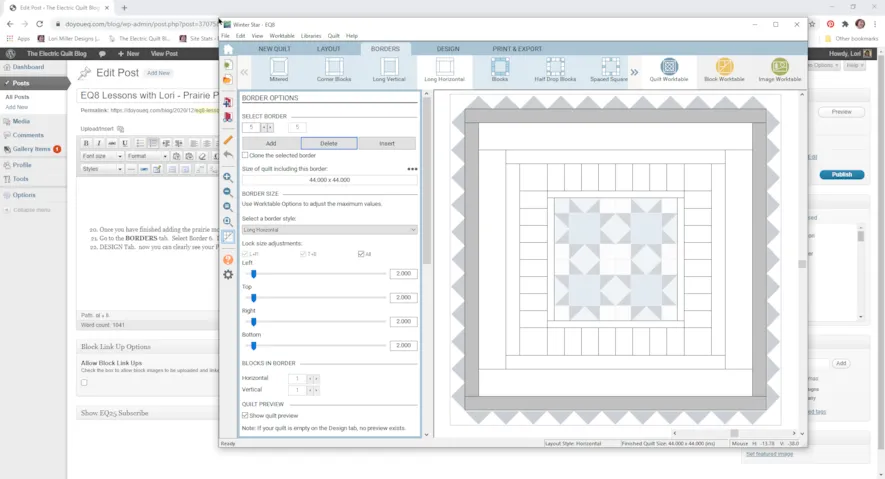
- Go to the BORDERS tab. Select Border 6. Delete it. Don’t worry, we just saved the quilt in the previous step so you can always go back if you need to. So Delete it. You should see your prairie point border appear greyed out.
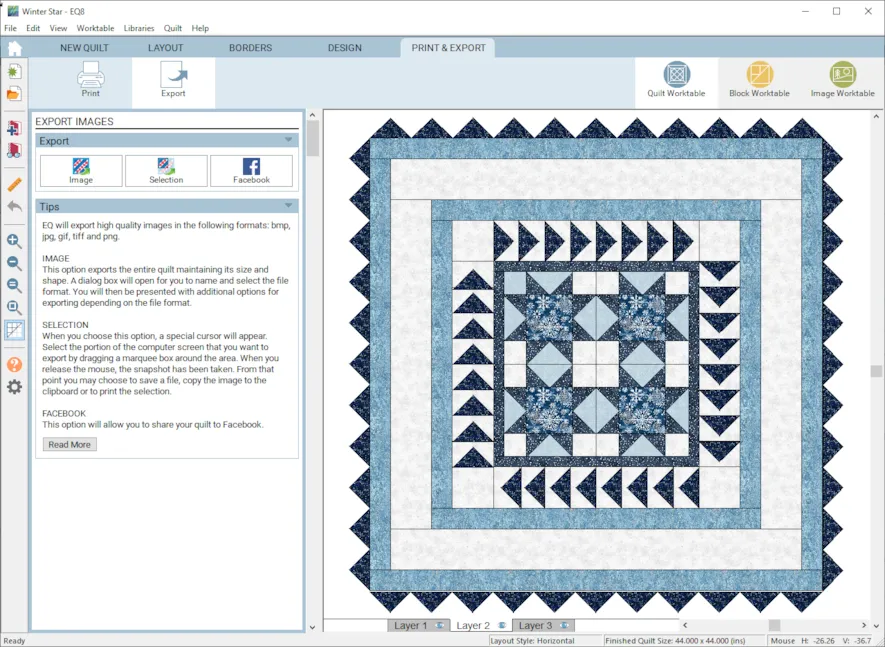
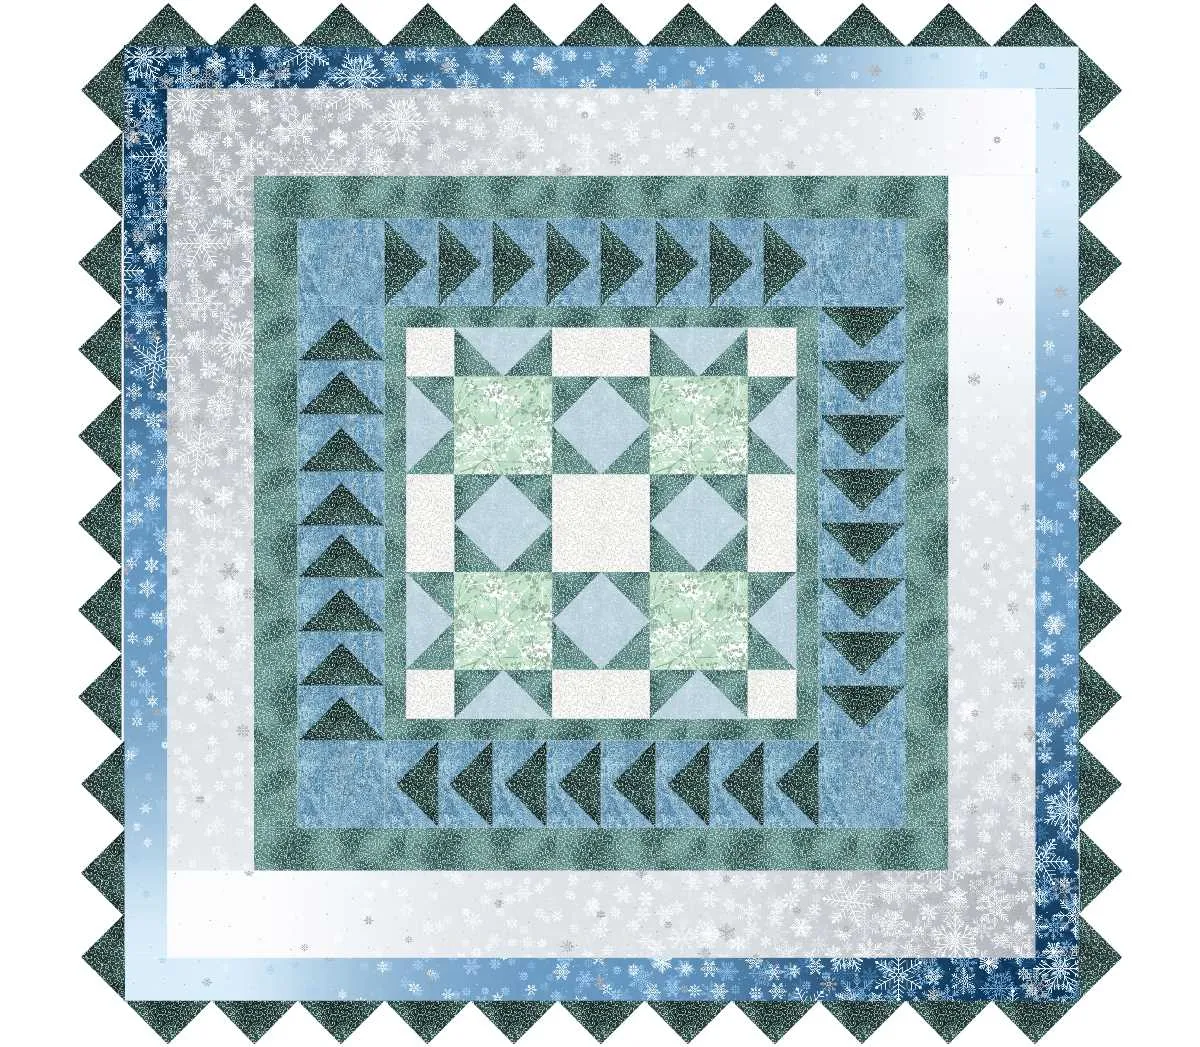
- DESIGN Tab. now you can clearly see your Prairie points on the outside of your quilt. And because they are on layer 2, there is no background around the points. Nifty, right?
Happy Designing!
Questions or Feedback
Lori J. Miller lives in Oxford, Michigan, where she designs, stitches and sews quilts and quilty things. She loves experimenting with fun colors and designs to make playful and clever products for the modern sewist. Lori continues to share her knowledge with others teaching quilting and EQ8 classes around the country. A self professed EQ8 superfan, you can follow her quilting adventures on her blog at lorimillerdesigns.com or on instagram @lorimillerdesigns