Welcome to the DESIGN AND SEW ALONG WITH YVONNE Lesson 5. This is the final lesson in this series. We will add a block border to our previous blocks and explore how the EQ8 program helps us to accomplish this. I often do not think of a border until the center of my quilt is constructed. This way I can try out different border options to see what will work best with the center blocks I have designed. Instead of posting our blocks to the blog page at the end of this lesson, I am asking that you post the image of your completed quilt layout for others to see.
Launch your EQ8 program ![]() from your desktop.
from your desktop.
On the opening page, click on ‘open an existing project’ and navigate to your DESIGN AND SEW WITH YVONNE project.
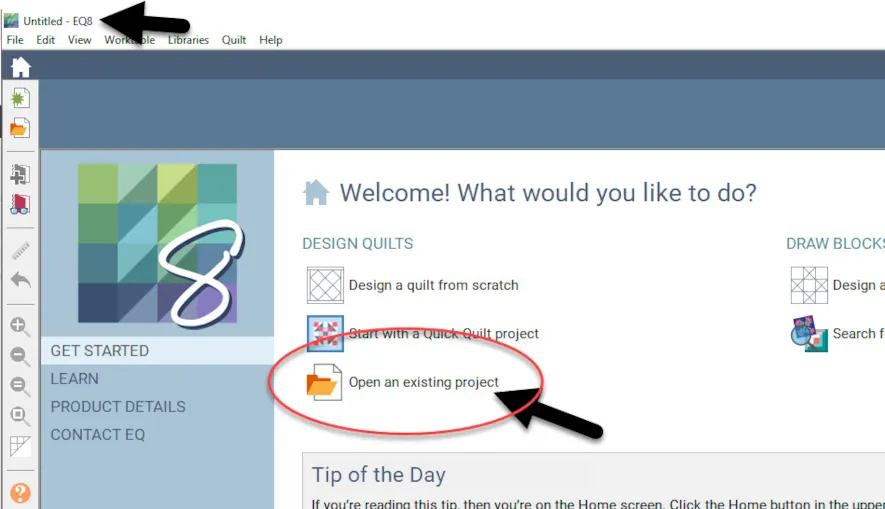

Confirm that you have your project open by seeing the title of the project at the top of the screen.
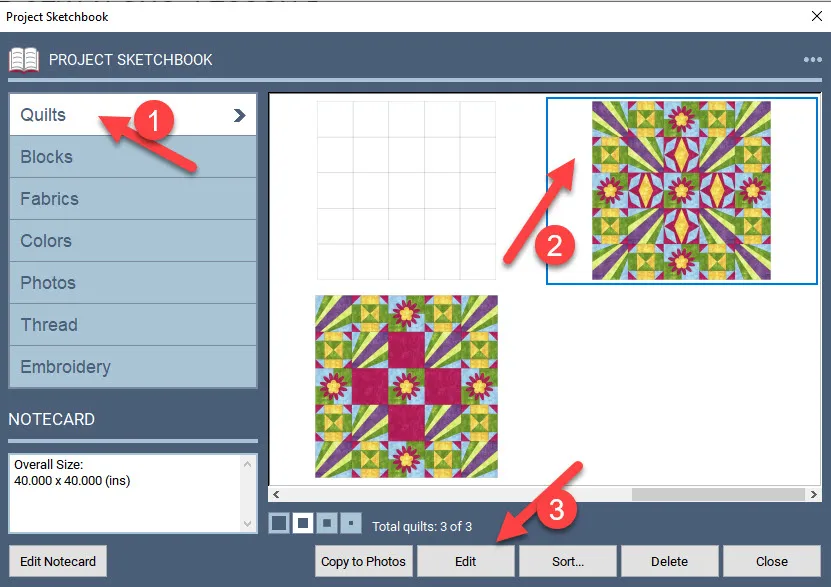
In the sketchbook, click on the Quilts heading and find the last layout for the quilt we created in the last class. Click on it to select it and then click on ‘edit’ at the bottom of the sketchbook box to open it on the quilt worktable.
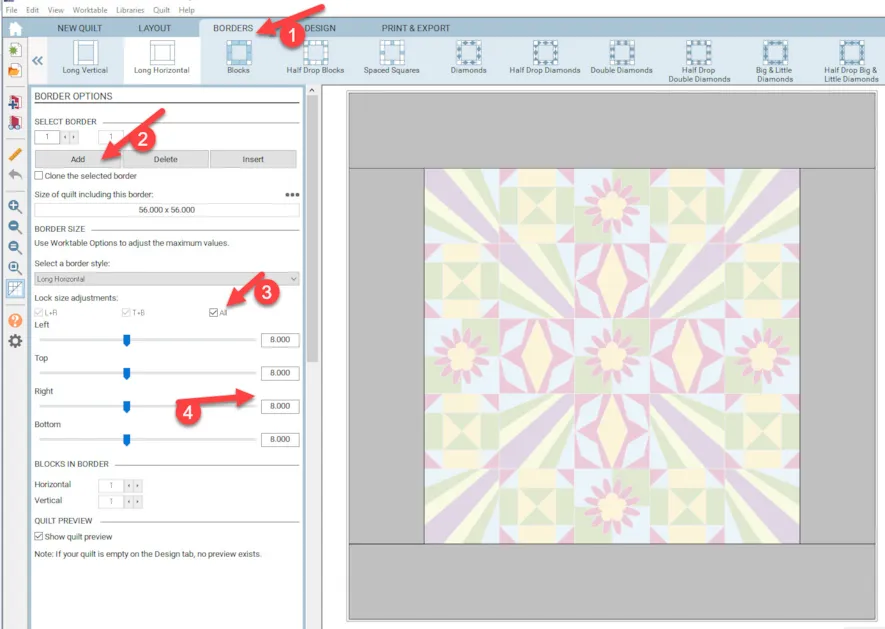
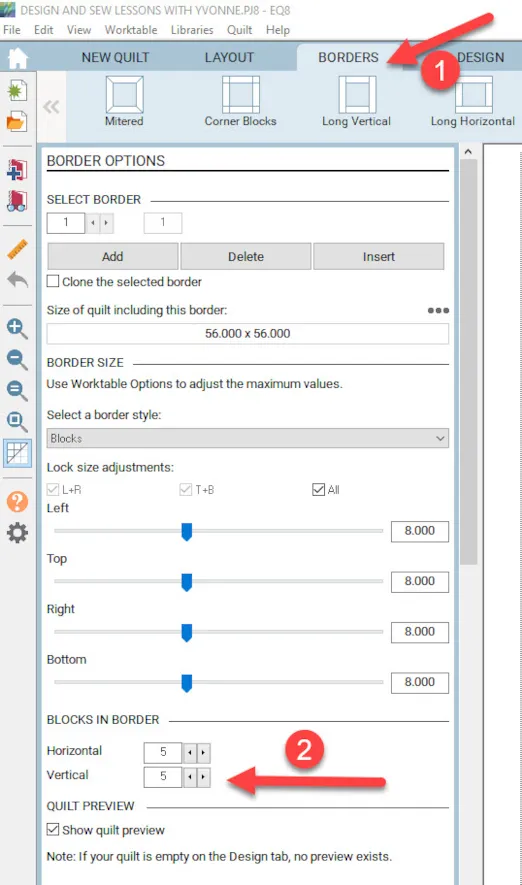
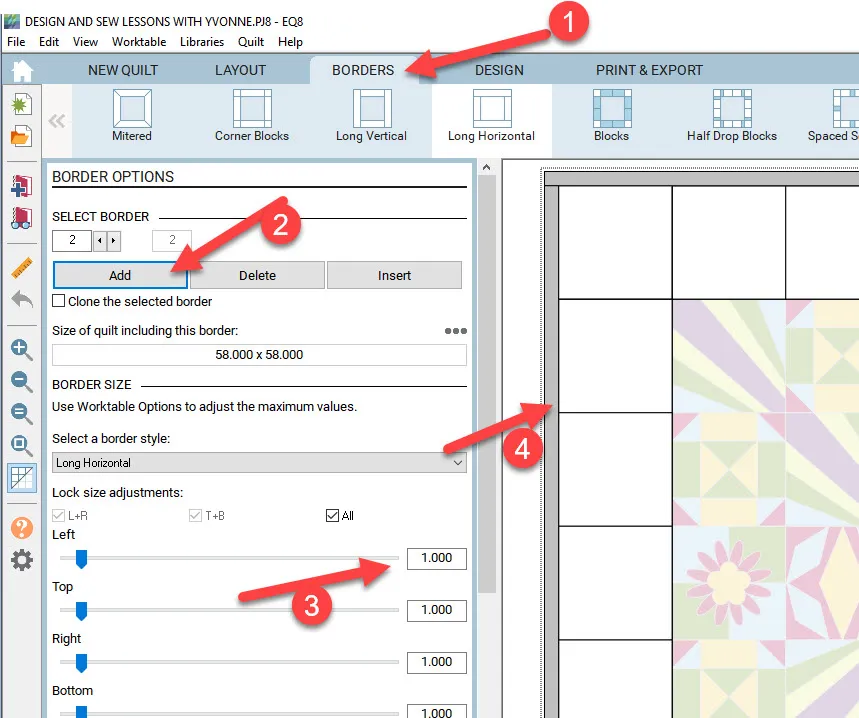
With the quilt layout on the quilt worktable, click on the borders tab at the top of the screen. In the previous lesson, we deleted the default border for EQ8. We will now add a border that is the size of our blocks.
Select the borders tab and then click on the word ‘add’ in the border options box on the left side of the screen. Click on the ‘All’ to set all sides of the borders to be 8 inches.
You could choose a border type on this screen but we want to use the preset designed borders in the EQ8 program to see which style would look best for this quilt.
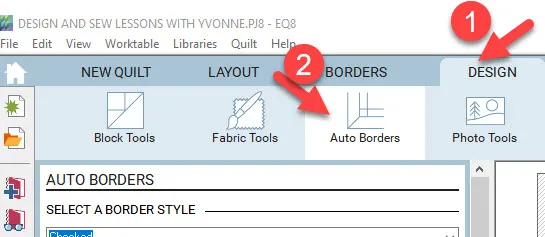
Click on the Design tab at the top of the screen and select the auto borders icon to open the auto borders selection box.
EQ8 has many styles of borders to choose from. In the selection box, click on the down arrow to see the selection types.
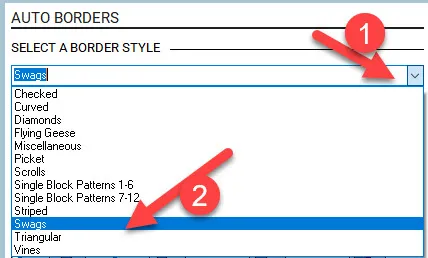
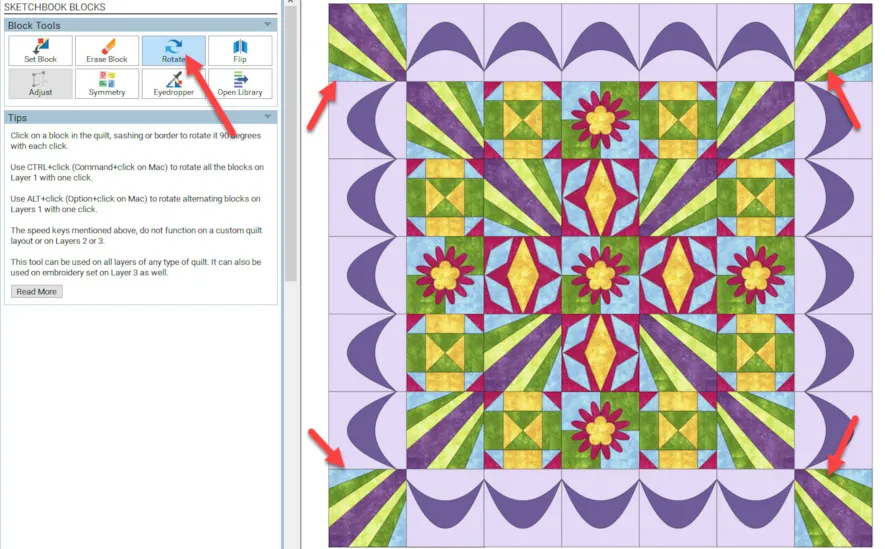
Click on the Plain Swag to select it and then click once on the border area of the quilt worktable to apply the design.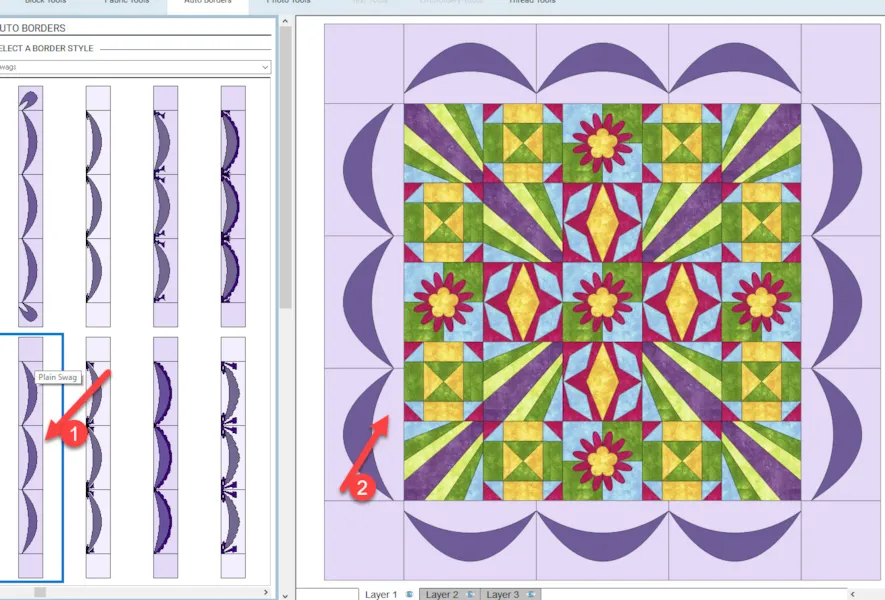
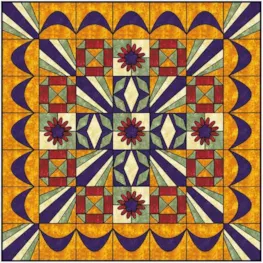
The design is applied as it is shown in the EQ8 design auto borders selection. This is close to what we want for size but not for the layout. This can easily be edited.
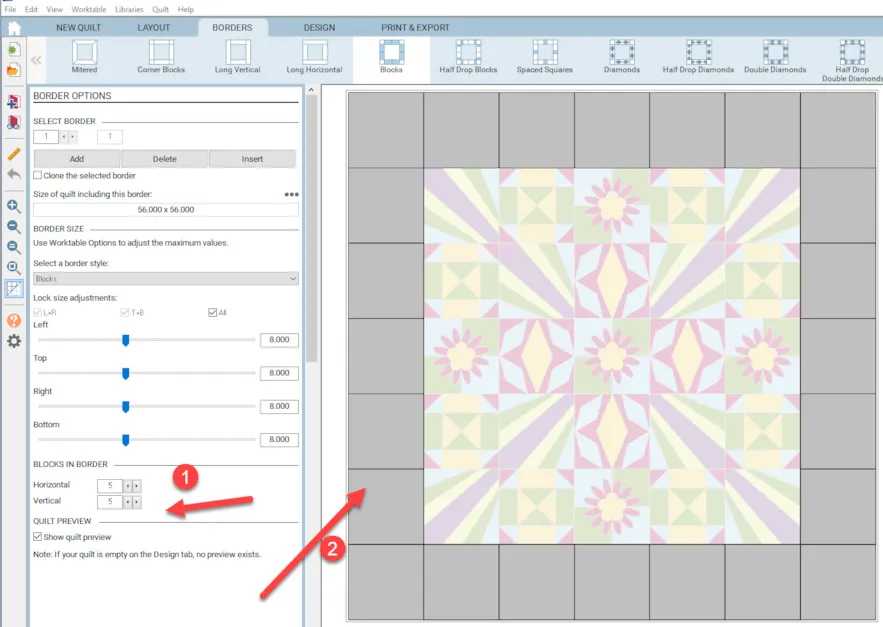
Click back onto the borders tab at the top of the screen. The size is correct but the number of blocks does not align with our center blocks. At the bottom of the border options box, set the number of blocks in the border to be 5 x 5.
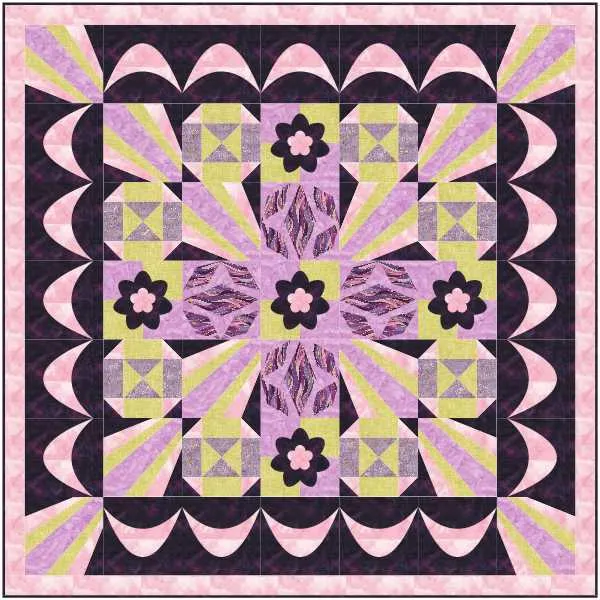
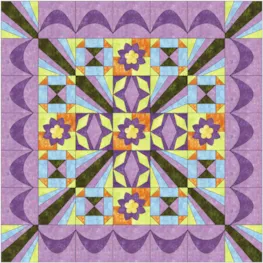
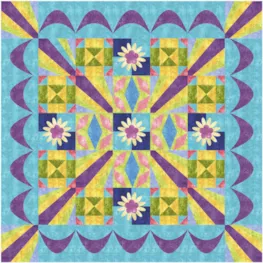
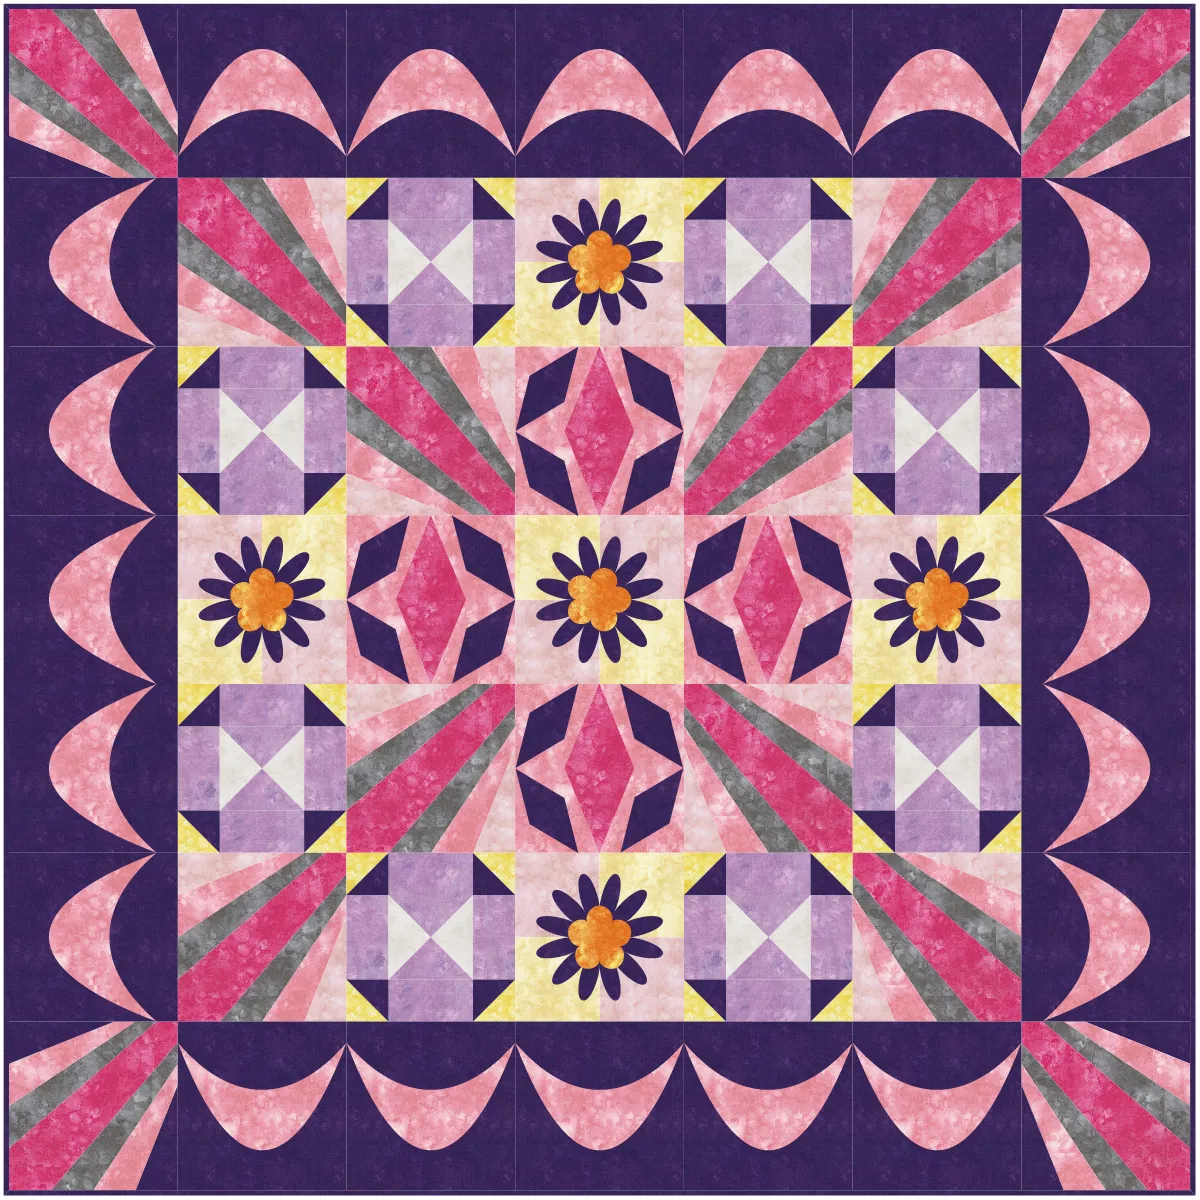
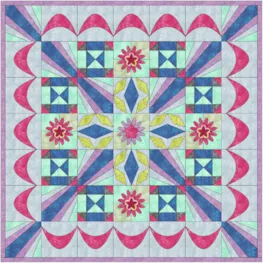
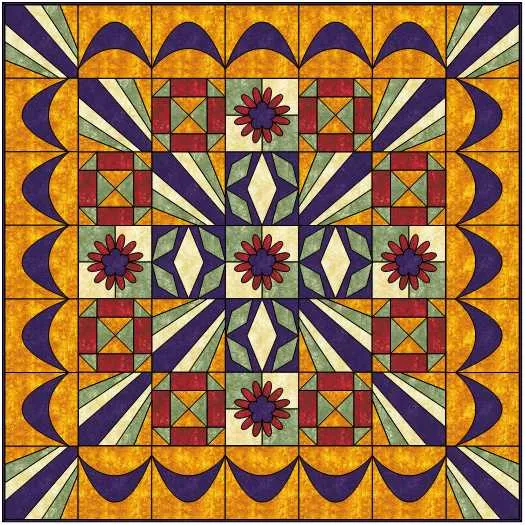
You can see that the outer border blocks now align with the number of inner blocks and the 8-inch size of the border matches the 8-inch blocks we created in the center of the layout.
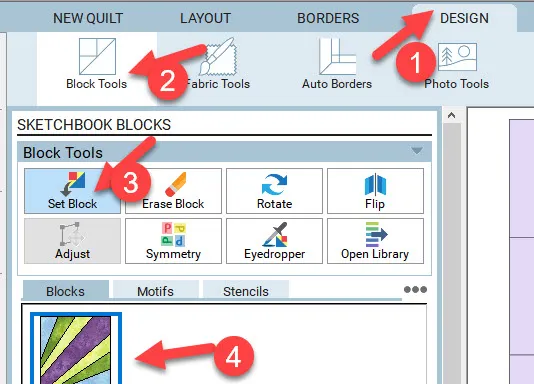
Now click back onto the DESIGN tab at the top of the screen. Click on the Block tools icon at the top of the screen. Click on the set block icon
![]() and then select the foundation pieced block we created in our second lesson.
and then select the foundation pieced block we created in our second lesson.
Once the block is selected, while holding down the control key on the keyboard (CTRL), move the cursor over to the corner block area. Click once to set all four corners at the same time.
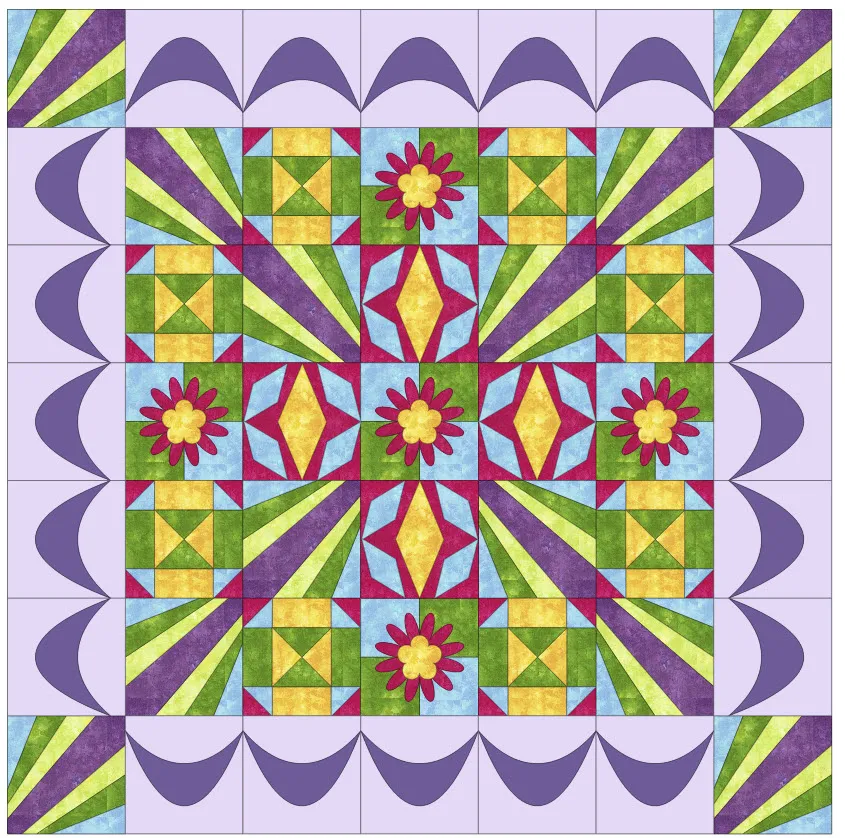
The corner blocks are going in the wrong direction. Click on the rotate tool to select it from the box on the left side of the screen then move the cursor over to the corner blocks and click on one block at a time until it rotates into the correct position.
 Add to sketchbook
![]()
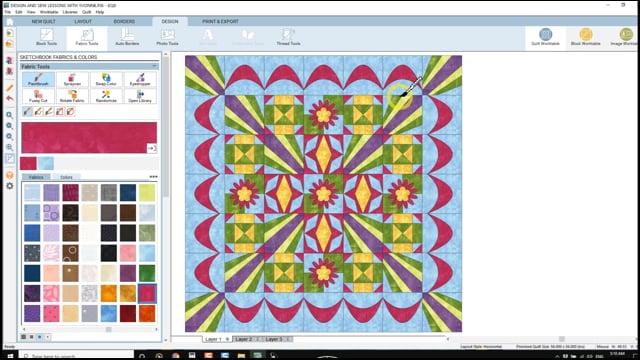
The color of the outer border is not correct. We need to change it to blend with our center blocks.
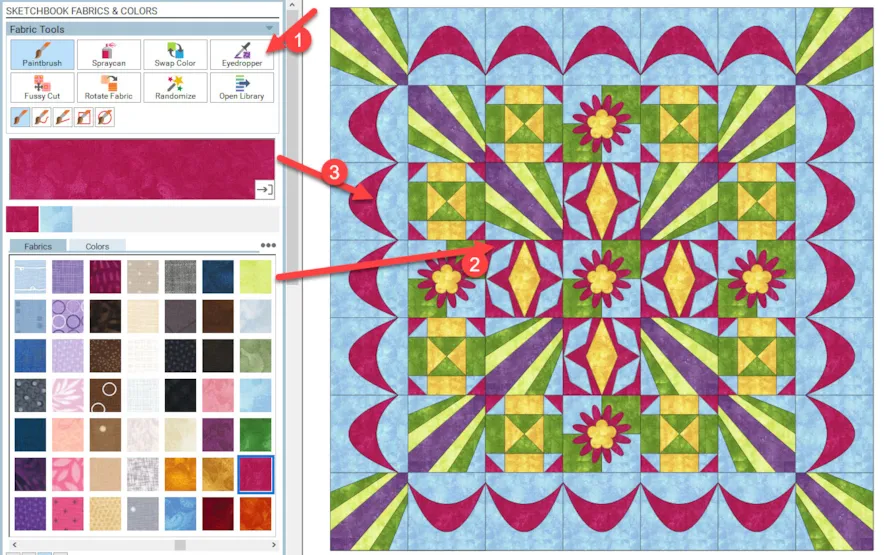
Click on the fabric tools icon at the top of the screen. This will give us our fabric tools selections. Click on the eyedropper tool ![]() in the sketchbook fabrics and colors box on the left side of the screen.
in the sketchbook fabrics and colors box on the left side of the screen.

With the eyedropper tool selected, click on a color from one of the blocks on the quilt worktable to pick up that color. Once you have picked up the color, move the cursor over to the blocks of the border and while holding down the control key (CTRL) on the keyboard, click once on a background area to color all the blocks at one time.
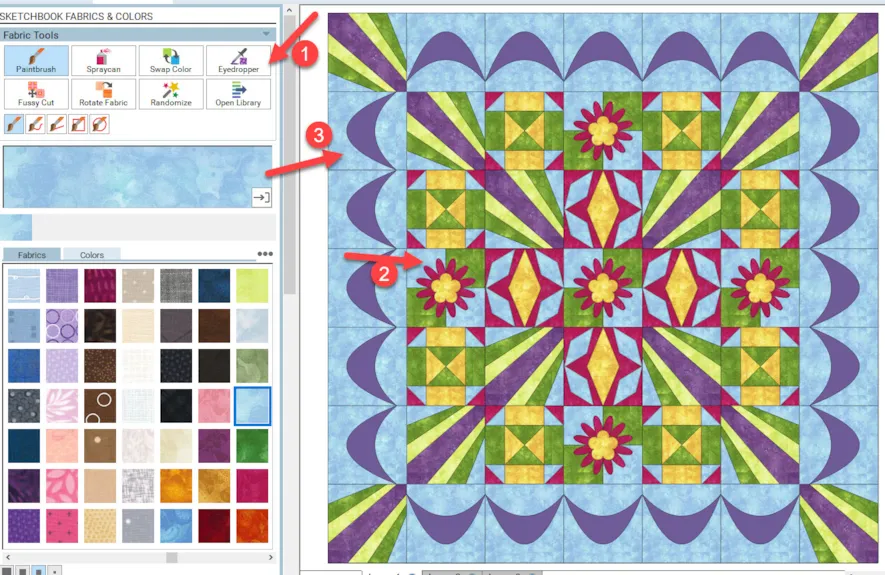
Repeat this same process and use the eyedropper to pick up the correct color for the swags and color them with one click while holding down the control key(CTRL) on the keyboard.
 Add to sketchbook
![]()
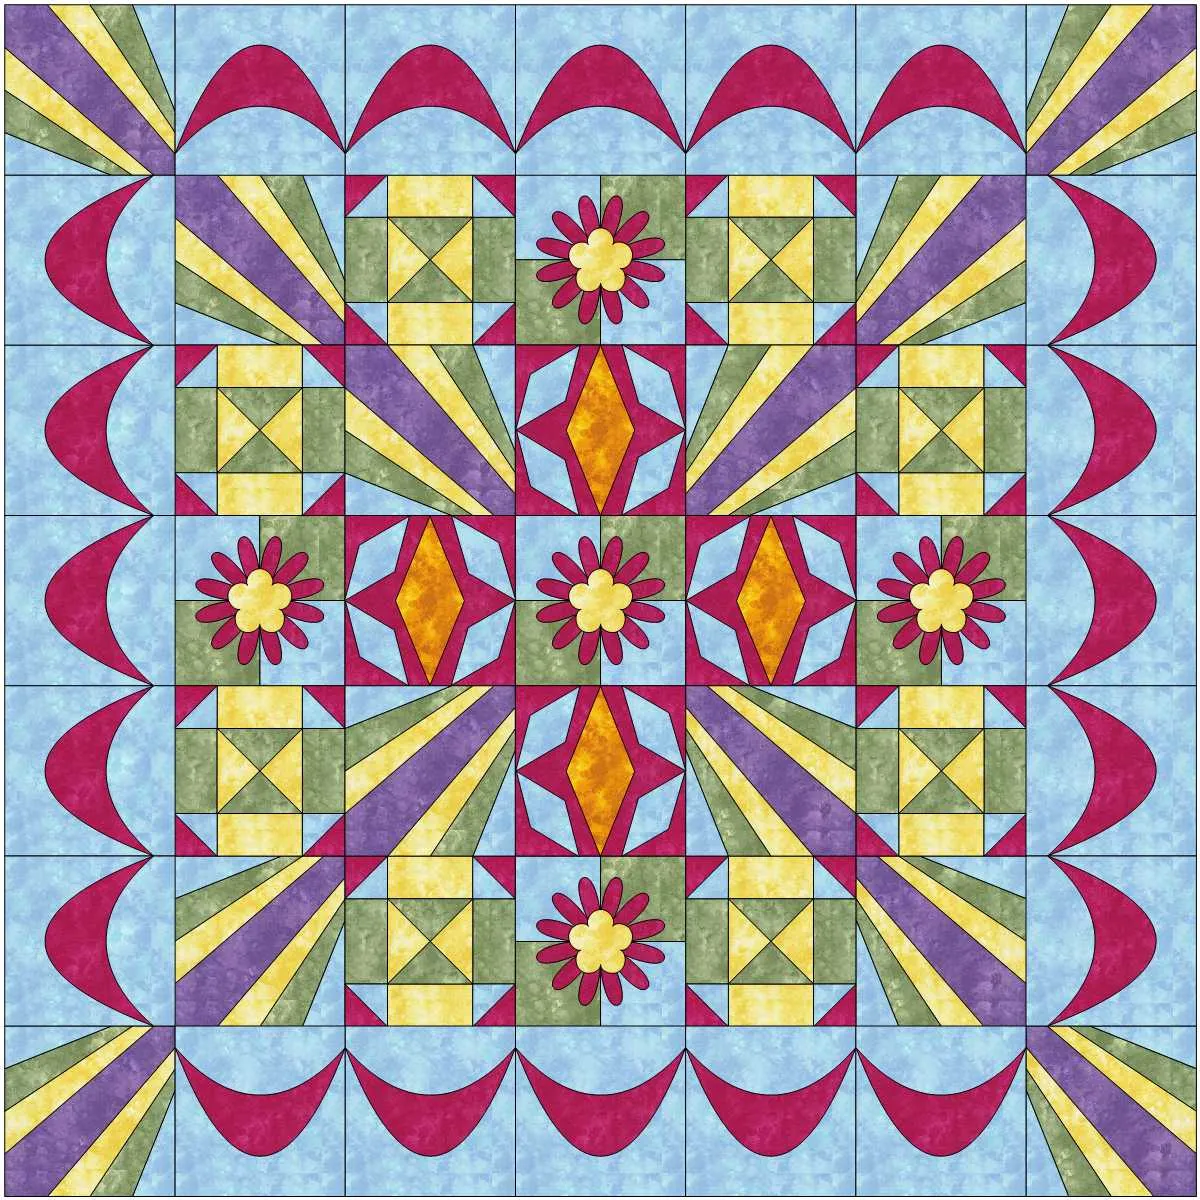
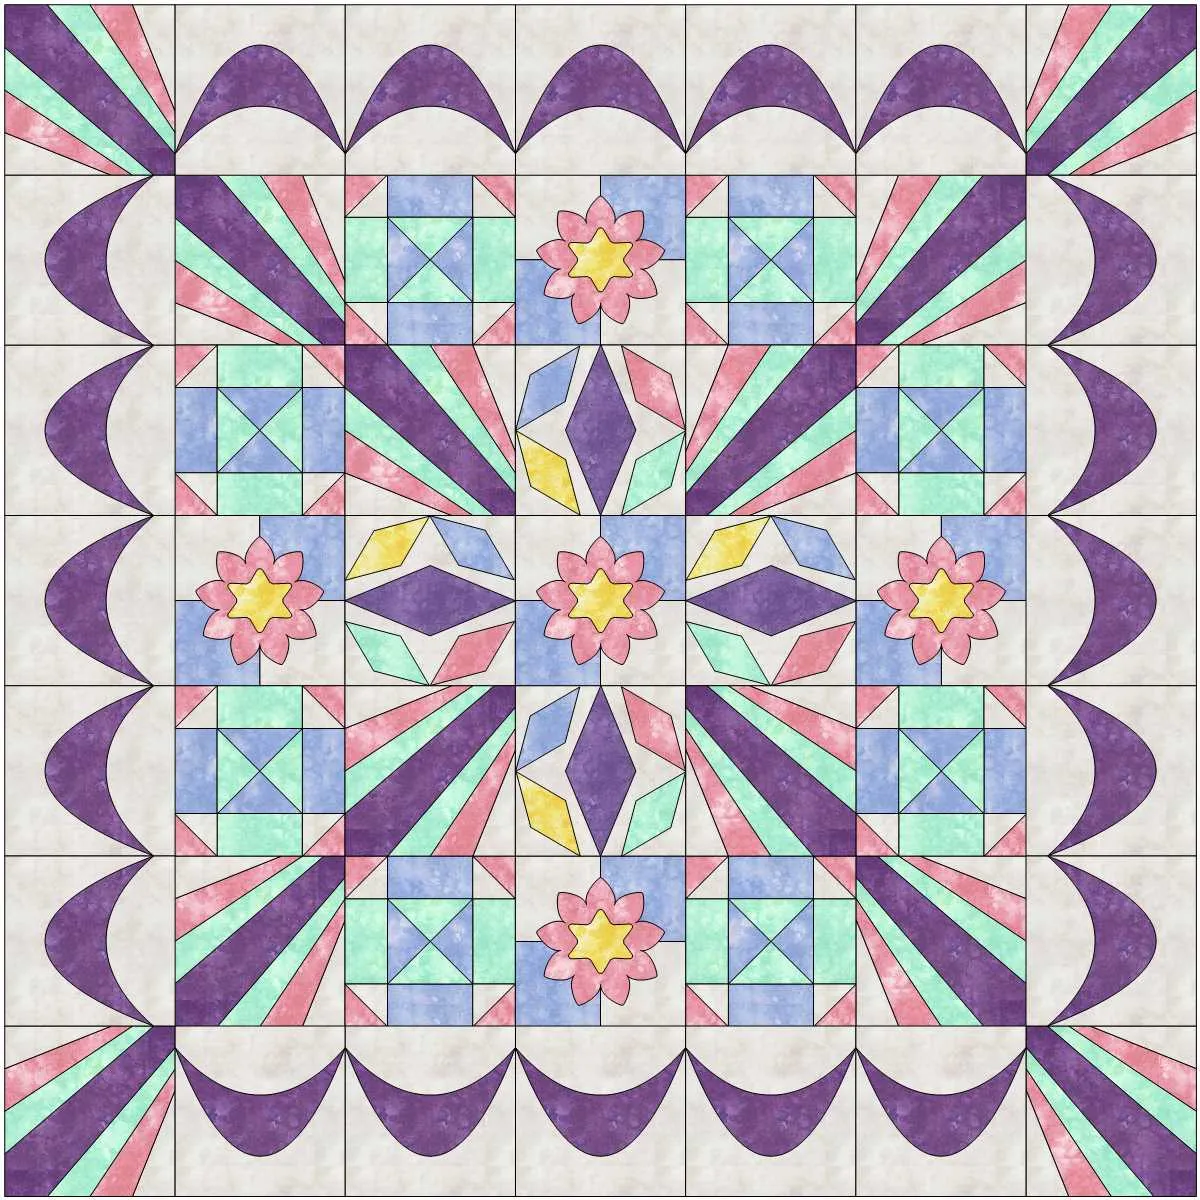
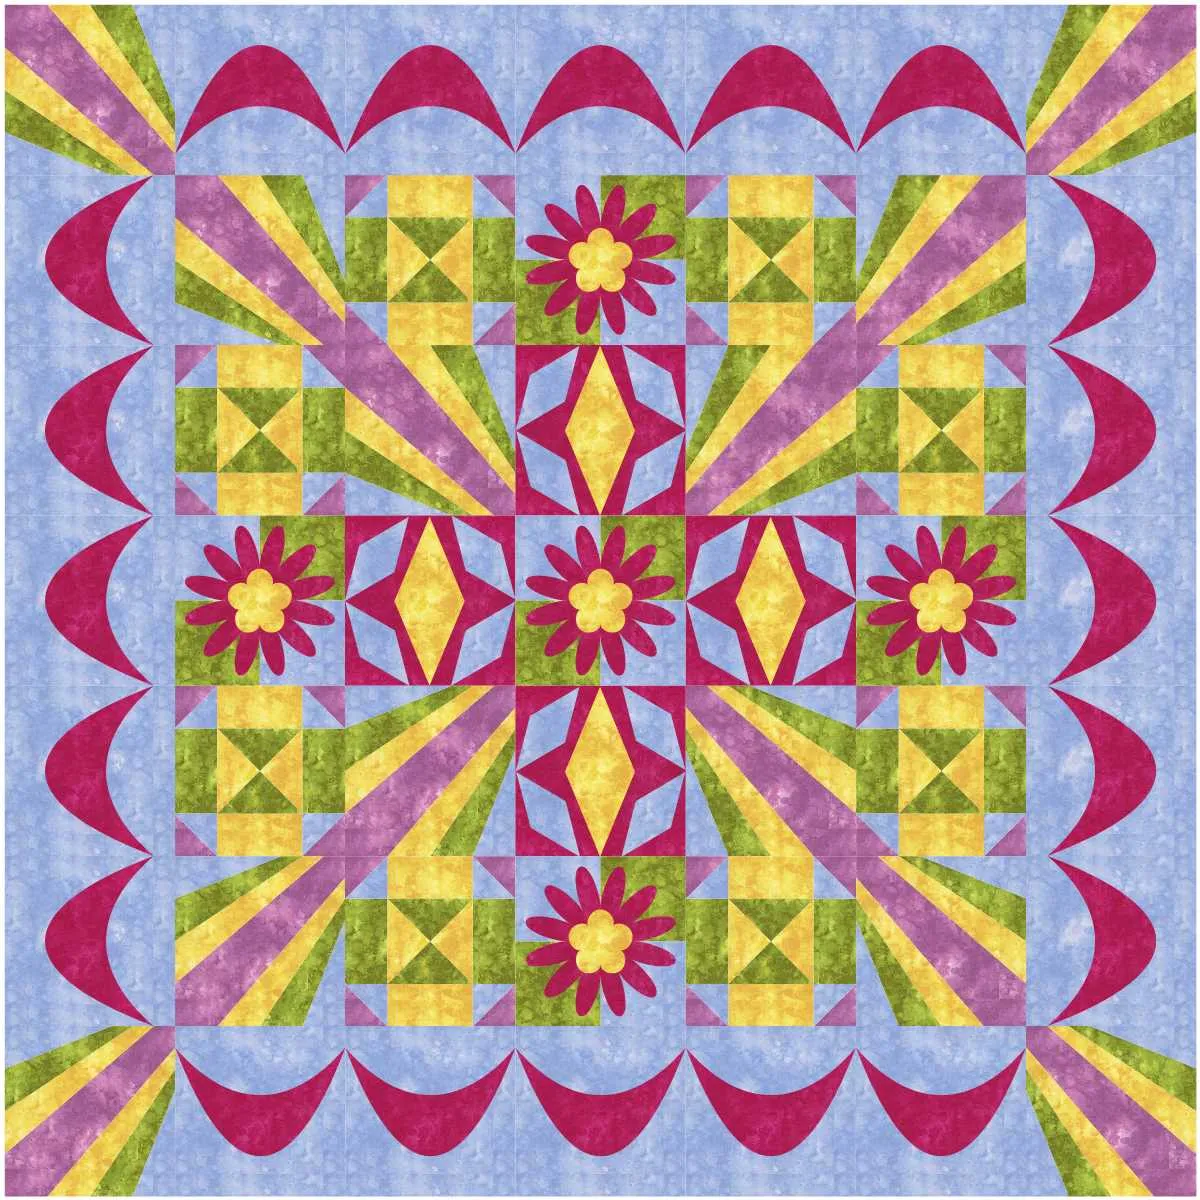
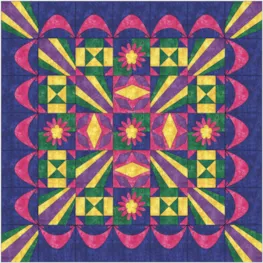
The quilt layout is complete and colored in the correct order and is in our sketchbook. We do not need to print a pattern for the corner blocks as we printed them in the second lesson. We do need to print the blocks for the new swag elements we added in this class. We can print a block pattern from the quilt worktable.
At the top of the screen, click on the Print and Export tab then move the cursor over to one of the border blocks with the swag shape and click on it to select it. You will see the size of the block shows up along with a green selection box around it. Now that it is selected, click on the ‘templates’ pattern printing option.

The print template box will open. Notice how the name of the pattern is already there. This happens when you are using a block that is built into the program. It is already named for you.
You can choose if you want a seam allowance printed (for needle turn applique) or uncheck for no seam allowance (for fusible applique). I choose not to print a key block as there is only one shape we need. We do need 20 patterns for the outer border, but you may choose to print only 1 pattern and use it multiple times. Click on the word ‘preview’ at the bottom of the box to see the pattern.
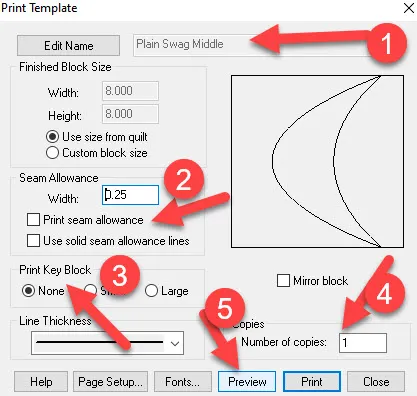
On the print screen, click on the block to select it and then click on the word ‘delete’ to remove it. We don’t need a pattern to cut a simple block. We do need to remember when cutting that it is cut to 8.5 inches square. Once the block is deleted, print the template from this screen for your swag applique.

Close the print template page after printing and close the preferences box also.
At the lower right side of the quilt worktable screen, you will see the finished size of the quilt shown.
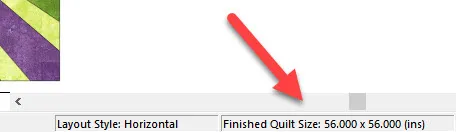
This is great information to have. It helps us when designing to see if the size fits our needs. We may need to add or delete blocks/borders to have the size we require.
From the quilt worktable, we can have the program tell us how much fabric of each color we may need.
While still on the print and export tab, click on the ‘yardage’ icon![]() at the left side in the print patterns box.
at the left side in the print patterns box.
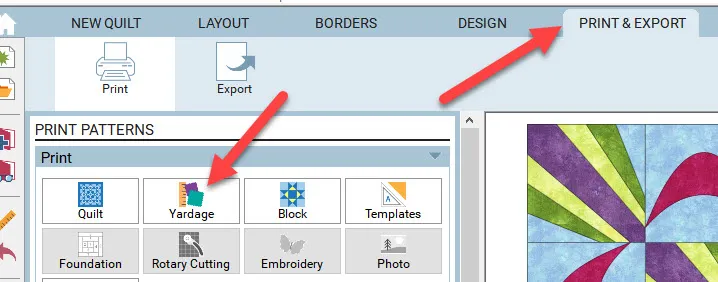
In the print yardage estimates box, click on the down arrow and tell the program what width of fabric you are using. At the beginning of the class, I gave you the yardage estimates based on a 44-45 inch width of the fabric. I also assume you are using a .25 inch seam when sewing together your blocks. Click on preview at the bottom of the box.
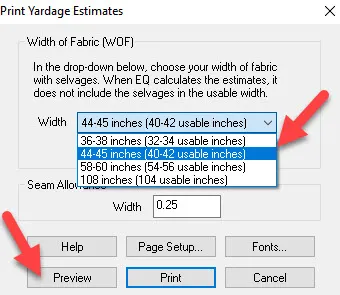
On the preview page, click on the words ‘zoom in’ and then click/hold/drag/release the mouse to create a box around the fabric requirements. This makes it easier to see the yardage on the computer screen. When I print the page, it is easy to read without the zoom. You will print your fabric requirements from this screen.
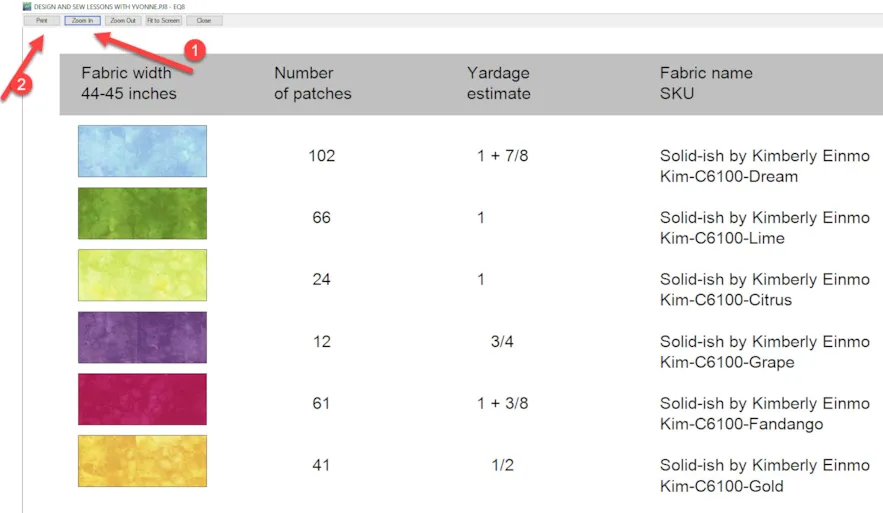
You can go to your personal stash of fabrics to see if you have enough fabric, or when you print this chart you can take it to the fabric store with you to purchase the correct amount of fabric for the quilt layout.
Close the print screen and close the Print estimates box when done printing.
I do find the estimates to be enough fabric. I also like to wash/preshrink my fabric before cutting so I often buy slightly more to allow for fabric shrinkage and wide selvages marked on the fabric that eats into usable fabric area.
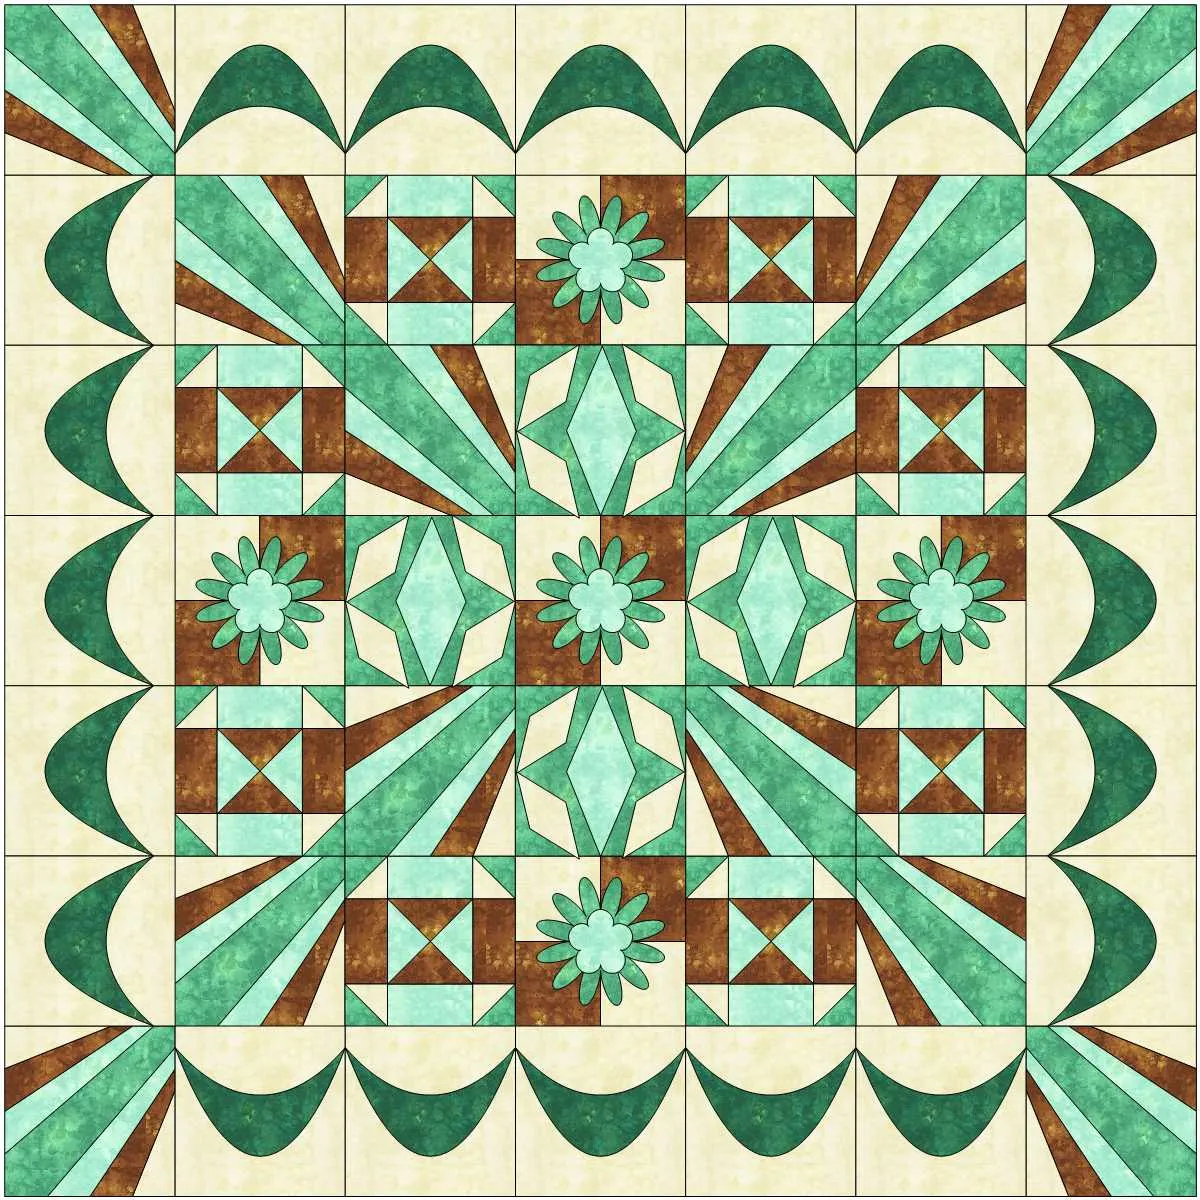
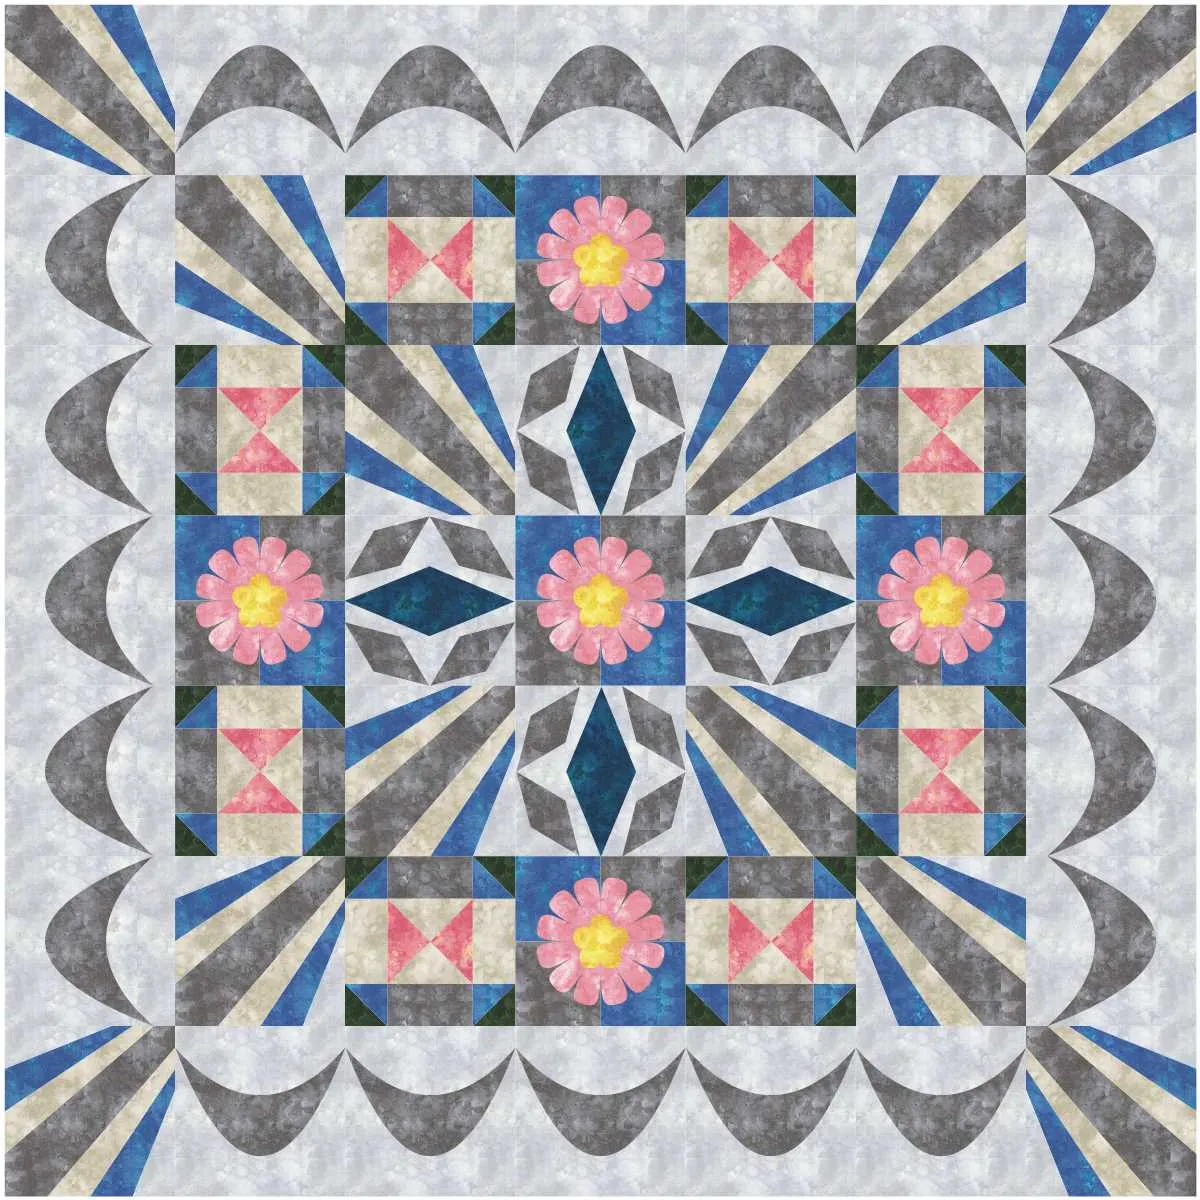
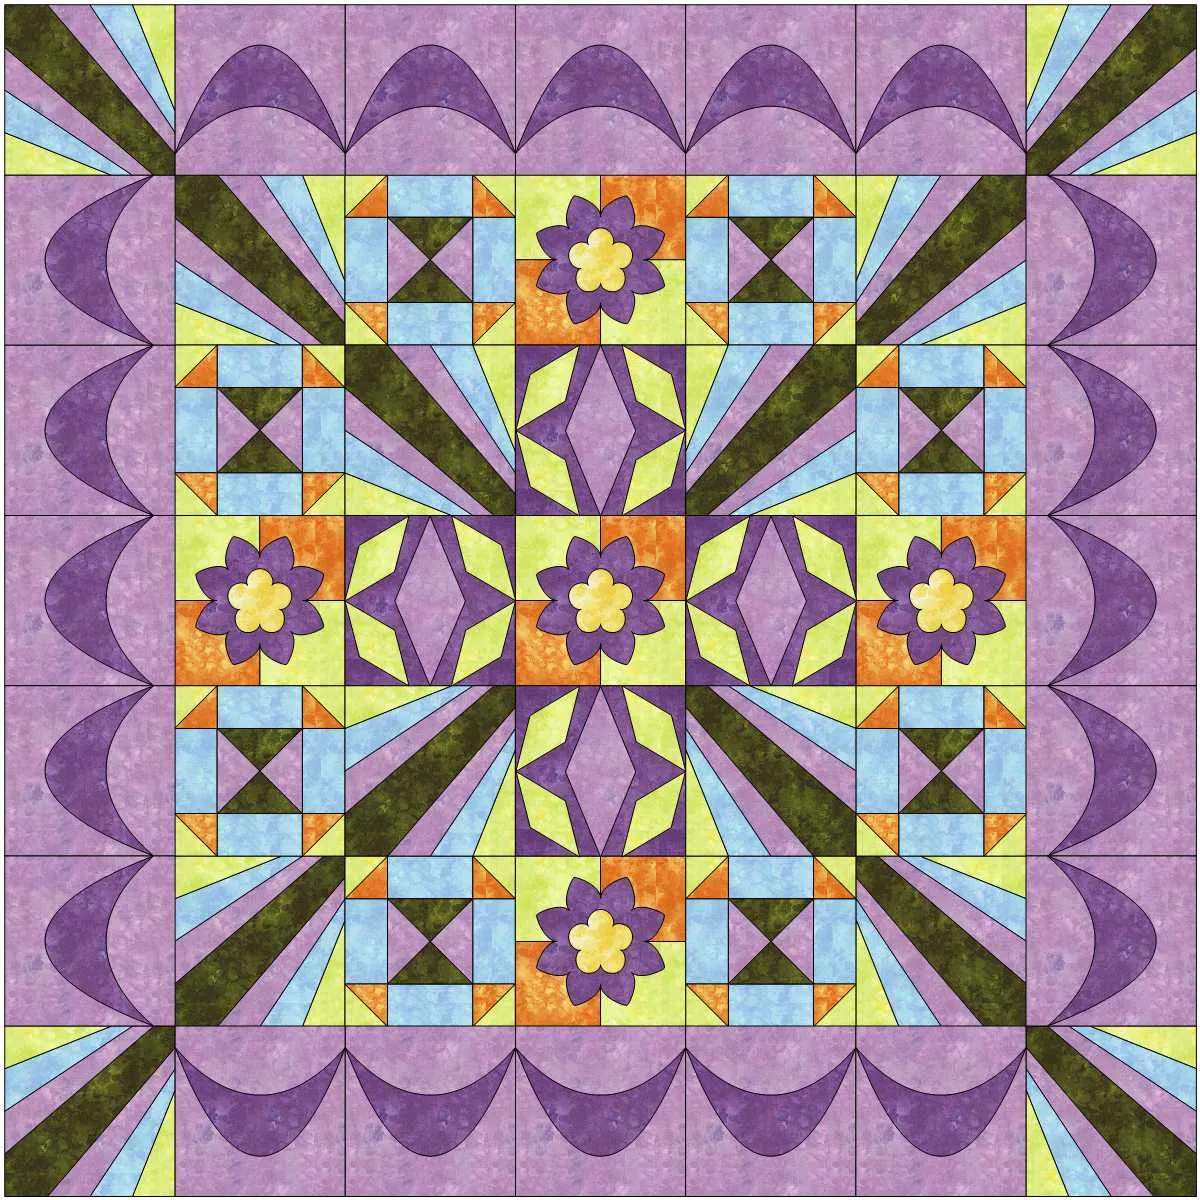
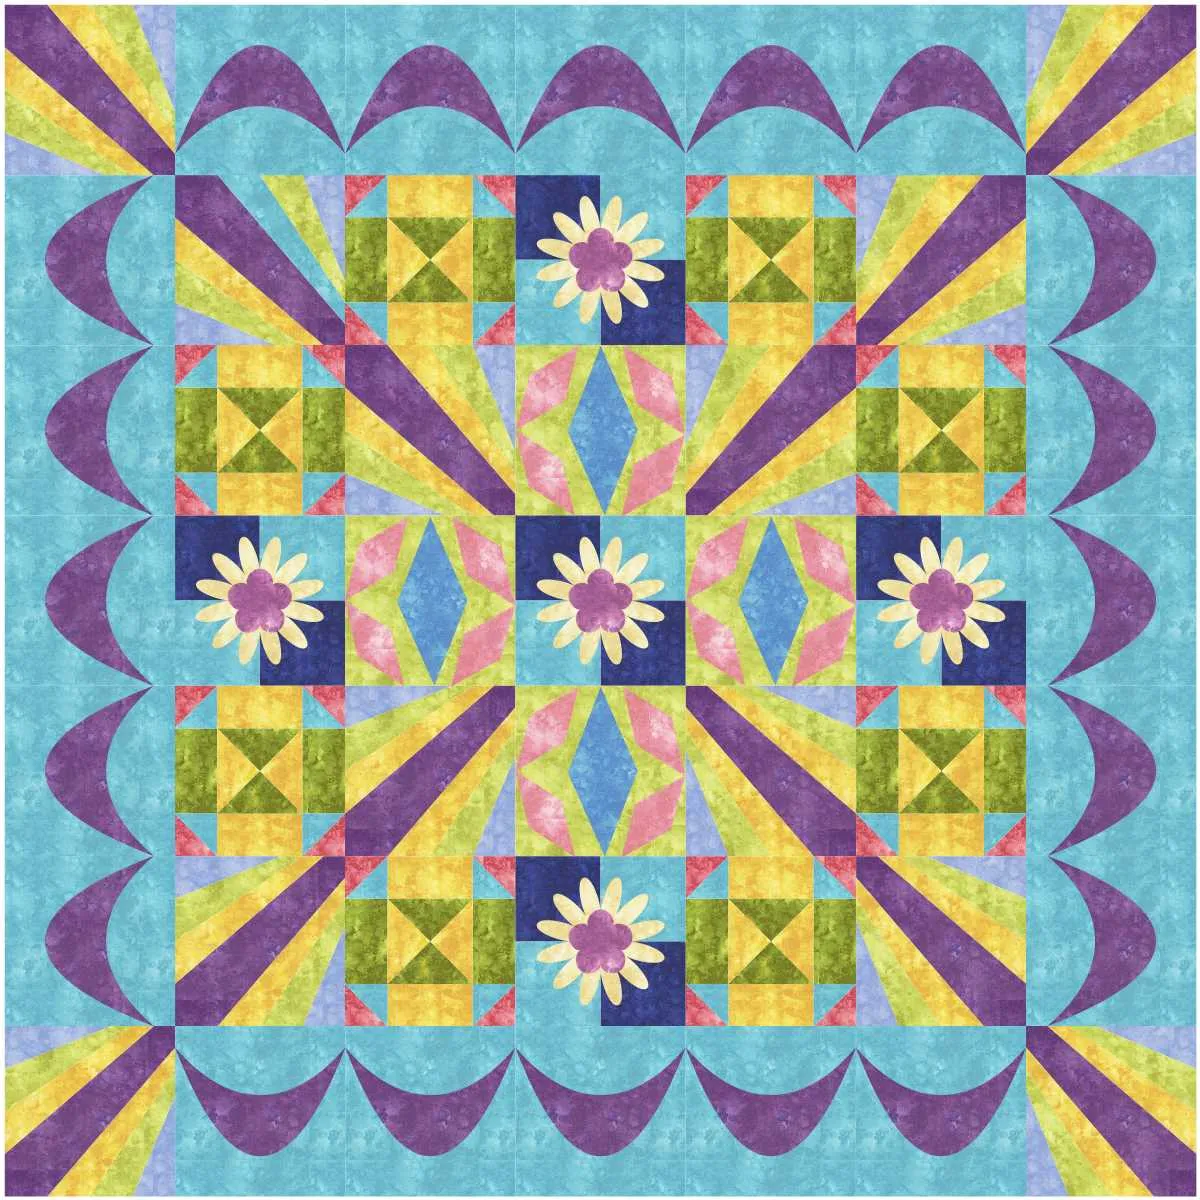
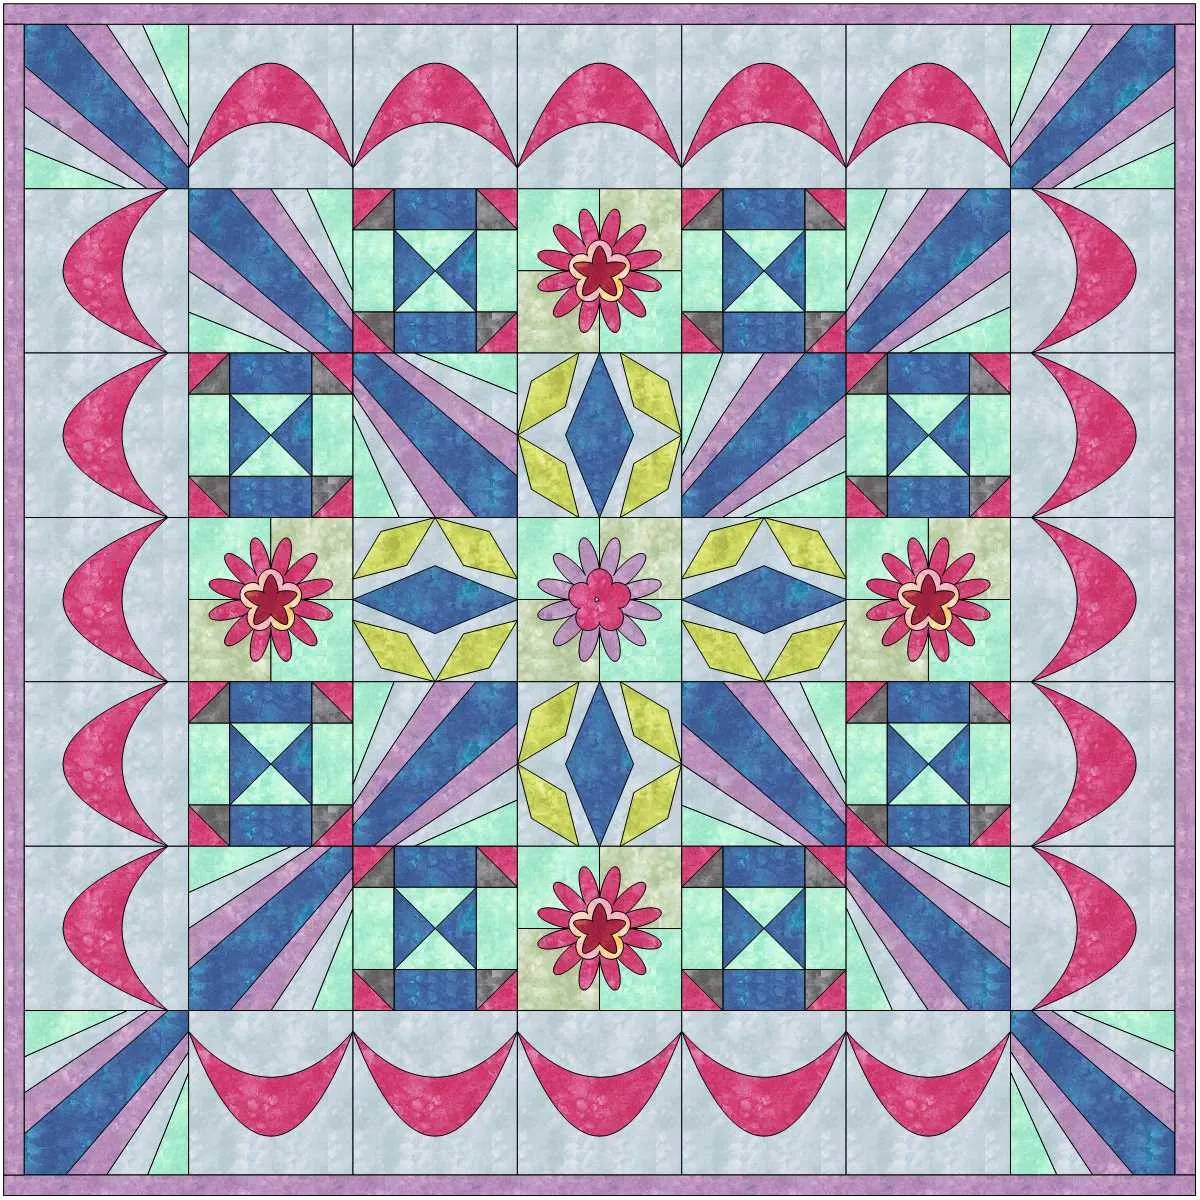
I like to look at my quilt worktable layout without all the distracting block outlines. On the far left side of the screen, click on the hide/show block outlines icon. ![]() This is a toggle switch that can be turned on and off at any time during your design process. With the outlines off you can have a nicer view of what the fabrics will look like without the block outlines.
This is a toggle switch that can be turned on and off at any time during your design process. With the outlines off you can have a nicer view of what the fabrics will look like without the block outlines.

No block outlines showing on quilt worktable
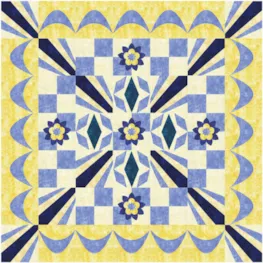
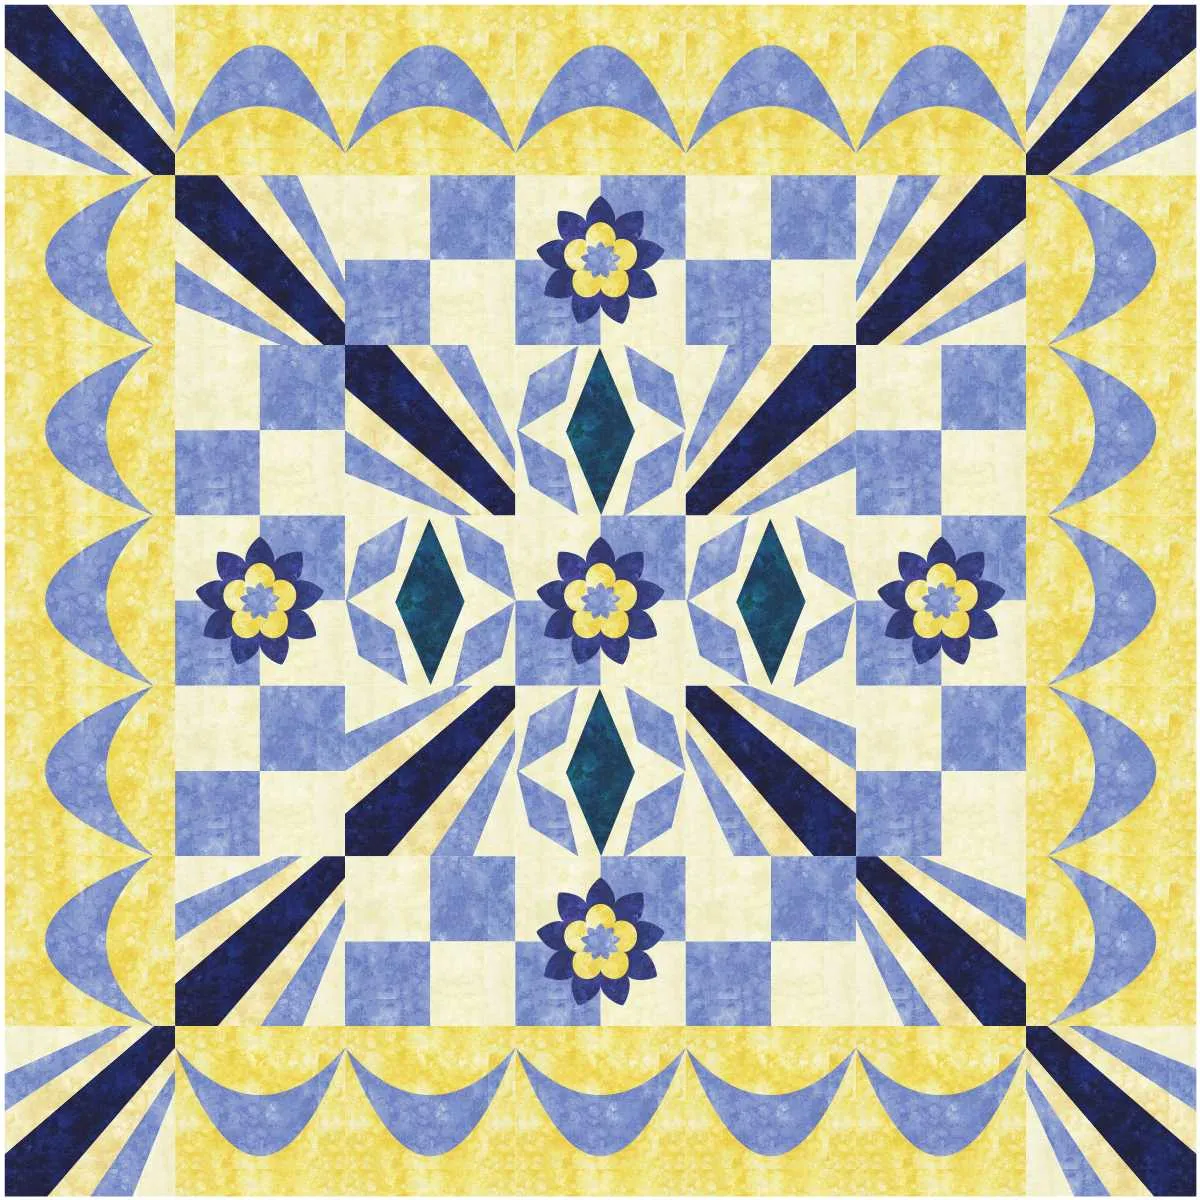
While we are still on the print and export tab, click on the export icon and save an image of the quilt layout. This is the image I need you to post in the comment section of the blog page. You may need to go back to lesson 2 to see how to save and post your image to the blog page. We all want to see what your final quilt layout looks like.

The very final step to any quilt is determining how to finish the edges. I did not include any binding on this quilt because it is such a personal choice. I often make my quilt envelope style without any binding needed. Or, I sometimes use the scraps of material left over from my blocks and piece them together to create a binding that changes colors as it goes around the outer edge. The binding can also vary in width. Some like a very narrow binding but others like a little more prominent binding. I did not include fabric requirements in this quilt for the binding edge. If you want to make a binding and need to know how much fabric you will require you can go back to the borders tab of the quilt worktable and add another border and determine the width of the border (binding) you want to use. Once you have the border determined, the program will show you how much fabric you will need for the border/binding edging. The choice is up to you.

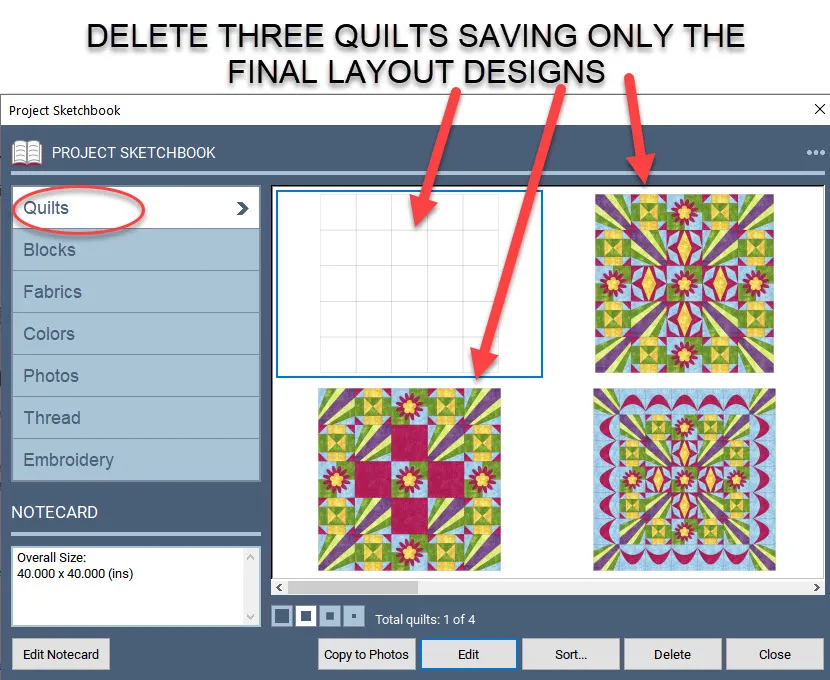
Before we finish this class we should go back and clean up our sketchbook. We added several steps to our blocks and quilt design layout as we were creating our quilt. We only need the final blocks and quilt layout now that we are complete.
Click on the ‘view sketchbook’ icon ![]() on the left side of the screen. When the sketchbook opens, make sure you are on the ‘quilts’ heading and we will delete the quilt layouts we no longer need. Click on each of the first three layouts we added to our sketchbook and then click on the word ‘delete’ at the bottom of the box. EQ8 will ask if you are sure you want to do this. Click ‘YES’ in the box to complete removing the quilt layouts you select. You should only have the one final quilt layout in the sketchbook when complete.
on the left side of the screen. When the sketchbook opens, make sure you are on the ‘quilts’ heading and we will delete the quilt layouts we no longer need. Click on each of the first three layouts we added to our sketchbook and then click on the word ‘delete’ at the bottom of the box. EQ8 will ask if you are sure you want to do this. Click ‘YES’ in the box to complete removing the quilt layouts you select. You should only have the one final quilt layout in the sketchbook when complete.
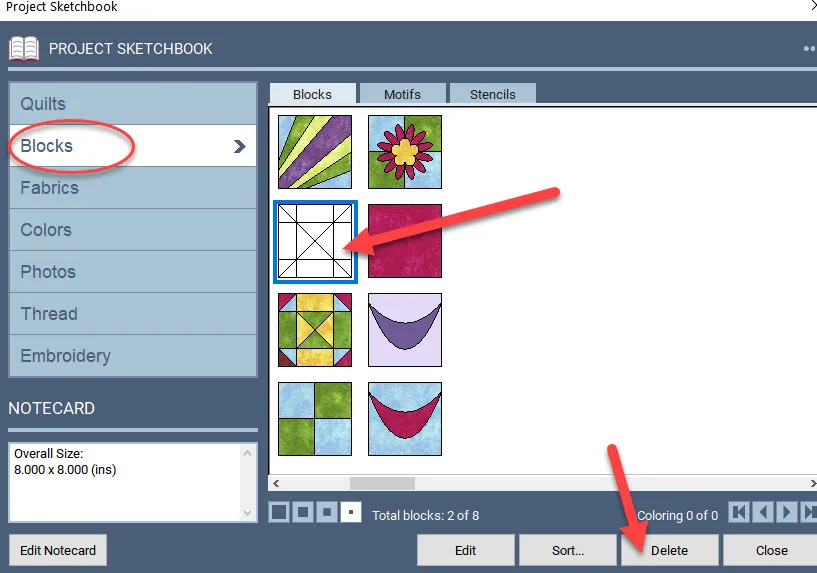
Click on the blocks heading in the sketchbook to see all the block steps we have added. Click on the line drawing of the block and delete it.
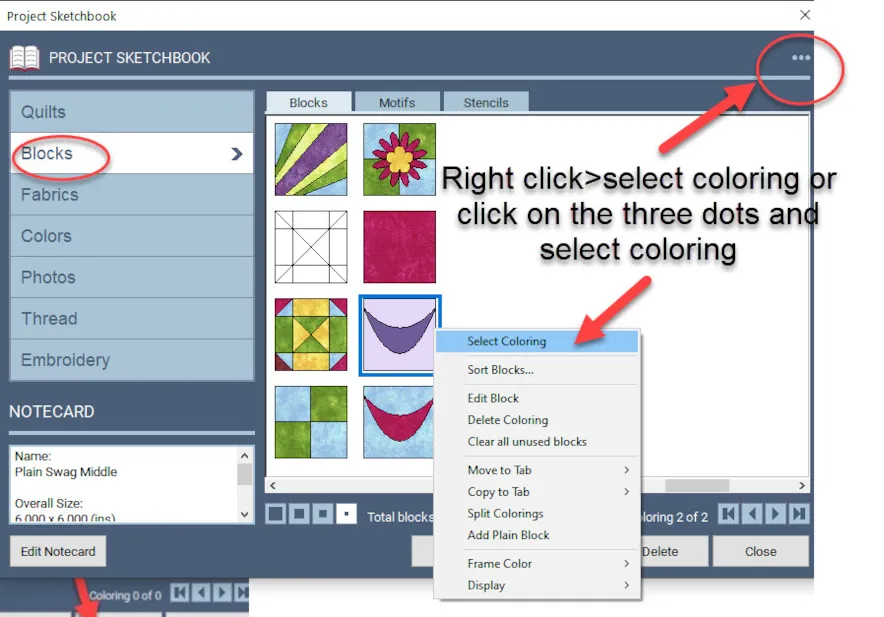
For the 4 patch block and the purple EQ8 swag block, right-click and ‘select coloring’. You can also access this by clicking on the three dots at the upper right corner of the sketchbook box.
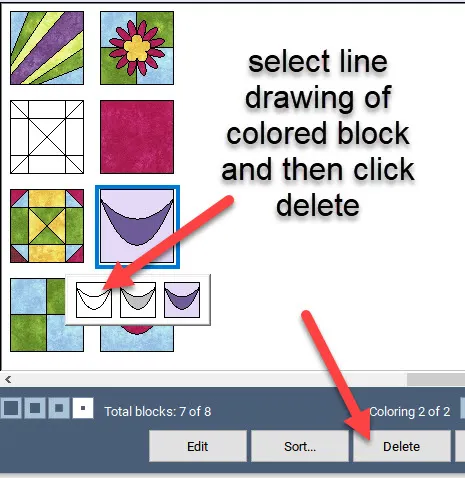
Click on the line drawing of the colored block. Click on the word ‘delete’ at the bottom of the sketchbook to remove the line drawing and all its colorings. Do this for both the purple swag block and the simple 4 patch block.
NOTE: When a block is colored, EQ8 automatically saves the line drawing, creates a grayscale drawing, and has the fabric colored block stacked one on top of the other. You can see them by either clicking on the three dots at the upper right corner of the sketchbook or by right-clicking and selecting the line drawing to delete the block.
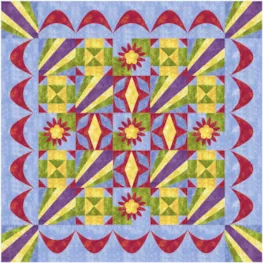
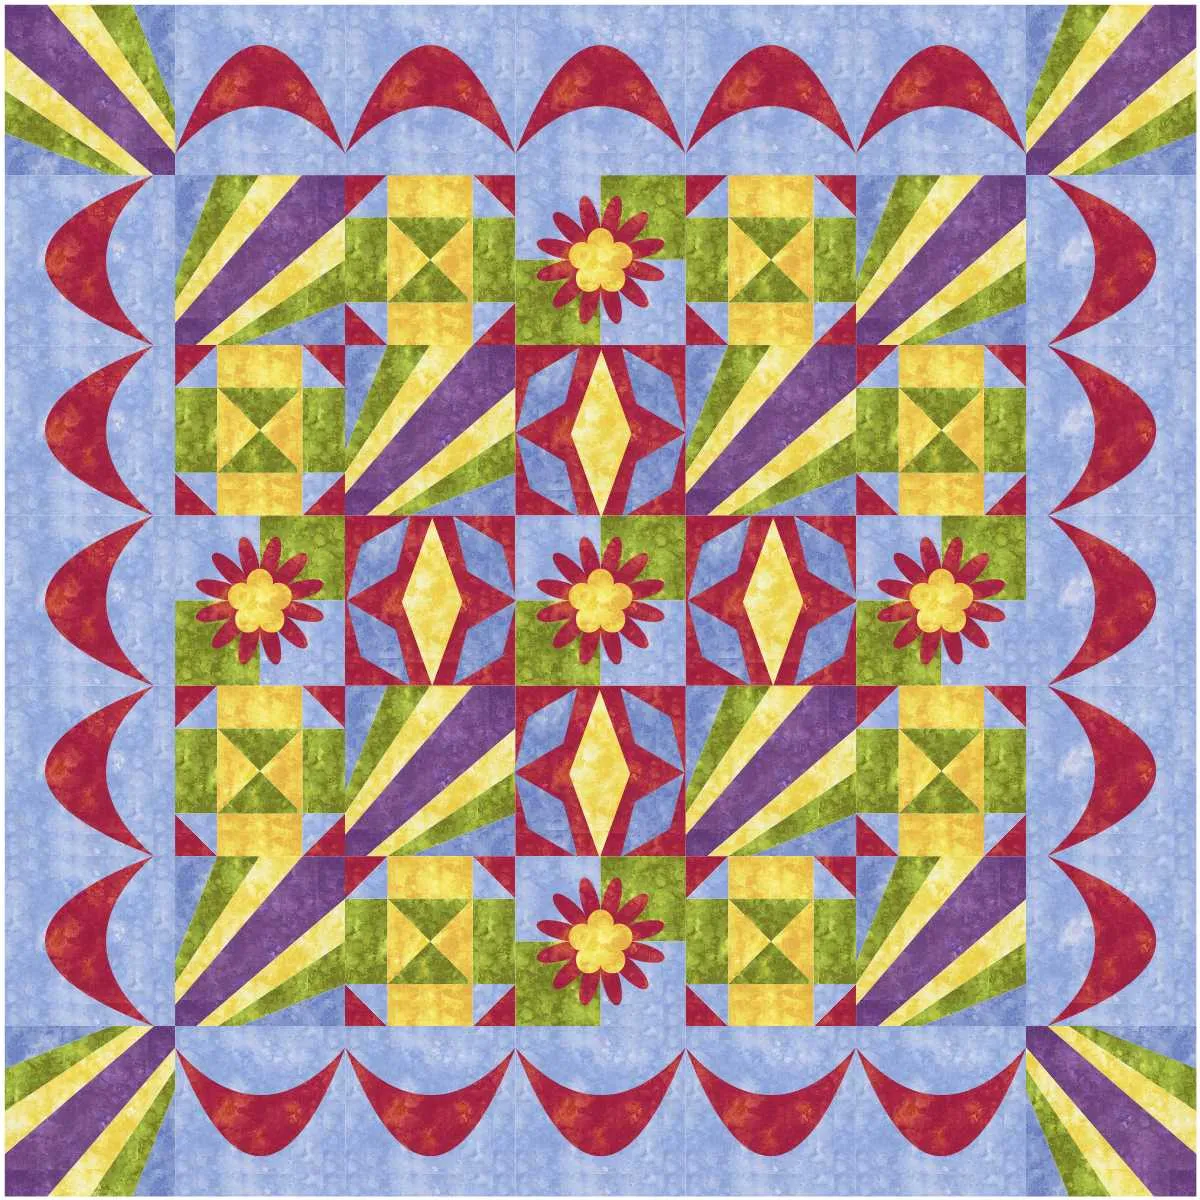
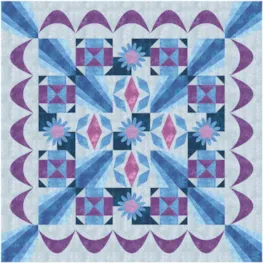
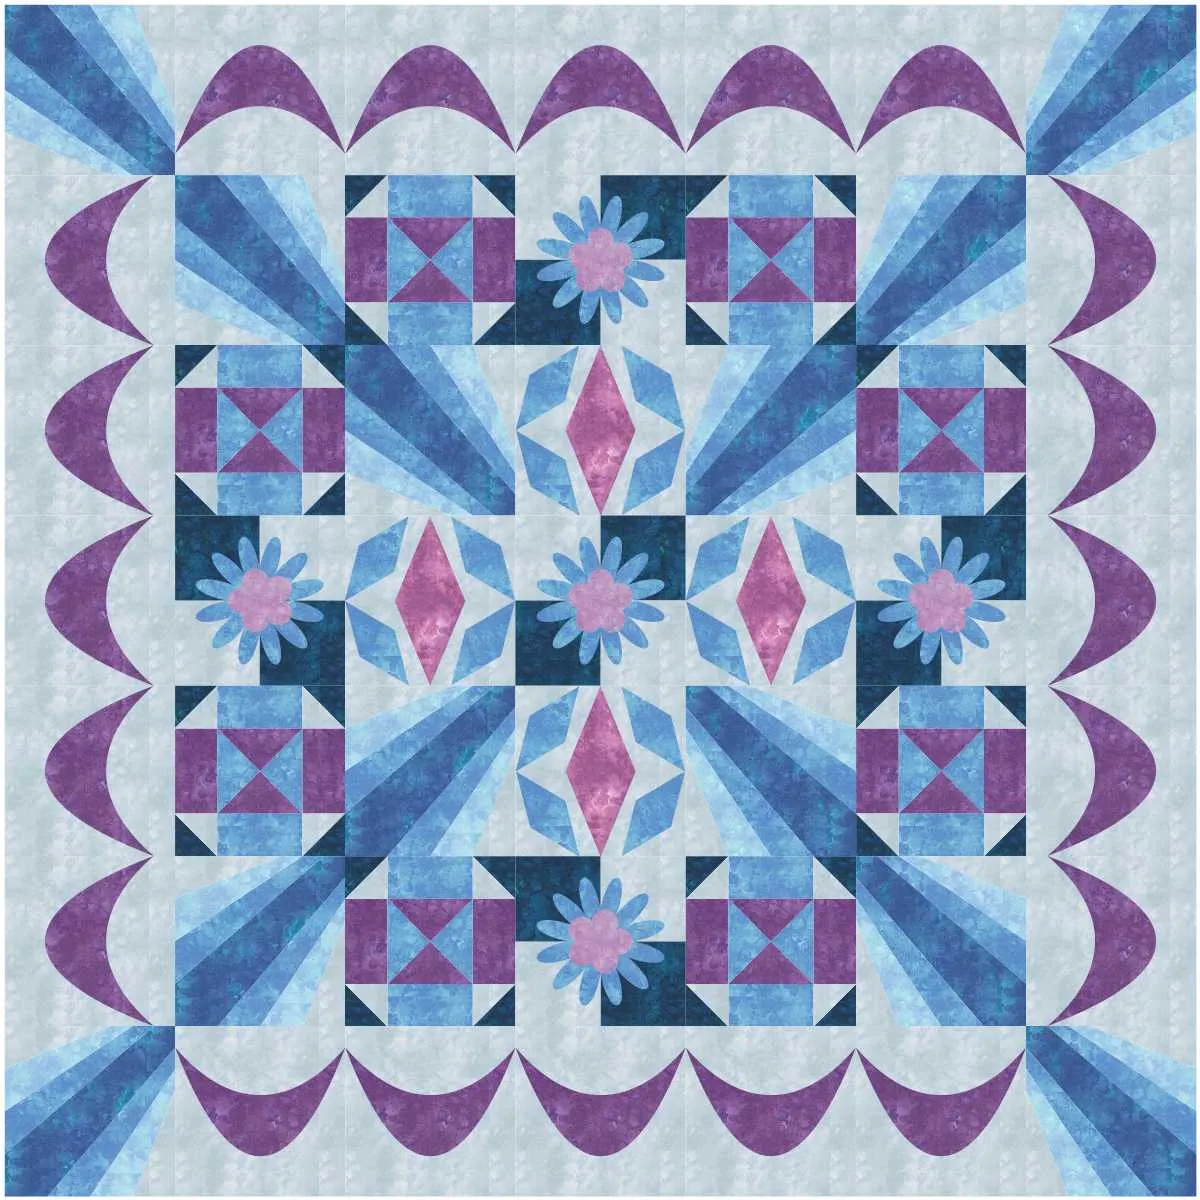
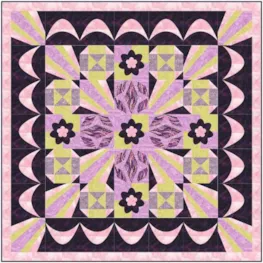
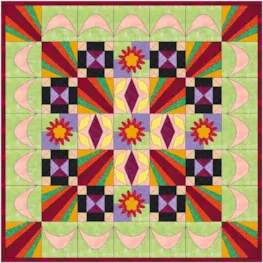
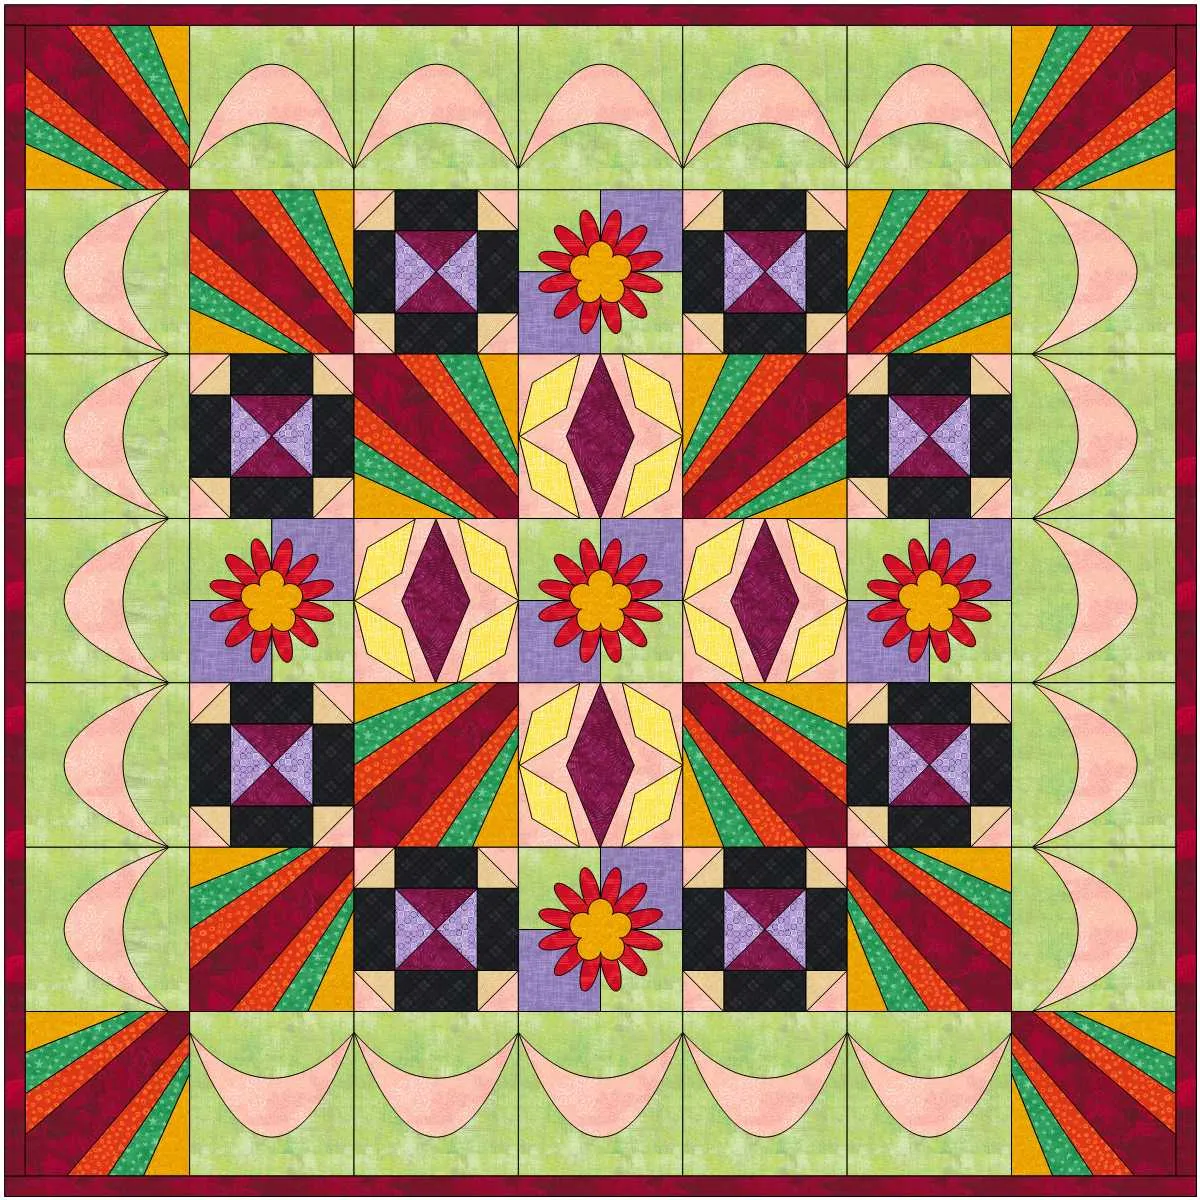
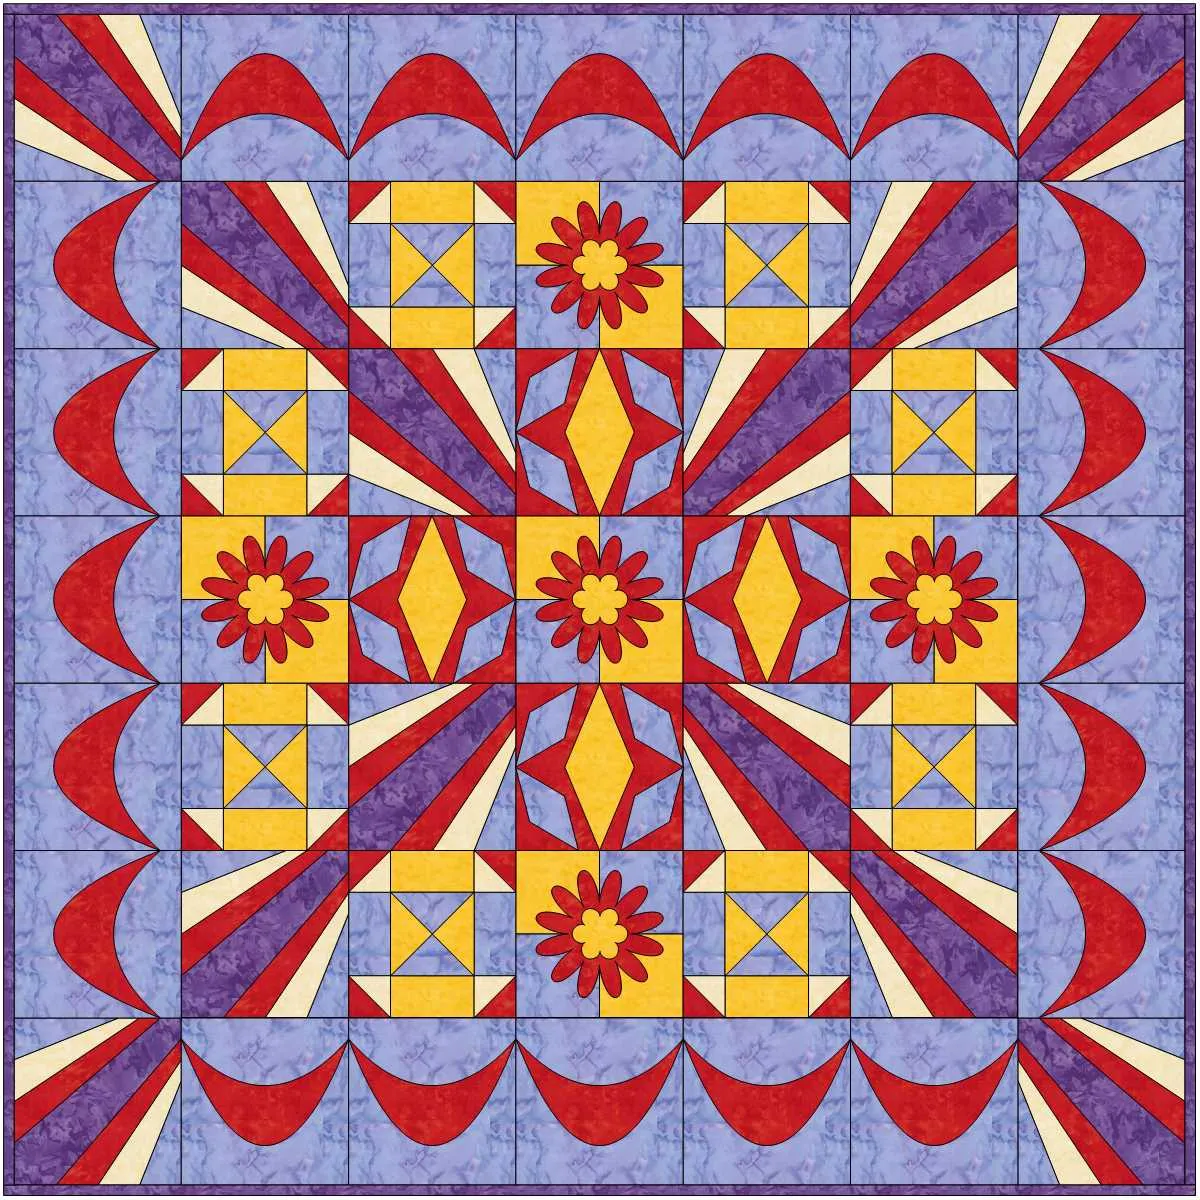
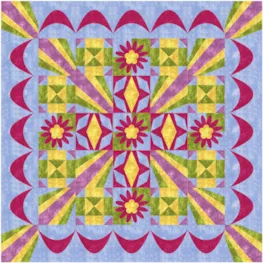
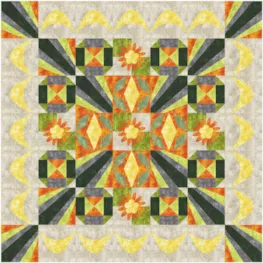
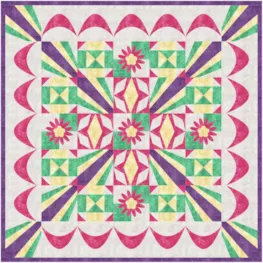
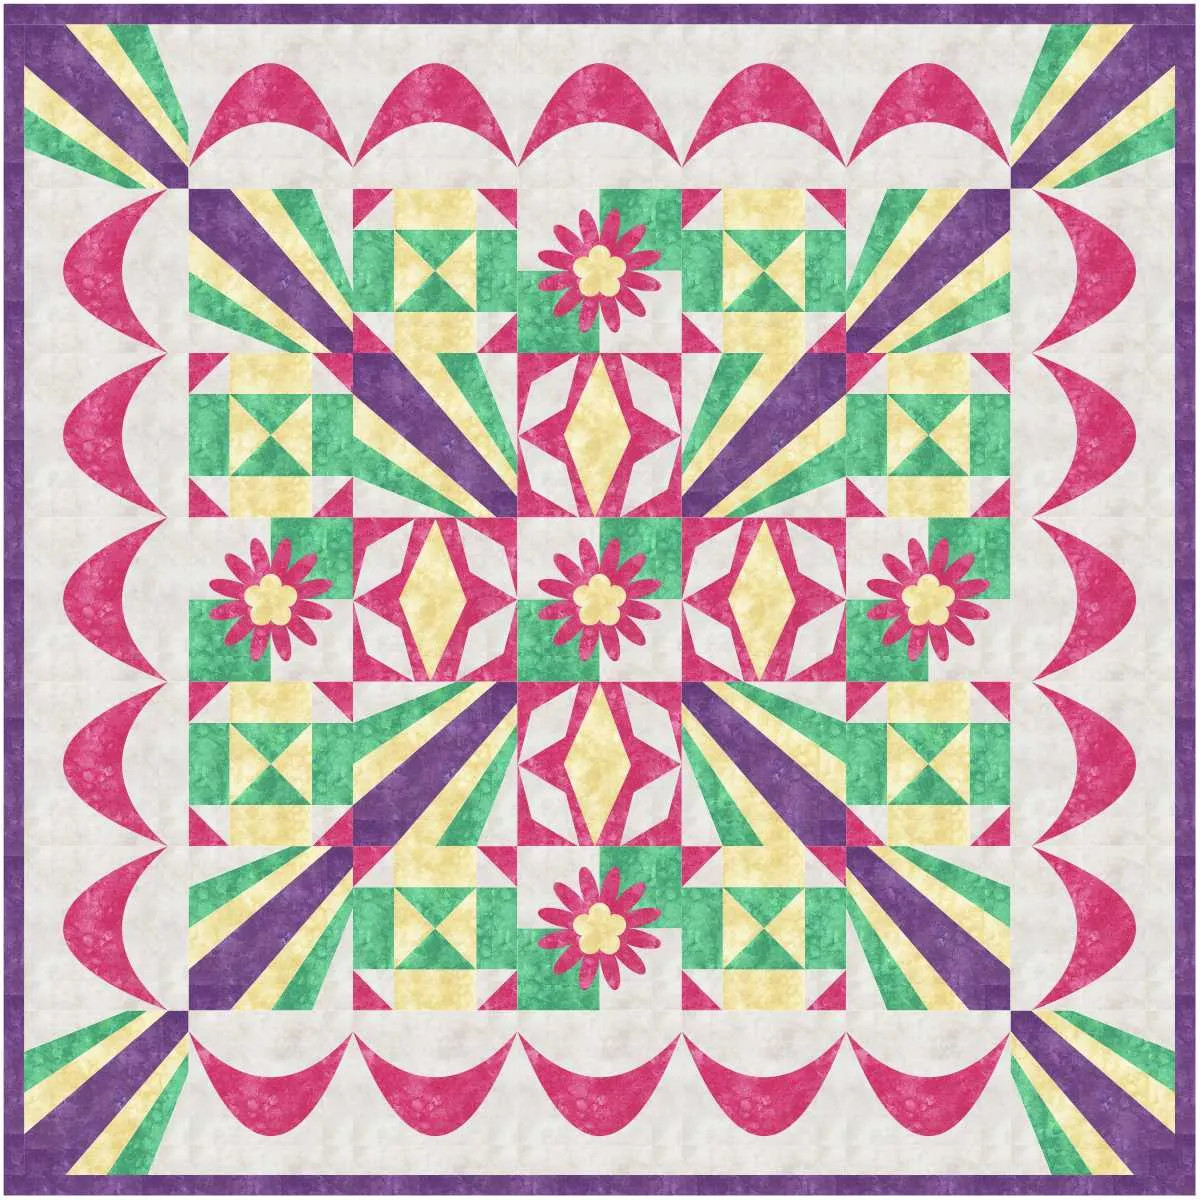
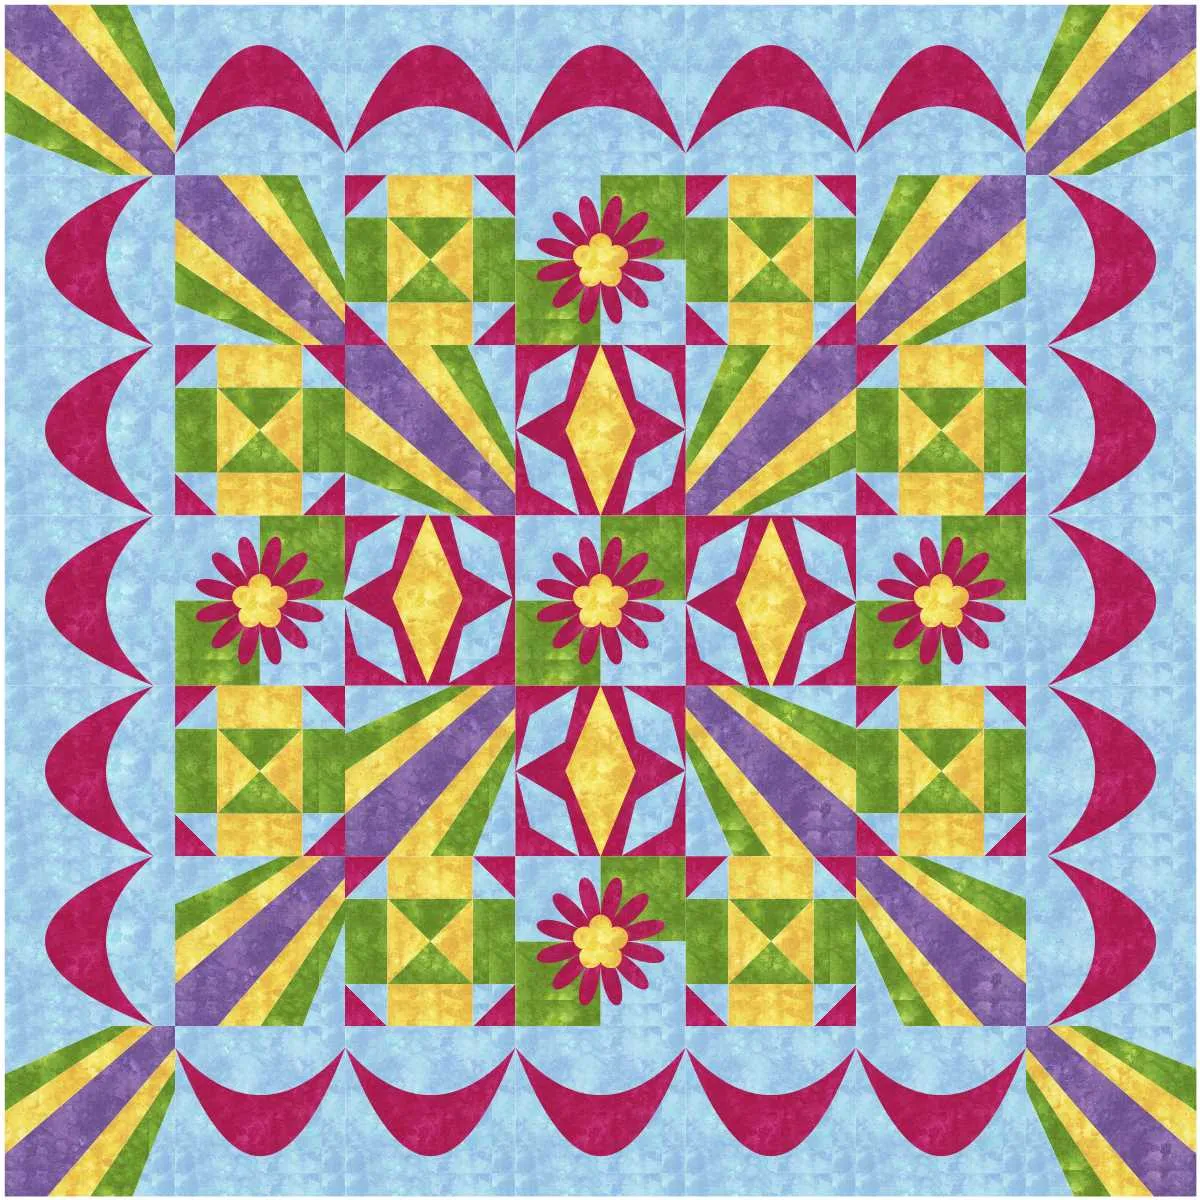
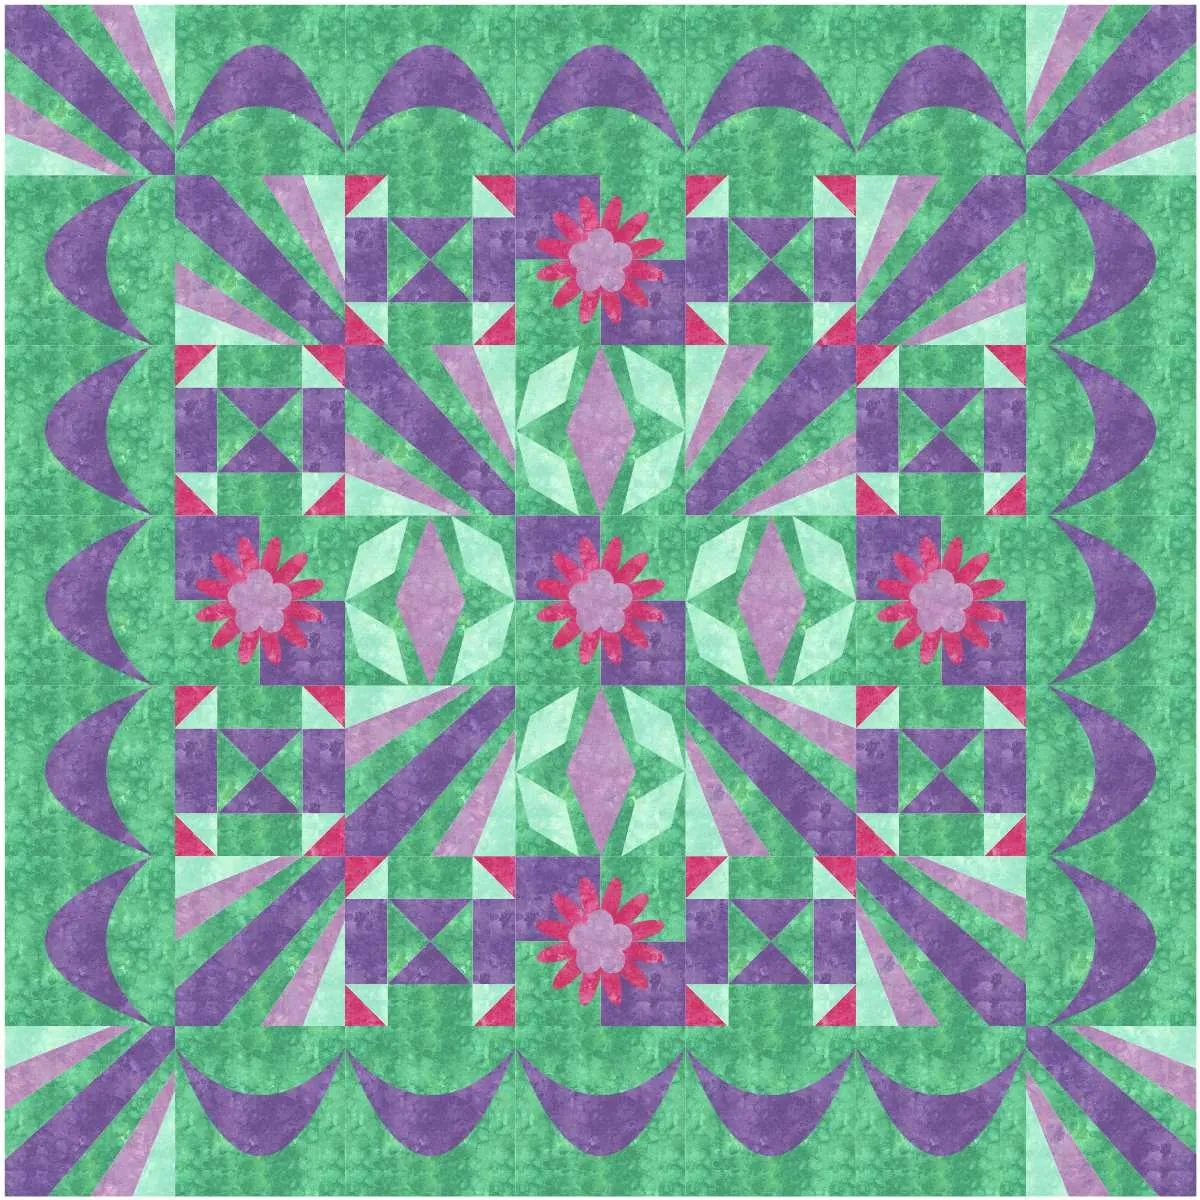
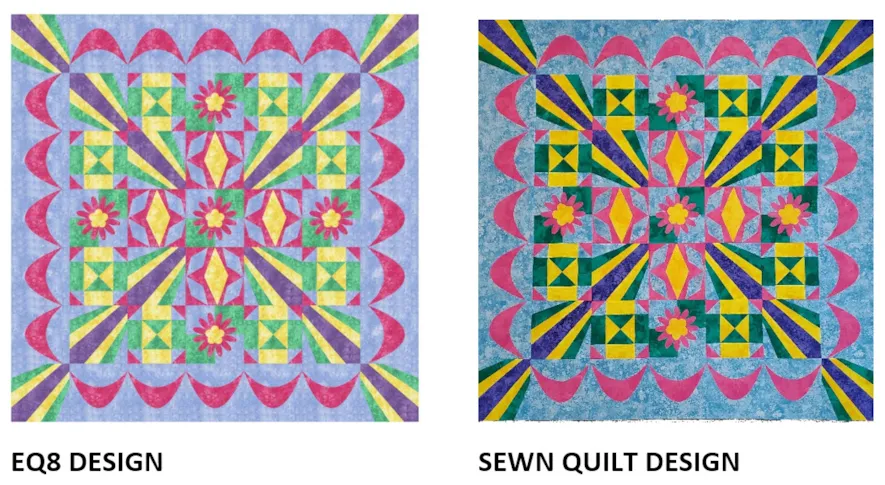
Now that we have completed the steps of this DESIGN AND SEW LESSONS WITH YVONNE, you can choose how your final quilt will look with your own fabrics. When I went to buy my fabric, the store did not carry the line of fabrics I designed with. I had to choose a different fabric that was somewhat close to the quilt layout I designed. You can easily change your mind when gathering your fabrics. Your pattern pieces will work no matter what fabric you end up with.
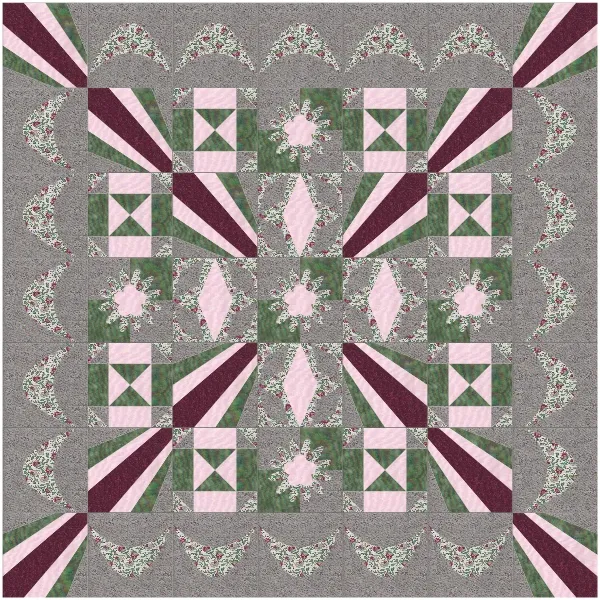
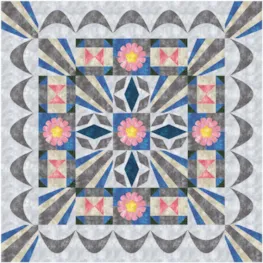
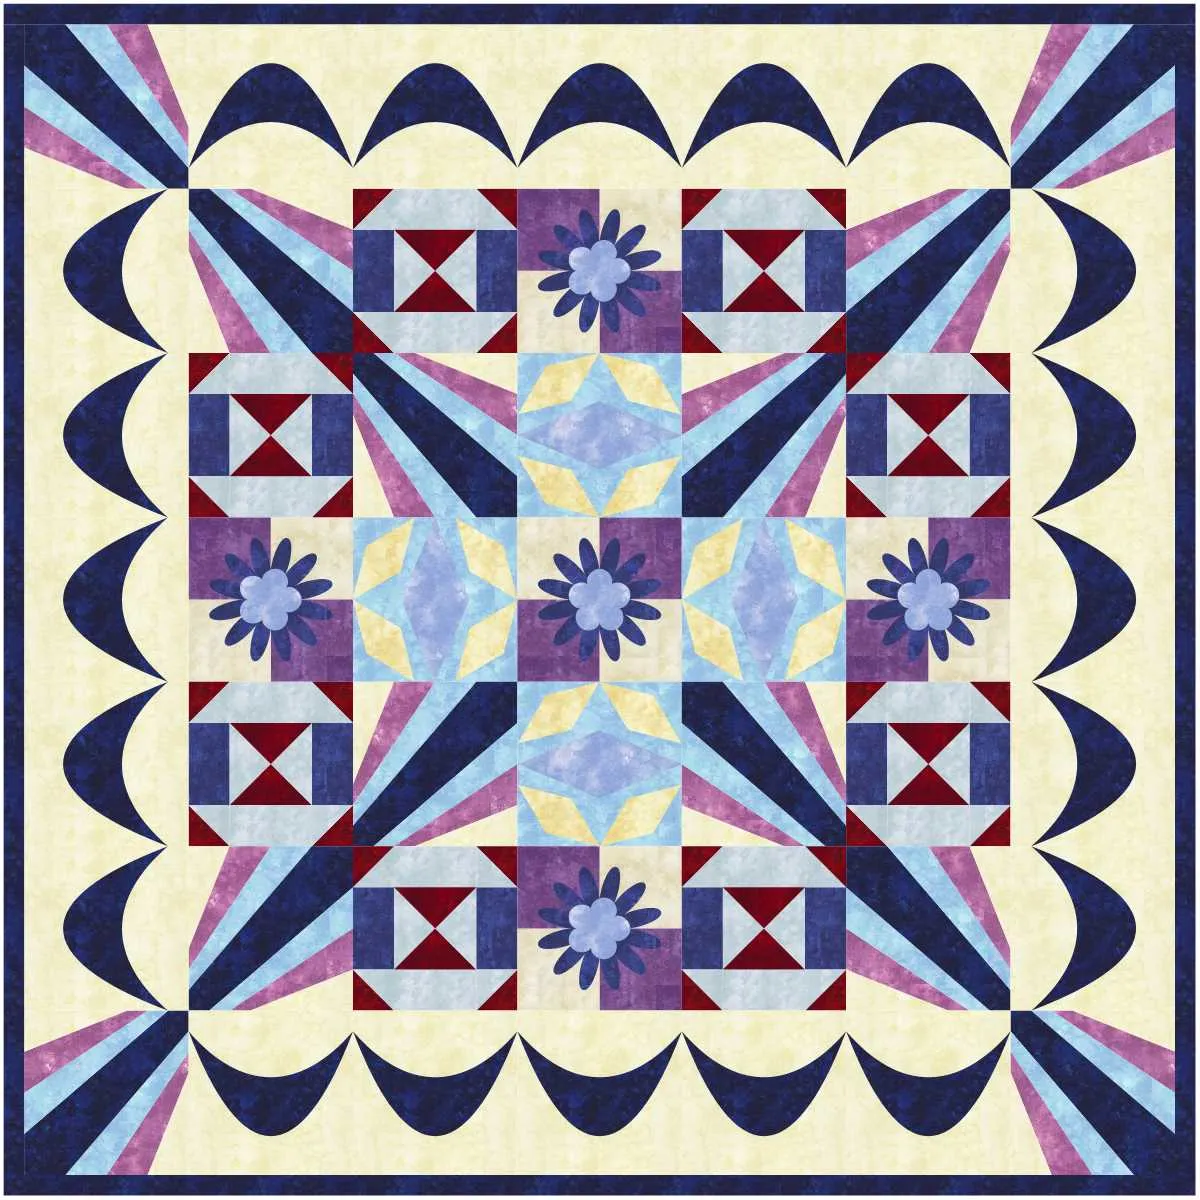
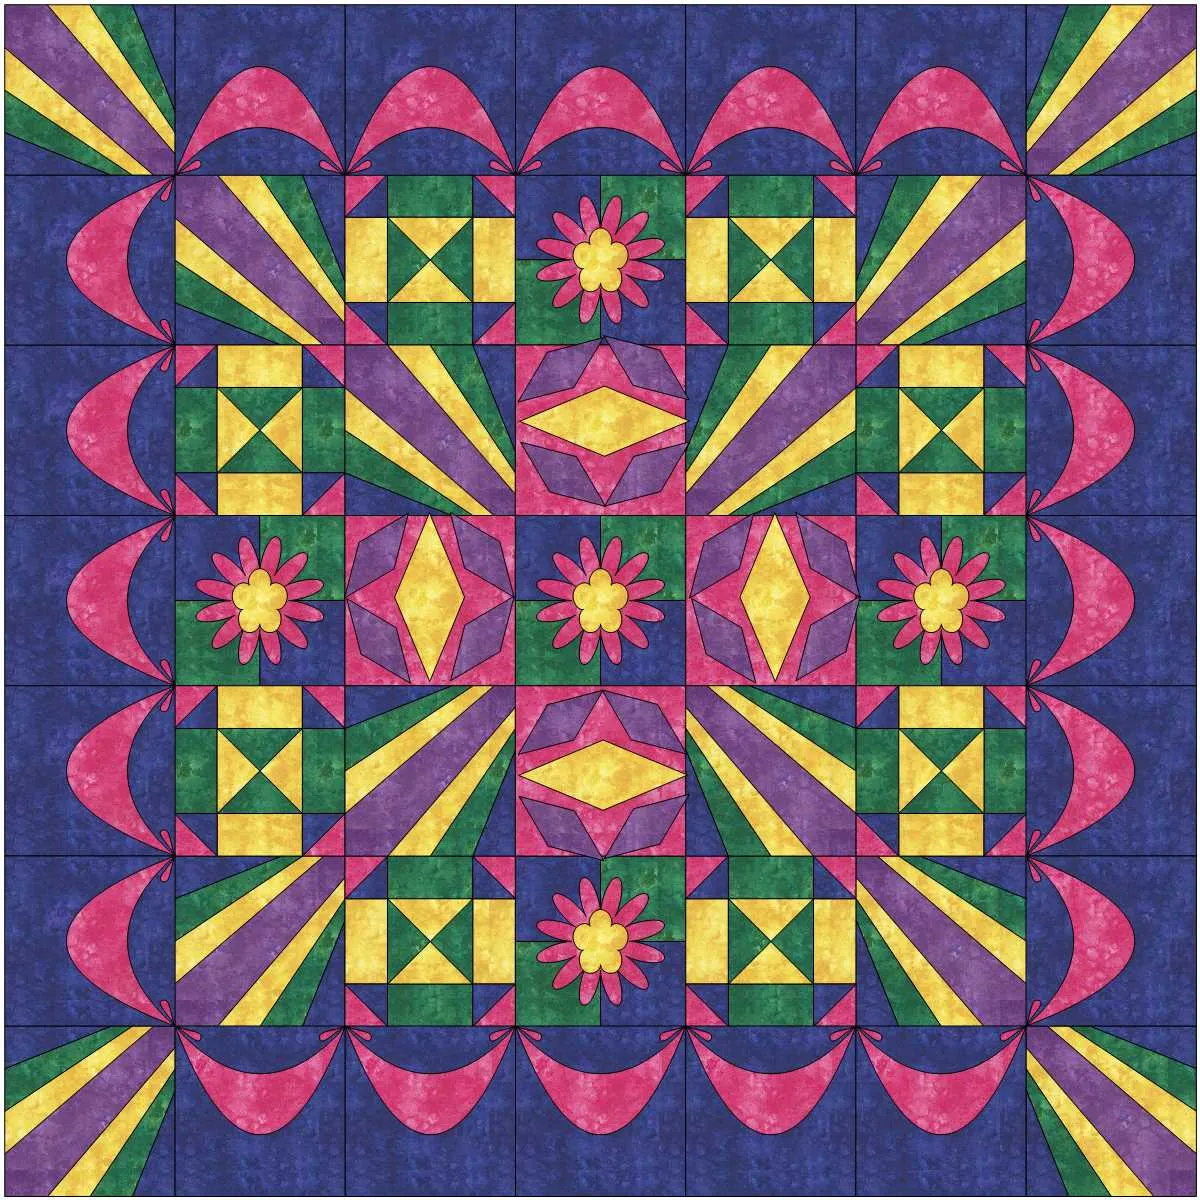
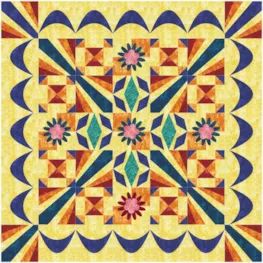
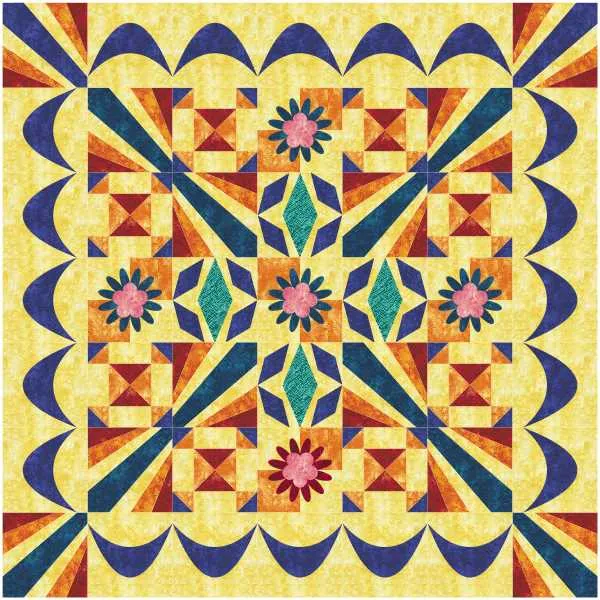
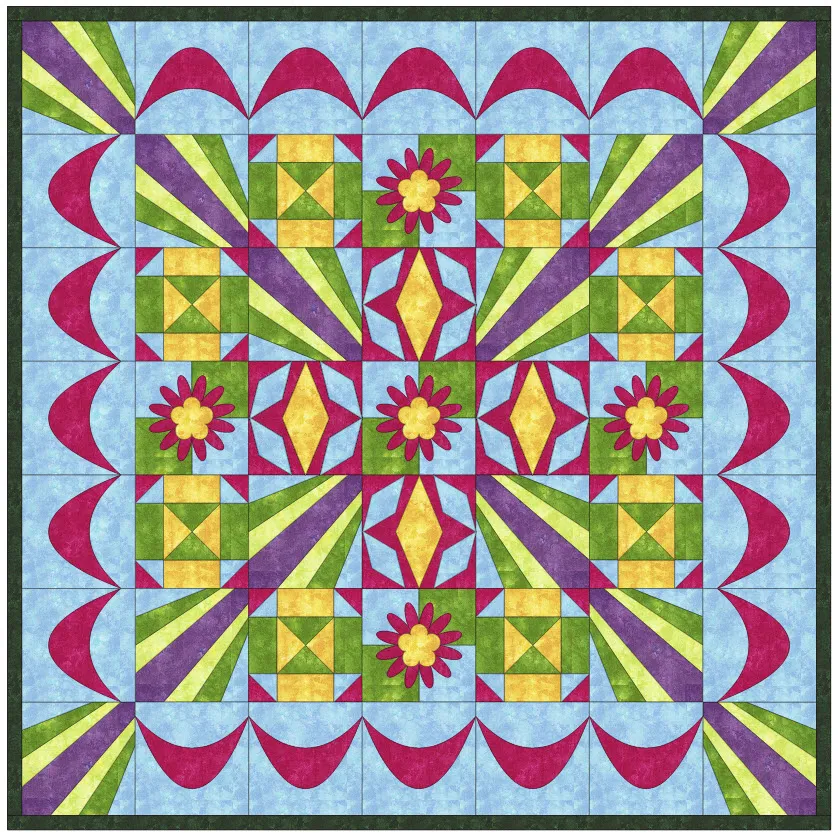
Below is my sewn quilt using the fabrics I bought that are similar in color and texture to the fabrics I designed using the EQ8 program.
I have enjoyed producing this DESIGN AND SEW LESSONS WITH YVONNE for you. I am inspired to see how each of you has taken these lessons and made them your own with your color choices. Watch the video below to see me creating the quilt design. I look forward to seeing you in future classes that will be produced over the year. Enjoy the EQ8 program !!
Watch a Video Lesson!
Click play to watch the video for this lesson.
Want to download the video to watch later? Click an option below: