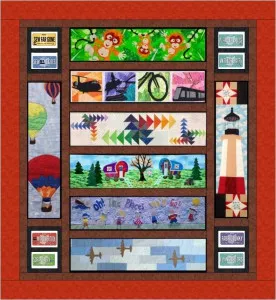
Ready to hit the road for Row by Row 2017? Use EQ7 to design your winning quilt! I did! Here’s how I did it…
- To follow along, you will need to download this project file: Row by Row 2017.PJ7
- Open the Row by Row 2017 project file. (If you get a Tip of the Day, read it – they’re incredibly useful! And then close that window.)
- Open the Project Sketchbook and view the Blocks Section. I’ll quickly show you the block I made for this quilt layout.
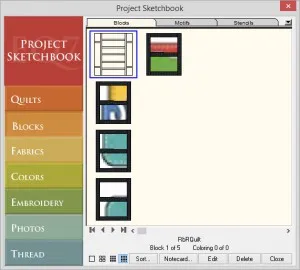
- Select the first block and click Edit.
- That block will open on the Block Worktable. Here, you’ll see the layout I designed to fit 8 rows, sashing and some corner blocks. I drew this layout using the EasyDraw tools
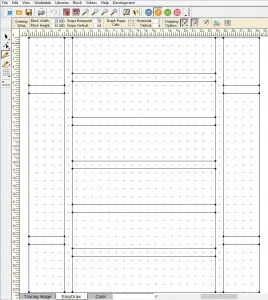
- To turn this into a quilt layout, click the Quilt Worktable.

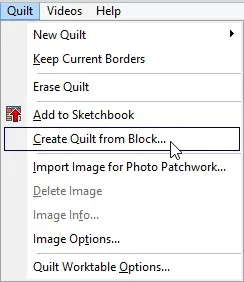
- In the Menu bar at the top, click Quilt > Create Quilt from Block.
- Select first block and set the Width to 58 inches and the Height to 64 inches.
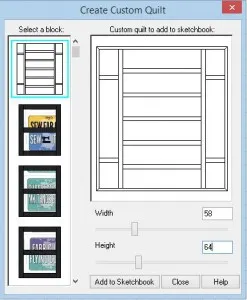
- Click Add to Sketchbook.
- Click close.
- Open your Sketchbook to the Quilts section.
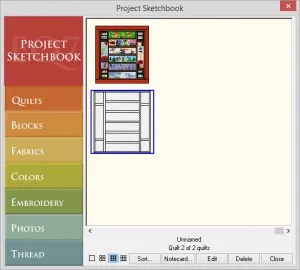
- Double click on the blank quilt layout you just created. This will open the quilt on the quilt worktable and you can start setting blocks, fabrics, and images of rows.
- Use the Set Block tool
 to place the corner blocks in.
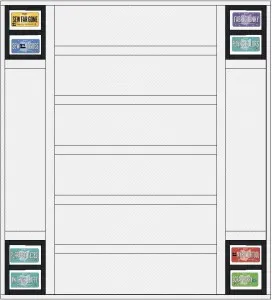
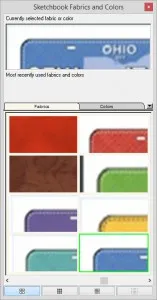
Note: I designed these blocks around the idea that I wanted to incorporate the license plate fabrics. If you’ve done Row by Row in previous years, you know how those license plates pile up. ![]() These license plate images were imported using EQ’s Image worktable and saved as fabrics. You can see them in the Fabric Palette when you click the Paintbrush tool.
These license plate images were imported using EQ’s Image worktable and saved as fabrics. You can see them in the Fabric Palette when you click the Paintbrush tool. ![]()
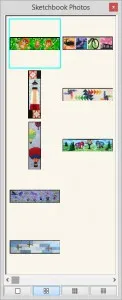
- Now, place your row images in the blank spaces using the Set Photo tool.
 You’ll see I’ve imported images of the rows I plan to use.
Note: I added an extra border, feel free to add as many borders as you’d like.
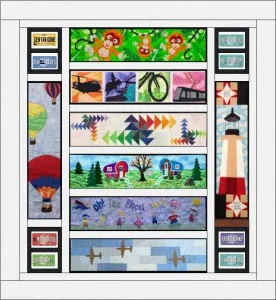
Note: To import your own finished rows, you can take pictures of them or use images from the Row by Row Experience website.
Once you have it filled with the fabrics you want, print out the yardage and get sewing!
Show us what you’re doing for Row by Row in the comments below!
Want to put your own rows into the quilt?
Take pictures of your rows or find them online on the shop’s website. Also, the Row by Row Facebook page for your area should have most of the rows and plates for this year and previous years. Remember you can use a previous year’s rows as long as you have 8 from this year.
- Find an image of the row you want to use. In my example, I use the Sauder Village row from their website here.
- Right-click on the row image on Sauder’s site (or another site) and choose Save Image As.
- Choose a place on your computer that you’ll remember. I created a folder on my desktop to save it in.
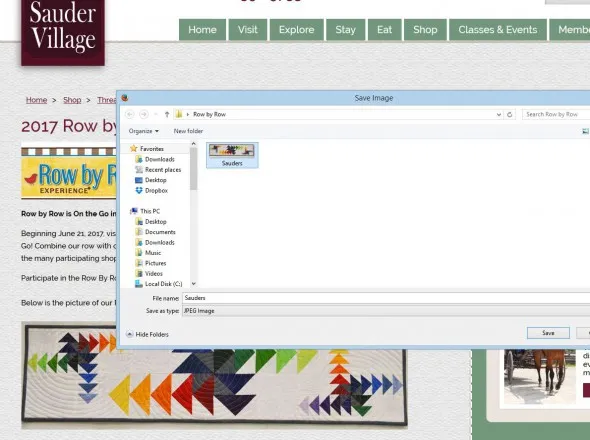
- Click Save.
- Open EQ7.
- Go to the Image Worktable by clicking on the Image Worktable button.

- Click the Import Image tool on the left toolbar.

- Navigate to where you saved your row photos.
- Select a row photo and click Open.
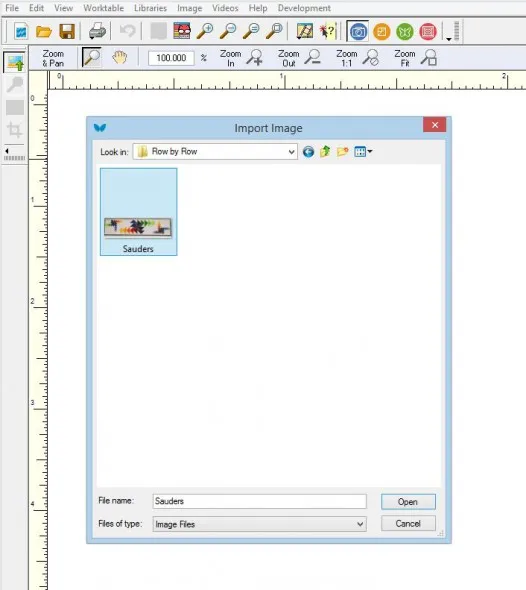
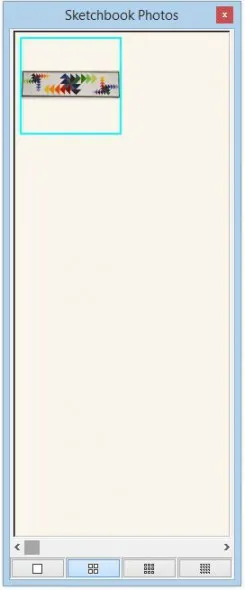
- Now you’ll see one of your rows on the Image Worktable.
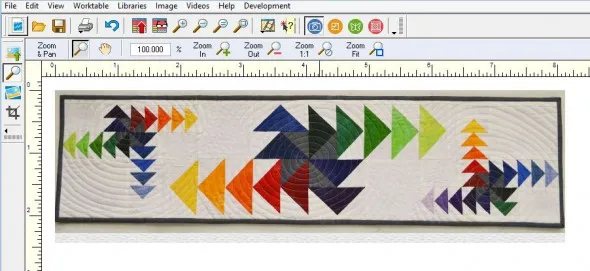
Note: If you need to crop your photo, use the Crop tool on the left toolbar. ![]()





06-16-2017
11:29 am
Very useful post today – I learned a couple new things about EQ that will definitely help my future designing. Thanks!
06-16-2017
11:53 am
So helpful- many thanks!
06-16-2017
12:36 pm
It would be nice to be able to print the above directions. It’s a really neat quilt. Thank you for sharing.
06-16-2017
4:59 pm
Your web browser should allow you to print this page
06-16-2017
10:11 pm
how do I print these directions??
06-17-2017
12:25 pm
To print the directions, open a new Word document. Return to the EQ post, and starting at the headline and working down, highlight the directions you want to save, and press Ctrl C (to copy). Put your cursor inside the Word doc, press Ctrl V to paste the directions (illustrations and all) into the Word doc. Now go to FILE – Save As to name the new document and store it in your file manager. Then go to FILE – Print to send the new document to the printer. Good luck!
06-18-2017
9:26 pm
Thank you so much! I was trying to figure out how to do this in EQ, and moved on to another idea and thought I would come back to figuring it out later. Can’t wait to finish my 2016 quilts. If I at least get them DESIGNED, then I can justify buying 2017 Row by Row kits.
06-19-2017
5:10 am
Thanks for the lesson; I just created the quilt
06-19-2017
5:12 am
Nice to create the block first and to create the quilt from the block
06-23-2017
7:00 am
Awesome.
06-25-2017
11:02 am
This is great. I have so many rows from last year that I can probably make 4 or 5 different quilts. Plan to be a bit more selective this year on which kits I buy.
Thanks for the awesome help on how to use all those rows & license plates!!
06-28-2017
11:19 am
Thank you…. I struggled with how to do this on a group row by row a couple of years ago… the process was not as foolproof as this…. Also will work great for some panels I need to finish up.