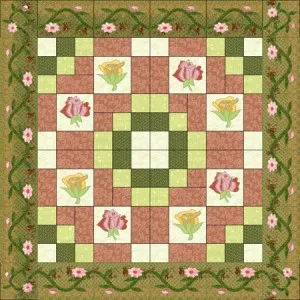
4) How do I make a quilt in EQ6 with my own embroidery files?
There are 2 different ways to approach this question.
a) If your embroidery blocks are already stitched out – you can import a photo. (User Manual p.174)
Go to LIBRARIES > Photo Library.
At the bottom of the window, click Import > from Image files.
Find your photo (jpeg, gif, tiff, bmp, or png format).
Click Open, then Add to Sketchbook, and Close the library.
Right-click your quilt toolbar and add the Set Photo tool if it isn’t on there yet.
If you want the photo to fill an entire block space, set it on Layer 1 with a click. It will replace any block that is there. If you don’t want it to skew, set square photos in square spaces, or set rectangular photos in the same size rectangular spaces.
If you want the photo to fit part of a block space, set it on Layer 2 by holding down SHIFT, making a marquee box, then release.
b) If you don’t having your blocks sewn yet and you don’t know what fabric or thread you’re going to use – you can import EXP files. (User Manual p. 140).
Embroidery needs to be in the EXP format. Some cards may have that format already on there. If they don’t, you’ll need to open your digitizing software and export that format. Some may export with just the exp file. Others may export the exp and rgb file. The rgb file contains the color information.
Go to LIBRARIES > Embroidery Library.
Click Import > from .EXP files.
Find your embroidery files (exp format).
Click Open.
If you don’t have the rgb files in the same folder, then you’ll get an error message you can ignore.
Click Add to Sketchbook for each, and Close the library.
Right-click your quilt toolbar and add the Set Embroidery tool if it isn’t on there yet. (It only works on Layer 3).
On Layer 3, click the Set Embroidery tool.
Select your embroidery in the palette, then point at the quilt and set the design by holding down SHIFT, making a marquee box, and releasing.
It can then be sized using the Adjust tool (176-177) or colored with the Brush/Spray/Swap Thread tools (p 205).


