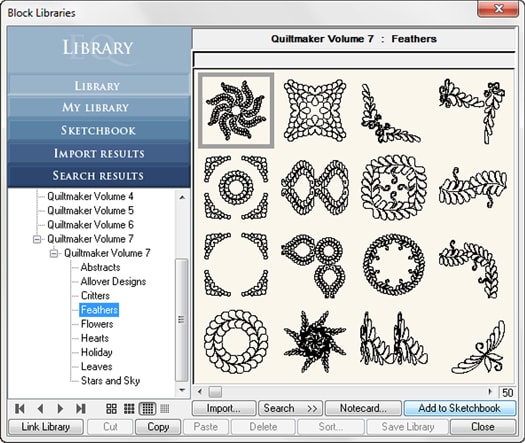
The Quiltmaker library links automatically to your Block Library. If not, just auto add them. Then use Quilting Designs in your quilts in EQ7. It’s easy!
Step 1: To view your Quiltmaker library in your EQ7 go to LIBRARIES > Block Library and scroll
down in the list to see your Quiltmaker volumes listed.
Step 2: Click the volume you want to view to open the library of stencil designs.
Adding Stencils to your Sketchbook
Step 3: Browse the designs using the horizontal scroll bar.
Step 4: Select the design you want to use and click Add to Sketchbook.
Step 5: Click Close or X to close the library.
Designing your Quilt with Quiltmaker Stencils
Step 6: On your Quilt Worktable click Layer 3. You should always apply stencils to Layer 3.
![]()
Step 7: Click the Set Block ![]() tool.
tool.
Step 8: Click on the Stencils tab of the block palette to view the stencils you chose.
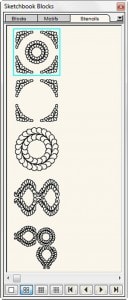
Step 9: Select the stencil you want to use. Click and hold while you drag and drop the stencil onto your quilt. The stencil will automatically appear at the size it was designed for.
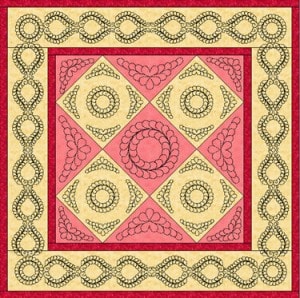
Step 10: Click the Adjust tool. With the Adjust tool you can change the shape and size of the stencil and also reposition or delete the stencil. Continue with other stencils until you’ve completed your quilt stencil designs.
Printing your Stencils
Step 11: Click the Select tool ![]() and then click on any stencil you want to print.
and then click on any stencil you want to print.
Step 12: With that stencil selected, click the Print button ![]() and choose Block.
and choose Block.
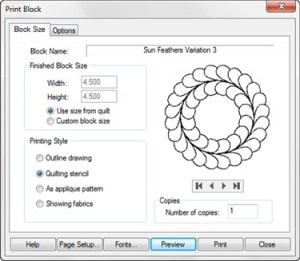
Step 13: In the Print Dialog box choose the settings you want for your printout then click Print.
Print one single design per sheet or print as many as fit onto one page. Also try
printing a mirror image so that you can reverse border stencils on your quilt.
Tips & Fun Ways to use Quiltmaker Stencils in EQ7
• Digitize your Quilting Designs by exporting from EQ7. Click the View Sketchbook button, click the Blocks section – Stencils tab, and edit one of the designs to the worktable. If you were to do FILE > Export Image right now, you’d notice the dotted lines don’t digitize well. So, click the Color tab, make sure the Spray Thread tool is on your toolbar. (Right-click to add it, if it’s not there.)
Click the Spray Thread tool, put checks in all three boxes (selecting the top one for style and weight), and click on a dark or black thread color in the palette. Click on the thread lines and now you have a thin, solid line that will export well.
Click FILE > Export Image. Choose where you want to save it, what you want the image called, and what image file type your
digitizing software accepts. Click Save. Then choose the resolution and dimensions on the next screen. Import that image into your software and you should be good to go!
• If you’re doing a border, set it on the quilt at the right size (use the stencil notecard to ensure the design is at the right size), set all the blocks in the border to make the full border square. Then take the Adjust tool and select all those border blocks with a SHIFT+Click. Move the bottom-right corner handle and make it line up with the outer edge of your border.


