If you own Adobe Illustrator (or another vector program), you can explode a block or quilt from EQ7 to create your own sewing instructions. This lesson works for both EQ7 Windows and EQ7 Mac. Print the lesson from this page, or download the PDF.
If you don’t have a vector software, like Illustrator, check out this additional tutorial by EQ user, Al Navas, on using an open source software called Inkscape.
Install a PDF writer
You’ll need to install a PDF writer as one of your printers. Please note: A PDF Writer is different from a PDF Reader. A Writer lets you create a PDF file. A Reader lets you view PDF files. Most people have a Reader installed on their computers by default. For more detailed instructions on installing a PDF writer, please visit our Support site: Creating PDF Files of Patterns in EQ7.
PDFWriter (Mac)
We suggest PDFwriter. It’s a free download. You’ll need to add the printer in your System Preferences once you have it installed. Get PDFwriter here: http://sourceforge.net/projects/pdfwriterformac/
CutePDF (Windows)
We suggest CutePDF. It’s a free download. You’ll need to install the printer driver first. Get CutePDF here: http://www.cutepdf.com/Products/CutePDF/writer.asp
Print to the PDF writer to create a *.PDF file
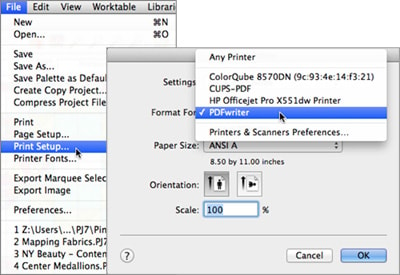
- In EQ7, choose File > Print Setup.
- Next to Format For, choose PDFwriter (or CutePDF) as your printer.
- Click OK.
- Click File > Print > Quilt/Block.
- Under Options, uncheck all the options.
This is a very important step! If you forget to turn these off, you’ll have a lot of extra outlines to deal with in Illustrator.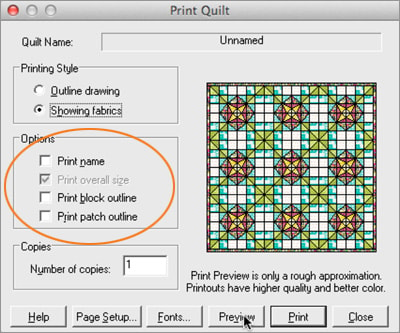
- Click Preview, then click Print.
If using PDFwriter (Mac), the PDF file will save in this directory: Macintosh HD > Users > Shared > PDFwriter.
If using CutePDF (Windows), you will be prompted with a Save As box. Select the location and give the PDF a name to save the file.
Open the PDF in Illustrator
- In Illustrator, click File > Open and select the PDF file. The PDF will display in Illustrator.
- Delete any unnecessary lines/words that are included in the PDF.
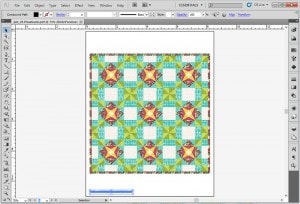
- Adjust the size of your artboard to allow for room to pull the quilt or block apart.
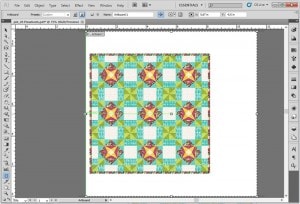
- Use the black Selection Toolto pull the pieces apart.
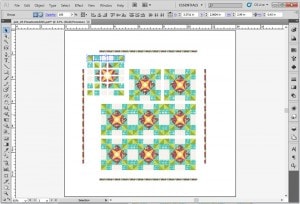
- Optional: Add arrows or text. (This can also be done within Word if you plan to lay out your pattern instructions in a program other than Illustrator.)
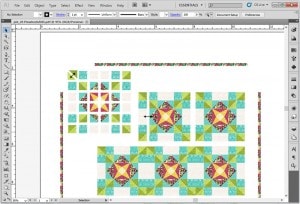
- Optional: You may consider adding new Artboards for each image you are creating. (i.e. One artboard for block #1, another for block #2, another for the quilt with borders, etc.)
- When your image is complete, choose File > Export to save your exploded block/quilt as a JPG, TIF, etc. to bring into Word or another desktop publishing program.
Tip!
It helps to group sections together rather than having to reselect all patches each time. Group blocks or sections together in Illustrator by using Command+G (CTRL+G in Windows).


