

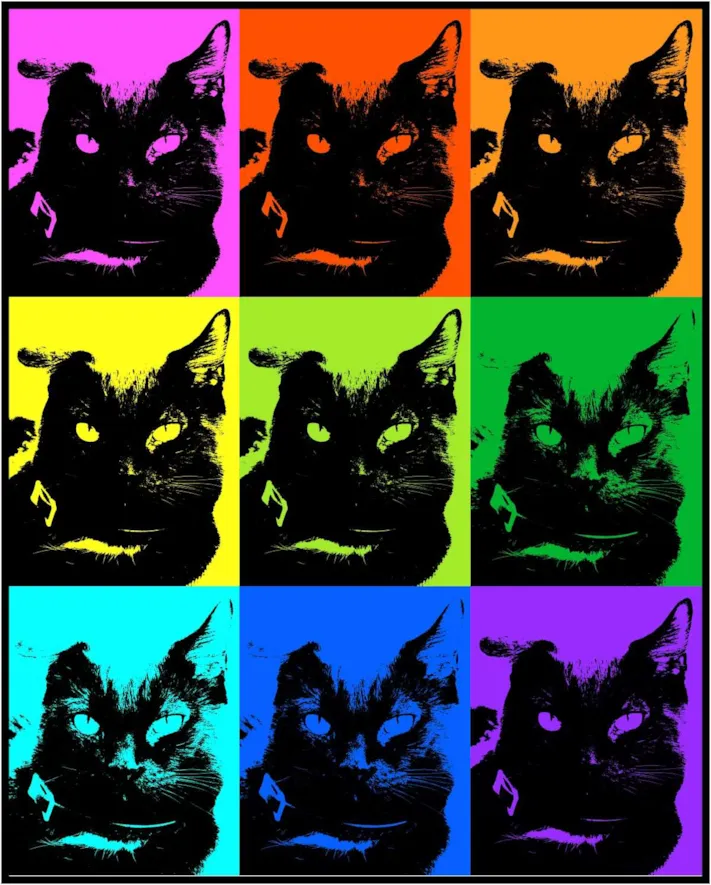
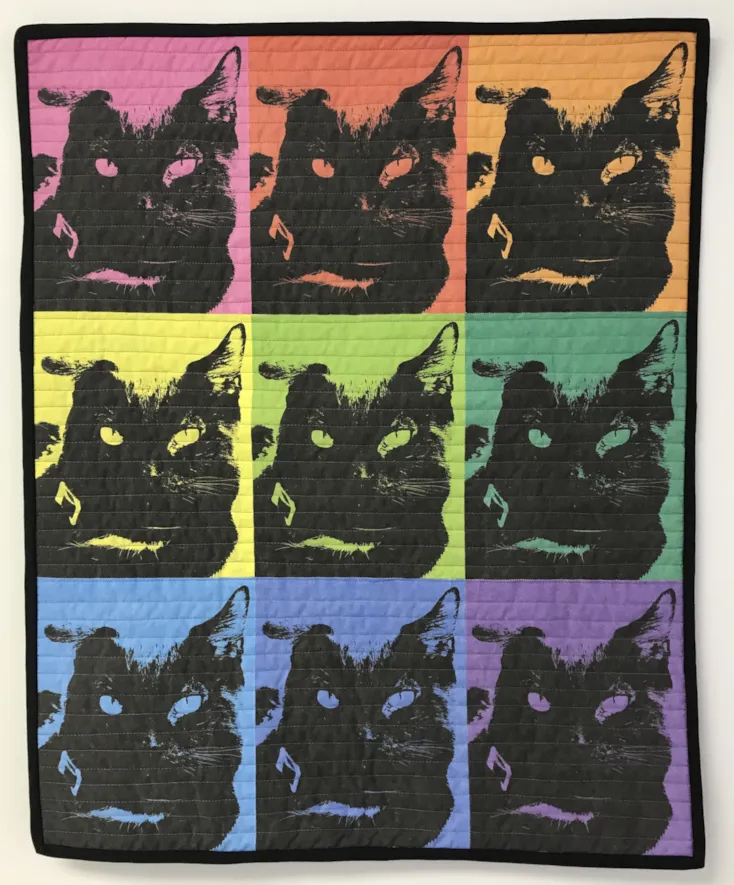
Greetings! I am working on some home made gifts and this is one of them. I am making a Pop Art Wall Quilt using the EQ8 Image Worktable, a photo and EQ Printable fabric. This Pop Art quilt is reminiscent of the visual artwork created by Andy Warhol. I have chosen a picture of Oreo, my son’s cat, to make a fun wall hanging for his room. You can choose any image you like to create this bright and eye-catching quilt.
Pop Art Wall Quilt
Size: 24″ x 30″
Skill Builders:
- Working with the Image Worktable
- Editing a Photo
- Using Photo Special Effects
- Open EQ8.
- Let’s name the Project. The project name appears at the top left of the EQ8 Window. Right now the project says Untitled – EQ8.
- On the left side toolbar, click the New project button.

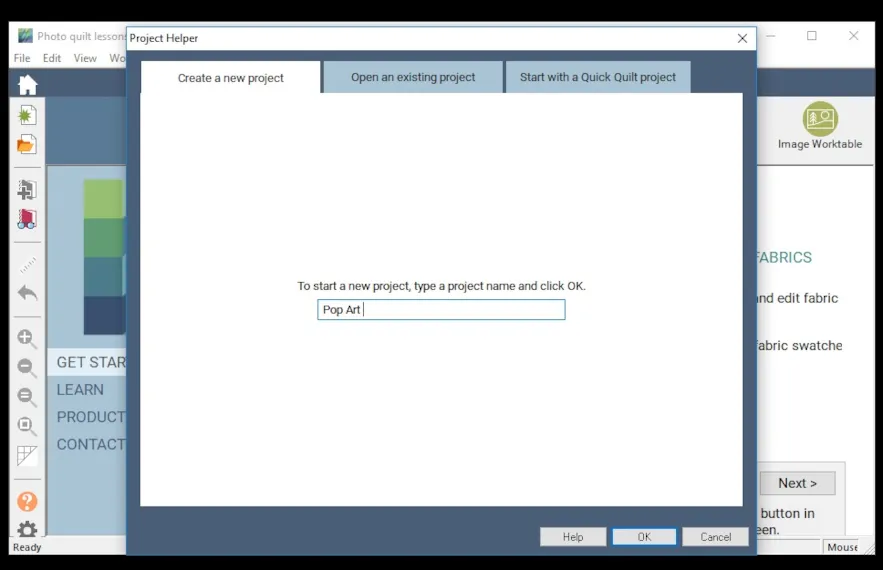
- On the Create a new project tab, type in the project name field Pop Art.
- Click OK. The box will close. Notice the project name Untitled has been replaced with Pop Art.
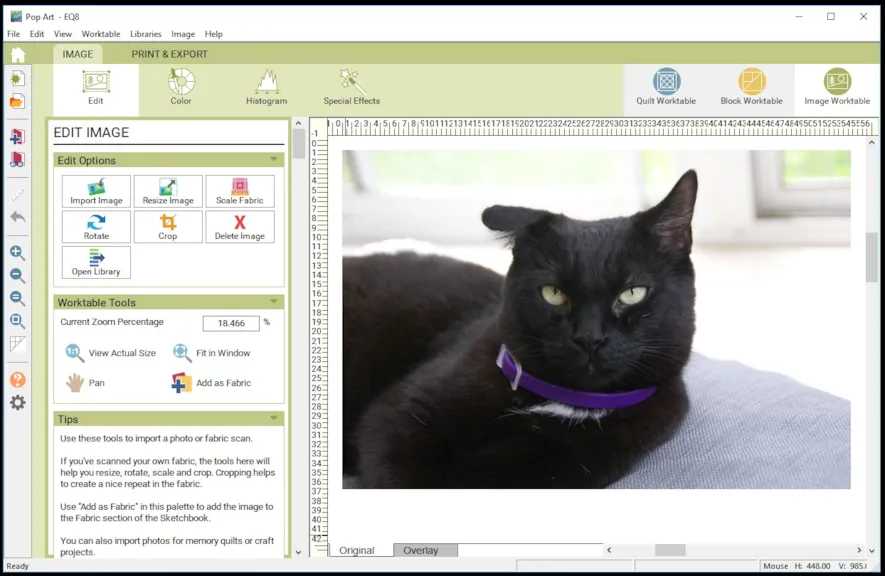
- Select the Image Work Table by pressing on the Green Circle Button at the top right of the screen.
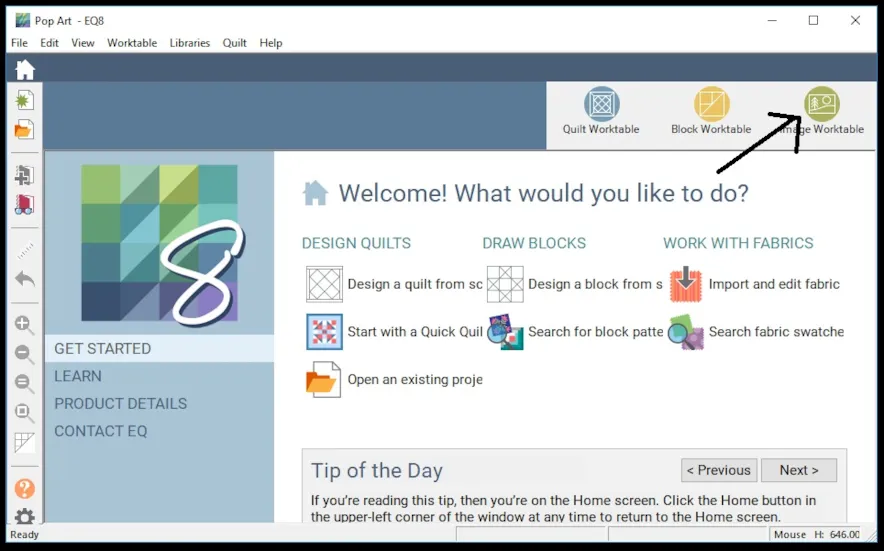
- The Image Worktable will open. It will be empty because we have not added anything to it yet.
- Select IMAGE, then EDIT

- Select Import Image
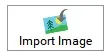
- Navigate through your files to find the photo that you had previously saved, select it and click OPEN. The photo will be imported and appear on the edit screen.
- Under EDIT OPTIONS, Select Crop
 and crop the photo. I cropped my photo to just capture the kitties face.
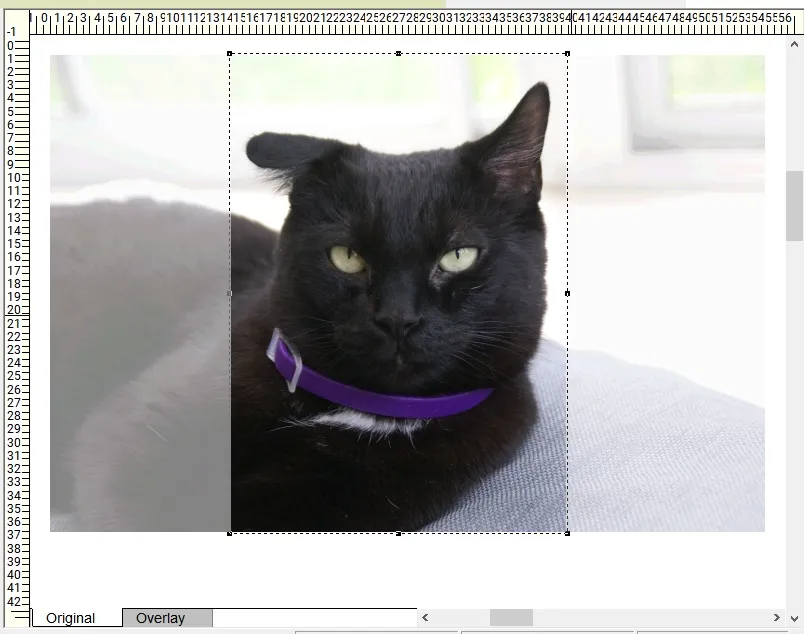
- Once you have the cropped picture to the size that you want, APPLY the CROP

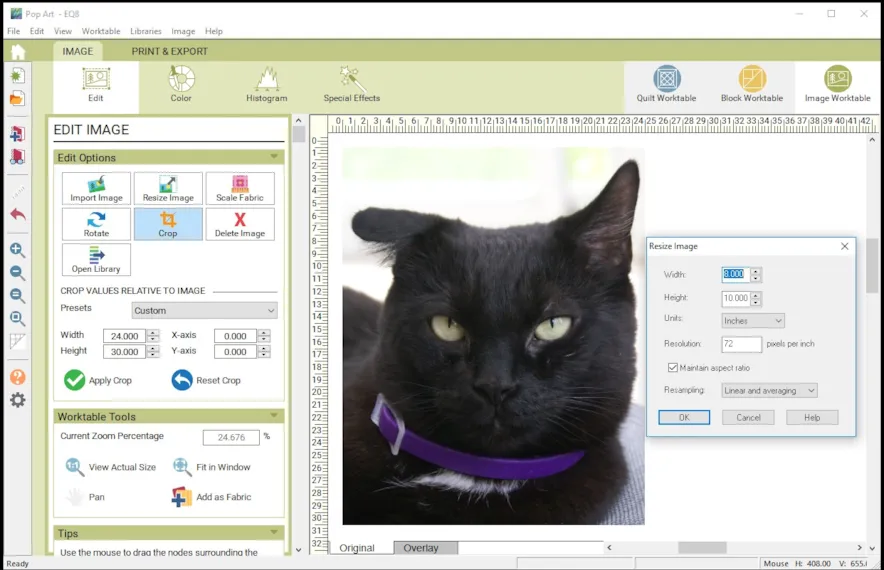
- Next, I am going to resize the picture to a size that will fit on an 8 1/2″ x 11″ fabric sheet. Under EDIT Options, Choose Resize. Be sure to check the box to Maintain Aspect Ratio. I used 8″ x 10″. When you are finished, Add to Sketchbook.
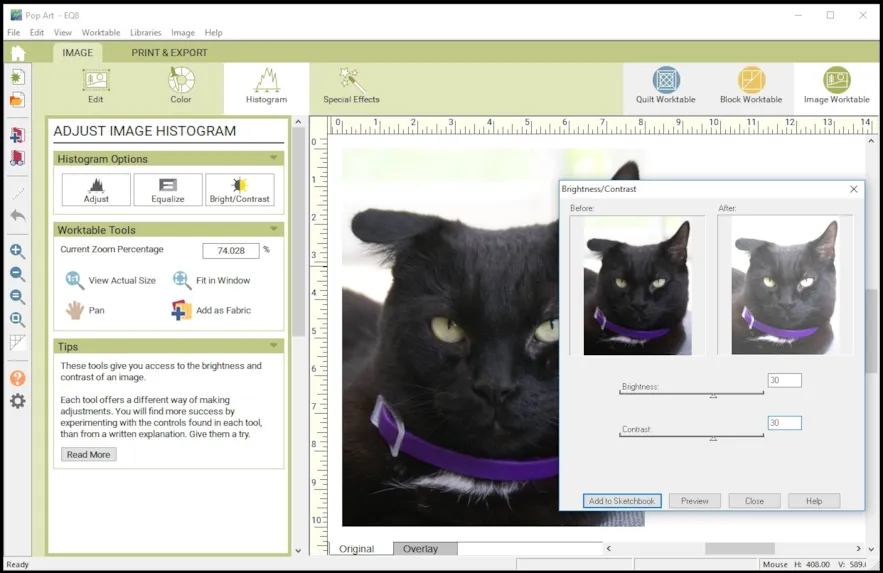
- Next, because this is a black cat and I want to get a bit more contrast for the picture, I am going to adjust the contrast and brightness. Go to Histogram in the Ribbon Bar, Select Bright/Contrast. Adjust the slider bars. There is a bit of trial and error here so I used Brightness of 30 and Contrast of 30, but it will depend on your picture. You may have to come back to your cropped picture that you saved to try again until you like it.
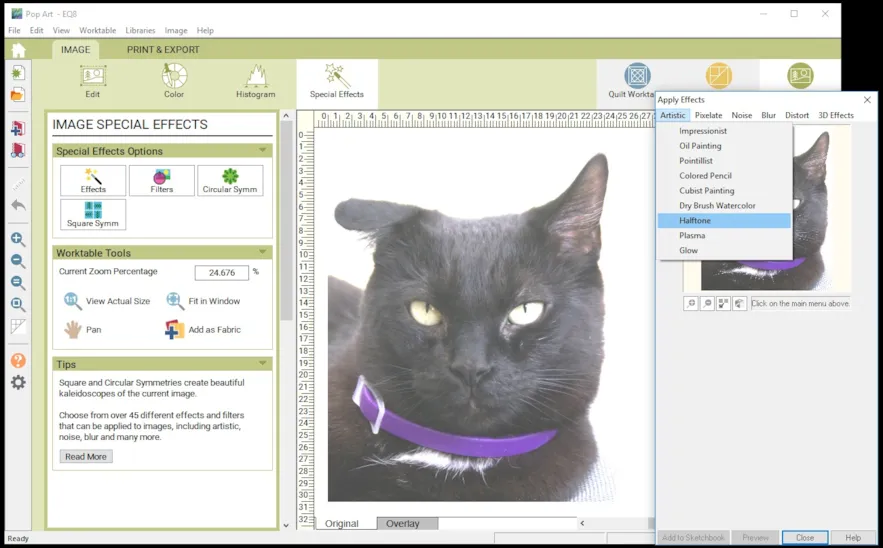
- Next, we will change the whole photo subject into black and white. Go to Special Effects, Effects, Artistic, Halftone. Close the samples window.
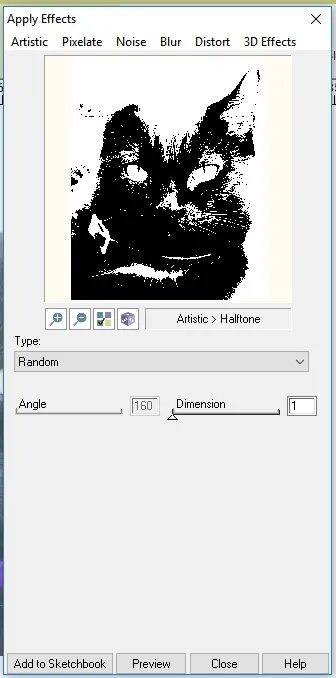
- Select Style Random, Change Dimension to 1. If it looks good, add to sketchbook, if it is too dark or too light, go back to adjust Histogram Brightness and Contrast and try again.
- Now we can start adding colorful backgrounds. Go back to COLOR on the ribbon bar, then choose Red/Green/Blue. Move the slider bars to the extremes to get different colors.
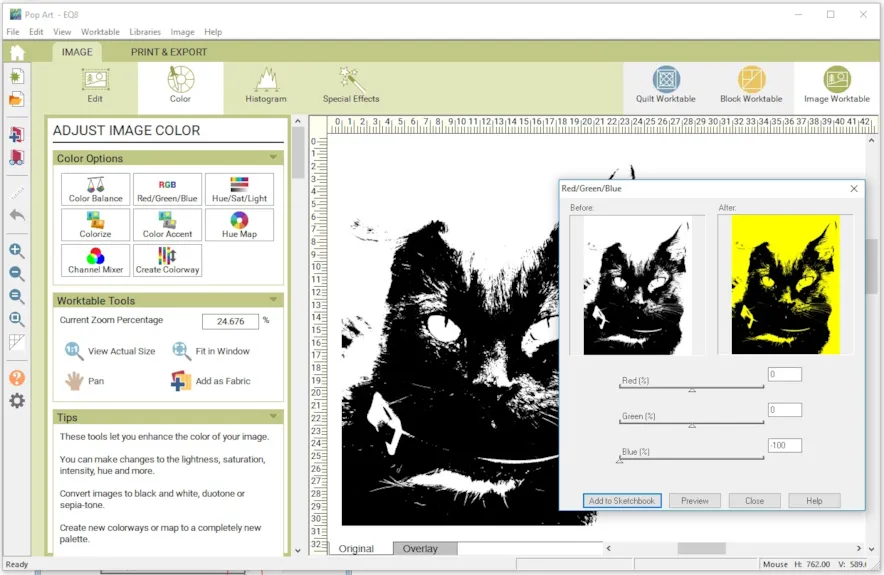
- If you are not able to get additional colors, bring in the picture again fresh and start again. When you like a background color, Add it to the sketchbook. Save at least nine colored pictures.

- Now that we have our colored photos, let’s add them to a quilt. Go to the Quilt Worktable.
- Under the NEW QUILT tab, select Horizontal from the ribbon bar.

- Under LAYOUT, No. of Blocks – Horizontal 3, Vertical 3, Finished Block Size W 9 L 9, No sashing.

- Select the Borders , Choose Border Style of Mitered, under Lock size adjustments, select all and move the borders to 1/4″.

- Select PHOTO TOOLS
 on the ribbon bar.
 - Using Set Photo, Set the Colored Photos in the quilt.
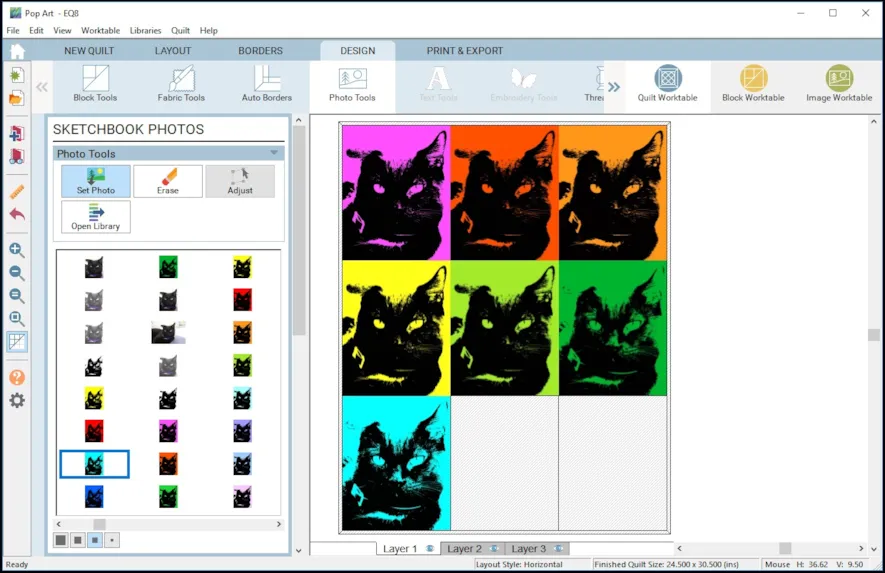
- Go to Fabric Tools, choose a color or fabric and color the border. Now you are ready to print out your photos onto fabric and assemble your quilt.
Here are Tips and Help Articles to help you get ready to print and sew up your design.
Preparing Images for printing on fabric
Print photo from Quilt Worktable
Tips for Printing on EQ Printable Fabric
Now that you have designed this with EQ8, why not stitch up this Pop Art Wall Quilt with your own photo? You can find more information for this fun wall quilt on my Lori Miler Design’s Blog .
Lori J. Miller lives in Oxford, Michigan, where she designs, stitches and sews quilts and quilty things. She loves experimenting with fun colors and designs to make playful and clever products for the modern stitcher. Sewing since age 11, Lori has deep roots in sewing and quilting traditions that add a unique dimension to her designs. She loves designing using Electric Quilt 8, Electric Quilt Mini and EQ Stitch. You can follow her quilting adventures on her blog at lorimillerdesigns.com or on instagram @lorimillerdesigns


12-09-2018
1:51 pm
“If you are not able to get additional colors, bring in the picture again fresh and start again.” I am not. Having to start over for each of nine colors sounds like a bug that should be fixed.
12-09-2018
2:29 pm
Chris,
It is not a bug, it is a factor of using the RGB colors. Once you have accepted or saved one of the colors, it is the current one in the dialogue box. You then use the RGB sliders on a picture that already had some coloring. Once you have tried two or three colors, you have to start with a clean picture to clear out the layers of color. If you layer red on green on blue several times, you cannot get much of a clear color difference unless you start with a fresh picture again. I can usually get 2 to 3 colorings before I need to start fresh. The good part is that it is quick and easy to do with the software. Thanks, Lori
12-16-2018
9:36 pm
This was a great tutorial and I was excited to learn to import an image. Everything worked OK except for when I got to special effects, apply effects, the little boxes at the bottom that say to “add to sketchbook” don’t come up. They do for color, histogram and edit. So strange, I have tried three different pictures.
12-24-2018
11:11 am
Wendy,
I am going to ask you to call the help desk and see if they can walk you through a resolution. I am not sure what you are experiencing. Thanks, Lori