Welcome to Design & Discover! You can follow along with a lesson and submit your version of the quilt right on the blog with a link up. If you have a blog, make sure to add your site too. Let’s visit each others’ blogs and all get to know each other!
Before getting started, keep in mind any of the images can be viewed larger by clicking on them.
Also, you don’t have to make the quilts exactly as shown, have fun and make it your own! You don’t have to make all the quilts, feel free to just make the one(s) you are interested in!
This month we will be making table runners with pointed ends!
- For our first quilt click Quilt Worktable > NEW QUILT tab > On-Point.
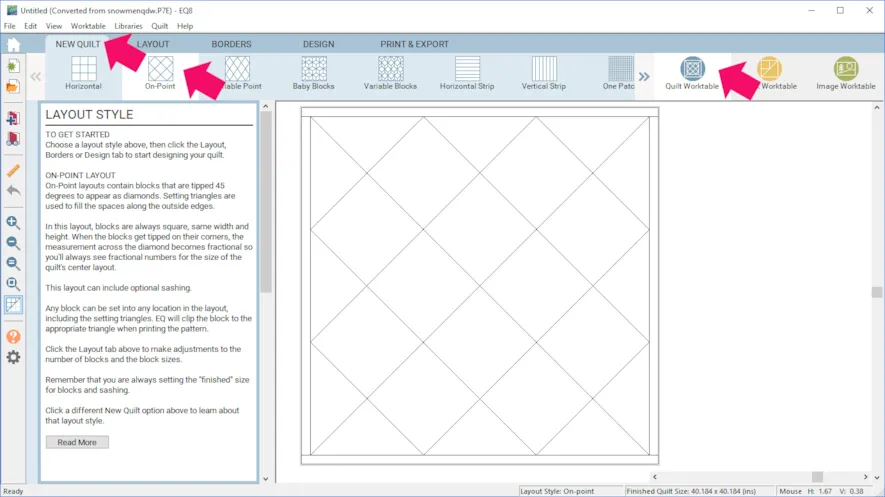
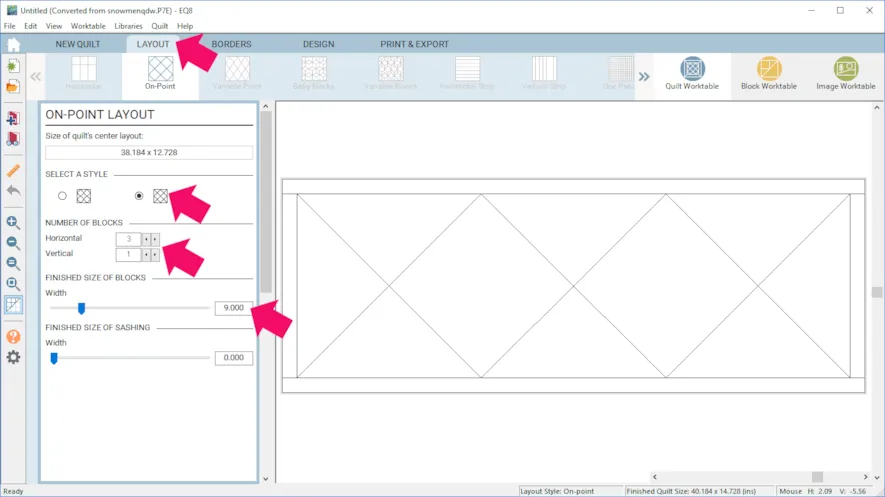
- Click the LAYOUT tab.
- Choose the option on the right for Style.
- For Number of Blocks enter 3 Horizontal and 1 Vertical.
- Make your Finished Size of Blocks 9.
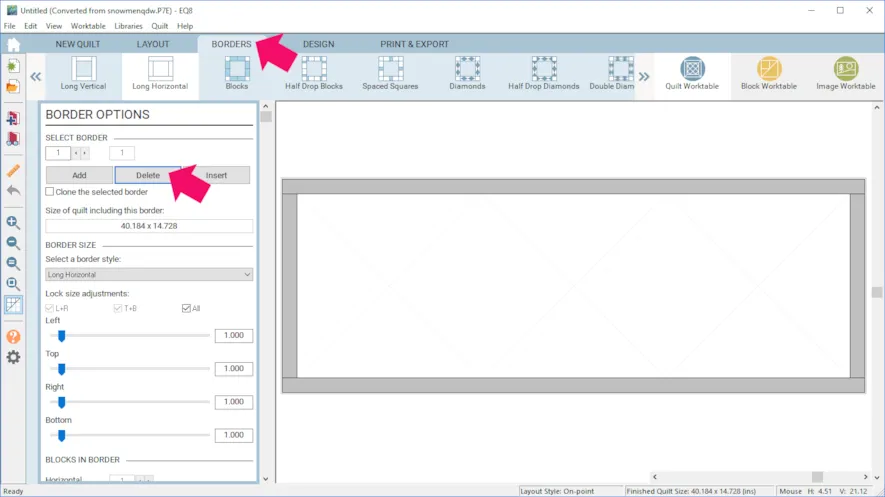
- Click the BORDERS tab and click Delete.
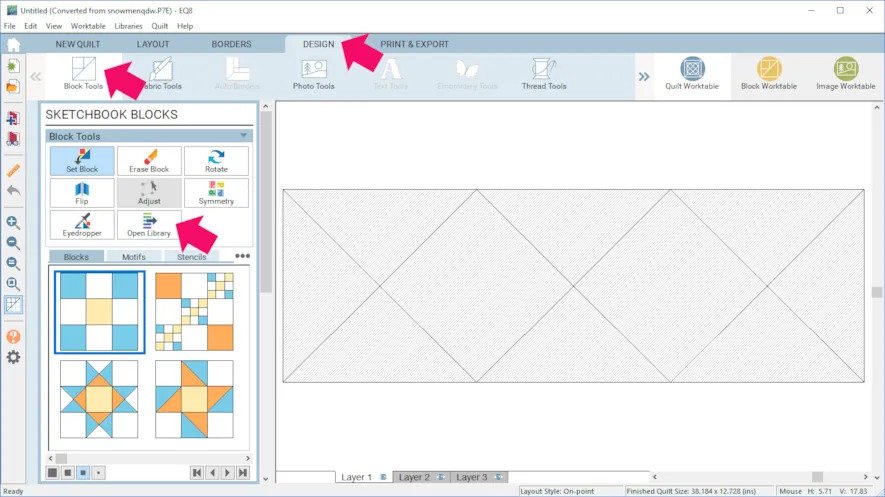
- Click the DESIGN tab > Block Tools > Open Library.
- Browse around for blocks and add a few to your Sketchbook.
- Click Close when you are done.
- Click the Set Block tool and place your blocks however you’d like, but leave the two end spots open as shown.
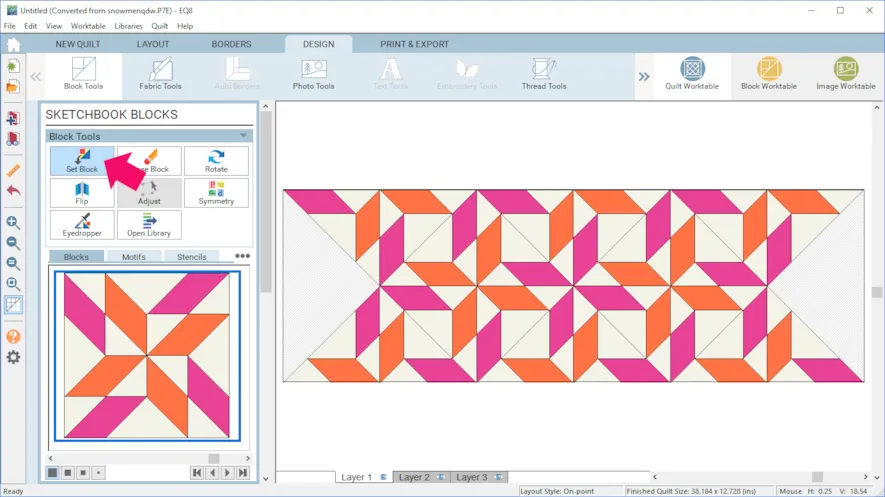
- Now click Layer 2 and drag your block onto the quilt. For now it doesn’t matter where the block goes or what size it is.
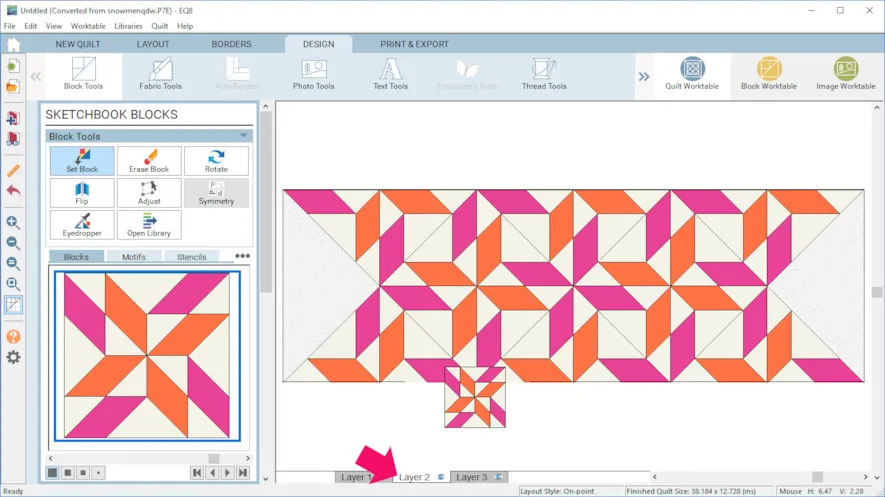
- Click the Adjust tool and click to select the block you just dragged onto Layer 2.
- Make the block Width and Height: 9.
- Under Block Rotation enter 45.
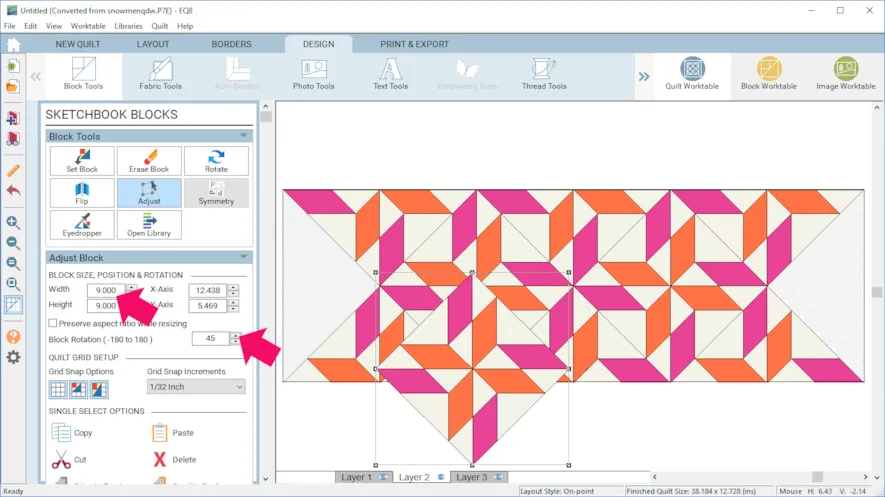
- Move the block to the left end of the table runner. You can see that for the first block the X-Axis and Y-Axis are both 0.000.
- With the left-end block selected, click Copy, then Paste, and drag it to the right end. The X-Axis will be 38.000 and the Y-Axis will be 0.000.
- If you are having trouble with your blocks snapping to the right location then double check your Grid Snap Increments. Here is more information about how Grid Snap Increments work.

- Click Fabric Tools > Paintbrush.
- Color the quilt as you would like.
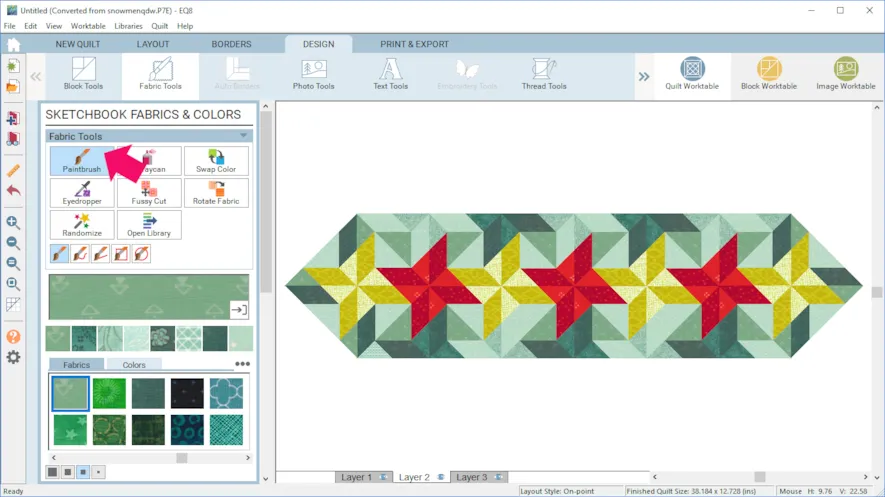 However, keep in mind that the blocks that you placed on Layer 2 will have to be colored while you are on Layer 2 (unless you use the Swap Color tool). If you want, you can make Layer 2 invisible by clicking on the eye icon. If you click the Layer 1 eye icon, Layer 1 will appear washed out.If you accidentally click on a block on Layer 2 while you are on Layer 1 it will color the space behind your block, and then that will show up on your Fabric Yardage Chart. So, it’s always a good idea to check what’s behind Layer 2!
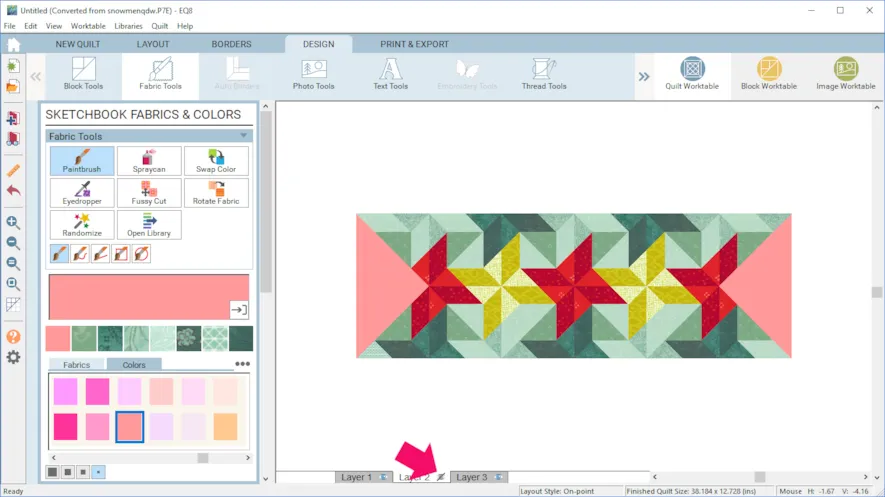
- Click Add to Project Sketchbook.
If you haven’t named your project yet, EQ8 will prompt you to do so. (To be saved, your item needs to be in the Sketchbook AND your project needs to be named. Here is more information.) Another way to do this is just to use a pointed block, like a heart for example.

Here’s how I made this quilt:
- Click Quilt Worktable > NEW QUILT > Horizontal.
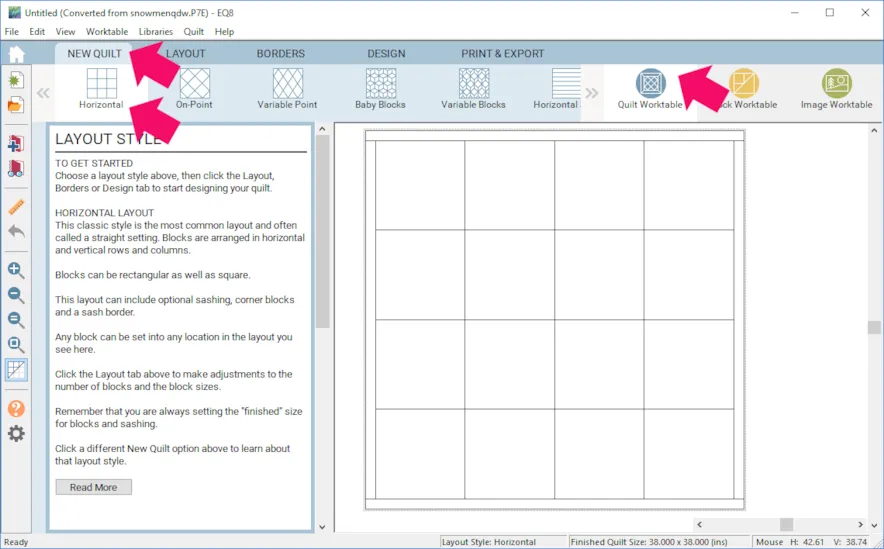
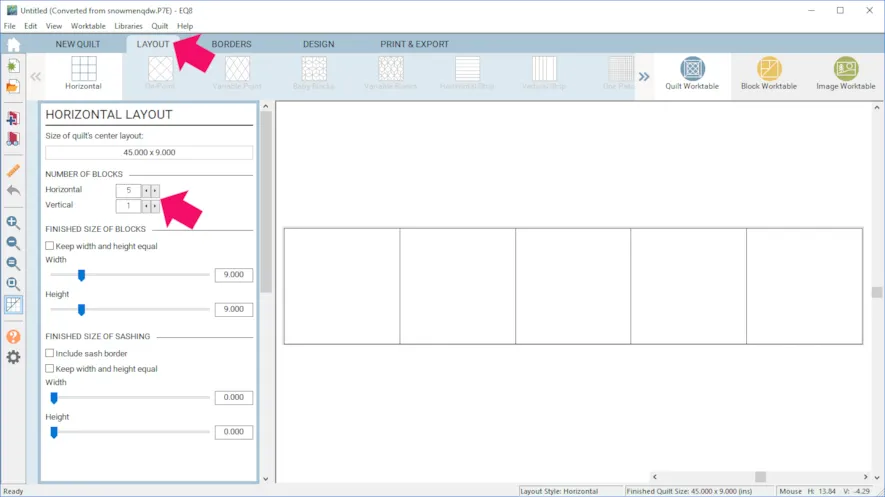
- Click the LAYOUT tab and enter 5 Horizontal and 1 Vertical. You can also choose your block size.
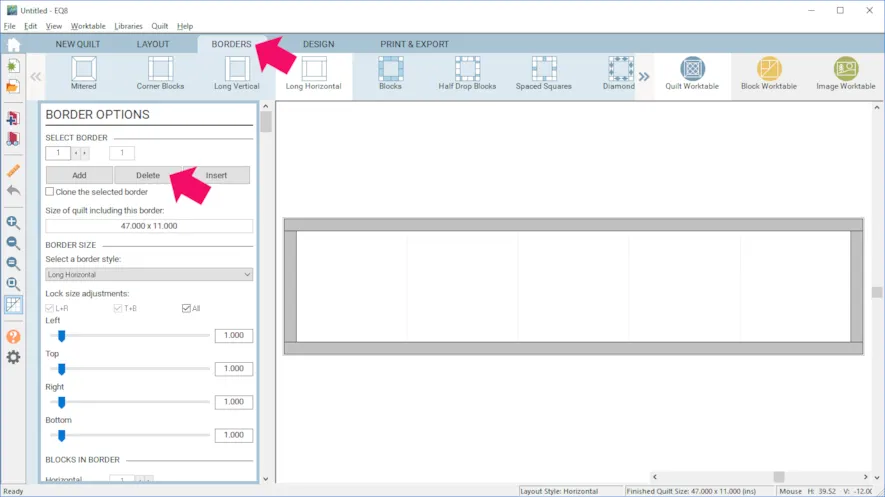
- If there is a border, click the BORDERS tab and click Delete.
- Click the DESIGN tab > Block Tools > Open Library.
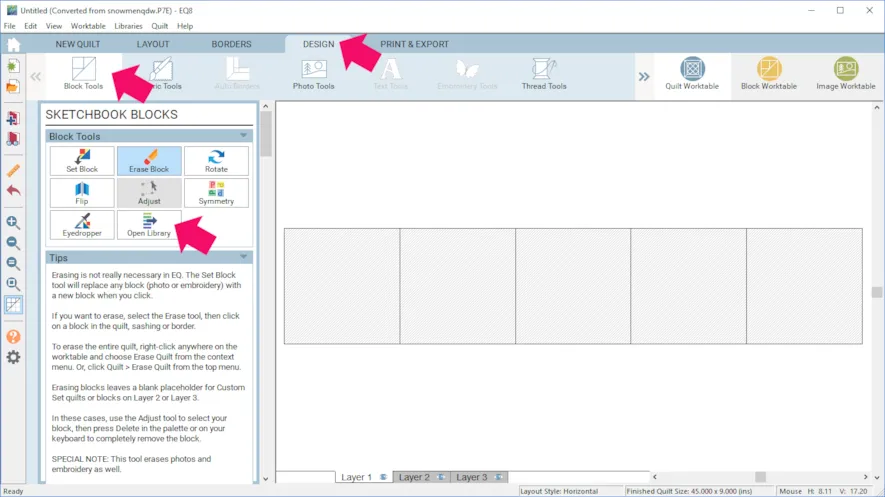 Let’s find some blocks to use!
 - Click Search > By Notecard.
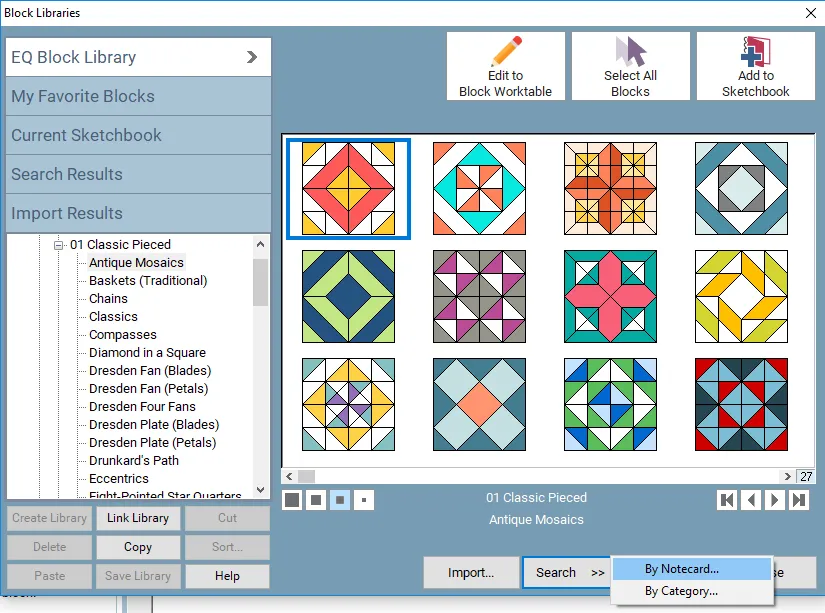
- Type in “heart” and click Search.
- Click OK.
- Click on a block and Add to Sketchbook.
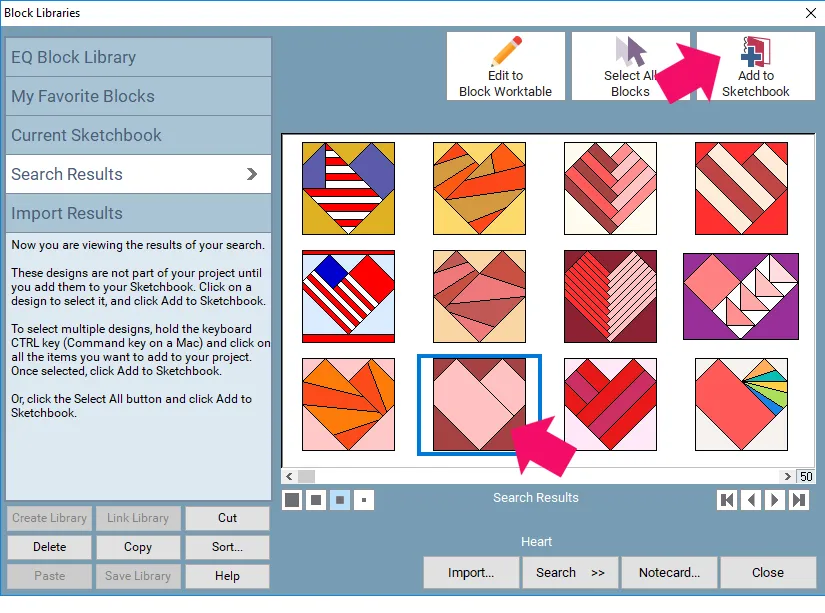
- Look around the Block Library and add any other blocks you would like. I also added Christmas Stocking.
- Click Close when you are done.
- Click Set Block and place your blocks as desired.
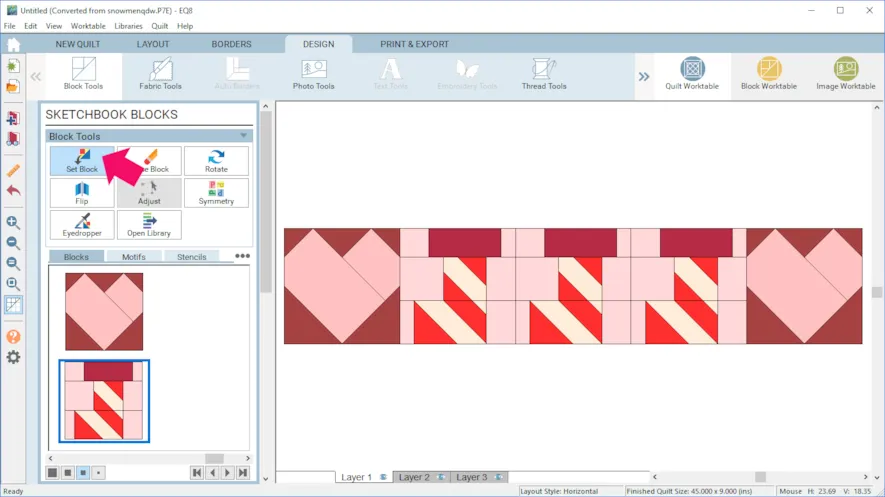
- Use the Rotate tool to rotate the heart blocks, and other blocks, if you’d like.
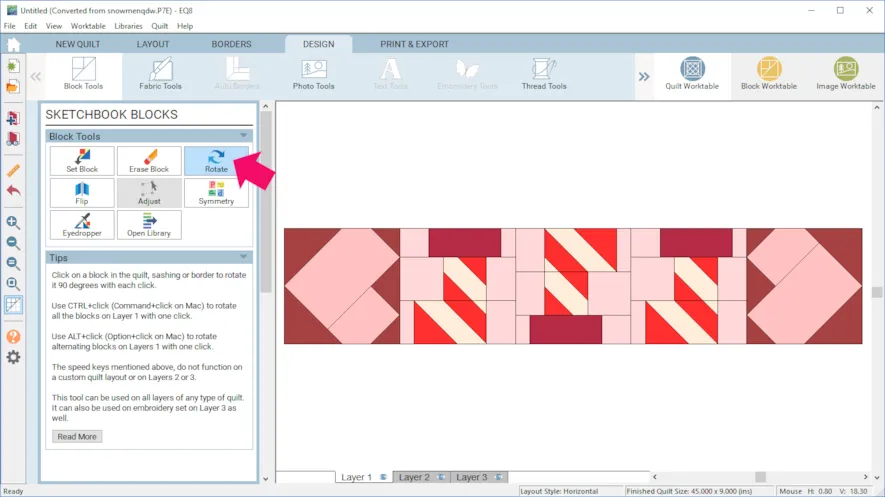
- Click Fabric Tools > Paintbrush > Colors and color the sides of the heart block white, as shown.
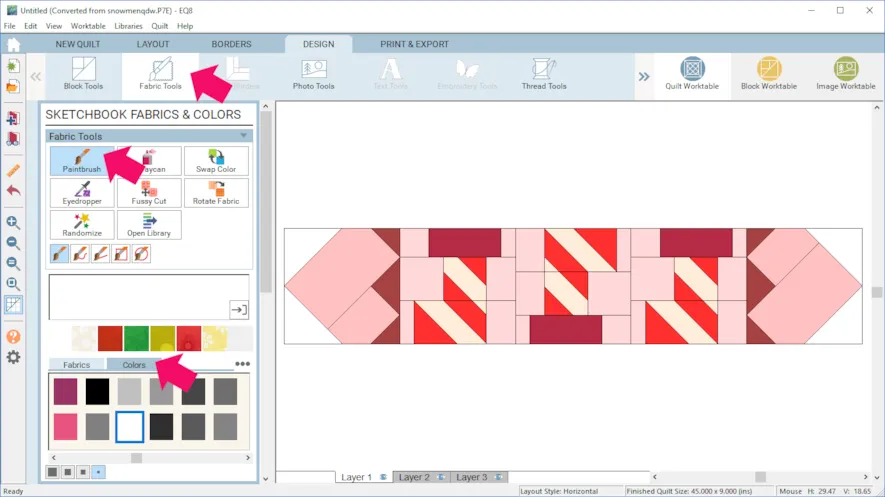
- Color the rest of the quilt as you prefer.
- Click Add to Project Sketchbook
 when you are done.
 - If you want to post images of your quilts, here is how to export the images.
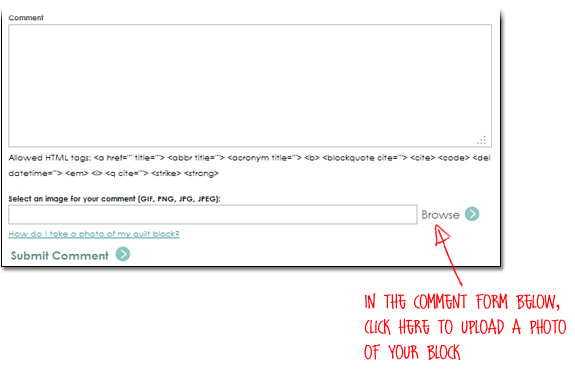
- To post your image click to comment on this post. Fill in your info and then click Browse. Go to: Documents\My EQ8\Images
I can’t wait to see your quilts! I hope you enjoyed the lesson!
If you have questions about the lesson feel free to post them below.
If you have questions about something else EQ related, please contact techsupport@electricquilt.com.


