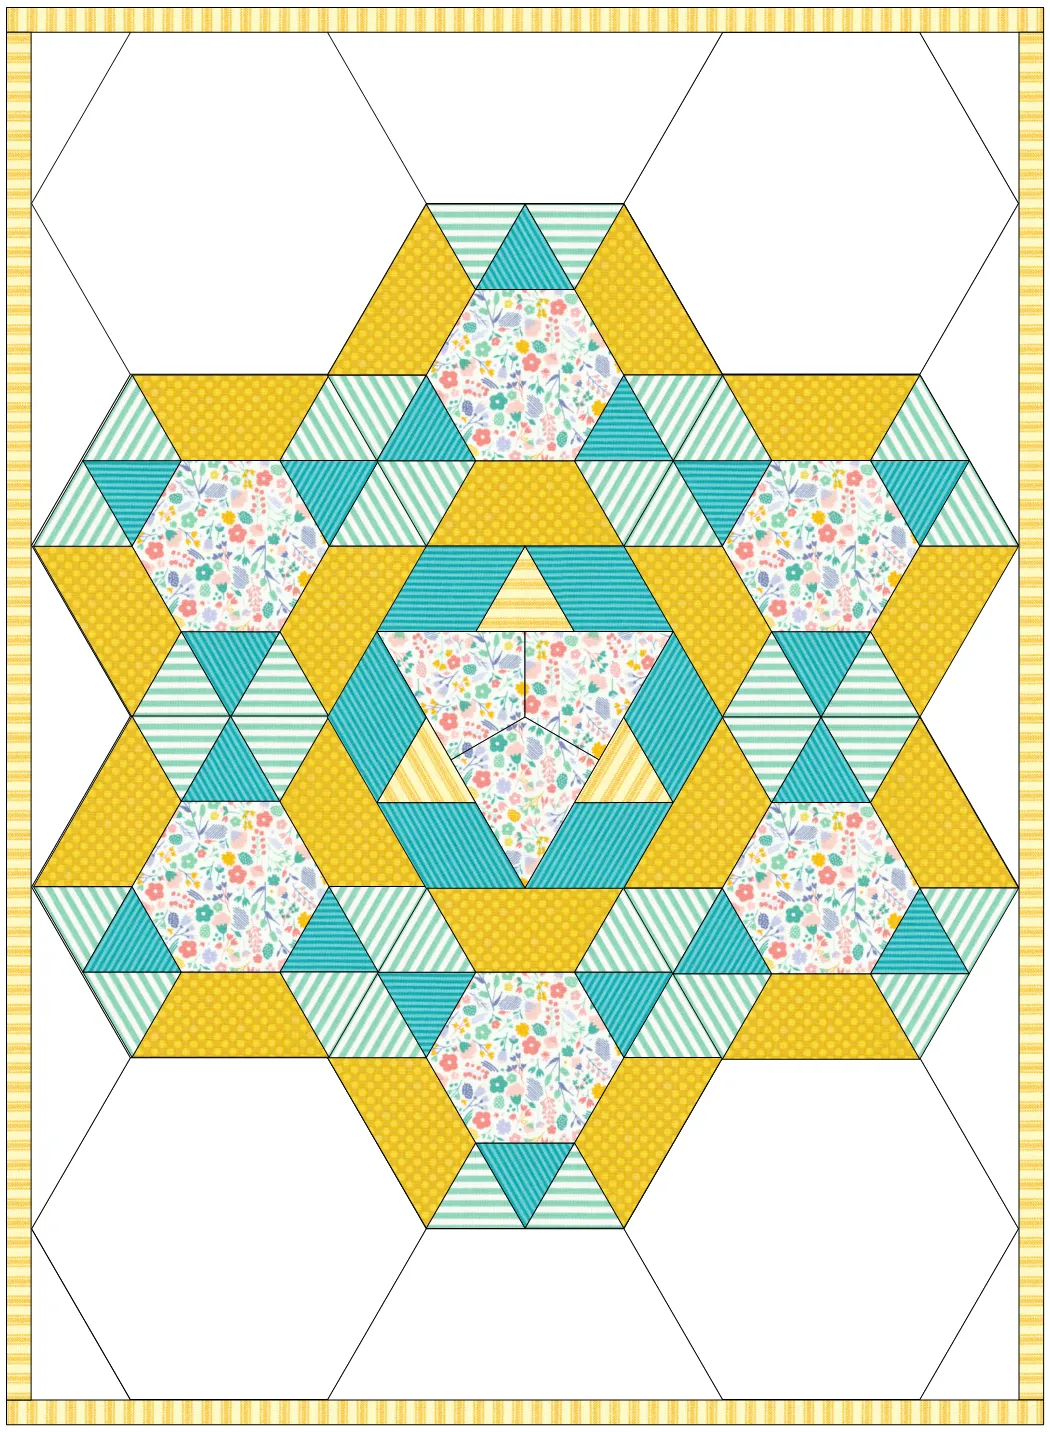
Hello Electric Quilters! We had so much fun designing pieced hexagons with my last lesson, I decided to share some tips in creating quilt layouts for those hexagons. Using non-square blocks is sometimes tricky, but there are several methods we can use to create some beautiful quilt layouts. In this lesson, we will explore the EQ8 one patch tool. We will be using the hexagon shape and pieced blocks we created from my previous lesson , Designing Pieced Hexagons. Head on over to that lesson if you have not created them yet.
Hexagon One Patch Quilt
Skillset: Beginner
Skill Builders:
- Create a hexagon one patch quilt
- Discover hexagon designs
- Open EQ8.
- Let’s name the Project. The project name appears at the top left of the EQ8 Window. Right now the project says Untitled – EQ8.
- On the left side toolbar, click the New Project button.

- On the Create a new project tab, type in the project name field Hexagon Layouts.
- Click OK. The box will close. Notice the project name Untitled has been replaced with Hexagon Layouts.
- Select Design a Quilt from Scratch.
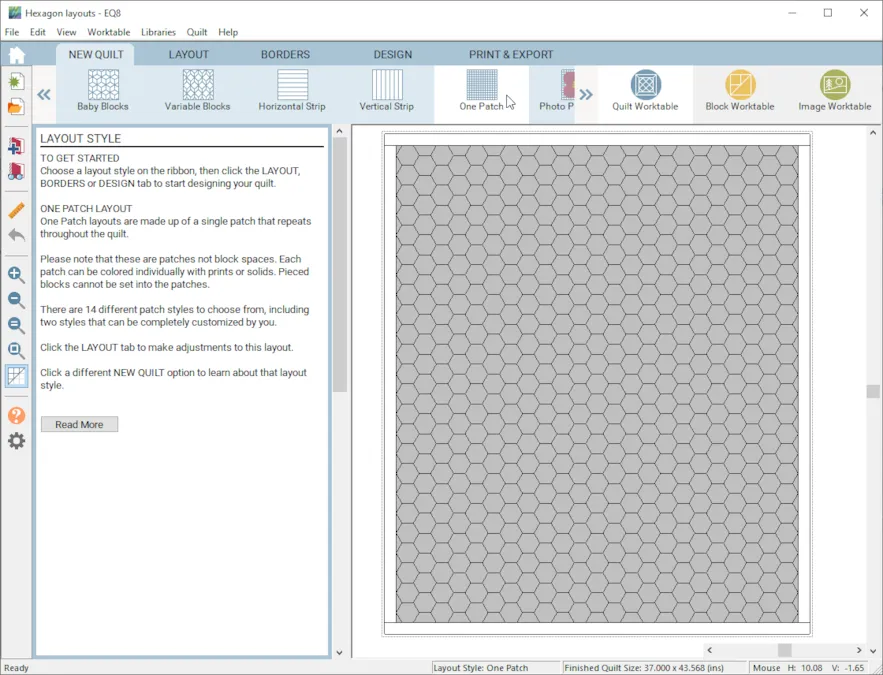
- NEW QUILT > ONE PATCH
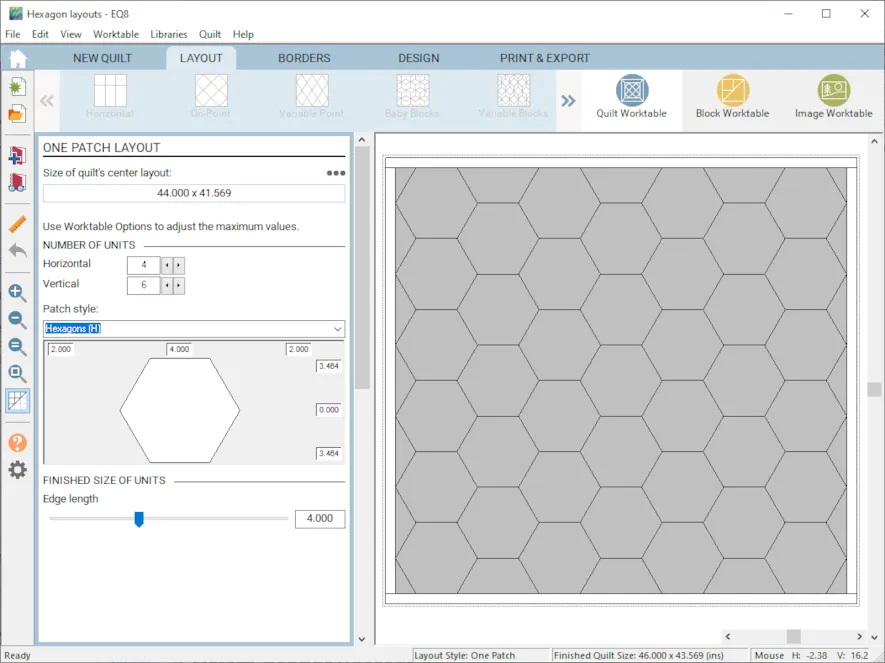
- LAYOUT > Patch Style Hexagons (H) for Horizontal
- Change the NUMBER OF UNITS to Horizontal 4 and Vertical 6
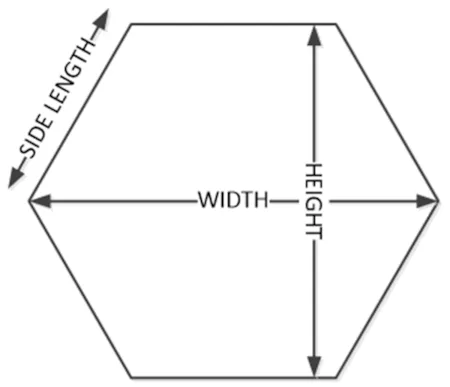
- FINISHED SIZE OF UNITS is an Edge length of 4
- BORDERS >Change to mitered and 0.5 inches.
- DESIGN > Block Tools > Set Block We cannot set pieced blocks onto a one patch quilt on layer 1, so we will use Layer 2.
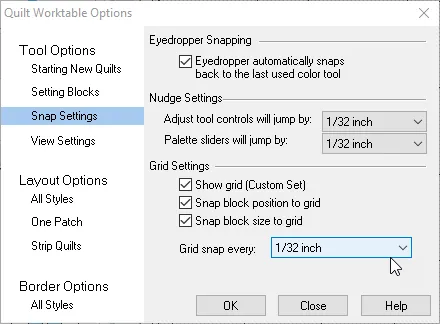
- Before we do that, lets do some adjustments to the Quilt Worktable Options. These will help us position and place the hexagons. On the left hand side of the Main Toolbar, you will see a little gear, click on it. Go to Tool Options, Snap settings.
- Under Nudge setting, Adjust tool controls will jump by 1/32 inch and Palette sliders will jump by 1/32 inch.
- Under Grid Settings, change grid snap to every 1/32 inch. Click Close.
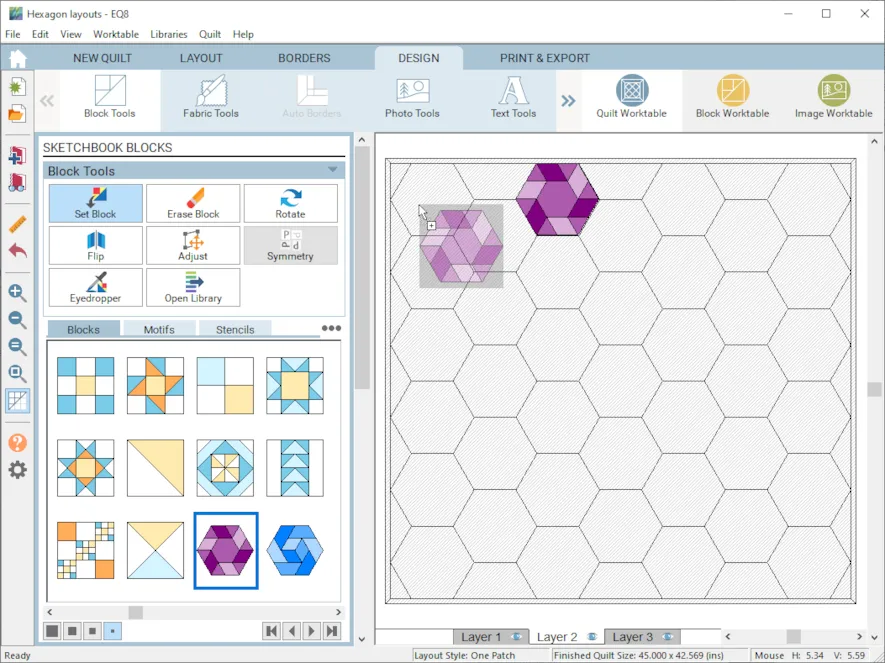
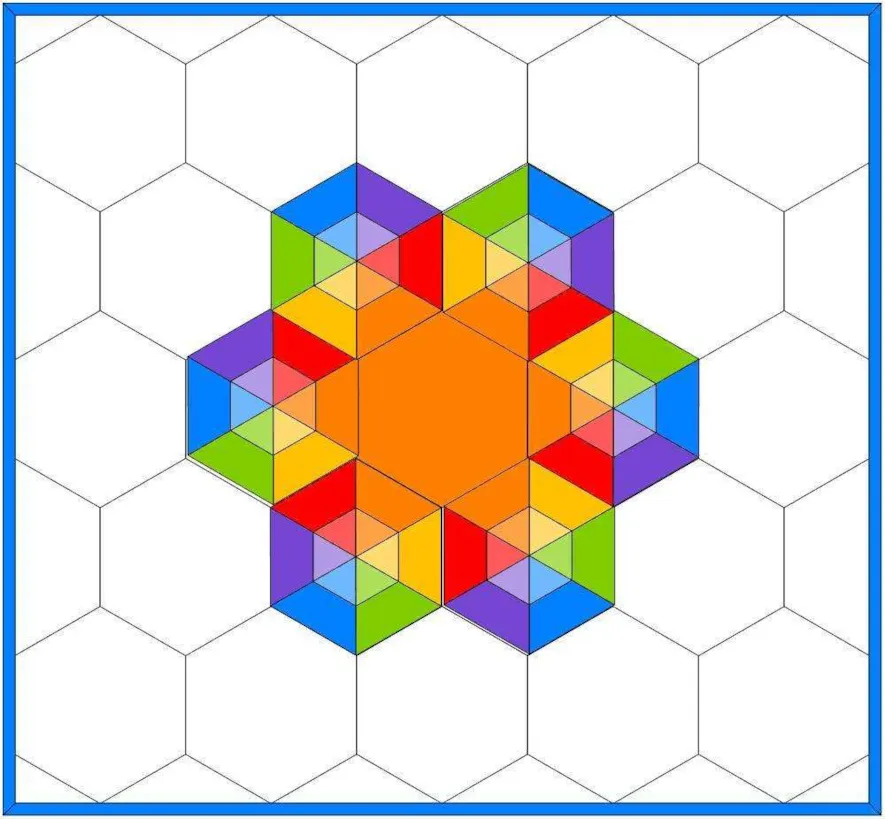
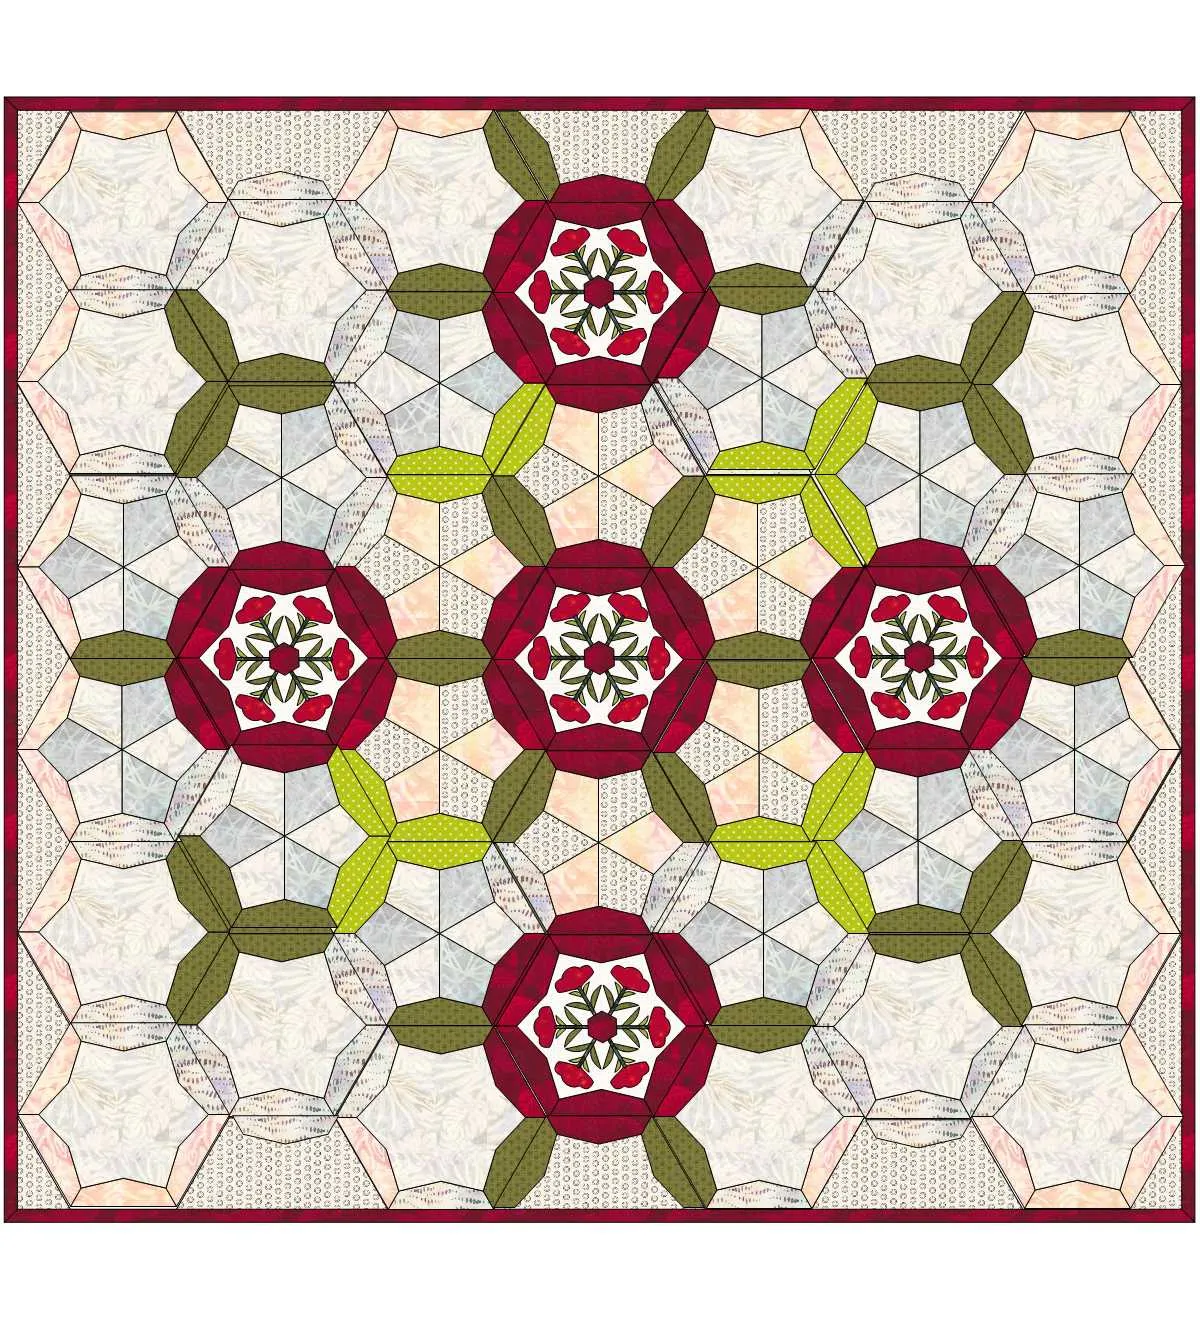
- Select Layer 2 > Set Block. Drag and drop a pieced block onto the quilt. Use the Adjust tool to position it in place using the hexagon shapes from layer 1 as a guide.
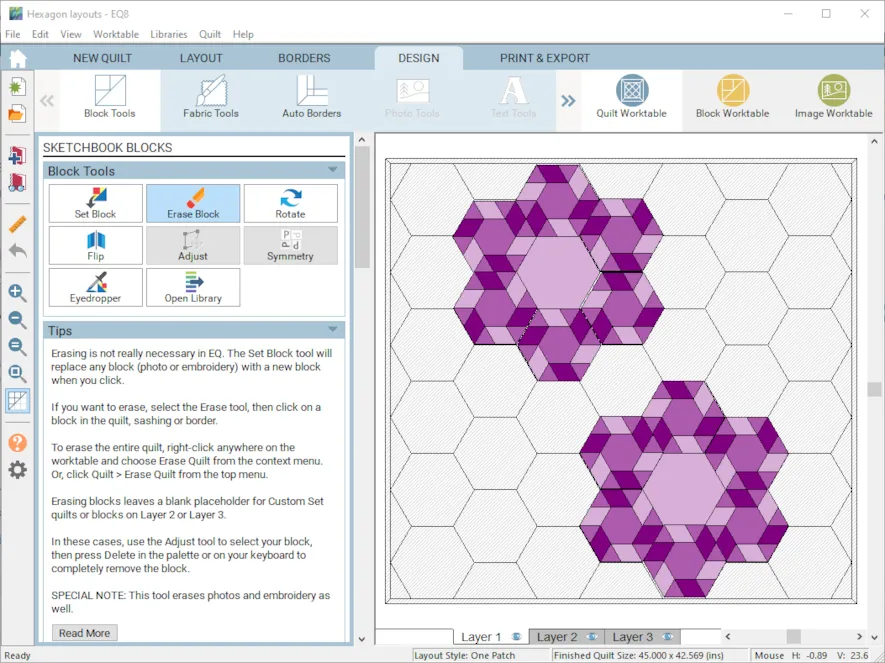
- Drag and drop several blocks to make your design.
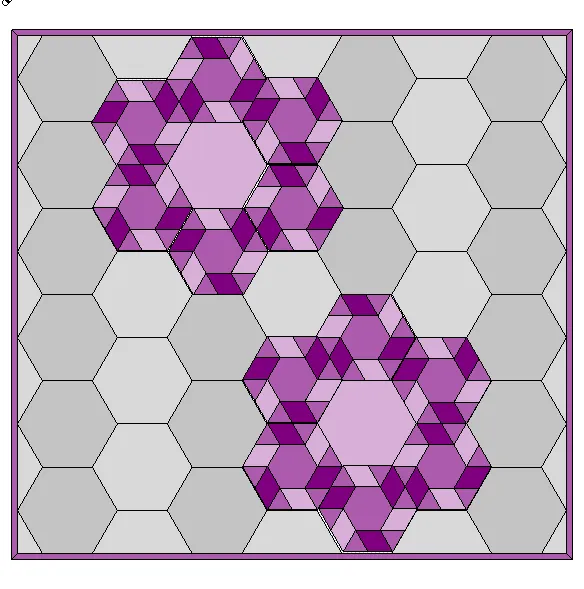
- Use layer 1 to color the remaining hexagons and the border.
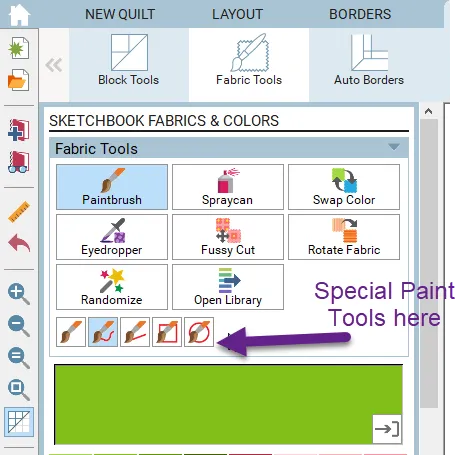
- EQ8 Tip: There is a special paint tool that makes coloring one patch quilt designs even easier. When you go to Fabric Tools, Select Paintbrush. You will see a group of paintbrushes at the bottom of the fabric tools. By selecting different paint brushes, you can draw a line, circle or free form line and everything that line touches will be painted that color.
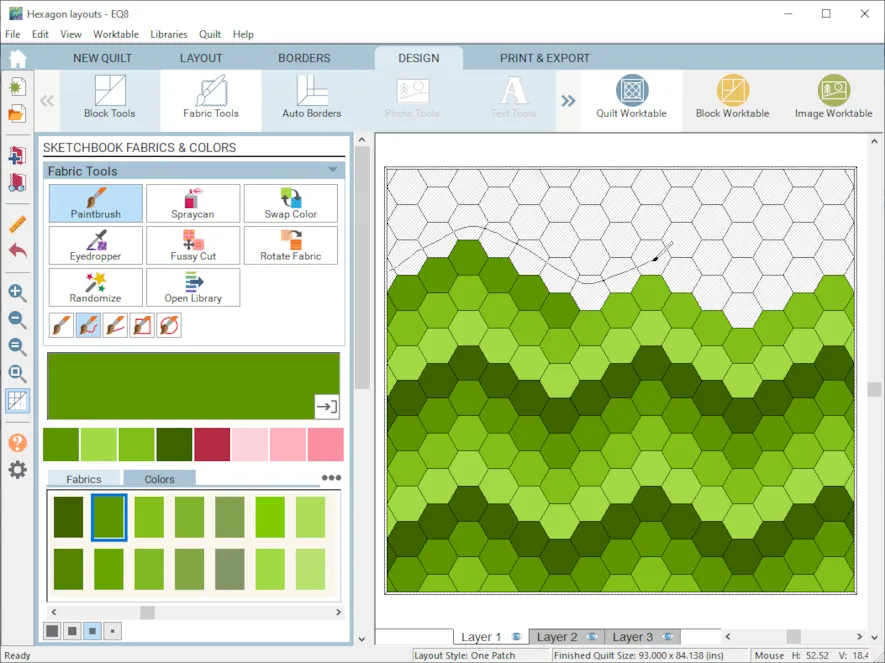
- In this example, I am using the Free hand brush to color the zig zag design.
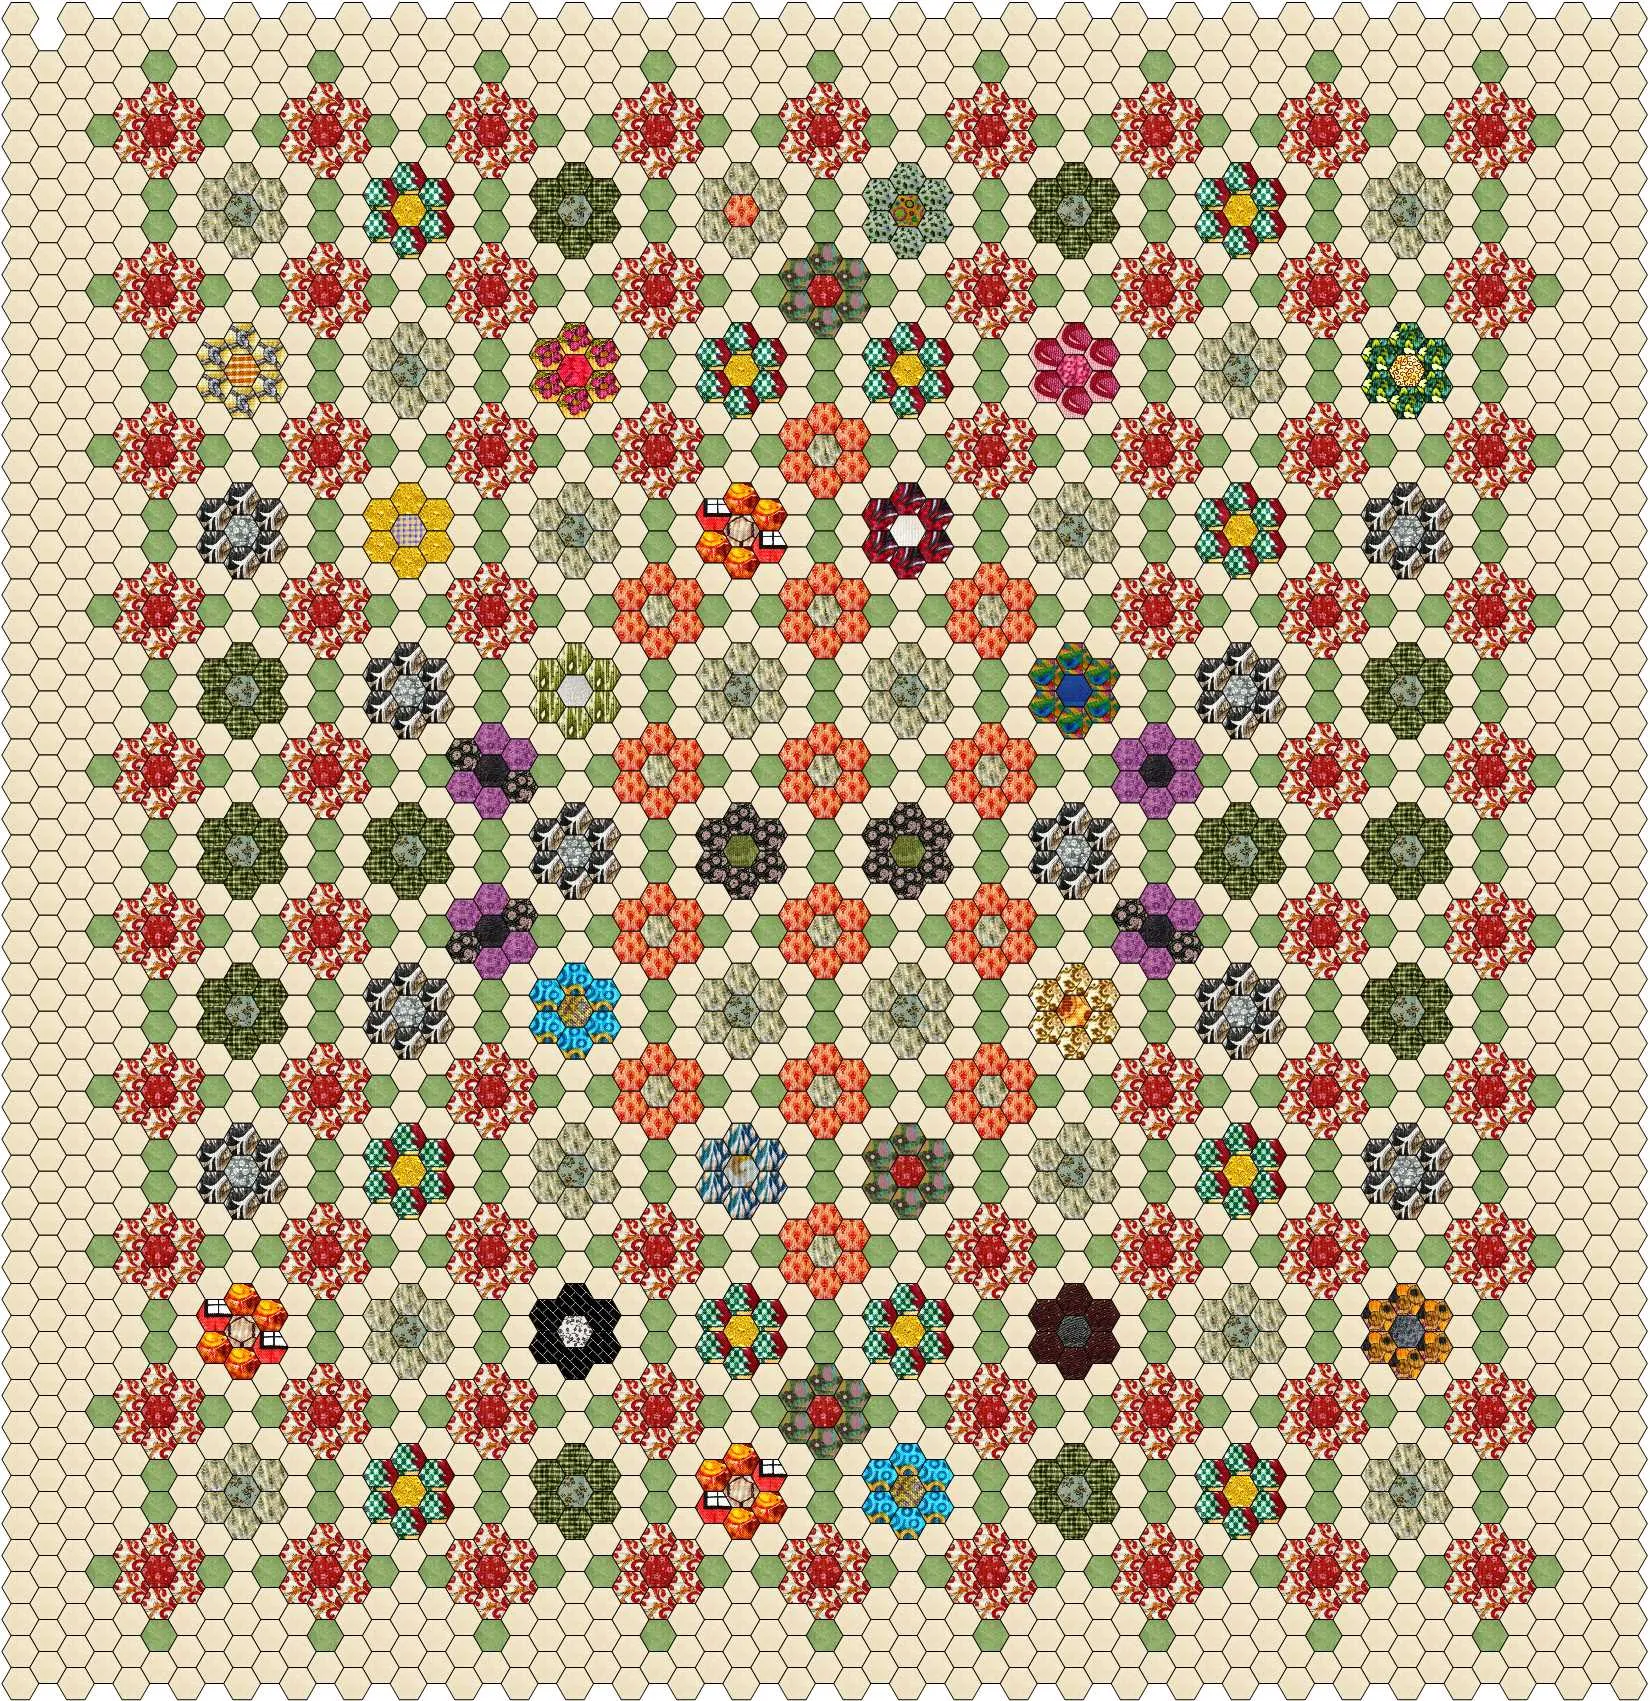
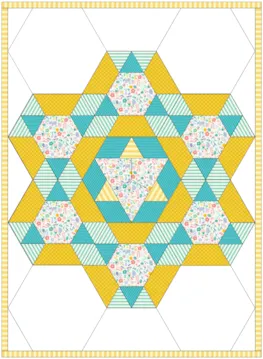
- Here are some more ideas for hexagon placement to spark your creativity.
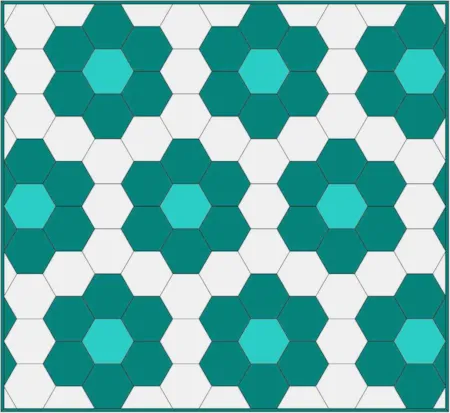
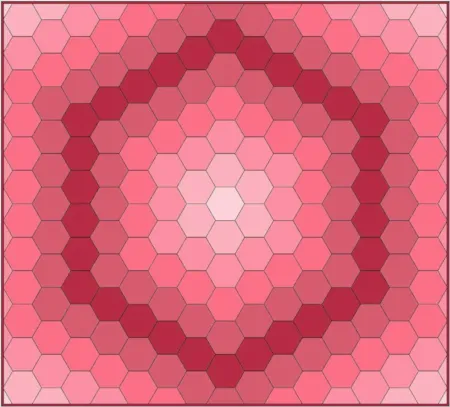
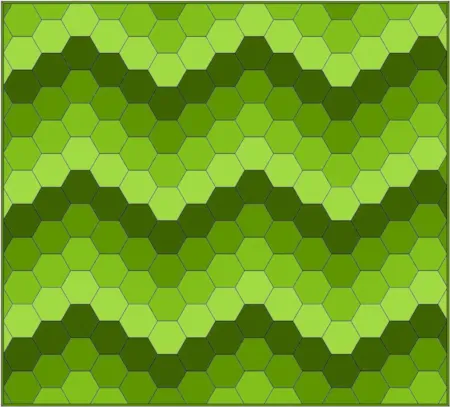
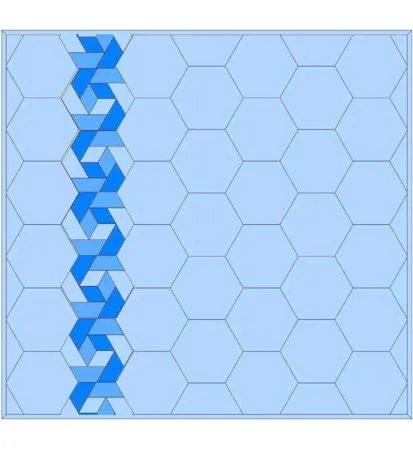
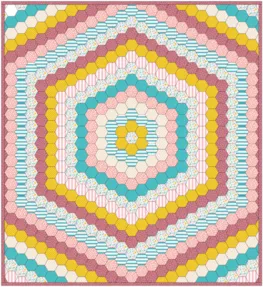
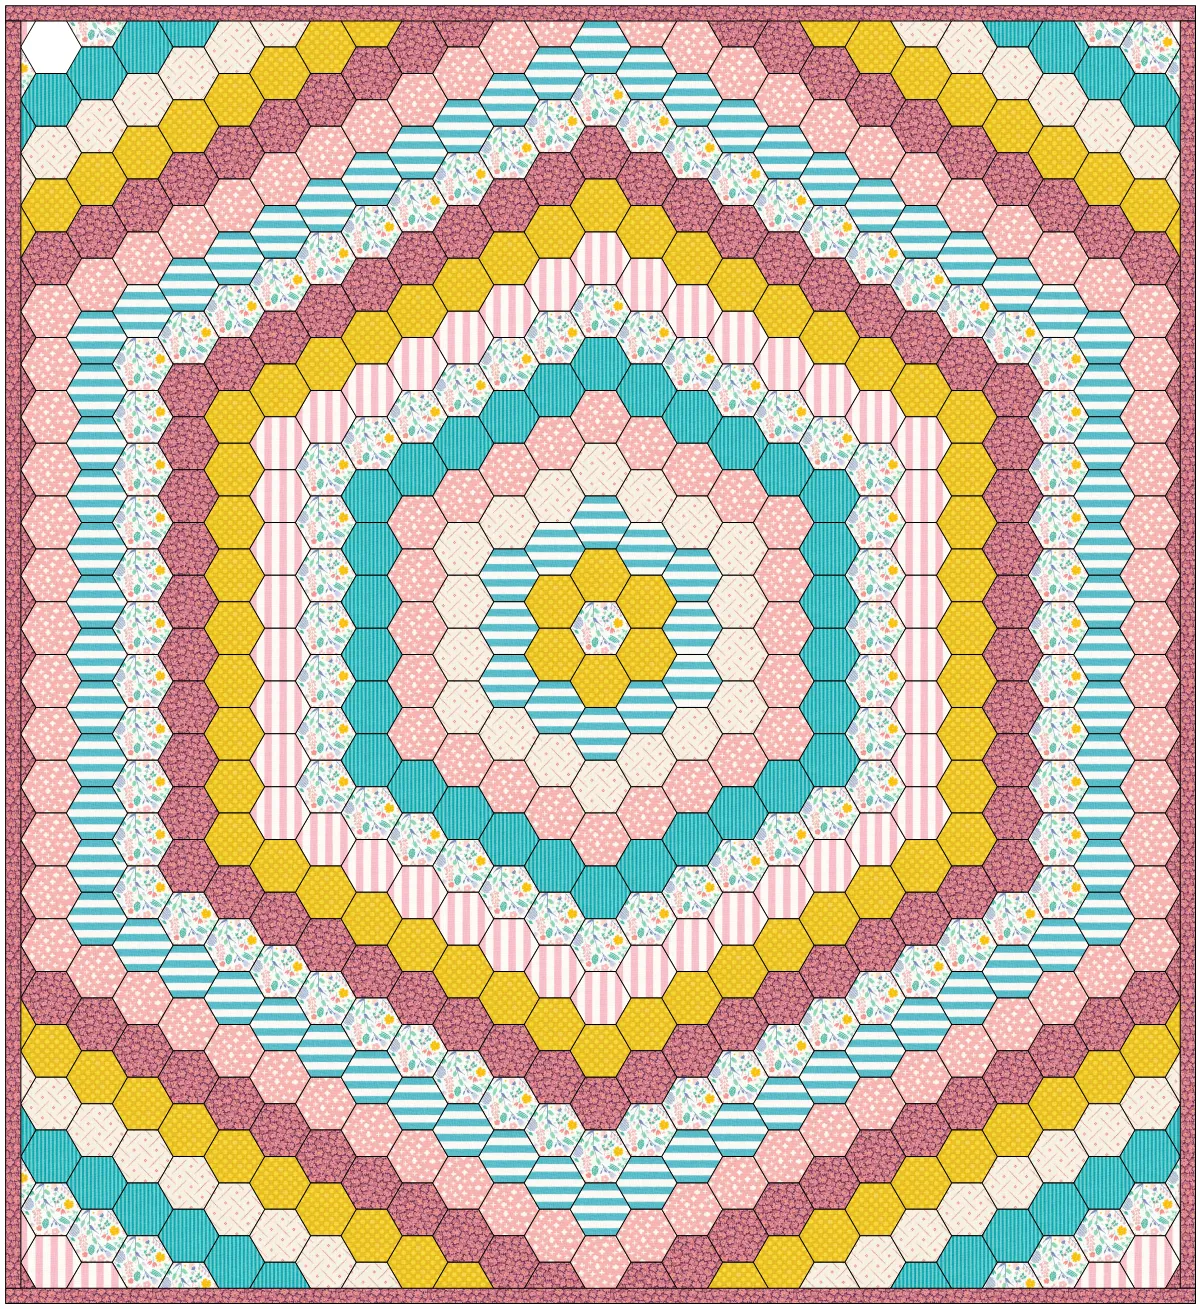
- There is another patch style that you can choose for a One Patch Hexagon Quilt Layout. It is the Vertical Hexagon. If the hexagon is a vertical hexagon, the flat sides are left and right and the points are top and bottom.
- NEW QUILT > One Patch
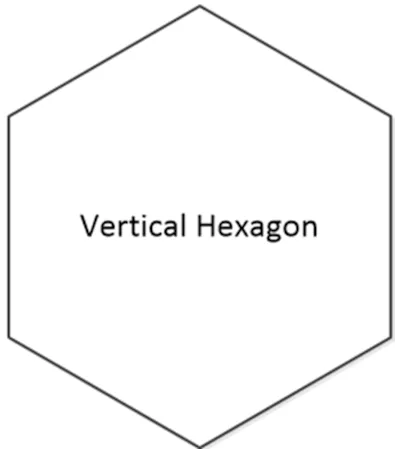
- LAYOUT > Patch Style Hexagons (V) for Vertical
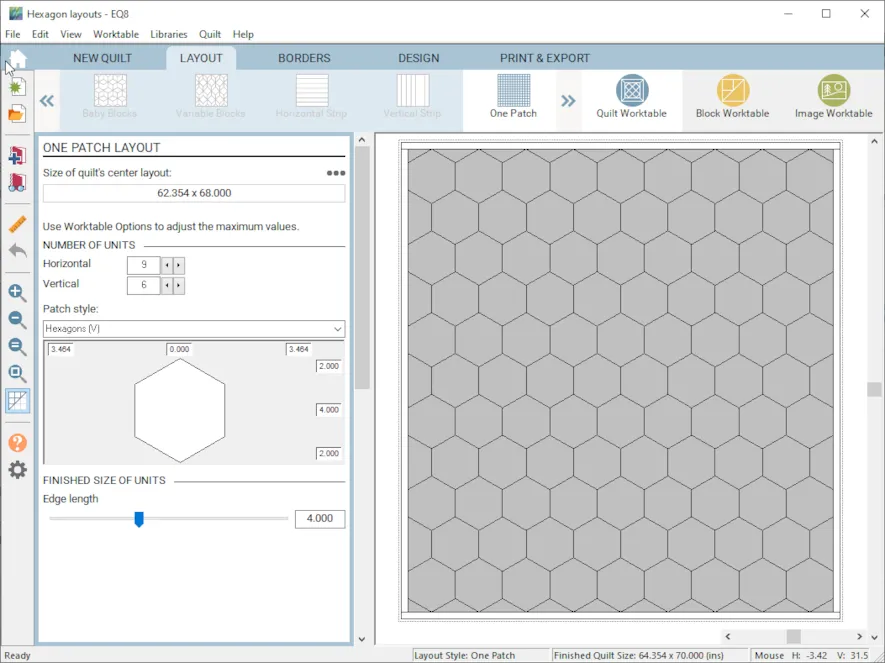
- Change the NUMBER OF UNITS to Horizontal 9 and Vertical 6
- FINISHED SIZE OF UNITS is an Edge length of 4
- BORDERS >Change to mitered and 0.5 inches.
- DESIGN > Add colored or fabric blocks on layer 1, Add pieced blocks on layer 2.
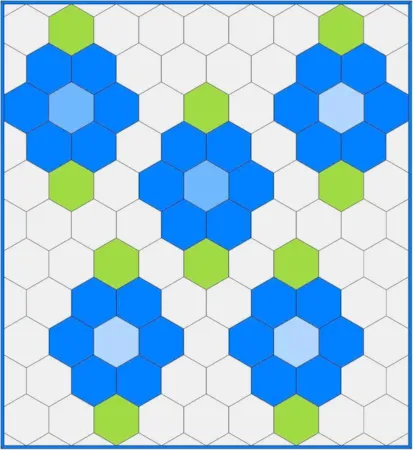
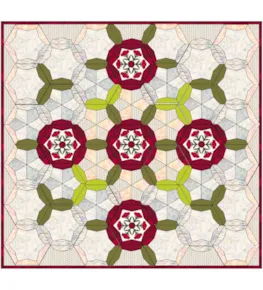
- The vertical orientation of the hexagons allows you to create different design shapes like the quilt above.
Try adding colors or fabrics on Layer 1 and pieced blocks on layer 2 and create your hexie quilt designs. I would love to see your creations so don’t forget to upload them to this post to share.
Questions or Feedback
Please share your ideas, questions and feedback in the comments. I would love to hear from you. Thanks!
Lori J. Miller lives in Oxford, Michigan, where she designs, stitches and sews quilts and quilty things. She loves experimenting with fun colors and designs to make playful and clever products for the modern sewist. Lori continues to share her knowledge with others teaching quilting and EQ8 classes around the country. A self professed EQ8 superfan, you can follow her quilting adventures on her blog at lorimillerdesigns.com or on instagram @lorimillerdesigns


