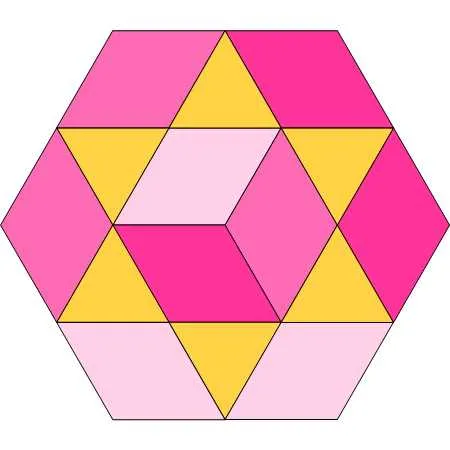
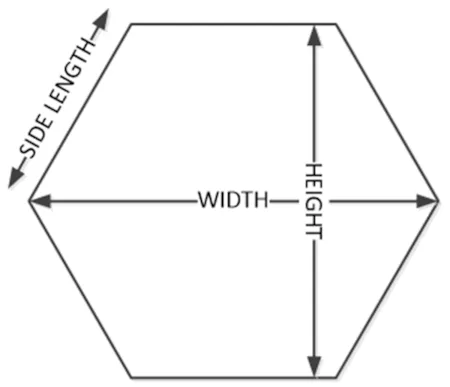
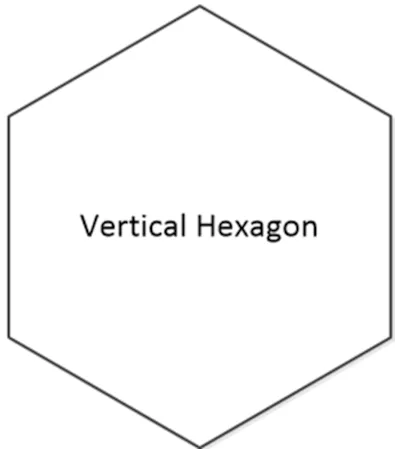
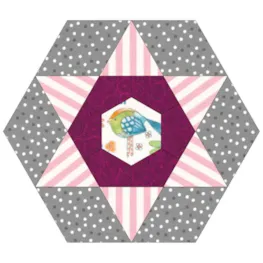
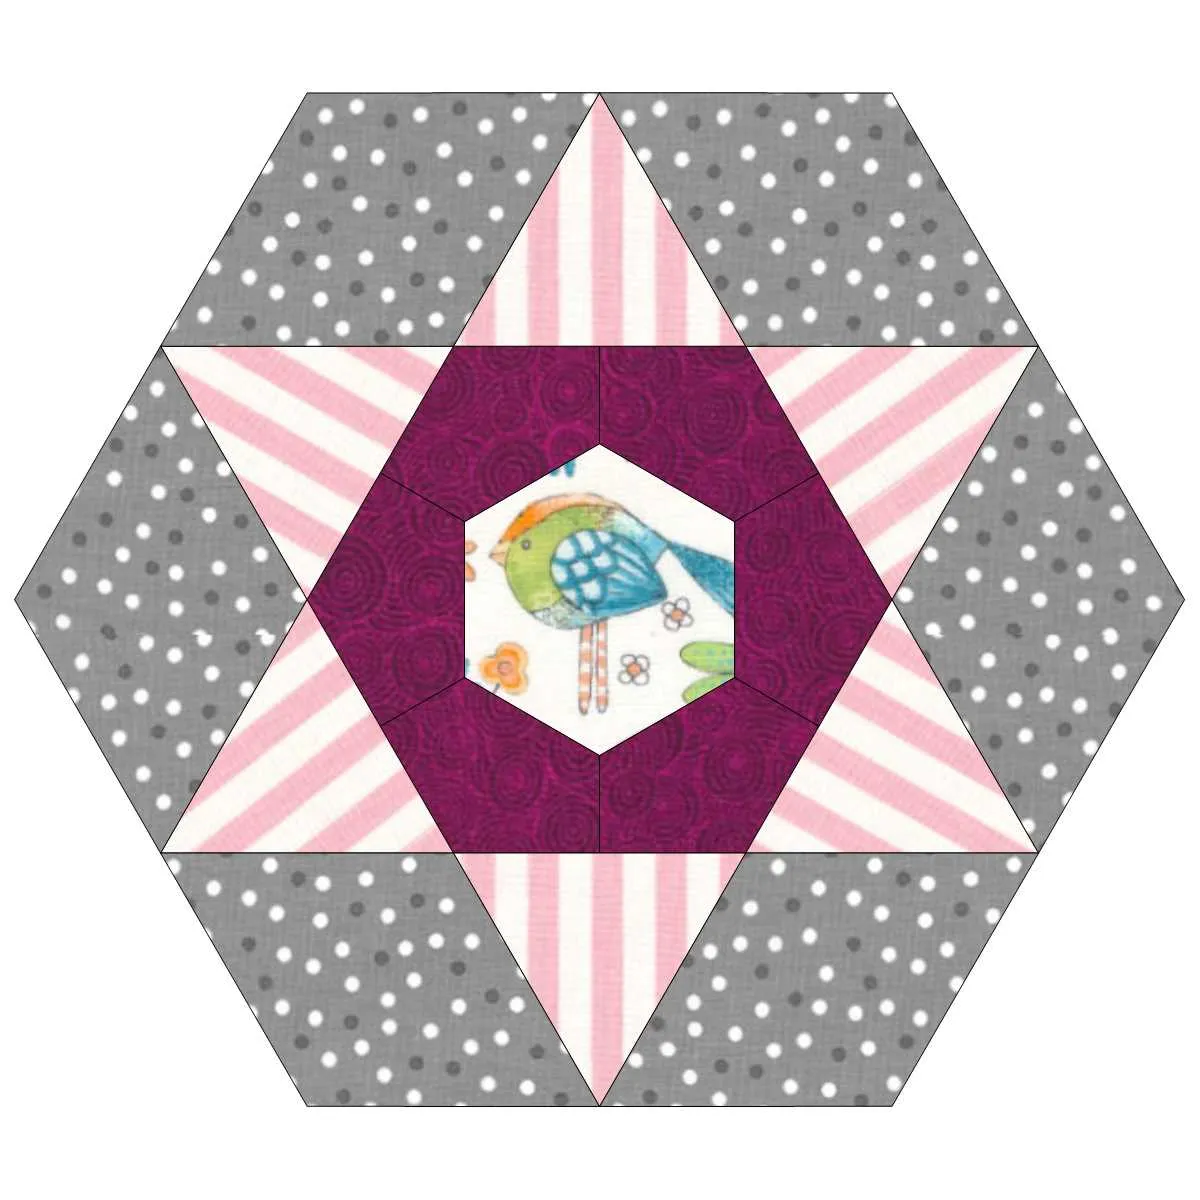
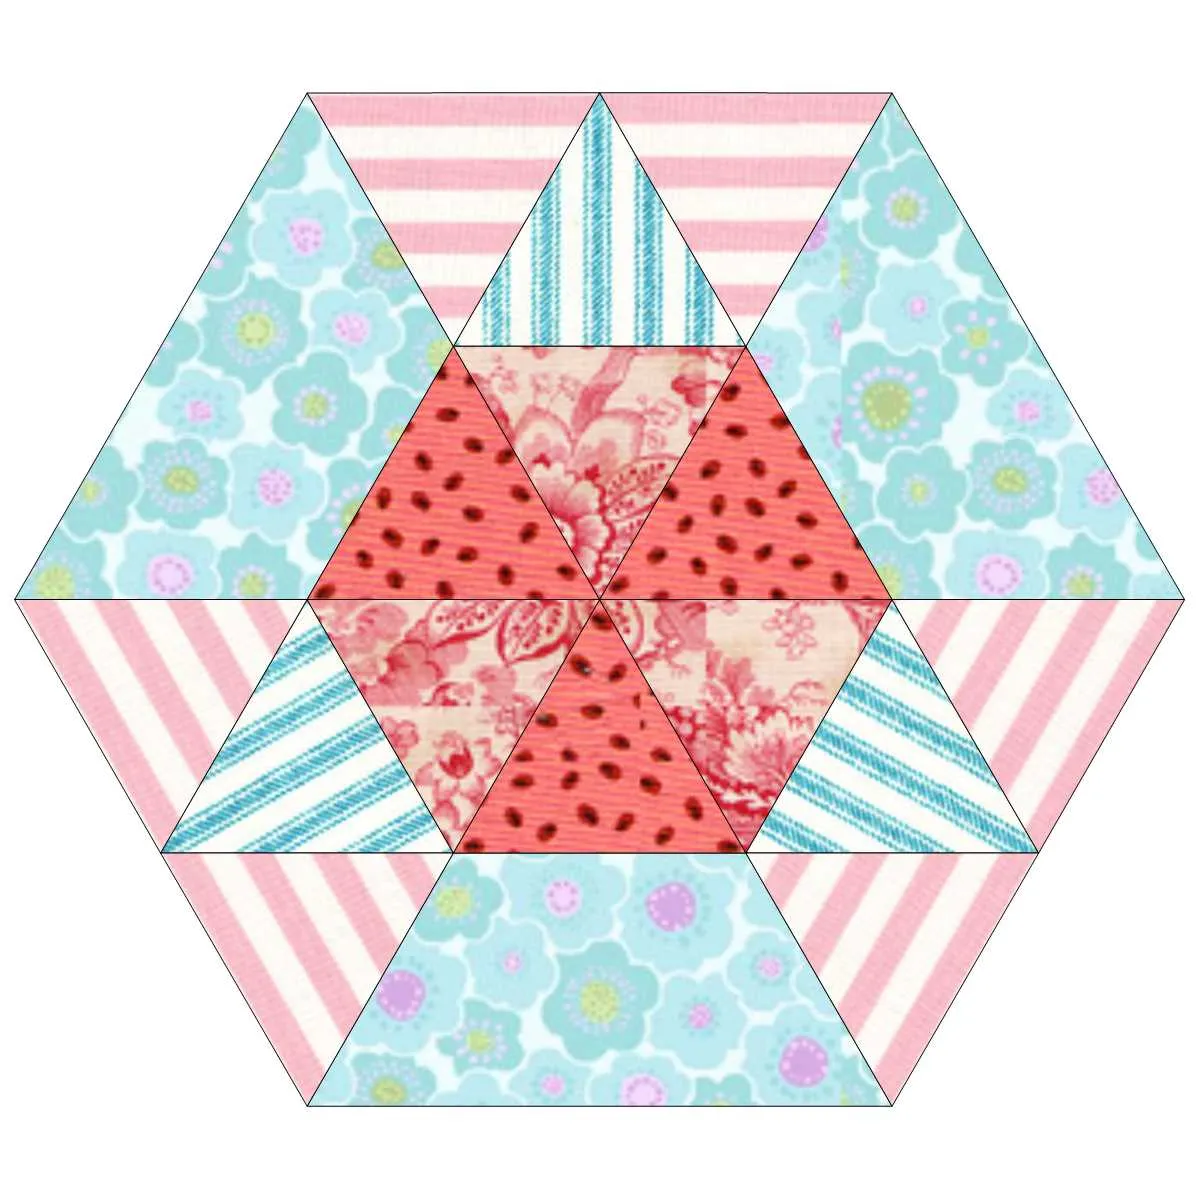
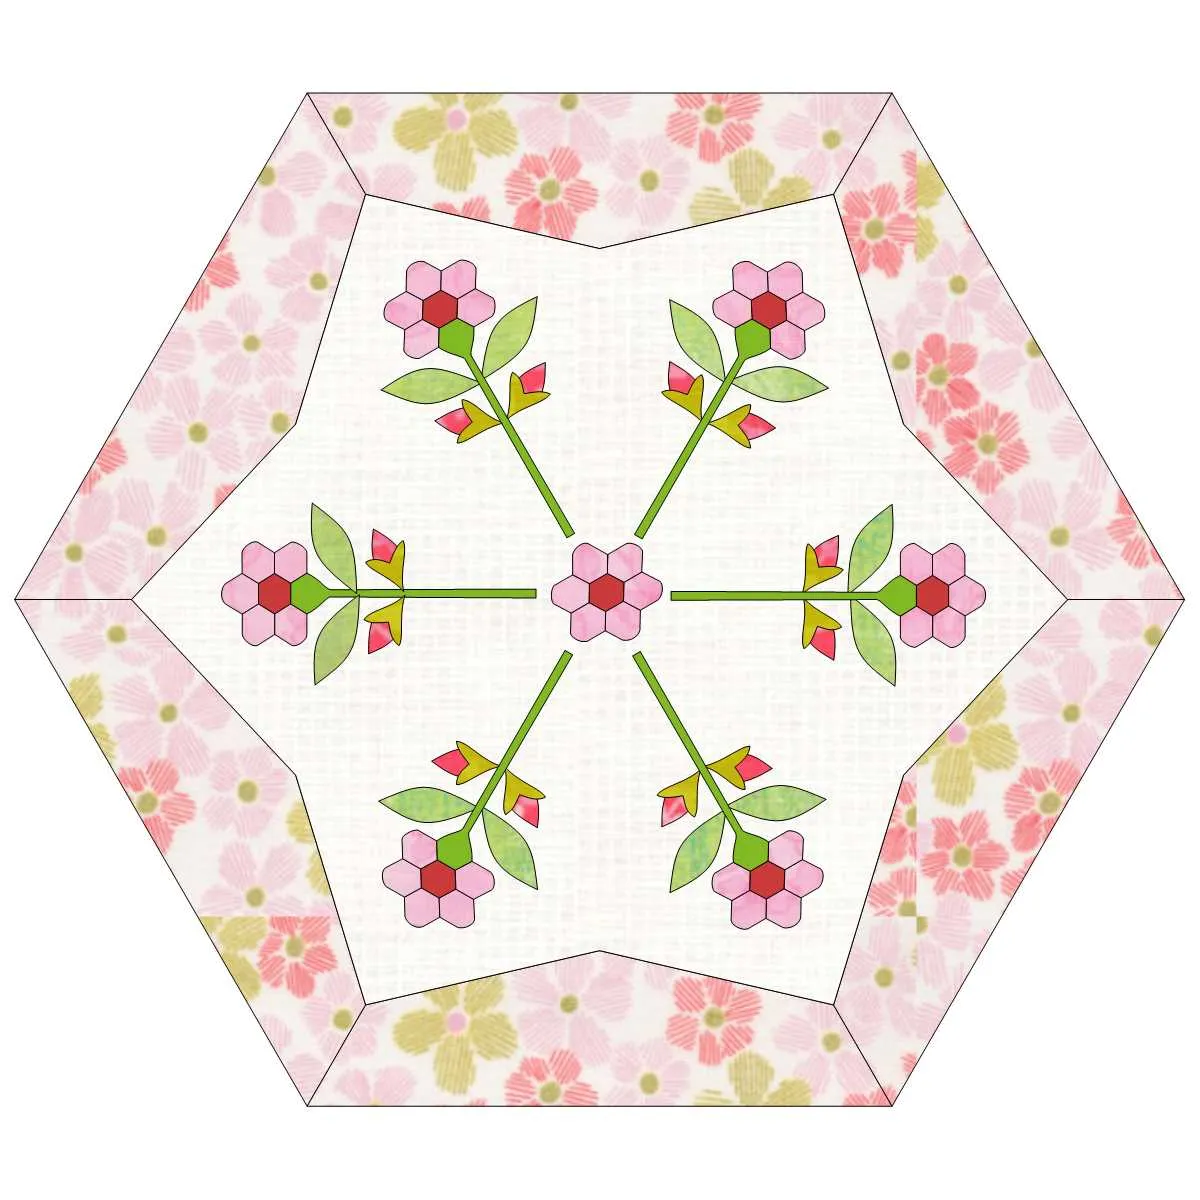
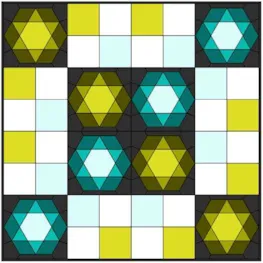
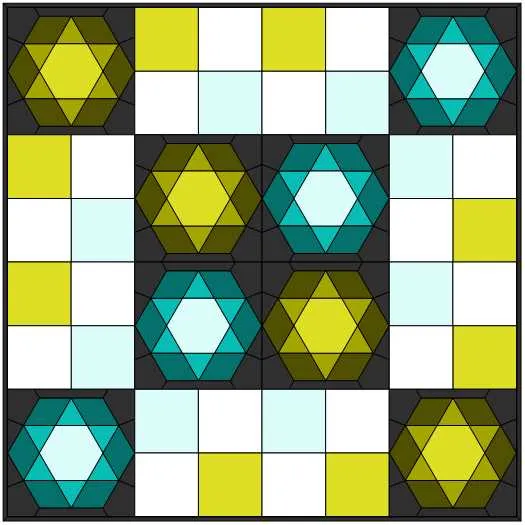
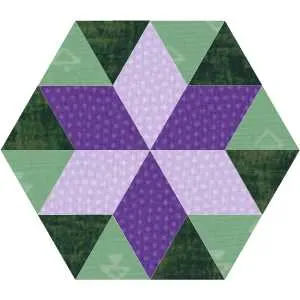
Hello Electric Quilters! I have been intrigued by English paper piecing and all things hexagon. I have done many traditional square blocks but I had not experimented with drawing or designing with hexagons. I had taken a class in design many years ago but had not really used the skills in a while. I dove right in and fell in love with the design process. In this lesson, we will learn a way to draw a hexagon and draw pieced hexagons using some simple shapes.
Pieced Hexagons
Skillset: Advanced Beginner
Skill Builders:
- Create a guide for block drawing
- Draw a hexagon using polydraw
- Open EQ8.
- Let’s name the Project. The project name appears at the top left of the EQ8 Window. Right now the project says Untitled – EQ8.
- On the left side toolbar, click the New Project button.

- On the Create a new project tab, type in the project name field Hexagons.
- Click OK. The box will close. Notice the project name Untitled has been replaced with Hexagons.
- Select Design a Block from Scratch.
- New Block > Pieced > Polydraw
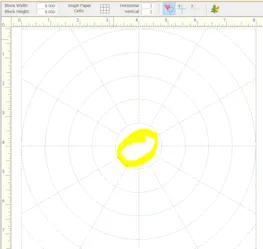
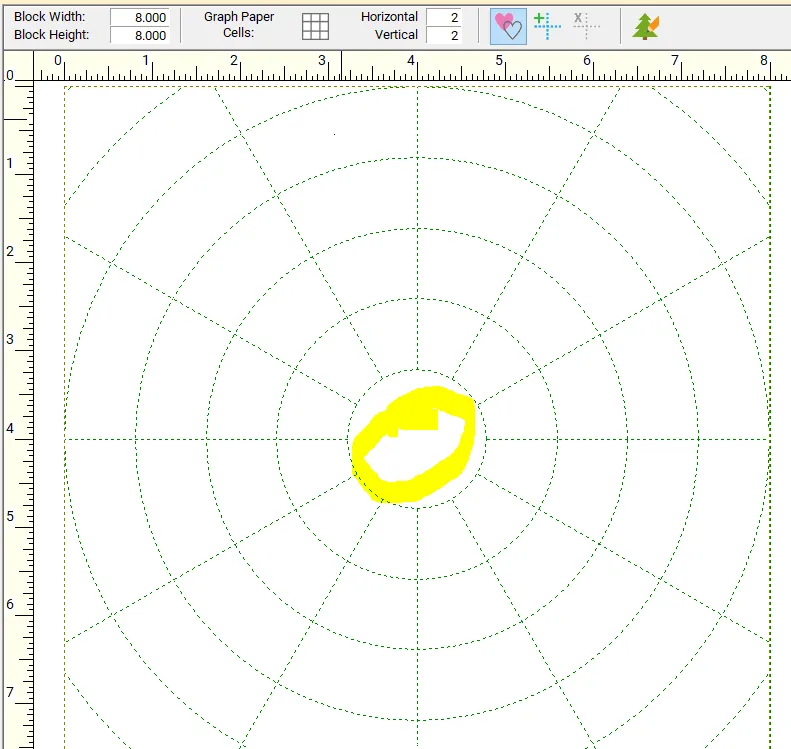
- Under Grid Properties, Select Circle. Rings = 5, Spokes = 12
- In the precision bar, enter a Block width of 8″ and Block height of 8″, Graph paper is Horizontal 2, Vertical 2
- Remember when using Polydraw, position the cursor where you want to begin. Double-click the left mouse button to anchor the initial node of the first segment. Drag the mouse in any direction. A thick blue line will display the path of your mouse. Click the left mouse button to anchor the next node. Continue to click and drag until you reach the initial or beginning node where you started. To complete the polygon, position the mouse over the initial node and double-click. This will complete, or close, the patch and release the mouse from the drawing mode.
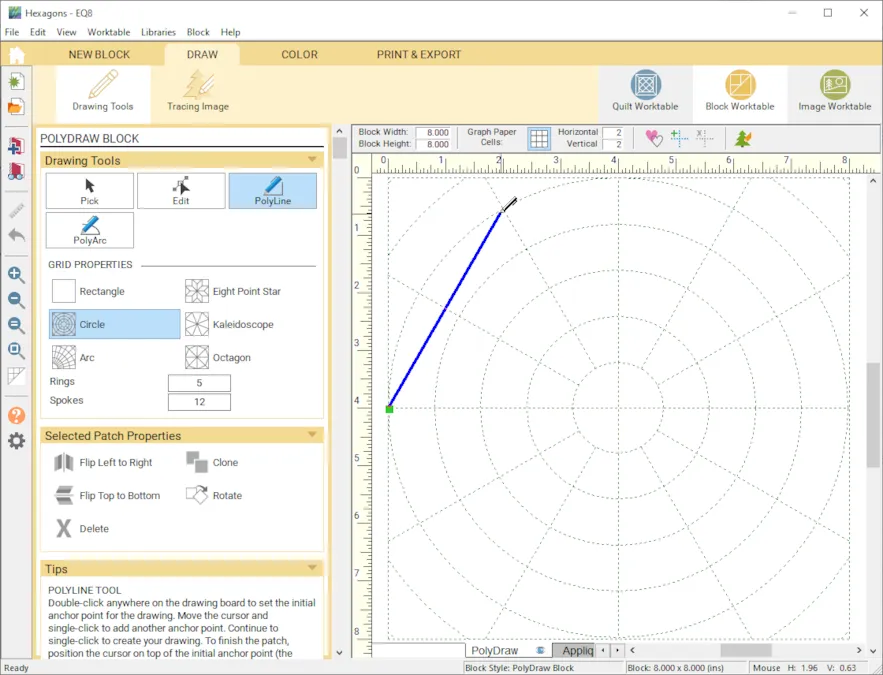
- Start drawing by double-clicking at the coordinates (0,4) on the left side. Follow the circle around two segments and click where the ring and spokes meet.
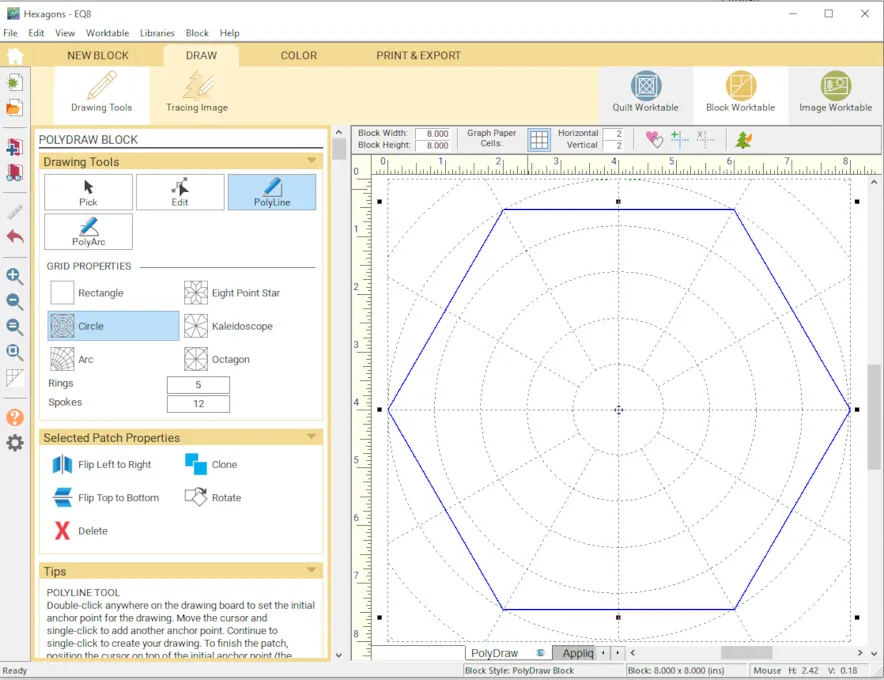
- Keep following the Ring around two segments at a time clicking on the intersection of the ring and spoke until you have created the hexagon shape and are back where you started. Double-click to close the hexagon shape patch, it should auto fill and turn opaque or solid.
- Since we are going to create a pieced hexagon, we are going to convert this hexagon outline to be a guide line. If the hexagon is not selected, use the pick tool to select it.
- In the precision bar, find this convert to guide tool
 , select it to convert the selected segments to guides.
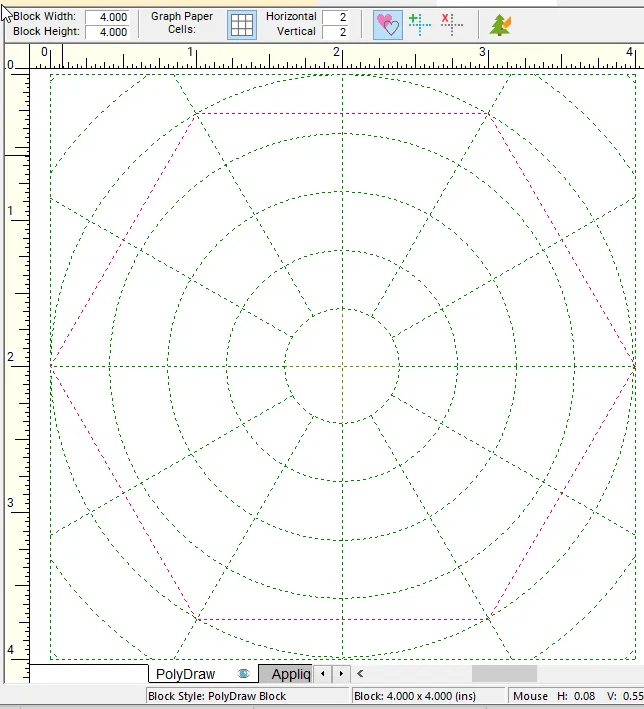
- The hexagon shape will be converted to the guides which show as dotted lines. In this case, the guide we created is in red.
- Let’s create some gridwork inside the hexagon shape that we can use to create more guides for the pieced hexagon. To do this, we need to change the Rings from 5 to 10.
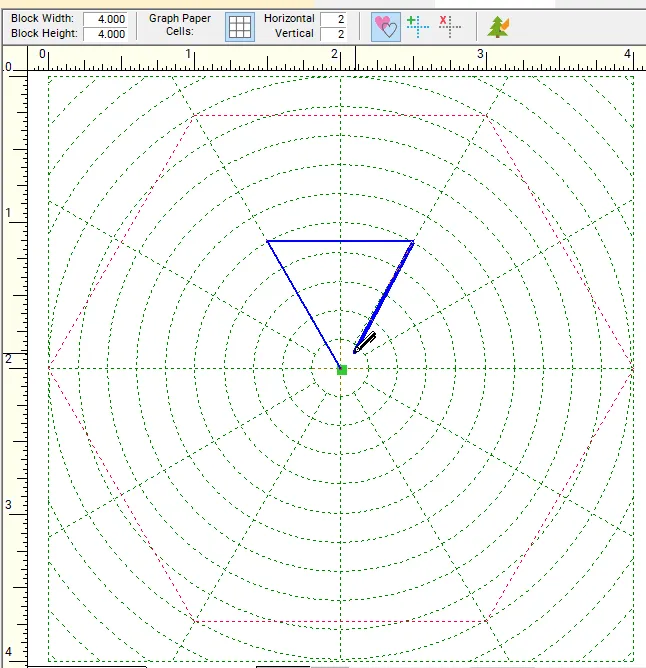
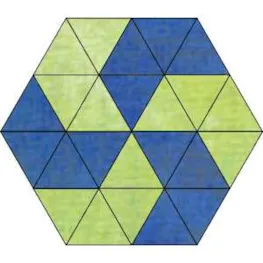
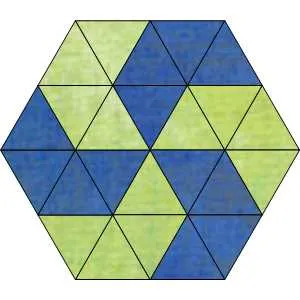
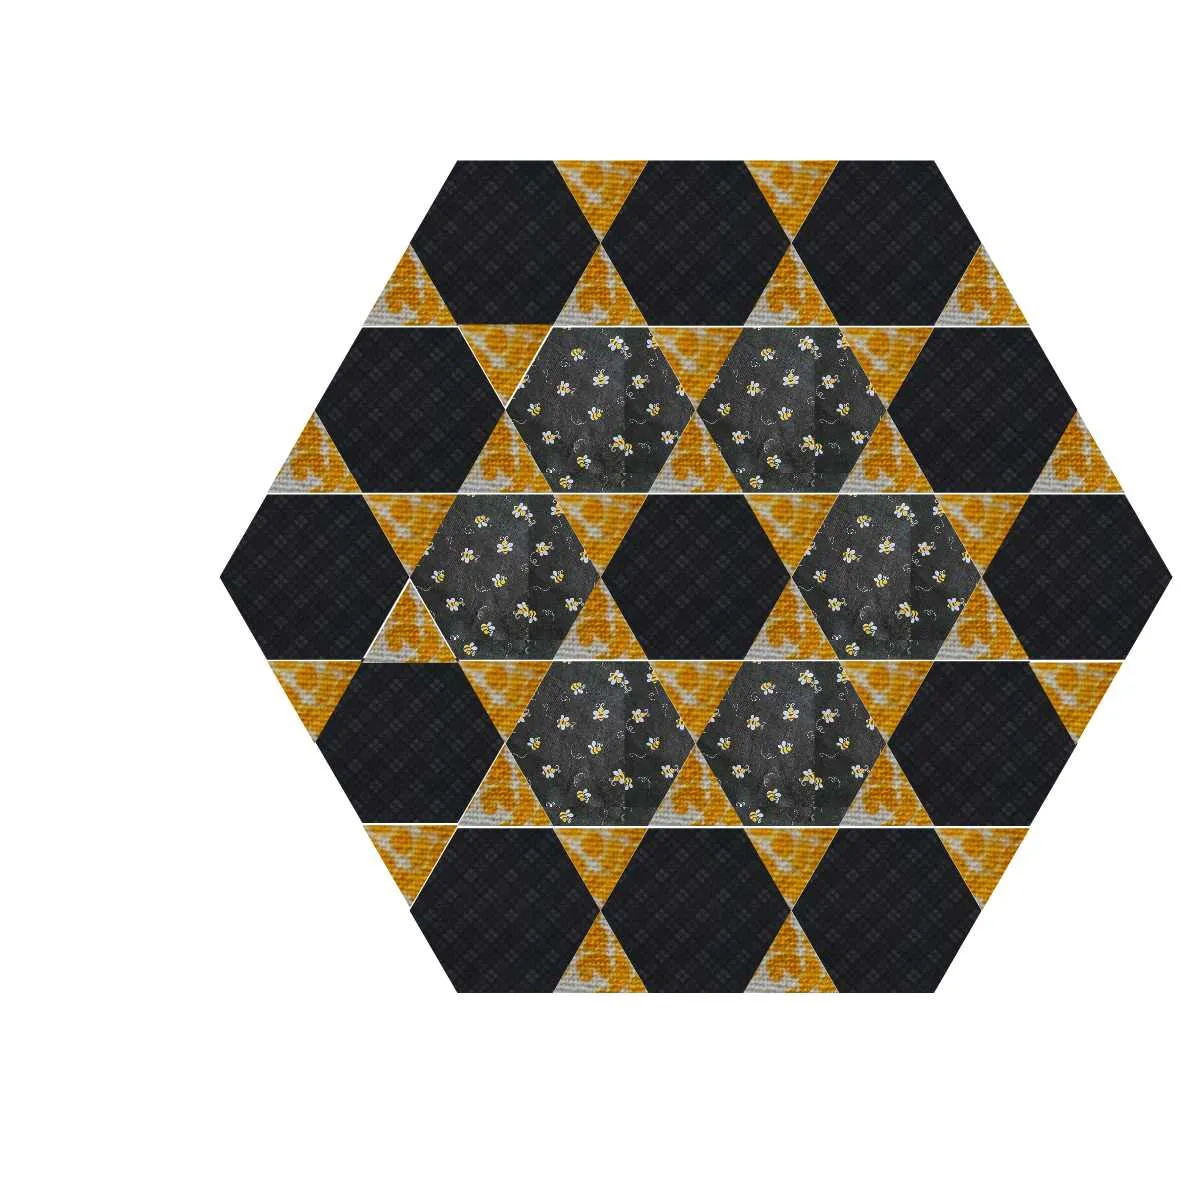
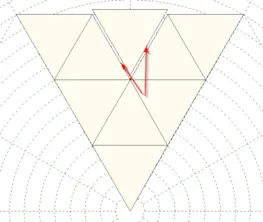
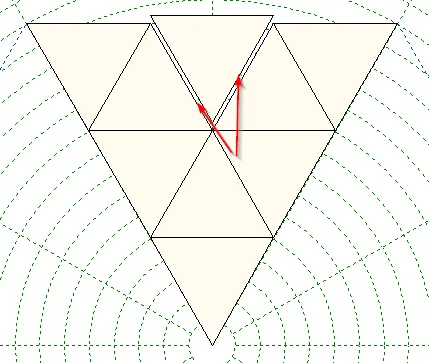
- Starting at the center, draw a 60 degree triangle by going up 5 rings, cross two spokes and back to the beginning. See picture above.
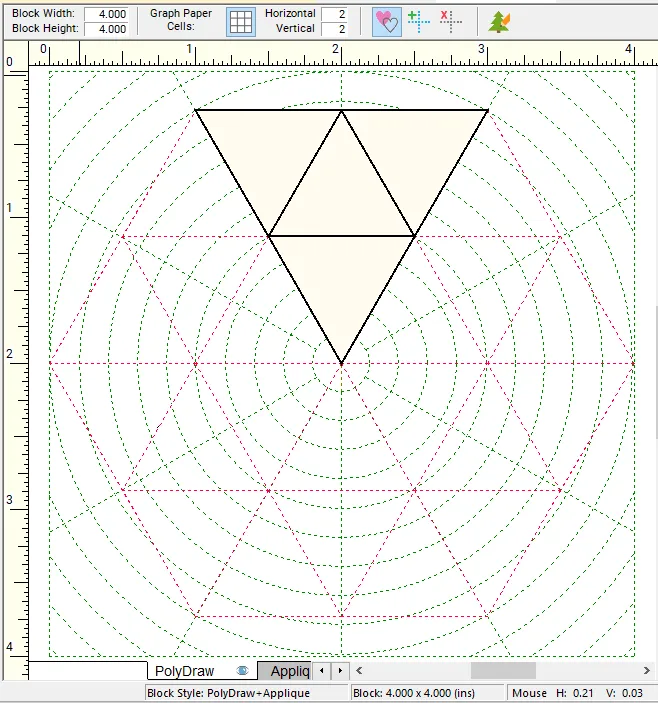
- Select and clone the large pieced triangle 3 times and arrange according to the picture above. You may have to use the Rotate tool. Add to sketchbook.
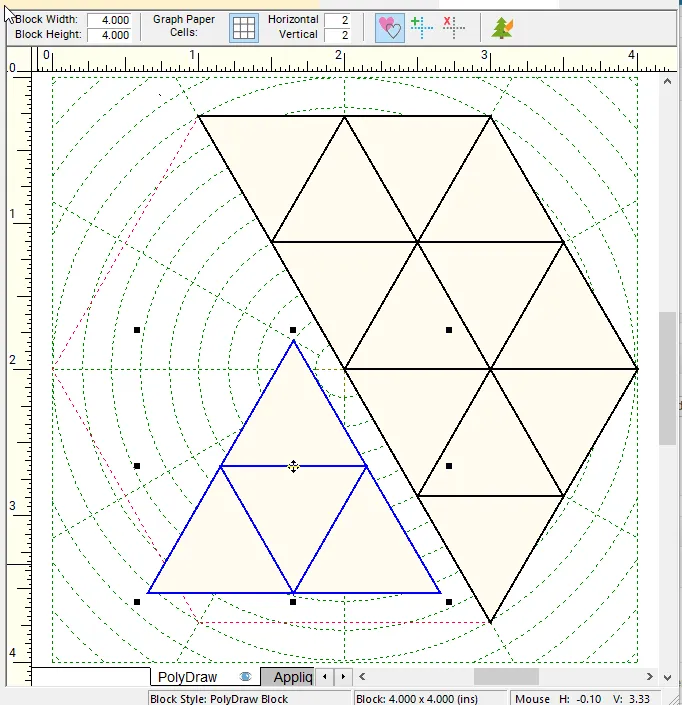
- Use CTRL/CMD + A to select all of the triangles. Clone, then Rotate twice. Hover over the triangles until you see the crosshair and arrange them inside the hexagon guide. Continue until the hexagon is completed with triangles. Add to your Sketchbook. If you make a mistake, start again with the block you just saved with the large triangle in it.
- Once the whole hexagon is filled, CTRL/CMD + A to select all, then use the convert to guide tool in the precision bar
 , to convert the selected segments to guides.
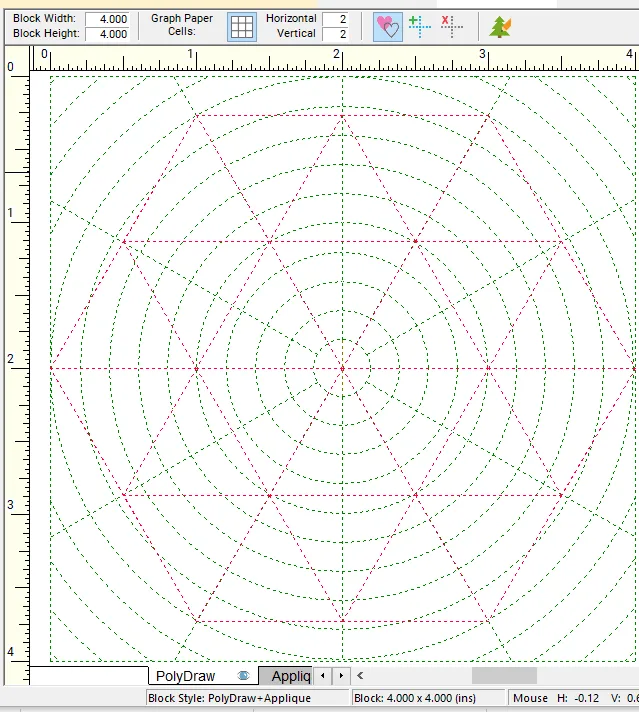
- All of the guidelines have formed a grid structure to help us draw the pieced blocks.
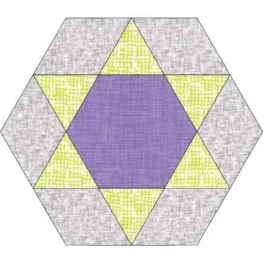
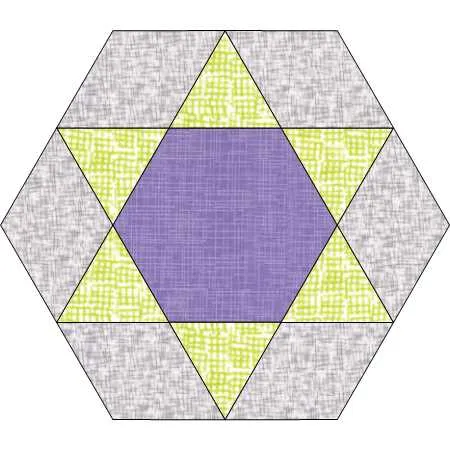
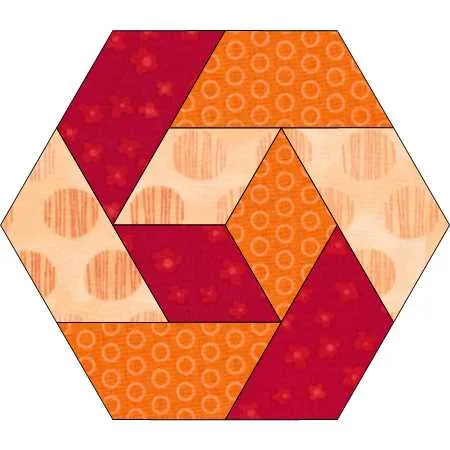
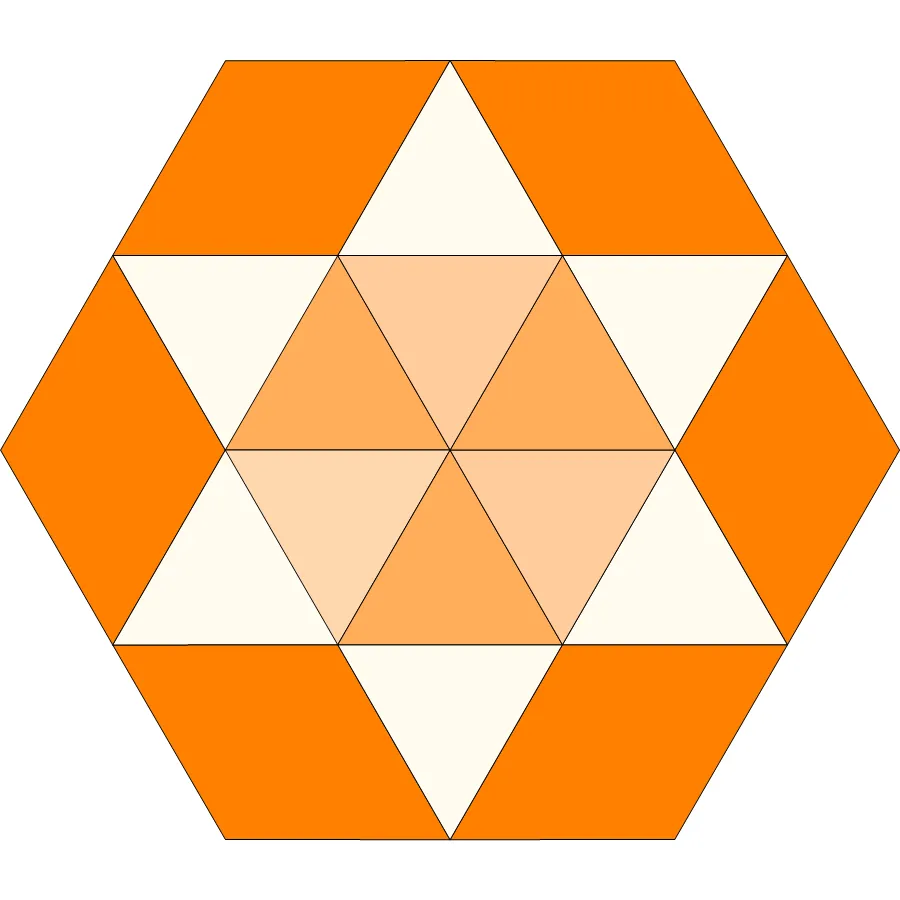
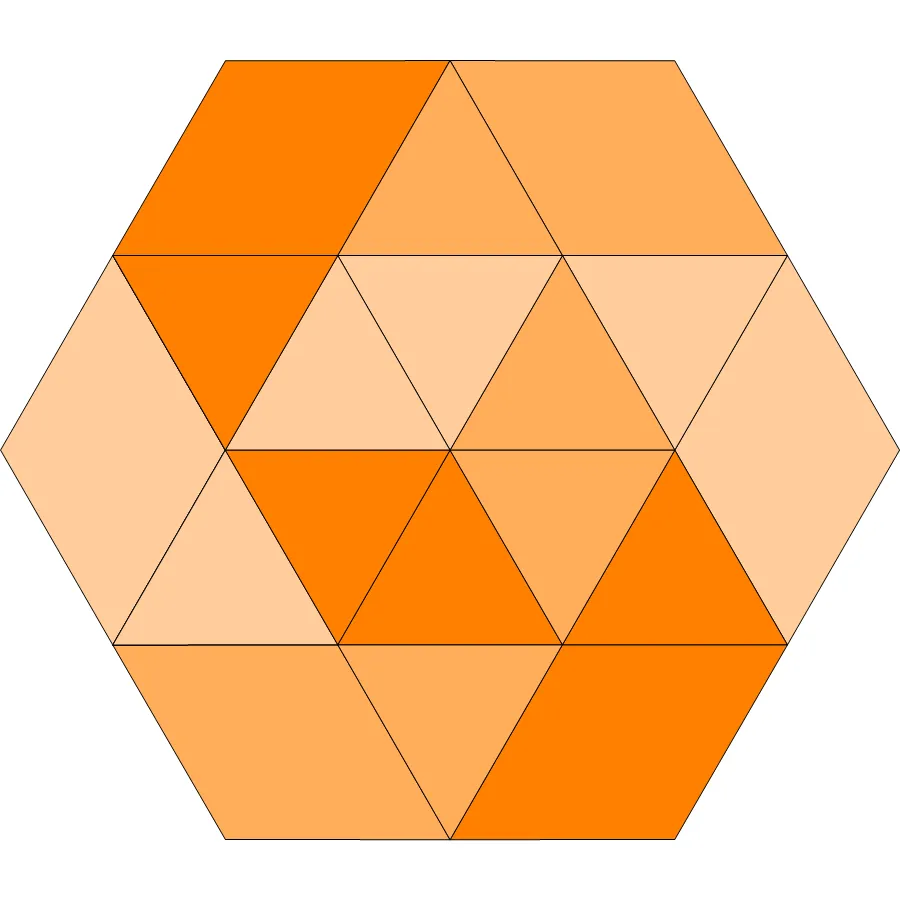
- Now we can use the guides and simple shapes like the 60 degree triangle, 60 degree diamond, half hexagon and hexagon shape to create a pieced hexagon.
- IMPORTANT! Increase the number of Rings to 30so that the shapes will snap properly.

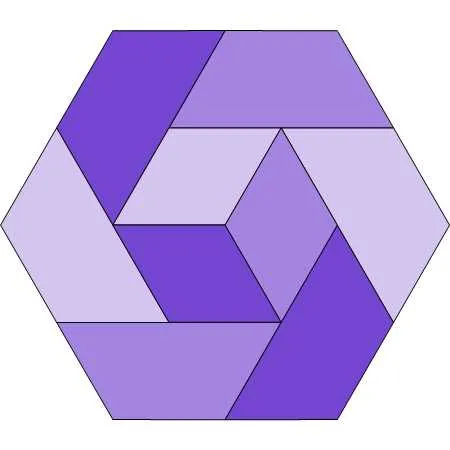
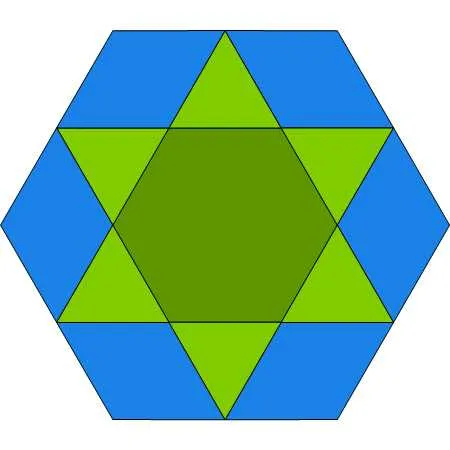
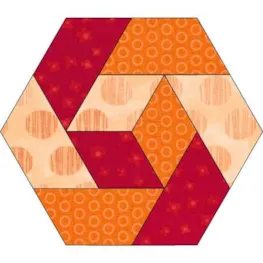
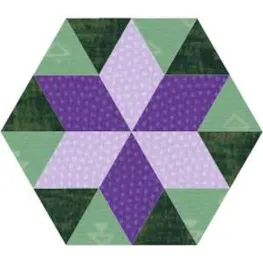
- Using the guidelines to help you, try using polydraw to create these pieced hexagons.

- Use any of these shapes, the hexagon, half hexagon, diamond and triangle in any combination to create a new pieced hexagon. Draw the shapes using the guides and the polyline tool. Color the hexagon blocks and add them to your sketchbook. The guides will remain for all new blocks until you remove them with this tool
 .
.
After you have tried these hexagons, why not try creating your own design with the shapes and guidelines. I would love to see your creations so be sure to upload them and share.
Questions or Feedback
Please share your ideas, questions and feedback in the comments. I would love to hear from you. Thanks!
Lori J. Miller lives in Oxford, Michigan, where she designs, stitches and sews quilts and quilty things. She loves experimenting with fun colors and designs to make playful and clever products for the modern sewist. Lori continues to share her knowledge with others teaching quilting and EQ8 classes around the country. A self professed EQ8 superfan, you can follow her quilting adventures on her blog at lorimillerdesigns.com or on instagram @lorimillerdesigns


