If you would like to draw a combination, or overlaid, block with a pieced bottom layer and an applique layer on top, you have two choices. The difference is the drawing tools that are used for the pieced layer.
EasyDraw + Applique lets you use the EasyDraw tools on the pieced layer, and the Applique tools on the applique layer.
PolyDraw + Applique lets you use the PolyDraw tools on the pieced layer, and the Applique tools on the applique layer.
First we’ll try EasyDraw + Applique.
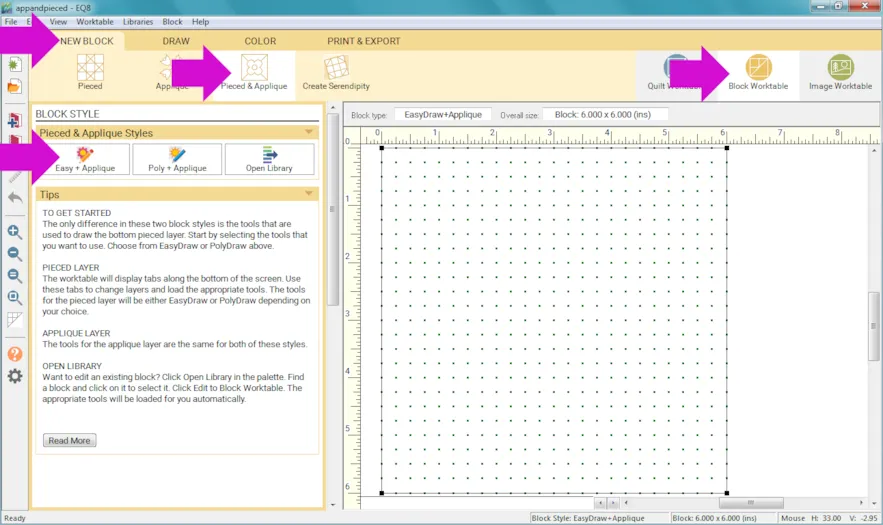
- Click Block Worktable
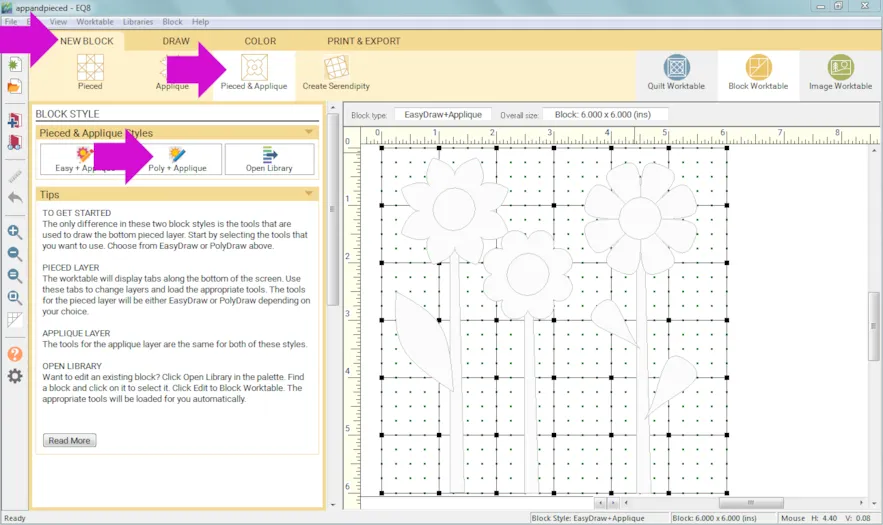
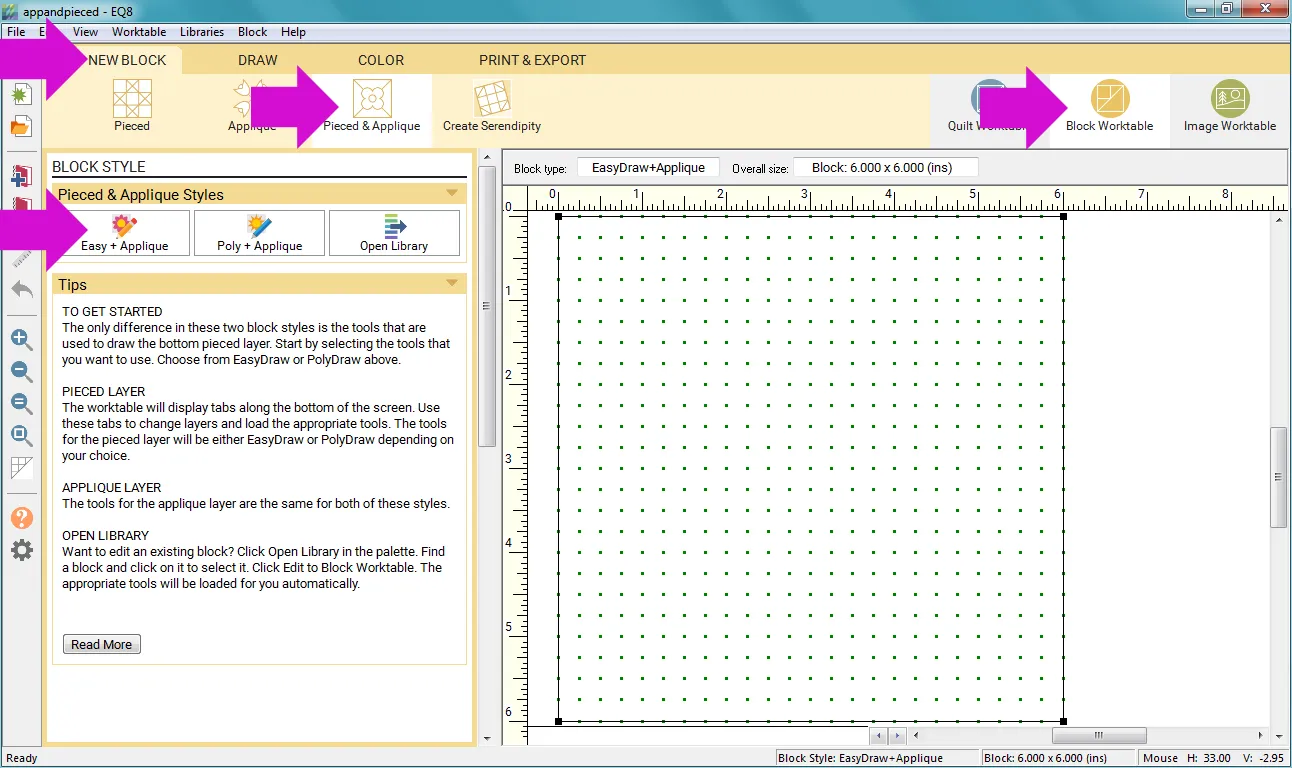
- Click NEW BLOCK
- Click Pieced & Applique
- Click Easy + Applique
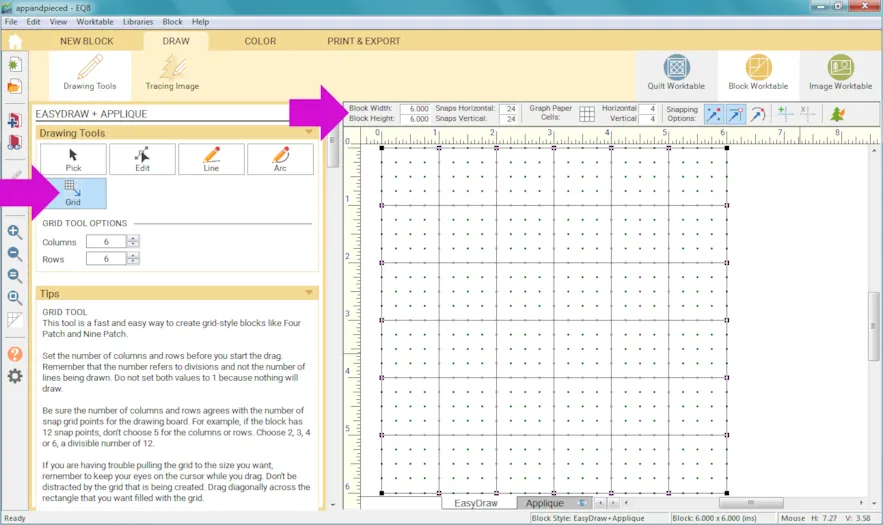
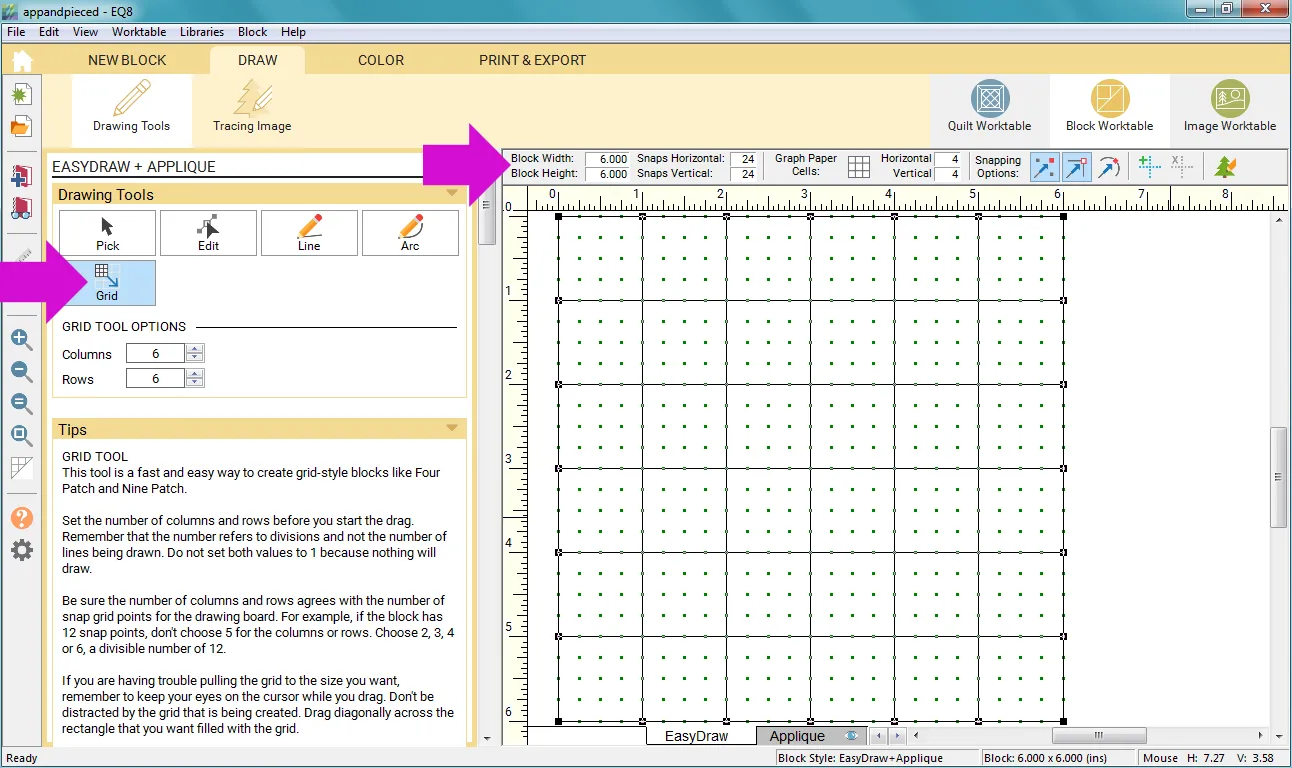
- Make your block 6 x 6
- Use the Grid tool to make a 6 x 6 grid
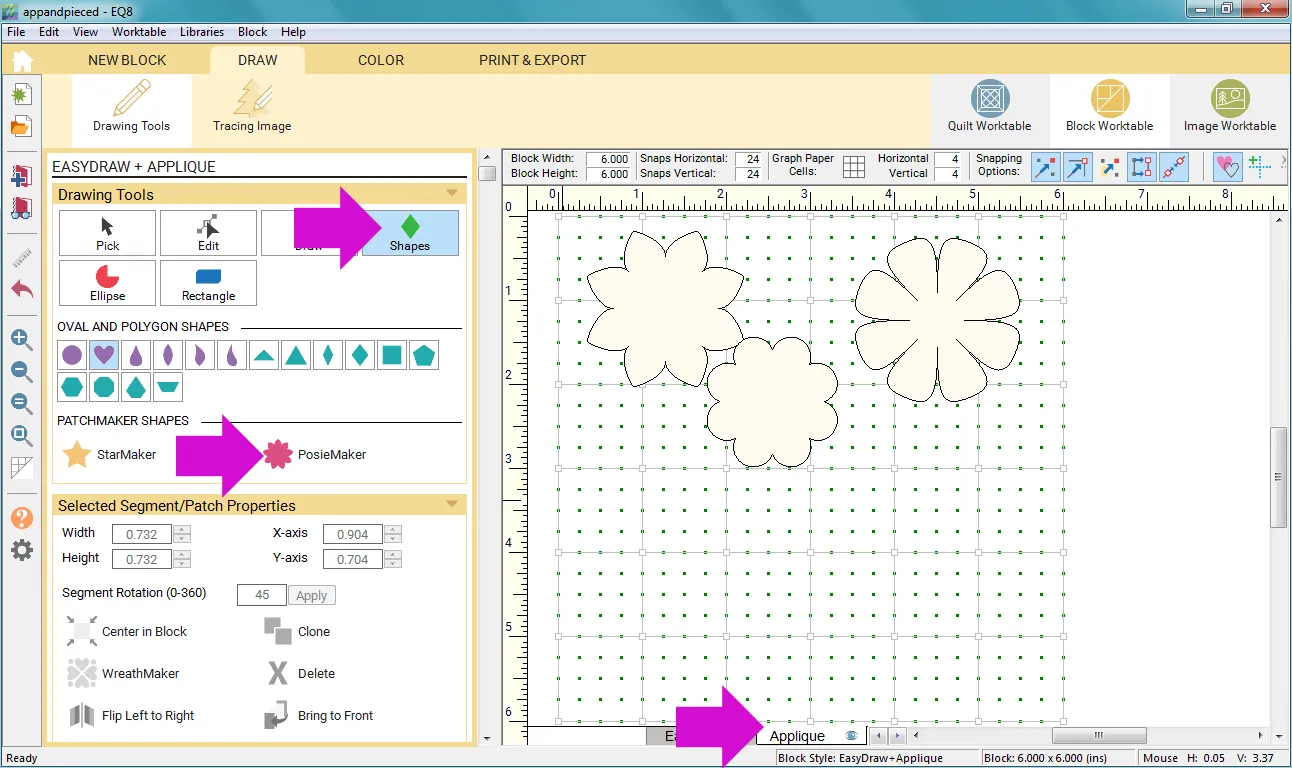
- Click the Applique tab at the bottom of the screen.
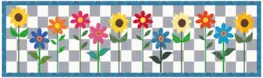
- Click the Shape tool and use the PoiseMaker to create some flower shapes.
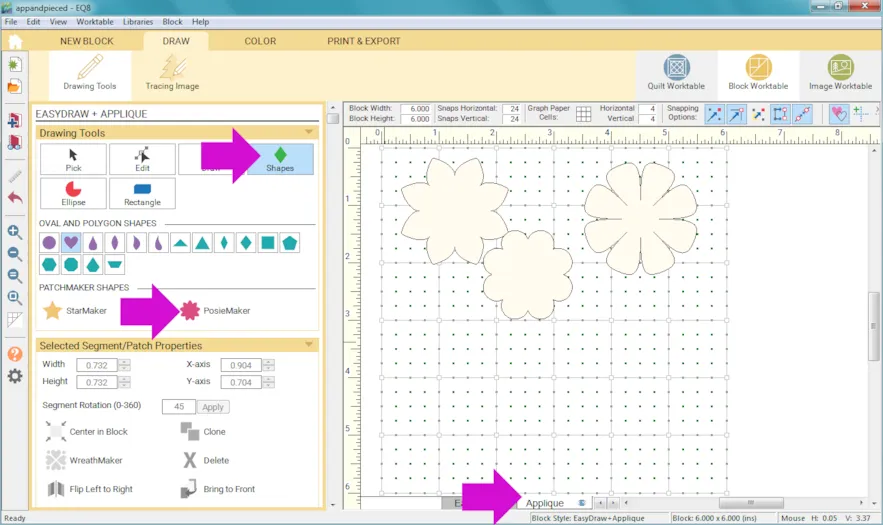
- Use the other Shape tools to draw flower centers, stems and leaves, or whatever else you would like.
 You can see that on the Applique tab the EasyDraw lines are grayed out and you can not select or edit them.
If you click the EasyDraw tab the Applique shapes will be grayed out and un-editable.
The drawing on the two tabs stays separate from each other.
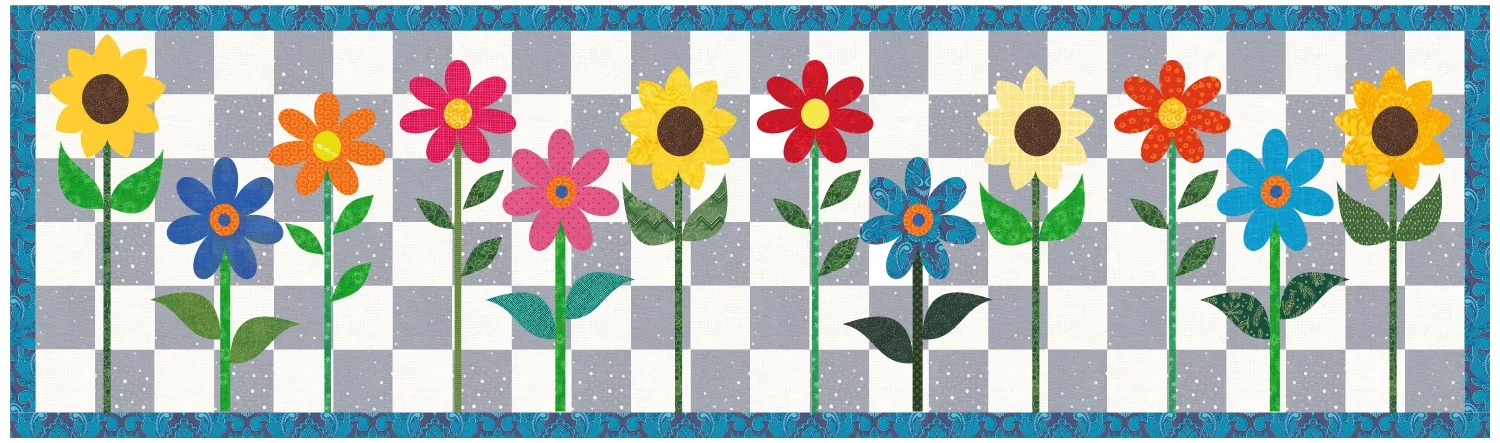
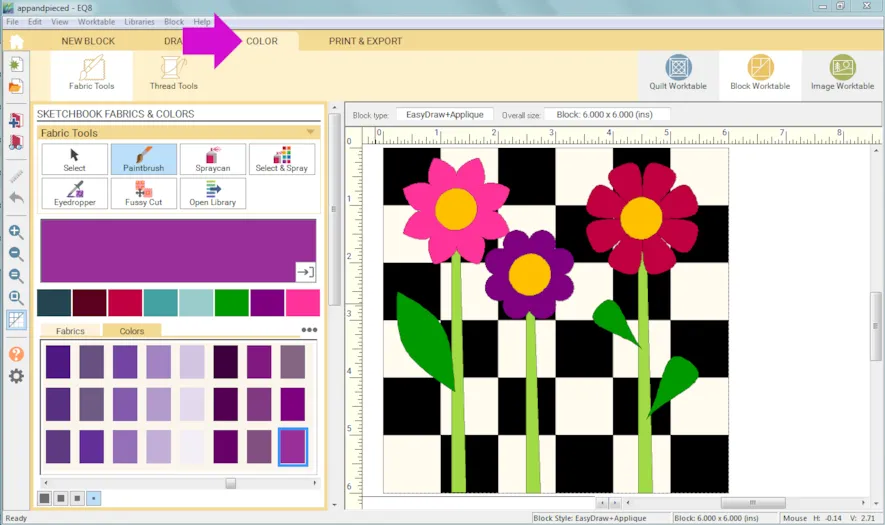
- Click COLOR and color the block as you would like.
- When you are done click Add to Project Sketchbook
 . If you haven’t named your project yet, EQ8 will prompt you to do so. (To be saved, your item needs to be in the Sketchbook AND your project needs to be named. Here is more information.)Of course, you can make quilts with the blocks you create this way. Use them alone or with other blocks from the Block Library
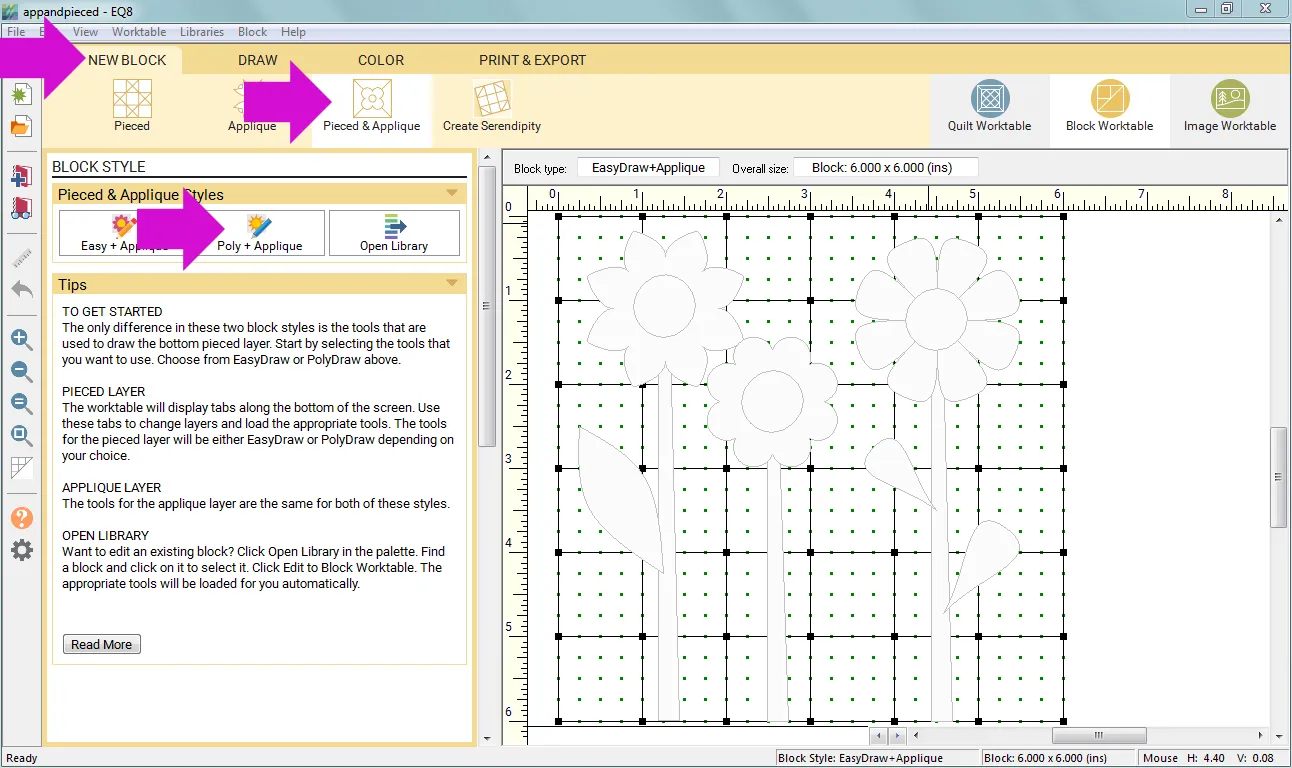
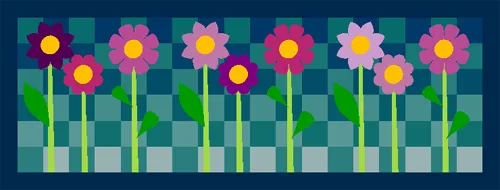 Next let’s try PolyDraw + Applique
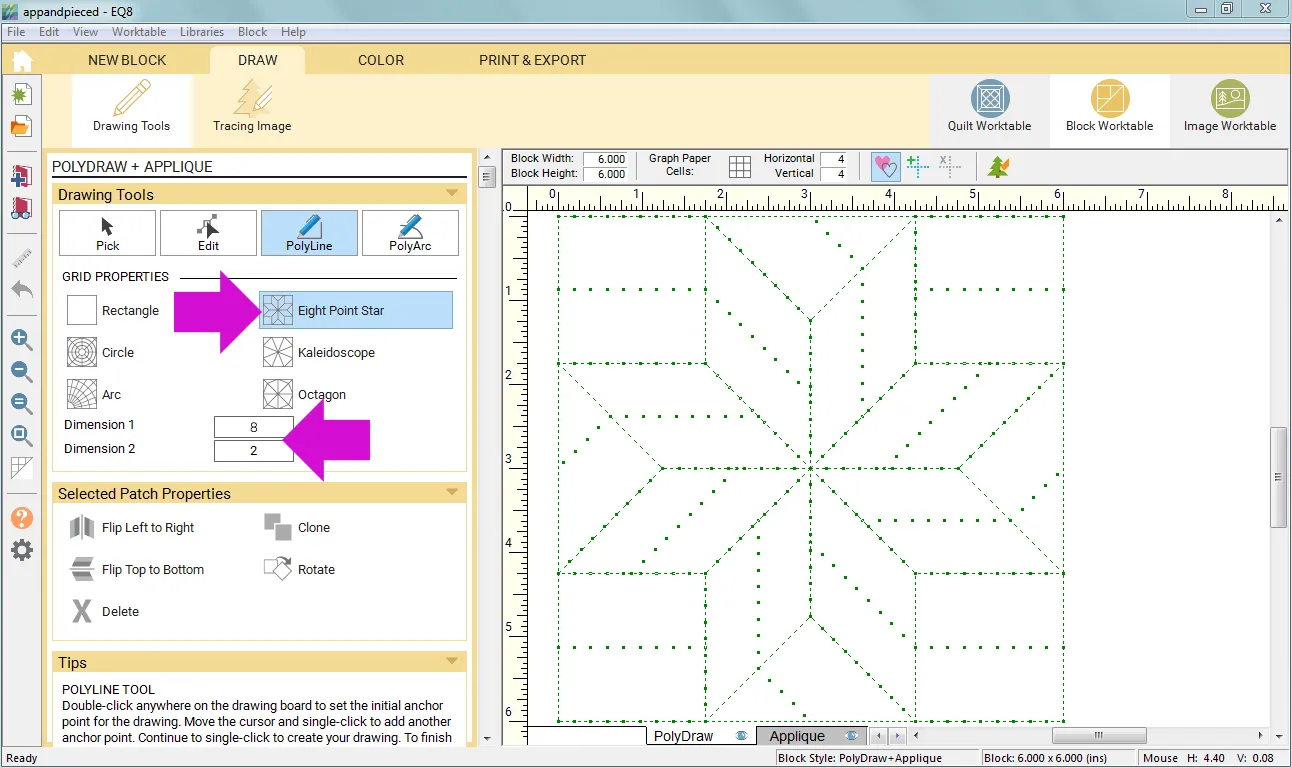
 - Click NEW BLOCK > Pieced & Applique > Poly + Applique
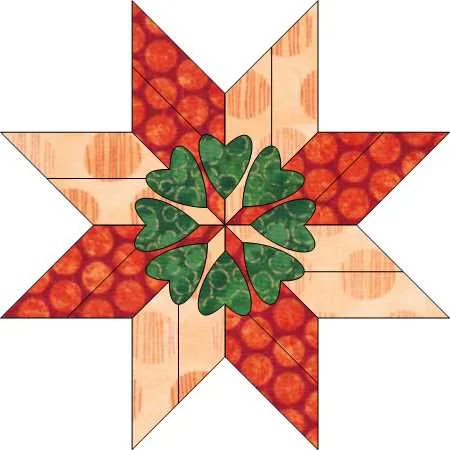
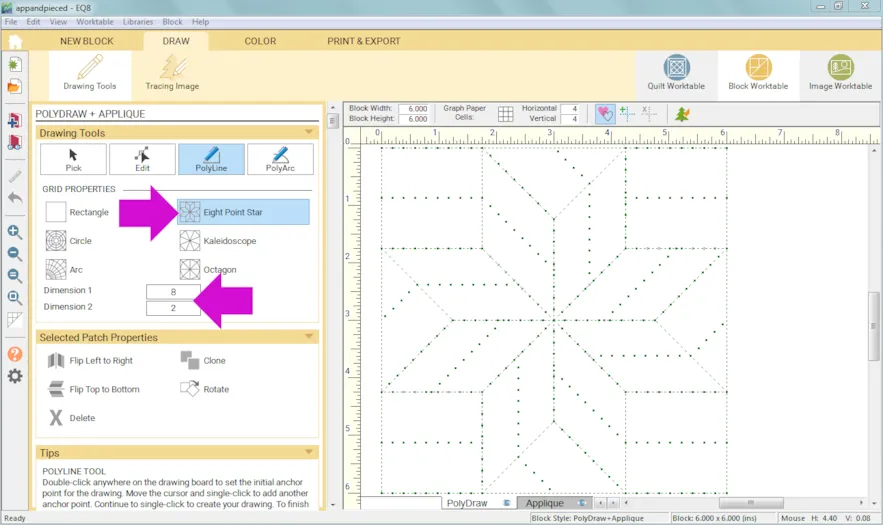
- Click Eight Point Star
For Dimension 1 enter 8
For Dimension 2 enter 2
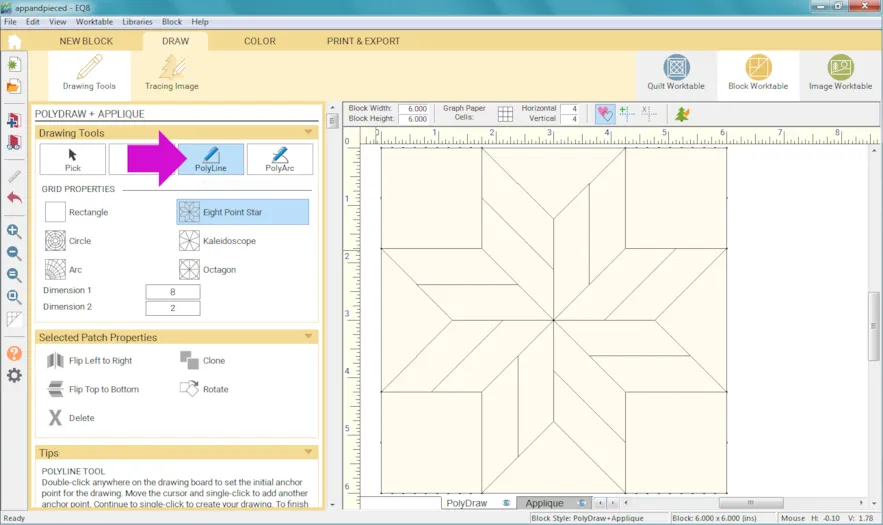
- Use the PolyLine tool to draw the pieced sections of the block.
- You can also use Clone and Rotate for faster results.
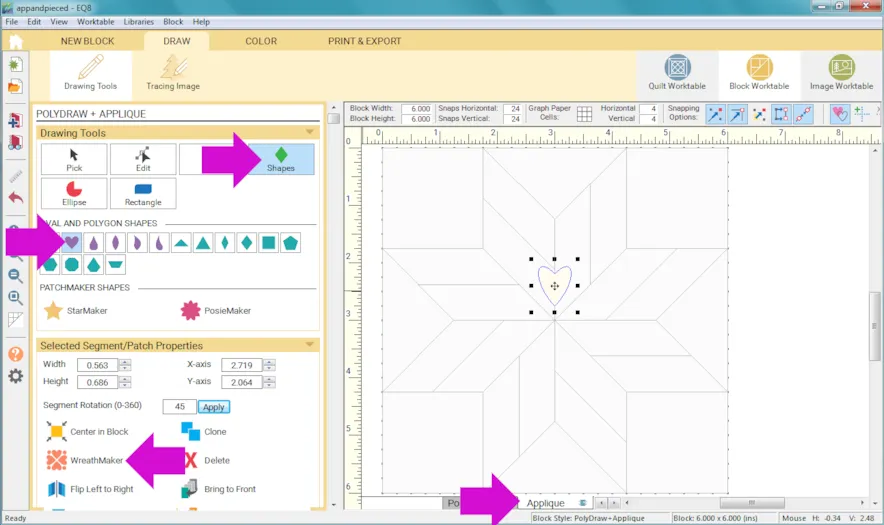
- Click the Applique tab at the bottom of the screen.
- Click the Shapes tool and choose the Heart and draw one heart.
- Click WreathMaker
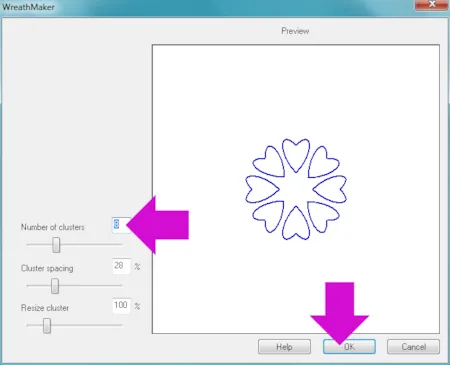
- Under Number of clusters enter 8
- Experiment with Cluster Spacing and Resize Cluster
- Click OK
- Click the COLOR tab and color as desired.

- Click Add to Project Sketchbook

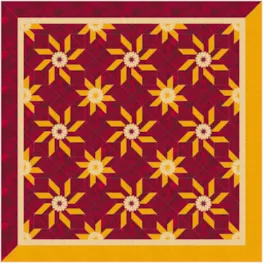
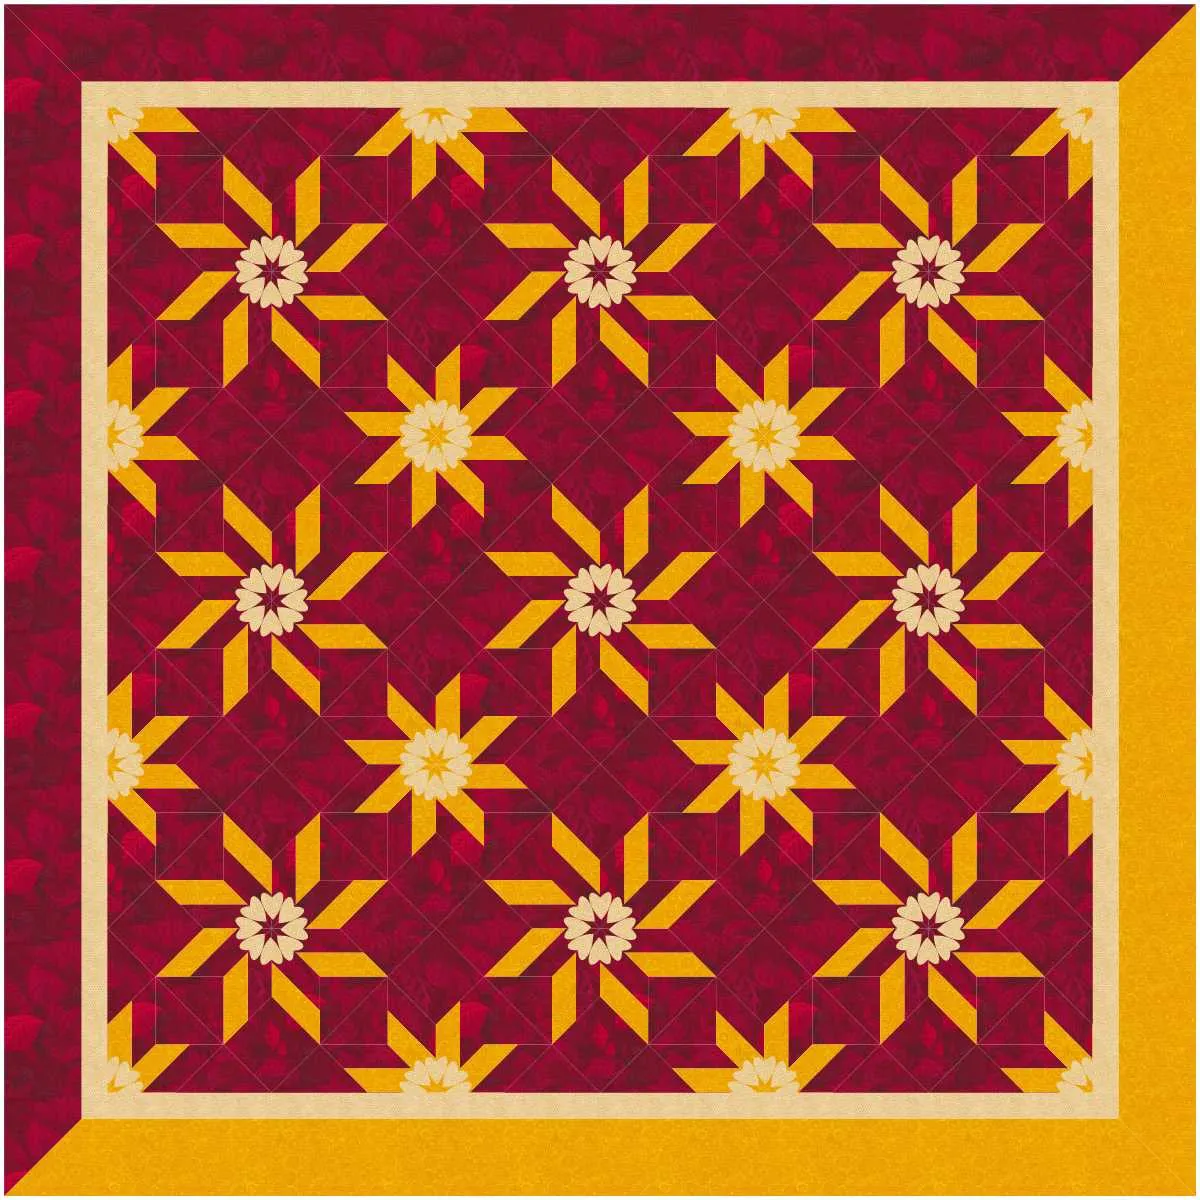
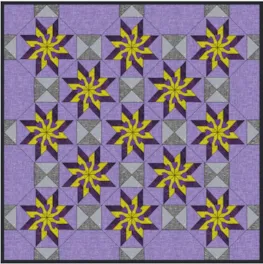
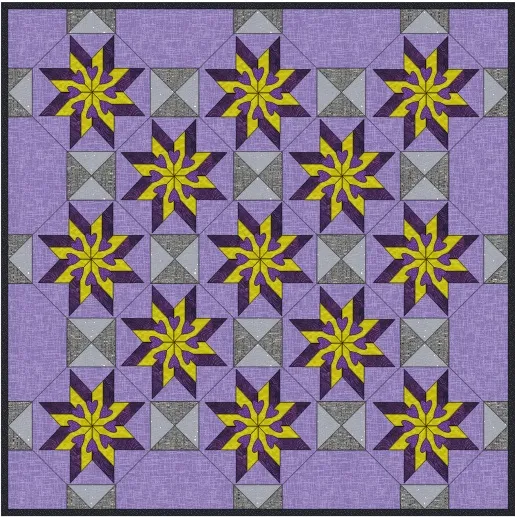
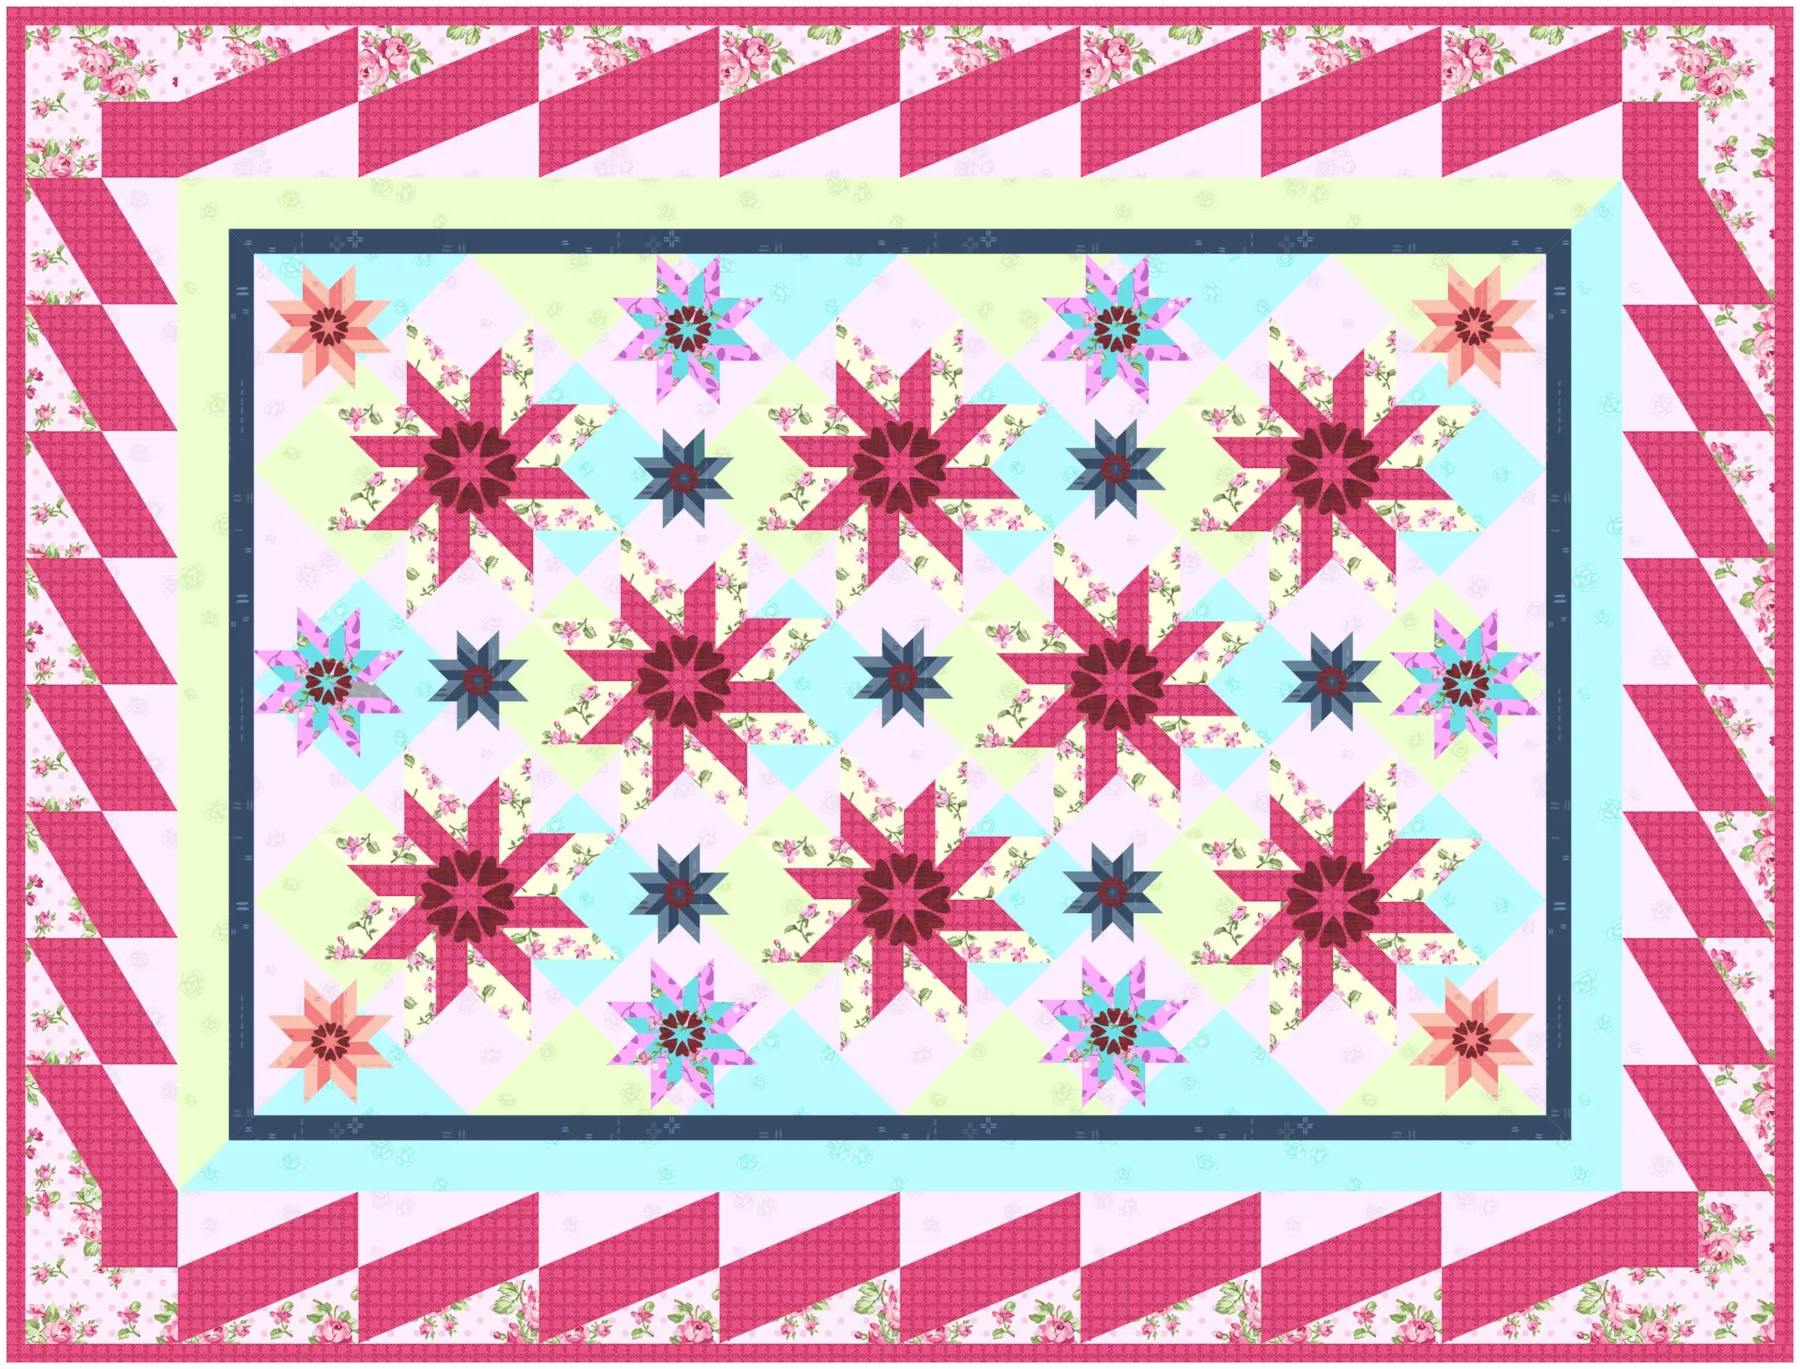
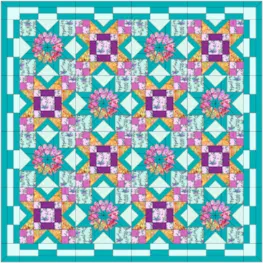
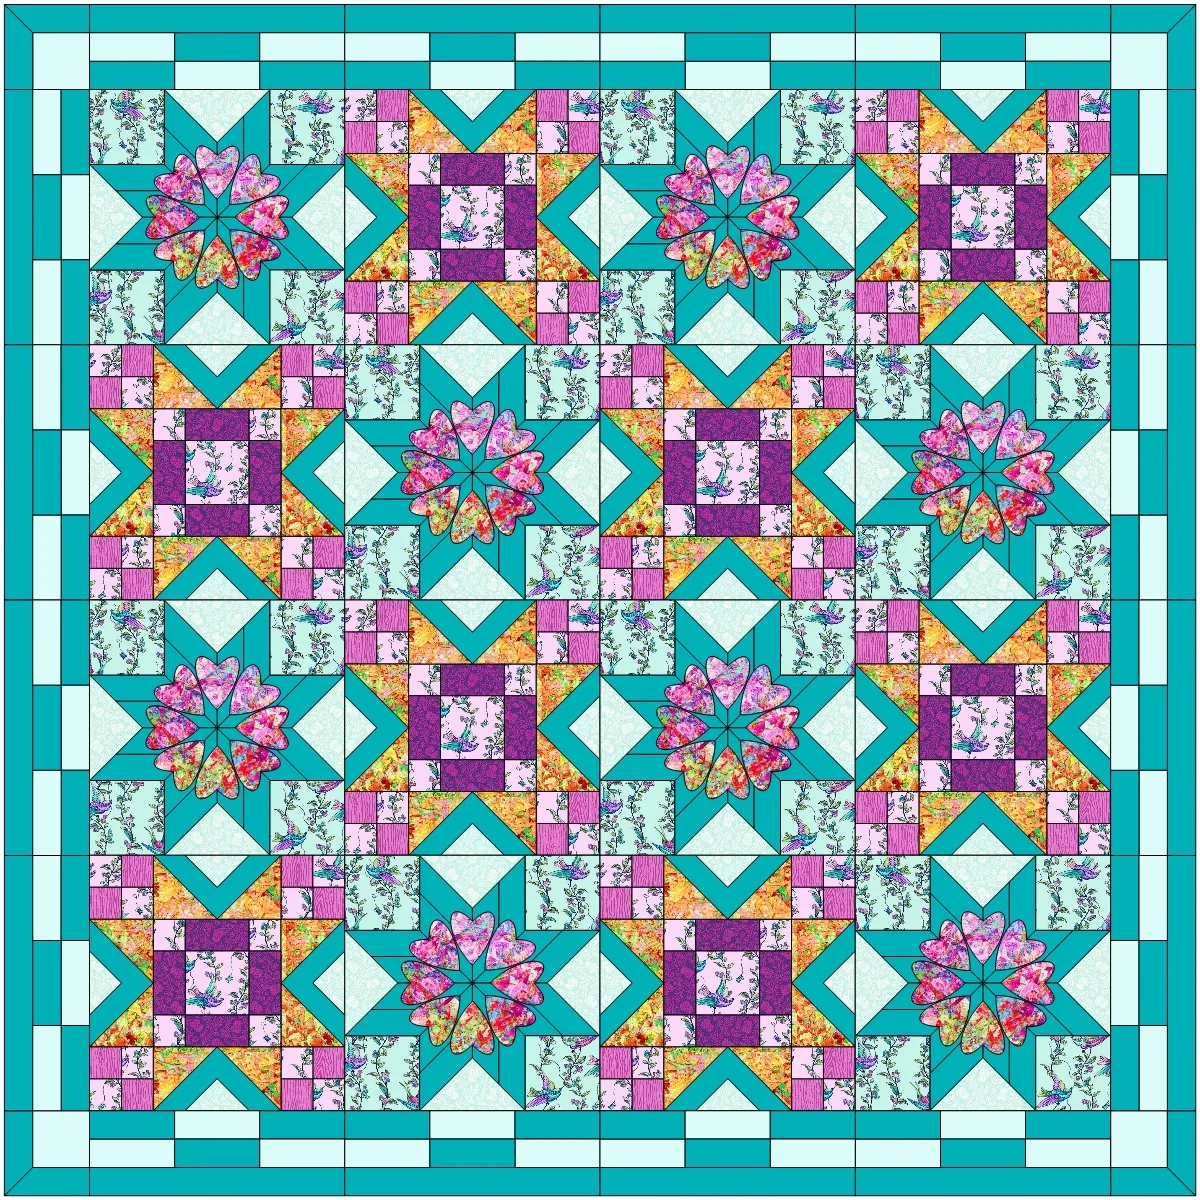
Here is an example of a quilt made with this block.

Please note: To print the templates for the applique patches, you’ll need to be on Layer 1, as long as the blocks are placed on Layer 1. If the block is on Layer 2, you’d need to be on Layer 2 to select the block and print.
If you want to post images of your quilt, here is how to export the images.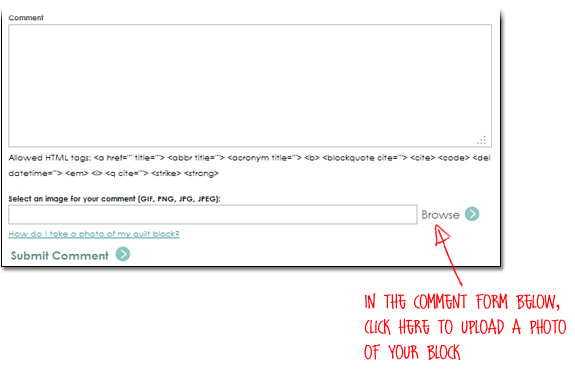
To post your image click to comment on this post. Fill in your info and then click Browse.
Go to: Documents\My EQ8\ImagesI can’t wait to see what you’ve done!
I hope you enjoyed the lesson!
If you have questions about the lesson feel free to post them below.
If you have questions about something else EQ related, please contact techsupport@electricquilt.com.
If you have suggestions for new Design & Discover lessons feel free to comment below or email Heidi@electricquilt.com