Welcome to Design & Discover! You can follow along with a lesson and submit your version of the quilt right on the blog with a link up. If you have a blog, make sure to add your site too. Let’s visit each others’ blogs and all get to know each other!
Before getting started, keep in mind any of the images can be viewed larger by clicking on them.
Also, you don’t have to make the blocks or quilts exactly as shown, have fun and make it your own!
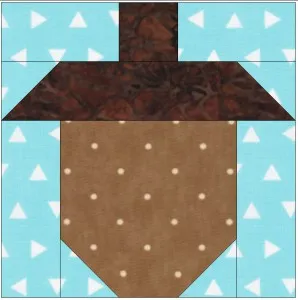
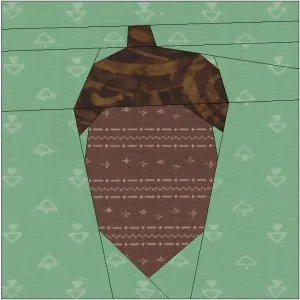
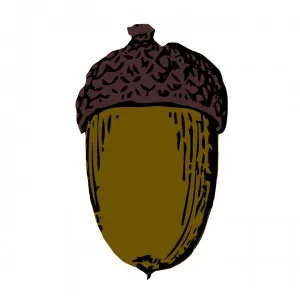
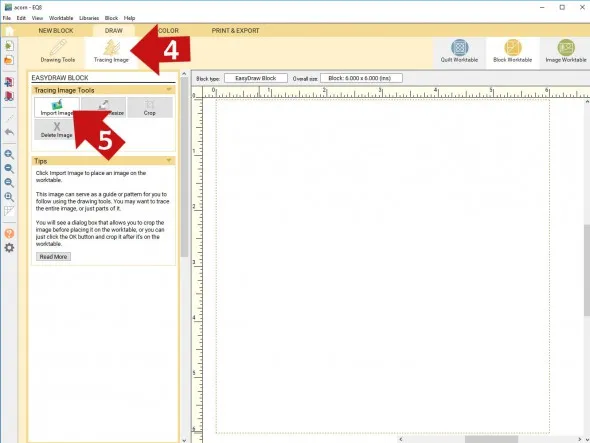
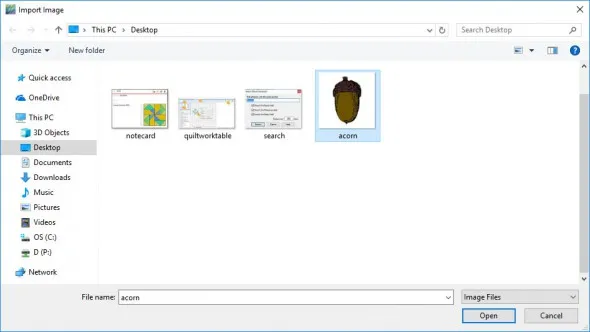
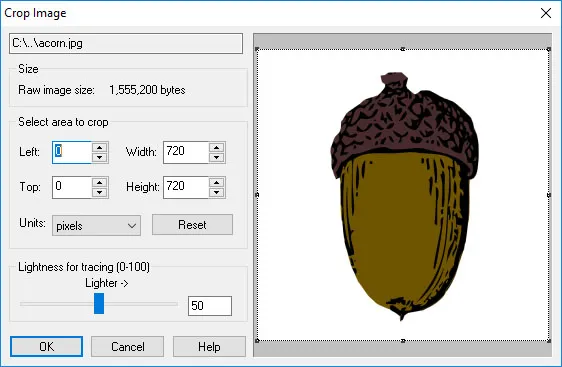
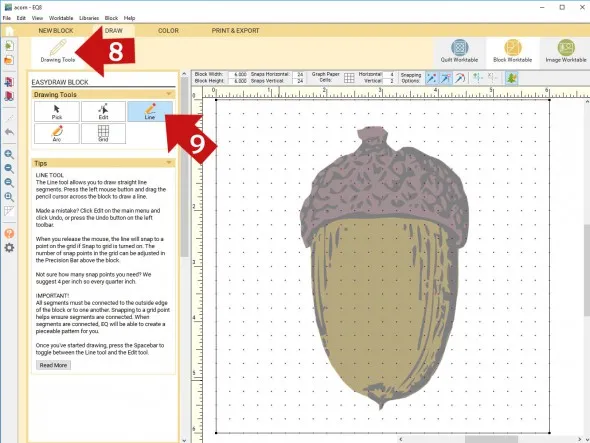
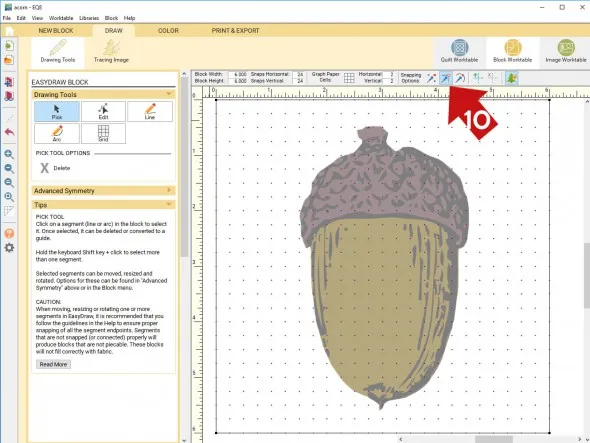
This month we will be learning about drawing foundation blocks. We’ll draw one from scratch. The other one we’ll import an image to trace to create the foundation block. We won’t literally trace the image but use it as an inspiration to create a foundation block.
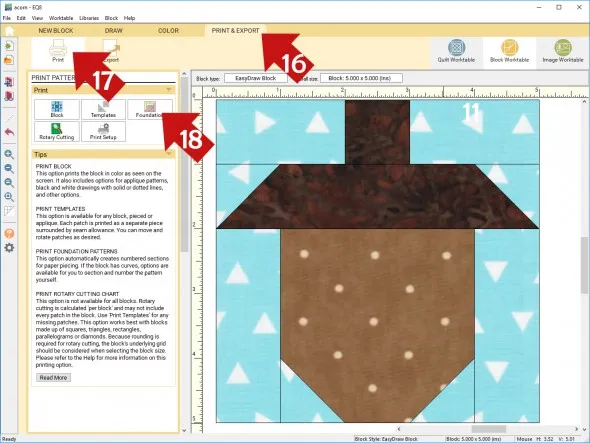
We’ll start with a pretty simple acorn…
…then also create one that is more advanced.
Let’s get started!
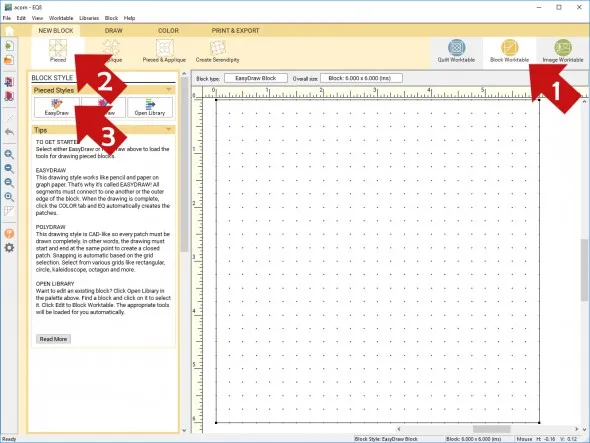
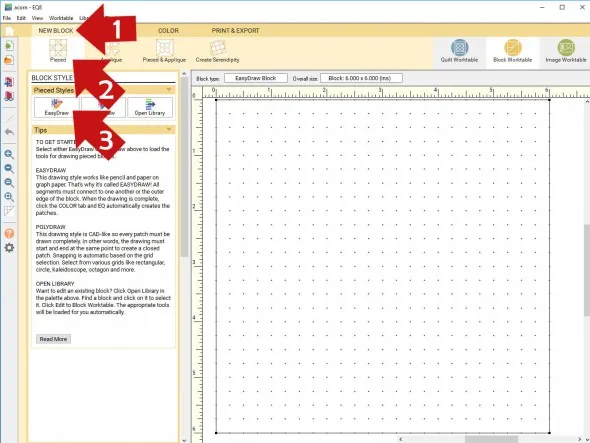
1. Click Block Worktable
2. Click Pieced
3. Click EasyDraw
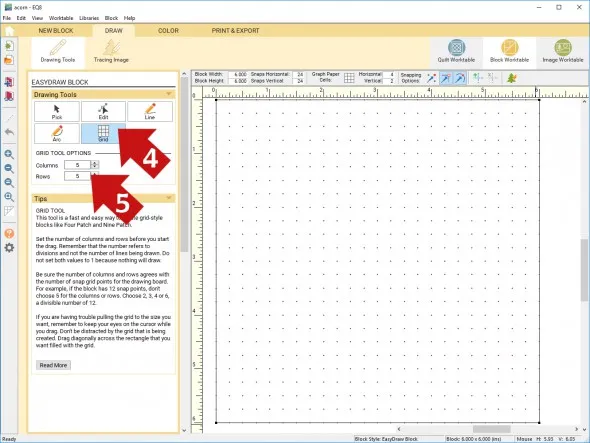
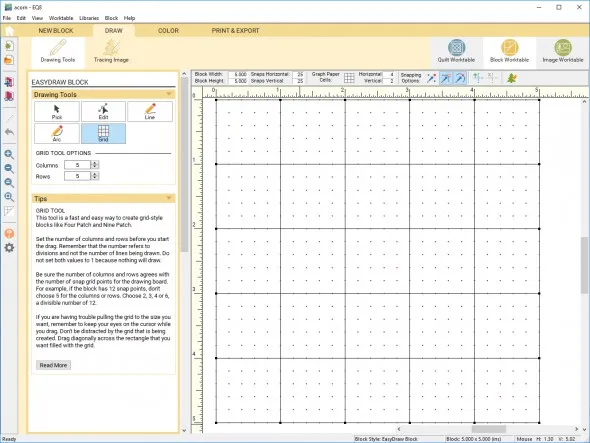
4. Click the Grid tool
5. Make the grid 5 Columns and 5 Rows
6. Since we’re dealing with a block on a 5 x 5 grid, let’s make the block 5 inches by 5 inches with snaps at 25 x 25.
7. Click in the upper left hand corner of the block and drag down to the lower right hand corner.
8. Click Add to Project Sketchbook ![]()
This adds your block to the Sketchbook but it also adds dots at the intersections of lines and breaks the lines into sections.
Also, if you haven’t named your project yet, EQ8 will prompt you to do so. (To be saved your item needs to be in the Sketchbook AND your project needs to be named. Here is more information.)
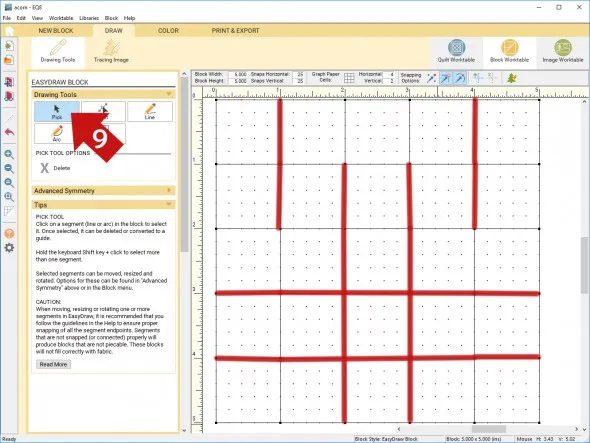
9. Click the Pick tool.
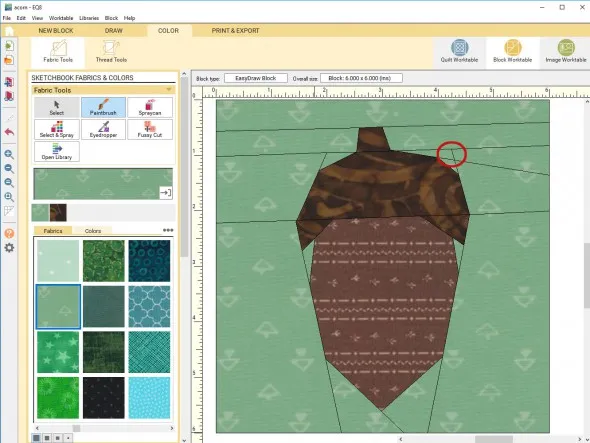
10. Hold your Delete key down on your keyboard and click on the lines you would like to delete, as shown.
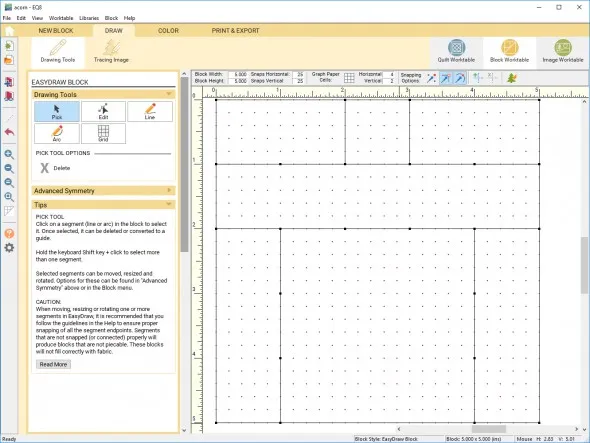
Your block should now look like this:
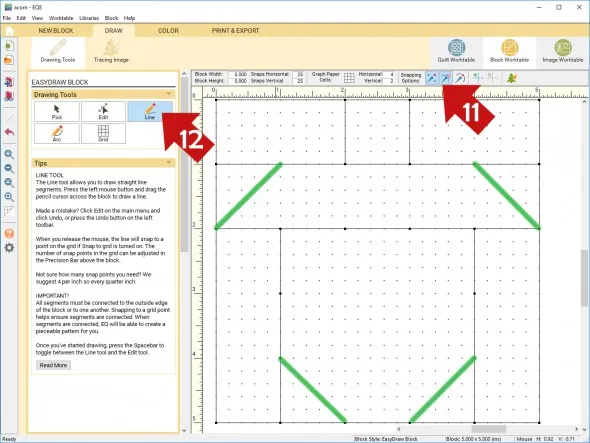
11. Make sure Snap to Grid Points on Worktable and Snap to Nodes of Drawing are on. They will be highlighted in blue.
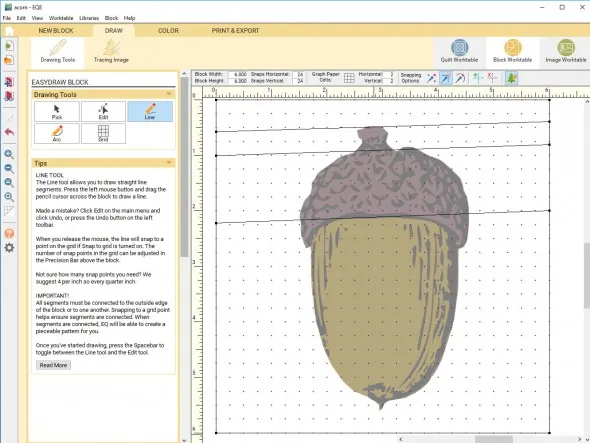
12. Click the Line tool
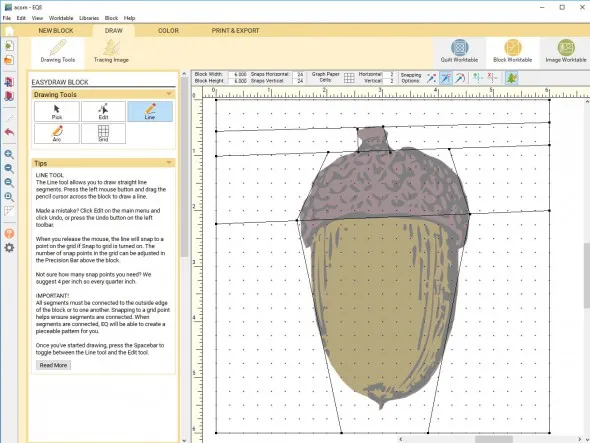
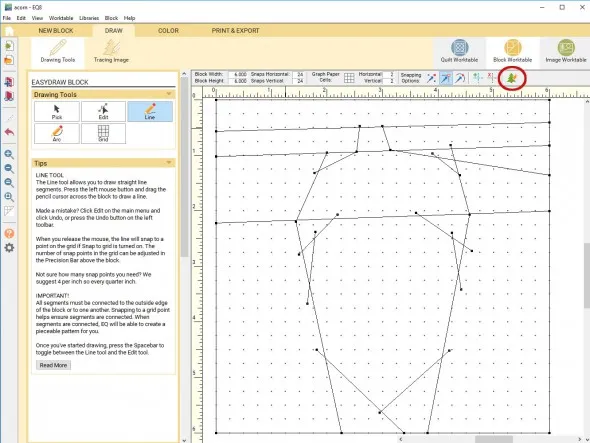
13. Draw the lines as shown.
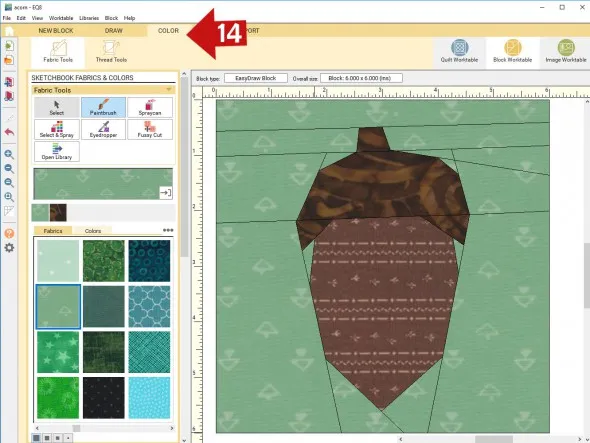
14. Click the Color tab and color as desired.
15. Click Add to Project Sketchbook ![]()
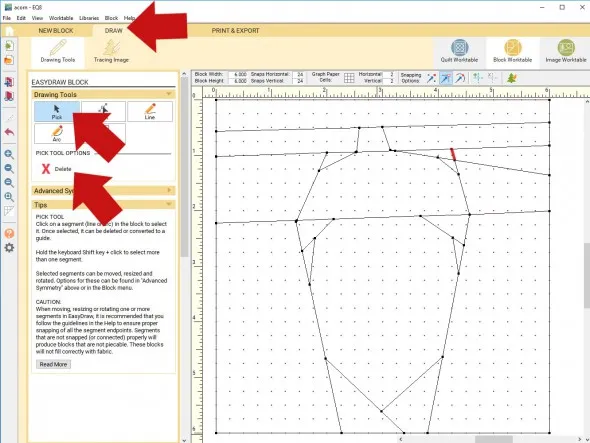
Click the Draw tab
Click the Pick Tool
Click on the line
Click Delete
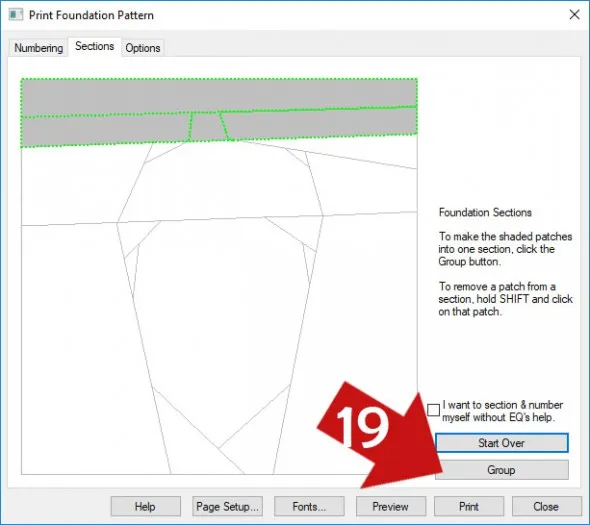
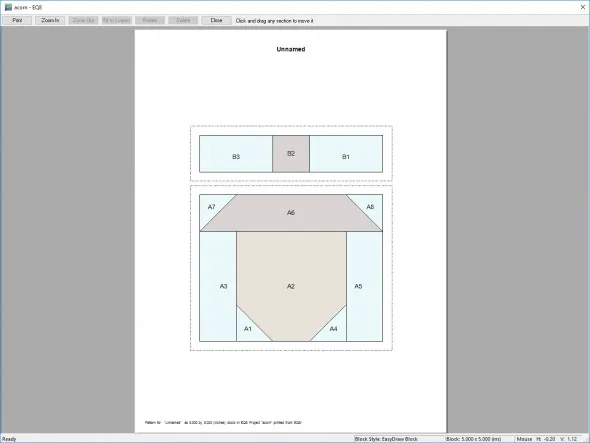
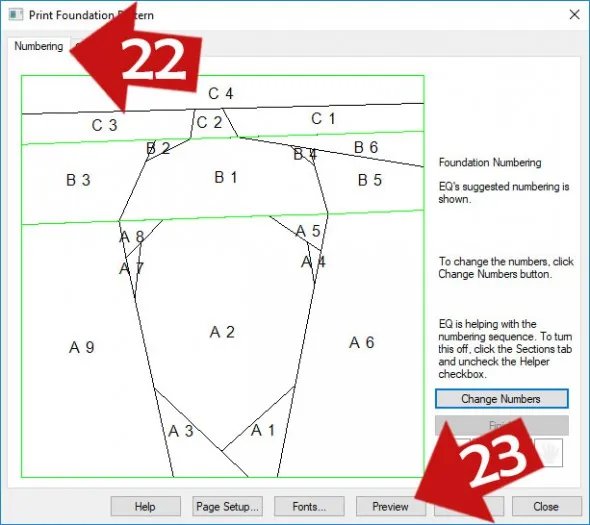
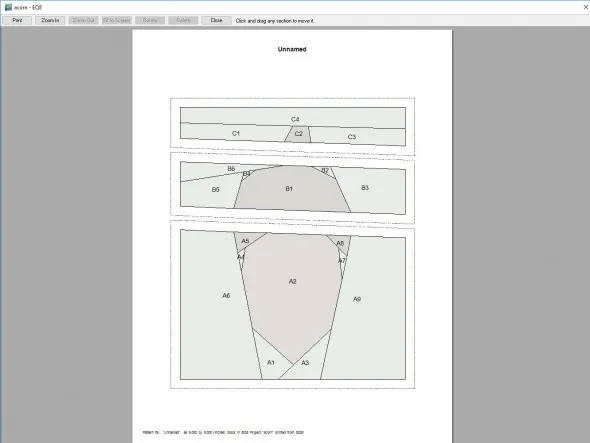
If the numbers are gray, they are just EQ’s suggestions. Click on them to make them black, confirming that you want that numbering. To change the order just click on the pieces in the order you would like. Gray numbers won’t show up in the print preview.
If the number are black, EQ has automatically numbered the block. To change the order you can click Change Numbers.
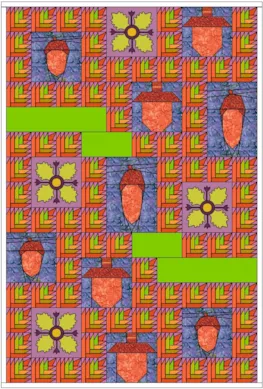
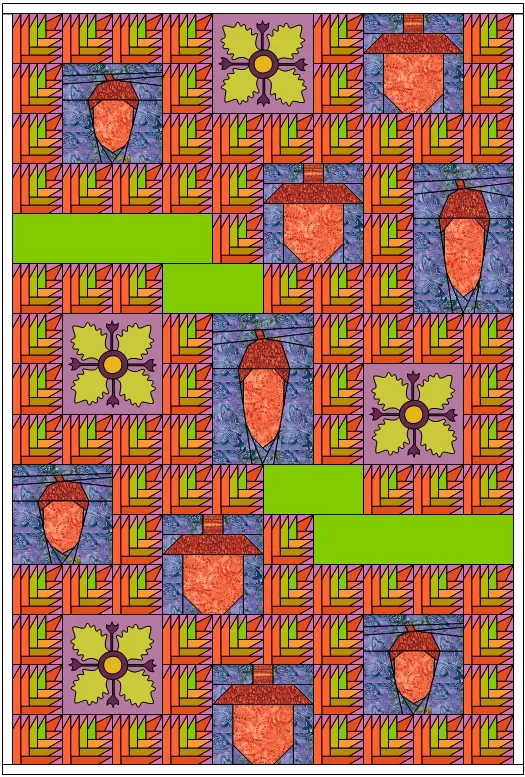
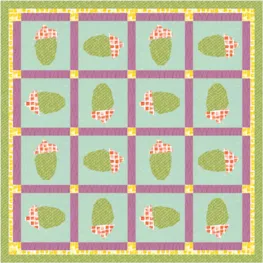
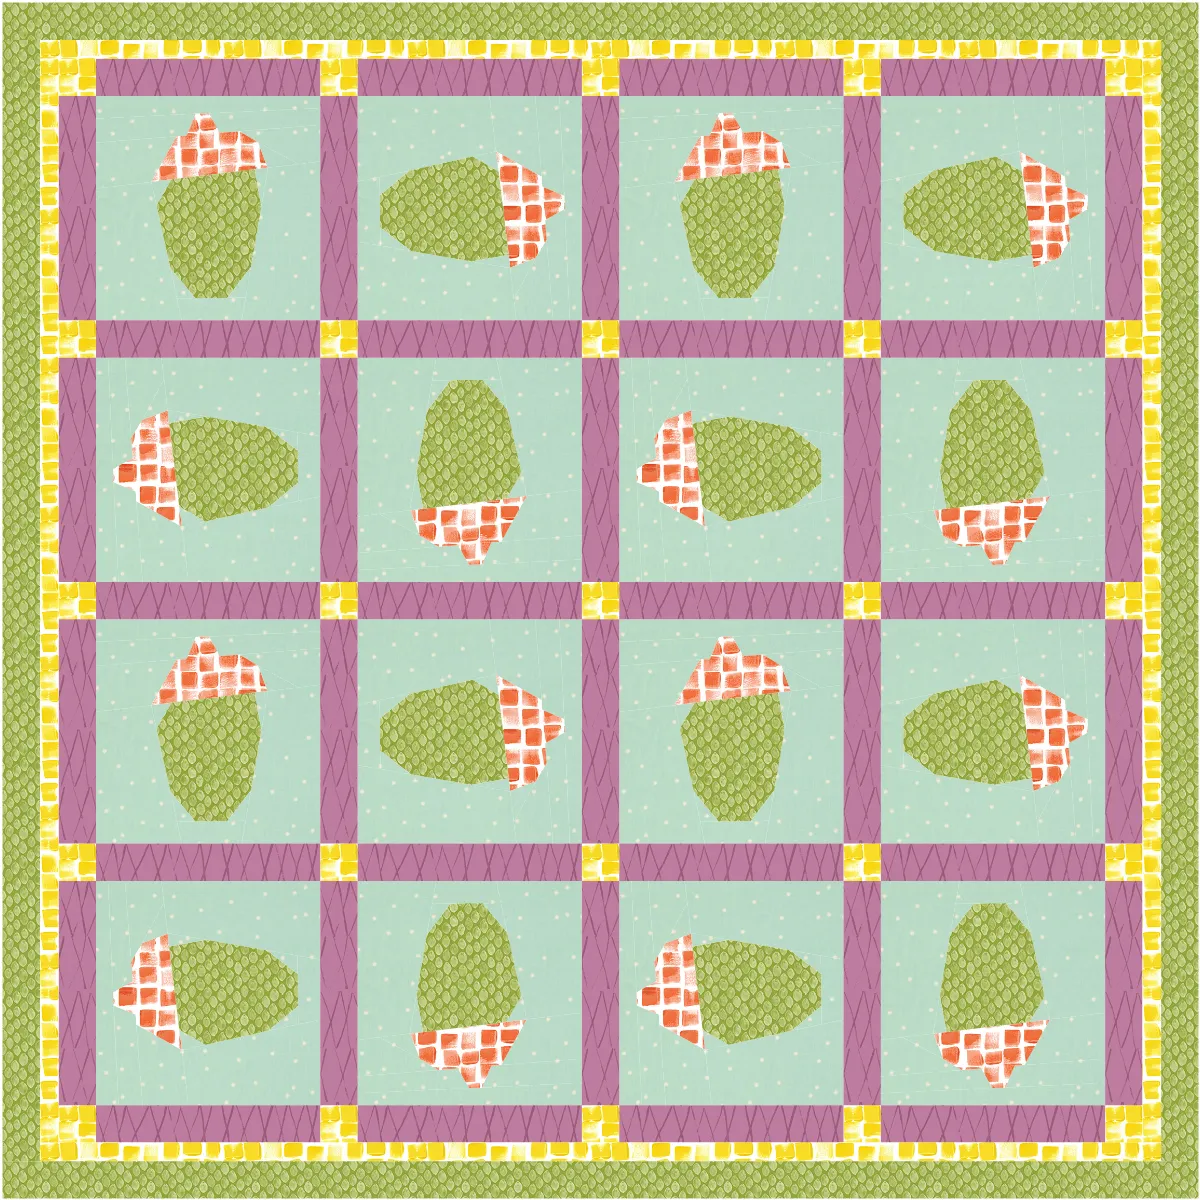
26. Now design a quilt with one of your acorn blocks so you can post it below!
27. When you are done with your quilt don’t forget to click Add to Project Sketchbook ![]()
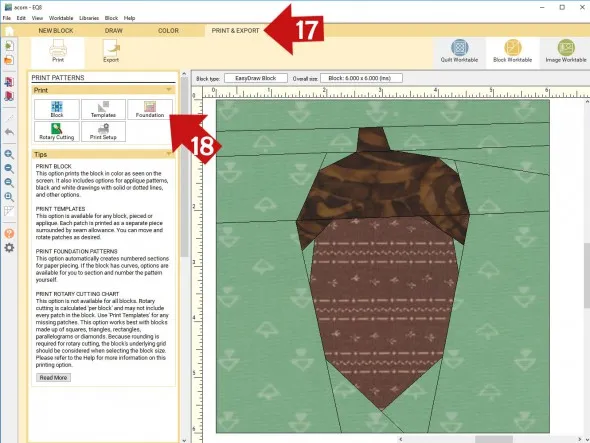
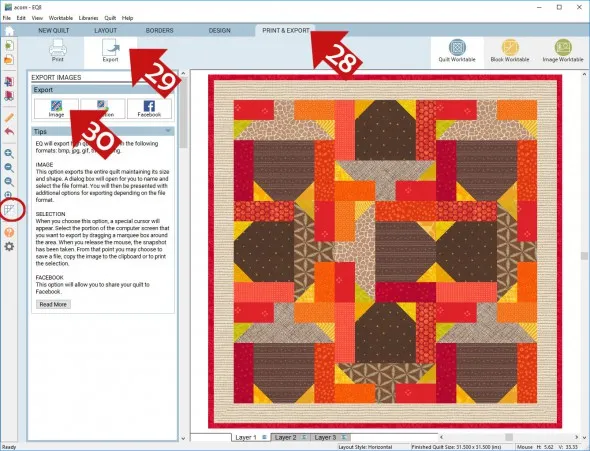
28. If you would like to export an image of your quilt click the Print & Export tab. You can also click the Hide/show quilt patch lines tool, if you prefer your quilt without lines.
29. Click Export
30. Click Image
29. Name your file and click Save (in Documents\My EQ8\Images)
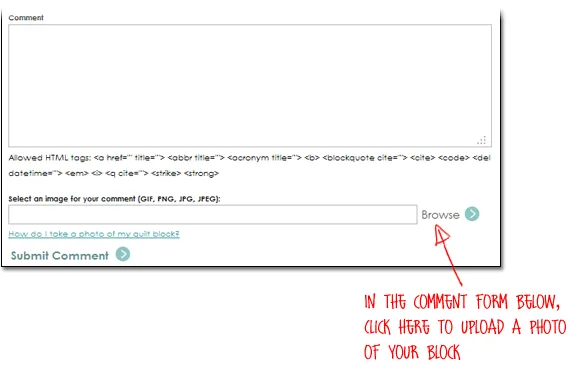
To post your image click to comment on this post. Fill in your info and then click Browse. Go to: Documents\My EQ8\Images
I can’t wait to see your quilts! I hope you enjoyed the lesson!
If you have questions about the lesson feel free to post them below.
If you have questions about something else EQ related, please contact techsupport@electricquilt.com.


