Welcome to Design & Discover! You can follow along with a lesson and submit your version of the quilt right on the blog with a link up. If you have a blog, make sure to add your site too. Let’s visit each others’ blogs and all get to know each other!
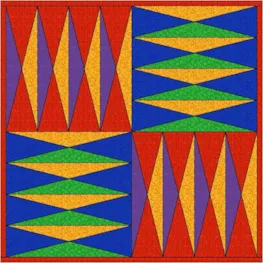
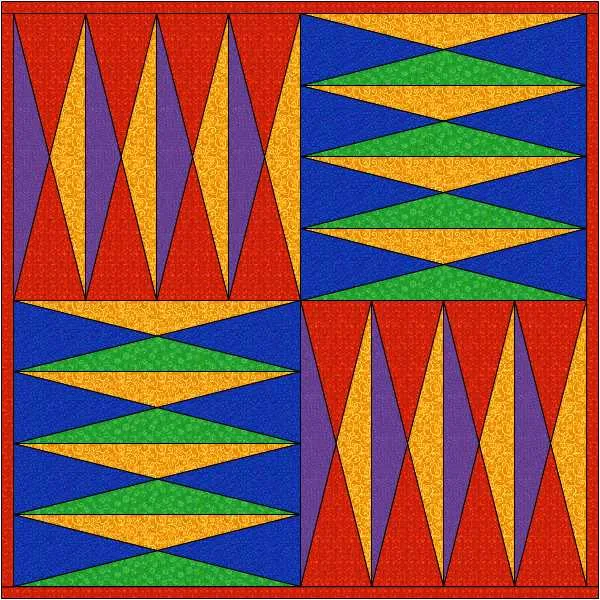
Before getting started, keep in mind any of the images can be viewed larger by clicking on them.
Also, you don’t have the make the quilts exactly as shown, have fun and make it your own!
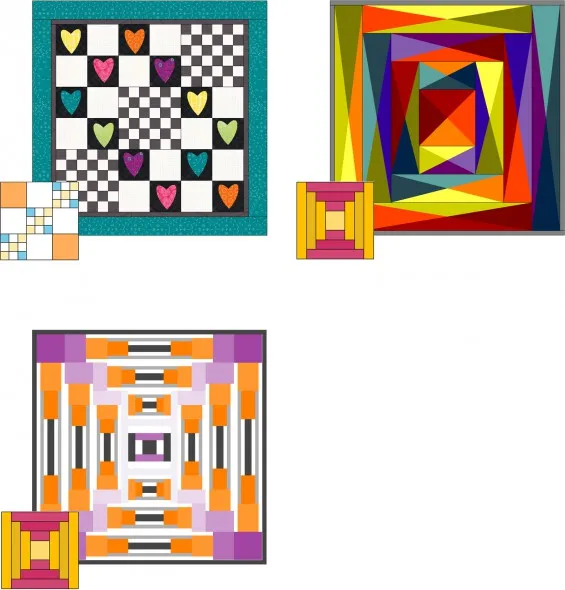
This month we are making quilts from the Layout Library and Quilts from blocks! Two different ways to get “non-standard” layouts.
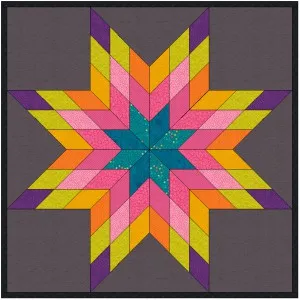
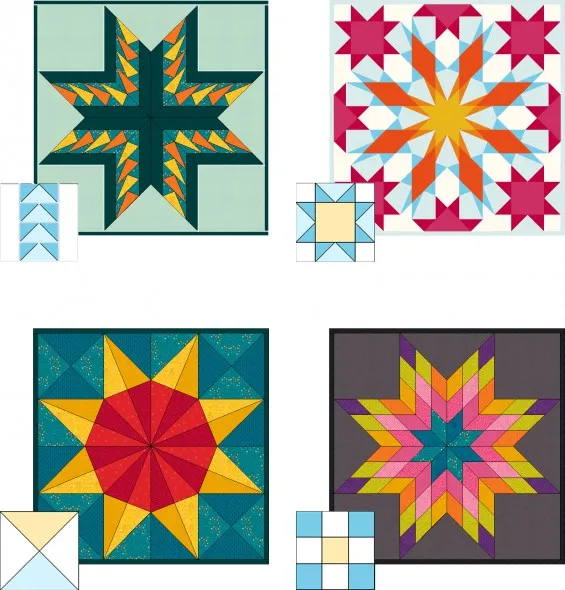
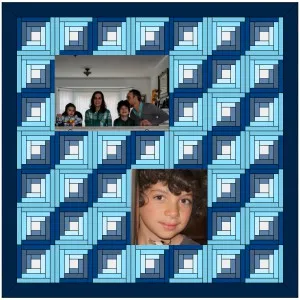
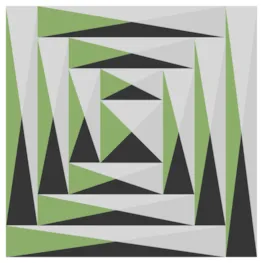
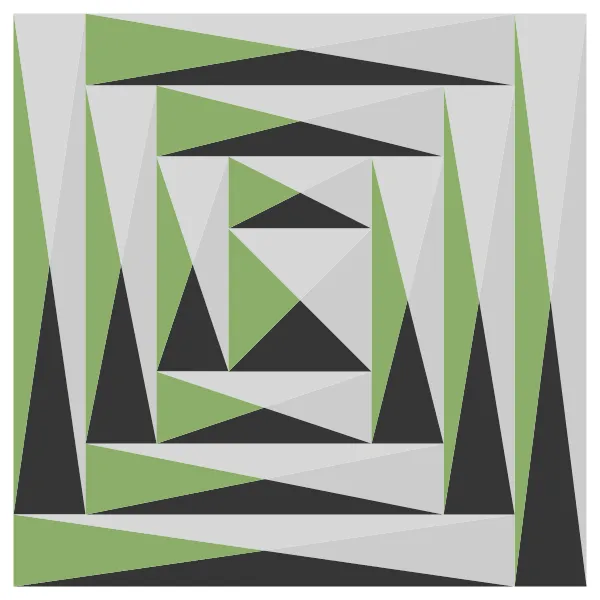
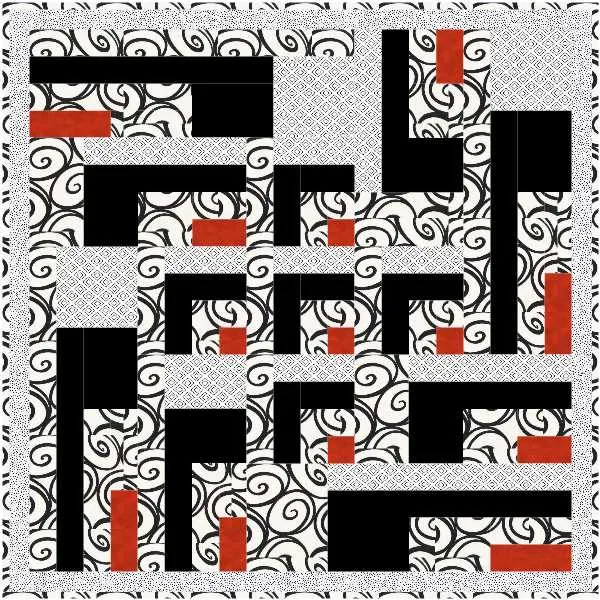
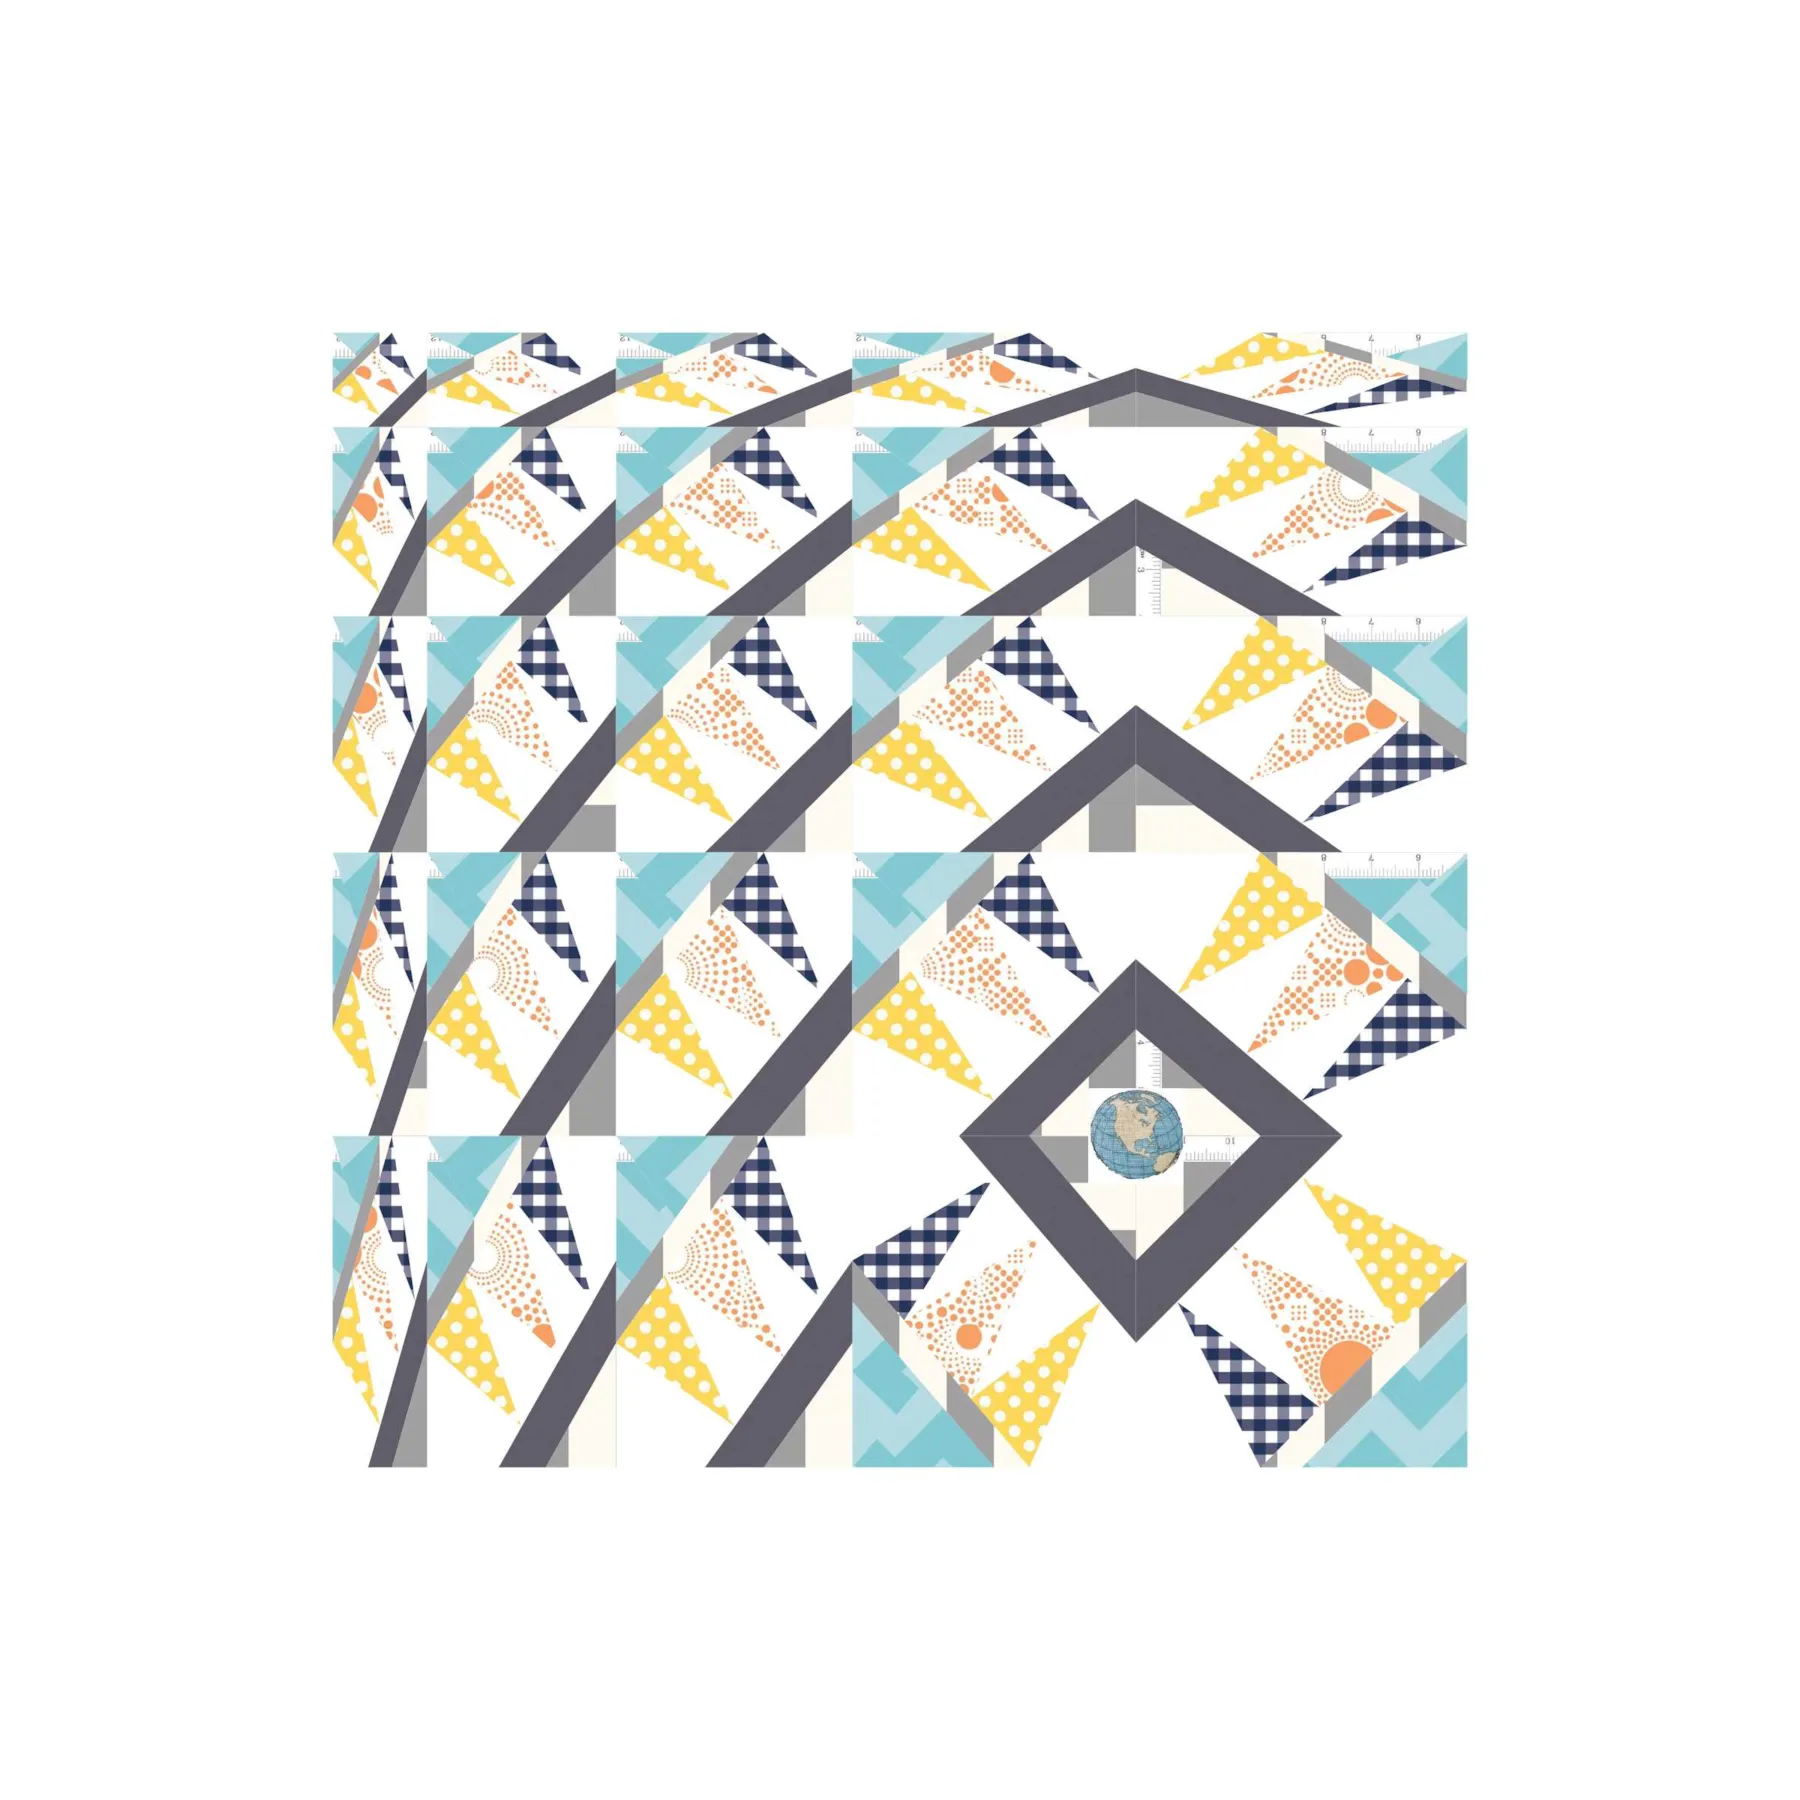
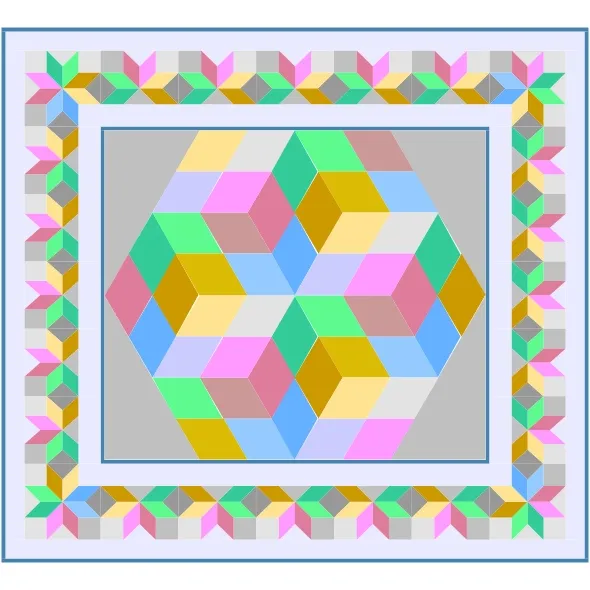
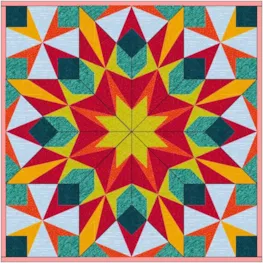
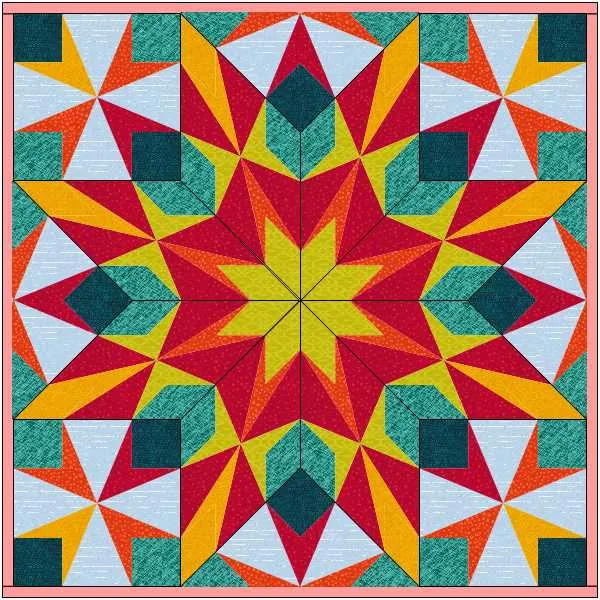
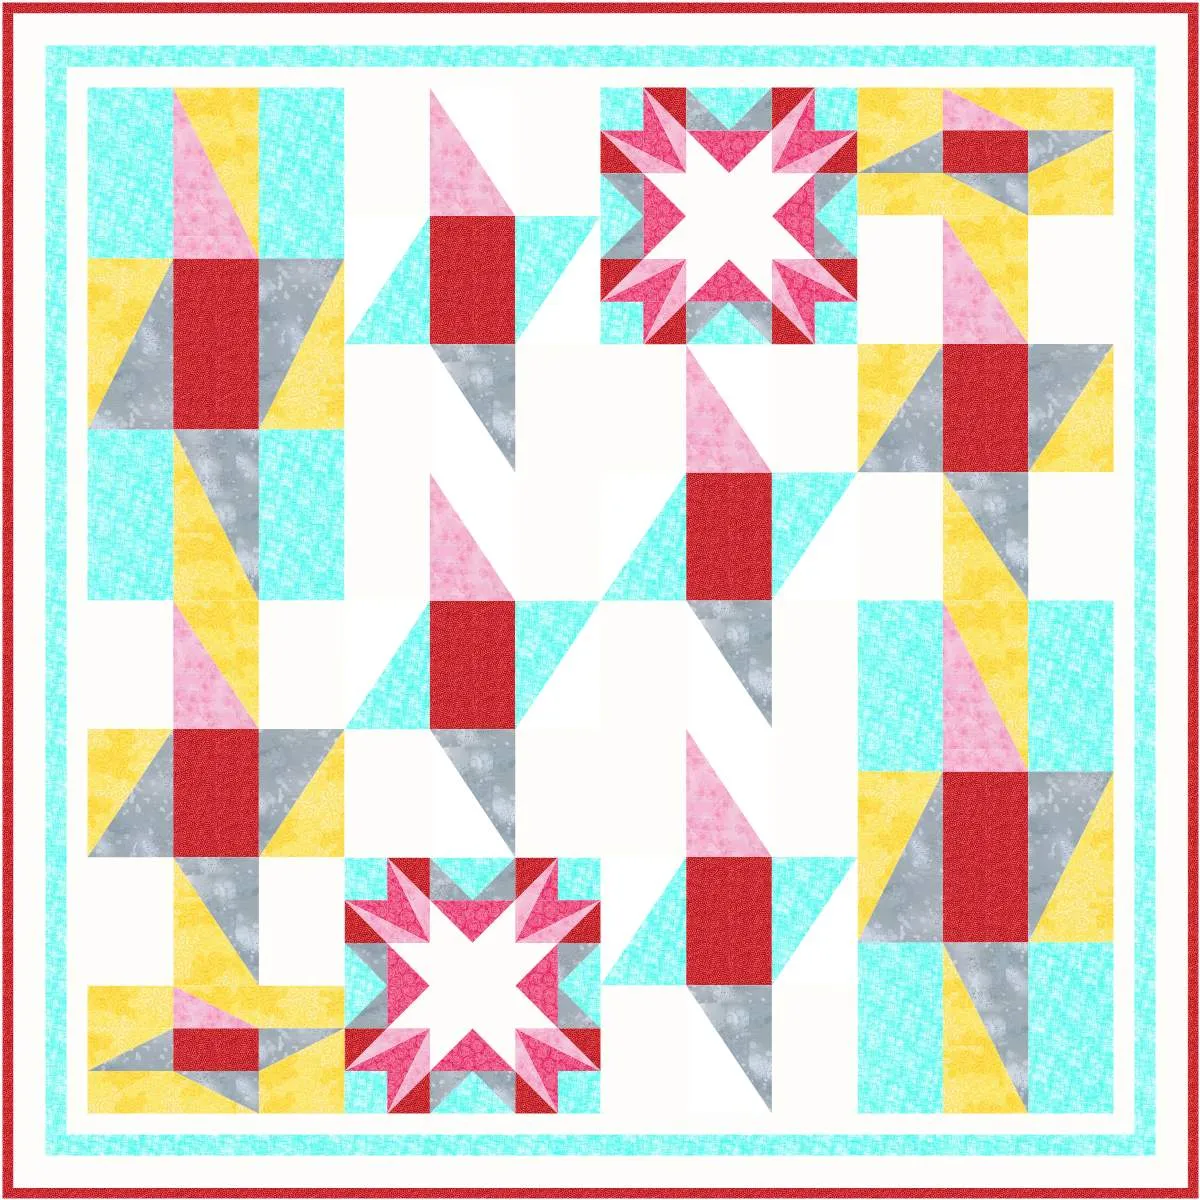
First, we’ll make this quilt.
With the Layout Library it’s SO easy!
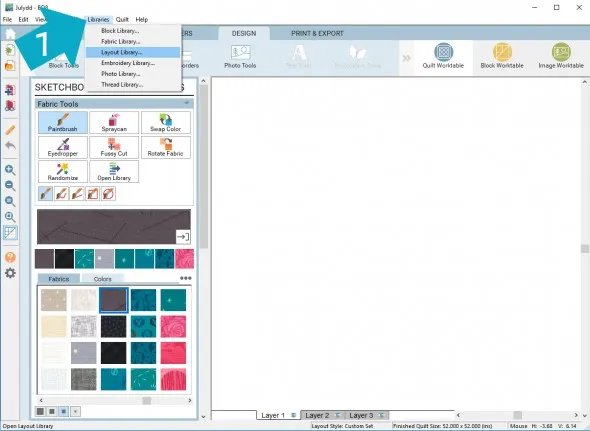
1. Click Libraries > Layout Library
Be sure to browse around Layouts by Size and Layouts by Style. There are a lot of great starting points for quilts available!
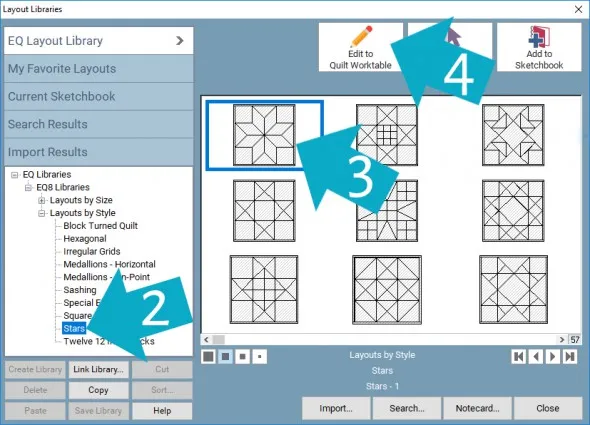
2. Click Layouts by Style > Stars
3. Click on the first layout Stars – 1
4. Click the Edit to Quilt Worktable button
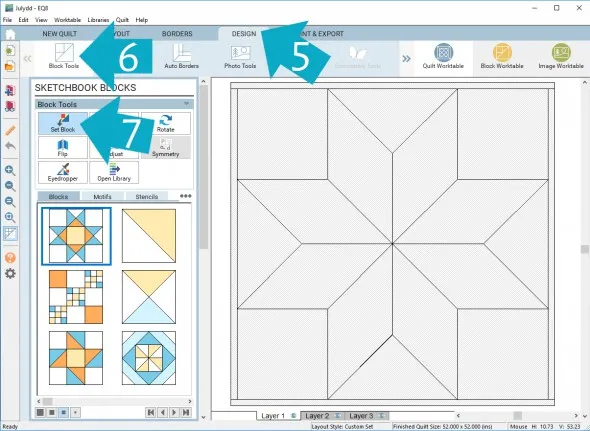
5. Click the Design tab
6. Click Block Tools
7. Click Set Block
8. Start experimenting with setting different blocks in the layout. You can see that even the simple blocks in the default palette give surprising and beautiful results.
Remember if you hold down the Command key for Mac or the CTRL key for PC and click in a spot and the block will automatically fill all the spaces.
9. For any quilts that you like click Add to Project Sketchbook ![]() to save your progress.
to save your progress.
If you haven’t named your project yet, EQ8 will prompt you to do so. (To be saved your item needs to be in the Sketchbook AND your project needs to be named. Here is more information.)
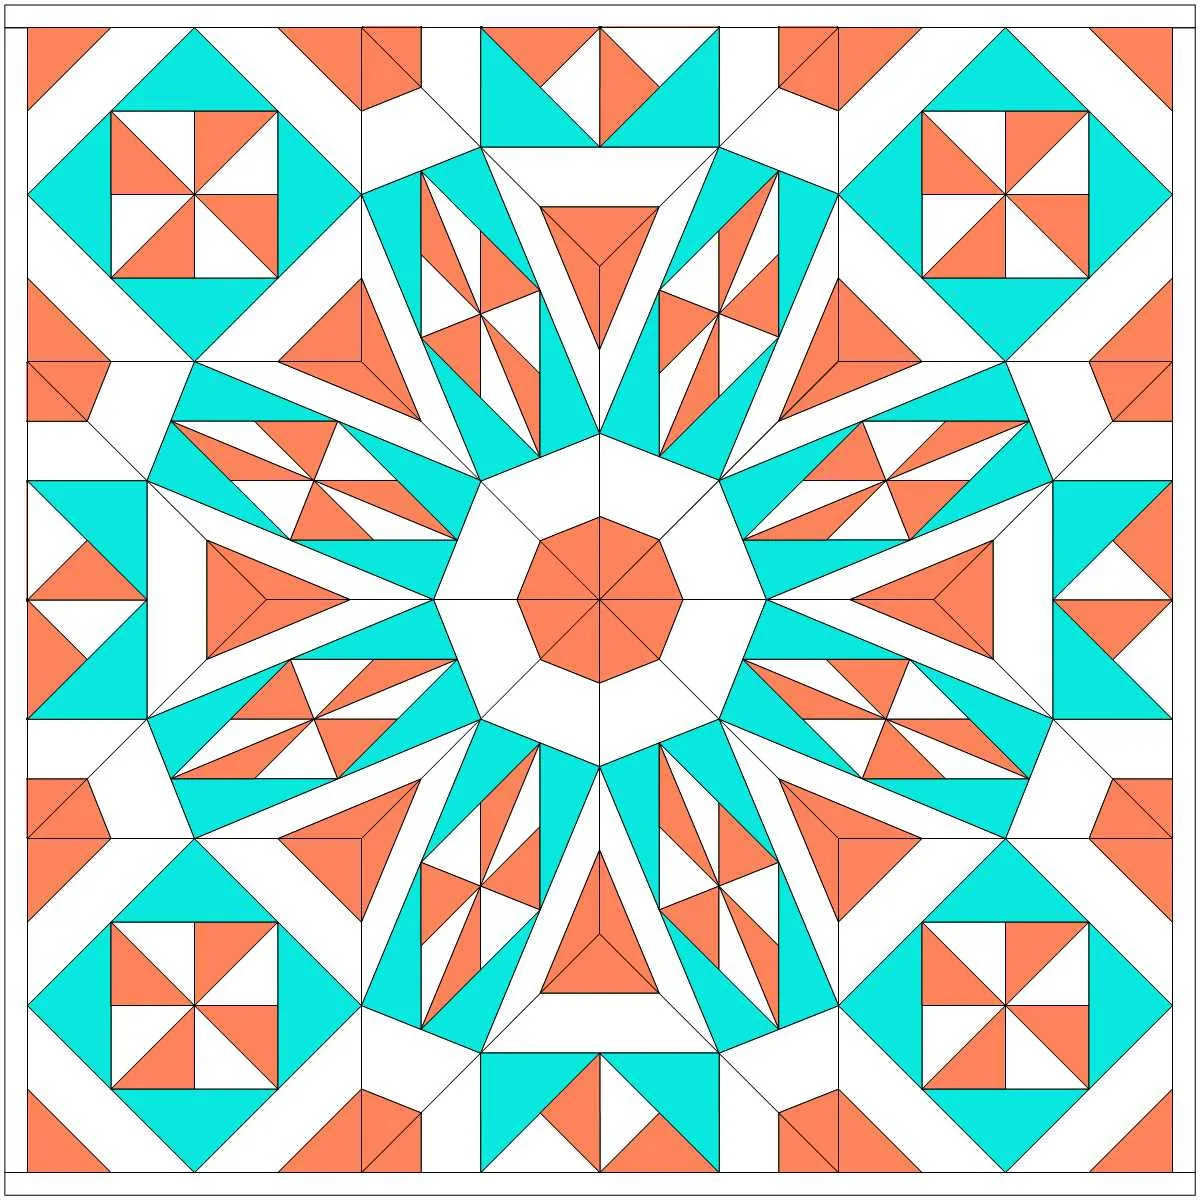
Now let’s make some Quilts from blocks!
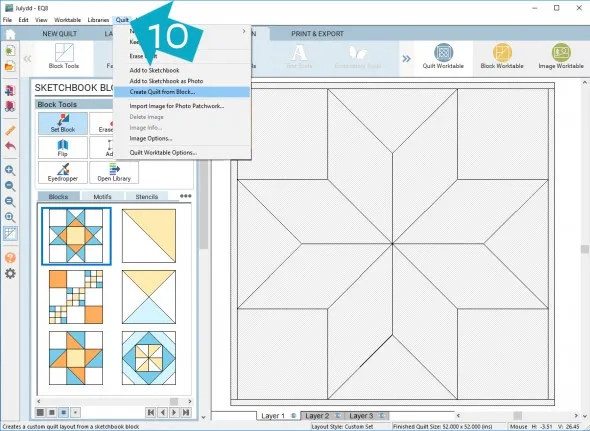
10. Click Quilt > Create Quilt from Block
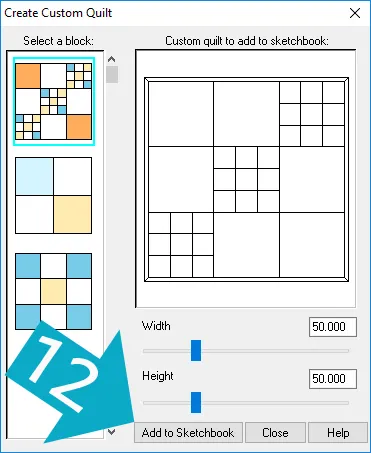
11. Now, EQ8 will evaluate all the blocks in your Sketchbook. The eligible blocks will display under Select a block. (For a block to be eligible it must must only contain straight horizontal and vertical lines.)
12. Choose a block and size, then click Add to Sketchbook.
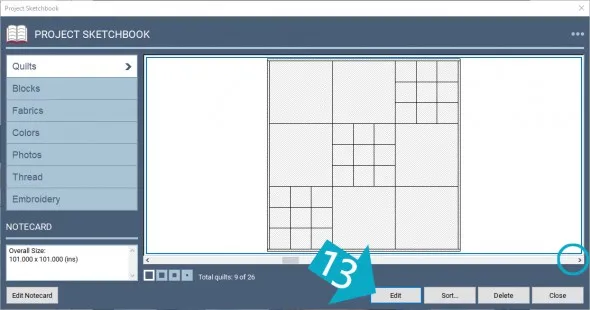
13. Click View Project Sketchbook ![]() and scroll through the Quilts section until you see your layout and click Edit.
and scroll through the Quilts section until you see your layout and click Edit.
14. Design it anyway you would like!
Another way to use Create Quilt from Block is to use it to create a specific layout you want. You could use Custom Set, or Layer 2 in some cases, but this is another option – depending on what you want to do.
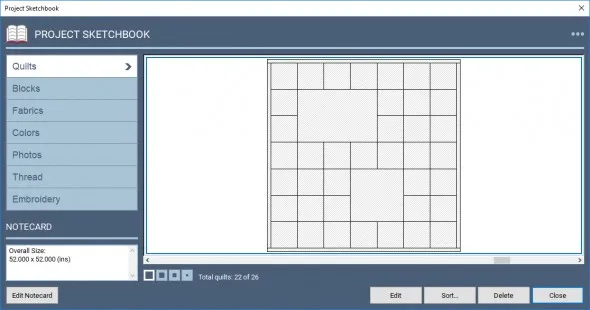
Let’s say I want to make a 7 x7 quilt with a spot for a rectangular photo and a spot for a square photo.
15. Click Block Woktable
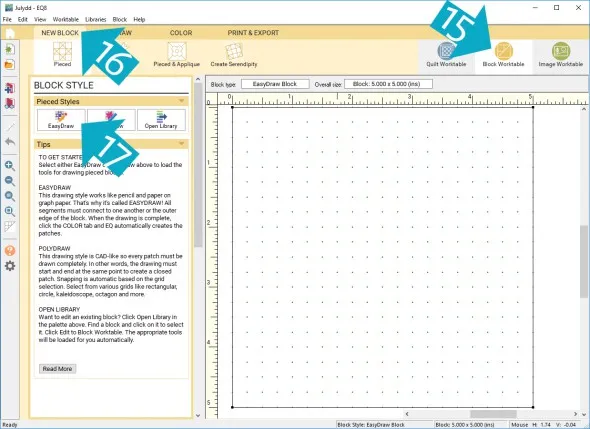
16. Click New Block
17. Click EasyDraw
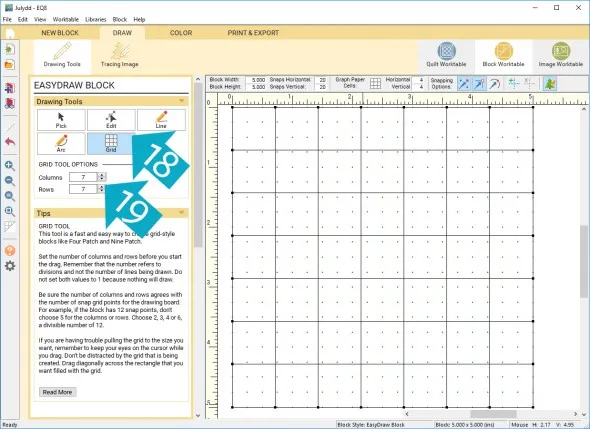
18. Click on the Grid tool
19. Set grid to 7 x 7
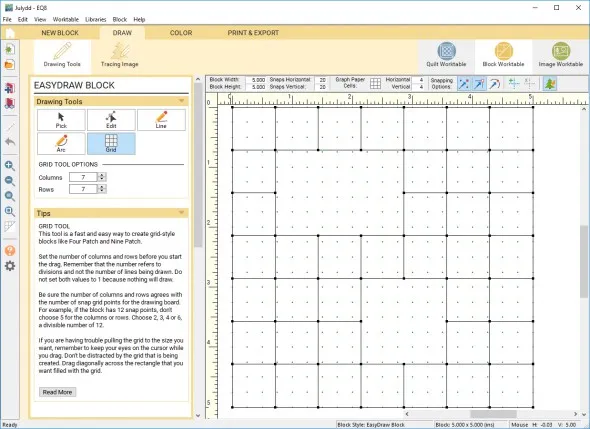
20. Delete lines according to how you want your layout.
22. Click Quilt > Create Quilt from Block
23. Click View Project Sketchbook ![]() and scroll through the Quilts section until you see your layout and click Edit.
and scroll through the Quilts section until you see your layout and click Edit.
24. Design the quilt any way you would like!
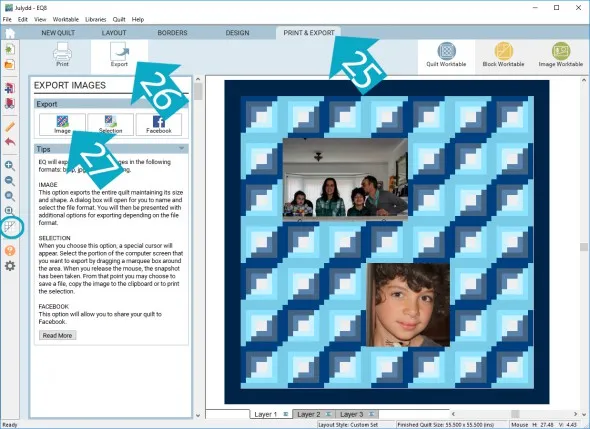
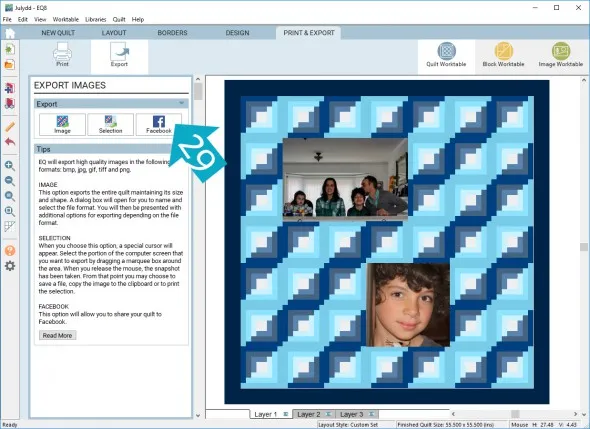
25. If you would like to post any of your quilts below, click the Print & Export tab. You can also click the Hide/show quilt patch lines tool, if you prefer your quilt without lines.
26. Click Export
27. Click Image
28. Name your file and click Save (in Documents\My EQ8\Images)
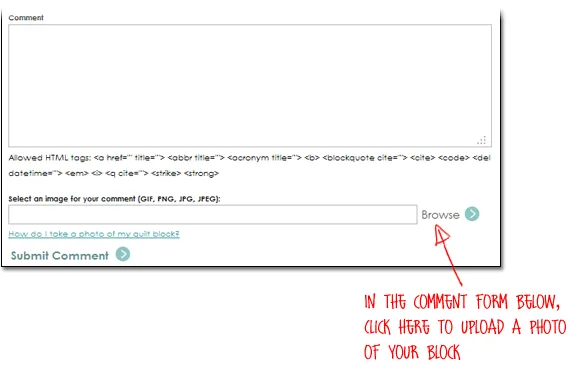
To post your image click to comment on this post. Fill in your info and then click Browse. Go to: Documents\My EQ8\Images
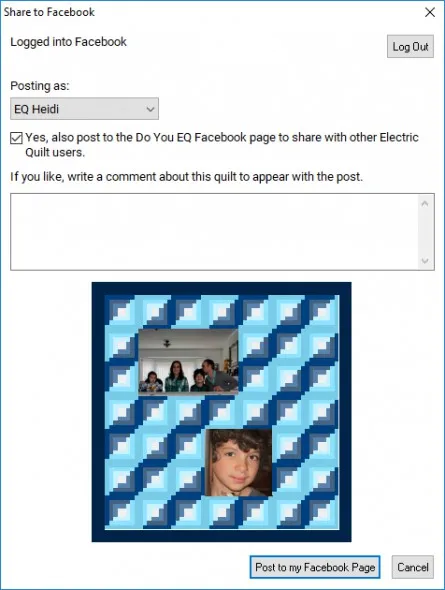
29. Also, we have a DoYouEQ Facebook page where you can share images of any quilt you design and see quilts other users have made! If you would like to share your quilt(s) to Facebook page, click the Facebook button. It may ask you to sign in.
30. If you want to share it to the DoYouEQ Facebook page make sure to check the box.
You can also post to your personal Facebook page by clicking the “Post to my Facebook Page” button.
I can’t wait to see your quilts! I hope you enjoyed the lesson!
If you have questions about the lesson feel free to post them below.
If you have questions about something else EQ related, please contact techsupport@electricquilt.com.


