Welcome to Design & Discover! You can follow along with a lesson and submit your version of the quilt right on the blog with a link up. If you have a blog, make sure to add your site too. Let’s visit each others’ blogs and all get to know each other!
Before getting started, keep in mind any of the images can be viewed larger by clicking on them.
Also, you don’t have the make the quilt exactly as shown, have fun and make it your own!
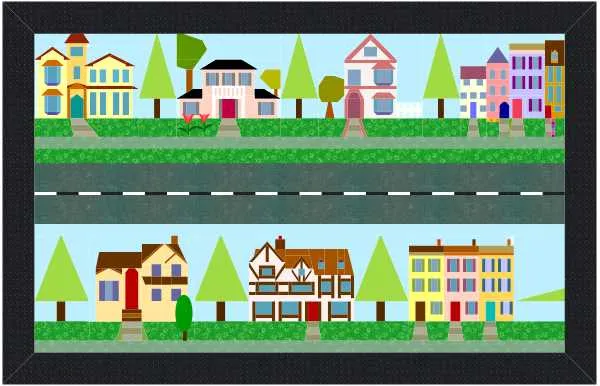
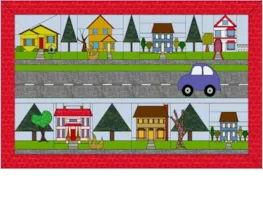
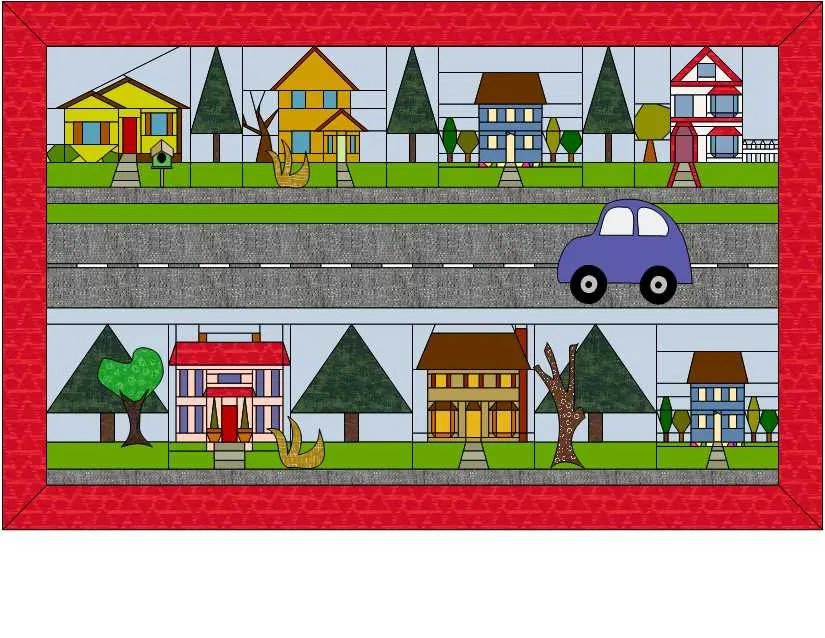
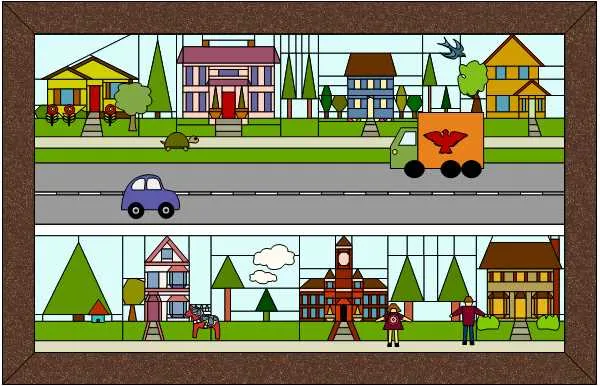
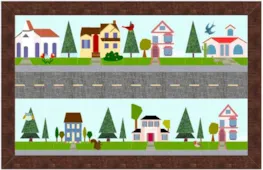
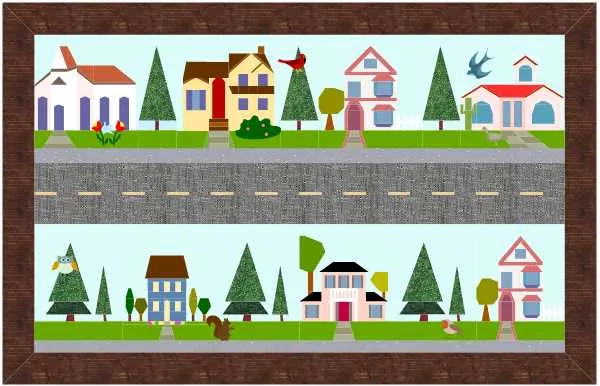
This month we are making this quilt:

Let’s get started!
We are going to build the quilt by using borders.
1. Click Quilt Worktable
2. Click Horizontal

3. For Number of Blocks enter:
Horizontal 4 x Vertical 1
4. For Finished Size of Blocks enter:
9 x 9
5. For Finished Size of Sashing enter:
3.25 x 0

6. Click the Borders tab. We are going to add a lot of borders!
For the first border:
Long Horizontal – 1 inch width on the bottom, 0 on all other sides
Second Border:
Long Horizontal – 1.25 inches width on the bottom, 0 on all other sides
Third Border:
Long Horizontal – 2.5 inches width on the bottom, 0 on all other sides
Fourth Border:
Blocks – .25 inches width on the bottom, 0 on all other sides
Blocks in Border – Horizontal 24
Fifth Border:
Long Horizontal – 2.5 inches width on the bottom, 0 on all other sides
Sixth Border:
Long Horizontal – 1 inch width on the bottom, 0 on all other sides
Seventh Border:
Blocks – 9 inches width on the bottom, 0 on all other sides
Blocks in Border – Horizontal 6
Eighth Border:
Long Horizontal – 1 inch width on the bottom, 0 on all other sides
Ninth Border:
Mitered – 2.75 inches on all sides ( I wanted this to look like a frame)

7. Click Libraries > Block Library > 03 Foundation Pieced > Houses
Add at least 7 that you like to the Sketchbook.

8. Click the Design tab > Block Tools > Set Block
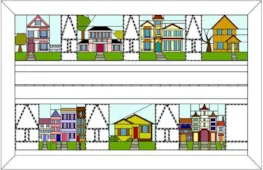
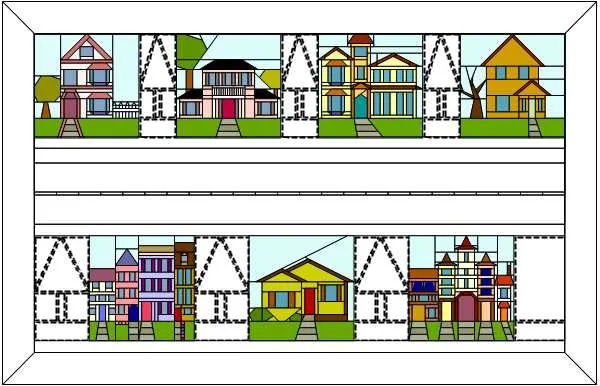
Place the house blocks in the squares marked with the Xs.

9. Right click on one of your blocks and choose Edit Block

10. Delete all the lines except the “grass line”

11. Draw a few simple trees (Here is more information about drawing in EasyDraw, if you want to check it out.)
Click the Add to Project Sketchbook button for each block
If you haven’t named your project already, it will prompt you to do so.


12. Click Quilt Worktable > Block Tools > Set Block.
Click on the Tree block and click to place it in the spots as shown. As you can see it resizes to fit whatever space you place it in.

13. Click Open Library

14. Navigate to 06 Motifs and browse around. Add any Motifs you like for this quilt to the Sketchbook. Click Close when you are done.

15. Click the Motifs tab to see them

16. Click Block Worktable
Click Block > New Block > Applique Motif

17. Draw some very simple trees and bushes and add each one to the Sketchbook.
If you need help with drawing the motifs, here is more information.

18. Click Quilt Worktable and click Layer 2 at the bottom of the screen

19. Click the Set Block tool and click on a block.
Hold down the Shift key on your keyboard and click and drag out a shape on the quilt.

20. Add more Motifs to the quilt. Use the Adjust tool to change the size or location of the Motif.
(I have added a squirrel which was originally an Applique block…if you want to convert applique blocks to Motifs, read more information on how to do it here.)

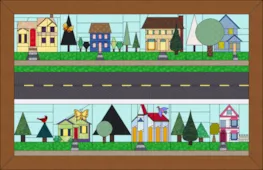
21. Click on the Fabric Tools tab and recolor as you wish!

Remember: you need to recolor the item on whatever layer it is on. If you want to, you can hide different layers to make it easier to recolor.
22. If you would like to post your quilt below, click the Print & Export tab. You can also click the Hide/show quilt patch lines tool, if you prefer your quilt without lines.

23. Click Export and then click Image

24. Name your file and click Save (in Documents\My EQ8\Images)
25. To post your image click to comment on this post. Fill in your info and then click Browse. Go to: Documents\My EQ8\Images

I can’t wait to see your quilts! I hope you enjoyed the lesson!
If you have questions about the lesson feel free to post them below.
If you have questions about something else EQ related, please contact techsupport@electricquilt.com