If you’ve ever used the Auto Borders tool, you may have noticed two styles called Single Block Patterns 1-6 and 7-12 and wondered what those were for. Today I’ll show you one scenario when those borders will come in handy.
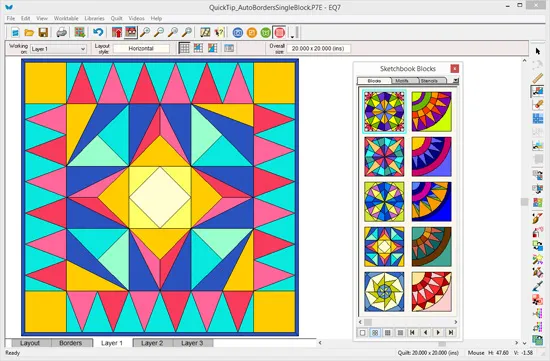
I’ve designed this mini quilt. It’s made up of one central block and has two borders (I add a narrow border around most of my quilts to mimic the look of binding).
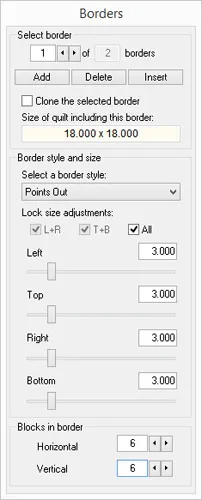
The first border has these settings on the Borders tab:
I like this design and I’m ready to make the quilt. I want to foundation piece each side of the border as one strip. But when I click on the border to select it for printing, I see that each triangle is a separate block:
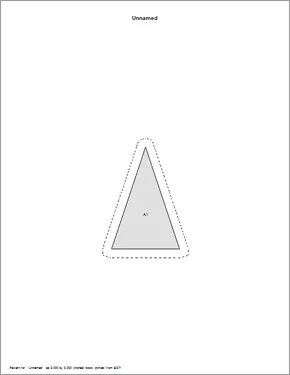
So when I print the pattern, each triangle is an individual block:
So how do I make it print the whole side of the border as one foundation piecing unit? I could draw the border myself on the Block Worktable by setting up a block the size of the border strip and manually drawing each triangle. But there’s an easier way! The Auto Borders tool has borders pre-designed for this purpose, so I’m going to replace the current border with an Auto Border.
Here are the steps:
- Click the Set Auto Borders tool
 . (If it’s not on the toolbar, right-click on the toolbar and choose Add/Remove Buttons. Click to put a check next to Set Auto Borders.)
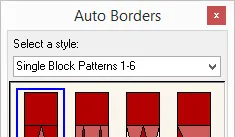
 - In the palette, under Select a Style, choose Single Block Pattern 1-6.
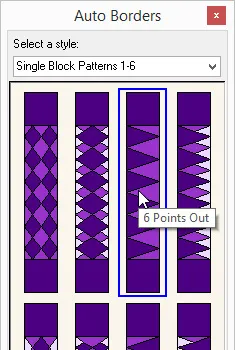
- My current Points Out border has six points, so scroll to the right to find the border called 6 Points Out (hover your mouse over a border to make the name appear).
- Click on the border on the quilt, and it will be replaced with the new Auto Border.
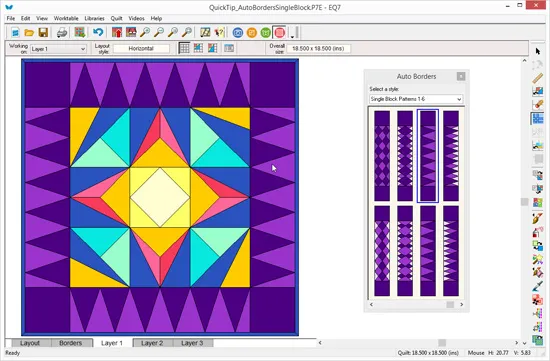
- Use the Paintbrush or Spraycan tools to re-color the border.
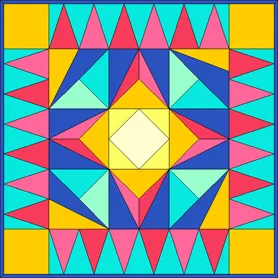
- Looks the same as the original border, right? But here’s where the big (important!) difference comes in– click the Select tool and then click on one of the borders.

- See how the entire border strip is now selected, instead of just one triangle? Now let’s see what the foundation pattern looks like:
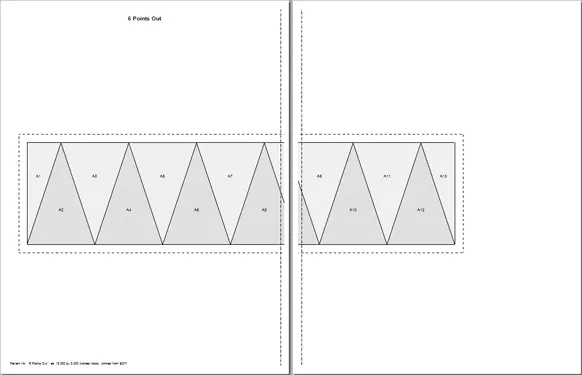
One foundation piecing unit with all the triangles! I’ll have to tape a couple pieces of paper together, but that just comes with the territory of using patterns larger than standard printer paper. Now I can start sewing my border strips for this mini quilt!
We are here to help! If you have questions about this, or anything else please contact tech support.





04-26-2016
11:21 am
I look forward to reading your tips every Tuesday. This one is especially useful at this time. Others, at another time. Keep up the great work.
EQ – you are awesome!
04-26-2016
11:22 am
Wow. That was great information. I never thought of doing that and I always wondered about the fancy border blocks that were shown. Thank you so very much. This was an eye opener for me.
04-26-2016
11:28 am
Wow, I’m looking forward to trying this – I didn’t even realise that function was there!
04-26-2016
12:52 pm
I didn’t know this trick. Thank you. Great tip, as always.
QuiltShopGal
www.quiltshopgal.com
04-26-2016
4:20 pm
Well there you go. I have learnt something new today. So I will have to try it out.
04-26-2016
4:46 pm
What a great tip. Keep them coming.
04-26-2016
5:19 pm
Always nice to get step by step instructions! Thanks
04-26-2016
6:35 pm
Interesting tip! A great tool for getting all those triangles to fit exactly as they should. I’m wondering if you had chosen a side border rather than a top/bottom one to print the foundation, would it have printed vertically on the page so there would be no taped seam needed? That would depend of course on the length of border in question. I’m also wondering if there is a simple way to use this technique to print border foundations for non-square quilts.
04-26-2016
8:11 pm
Thank you so much! I had run into this problem but had no idea how to resolve it. Thank you for the wonderful tip.
04-26-2016
11:09 pm
Thanks! You just rocked my world.
04-26-2016
11:58 pm
I was wondering how that worked. Thanks for the tip.
04-27-2016
7:49 am
Handy tip. Thanks
04-27-2016
9:50 am
I have used EQ since the beginning and I am still learning new tricks. Thank you so much.
04-27-2016
4:28 pm
Fantastic tip, Penny. I’m filing it in my EQ folder. Thanks for sharing!