 About Daphne
I began sewing as a young girl, making outfits for my dolls. I made my first quilt in 1980 and started teaching quilting classes in 1990.
Quilting and fibre art started as a hobby, but has turned into my passion and my business!
I have been designing quilt patterns since 1996. I have authored 5 quilting books and filmed an instructional DVD showcasing my Give & Take Appliqué™ technique. I also design patterns with new fabric collections for Northcott Fabrics and for several magazines.
Teaching is one of the activities that feed my soul. The interaction with students is one of the joys in my life. I love meeting other people who share my passion for fabric and creativity. I present lectures and workshops for quilt shops and guilds, at major quilting events and festivals and online at Quilt University (www.quiltuniversity.com).
I have two websites and a blog. The Patchworks Studio webstore (www.patchworkstudio.com) is your direct source for my quilt patterns, books and DVD. I also provide notions and other products that will enhance the quilting experience. My patterns and books are available at many fine quilt shops.
On my personal website (www.daphnegreig.com) you will find information about the workshops I teach and my travel schedule. I also have a gallery to show my Art Quilts and Traditional Quilts from my patterns and books.
My Blog (www.daphnegreig.blogspot.ca) is the place where I show what I am working on, student creations from workshops and my Flowers on Friday feature – photographs of flowers I discover in my travels and close to home.
How do I use Electric Quilt Software?
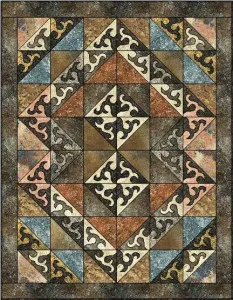
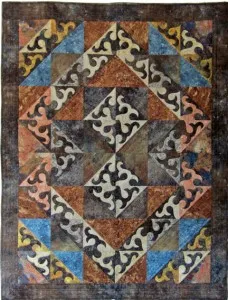
I test designs for all my pattern and book quilts. Sometimes these are pieced designs and sometimes they are Give & Take Appliqué designs. I need to draw the appliqué shapes for Give & Take designs. I always try the fabrics I’m thinking of using and put them in different areas of the design until I find the one I like best. Most of the time I use scans of actual fabrics that are available from the fabric companies. I can see exactly what the quilt will look like before I cut or sew anything. In fact, some of my patterns show the fabrics even before they have arrived at your local quilt shop!
I have a few favourite tools when writing my pattern directions.
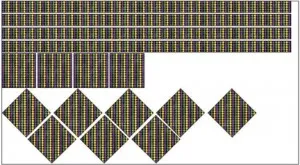
The first is Print/Fabric Yardage. This gives me an idea of the fabric amount required for the pattern. I still ‘do the math’ to be sure of the quantities and EQ helps me with this too. I create a New Quilt/Custom Set and set the width to be 38″ – 39″. This is the measurement I use for fabric width for all my patterns. I usually start with 36″ for the length (1 yard). Then I add all the shapes that I will need of a particular fabric to the quilt layout to see how much fabric is required.
The picture shows how I did this for an upcoming pattern, Mardi Gras Party Set, using new Northcott fabrics. For the ‘beads’ fabric in this pattern I need 4 strips 1½” x 38″, 4 squares 4½” (cut straight) and 8 squares 4½” (cut on point). I drew a square on the Block Drawing Board and fill it with the fabric. Then I put all the pieces on my Custom Set quilt to see how much fabric is required. I could see right away how to cut those ‘on point’ squares in a way to save fabric and this will be included in my pattern.
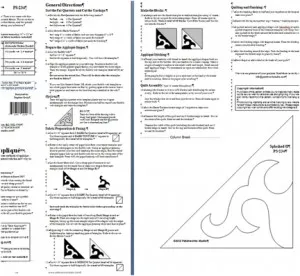
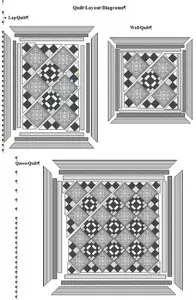
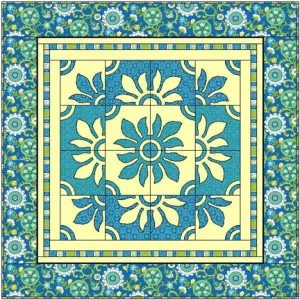
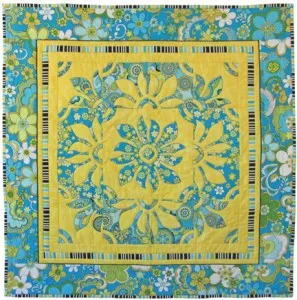
I also use the Export Metafile of Block tool when writing my patterns. I export the file (I use ‘Copy to Windows Clipboard’) and then Paste the file into my MS Word document. By using the MS Draw tools built into the word processing software I can separate the patches, colour them individually, create piecing or appliqué diagrams (and add arrows to show pressing directions) and even show quilt layouts. I describe the sewing steps but also include diagrams to show exactly how to make the blocks and quilts. You can see how I used this tool when creating directions and the appliqué pattern for Splashed II. The quilt assembly diagrams for the Mykonos Marble pattern were also possible with this tool and the Word drawing tool.
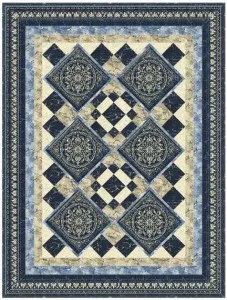
Export Image on the Quilt Worktable is a very powerful tool. I use it to create covers for patterns I design for Northcott fabrics long before the fabrics are available to me. I can send a high-resolution TIFF picture to Northcott. They use the images to show quilt shops how my patterns use upcoming fabrics. They also use these images for advertising in major magazines. I use the same images to create the covers for my patterns and create lower resolution images for my website and blog when new patterns are available.
Electric Quilt is one of the most important tools I use for designing and publishing. It saves me time and helps me create a better product.
Pictures & Captions
Daphne Greig- Author, Designer, Teacher
Sign up for my FREE newsletter:
www.daphnegreig.com
Books & Patterns:
www.patchworkstudio.com
Blog: www.daphnegreig.blogspot.com
Facebeook: www.facebook.com/daphnegreigartist


