I am Angie Padilla of Angie’s Bitz ‘n Pieces Designs. My love of quilting eventually took over more and more of my time, until I finally decided to take the plunge and in 2003 set up a new business and now I am a full-time as quiltmaker, designer, and teacher. I’m also the author of EQ6 Applique Drawing book (now out of print. But get a free PDF chapter from the book here.).
A few days ago one of my friends was showing me her latest crochet project. The family has been planning a big outdoor celebration later this month, so she has been crocheting some beautiful pitcher covers for each of the tables. Then she sighed: “It would have been fun to make these out of fabric, but I just couldn’t find a pattern for them.”
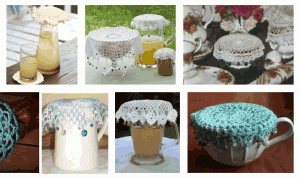
I had never heard of a pitcher cover before, and after an online search found there are oodles of patterns for crocheted pitcher covers:
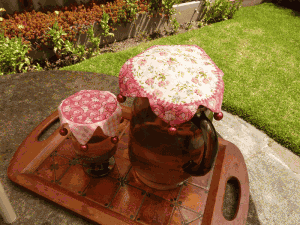
Naturally, I told my friend these could be made in fabric… and then proceeded to figure out how. And that is precisely the point of this little tutorial: the PatchDraw worktable is not restricted to appliqué alone, but can be used to draw many other sewing patterns. Such as a pitcher or glass cover, for instance.
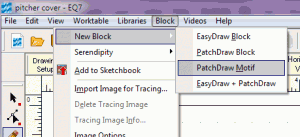
We will focus here on how to draw a pitcher cover in EQ7, using the PatchDraw tools, with additional tips on other shapes and sizes that would work both for pitchers or glasses. Instructions on how to sew the cover are also included at the end of this tutorial.
Drawing the Pitcher Cover
- For the purposes of this exercise, set your block size at 8 x 8 inches.
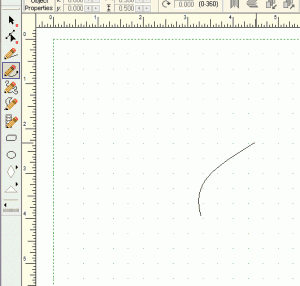
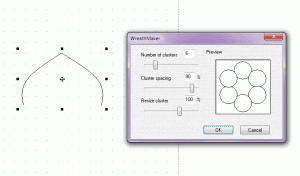
- Using your choice of either the Bezier Curve or Freehand tool, draw a short curved line. Think of this as one side of a flower petal.
- With the Pick tool, select the line you just drew. Clone it and flip it to the right. Use the Shape tool to join the two lines at the top.
- Use the Pick tool again to select the shape, and engage the Wreathmaker tool. Set the number of clusters to 6. You might have to play around with the setting for the Cluster Spacing. I set mine at 90 and it worked fine, but you might have to fiddle around with yours a bit. What you want is for the petal shapes to practically touch each other, so you can easily close the final flower shape.
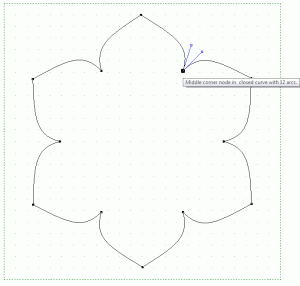
- Make sure the Snapping Options are set to Snap to Nodes of Drawing. Use the Shape tool to snap the nodes until the flower shape is closed.
- If necessary, resize the flower shape so it pretty much fills the worktable. Do this by clicking on the shape with the Pick tool, and while holding down the Ctrl key, drag one of the corner nodes to resize the shape.
- With the flower shape still selected, click the Move selected segments to center of block icon to center the shape on the worktable.
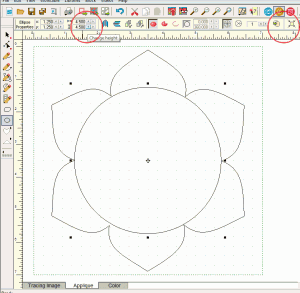
- Now click the Ellipse tool. While holding down the Ctrl key and the mouse left button, drag the mouse to draw a circle.
10. Set the Ellipse Properties to 4.500 for both the Height and the Width. Click the Move selected segments to center of block and Convert to patch icons.
11. Save this motif by clicking the Add to Sketchbook icon. You are now ready to print and sew your pattern!
Draw more pitcher/glass covers in different sizes and shapes
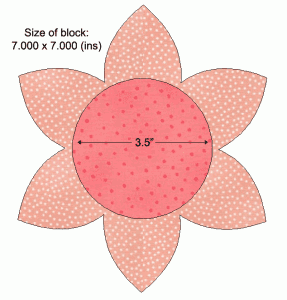
You can easily adapt the instructions given above for other sizes or shapes. For a wine glass cover, for example, I changed the size of the block to 6 x 6 inches, and drew a longer, narrower petal shape. The size of the circle is 3.5.”
Following the steps above, play around with shapes and sizes! Increase or decrease the number of clusters. And consider adding appliqué or embroidery designs to your project!
Sewing the Pitcher Cover
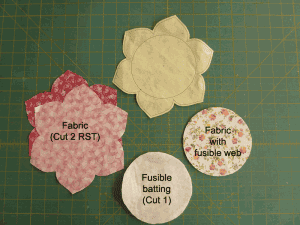
Fabric Requirements: Depending on the pattern you choose, you will need two pieces of fabric approx. 8” x 8” for the base of the cover, and a piece of fabric approximately 5½” for the circle.
You will also need a piece of fusible batting and a piece of fusible web about 5½” square.
1. Using the pattern of your choice, cut 2 pieces from fabric RST for the “base” of your cover.
2. Iron a 5½” square of fusible web to the wrong side of a 5½” square of contrasting fabric.
3. Using the circle template, cut one circle of the fabric with the fusible web, and one circle of fusible batting.
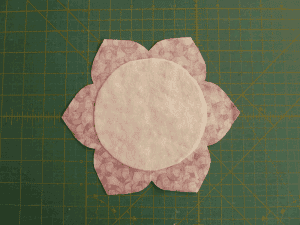
4. Center the batting and fuse to the wrong side of one of the base pieces.
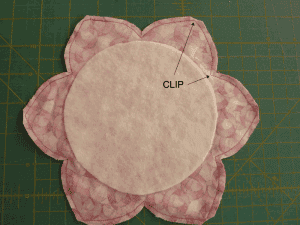
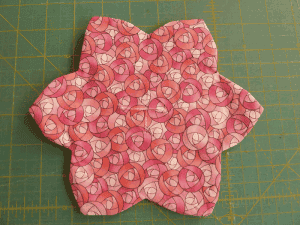
5. Place the piece with the fused batting onto the second base piece, right sides together. Sew together along the entire edge, using a 1/8” seam allowance. Clip and trim as indicated in the photo below.
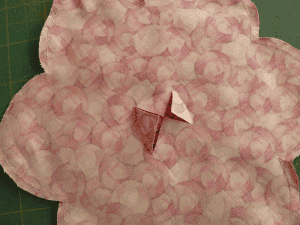
6. Turn the piece over and cut an “X” into the center of the top fabric. Be careful not to cut the other piece of fabric/batting.
7. Turn the piece inside out and press.
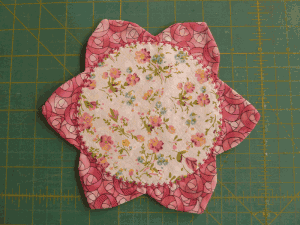
8. Center and fuse the circle onto the side of the cover with the cut hole. Attach with a buttonhole or other decorative stitch of your choice.
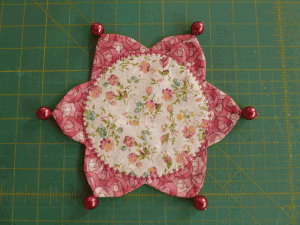
9. Sew one or more beads onto each of the points or “petals” of the base.
10. Now go make a whole slew of these little cuties as quick gifts for all your friends and family!
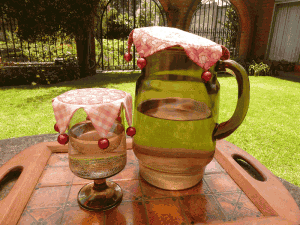 Learn how to make this adorabl Pitcher Cover in EQ7 with expert Angie Padilla.

