This month we will be learning how to draw two different braid blocks. The lesson also covers some EasyDraw drawing basics. Let’s get started!
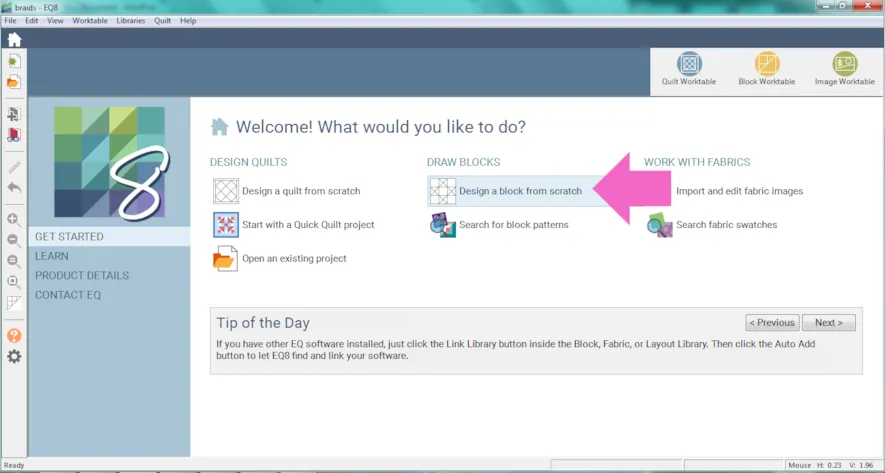
- Click Design a block from scratch
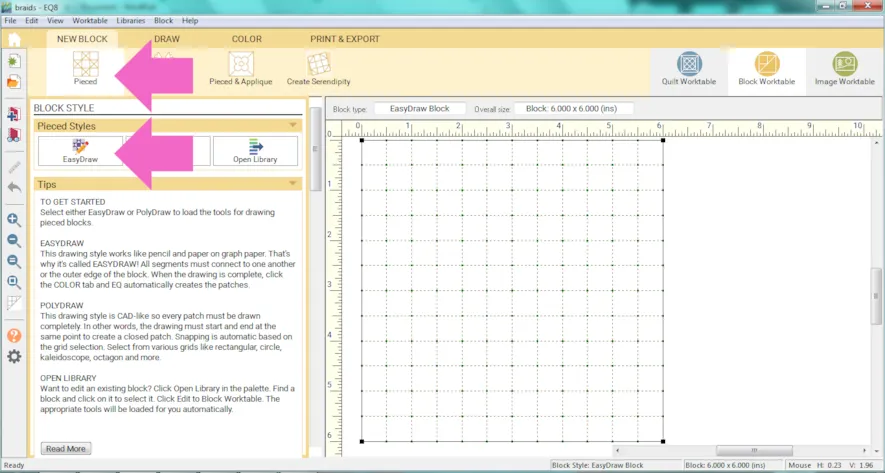
- Click Pieced
- Click EasyDraw
- In the Precision Bar set the following:
Block Width: 6
Block Height: 6
Snaps Horizontal: 12
Snaps Vertical: 12
Graph Paper Cells: on
Graph Paper Horizontal: 12
Graph Paper Vertical: 12
Snapping Options – Snap to grid points on worktable: on
Snapping Options – Snap to nodes of drawing: on
Snapping Options – Snap to lines and arcs of drawing: off
- Make sure the Line tool is selected
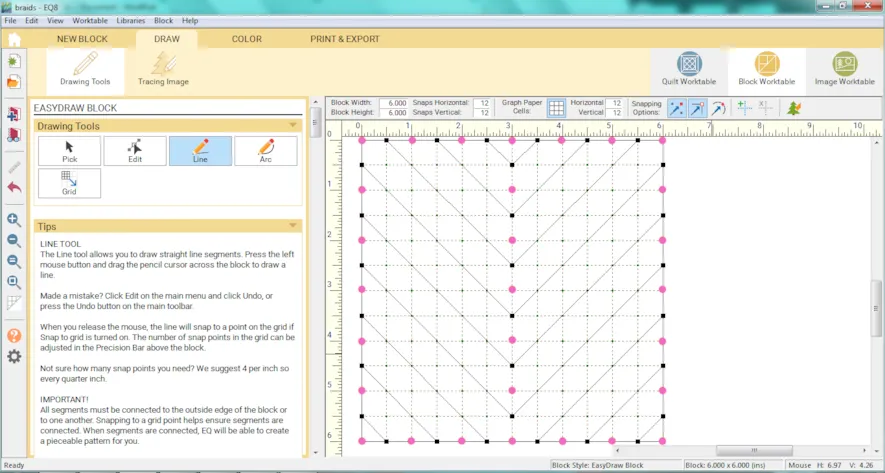
- Start drawing the block as shown.
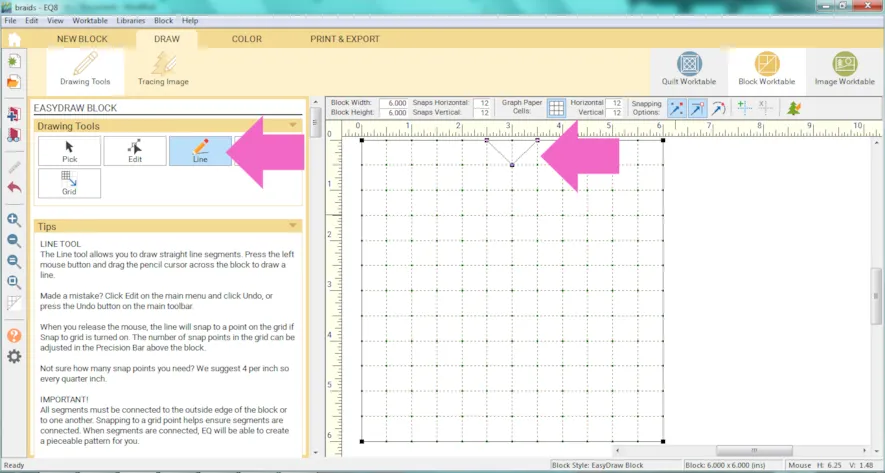
- Draw all the V shapes first.
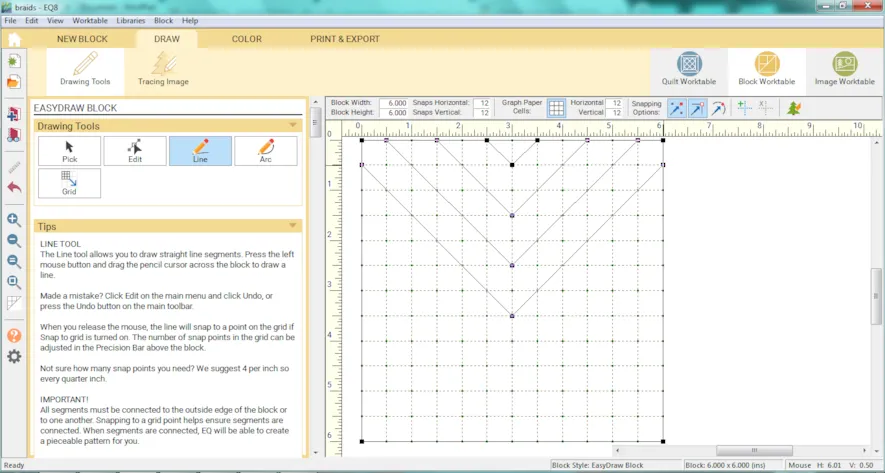
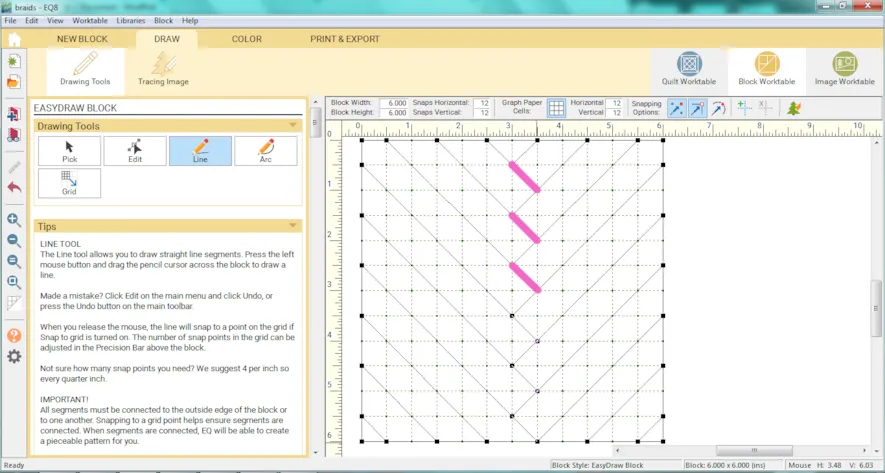
- Continue to draw as shown. You should have one grid dot in between all the points of the V’s.
- Draw in the lines to finish off the braid block.
- Click Add to Project Sketchbook
 . If you haven’t named your project yet, EQ8 will prompt you to do so. (To be saved, your item needs to be in the Sketchbook AND your project needs to be named. Here is more information.)
 - Click on Quilt Worktable
- Click NEW QUILT
- Click Horizontal
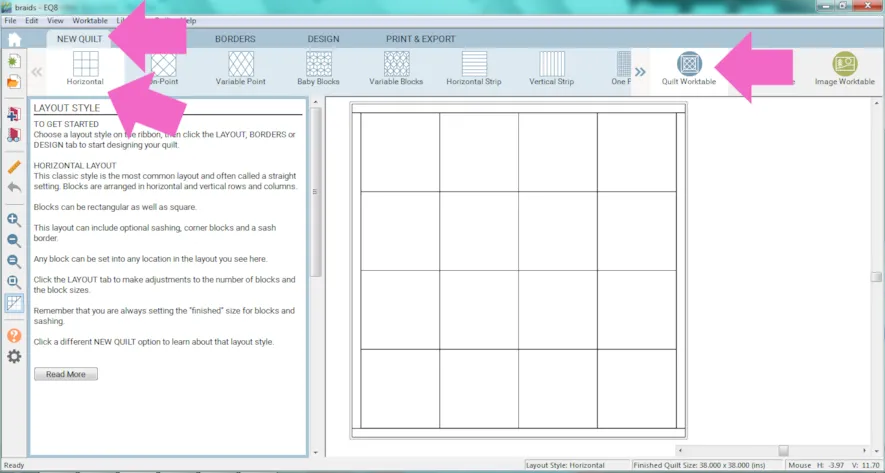
Usually the next steps would be to click the LAYOUT tab then the BORDERS tab…but we are just leaving the default settings for those options. - Click the DESIGN tab.
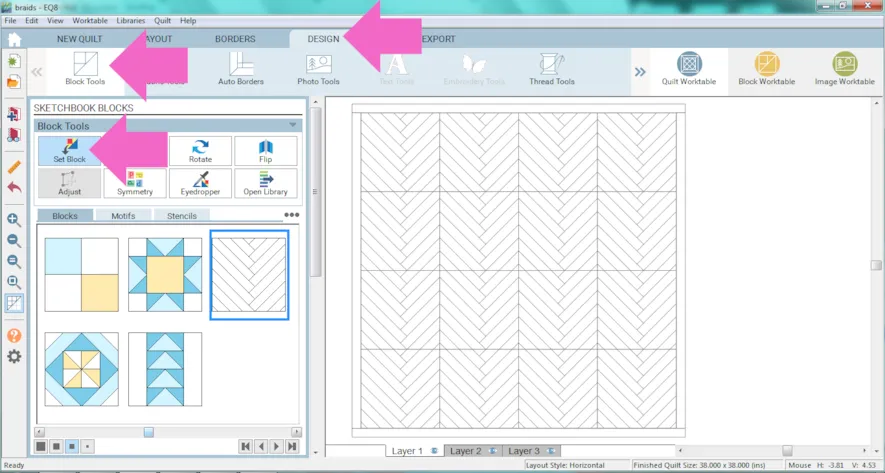
- Click Block Tools
- Click Set Block and hold down the Ctrl/Command key on your keyboard and click to place the block in all the patches.
- Click Fabric Tools
- Click Paintbrush
- Color the first two blocks as you like.
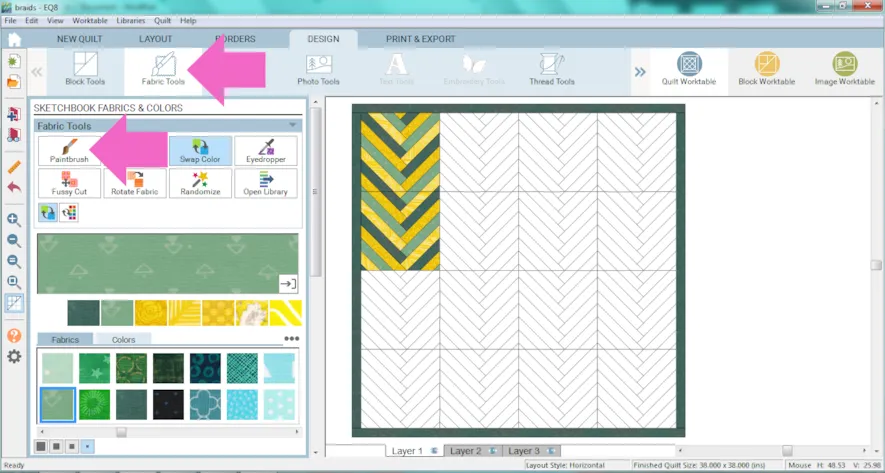
- Click Add to Project Sketchbook

- Click Block Tools
- Click Set Block
- Click the first braid block in the pallet and click the first corner block in the quilt (already colored) while holding down the ALT/Option key on the keyboard.
- Click the second braid block (already colored) while holding down the ALT/Option key on the keyboard.
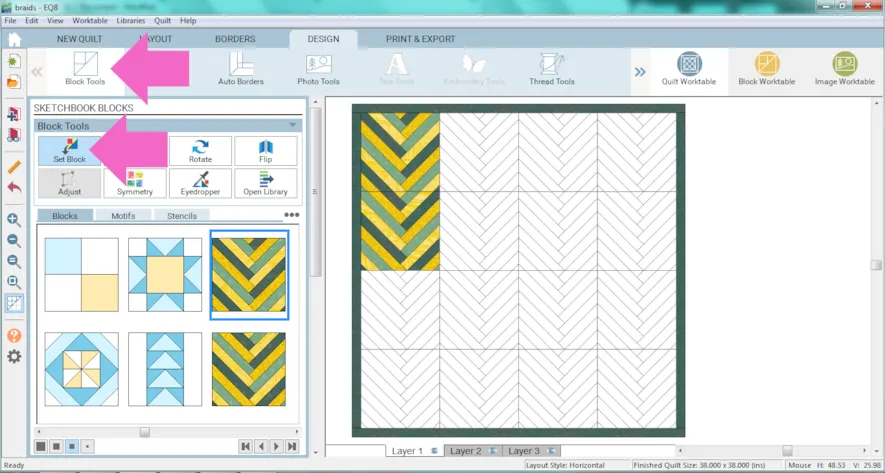
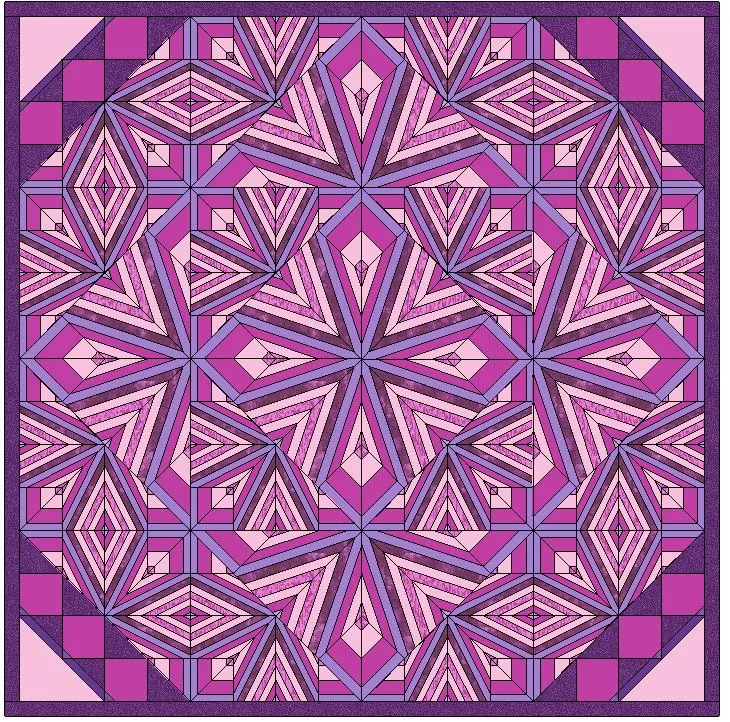
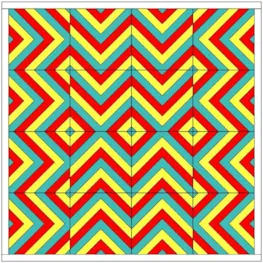
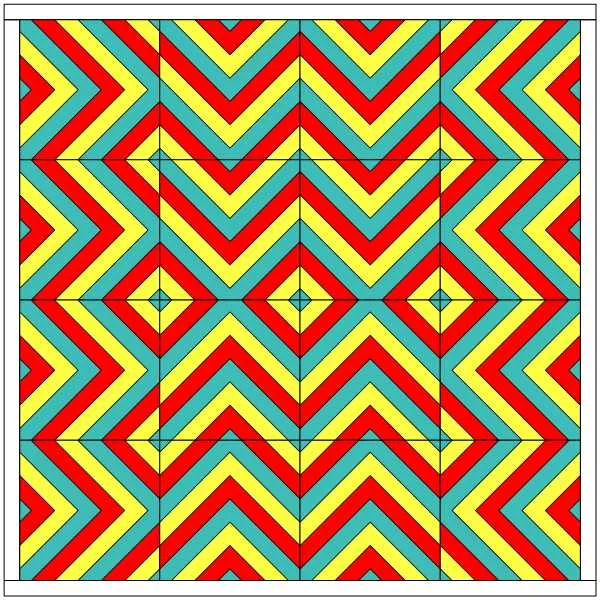
- Use the Symmetry tool and the Rotate tool to get all different kinds of designs.
- Make sure to click Add to Project Sketchbook
 to save anything you like.
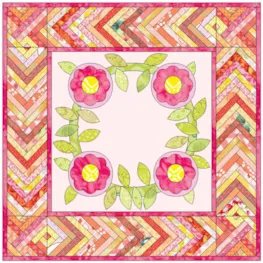
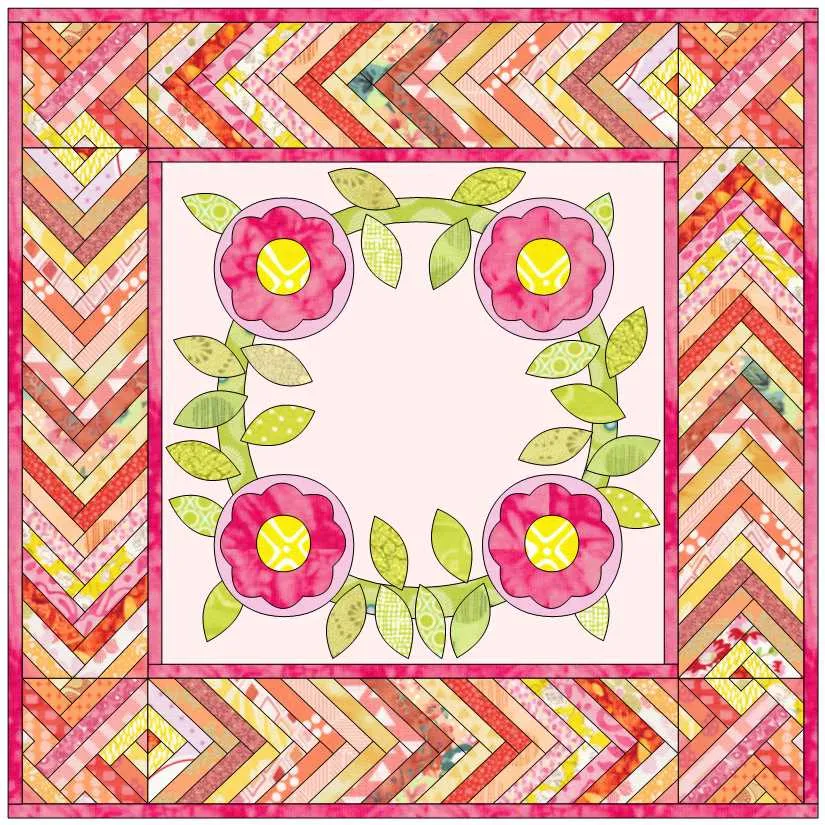
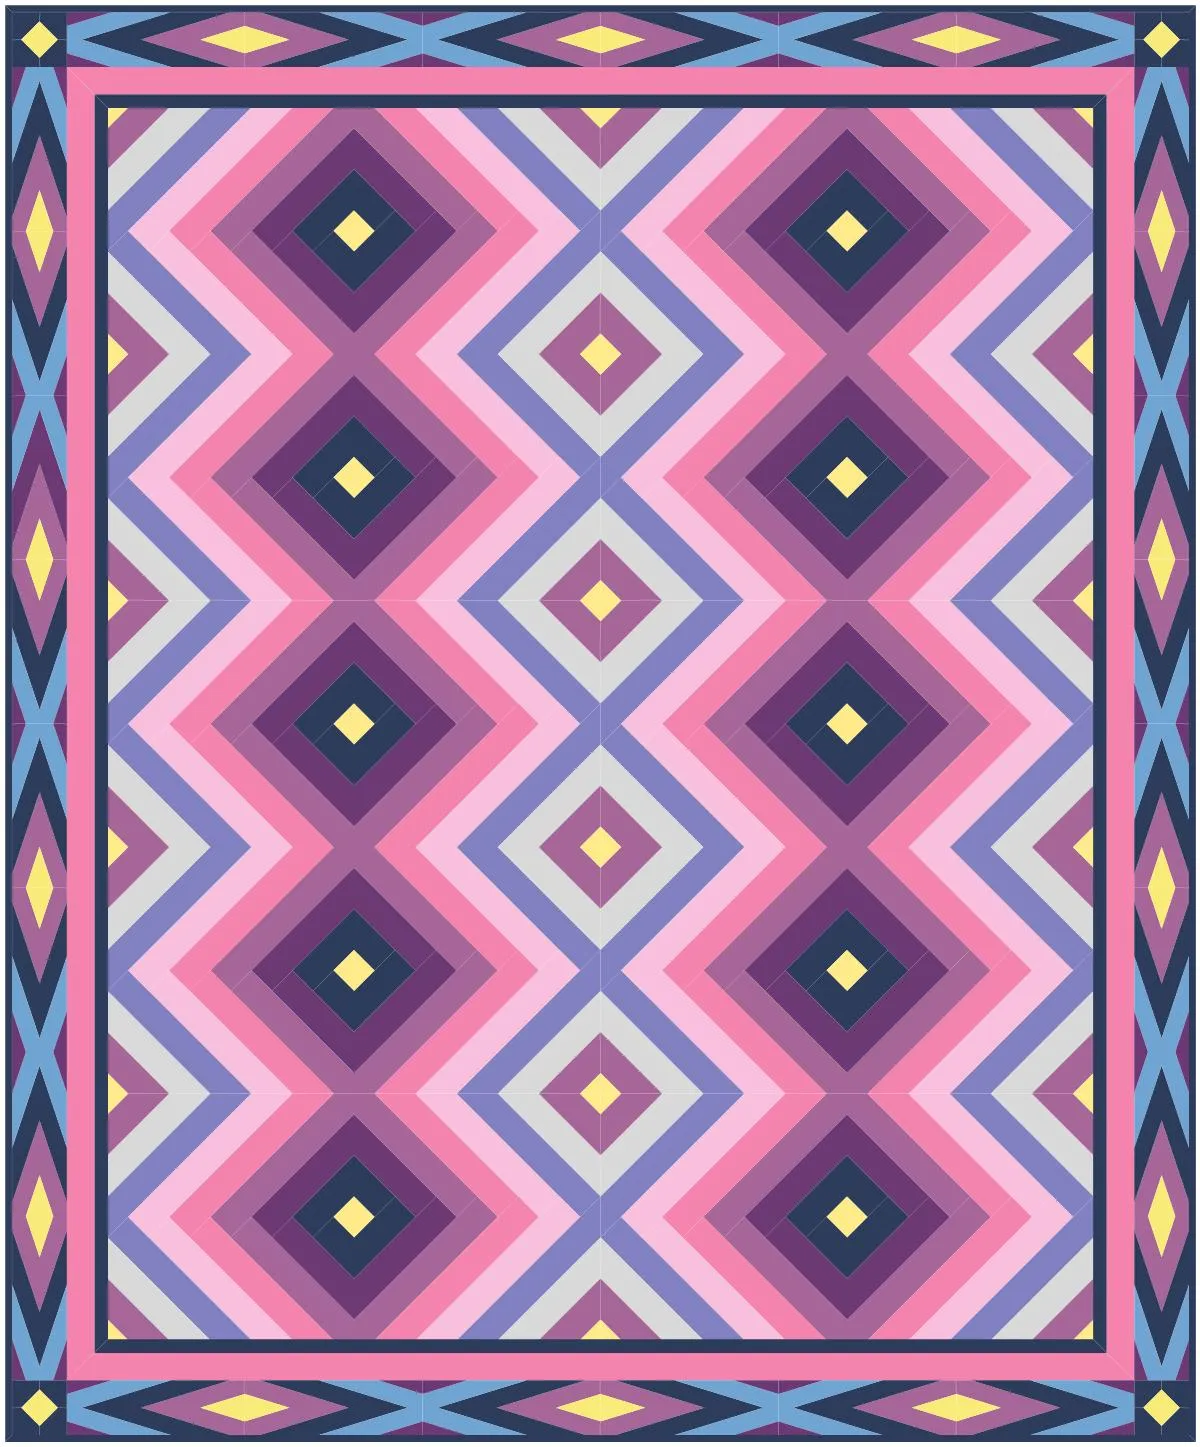
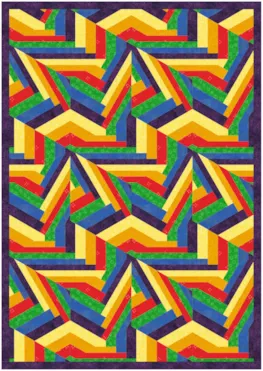
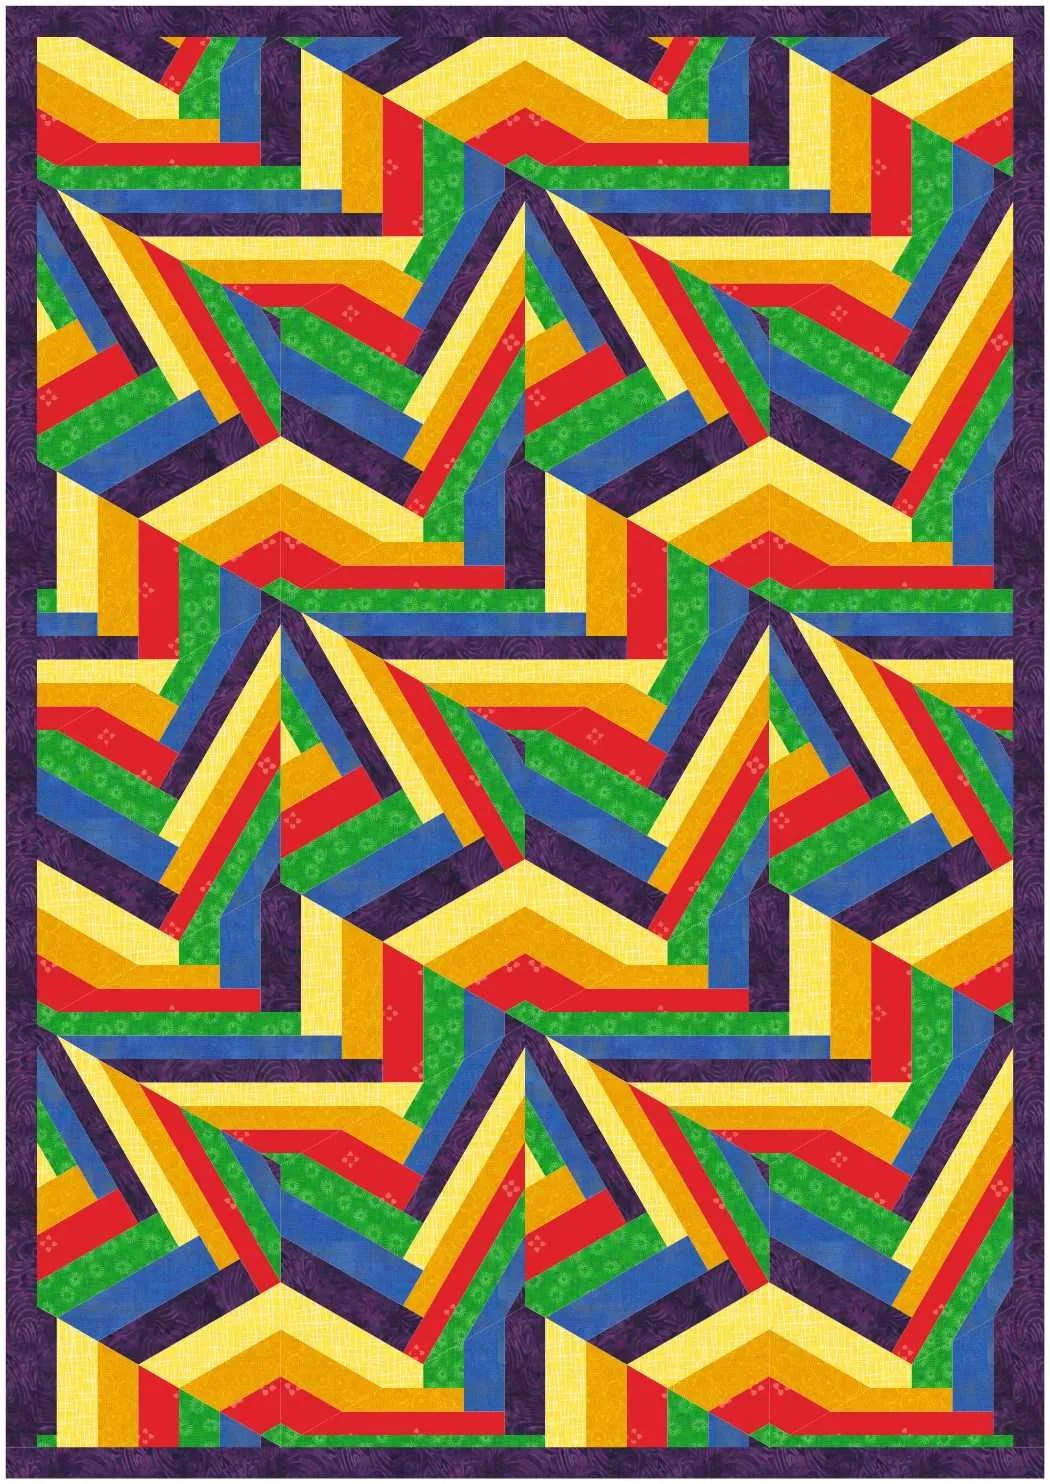
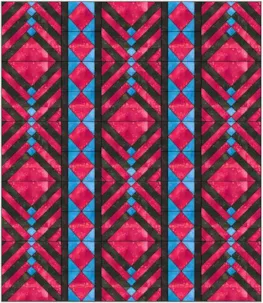
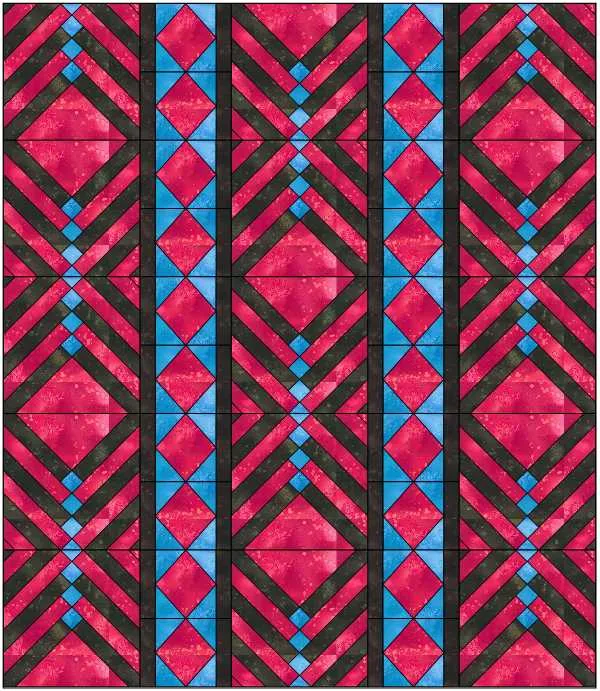
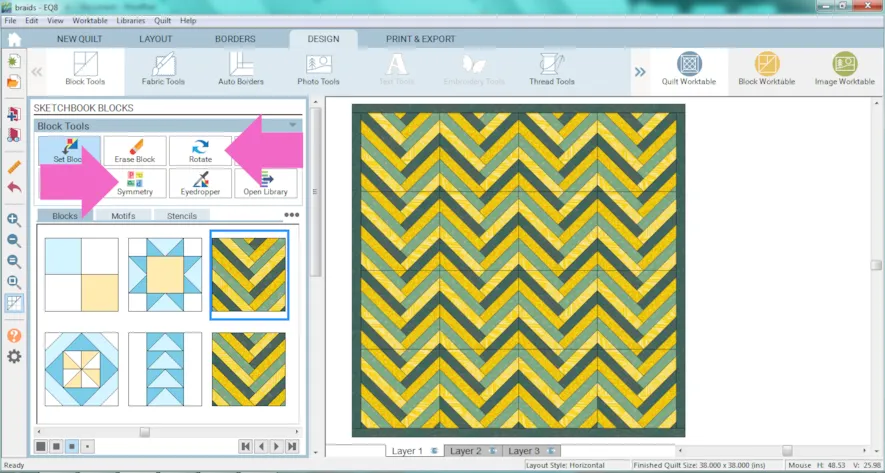 Here are some examples.
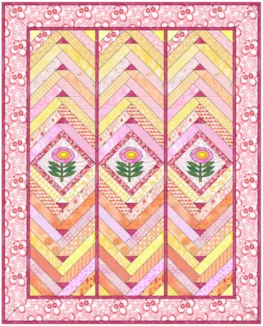
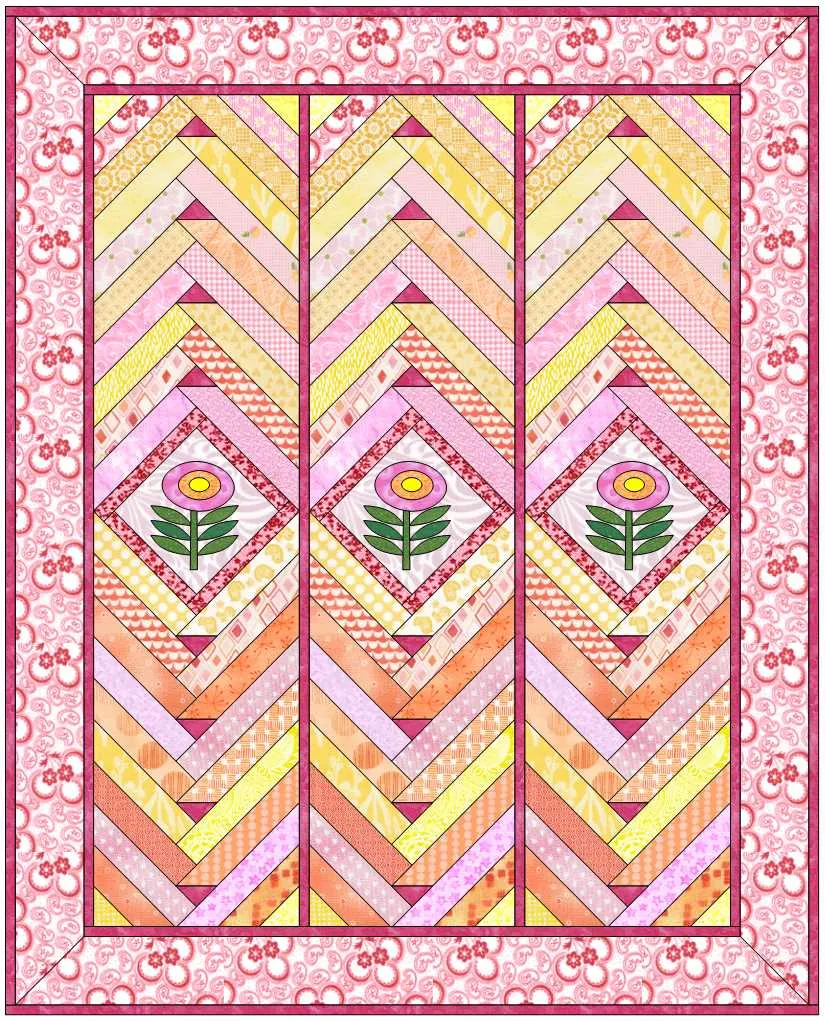
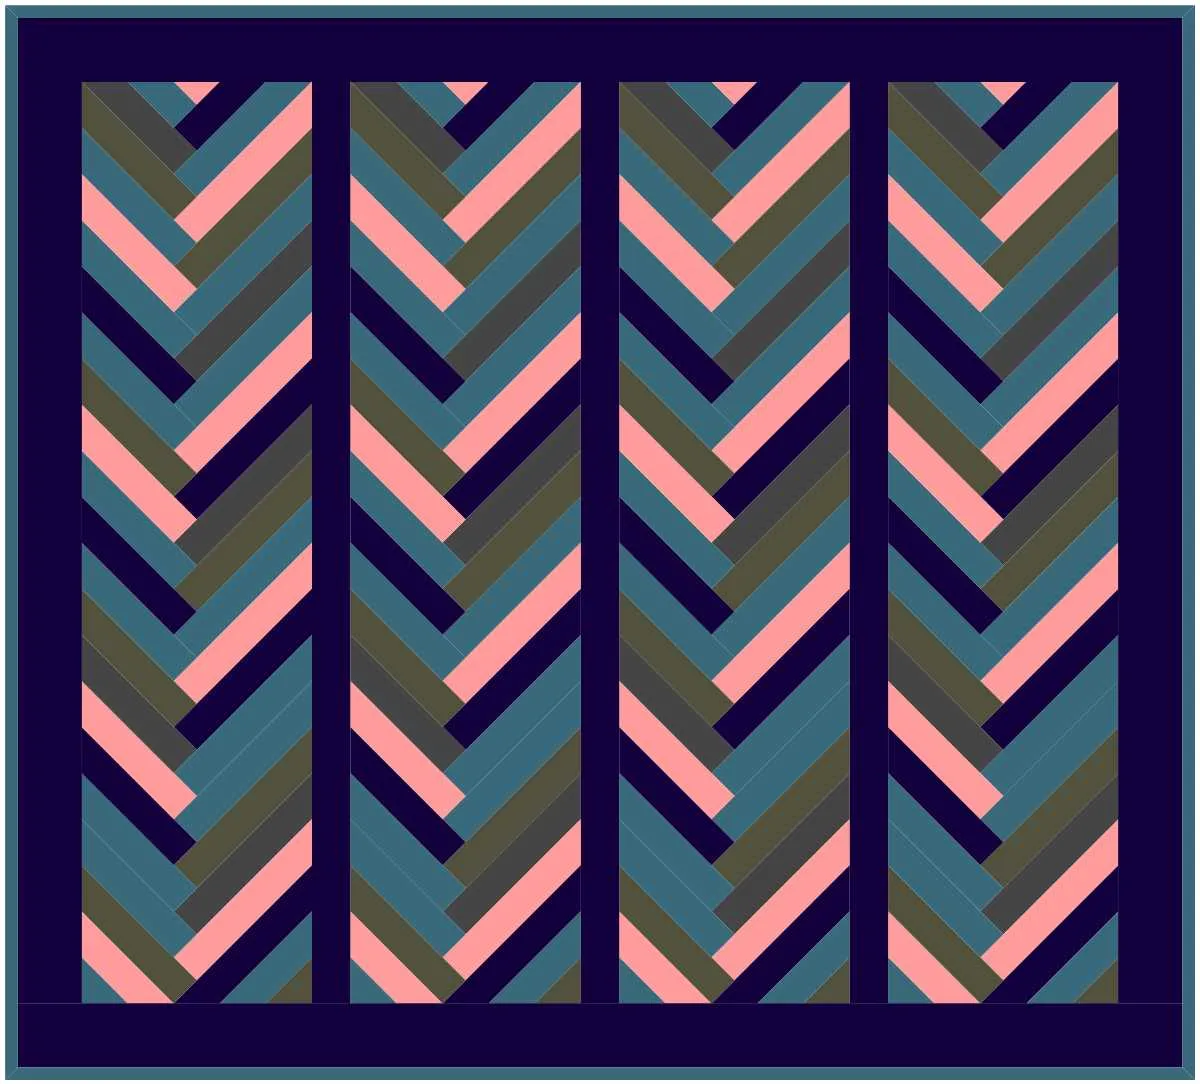
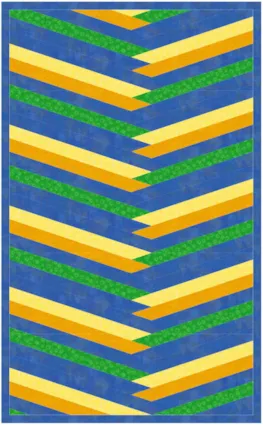
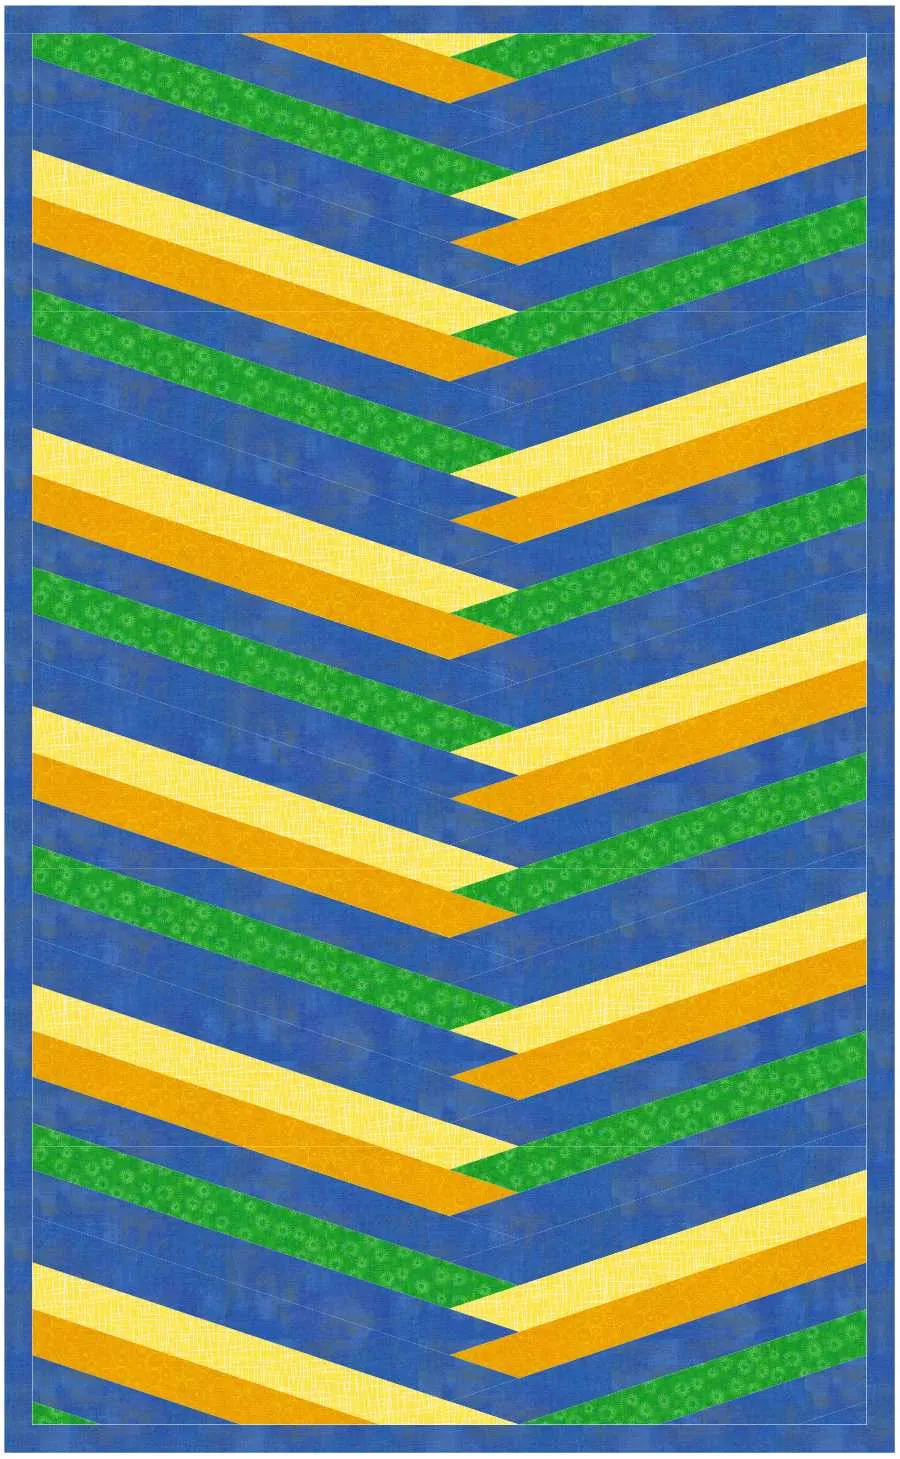
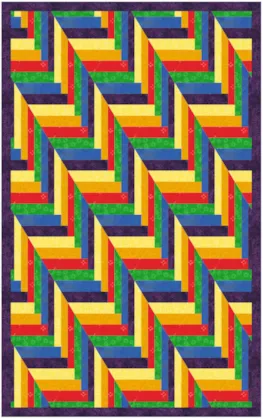
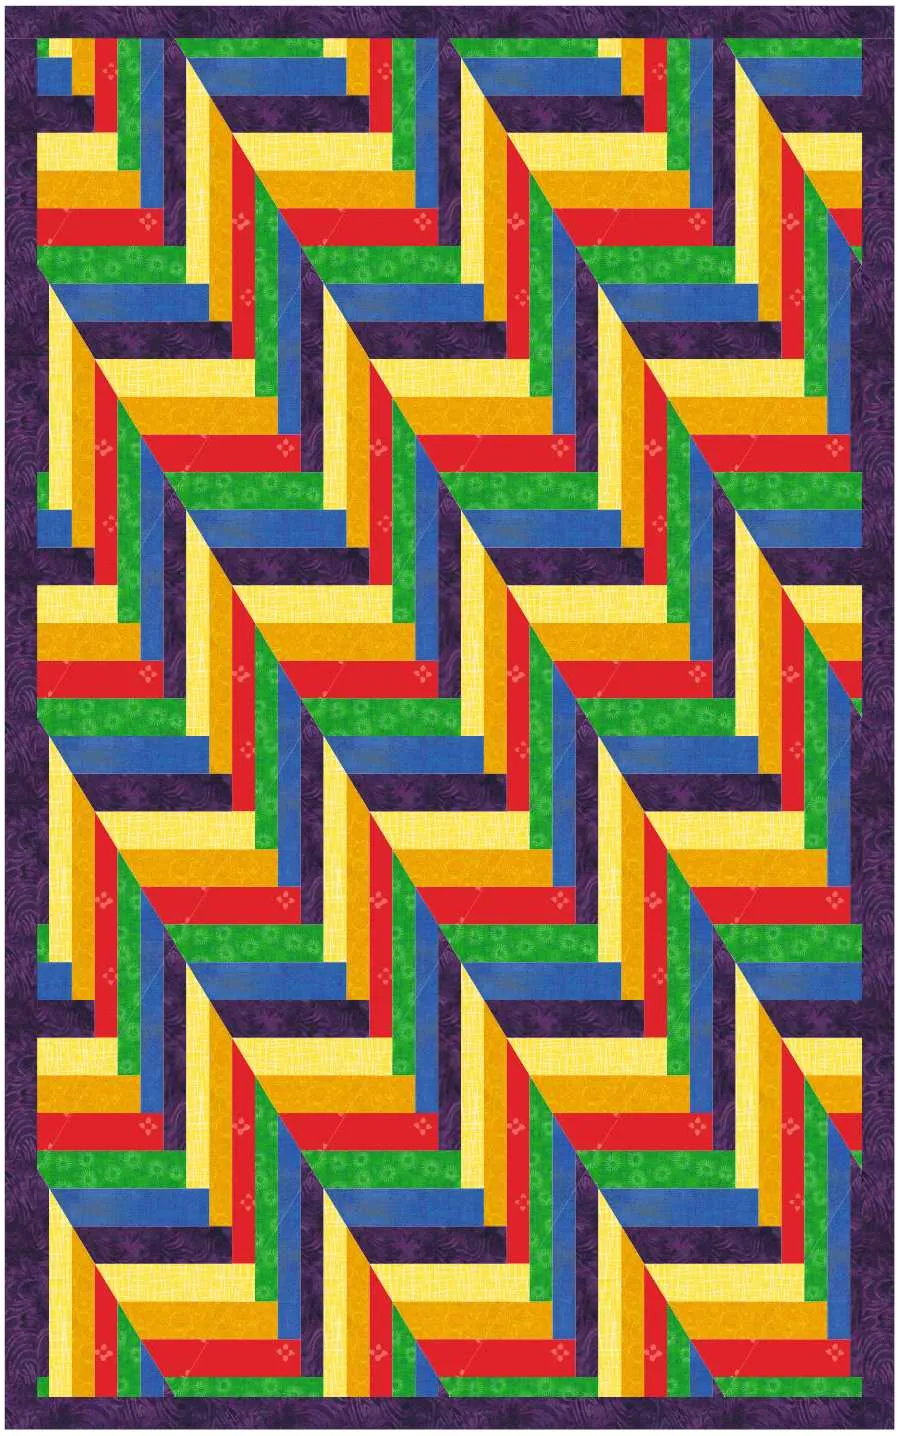
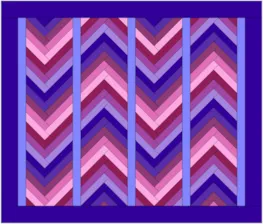
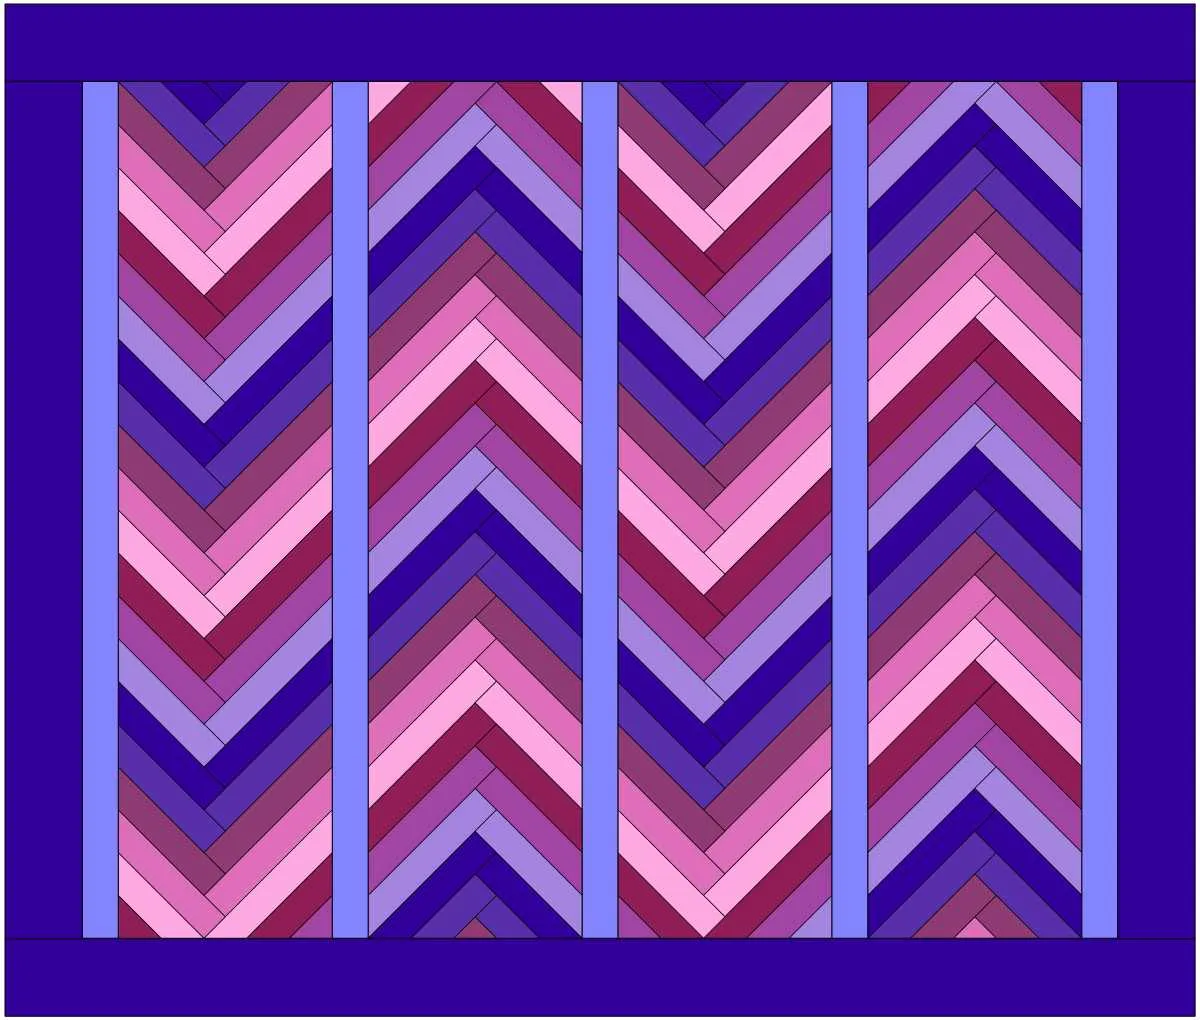
 The first block we drew is great for rotating and giving lots of different options. But, it does have a seam dividing the design in some cases. The next example does not have a seam. The quilt layout we will put this block in needs a block that is 9 x 36. That math is a little hard to work with. We will draw the block at 4 x 10 and EQ8 will automatically resize the block when it is placed in the quilt layout.
 - Click Block Worktable
- Click NEW BLOCK
- Click Pieced
- Click EasyDraw
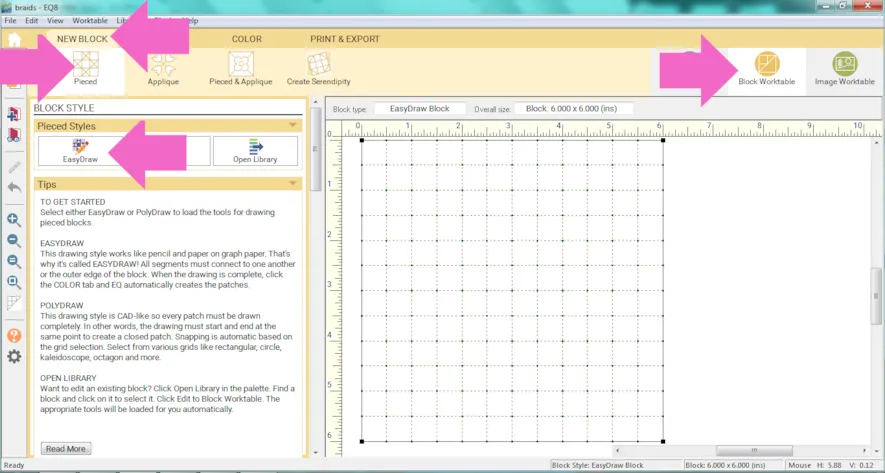
- In the Precision Bar set the following:
Block Width: 10
Block Height: 40
Snaps Horizontal: 10
Snaps Vertical: 40
Graph Paper Cells: on (or off if you prefer, it doesn’t affect the snapping)
Graph Paper – Horizontal: 10
Graph Paper – Vertical: 40
Snapping Options – Snap to grid points on worktable: on
Snapping Options – Snap to nodes of drawing: on
Snapping Options – Snap to lines and arcs of drawing: off
- Click Zoom in
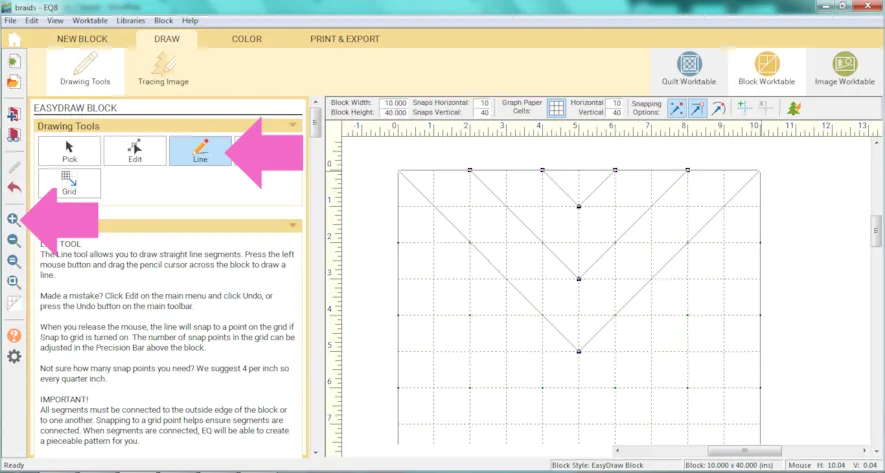
- Click the Line tool and start drawing the same V pattern as before. Still skipping every other grid dot.
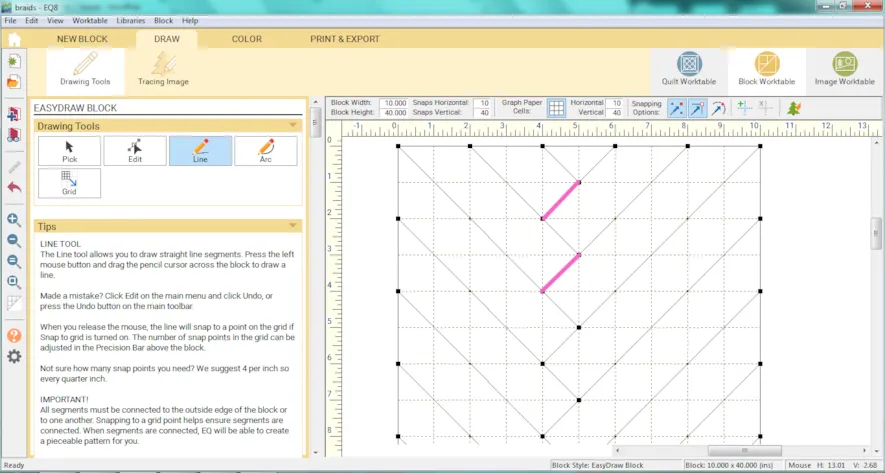
- Next draw in all the short lines.
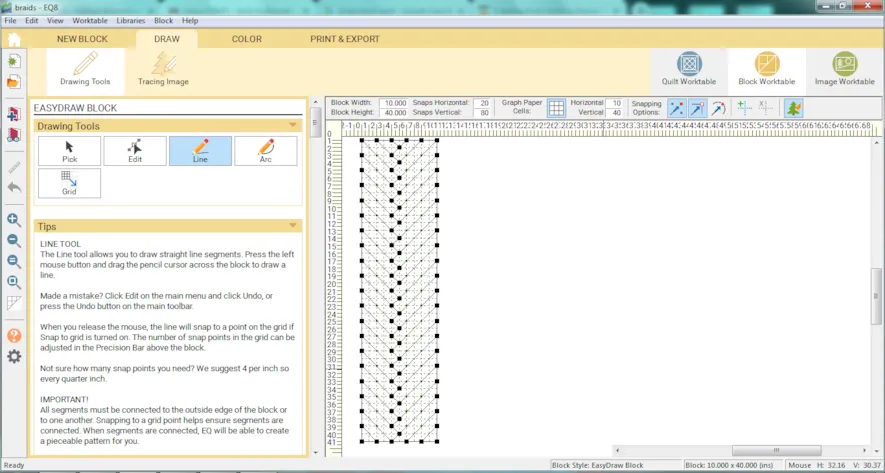
- When you are done drawing, be sure to click Add to Project Sketchbook

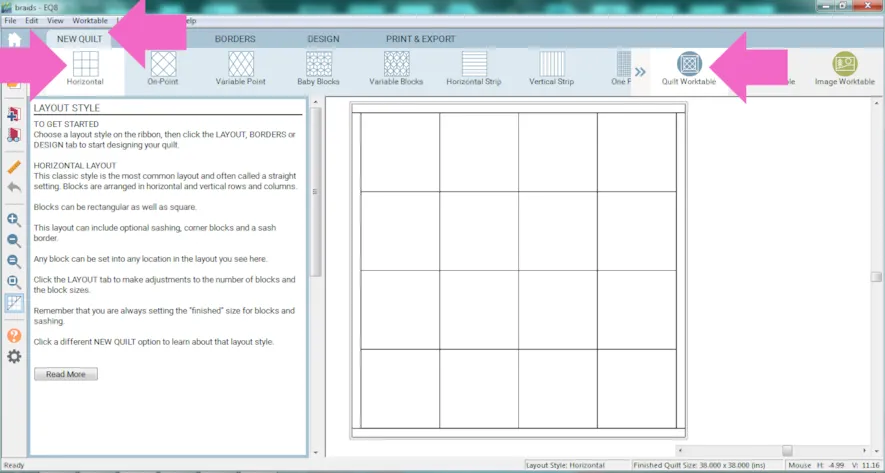
- Click Quilt Worktable
- Click the NEW QUILT tab
- Click Horizontal
- Click the LAYOUT tab For NUMBER OF BLOCKS
Horizontal: 4
Vertical: 1 for FINISHED SIZE OF BLOCKS
Width: 9
Height: 36
(Make sure Keep width and height equalis unchecked)for FINISHED SIZE OF SASHING
Width: 1.5
Height: 0
(Make sure Includes sash border and Keep width and height equal are unchecked)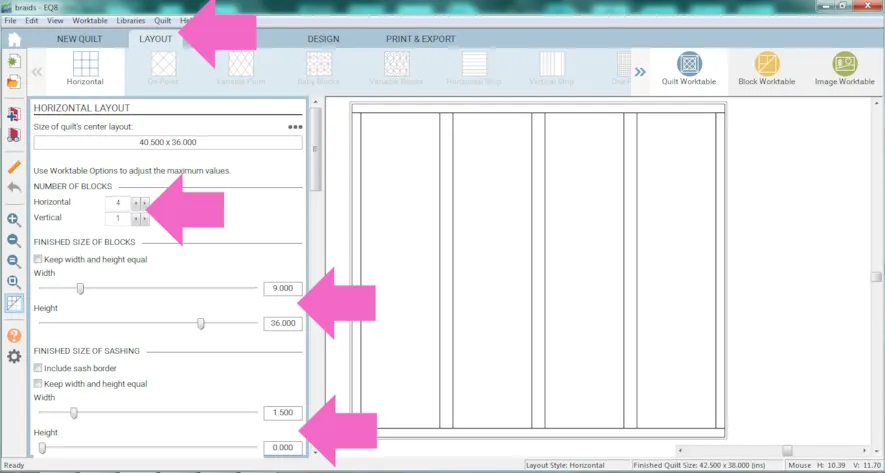
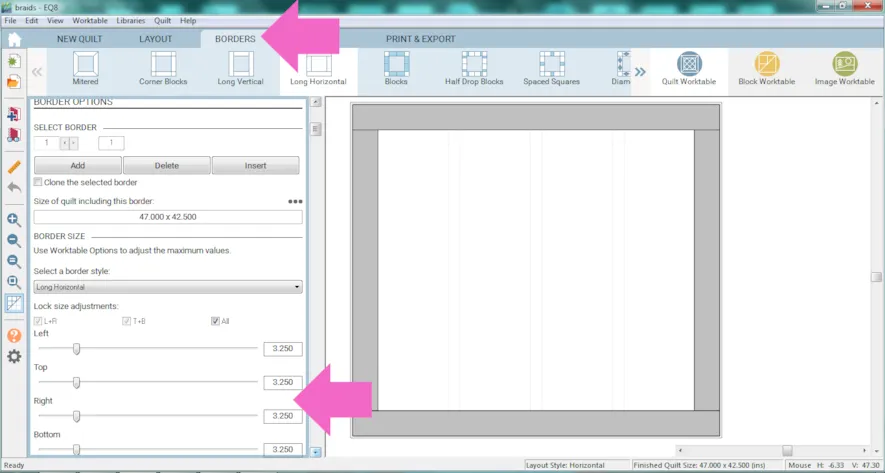
- Click the BORDERS tab
- Make all the sides of the border 3.25
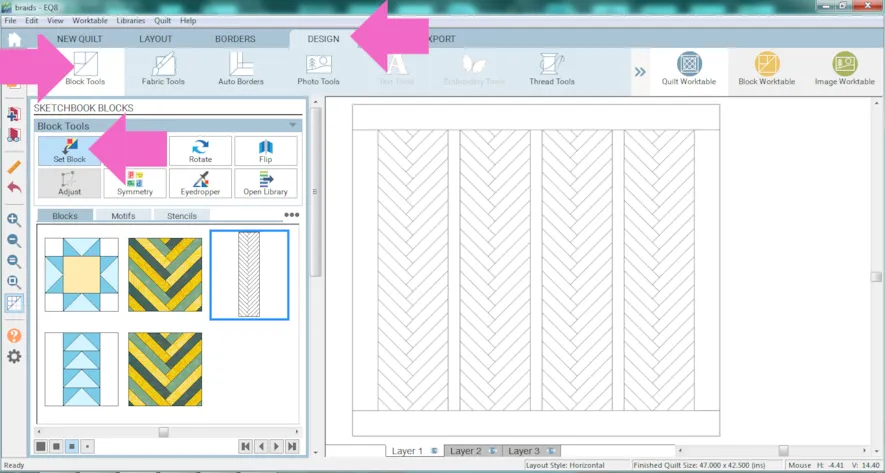
- Click the DESIGN tab
- Click Block Tools
- Click Set Block
- Click on the long braid block and click to place it in the patches as shown. No unnecessary seams!
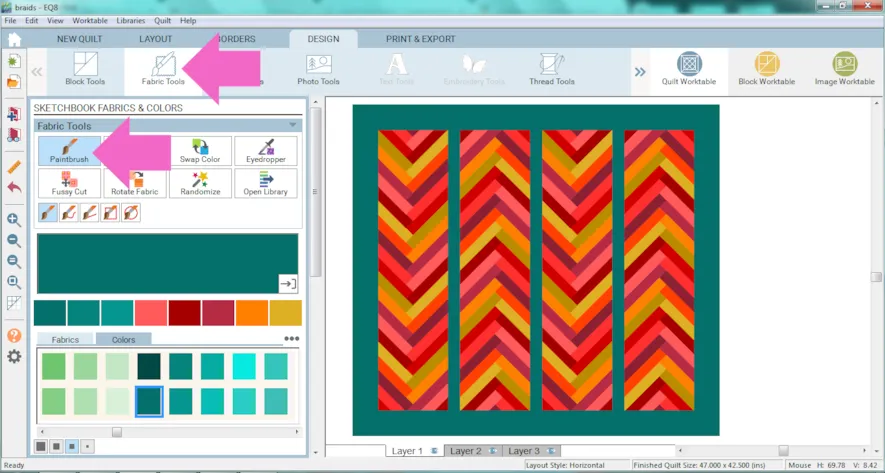
- Click Fabric Tools
- Click the Paintbrush and recolor however you’d like.
- Remember to click Add to Project Sketchbook

If you want to post images of your quilt, here is how to export the images.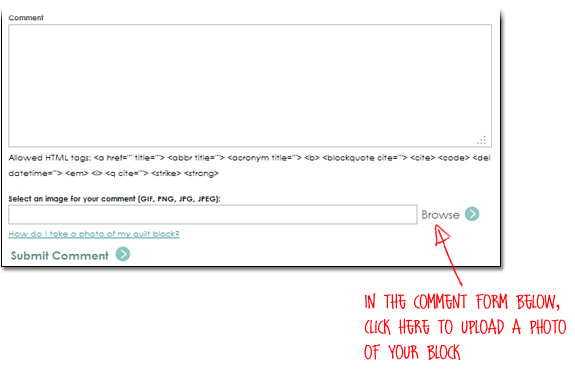
To post your image click to comment on this post.Fill in your info and then click Browse.
Go to: Documents\My EQ8\Images
I can’t wait to see what you’ve done! I hope you enjoyed the lesson!
If you have questions about the lesson feel free to post them below.
If you have questions about something else EQ related, please contact techsupport@electricquilt.com.
If you have suggestions for new Design & Discover lessons feel free to comment below or email Heidi@electricquilt.com.


