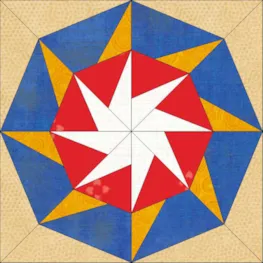
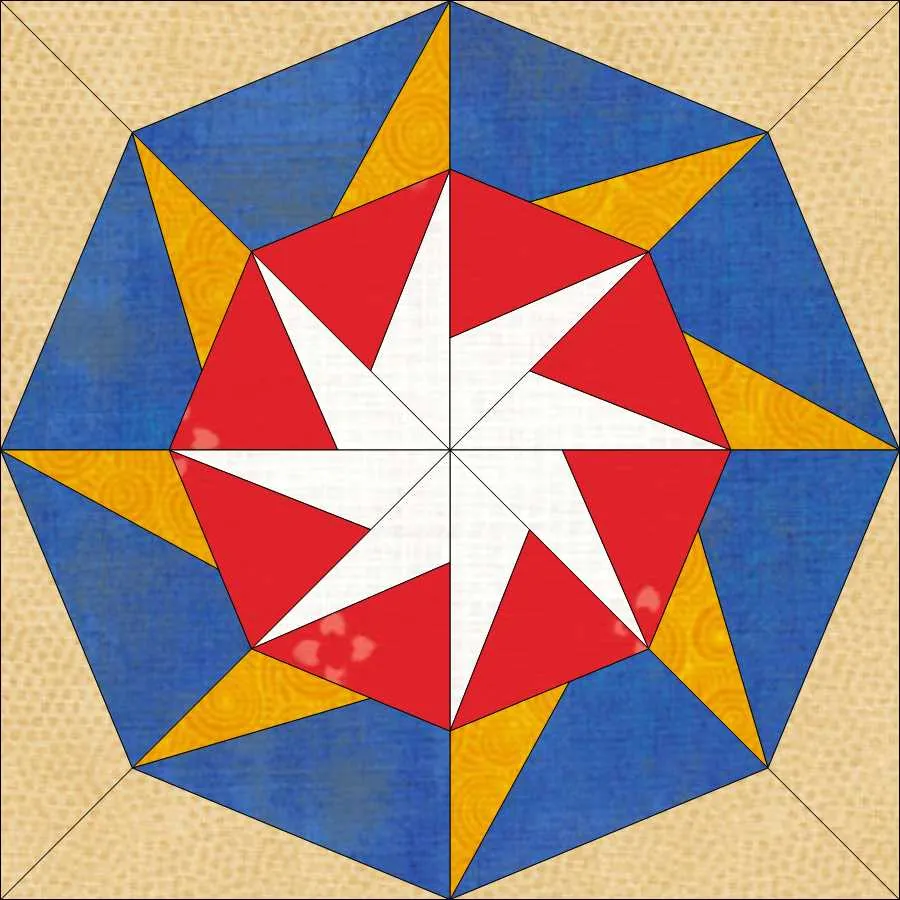
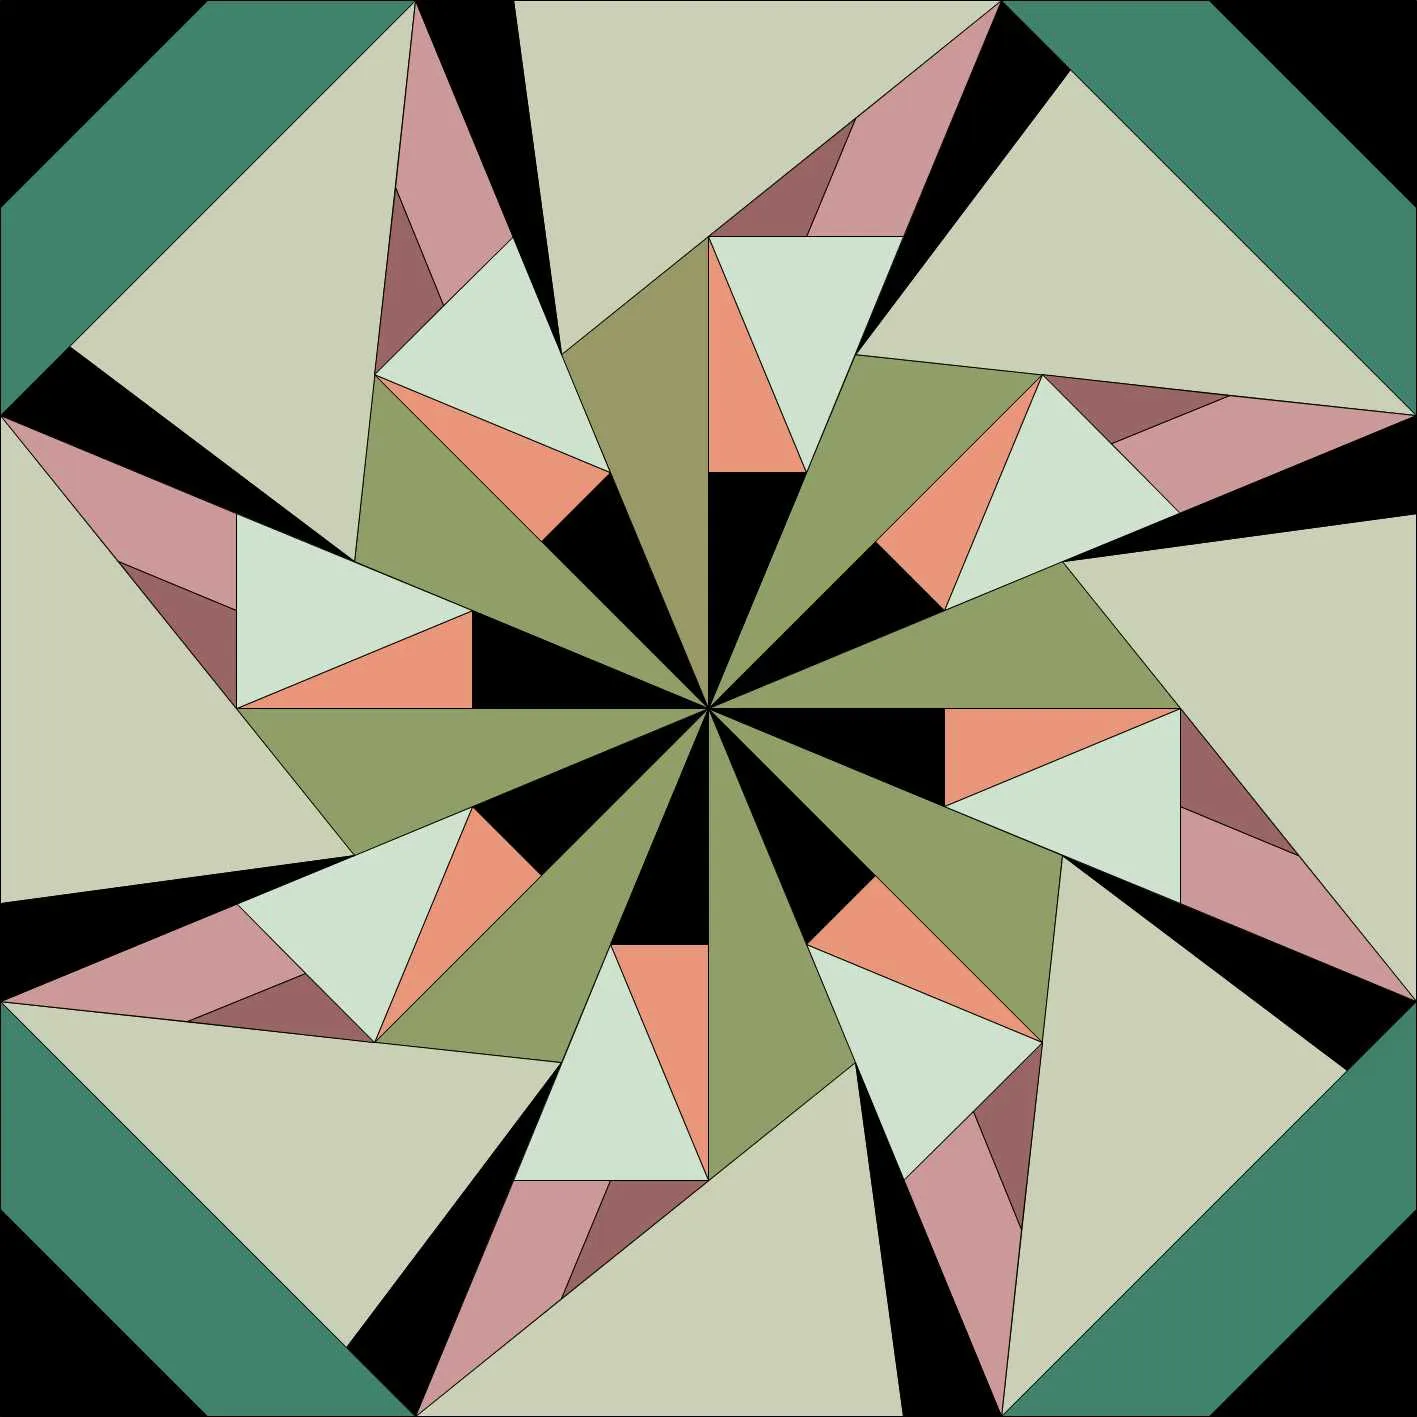
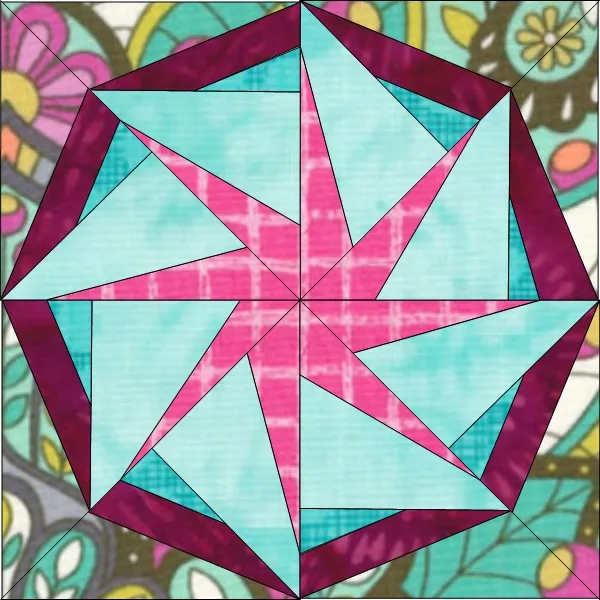
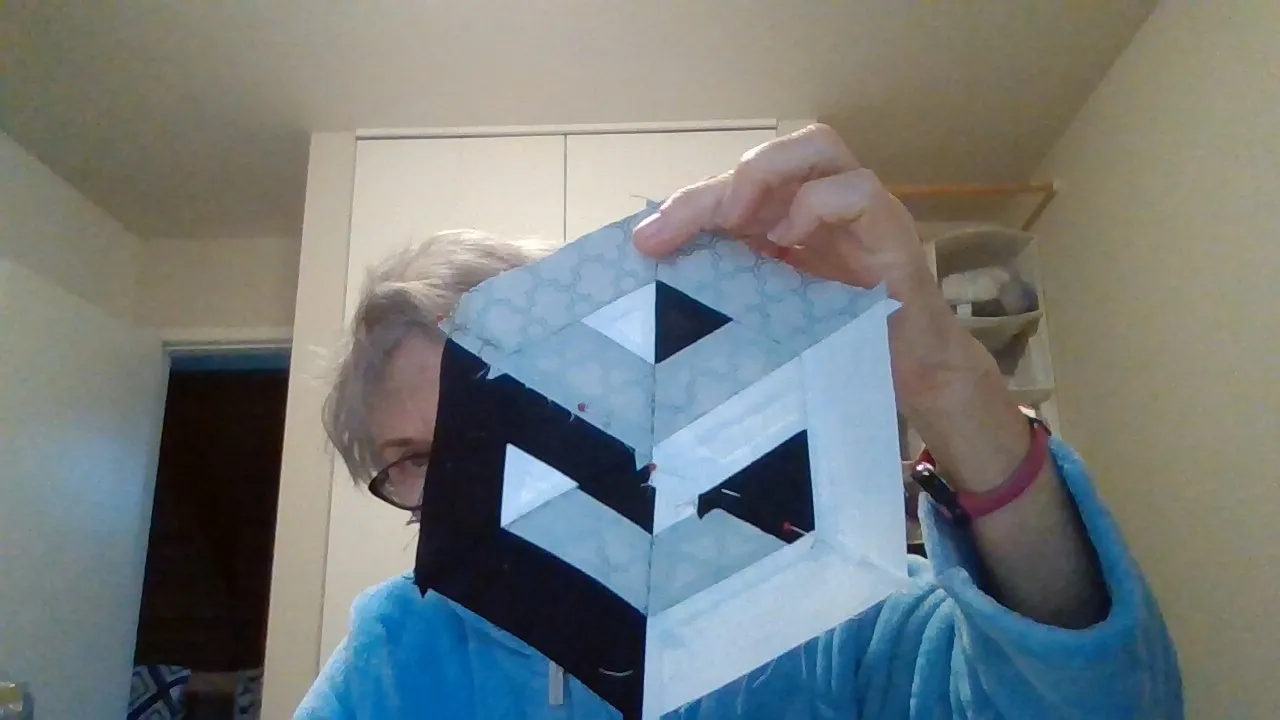
In PolyDraw, you construct the block by drawing closed patches (unlike EasyDraw where you draw straight or curved lines and the software creates the patches for you). You must start and stop at the same point to finish a patch. Double-clicking at the start/stop point will close the patch and release the tool from the worktable. The patches you can draw are determined by the grid and snap points you select. This type of drawing can be a lot of fun because there are special grids that make designing easier.
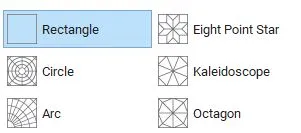
There are six grid options.
Here are some things to note before we get started:
- All lines or arcs must start and stop at the same point (after you’ve clicked other points).
- Although adjacent patches will share edge lines, they will be drawn twice, once for each patch.
- You should not draw patches that overlap.
- Which grid you choose will determine which tool will be applicable. The PolyLine tool is active for all six grids, but the PolyArc is only available if you choose the Circle or Arc grids because those grids incorporate curves.
- No matter what grid layout you choose, none of them have a block outline, so you must fill the entire block with patches.
- Grids will not appear on your printout, but will just be a drawing guide.
- If you make a mistake here is some information on how the Edit tool works with PolyDraw.
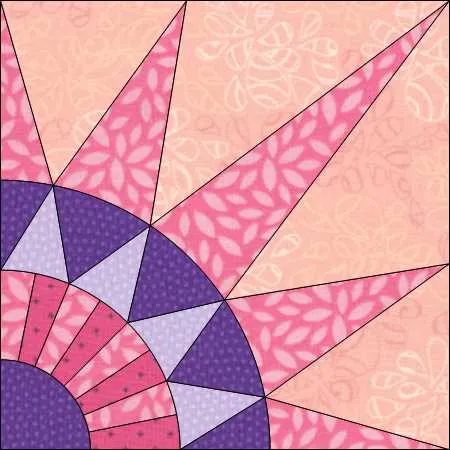
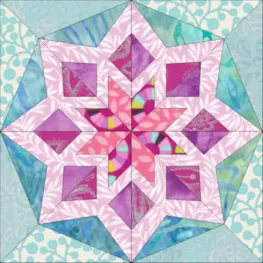
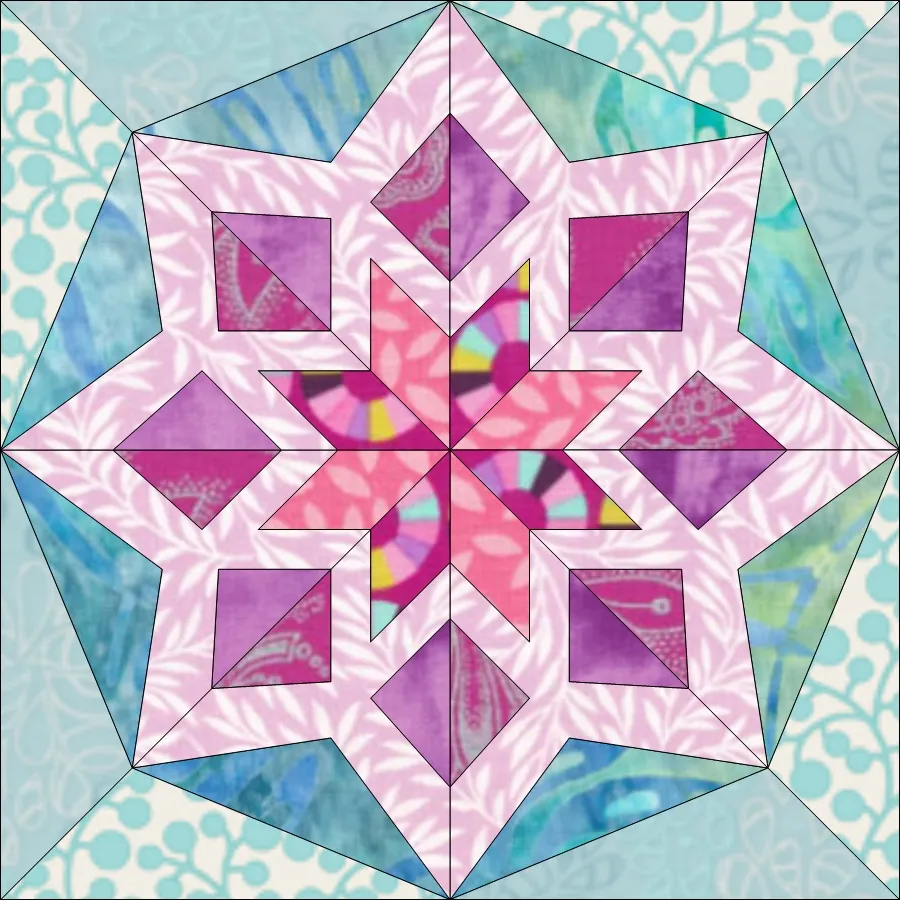
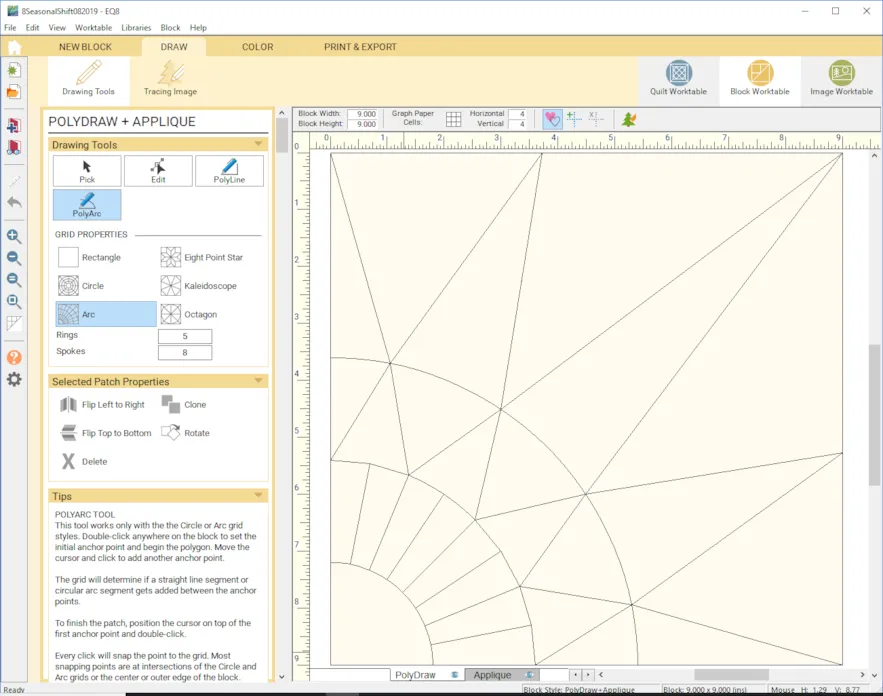
Now, let’s go! First, we’ll draw a New York Beauty style block.
- To get started click Block Worktable > NEW BLOCK > Pieced > PolyDraw
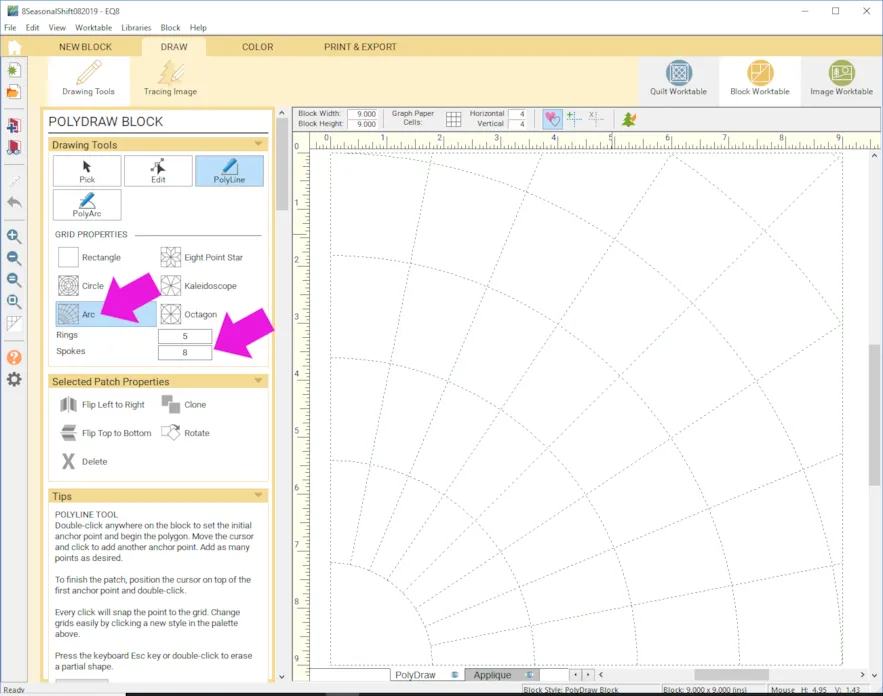
- Click Arc.
- Enter 5 for Rings and 8 for Spokes. Here is more information about setting up for the various grids.
 Although the PolyArc tool makes arcs, if you’re following the outline of the grid and move your cursor over the block edge or another non-arced line, it will draw a straight line for that segment.
 - Use your PolyArc tool to draw the shapes in your block. Here is more information about the PolyArc tool.
- Place your cursor where you want to start the patch and double-click (this anchors your line to that point). The node will automatically snap to the nearest grid point. When you move your mouse you’ll see there is a blue line “attached” to your cursor.
- Click (once) on another grid point to place a node. Again, the node will automatically snap to the nearest grid point.
- Continue to single-click on grid points to create the patch.
- When you are ready to complete the patch, double-click the first grid point. If Auto Fill
 is turned on, the newly-drawn patch will fill with a cream color.
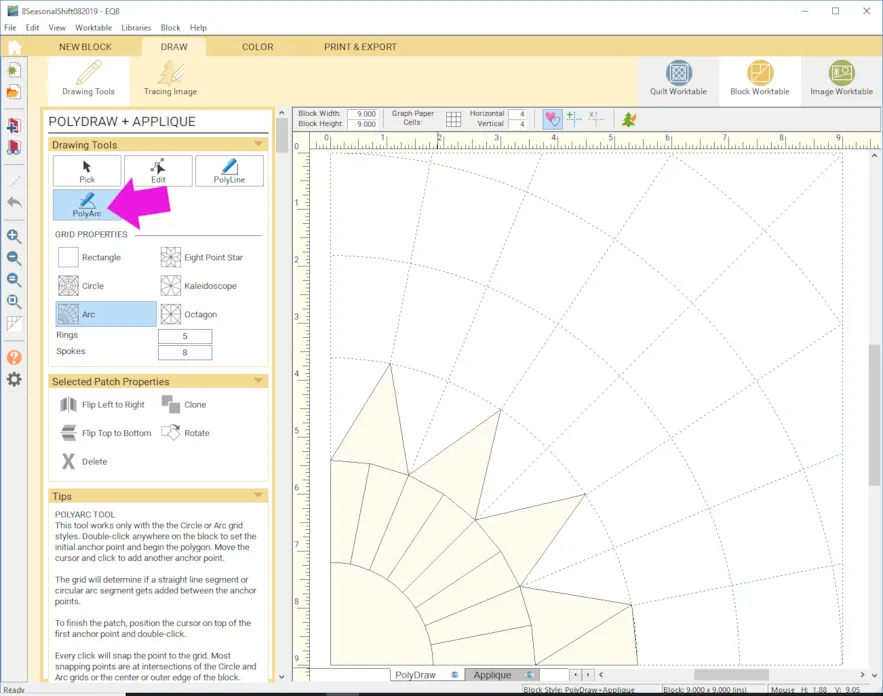
- Continue drawing until your whole block is covered with pieces.
- When you are finished click the COLOR tab and use the fabrics or solids as you wish.
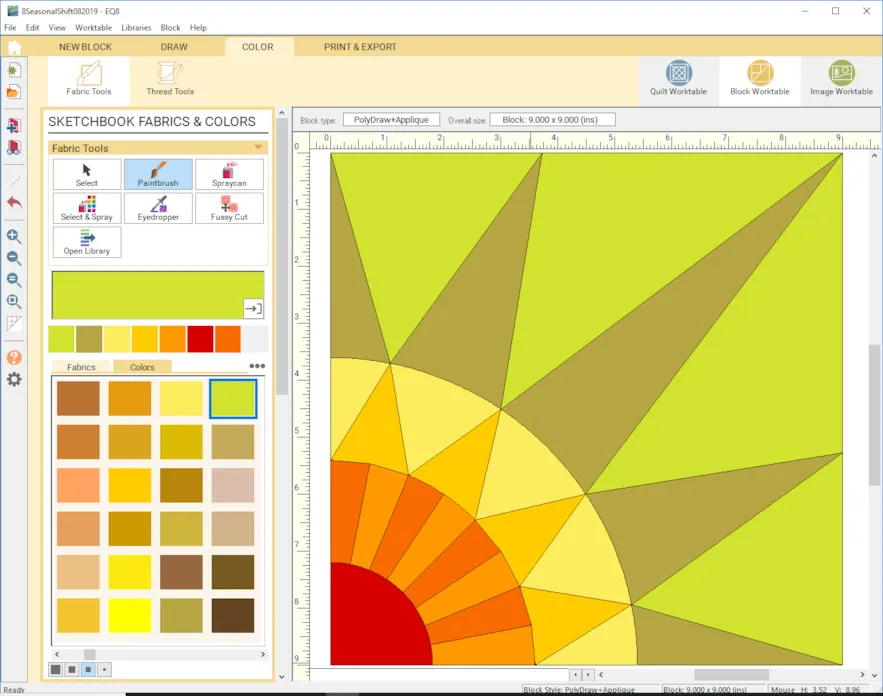
- Click Add to Project Sketchbook
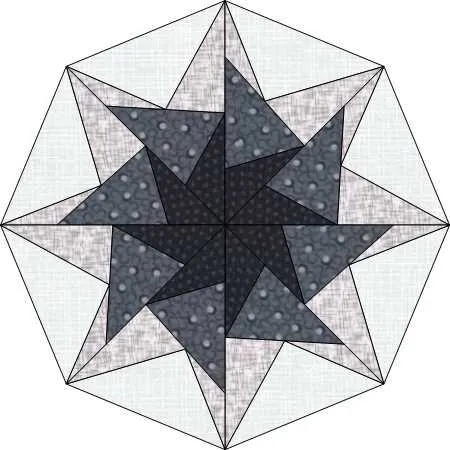
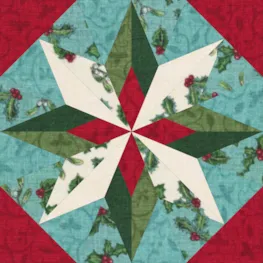
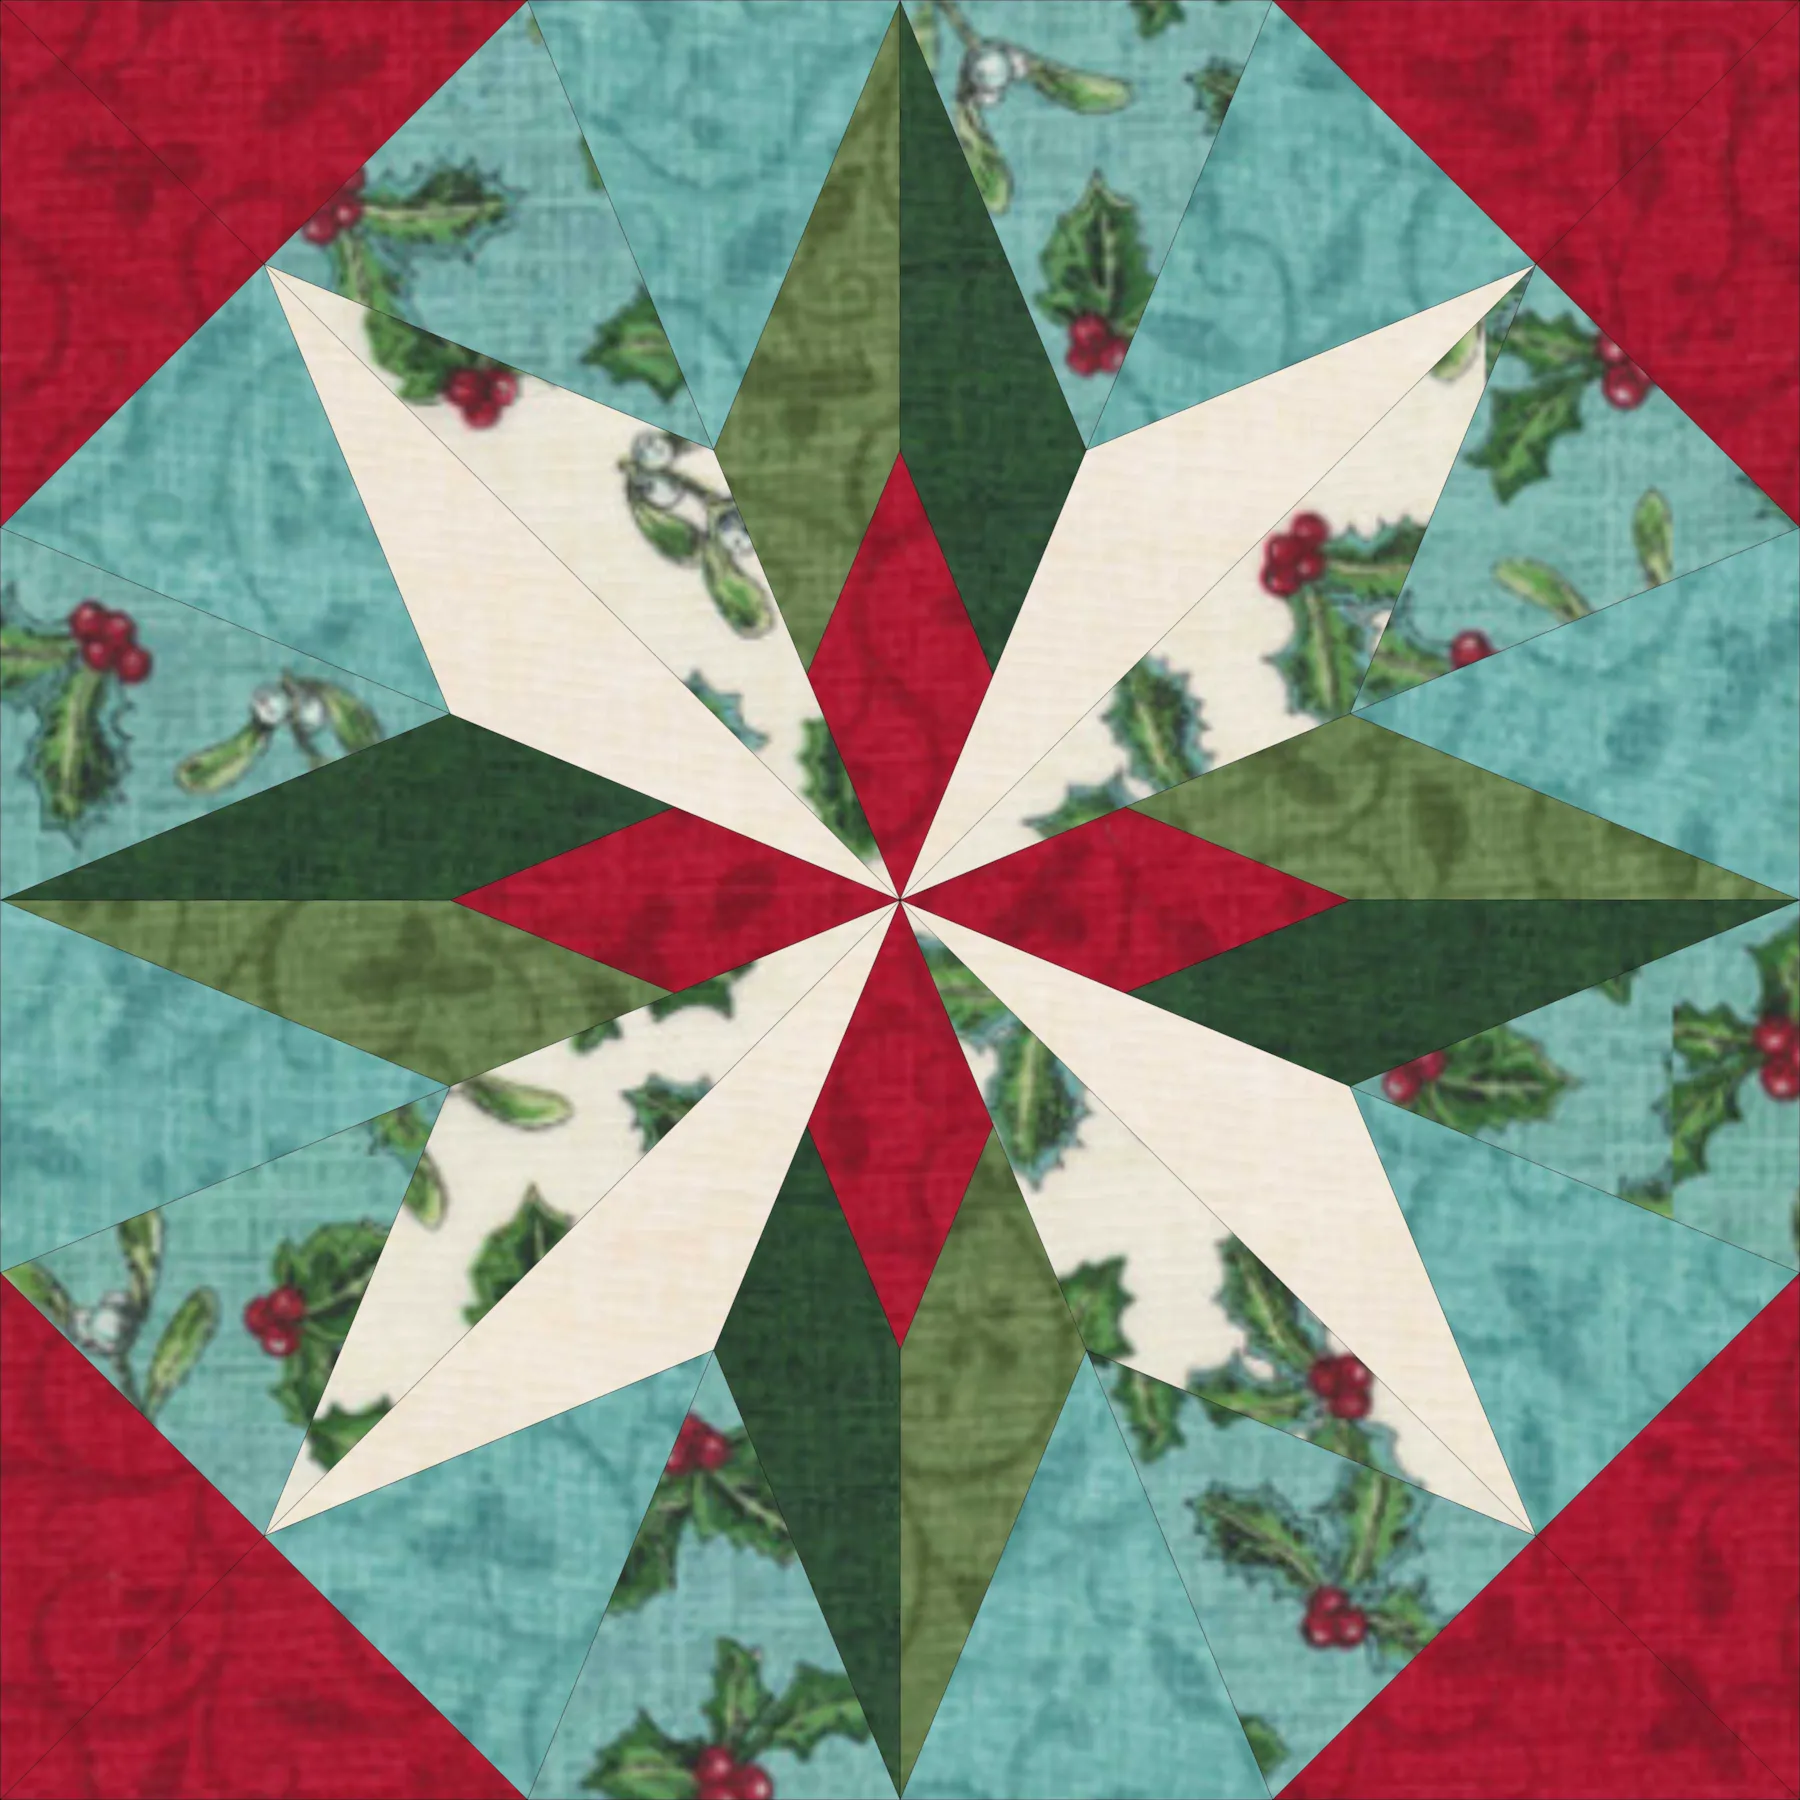
 If you haven’t named your project yet, EQ8 will prompt you to do so. (To be saved, your item needs to be in the Sketchbook AND your project needs to be named. Here is more information.) Let’s try a block on the Octagon grid.
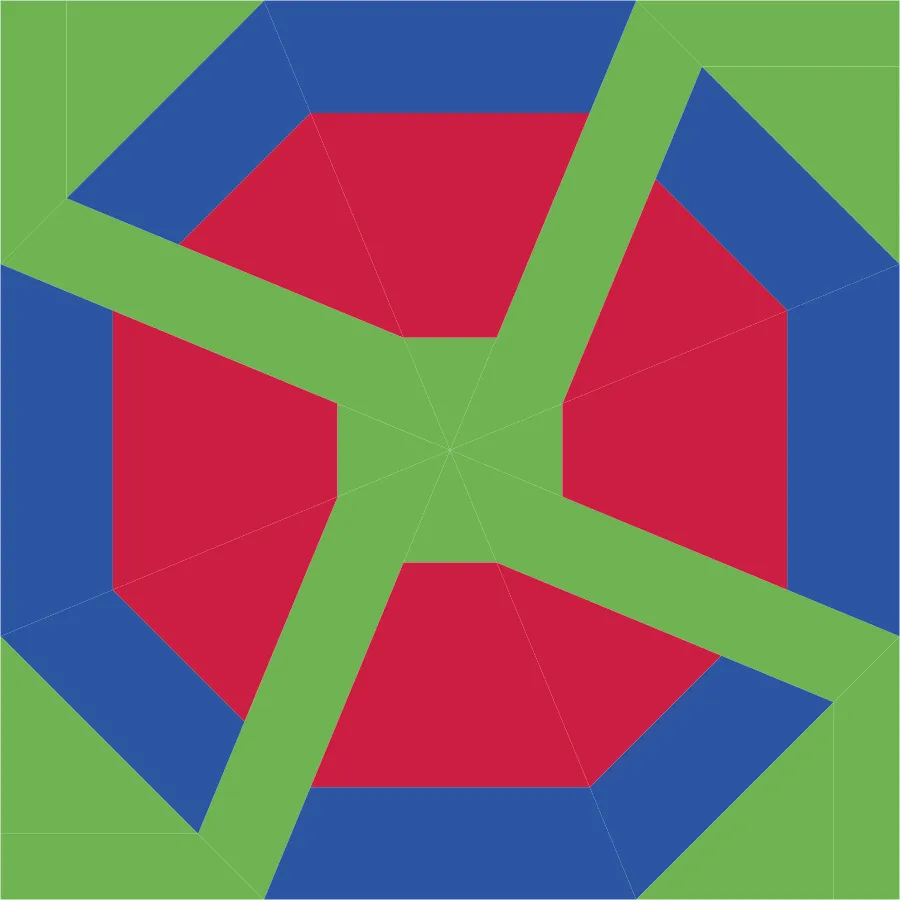
 - Click New Block > Pieced > PolyDraw
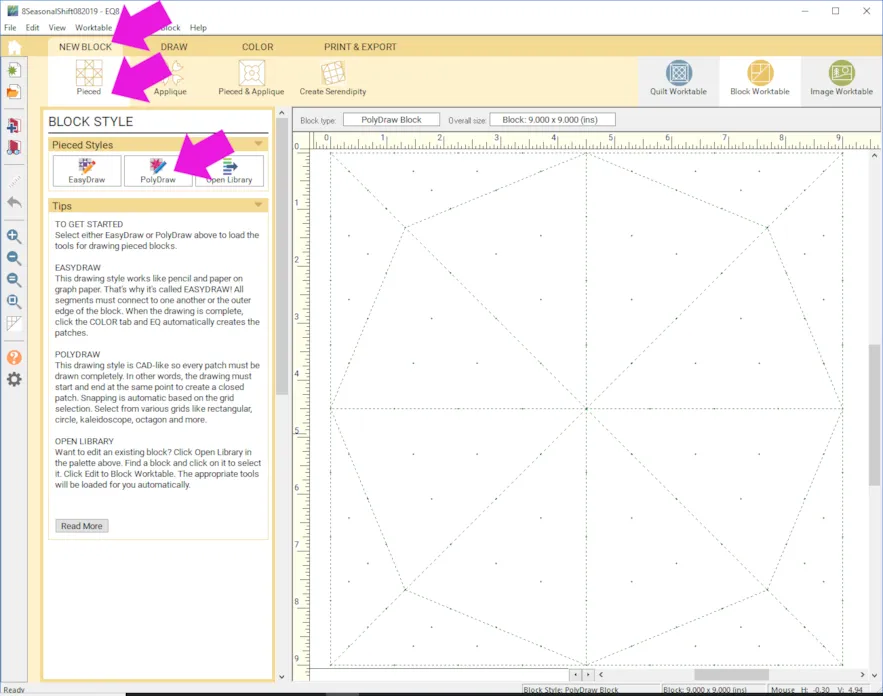
- Choose Octagon
- Make Dimension 1 and Dimension 2 both 8.
- Make the block Width and Height 12 x 12.
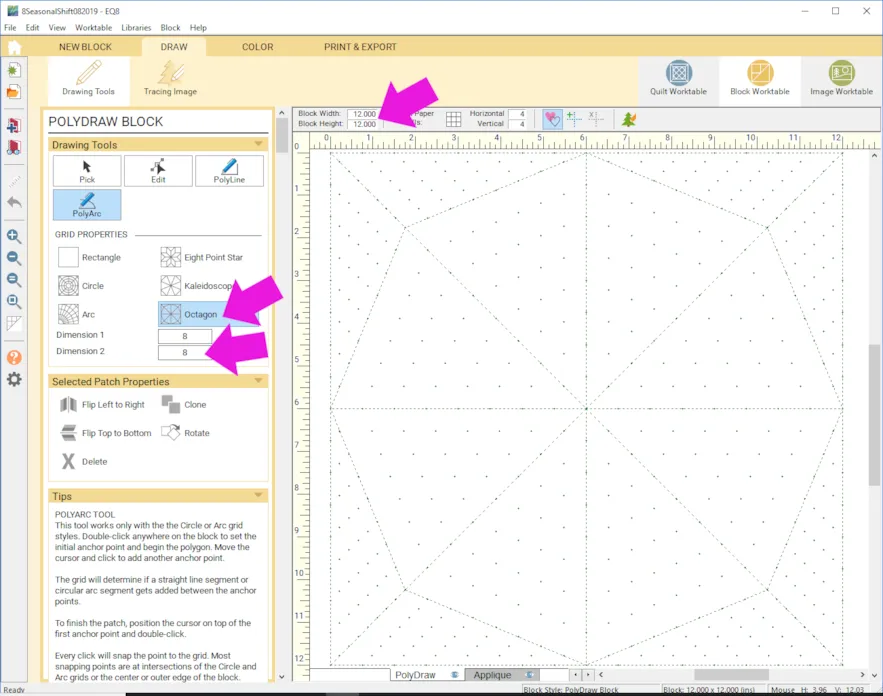
- Use the PolyLine tool to draw one section of the Octagon. Here is more information about the PolyLine tool.
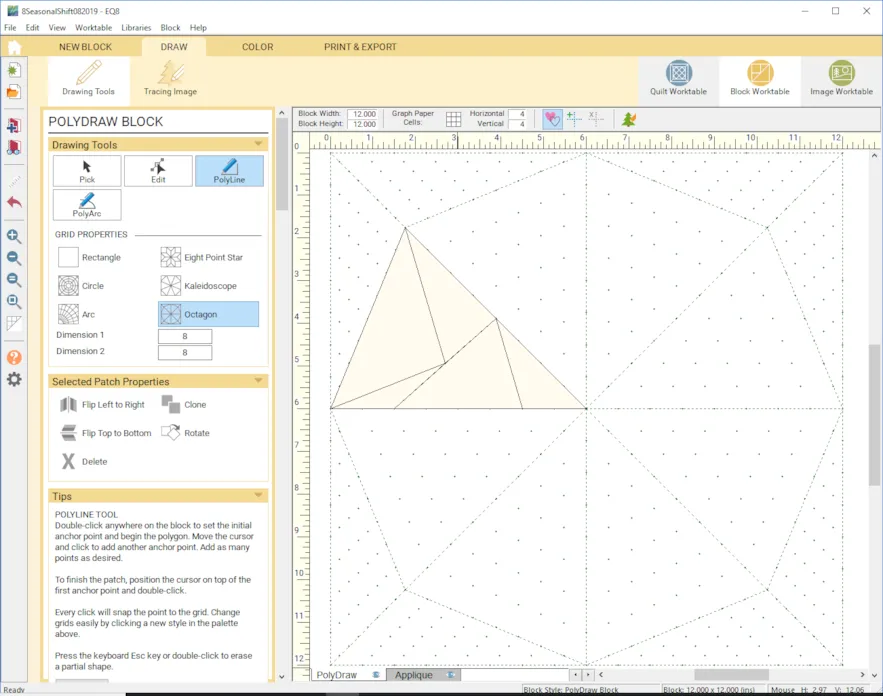
- On your keyboard hold down the Ctrl key + A (for PC) or Command key + A (for Mac). This will select all the pieces.
- Click Clone.
- Click Rotate. The Rotate button works differently for each of the PolyDraw grids. When using the Octagon grid, each click of the Rotate button will rotate the selected patch(es) by 45 degrees.
- Position your cursor over the crosshair and click, hold, and drag the new patches next to the original set.
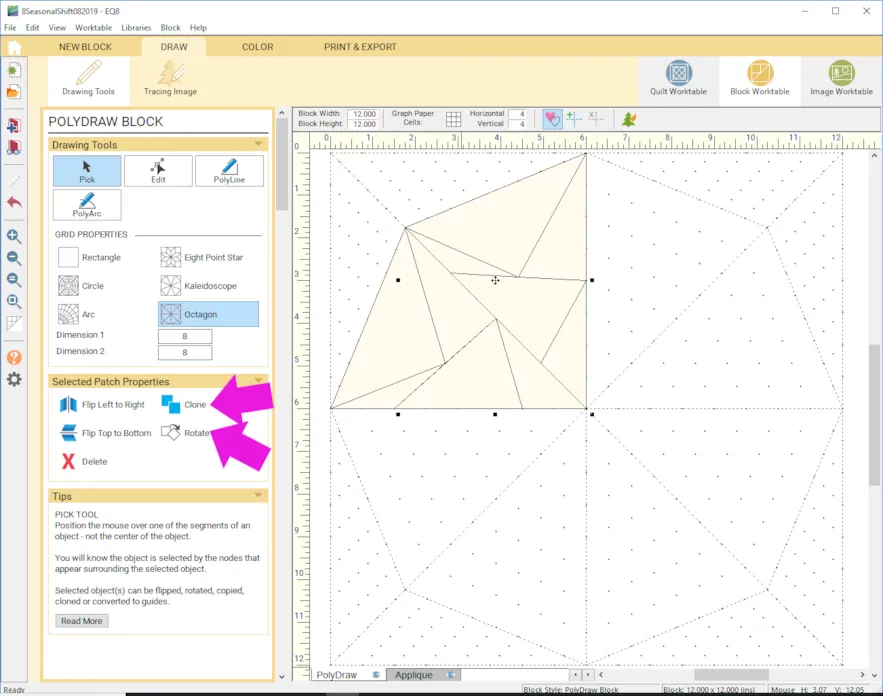
- Repeat cloning and rotating two more times.
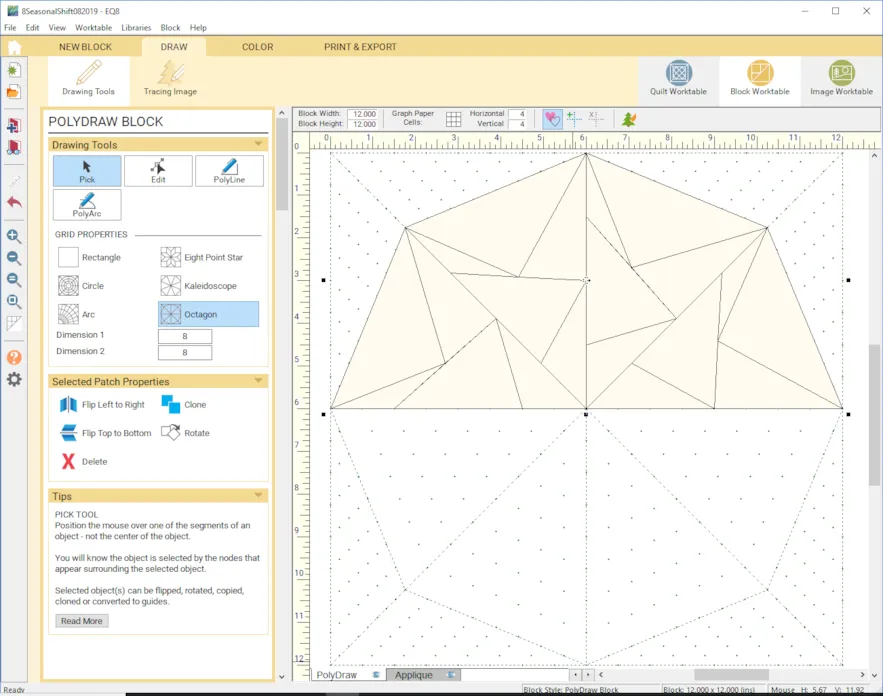
- On your keyboard hold down the Ctrl key + A (for PC) or Command key + A (for Mac).
- Click Clone.
- Click Flip Top to Bottom.
- Click Flip Left to Right (or maybe not, depending on how you like your design, you can try it both ways).
- Drag into place.
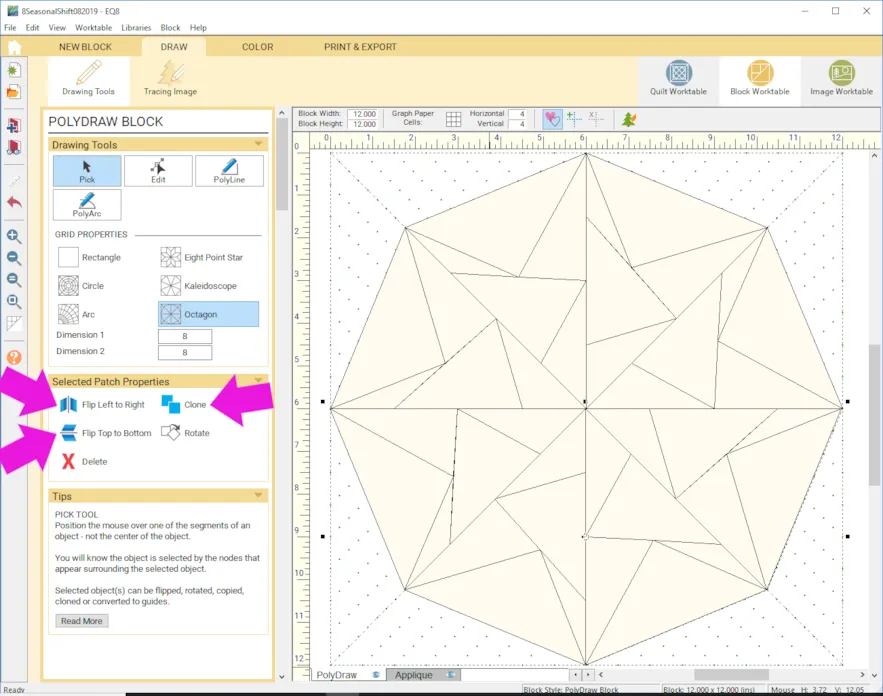
- Finish off the block by drawing the outside pieces.
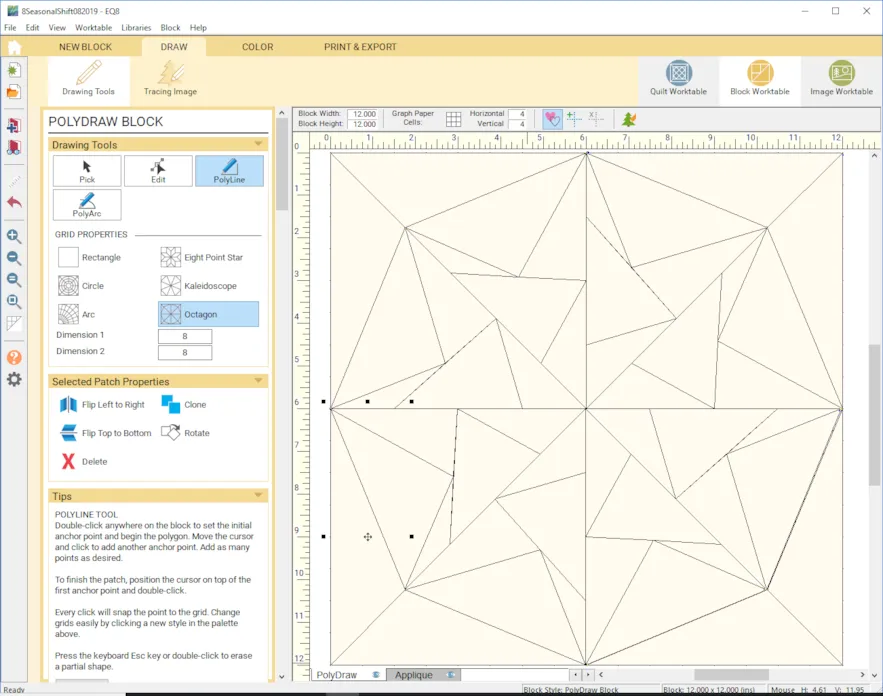
- Click the COLOR tab and use the fabrics or solids as you wish.
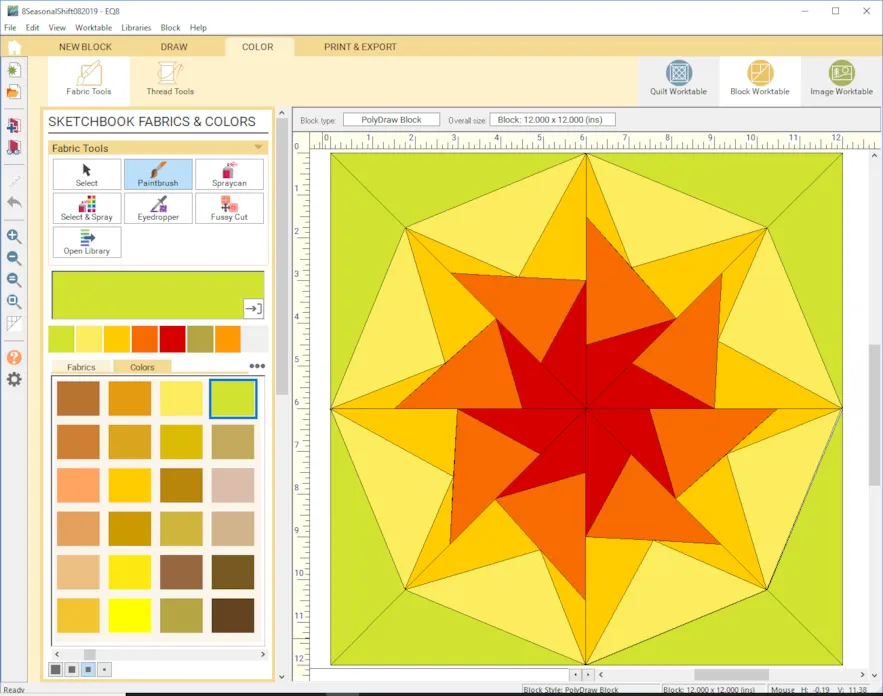
- Click Add to Sketchbook.
- Have fun experimenting with the other grids!
- If you want to post images of your quilt backs, here is how to export the images.
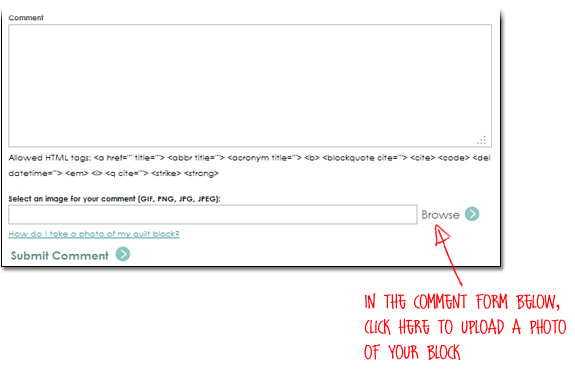
- To post your image click to comment on this post. Fill in your info and then click Browse. Go to: Documents\My EQ8\ImagesI can’t wait to see your blocks! I hope you enjoyed the lesson!
If you have questions about the lesson feel free to post them below.
If you have questions about something else EQ related, please contact techsupport@electricquilt.com.


