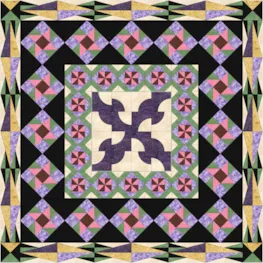
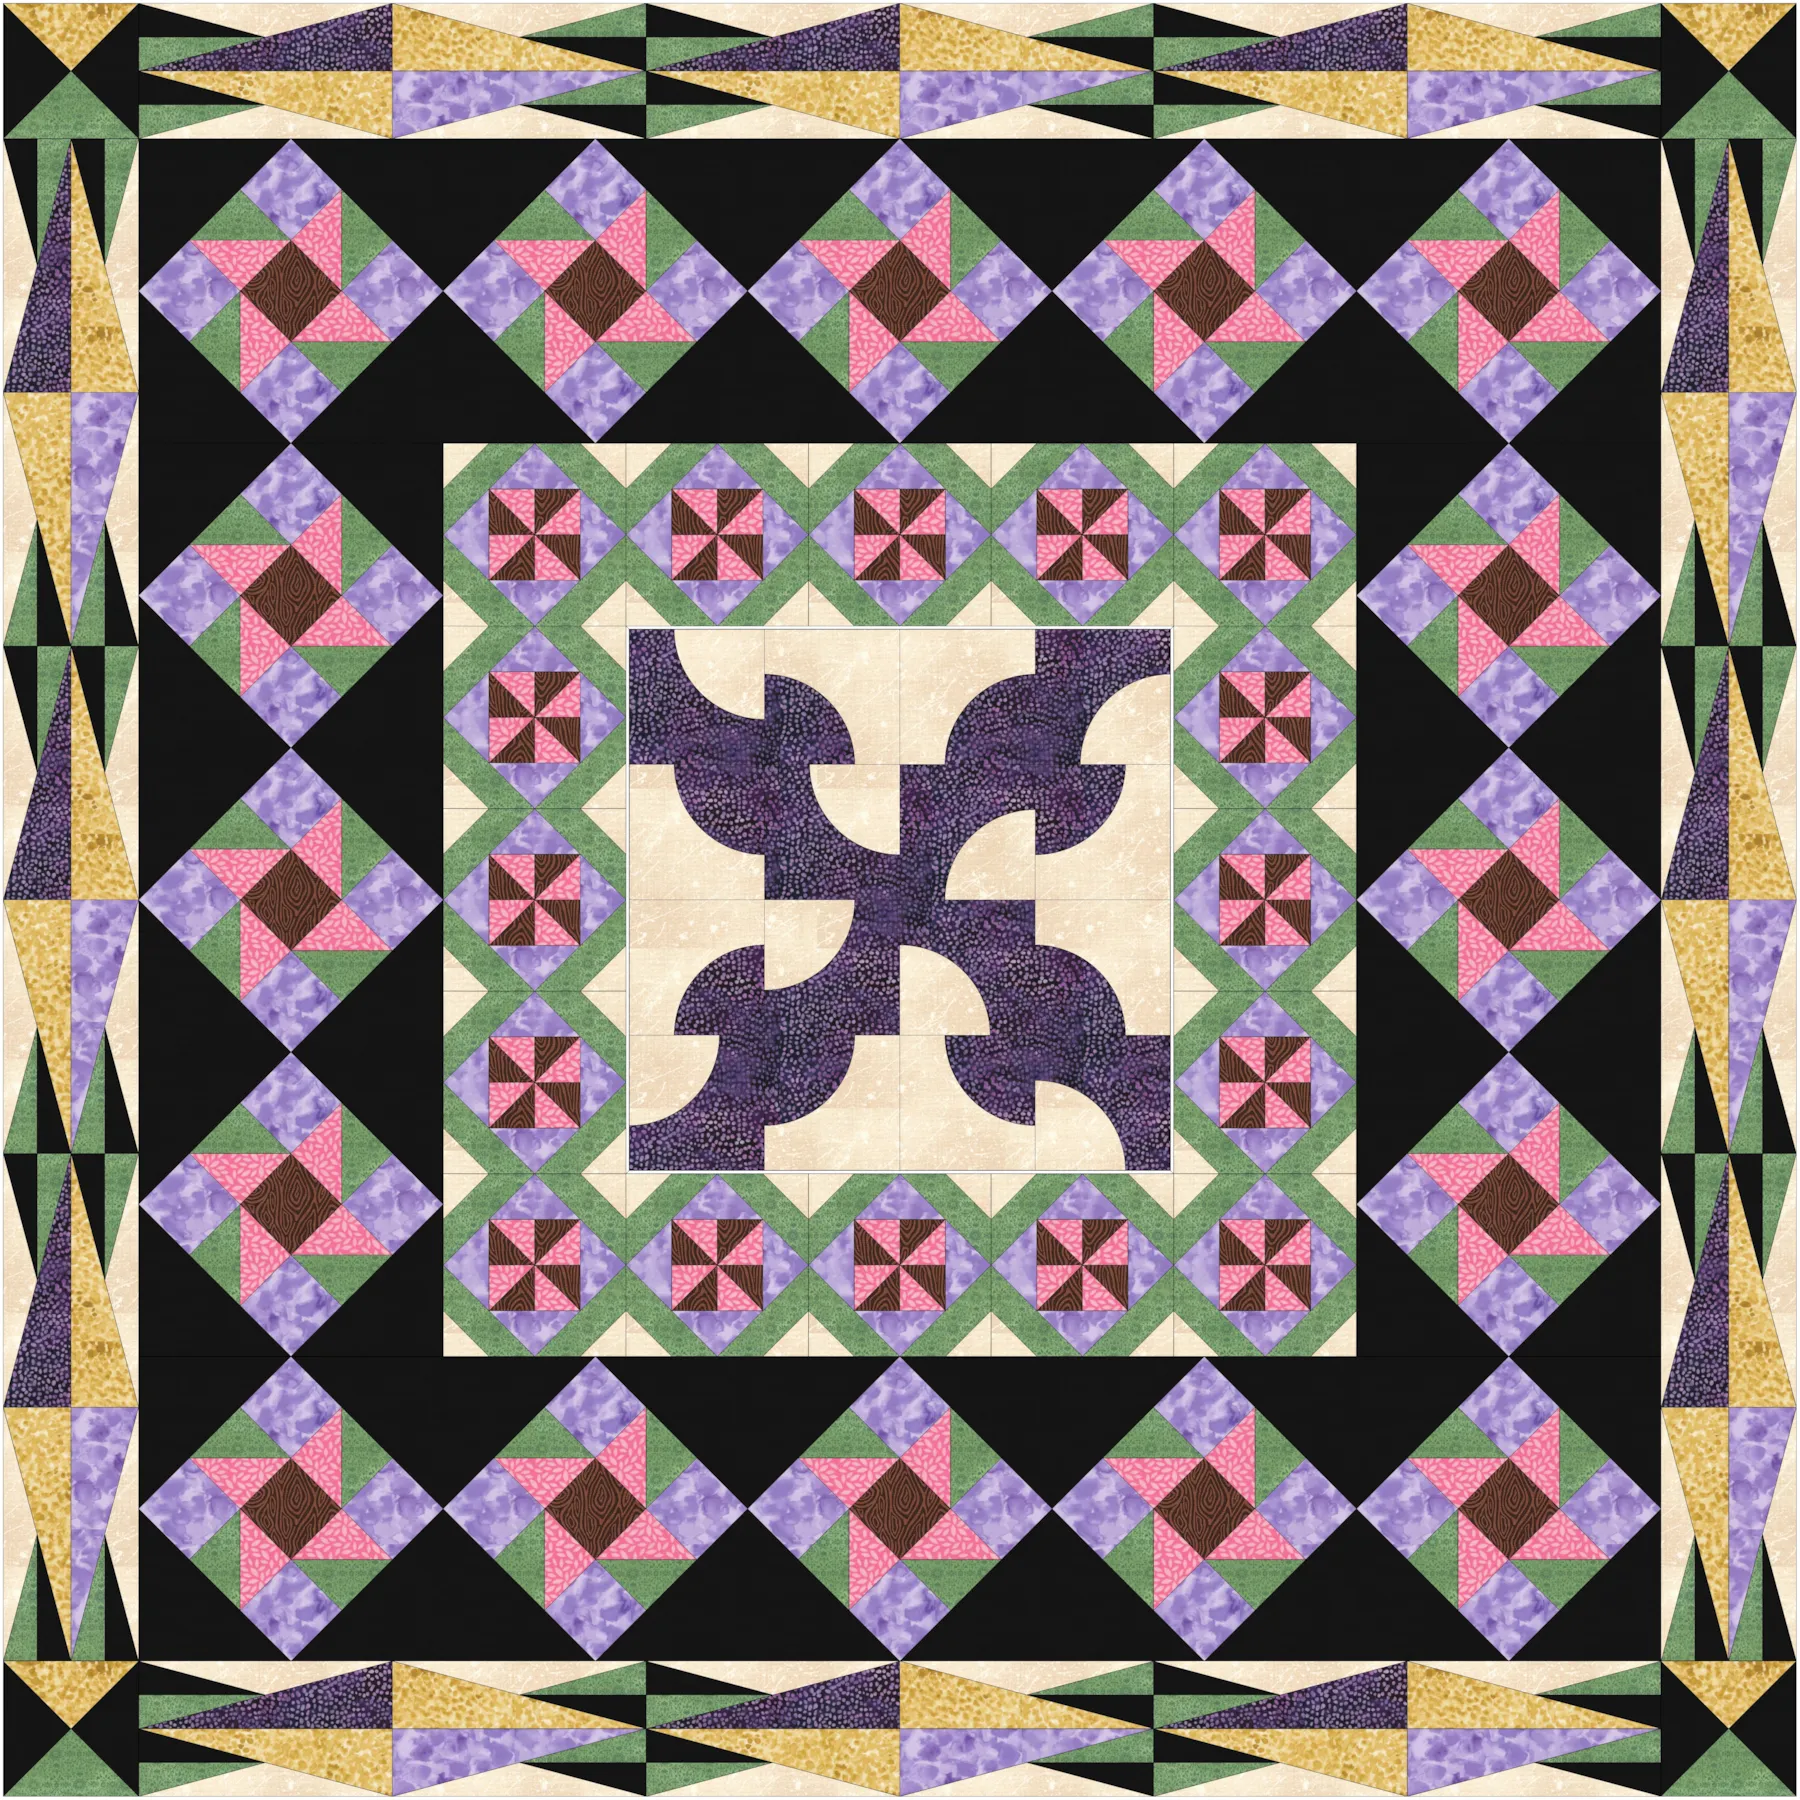
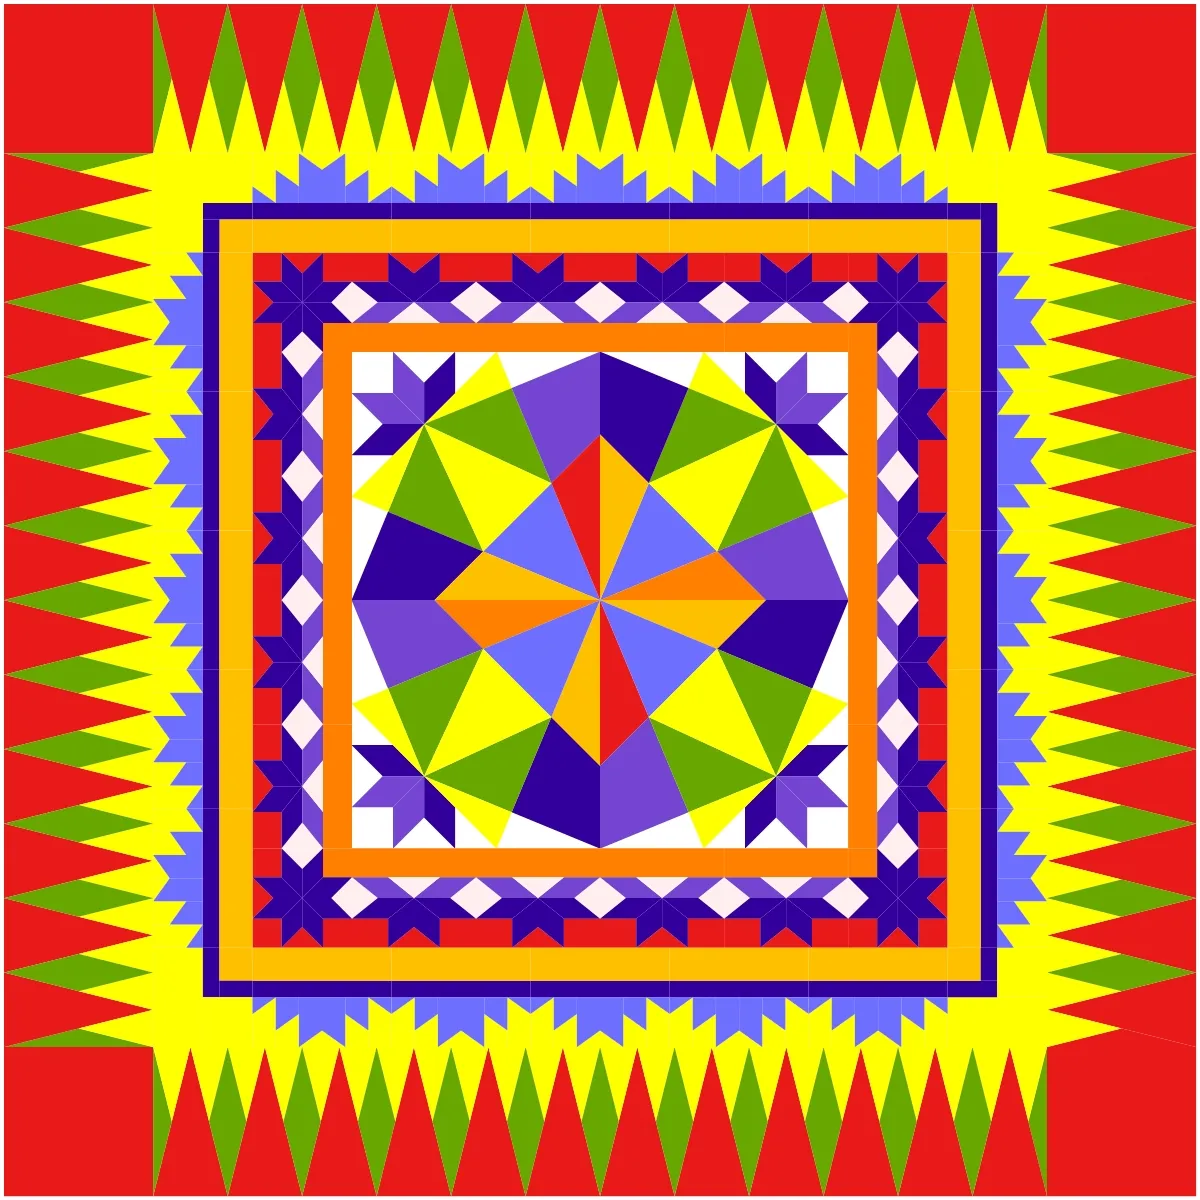
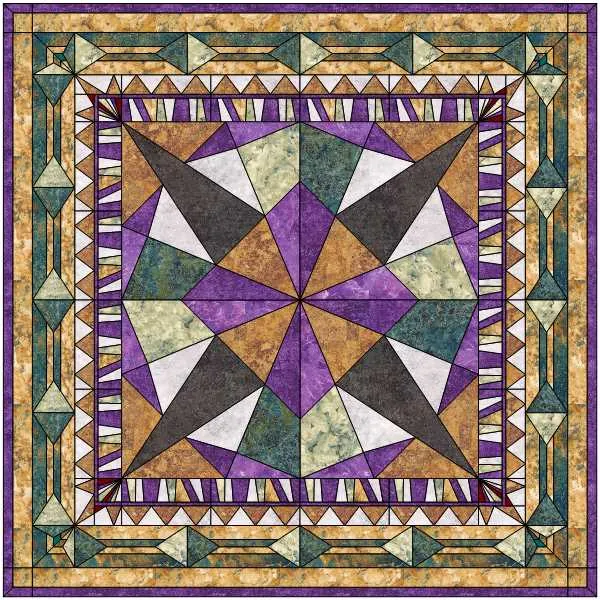
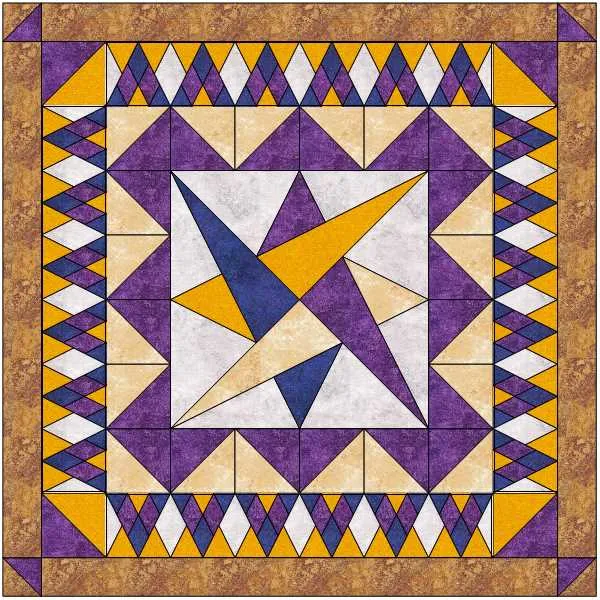
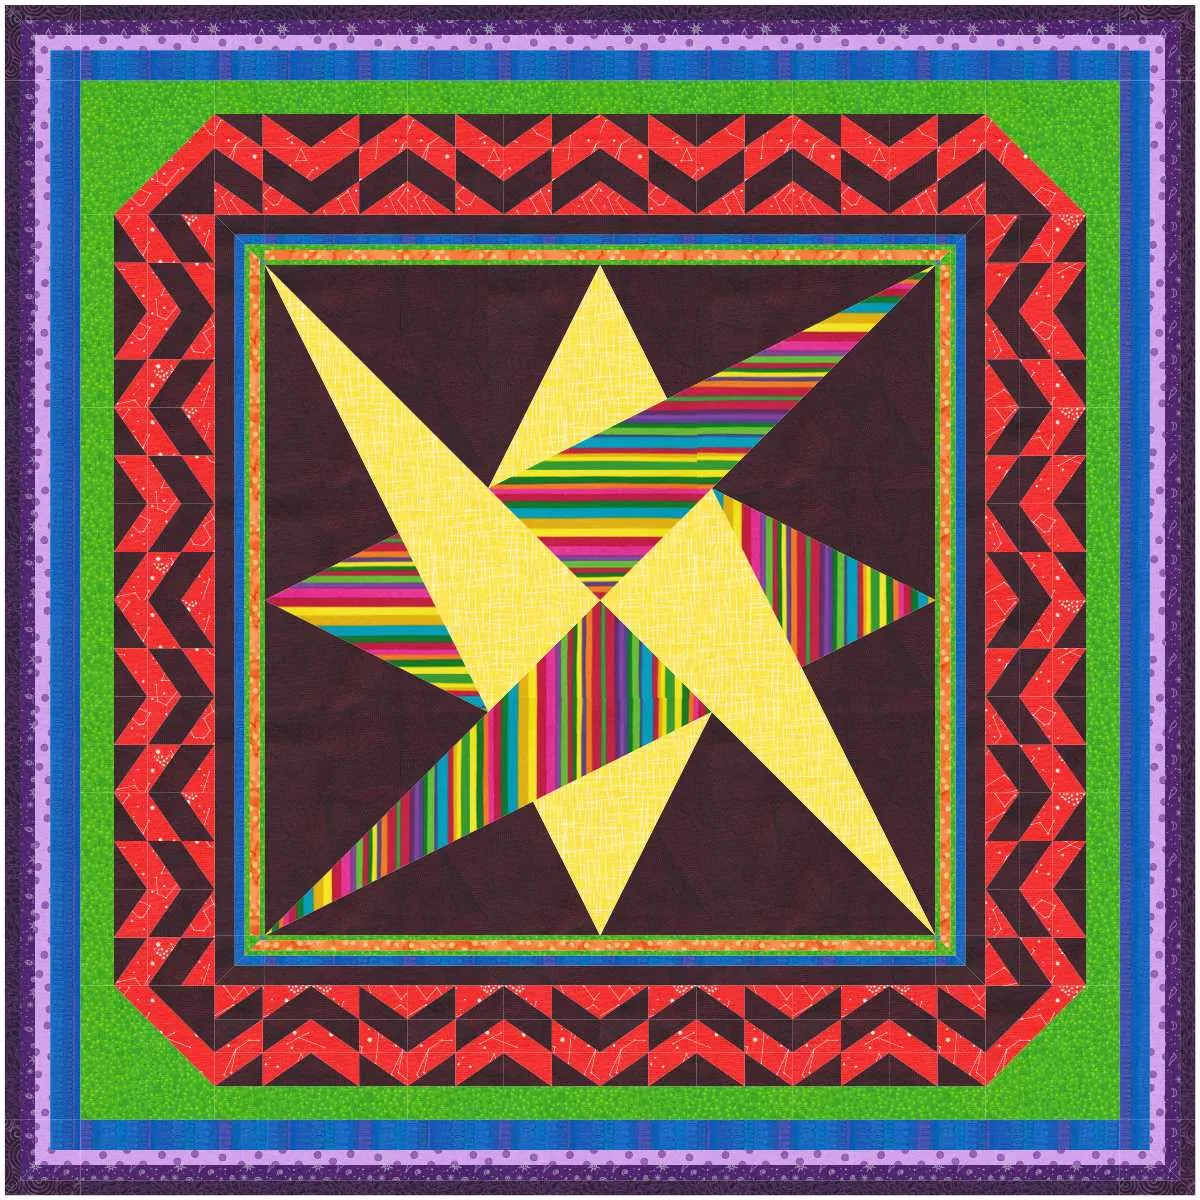
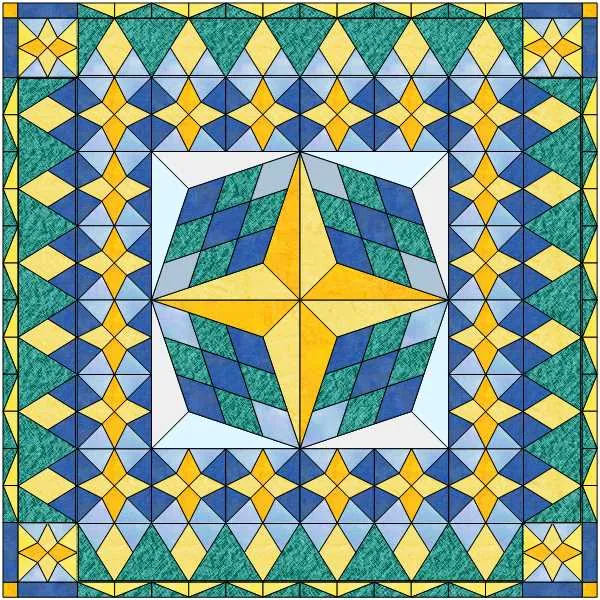
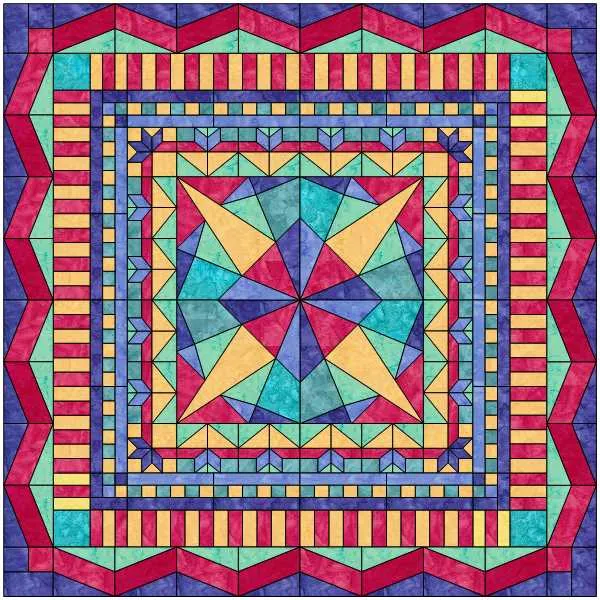
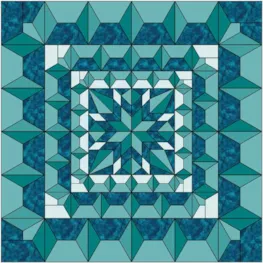
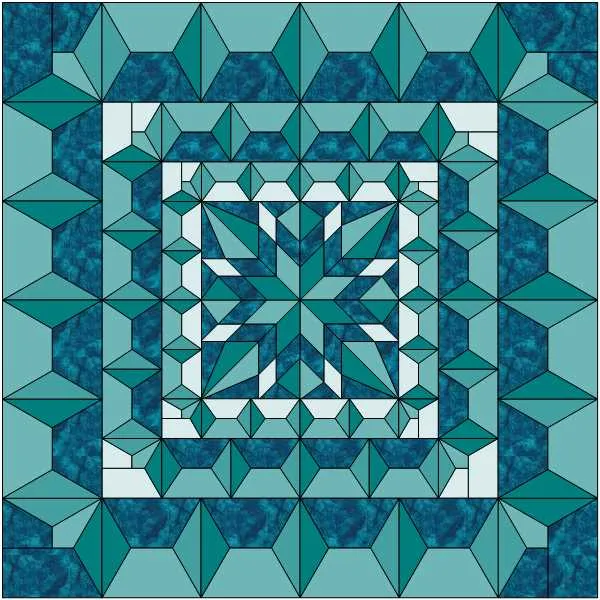
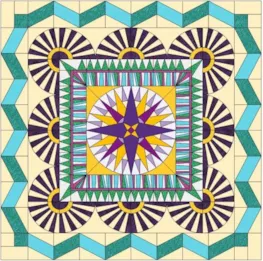
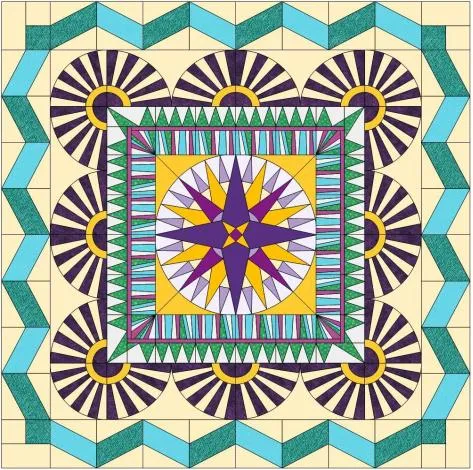
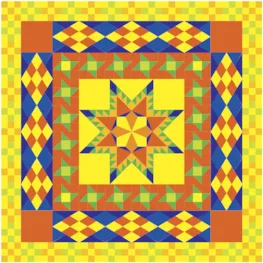
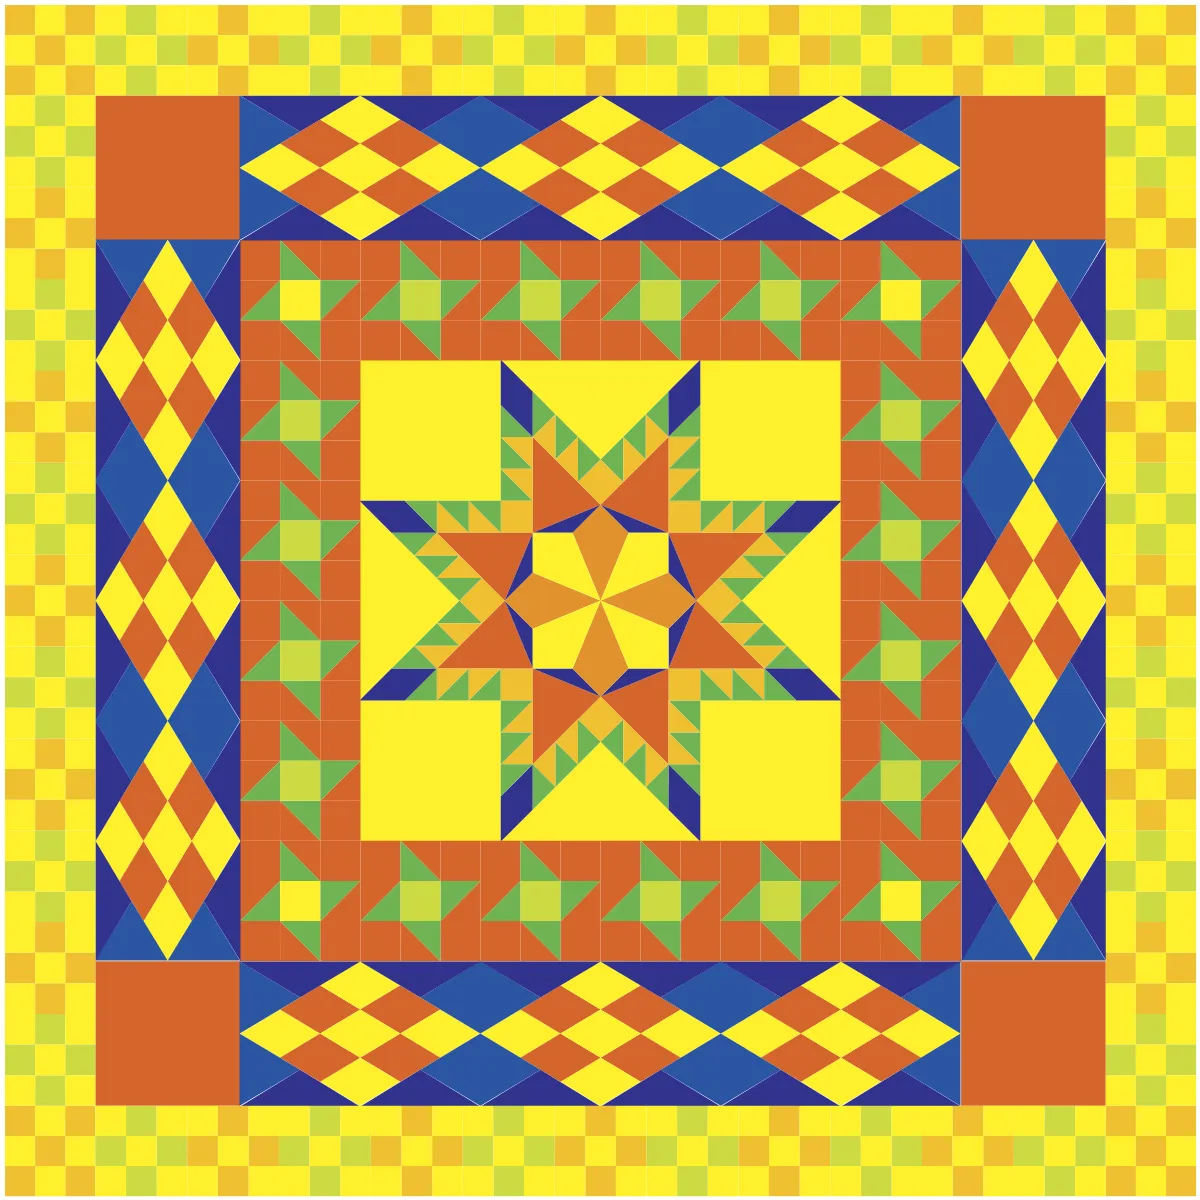
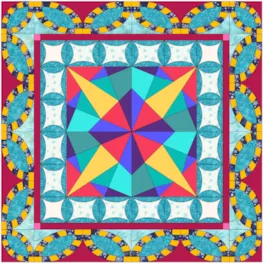
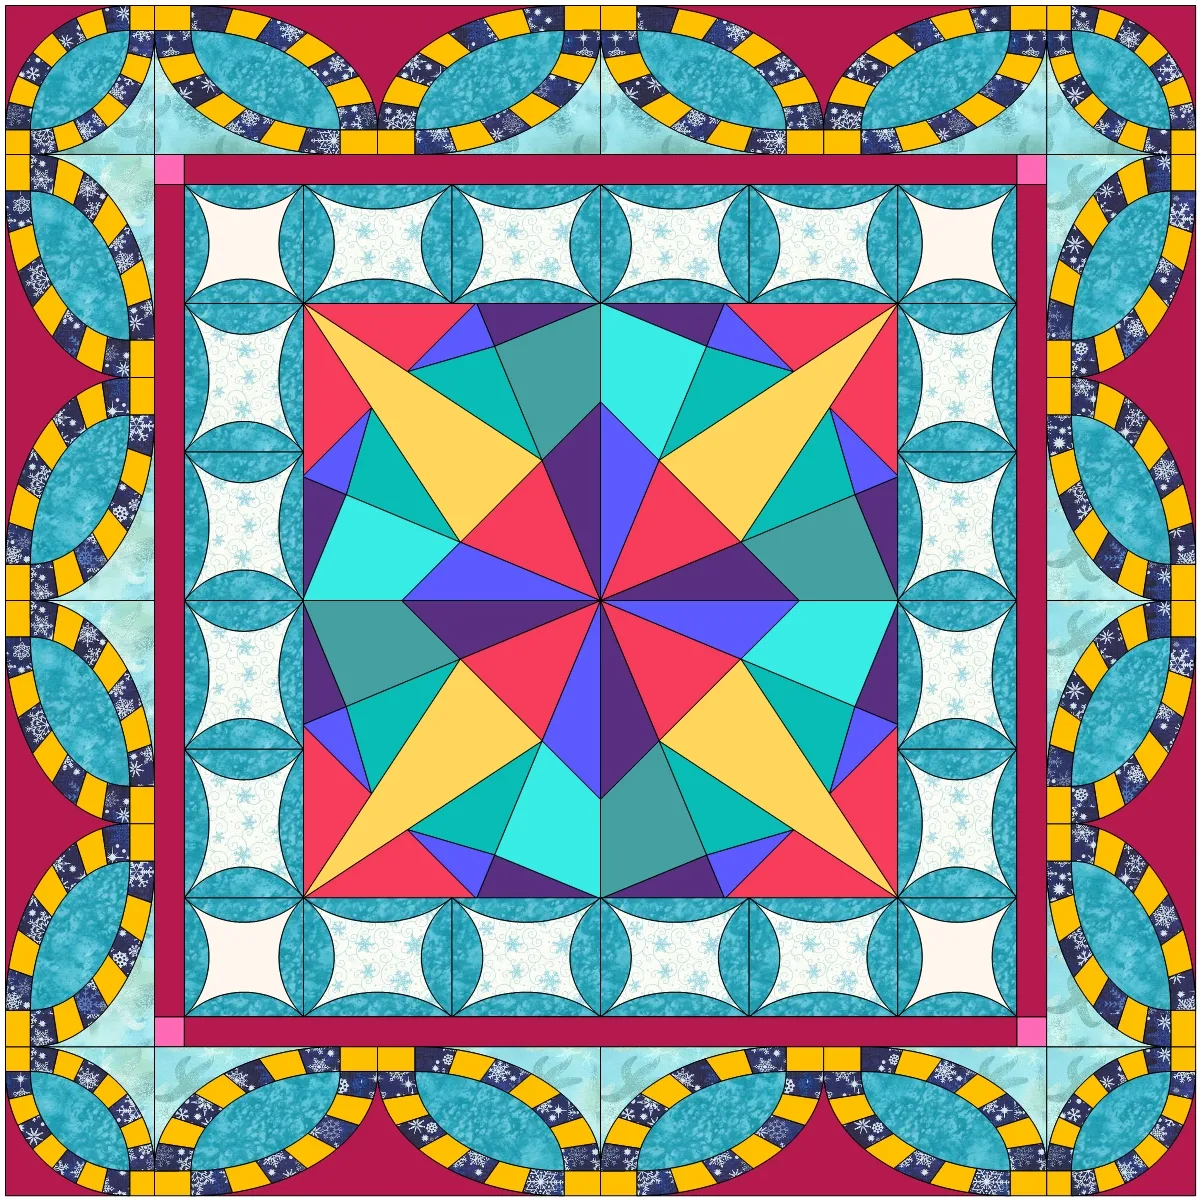
This month we are exploring the possibilities with the borders in EQ8! Follow along with the lesson and create a quilt to submit right on our blog. If you have a blog, make sure to add your site too. Let’s visit each others’ blogs and all get to know each other! Let’s get started!
There are a few different ways to work with borders in EQ8.
First let’s work with what is encompassed under the Border’s tab.
Let’s set up our layout.
- Click the NEW QUILT tab
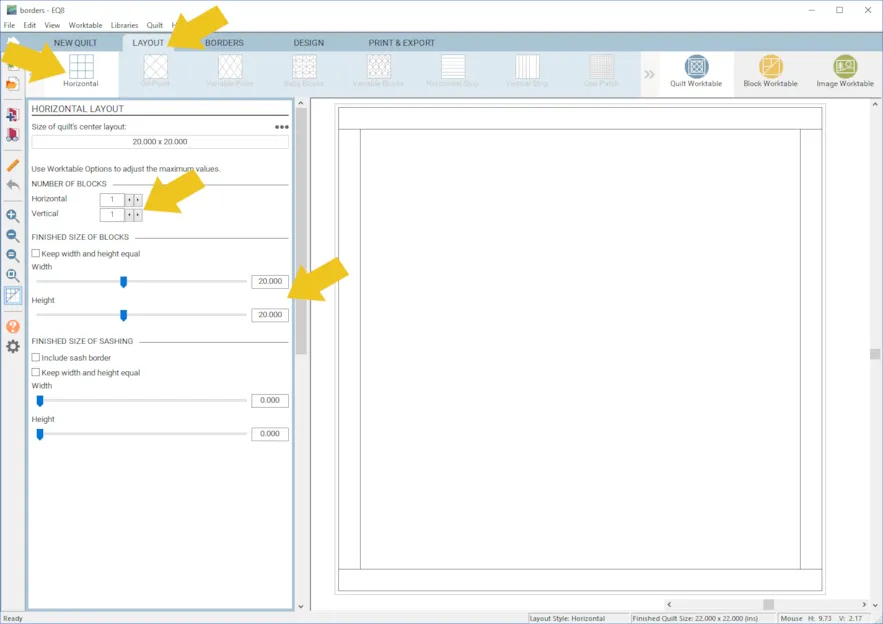
- Click Horizontal
- In the LAYOUT tab for Number of Blocks make it 1 x 1
- Set your Width and Height to 20 x 20
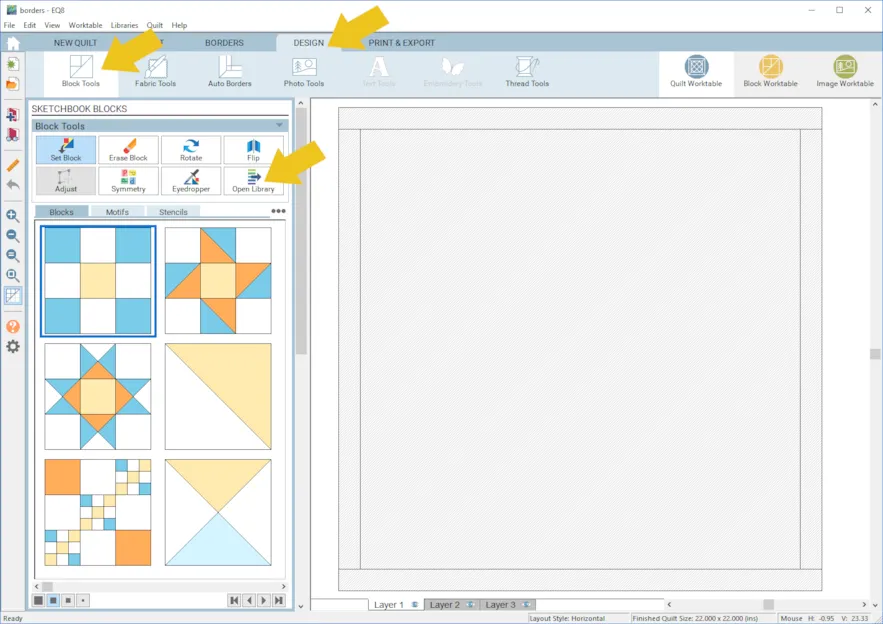
- Click the DESIGN tab > Block Tools > Open Library
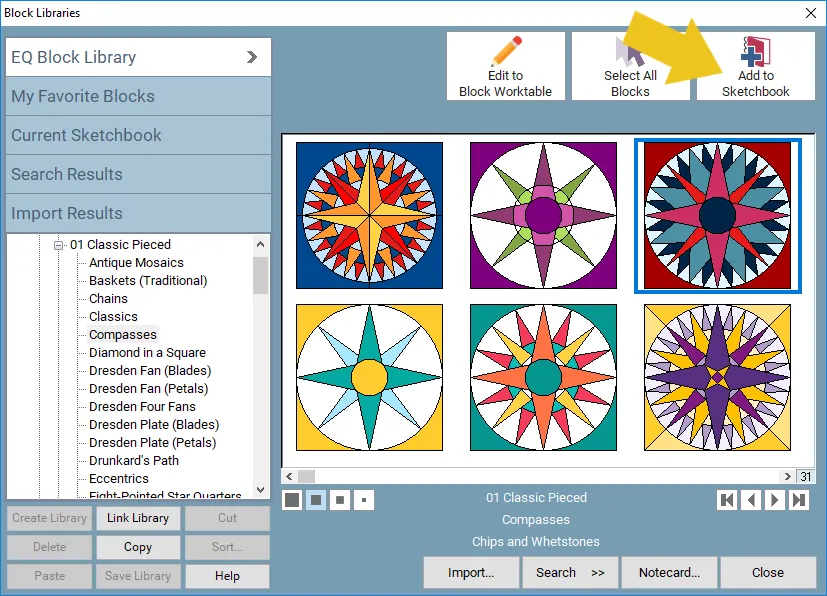
- Find an interesting block for your center and click Add to Sketchbook
- Click Close
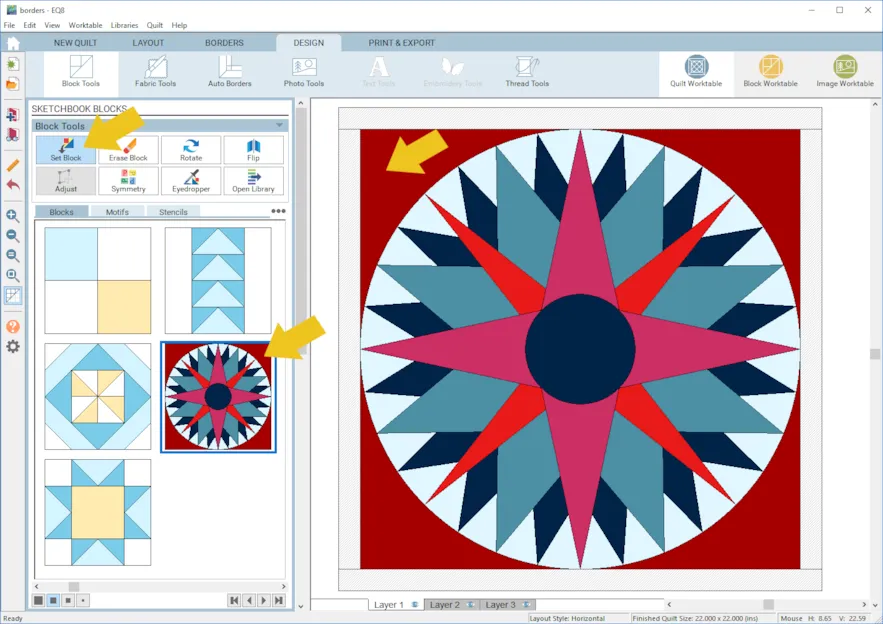
- Click Set Block
- Click on your newly added block
- Click to place the block
- Click the BORDERS tab
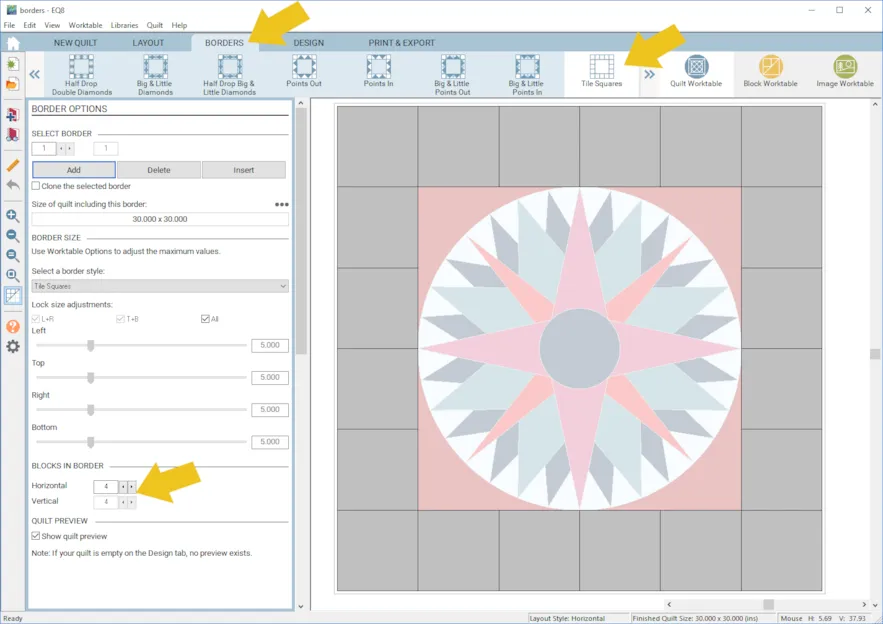
- Click Tile Squares (or choose it from the drop down menu)
- Make your BLOCKS IN BORDER 4 x 4
- With Tile Square Border the blocks will always stay square. Play around with the number of BLOCKS IN BORDER a little and you will see that if the math doesn’t work out quite right, instead of the blocks not being square, a spacer border will be inserted.
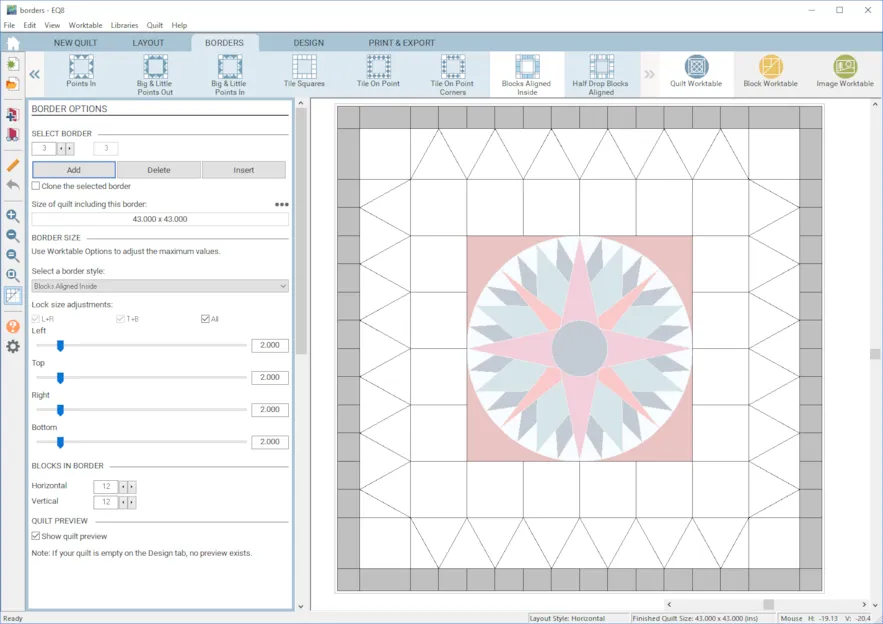
- Add a few more borders of your choice.
- Click the DESIGN tab >Block Tools > Set Block
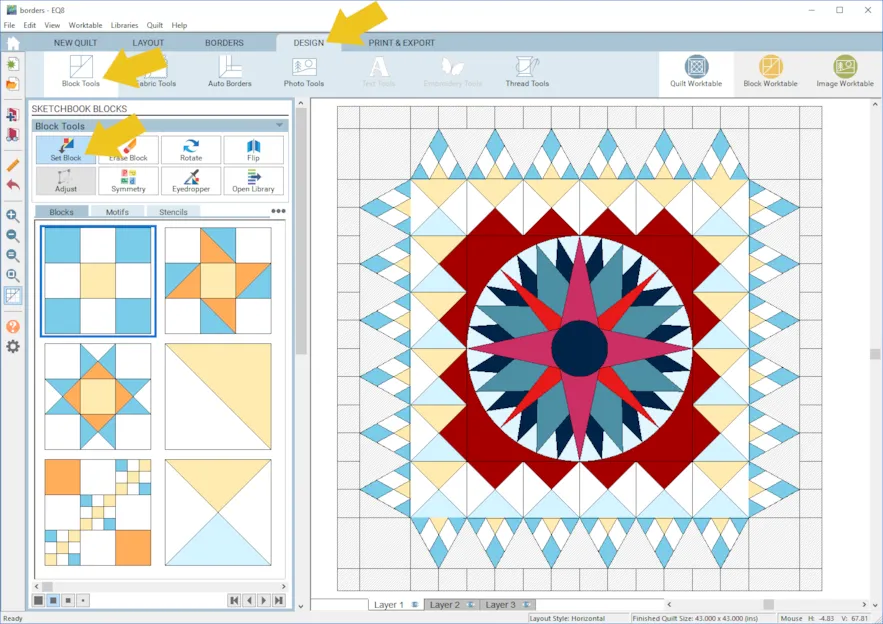
- Set blocks into your borders and recolor them any way you’d like!
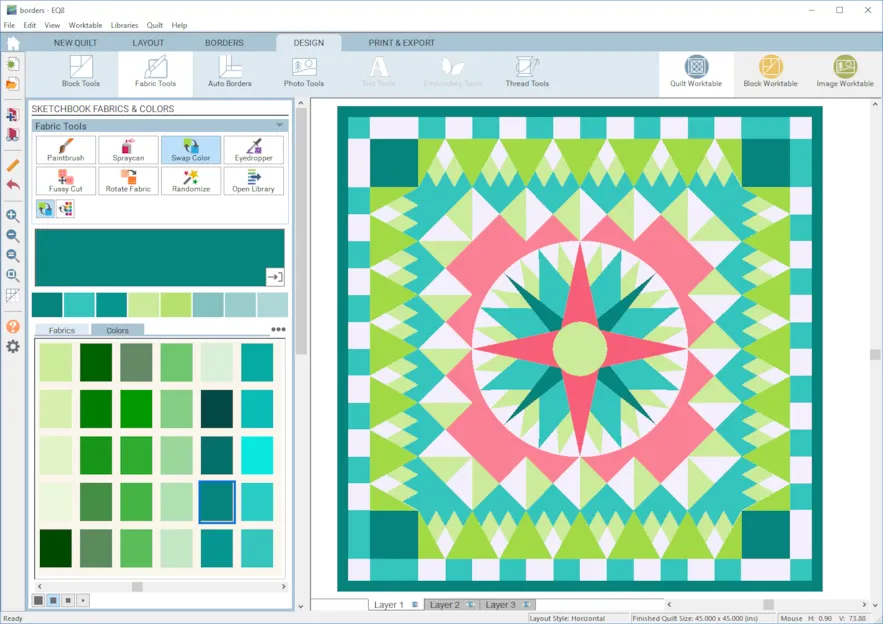
- Click Add to Project Sketchbook
 If you haven’t named your project yet, EQ8 will prompt you to do so. (To be saved, your item needs to be in the Sketchbook AND your project needs to be named. Here is more information.)
Keep in mind, doing it this way, each block pattern will print individually.
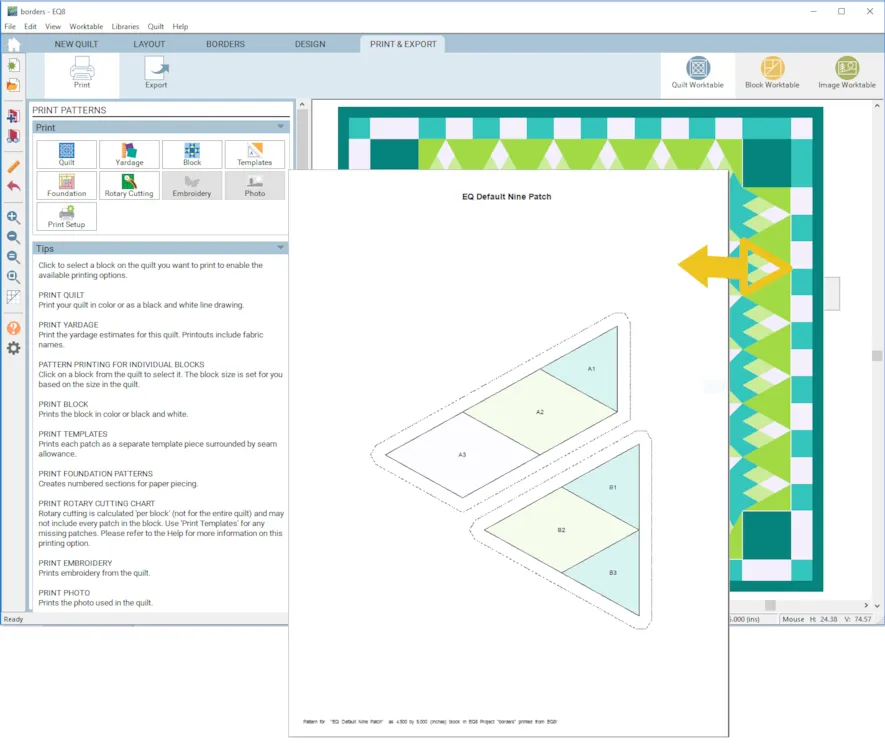
Lets start again and do the borders a different way this time. - Click New Quilt
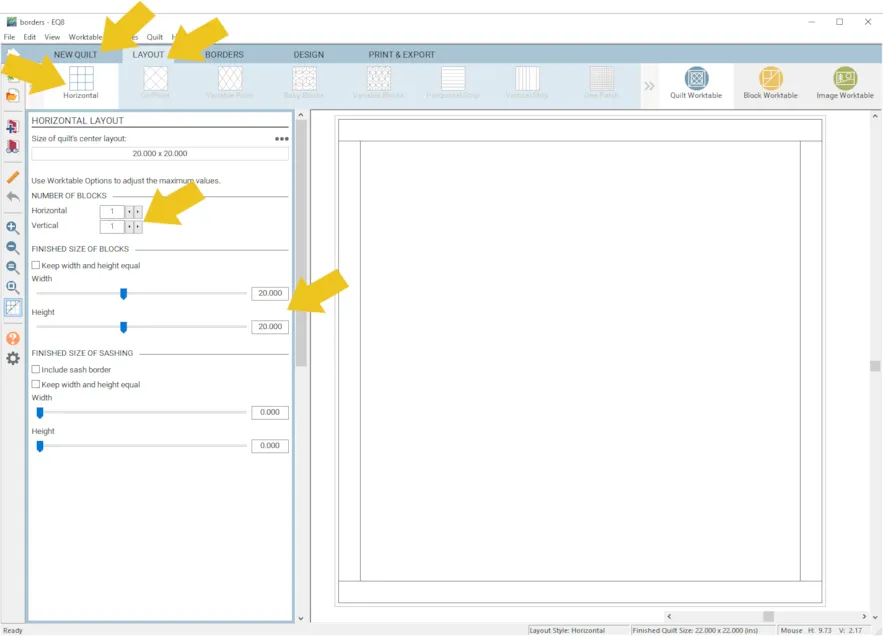
- Click Layout > Horizontal
- Again make your quilt 1 x 1 with a block size of 20 x 20
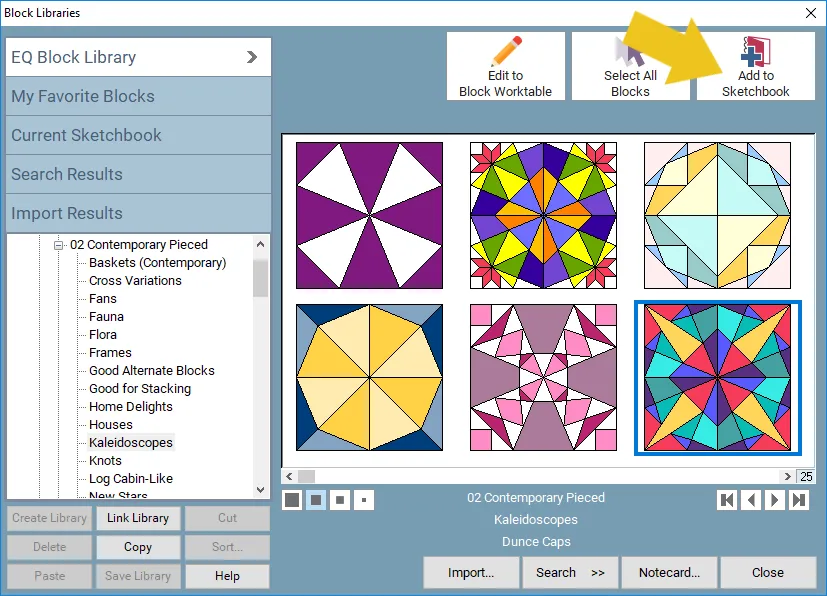
- Click the DESIGN tab > Block Tools > Open Library
- Click Close

- Find a new block for your center and click Add to Sketchbook
- Click Set Block
- Click on your newly added block
- Click to place the block
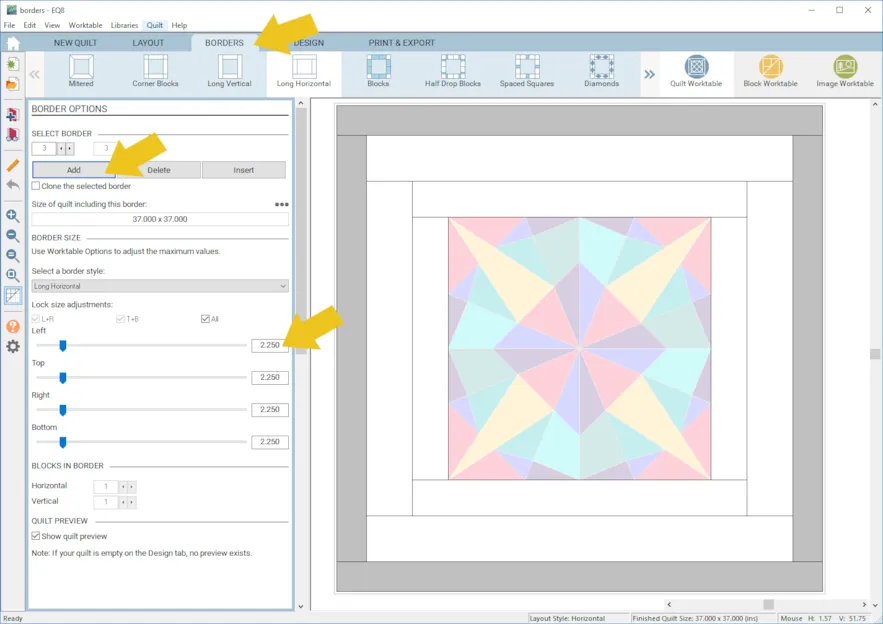
- Click the BORDERS tab and add a few borders. You can adjust the size now and amount as you continue designing.
- Click the DESIGN tab > Auto Borders
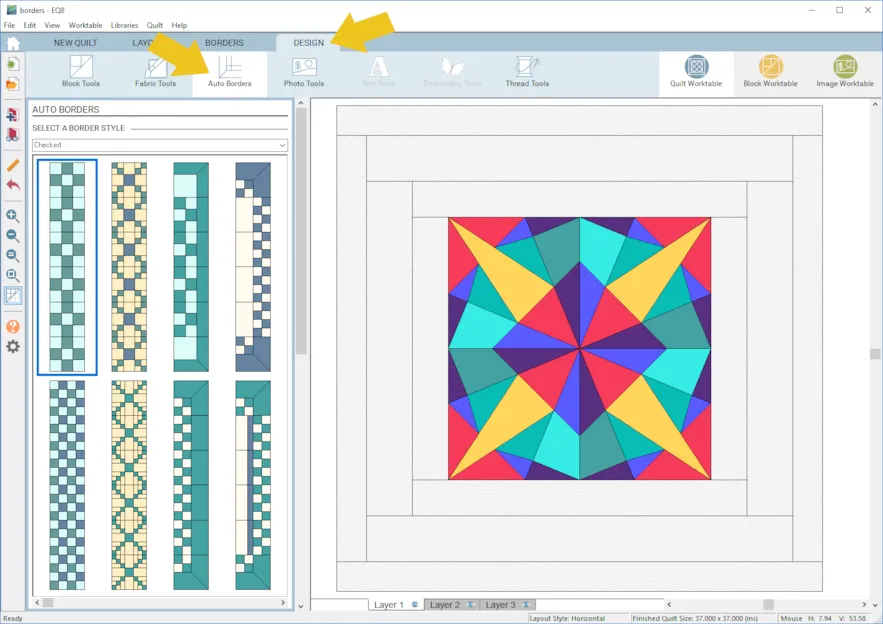
- Click the drop menu to see more categories, scroll at the bottom to see more choices.
- If you click on a border, then in your border space once, it automatically sets the border on all sides.
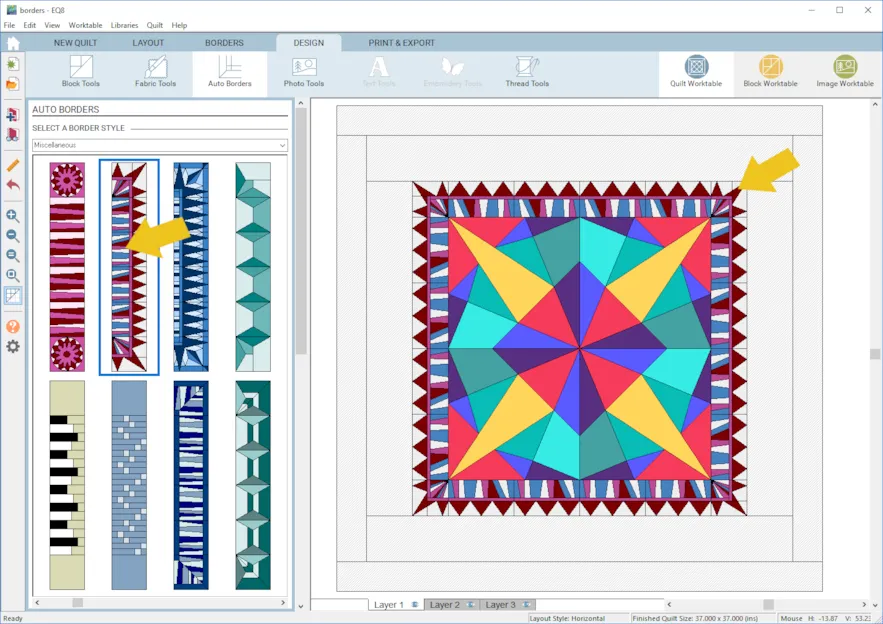
Experiment with all the different options! - Click the BORDER tab if you want to add or delete borders, or if you want to change the width of a border.
- Click the Fabric Tools to recolor.
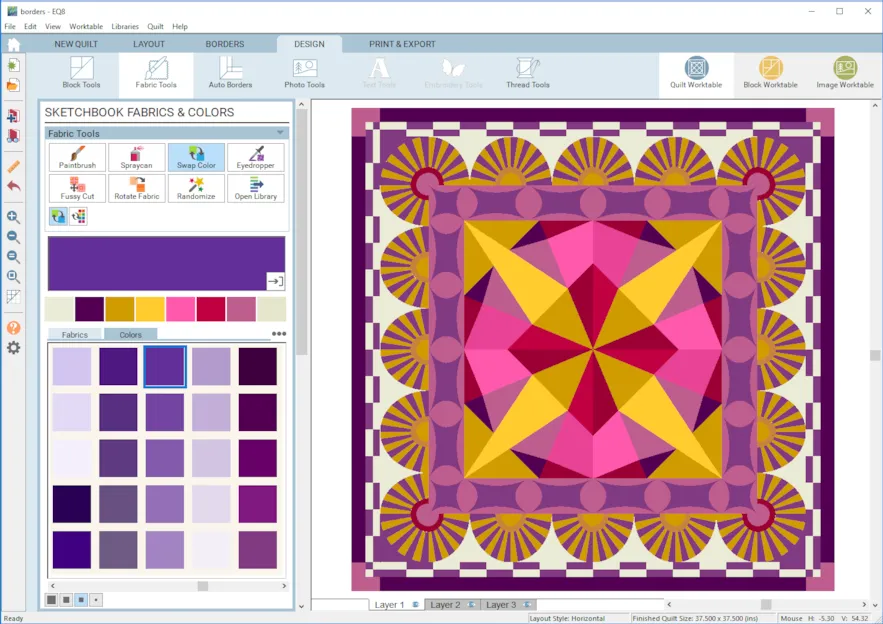
- Remember to click Add to Sketchbook for anything you want to keep. Now when you want to print a pattern it will be broken up differently (depending on the specific border, of course!).
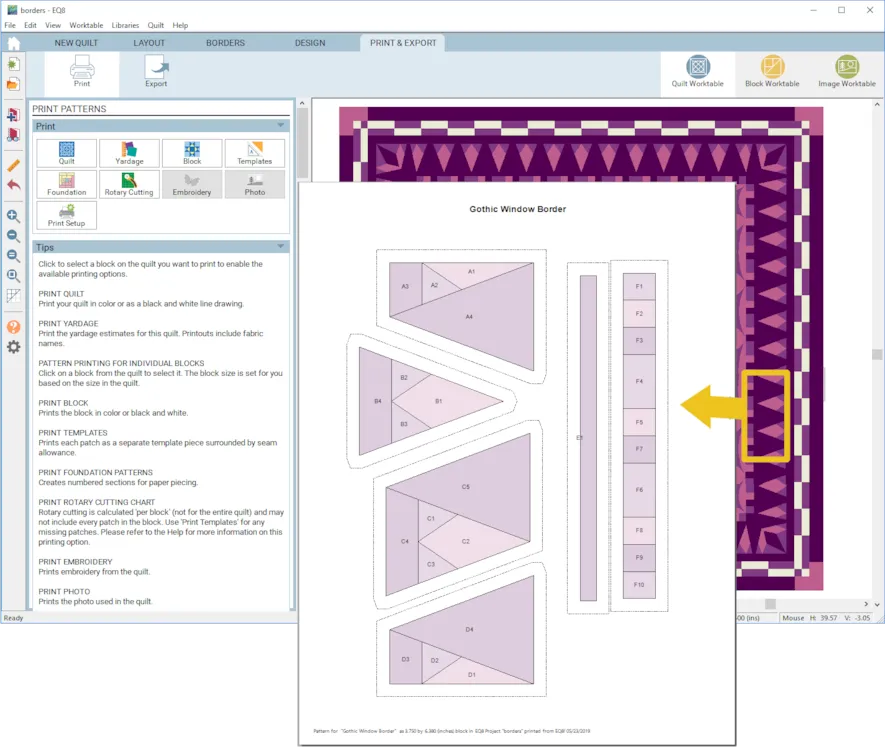
- The blocks that make up the Auto Borders are also available in the Block Library, divided into the same categories. You can manually set all the blocks too!
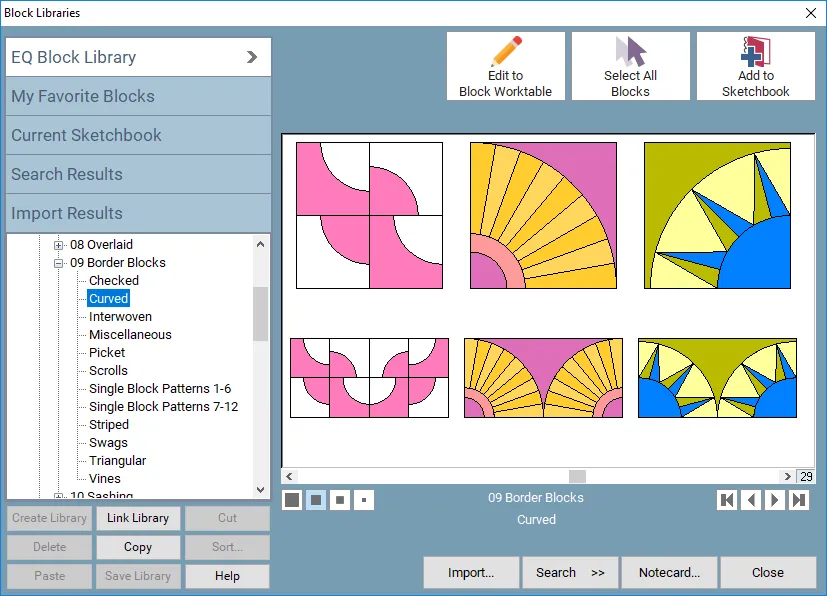
Have fun experimenting! - Don’t forget to save any of the variations you like by clicking Add to Project Sketchbook

- If you want to post images of your quilt backs, here is how to export the images.
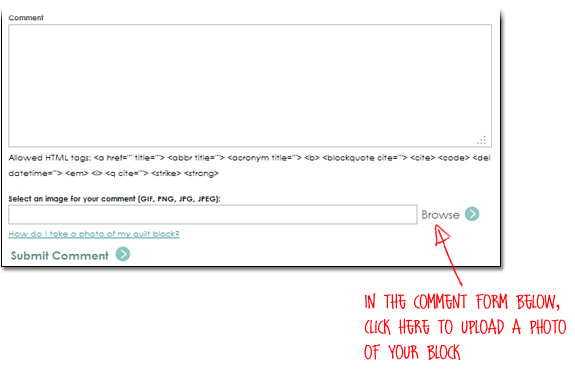
- To post your image click to comment on this post. Fill in your info and then click Browse. Go to: Documents\My EQ8\Images
I can’t wait to see your quilts! I hope you enjoyed the lesson!
If you have questions about the lesson feel free to post them below.
If you have questions about something else EQ related, please contact techsupport@electricquilt.com.


