
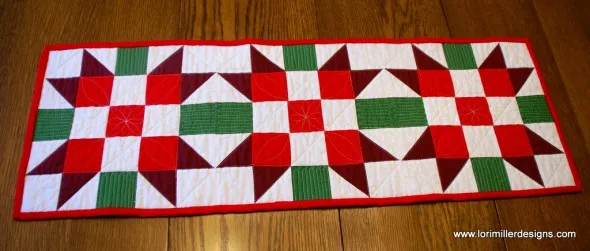
This Friday, we will design a lovely holiday table runner. This runner will help reinforce EQ Mini design basics and also provides a great idea for home decor or a holiday gift. EQ Mini is not just for designing full size quilts, it can be used for table runners, mini quilts, and small quilted items too. Use the design software to try out colors, patterns and settings until you are ready to stitch up something special.
Holiday Table Runner
Skillset: Beginner
Finished Size: 12 1/2″ x 36 1/2″
Skill Builders:
- Working with horizontal layout
- Editing a 48” horizontal medallion
- Working with borders
- Inserting a border
- Using a block border
Let’s get started designing together!
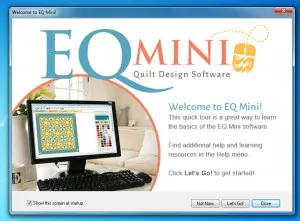
- Open EQ Mini.
- If it asks you to take a quick tour, click Close.
- Read the tip of the day and click Close.
- Let’s start by naming the Project. The project name will appear at the very top of the EQ Mini Window. Right now the project says Untitled. On the top toolbar click the Save button.
 The Save As box will display.

- Save your project file in the default folder which is projects. Hint: You can then find it under Documents > My EQ Mini > Projects later. Now in the file name box type Holiday Table Runner.
- Click Save. The box will close. Notice the project name Untitled has been replaced with Holiday Table Runner.
- On the Blue Start New Quilt Tab, select the Horizontal Layout.

- Select the Table runner in the top right corner. If you move the mouse and hover over the layouts, it will tell you the description.

- Select the Orange Adjust Layout tab. The layout palette will display.

- Keep the number of horizontal blocks at 1.
- Keep the number of vertical blocks at 3.
- Check the box to keep the width and height equal.
- Change the size of the blocks from 14″ to 12″.
- Under finished size of sashing, check to keep width and height equal. Change sashing from 1″ to 0″, so there will be no sashing.

- Select the Green Edit Borders Tab
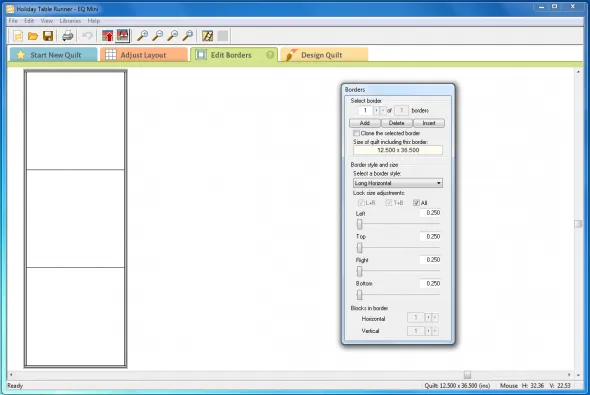
- Leave the border style as Long Horizontal.
- Change the border on all sides from 1″ to .25″. This will mimic the width and look of the binding. We are ready for the design.

- Select the Orange Design Quilt tab.
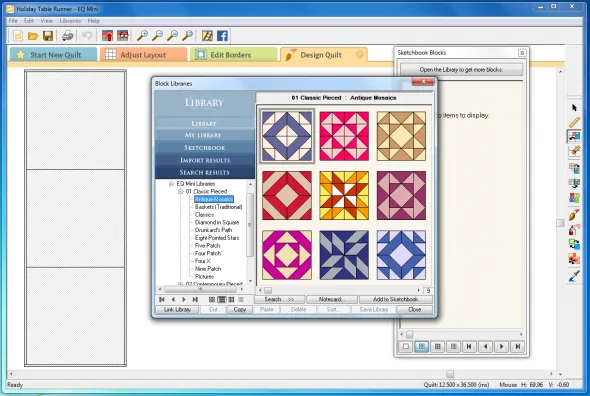
- Under Sketchbook blocks, click to open the library to select more blocks.
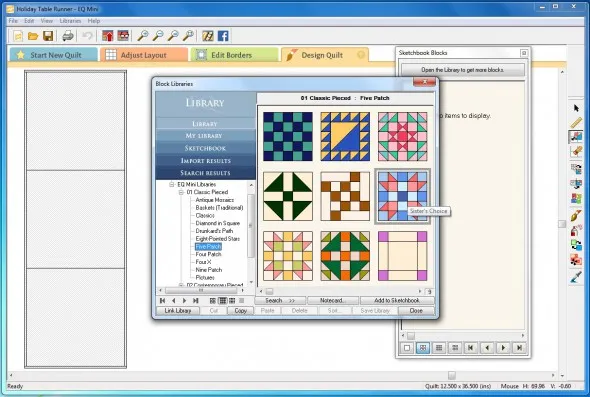
- Scroll down and select Five Patch Blocks. Then find the Sisters Choice block and click on it to highlight it. On my screen, it was in the second row on the far right. If you hover over the blocks, you will see the name.
- Click Add to Sketchbook and Close. The Sisters Choice block will appear in the Sketchbook blocks.
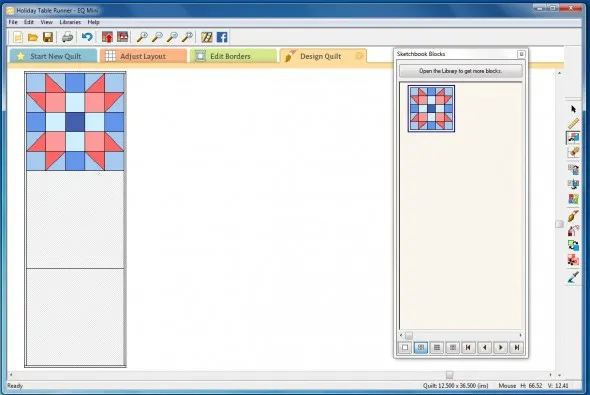
- Click and drag the Sisters Choice block to each of the 3 table runner blocks.
- Close Sketchbook blocks by clicking the X in the top right corner of the frame.
- Click the Paintbrush tool
 on the right hand toolbar.
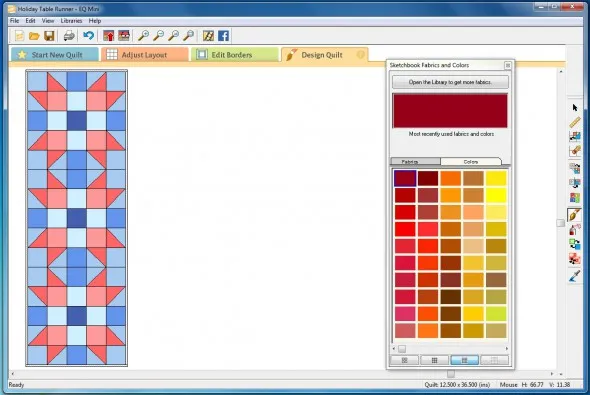
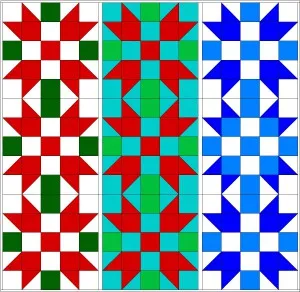
- Using the fabrics or colors, color your quilt design. Select the fabric or color and then click on the area you want to color on the quilt. I worked with traditional Christmas colors first.
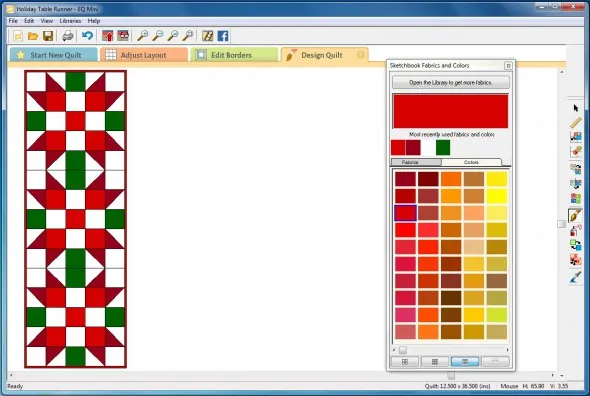
- Once you have the coloring how you like it, save the quilt design to your sketchbook.

Bonus
How to color multiple patches in identical quilt blocks at the same time
How to print the fabric yardage estimates required to piece the top
How to print the cutting instructions
Ready to Quilt?
Now that you have your Holiday table runner design, let’s stitch it up! You can find a detailed tutorial for this quilted table runner on my Lori Miller Designs blog.
Holiday Table Runner Sewing Tutorial
Questions or Feedback?
Did you like this design project? I welcome your questions and feedback. Just share in the comments. Thanks!
Lori J. Miller lives in Troy, Michigan, where she designs, stitches and sews quilts and quilty things. She loves experimenting with fun colors and designs to make playful and clever products for the modern stitcher. Sewing since age 11, Lori has deep roots in sewing and quilting traditions that add a unique dimension to her designs. She loves designing using Electric Quilt 7, Electric Quilt Mini and EQ Stitch. You can follow her quilting adventures on her blog at lorimillerdesigns.com or on instagram @lorimillerdesigns


