We’ve updated Club EQ! It’s now called Design & Discover! Now you can follow along with a lesson and submit your version of the design right on the blog with a link up. If you have a blog, make sure to add your site too. Let’s visit each others’ blogs and all get to know each other!
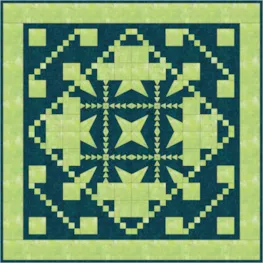
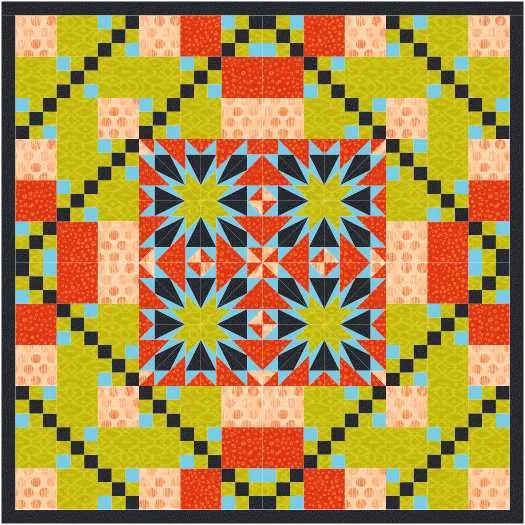
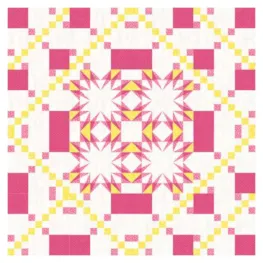
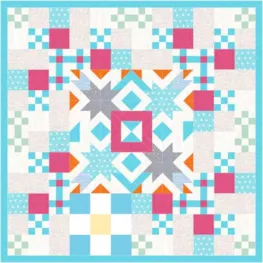
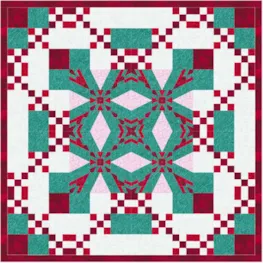
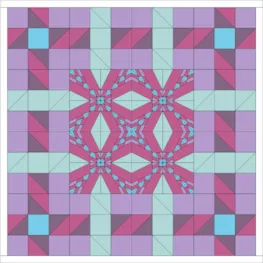
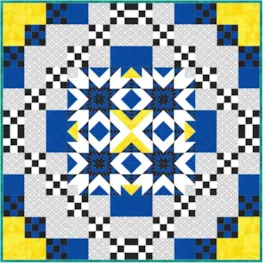
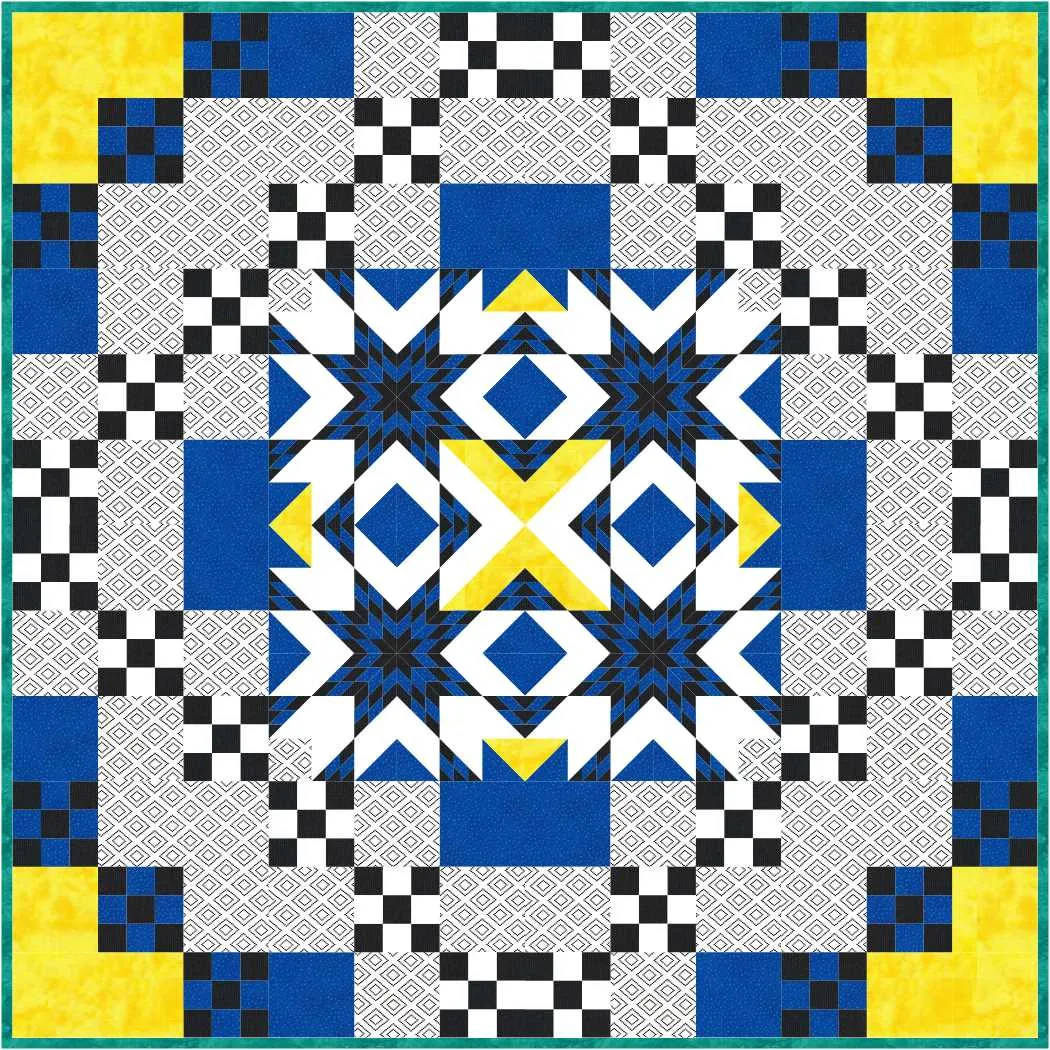
This month we are making this quilt:

Let’s get started!
1. Click Quilt Worktable
2. Click the Design tab
3. Click the Set Block tool
4. Click the block EQ Default Nine Patch Chain

5. Hold down the Ctrl key on your keyboard (for PC) or the Command key (for Mac) and click on a square in the quilt layout. It will fill all the spaces with this block.
6. Click the Block Worktable

7. Click Block > Serendipity > Kaleidoscope Block

8. Click the EQ Default Nine Patch Chain on the left
9. Click the different “tiles” on the right to create new blocks.Have fun experimenting! You can make lots of fantastic blocks this way!
10. When you have one you like, click Add to Sketchbook. (I chose the first variation.)

11. Click on Quilt Worktable
12. Click the Set Block tool
13. Click the new block you created.
14. Click the place it in the four center spaces.

15. Click the Rotate tool and click the EQ Default Nine Patch Chain blocks until they are rotated as shown.

16. Click on the Fabrics Tools tab and start recoloring. I was concentrating on the shapes and patterns and not so much the color scheme…and I am not happy with the colors. EQ8 can fix that!

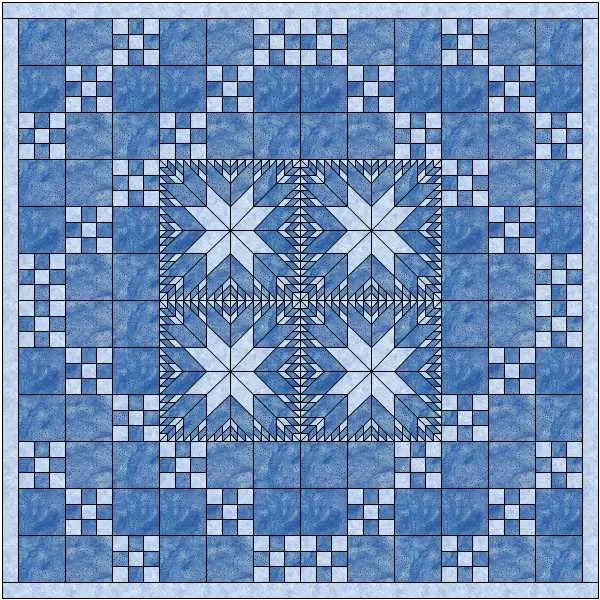
17. Click the Randomize tool
18. Choose Randomize

19. Click on your quilt as many times as you like. For any of the variations you like, click Add to Sketchbook. You don’t have to love everything about it, it can just be a starting point for a new color scheme.

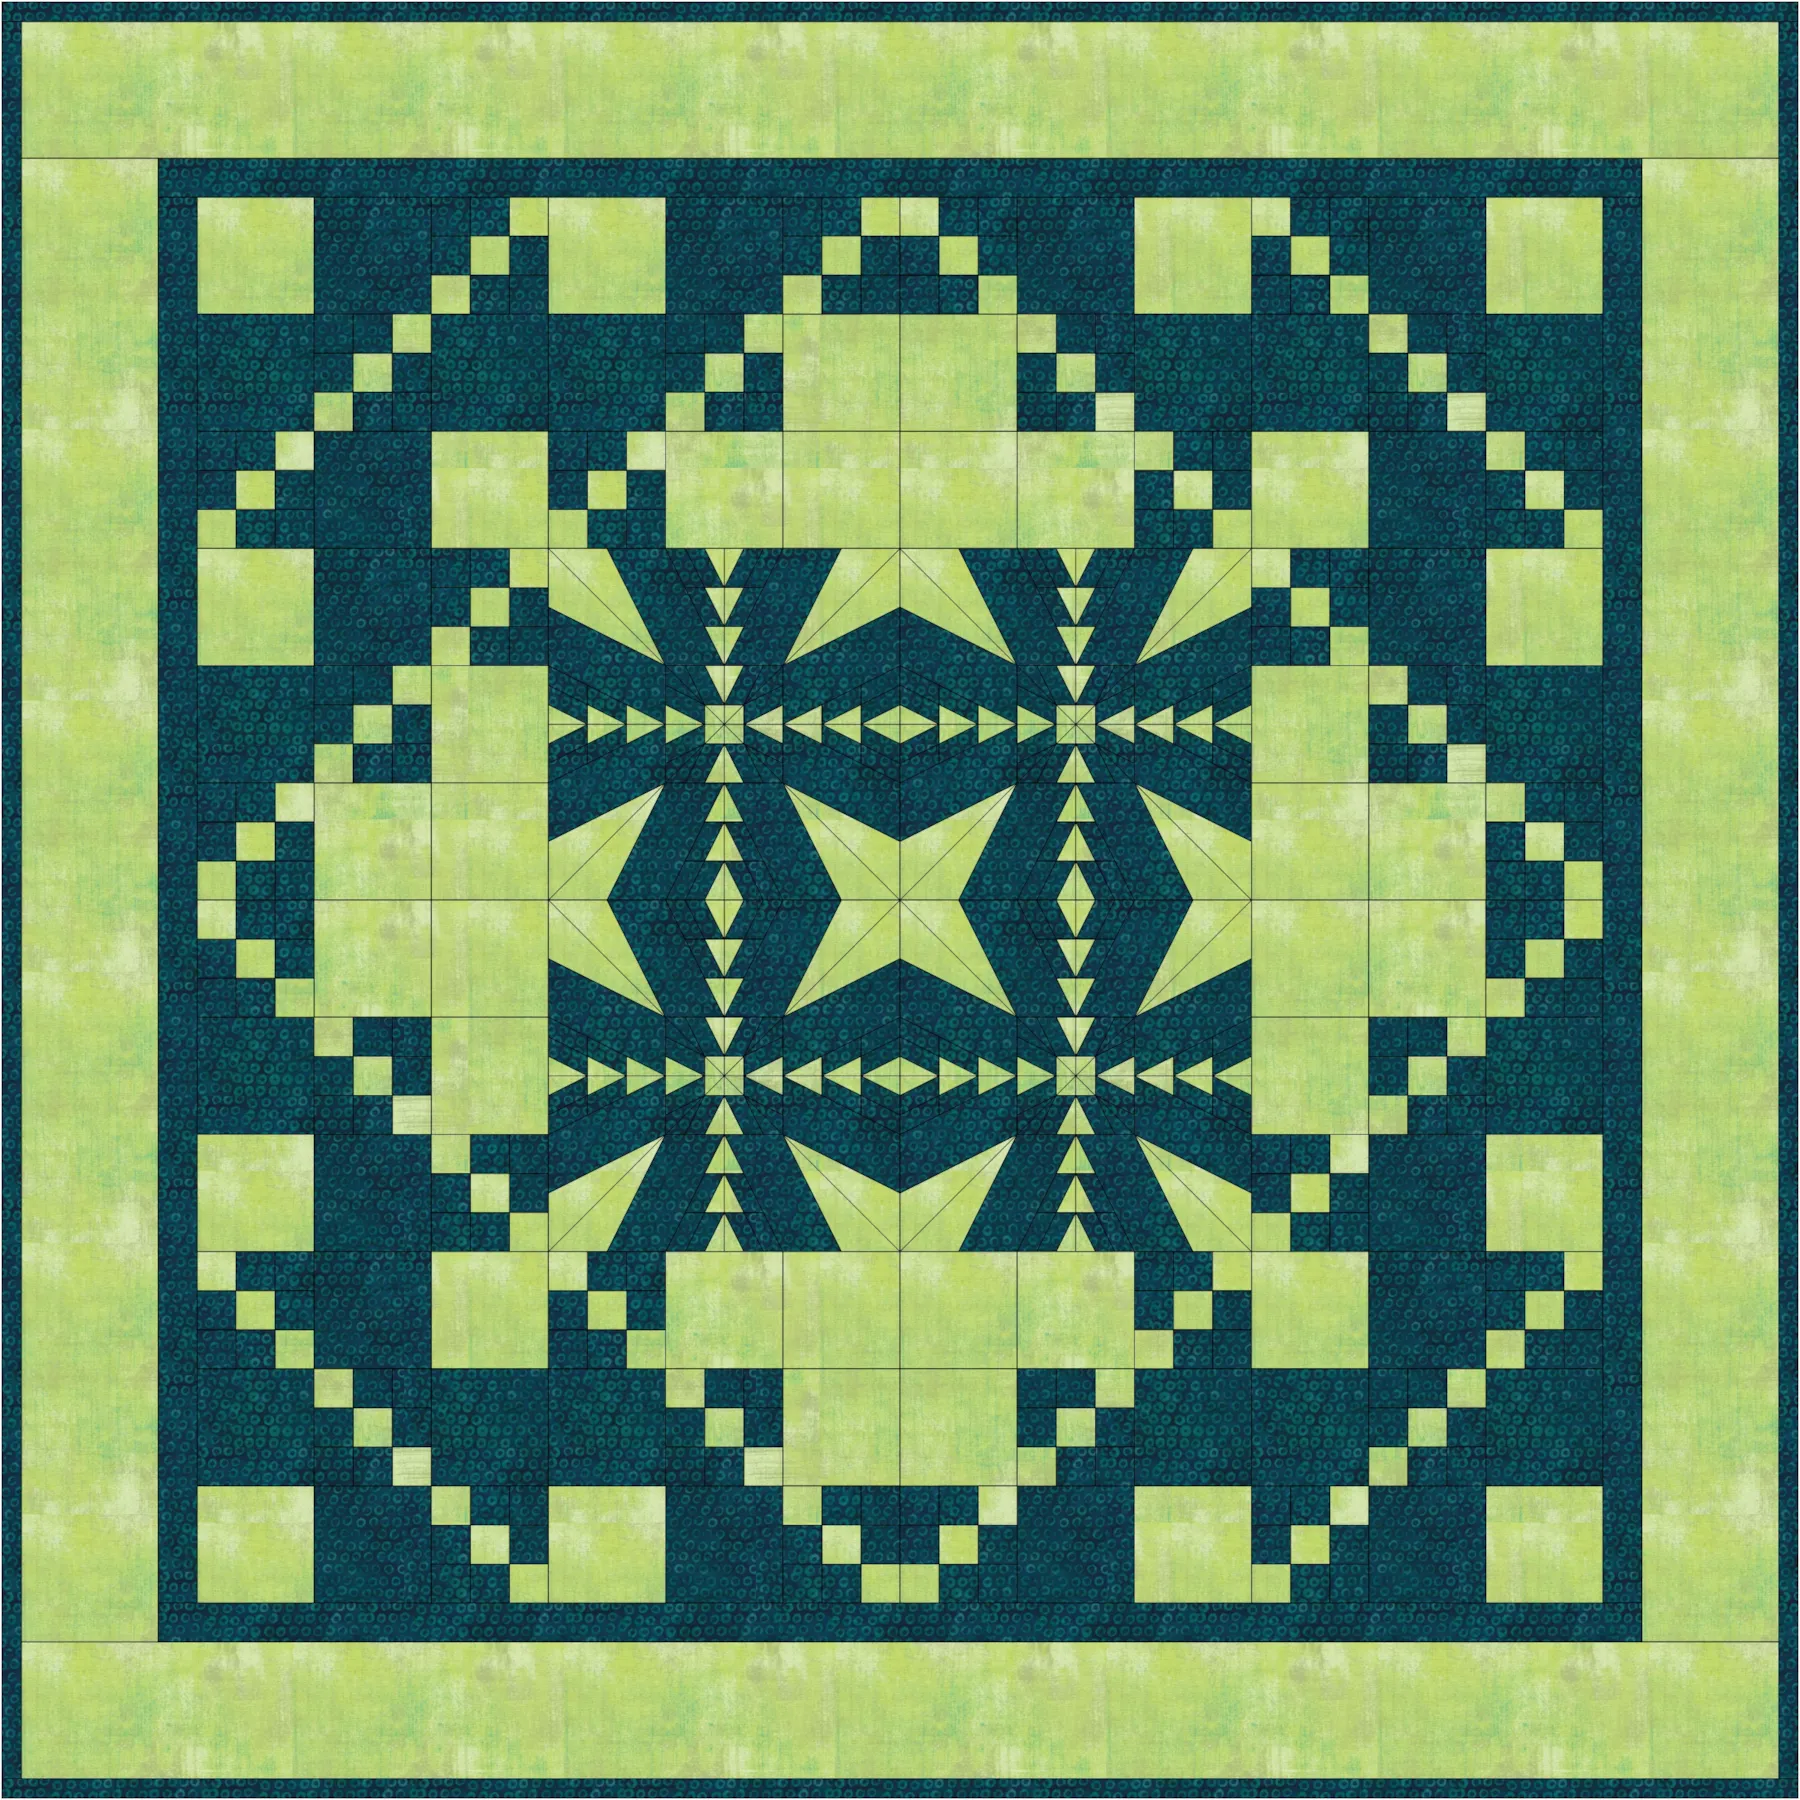
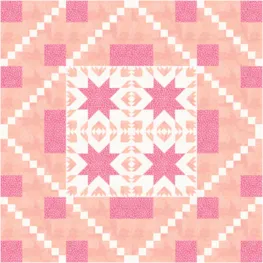
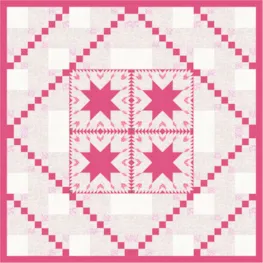
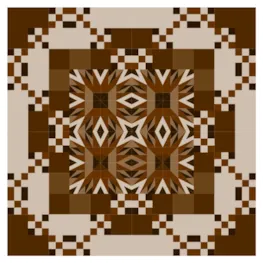
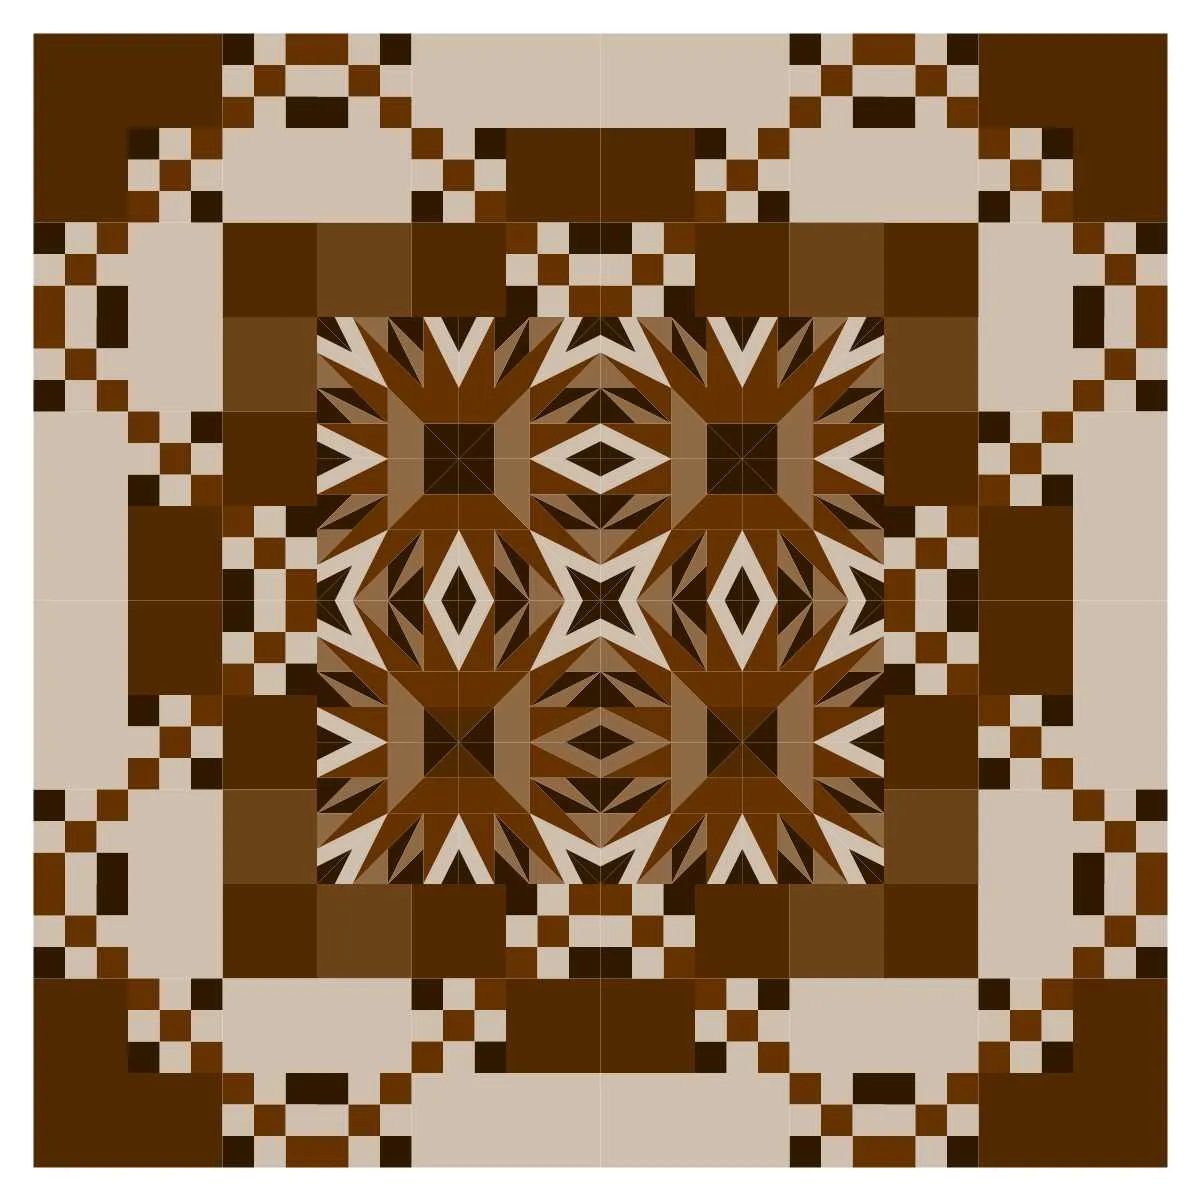
20. Recolor until you are happy or…..I like this one but, it’s a little too bright for me.

21. Click the Randomize tool
22. Choose Brightness
23. Click on your quilt until you are happy with the results and then click Add to Sketchbook

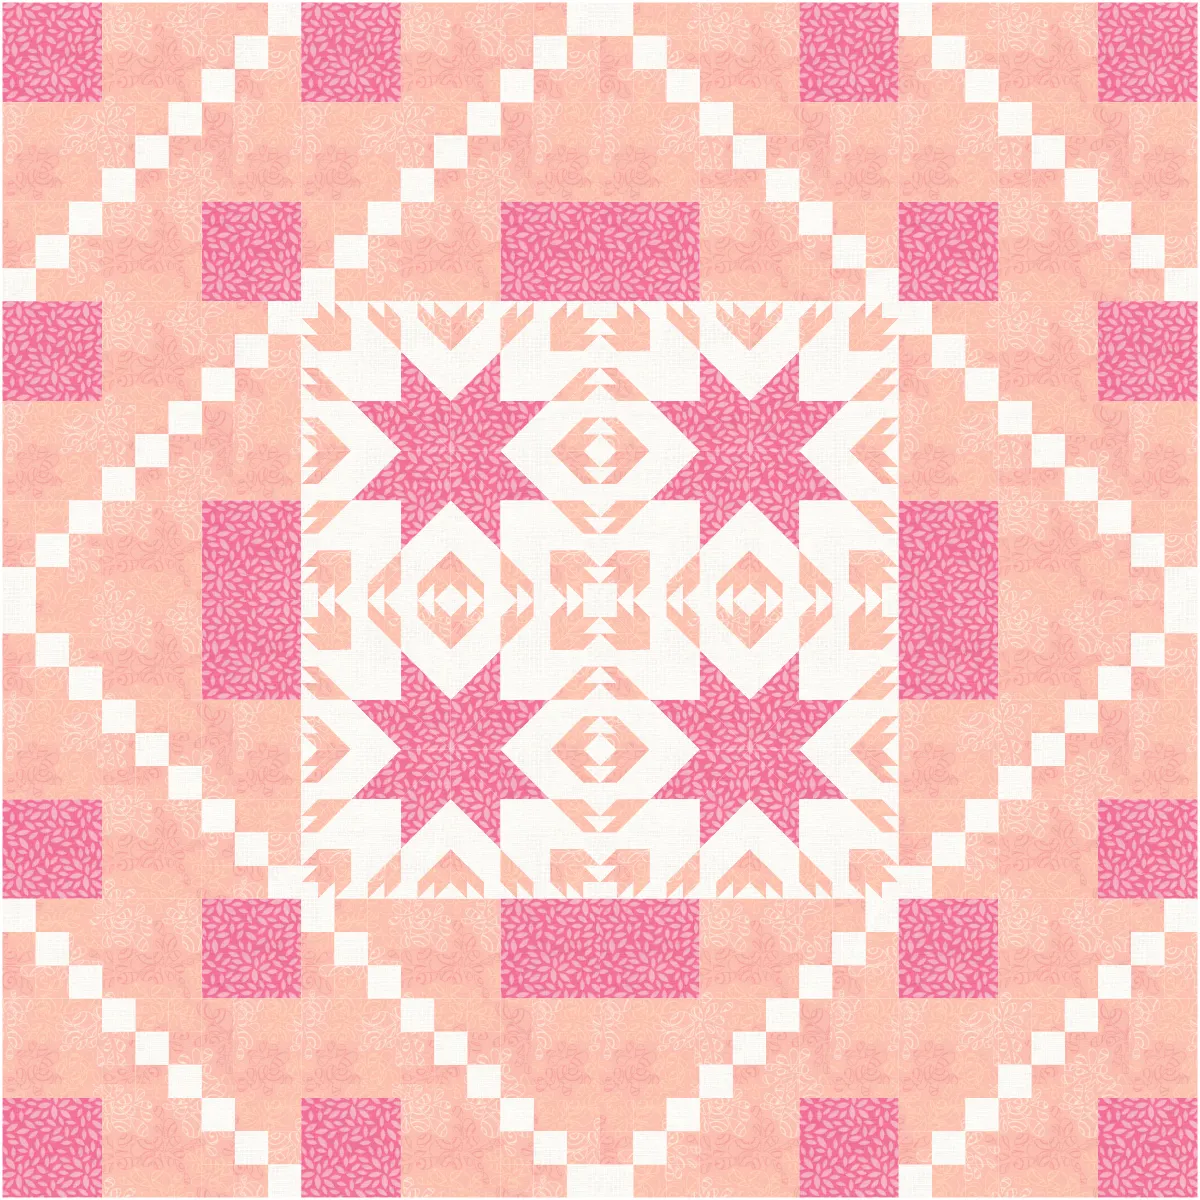
Now, I want my quilt to be fabrics instead of solid colors.
24. Click Randomize
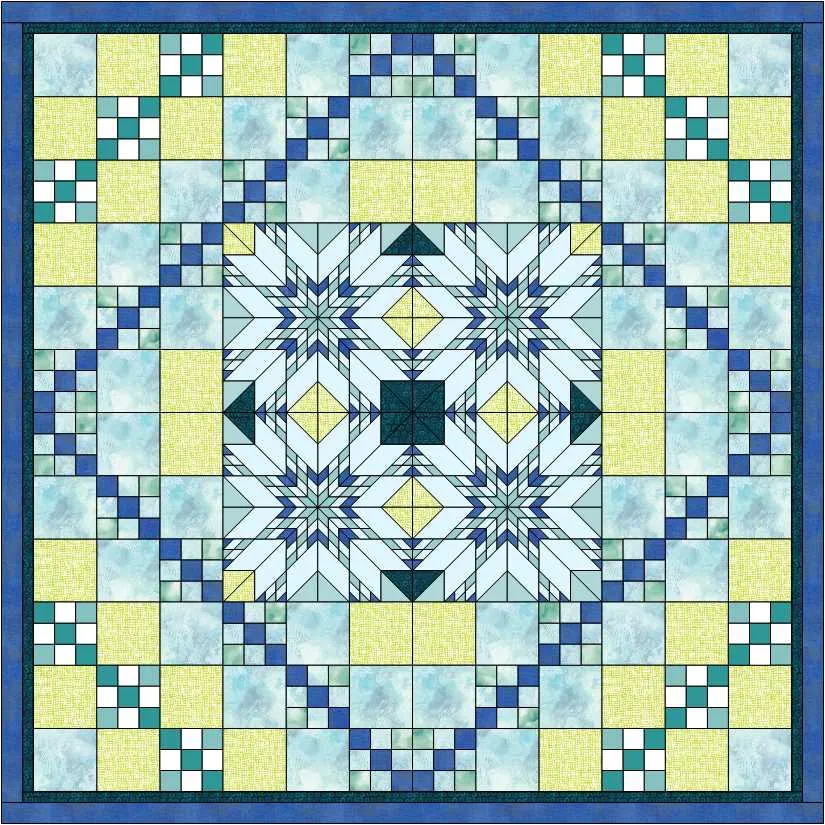
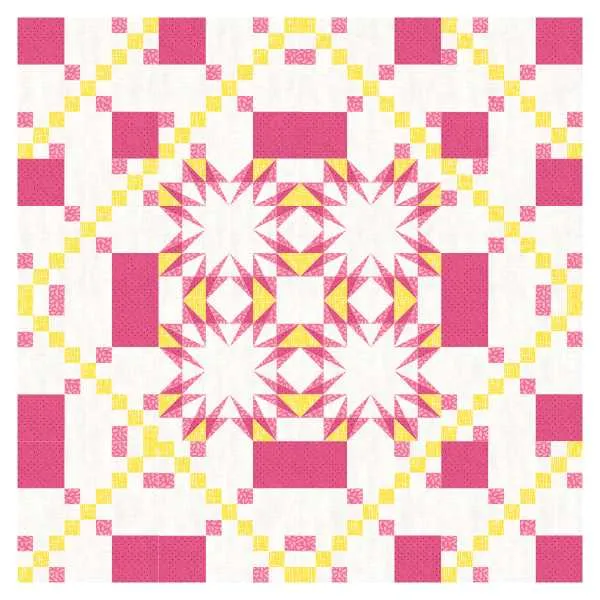
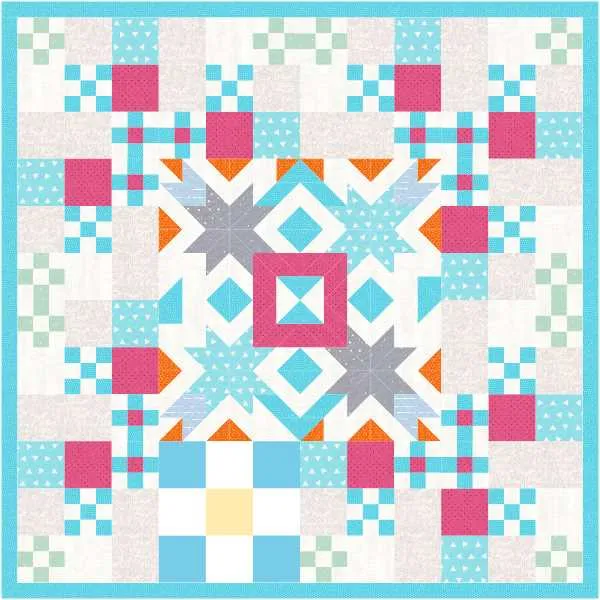
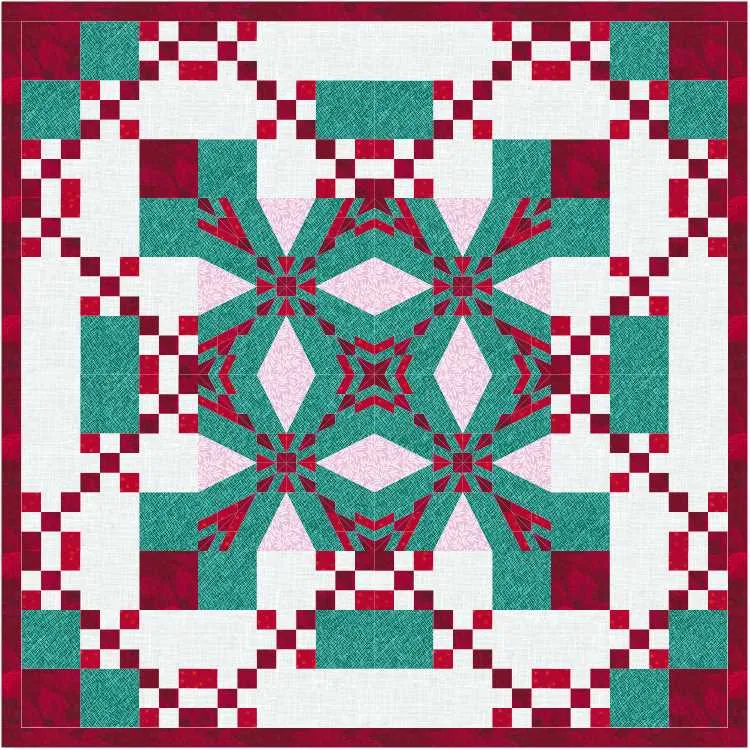
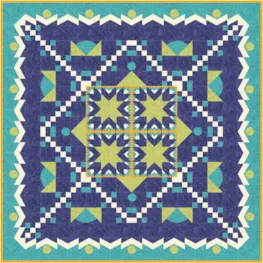
25. Choose Map to Fabrics and click on your quilt. You can play with this too, you don’t have to leave it exactly as is. You can add more fabric to your Sketchbook to get different results too!

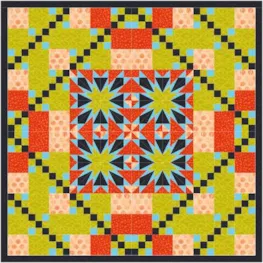
26. Color your border as you’d like and click Add to Sketchbook.
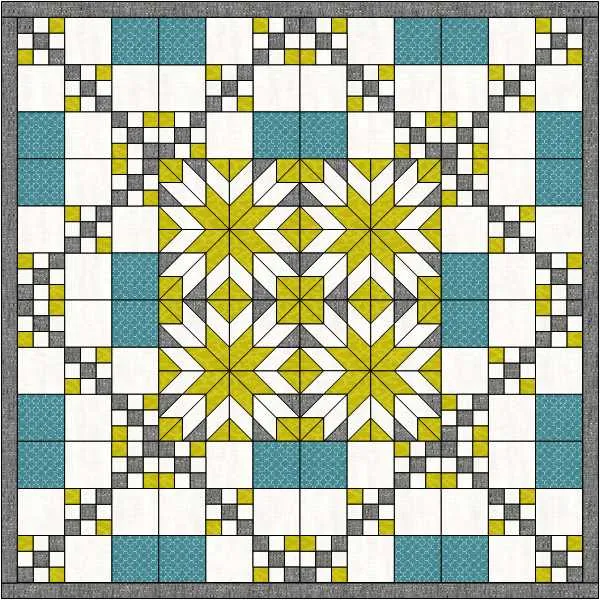
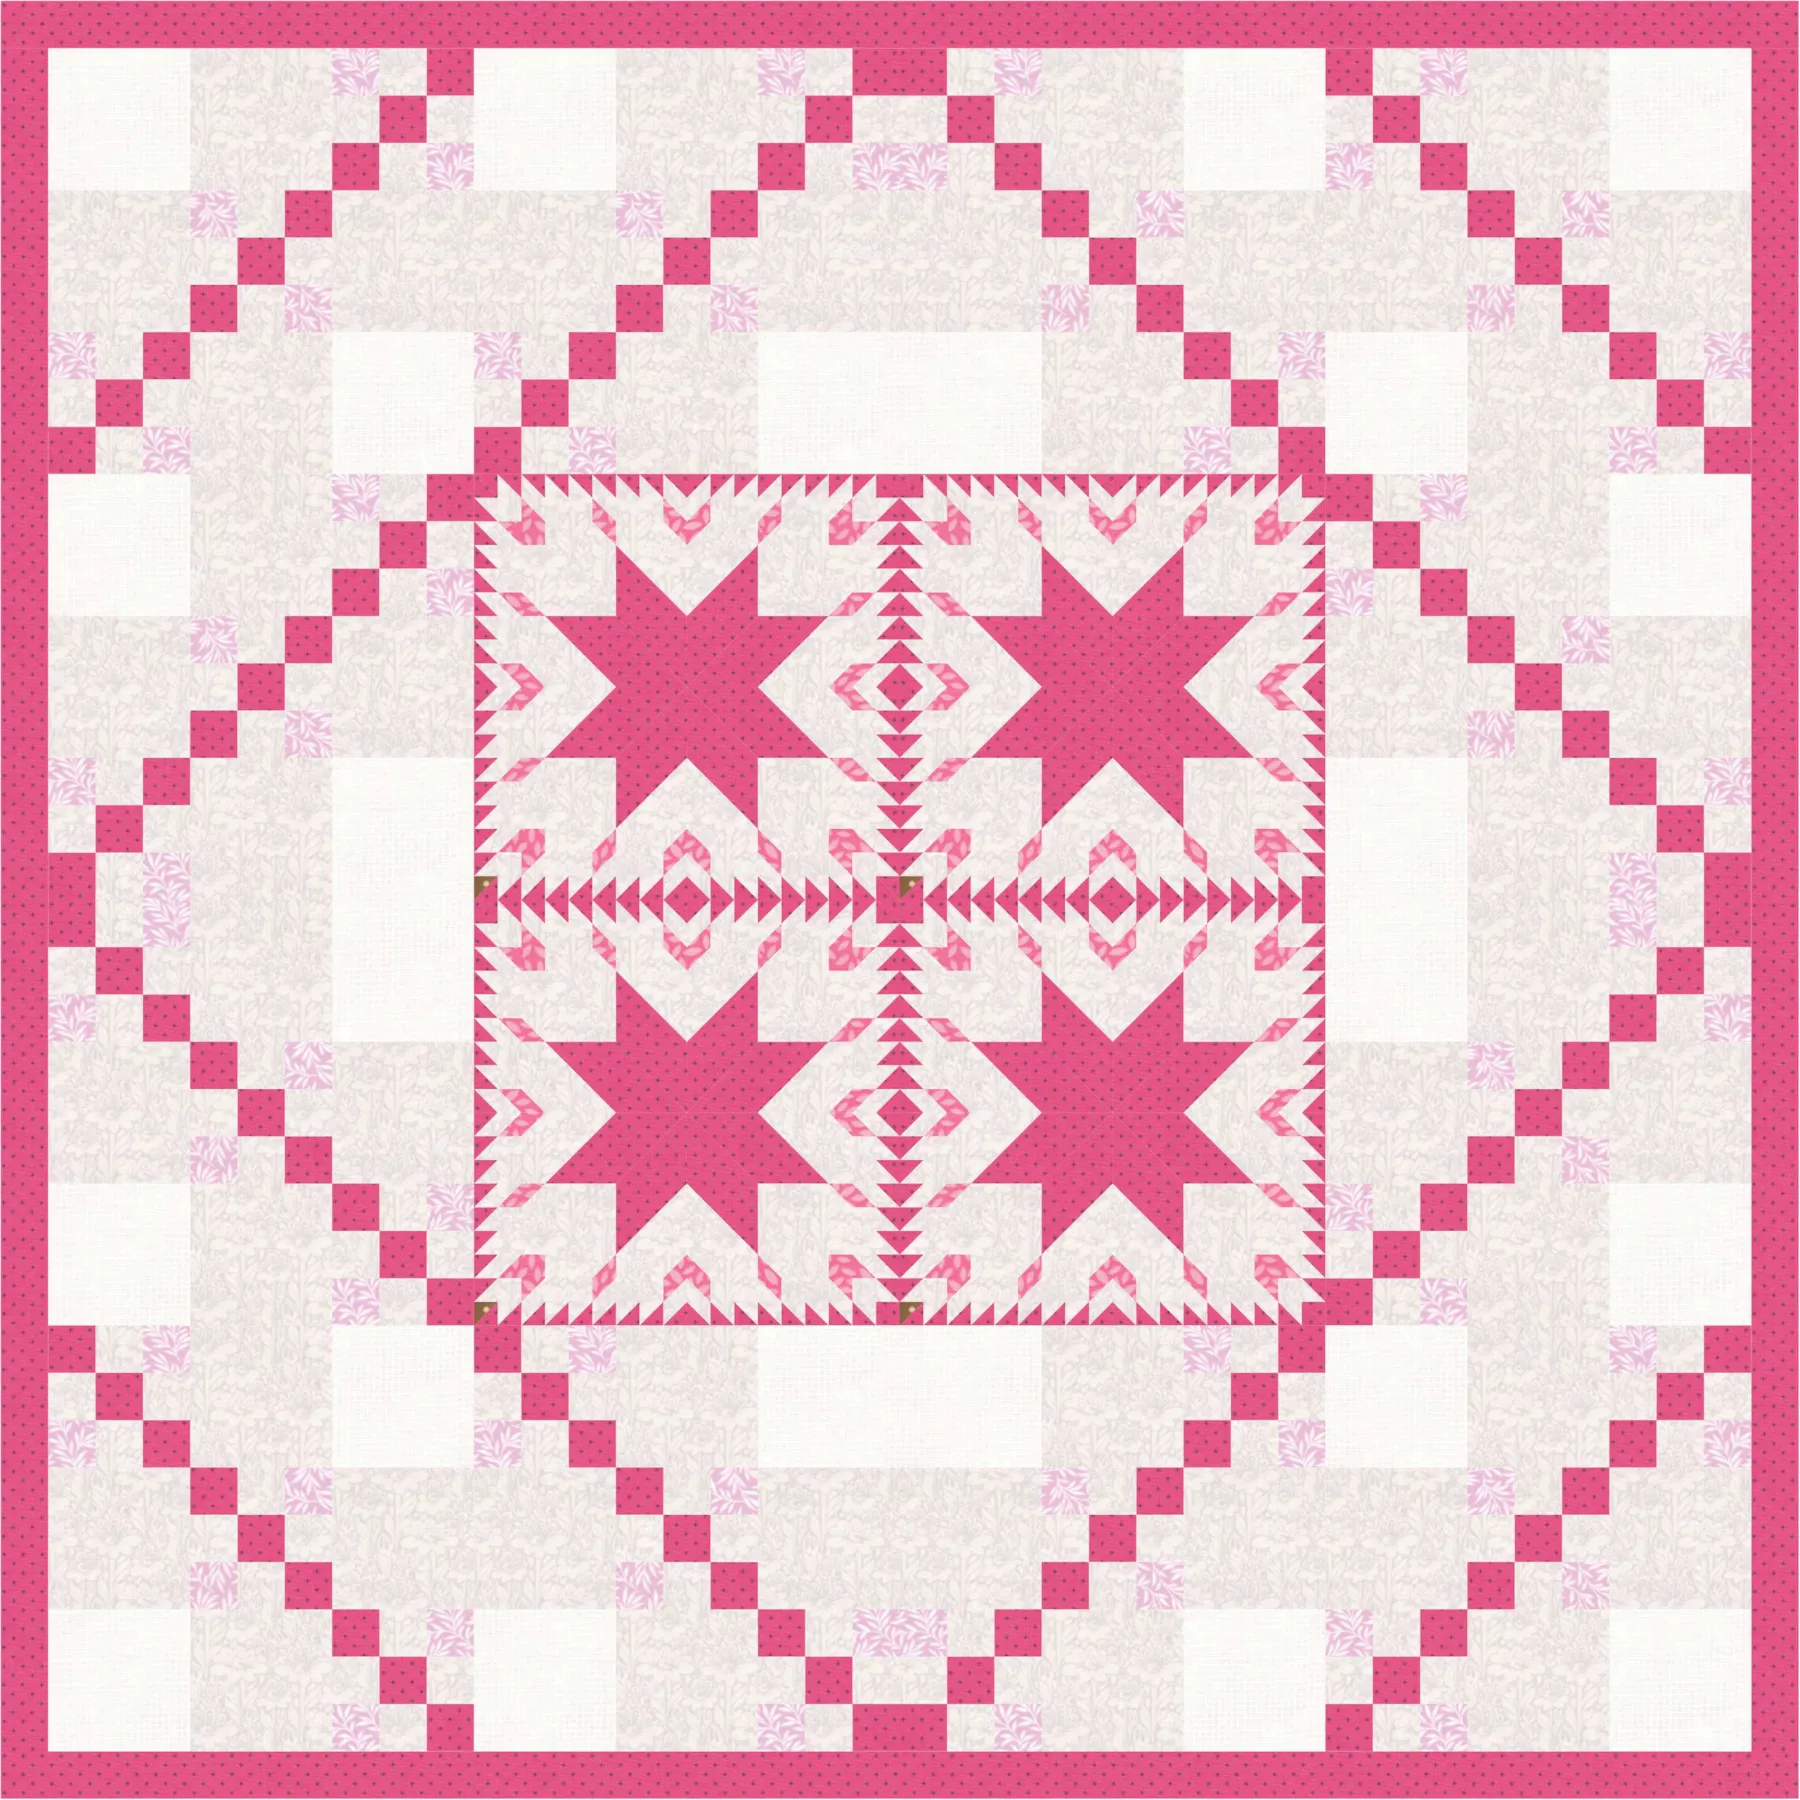
27. If you would like to, right click on the quilt and uncheck Outline Border, Outline Blocks and Outline Patches.

28. If you would like to post your quilt below, click the Print & Export tab
29. Click Export
30. Click Image
Name your file and click Save.

31. To post your image click to comment on this post. Fill in your info and then click Browse. Go to: Documents\My EQ8\Images

I hope you like the lesson! I can’t wait to see all of your quilts!