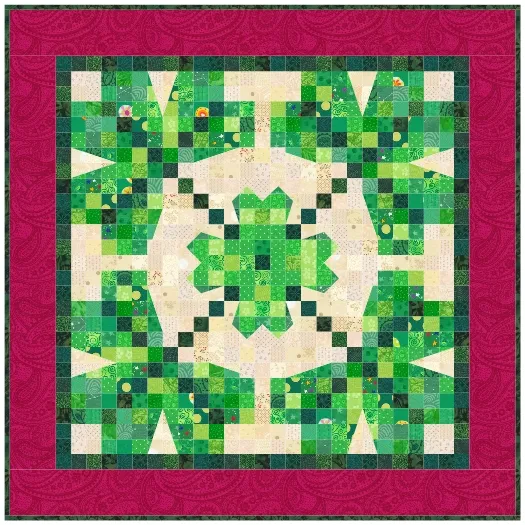
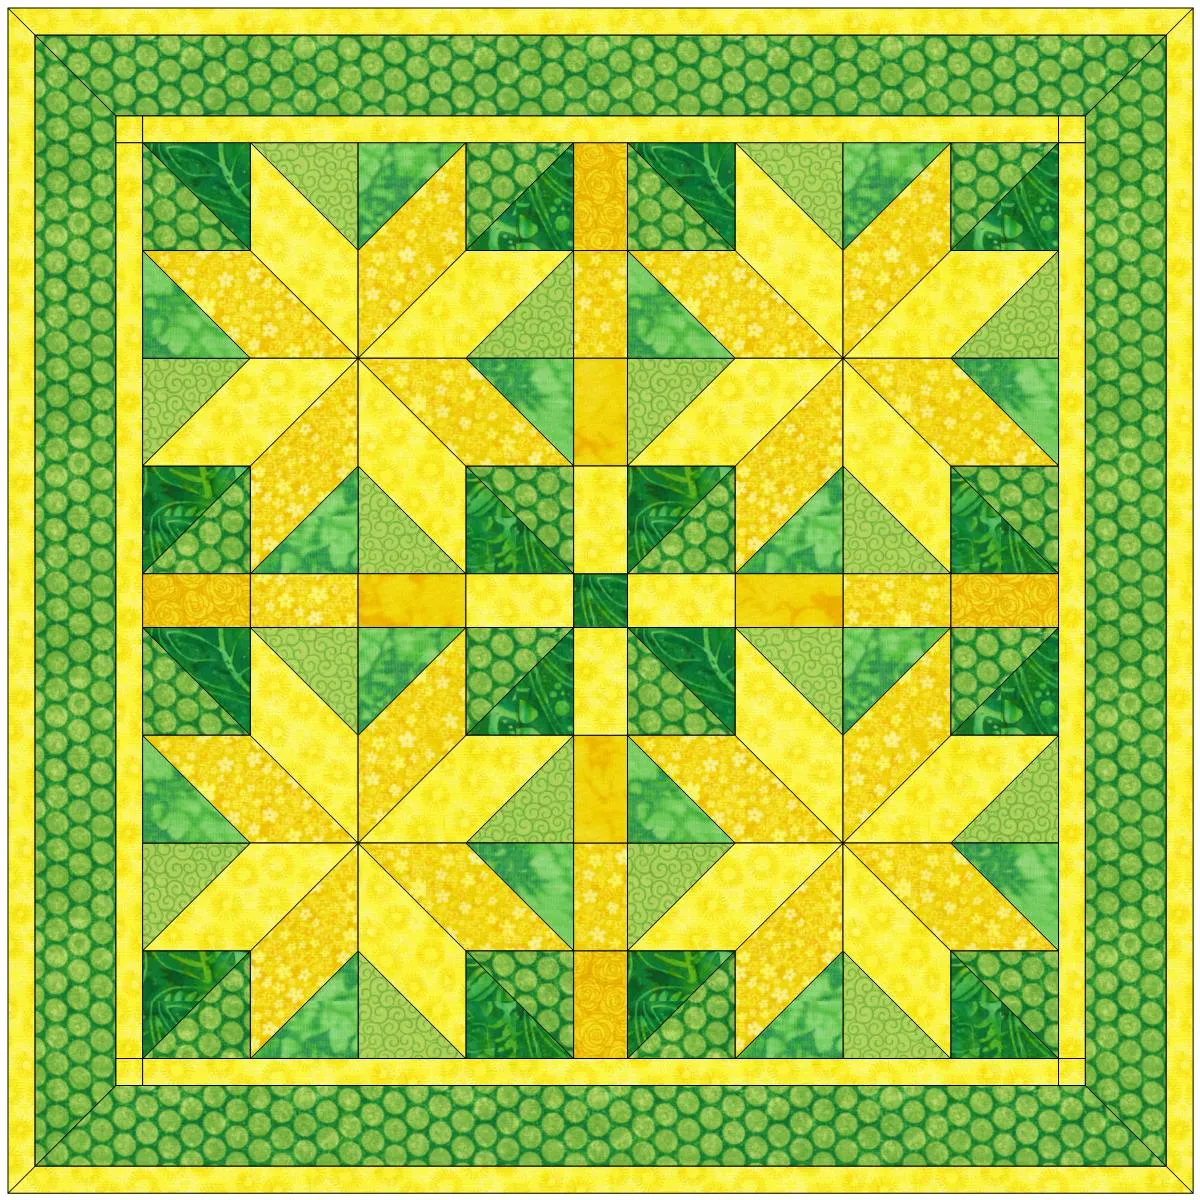
Let’s see how this month’s free project Lucky Leaves was designed. You can download the project here. Be sure to check out the other free projects available. There are over 320 to choose from!
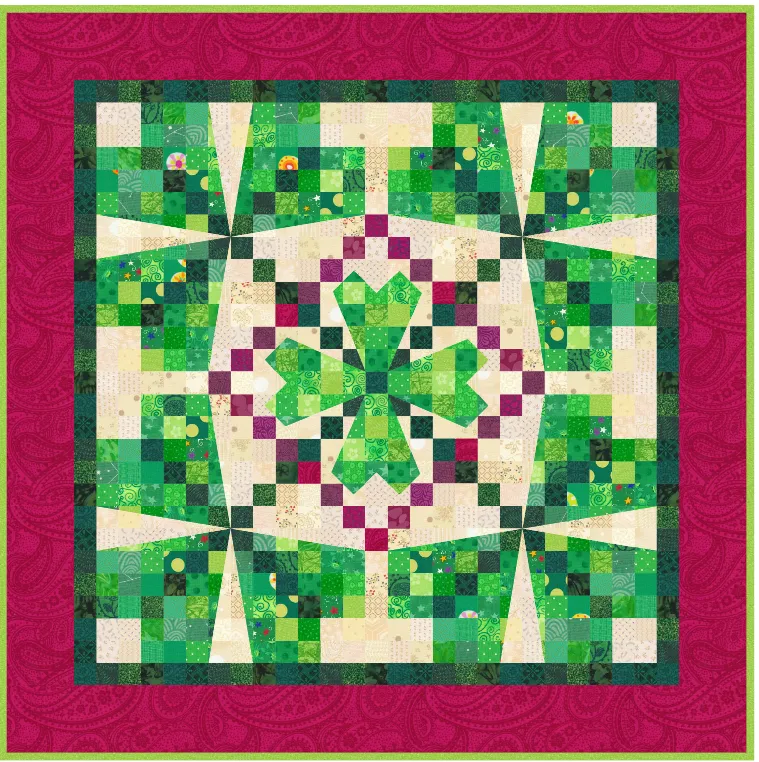
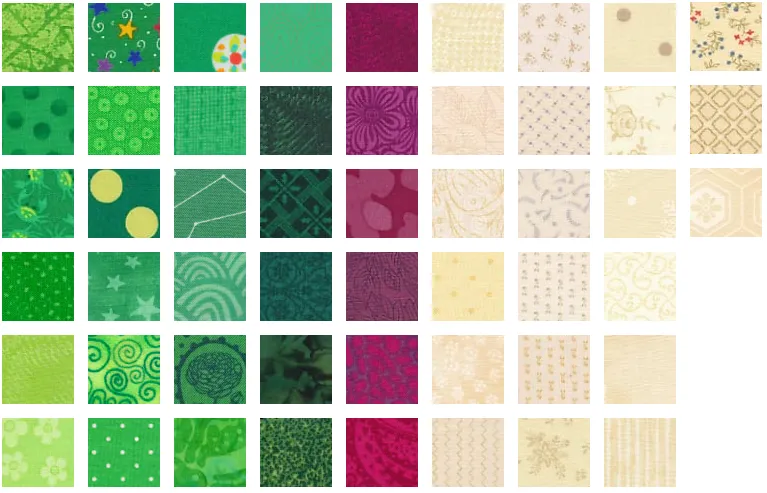
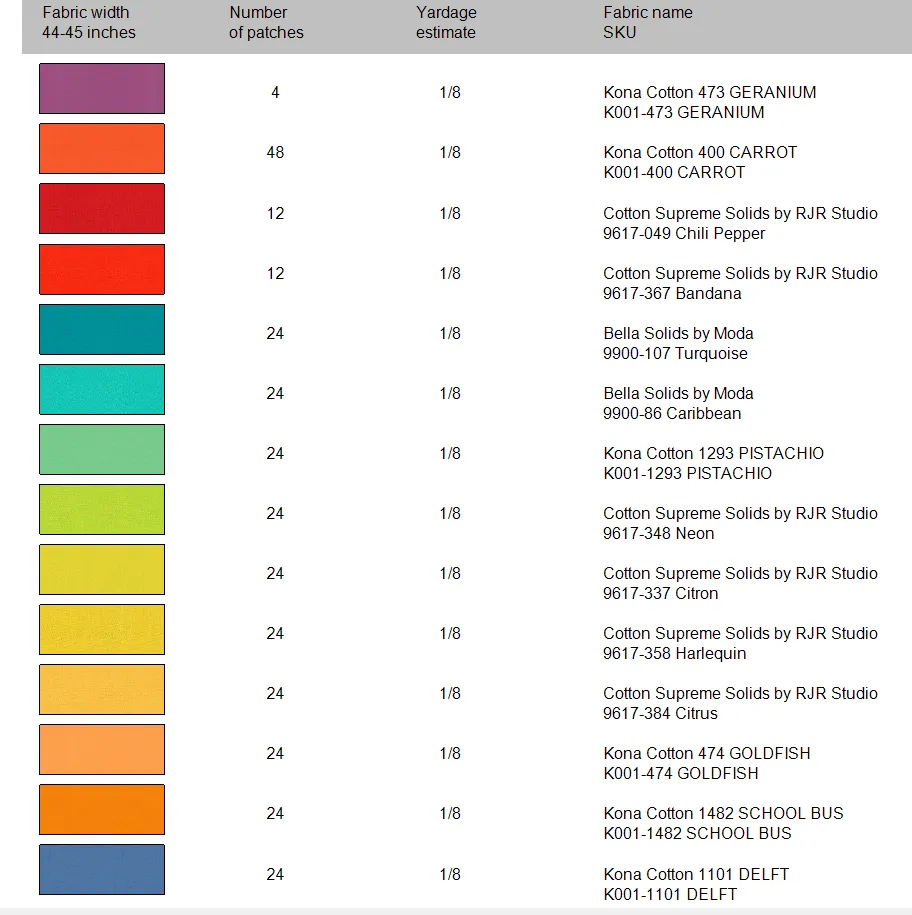
The project includes 51 new fabrics!
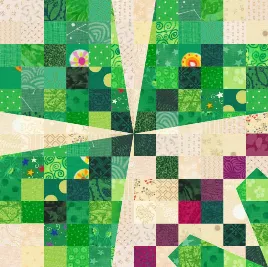
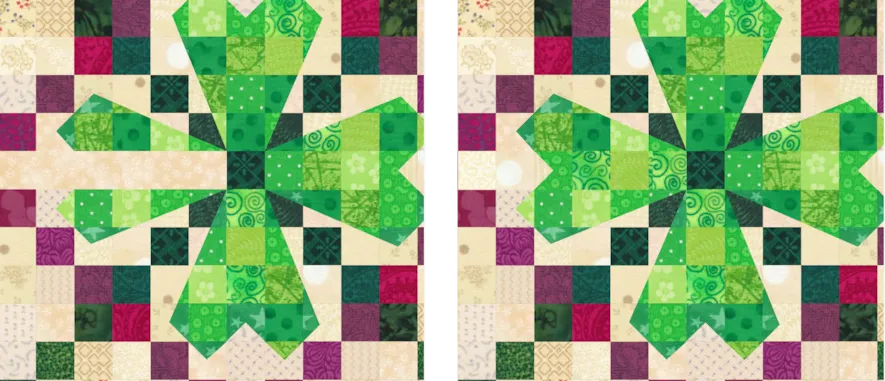
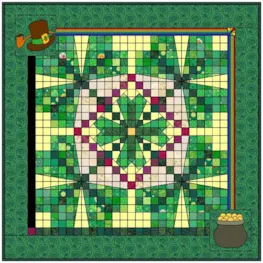
And this cute block!
Here is how to design this quilt:
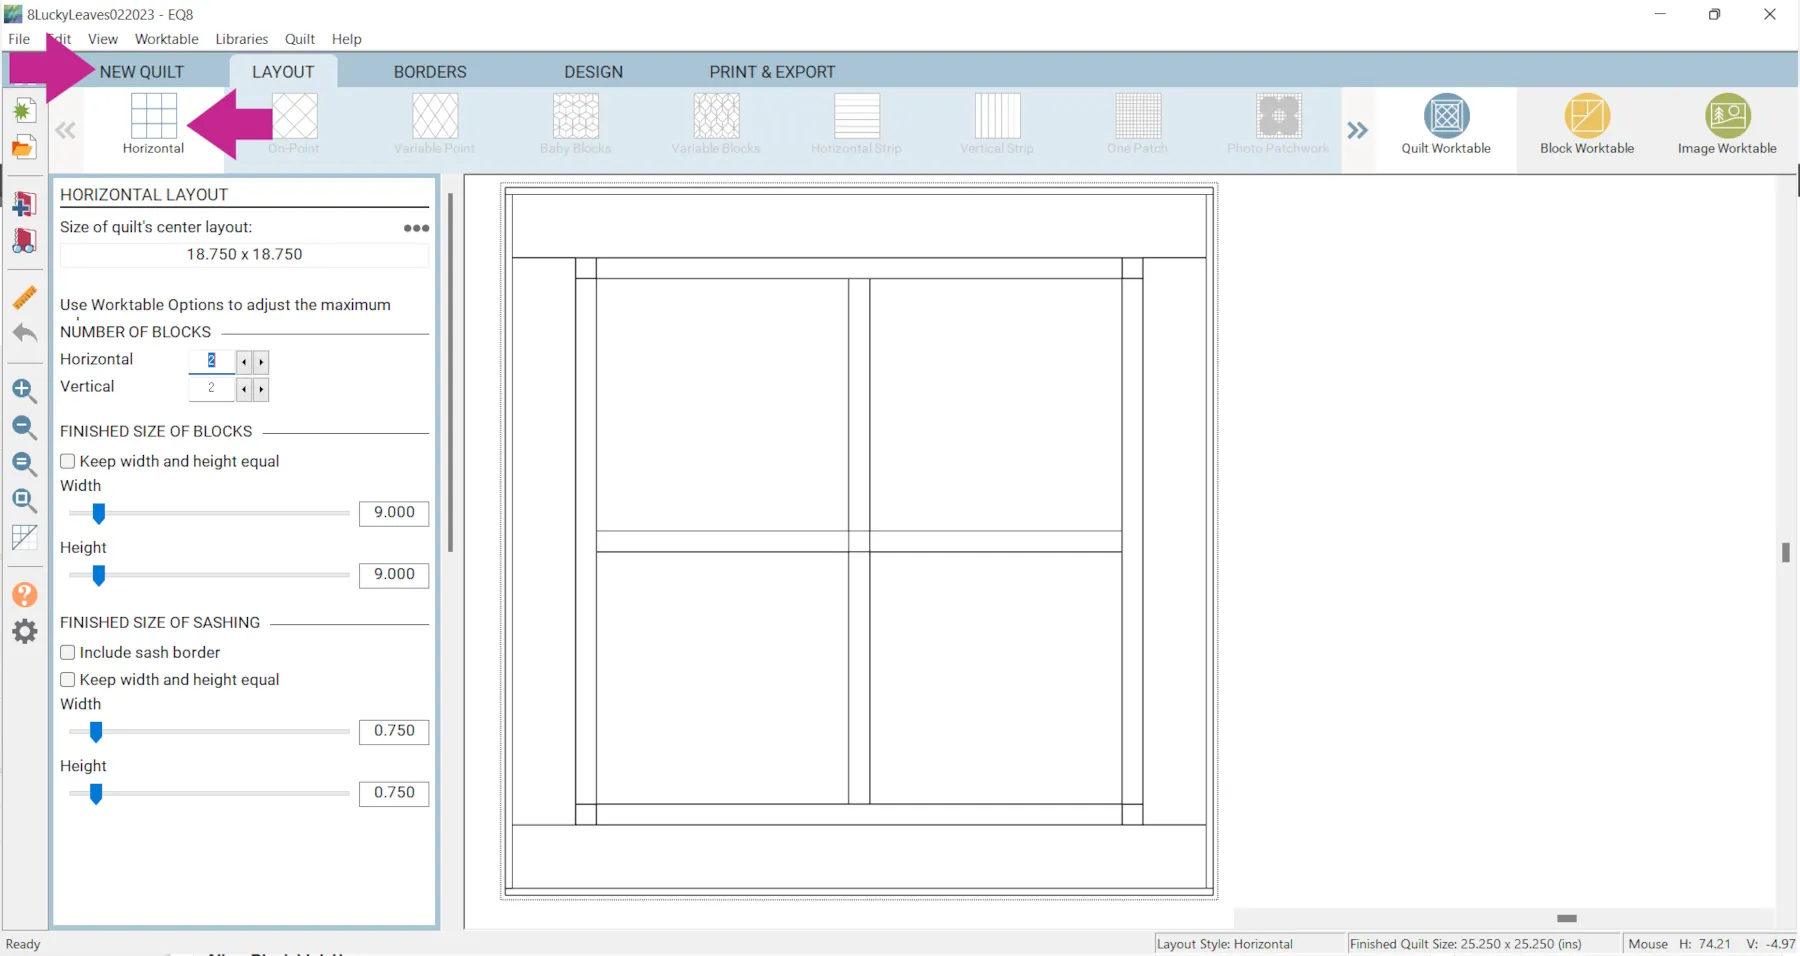
- Click the NEW QUILT > Horizontal
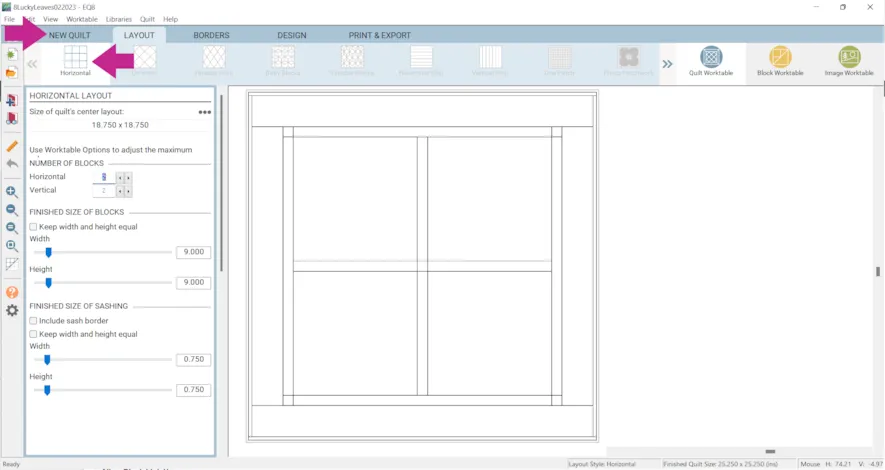
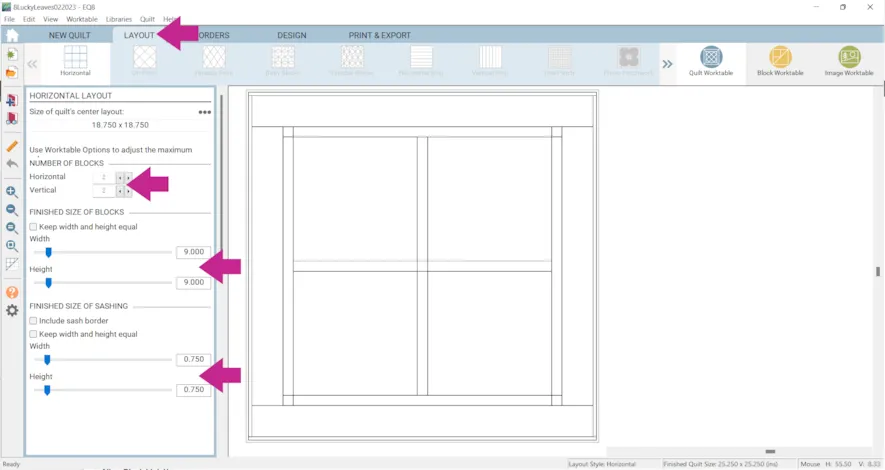
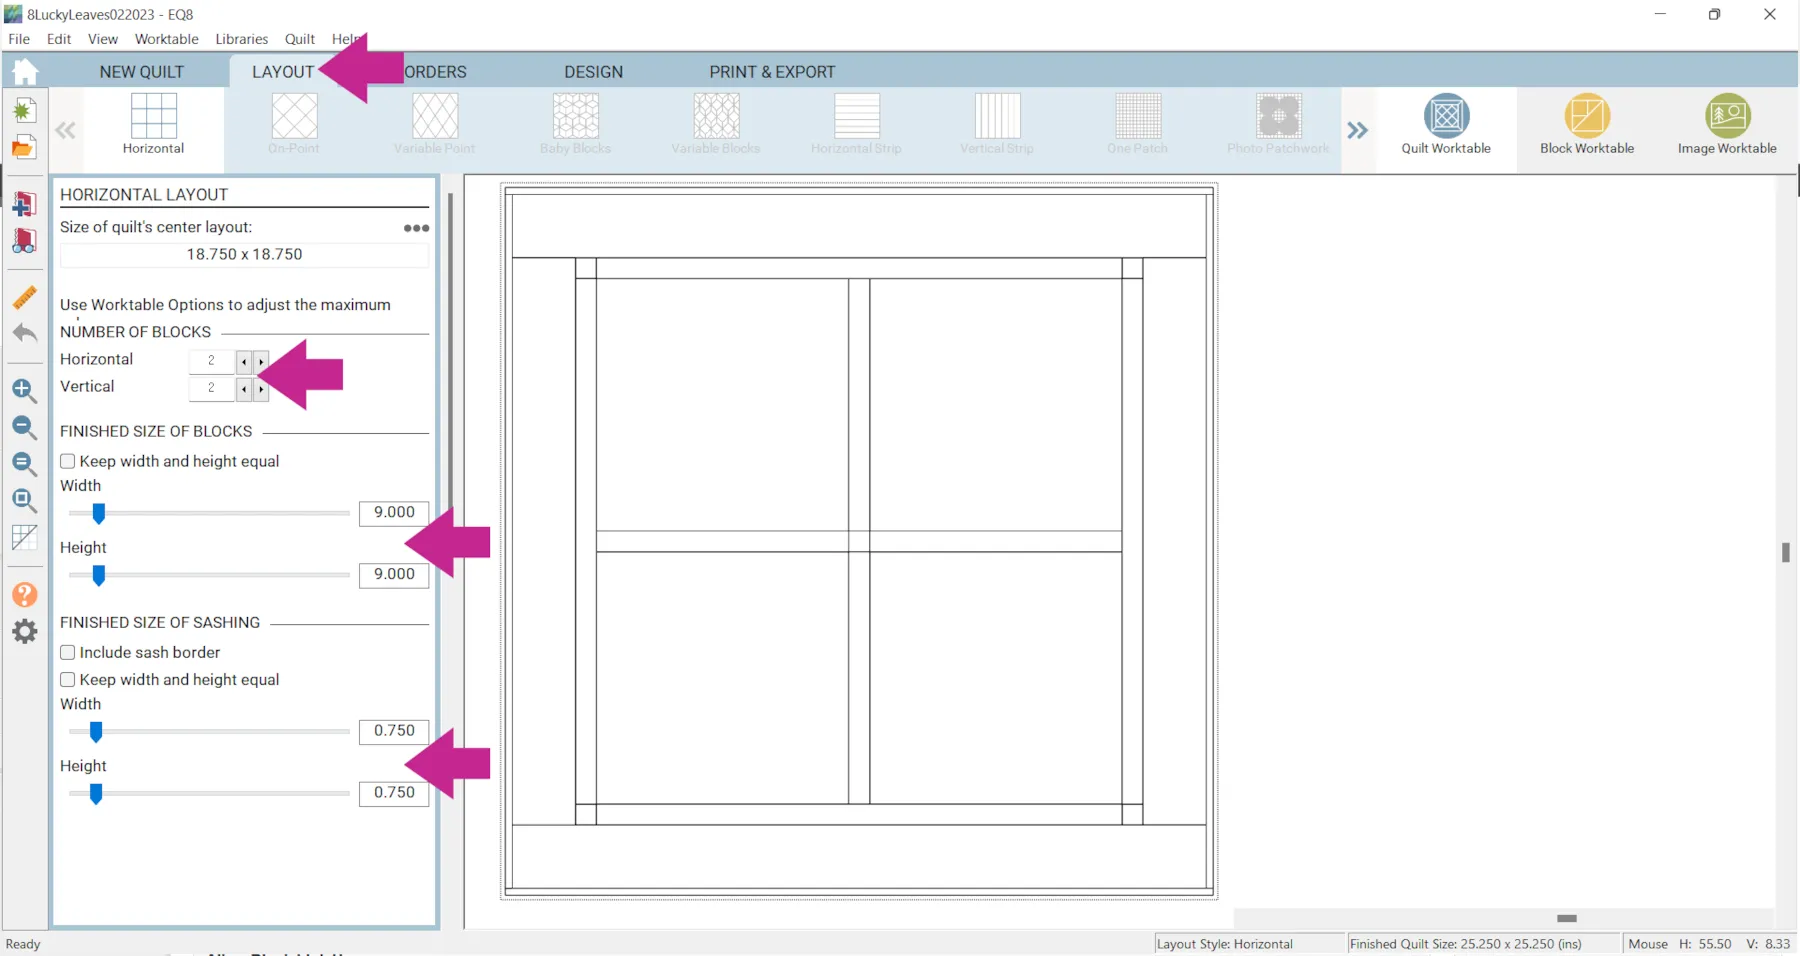
- Click the LAYOUT tab
- Under NUMBER OF BLOCKS make the Horizontal and Vertical: 2
- Under FINISHED SIZE OF BLOCKS make the Width and Height: 9
- Under FINISHED SIZE OF SASHING make the Width and Height: .75
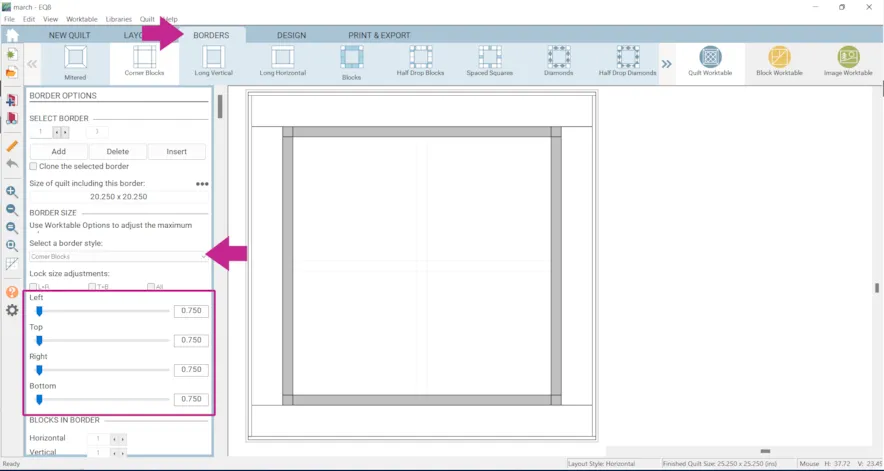
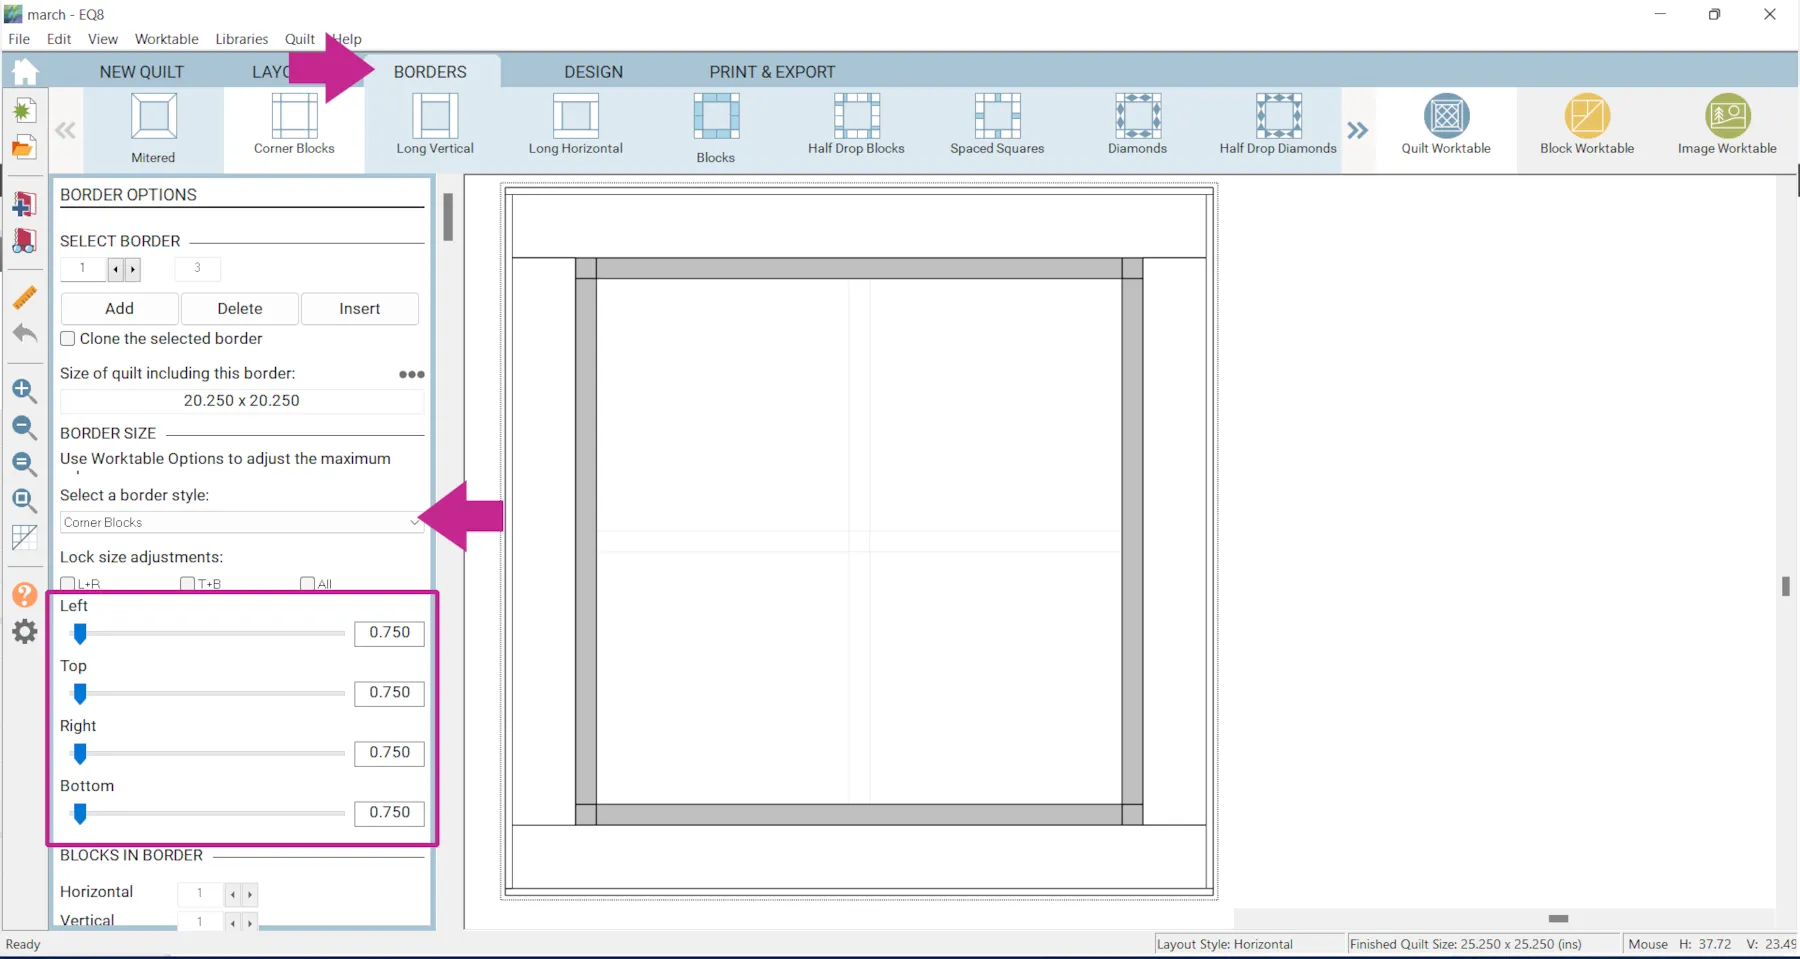
- Click the BORDERS tab
- For the first border’s style choose Corner Blocks and make all sides: .75
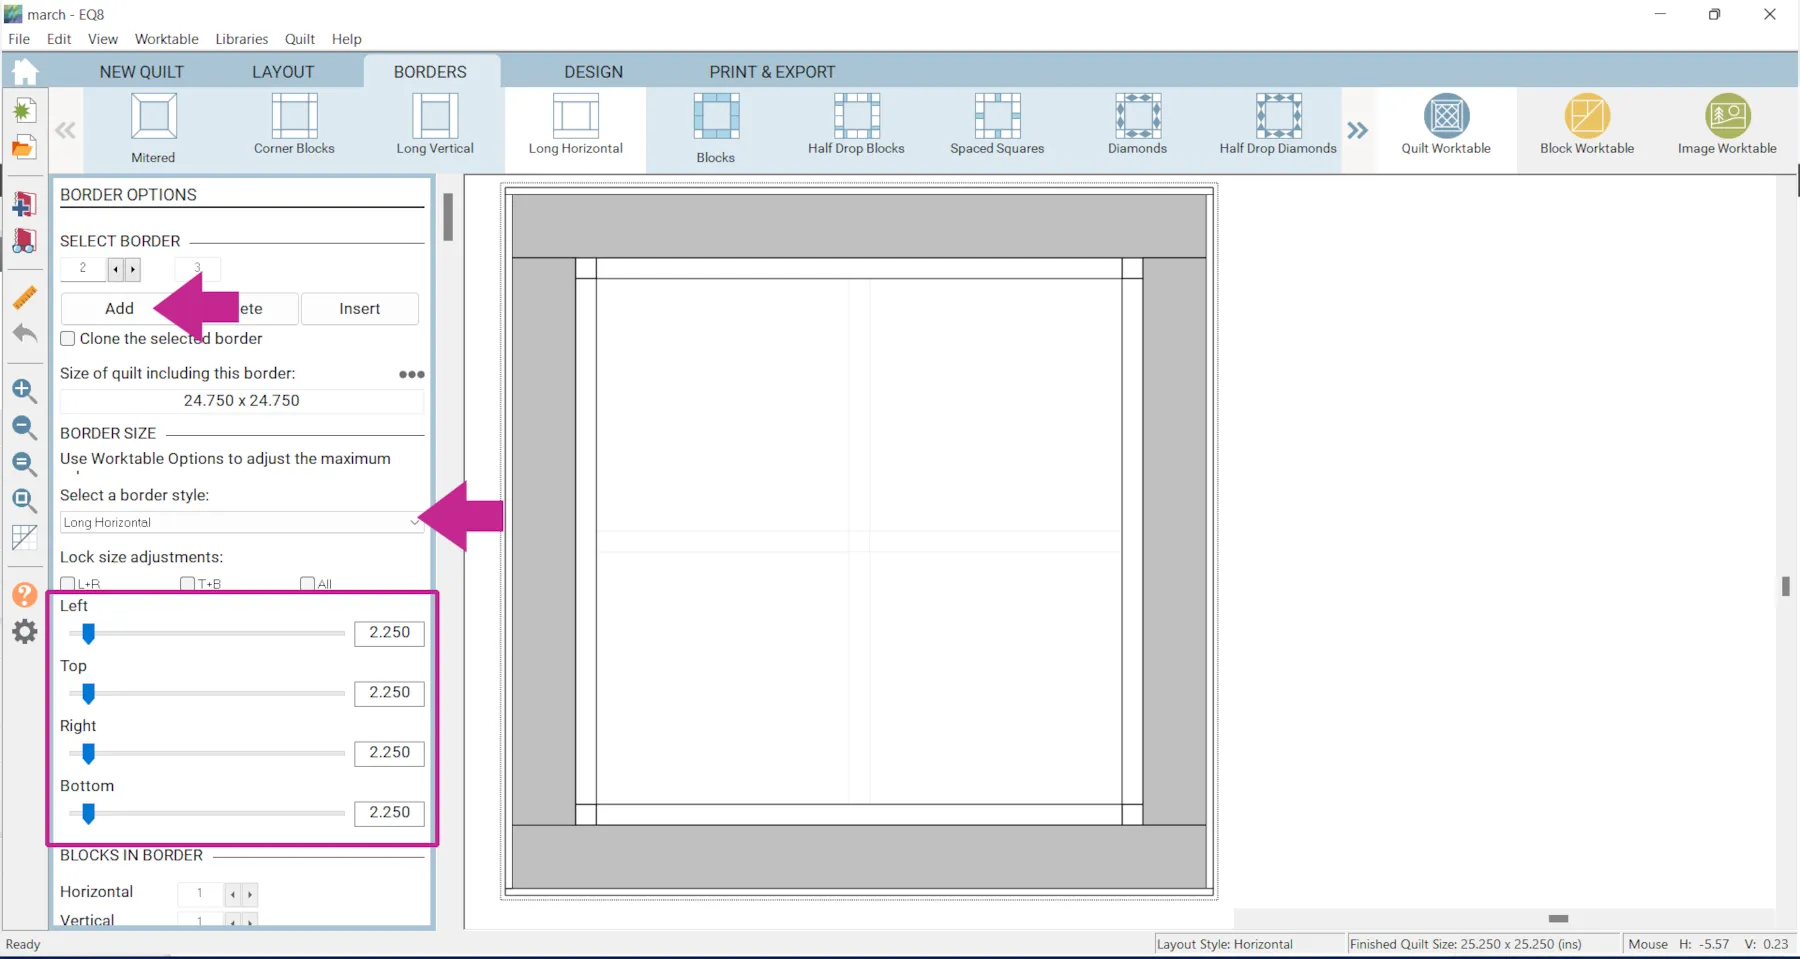
- For the second border’s style choose Long Horizontal and make all sides: 2.250
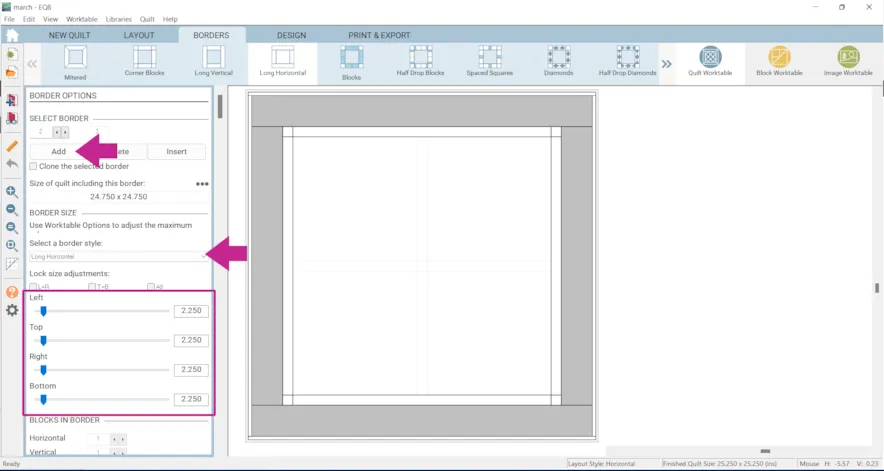
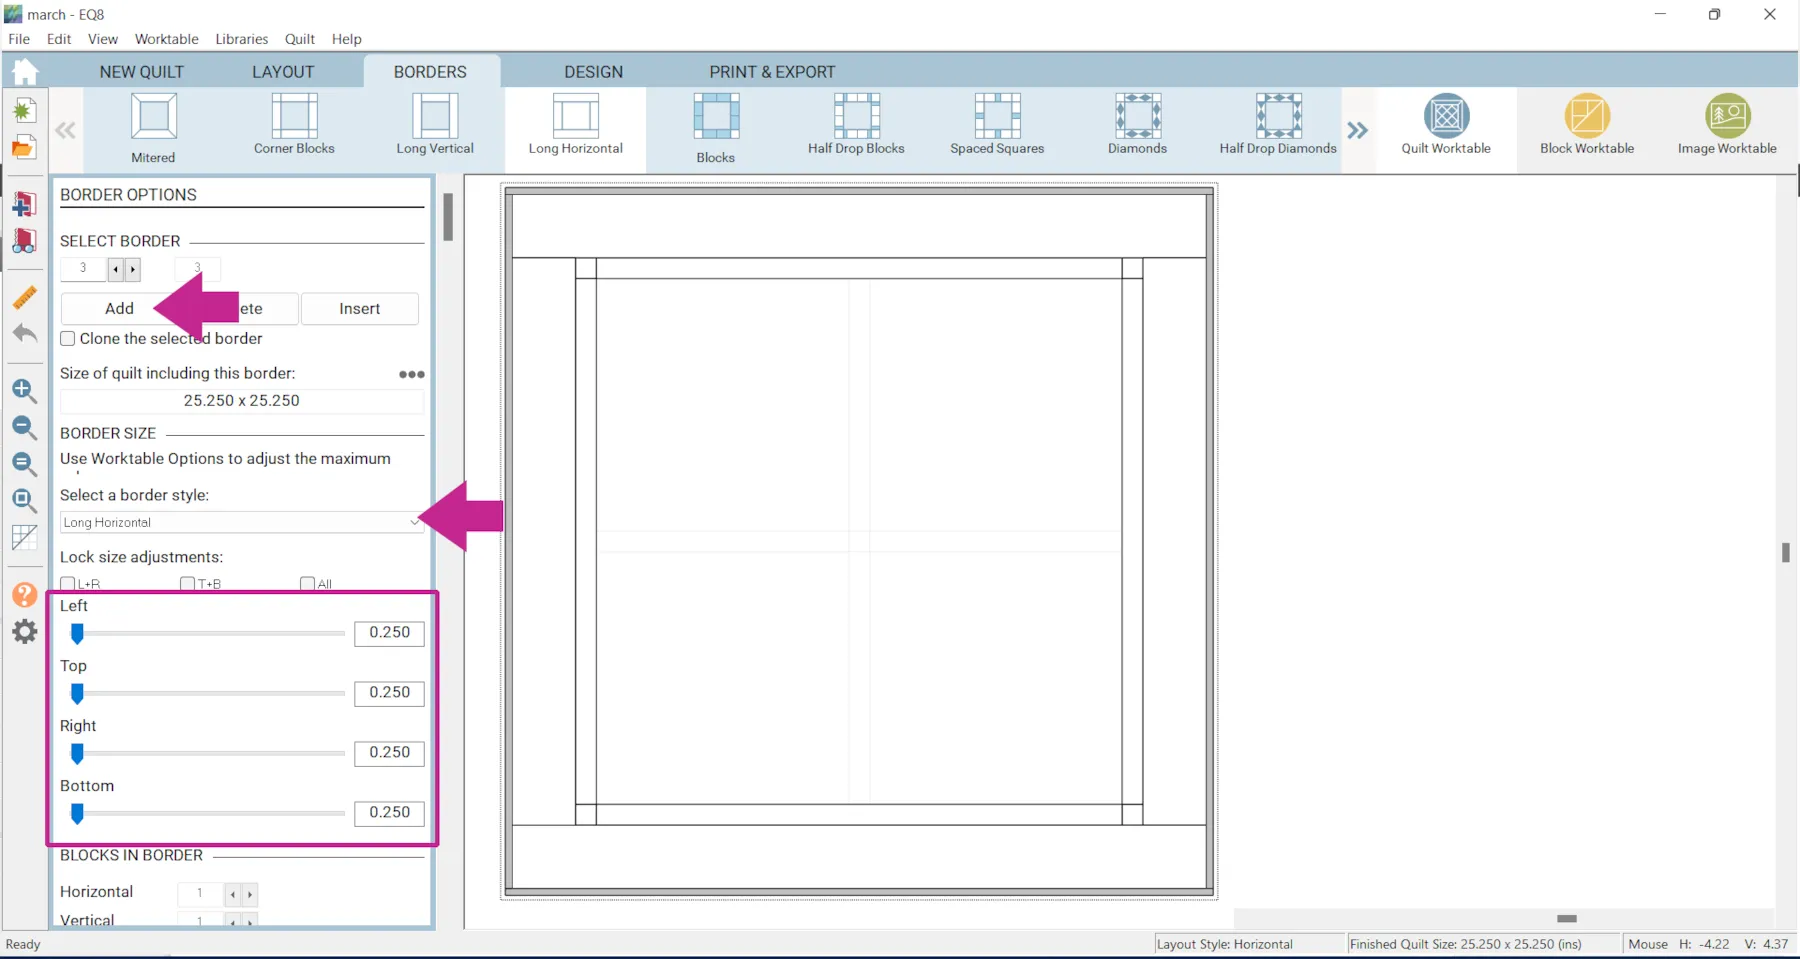
- For the third border’s style choose Long Horizontal and make all sides: .250

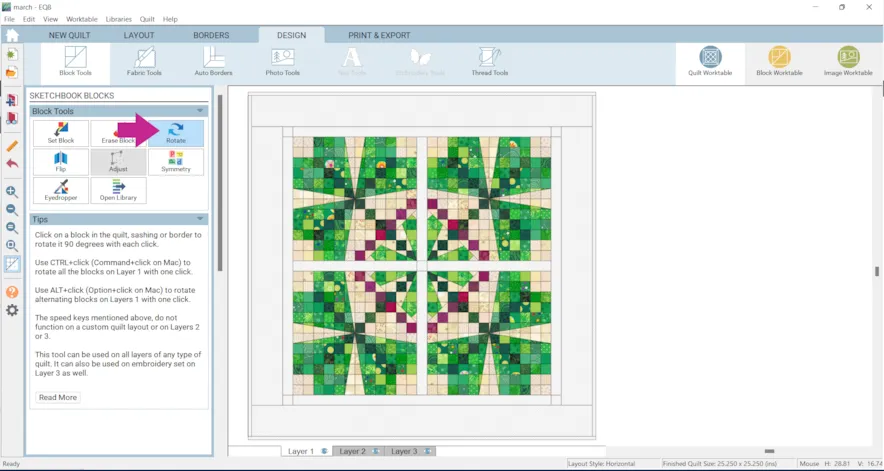
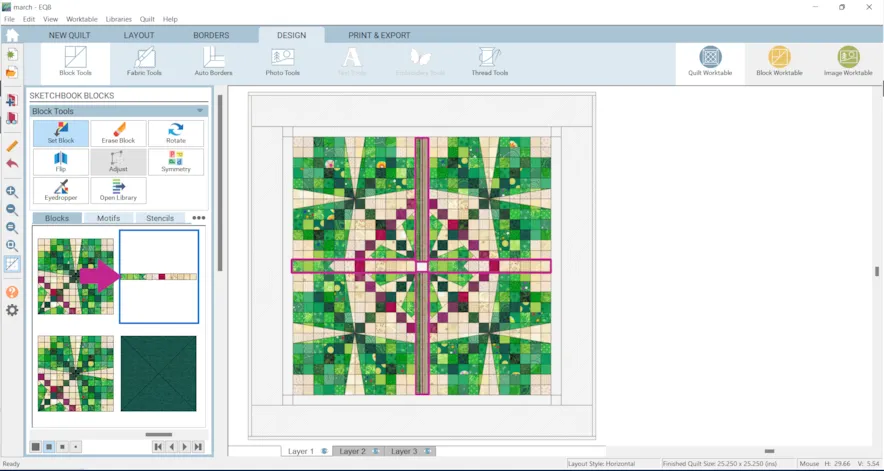
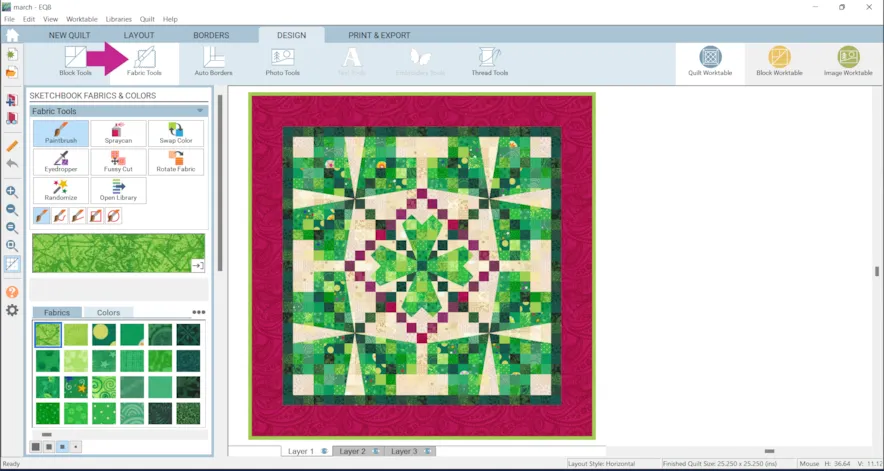
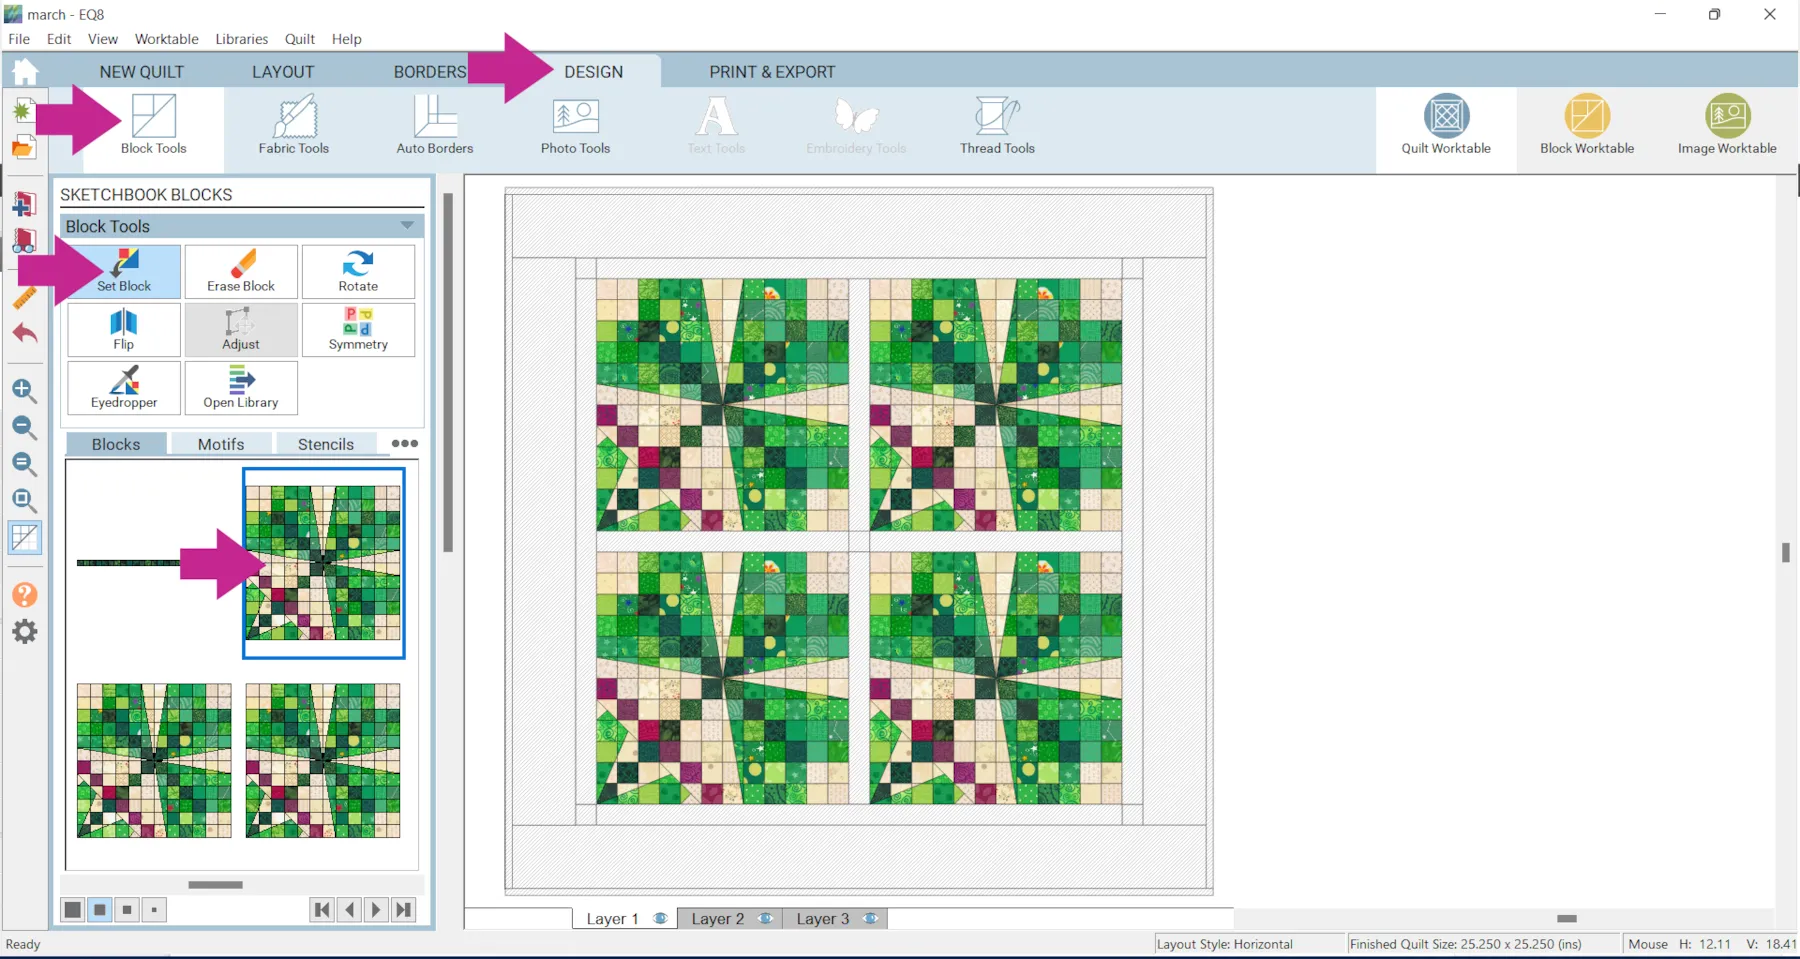
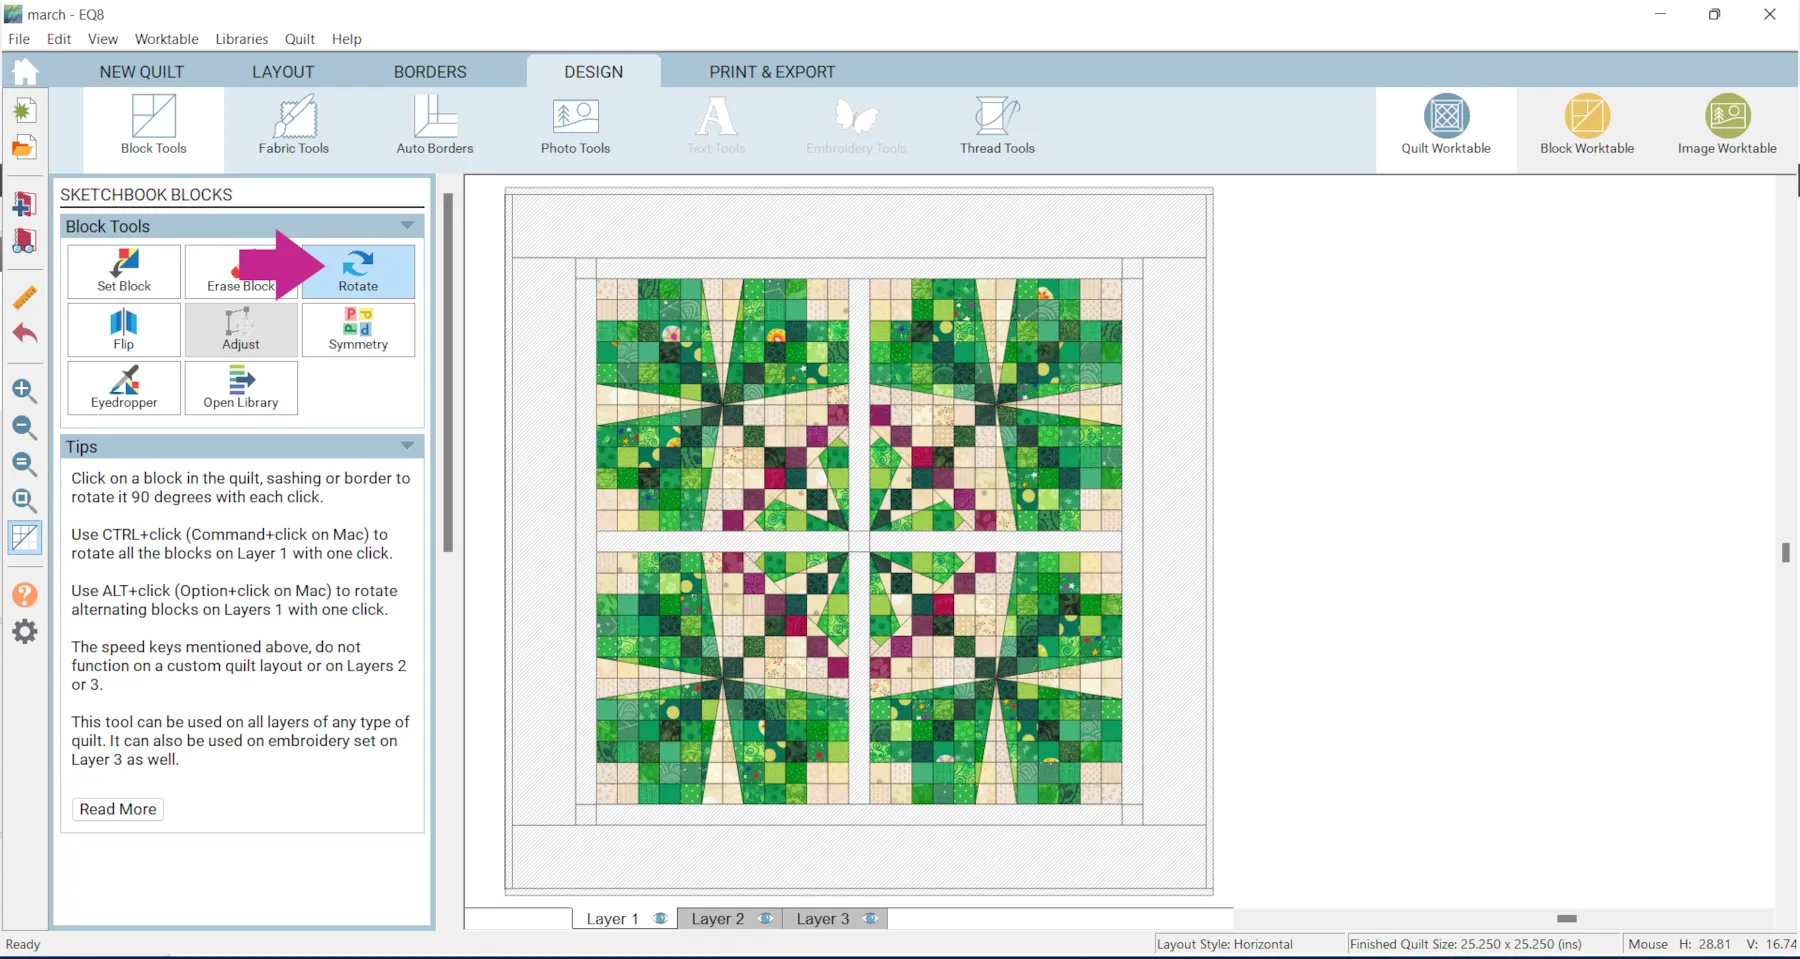
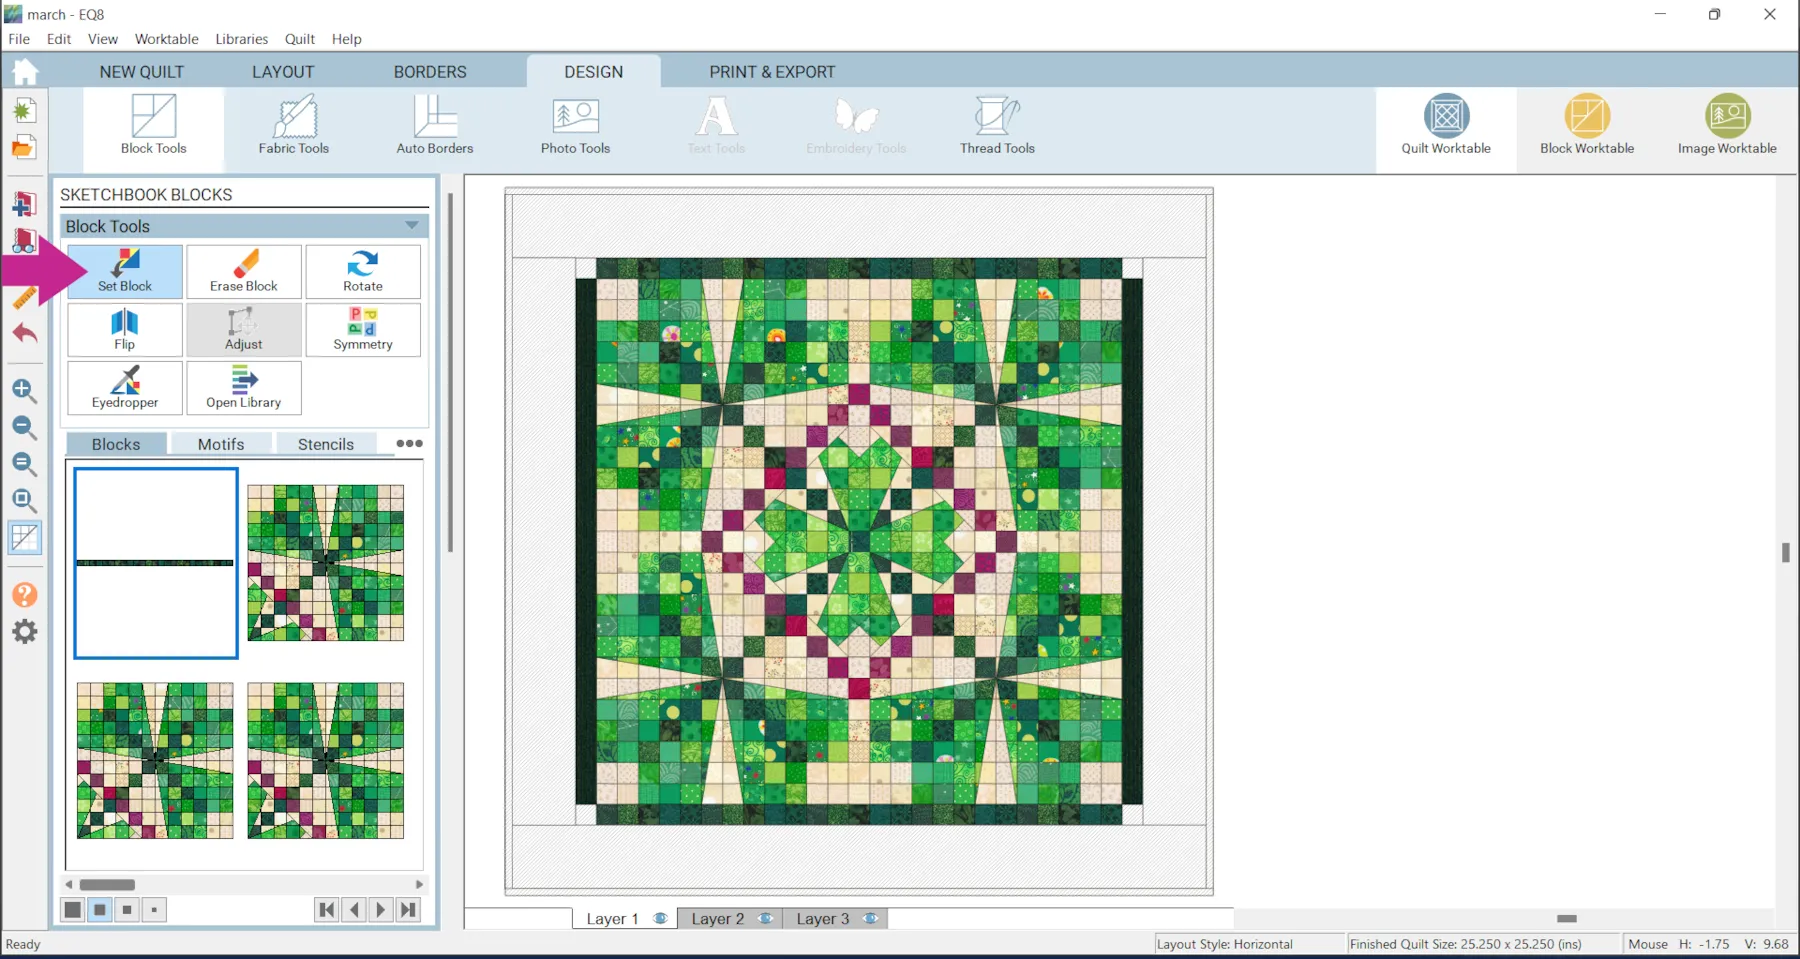
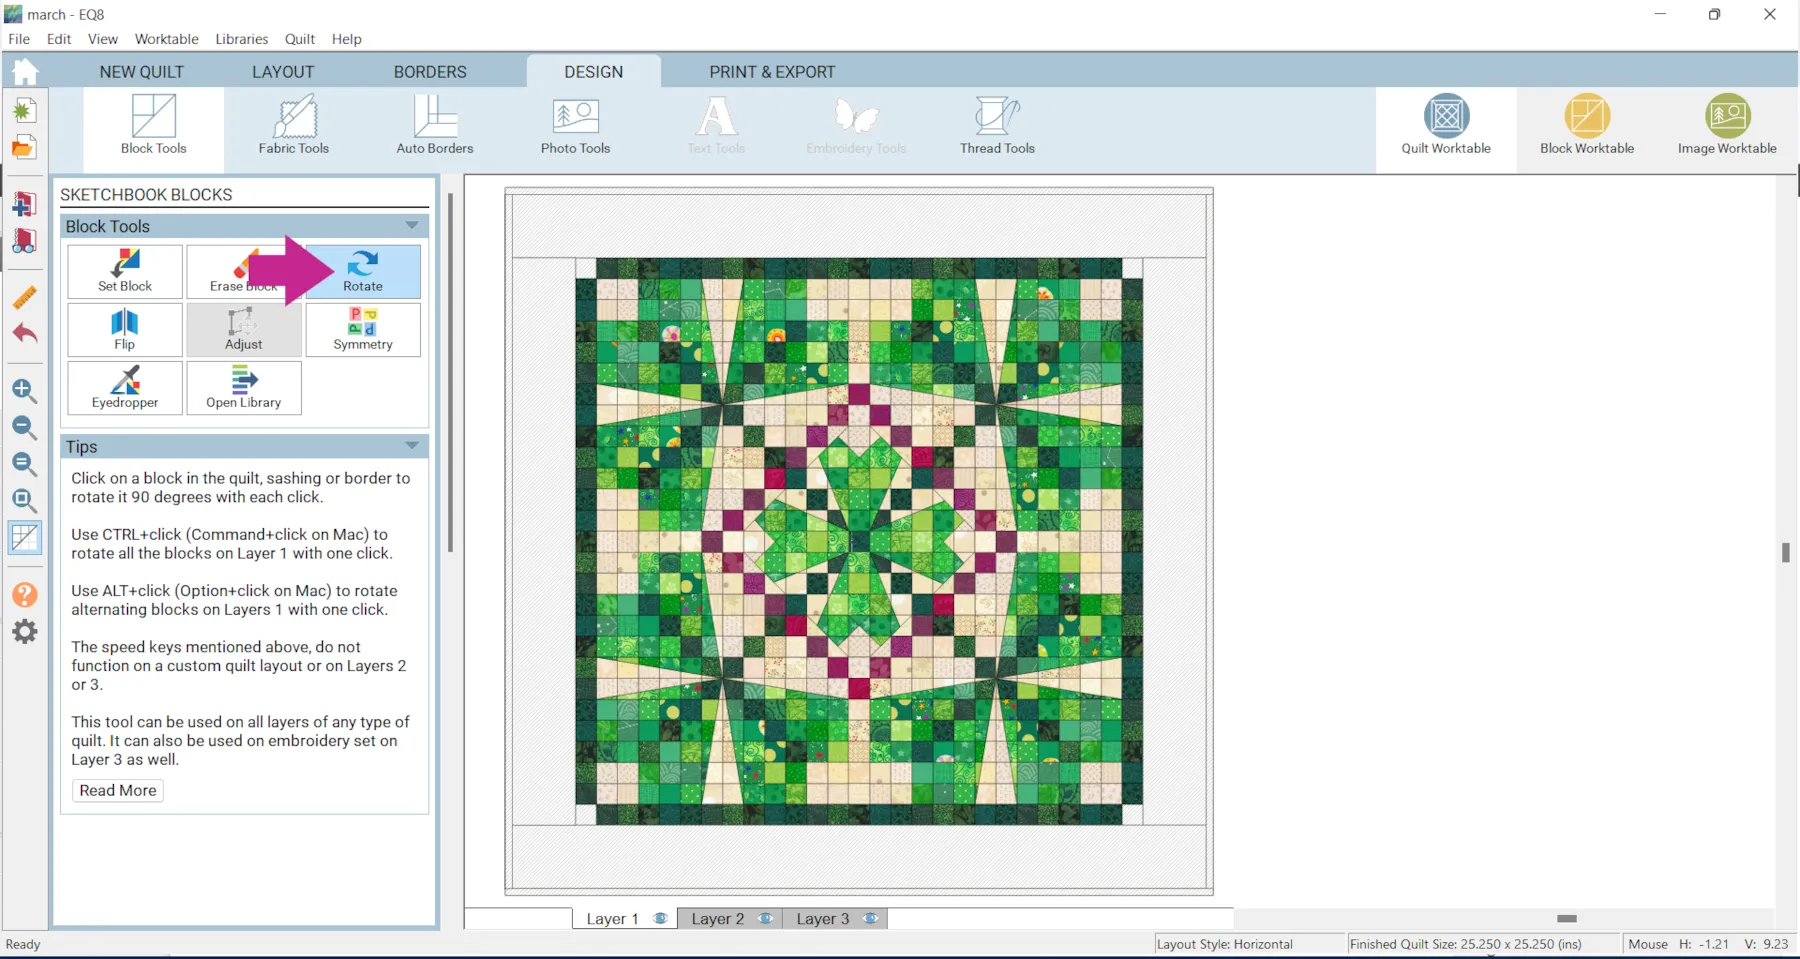
- Click the DESIGN tab > Block Tools > Set Block
- Click on the block and click to set it as shown below.

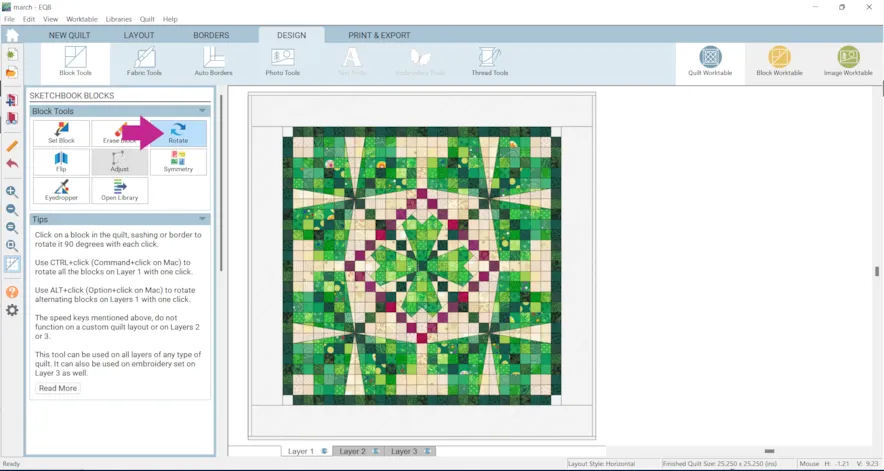
- Click on the Rotate button and click on the blocks until they are in the position shown.
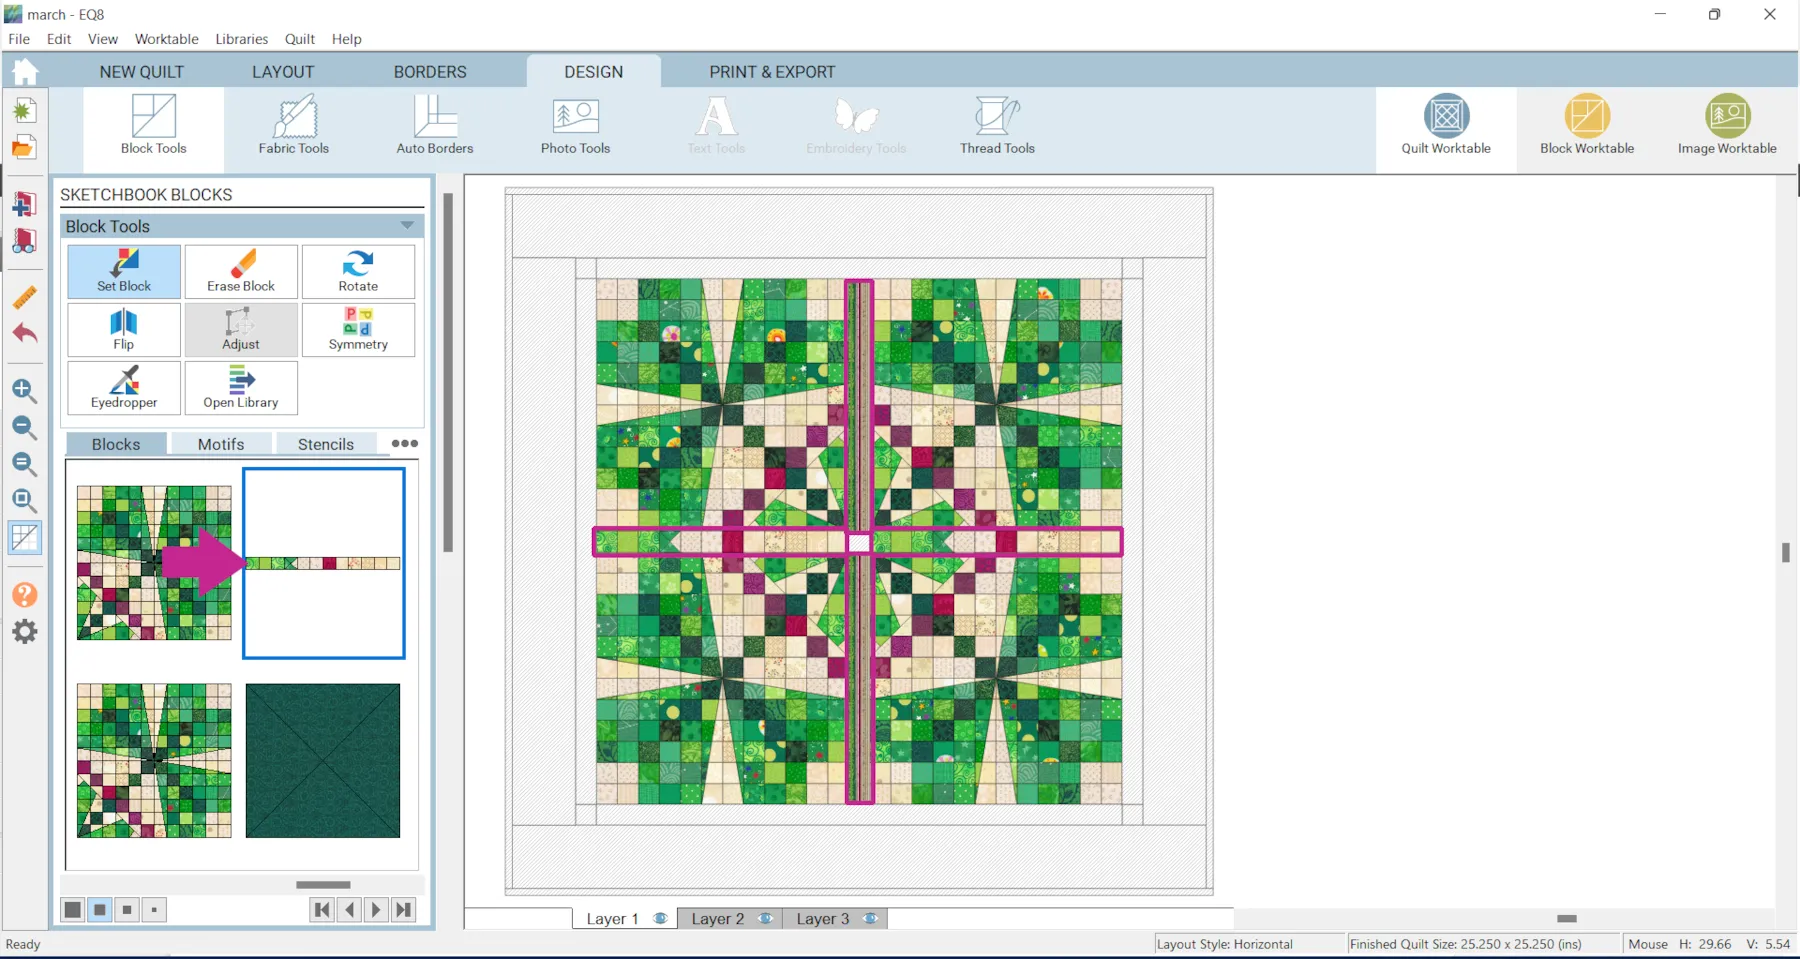
- Place the Sashing Block for Lucky Leaves block in the sashing.
- Click the Rotatebutton the turn the sashing blocks.
 This is the Sashing Block for Lucky Leaves. It was drawn as a 12 x 1 block and placed in a 9 x .75 patch. You can just draw the block at an “easy” size and have EQ8 will resize it to make it fit.

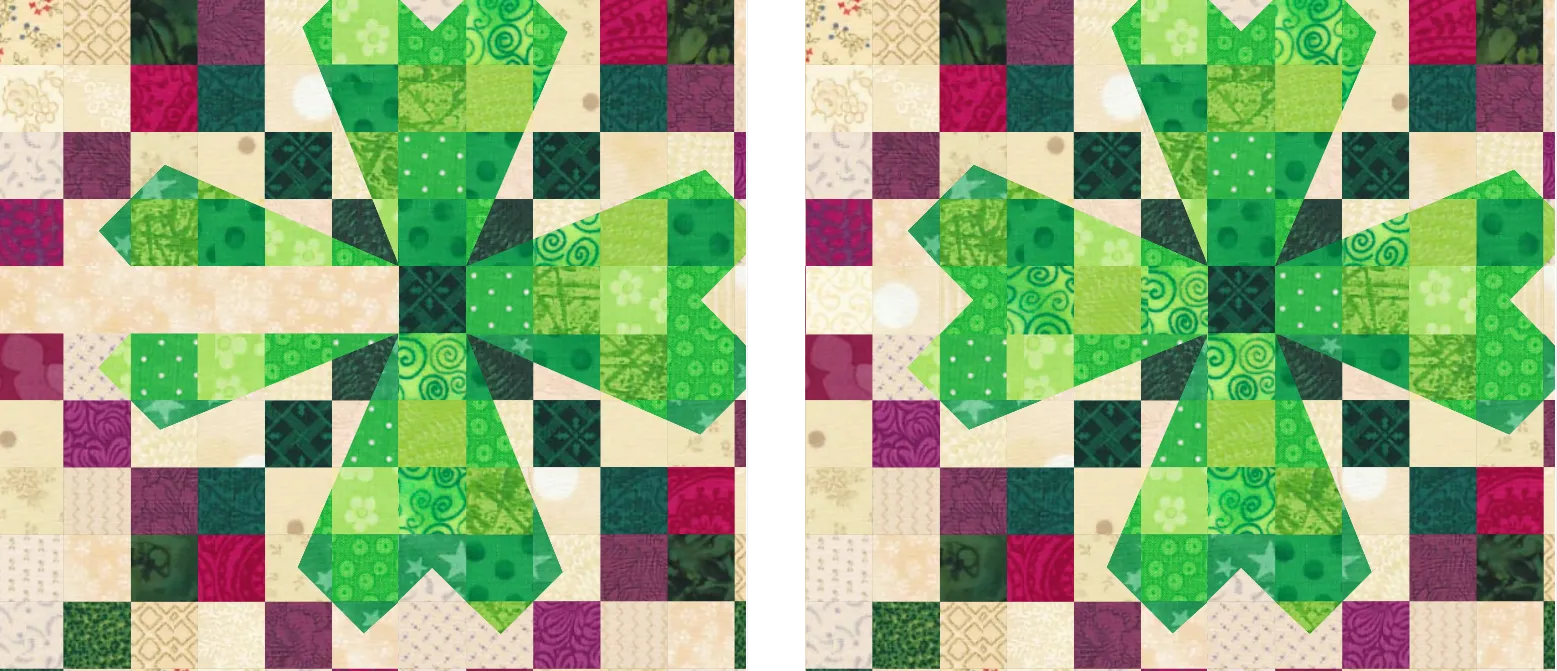
If that block wasn’t used in the sashing then the center clover would not be complete.
Here is another lesson that uses sashing to design quilts.
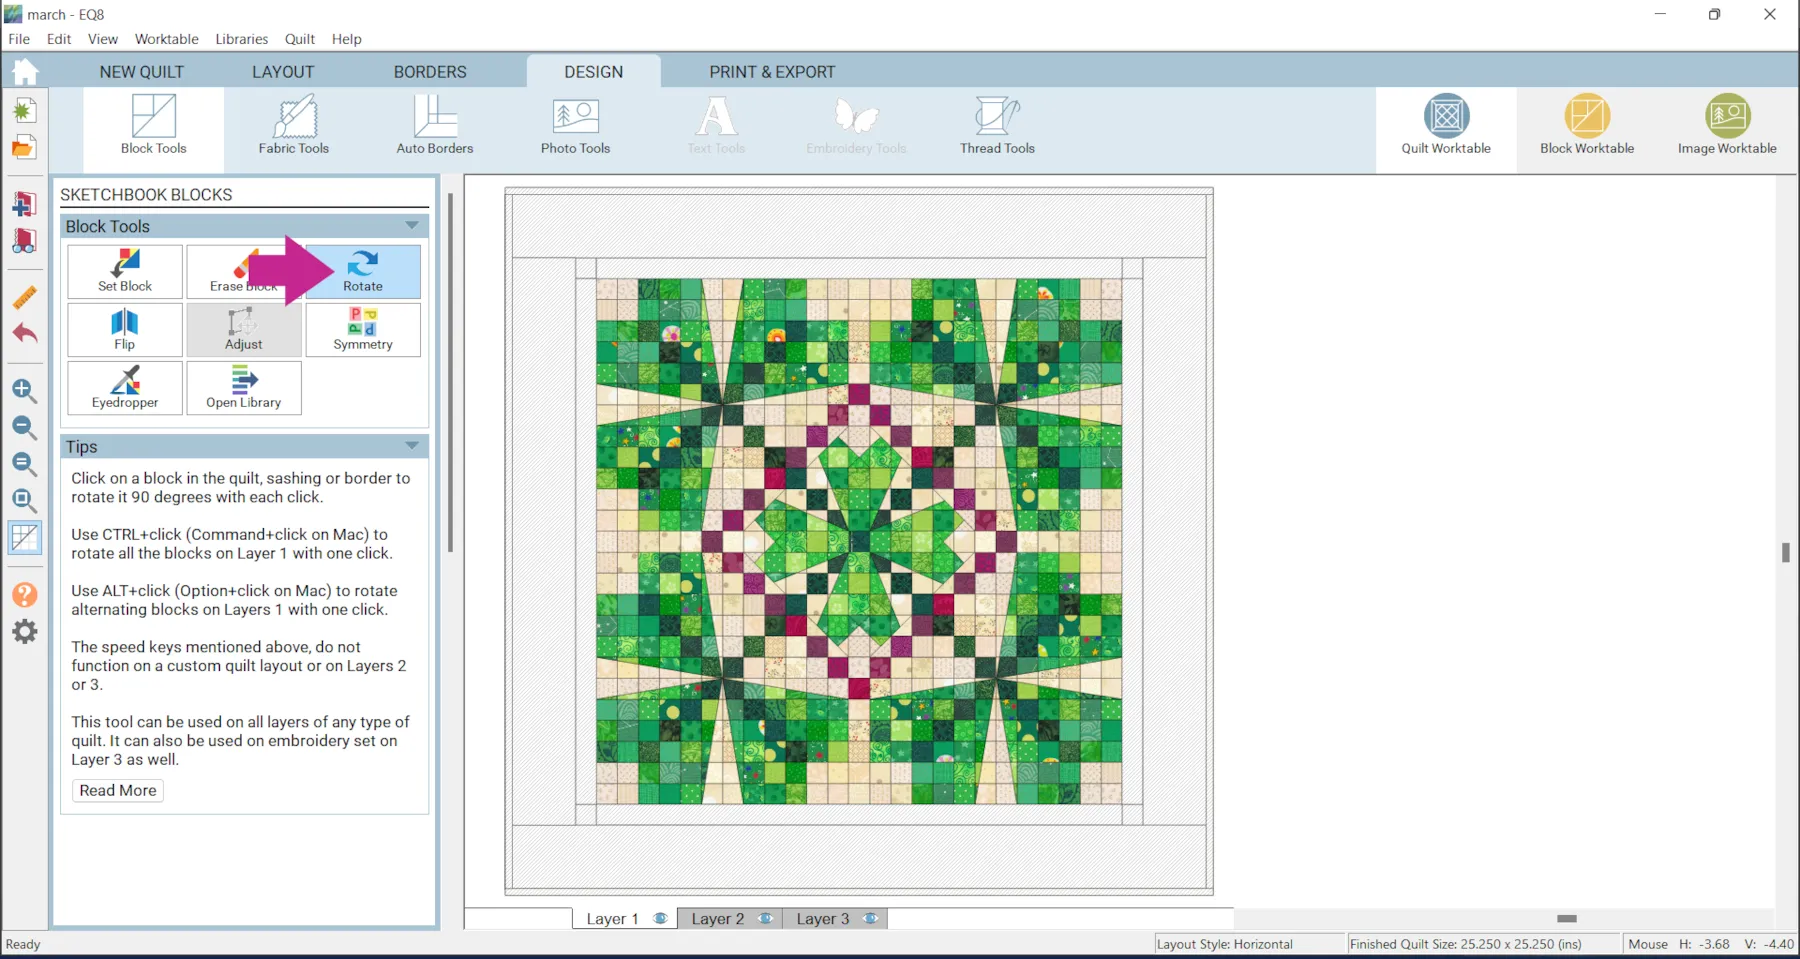
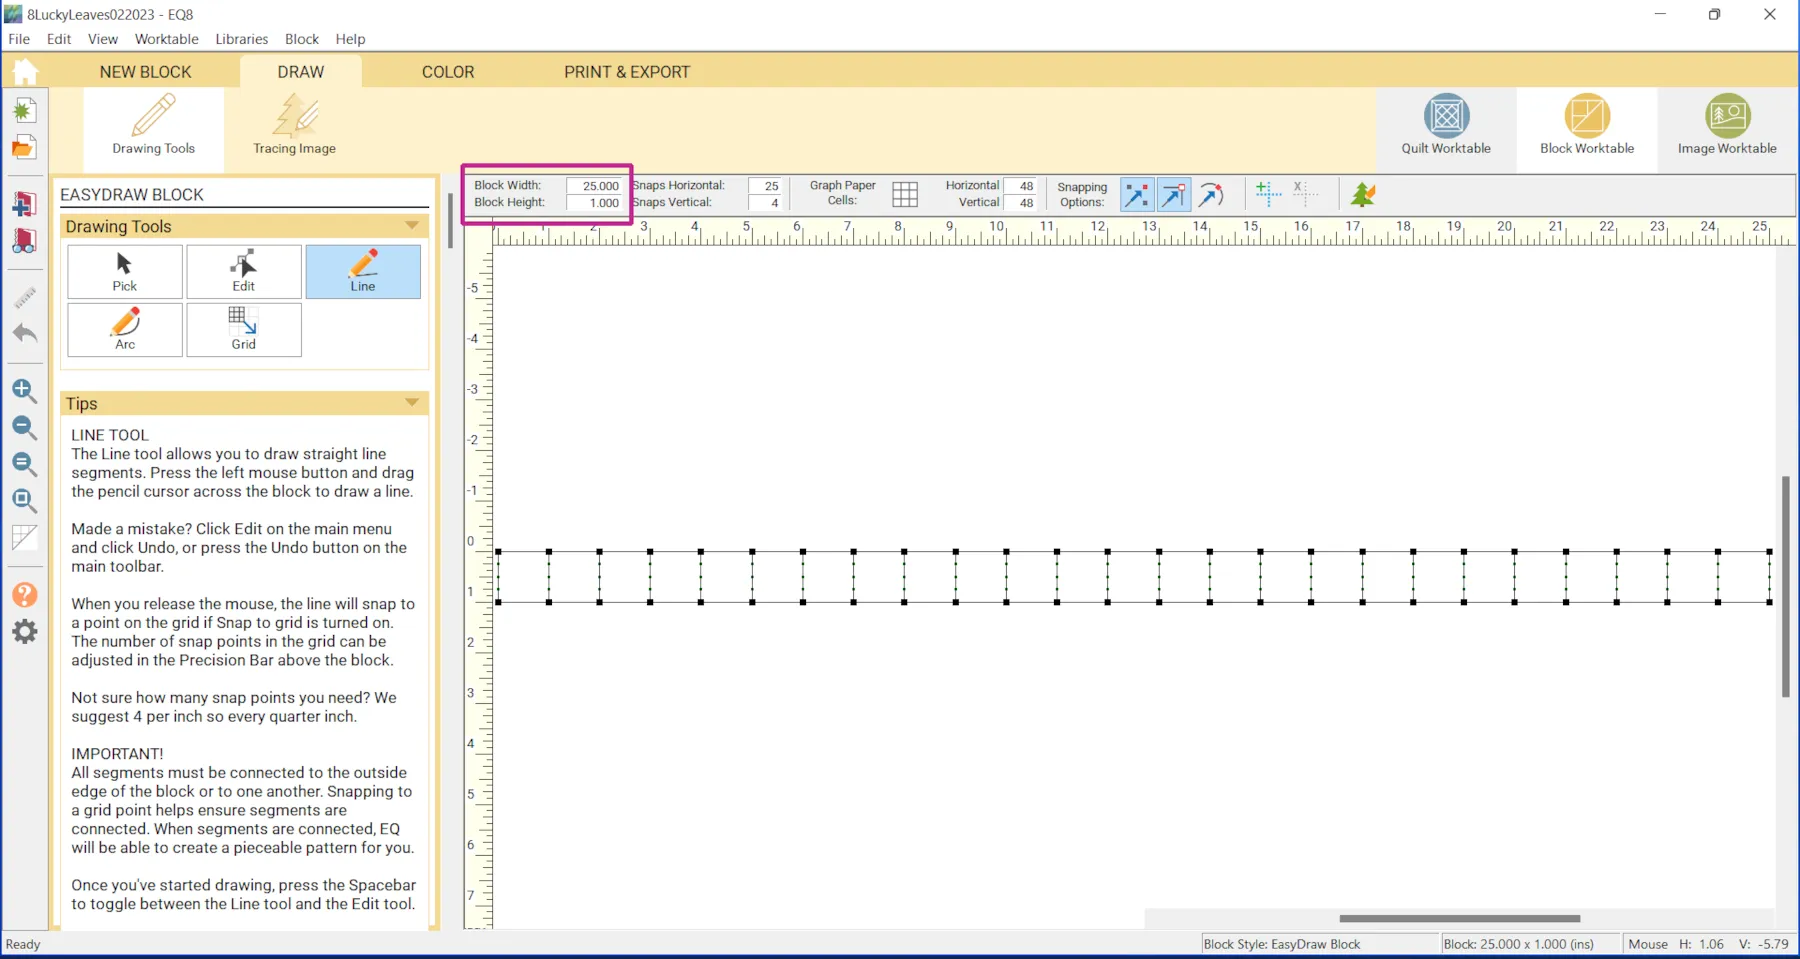
- Click the Set block Tool and place the 25 Strip block in the first border.

- Click the Rotate button and rotate the side blocks.
 Notice this block at a width of 25 and a height of 1 because I knew I wanted it to be 25 equal squares. The spot in the quilt is .75 a 18.75 but again EQ8 automatically resizes it to fit, so you don’t need to try to draw a block that’s 18.75 divided into 25 equal pieces.
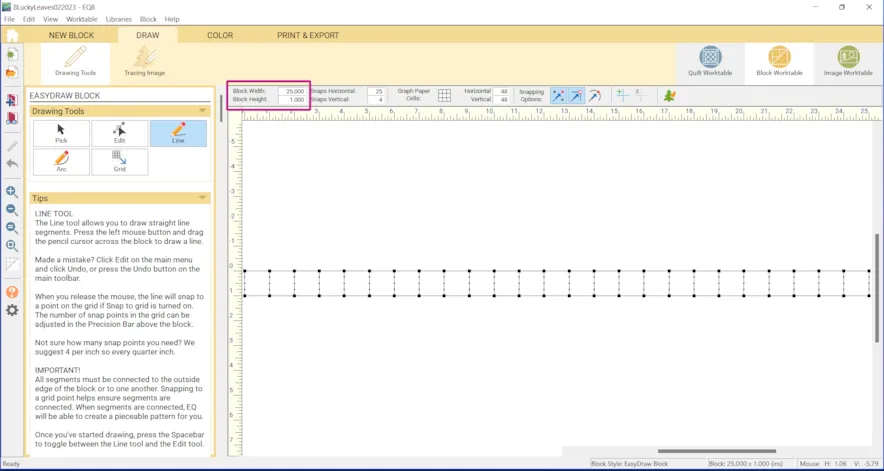
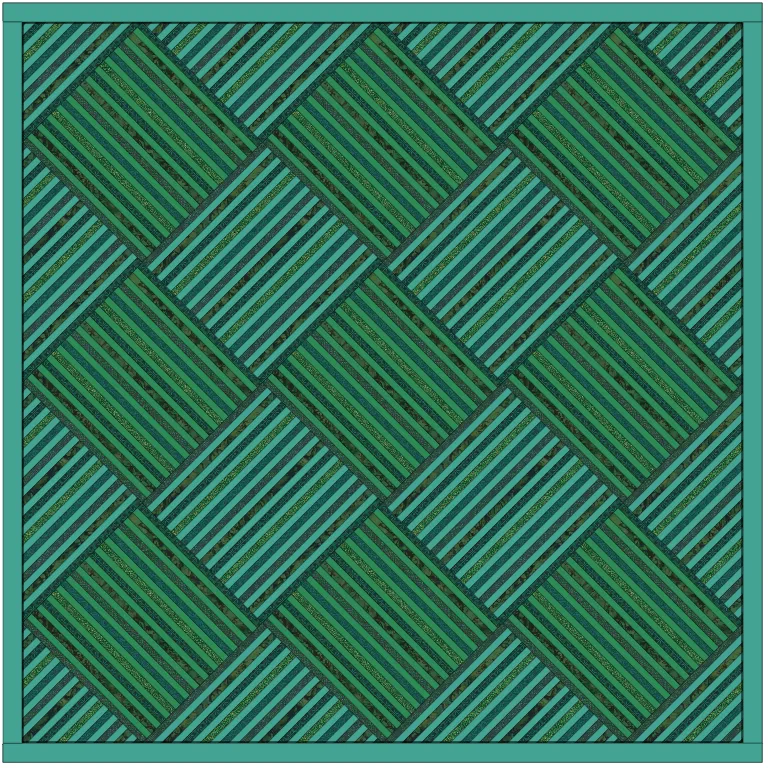
The same block put into a 9 x 9 patch will resize to 9 x 9.

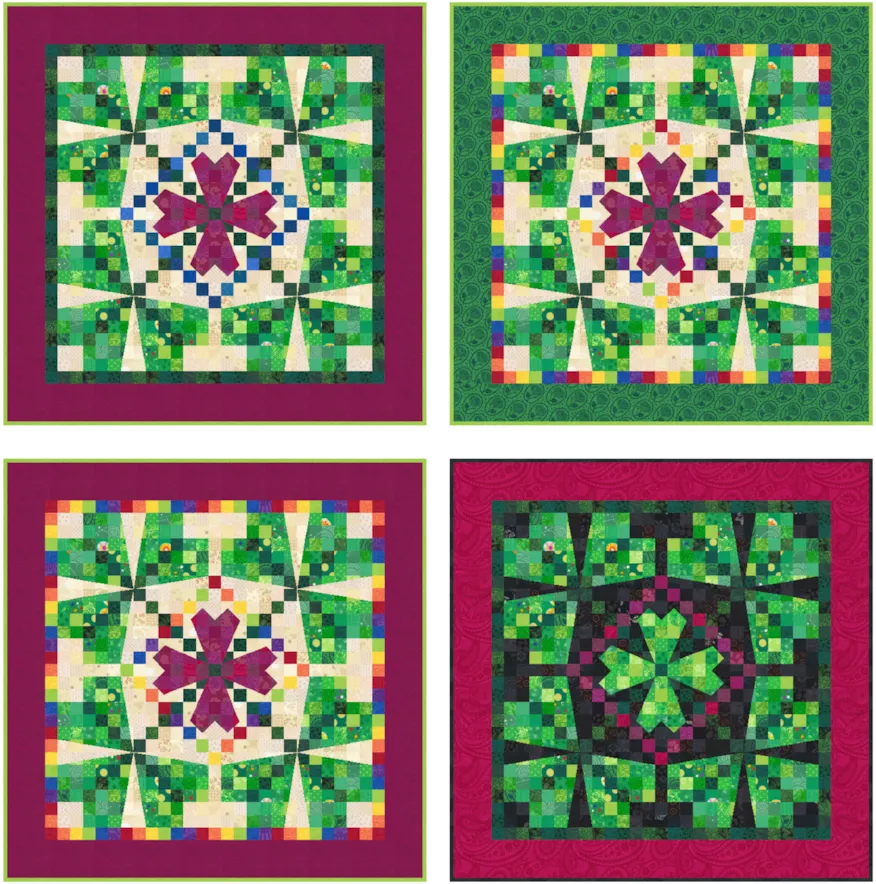
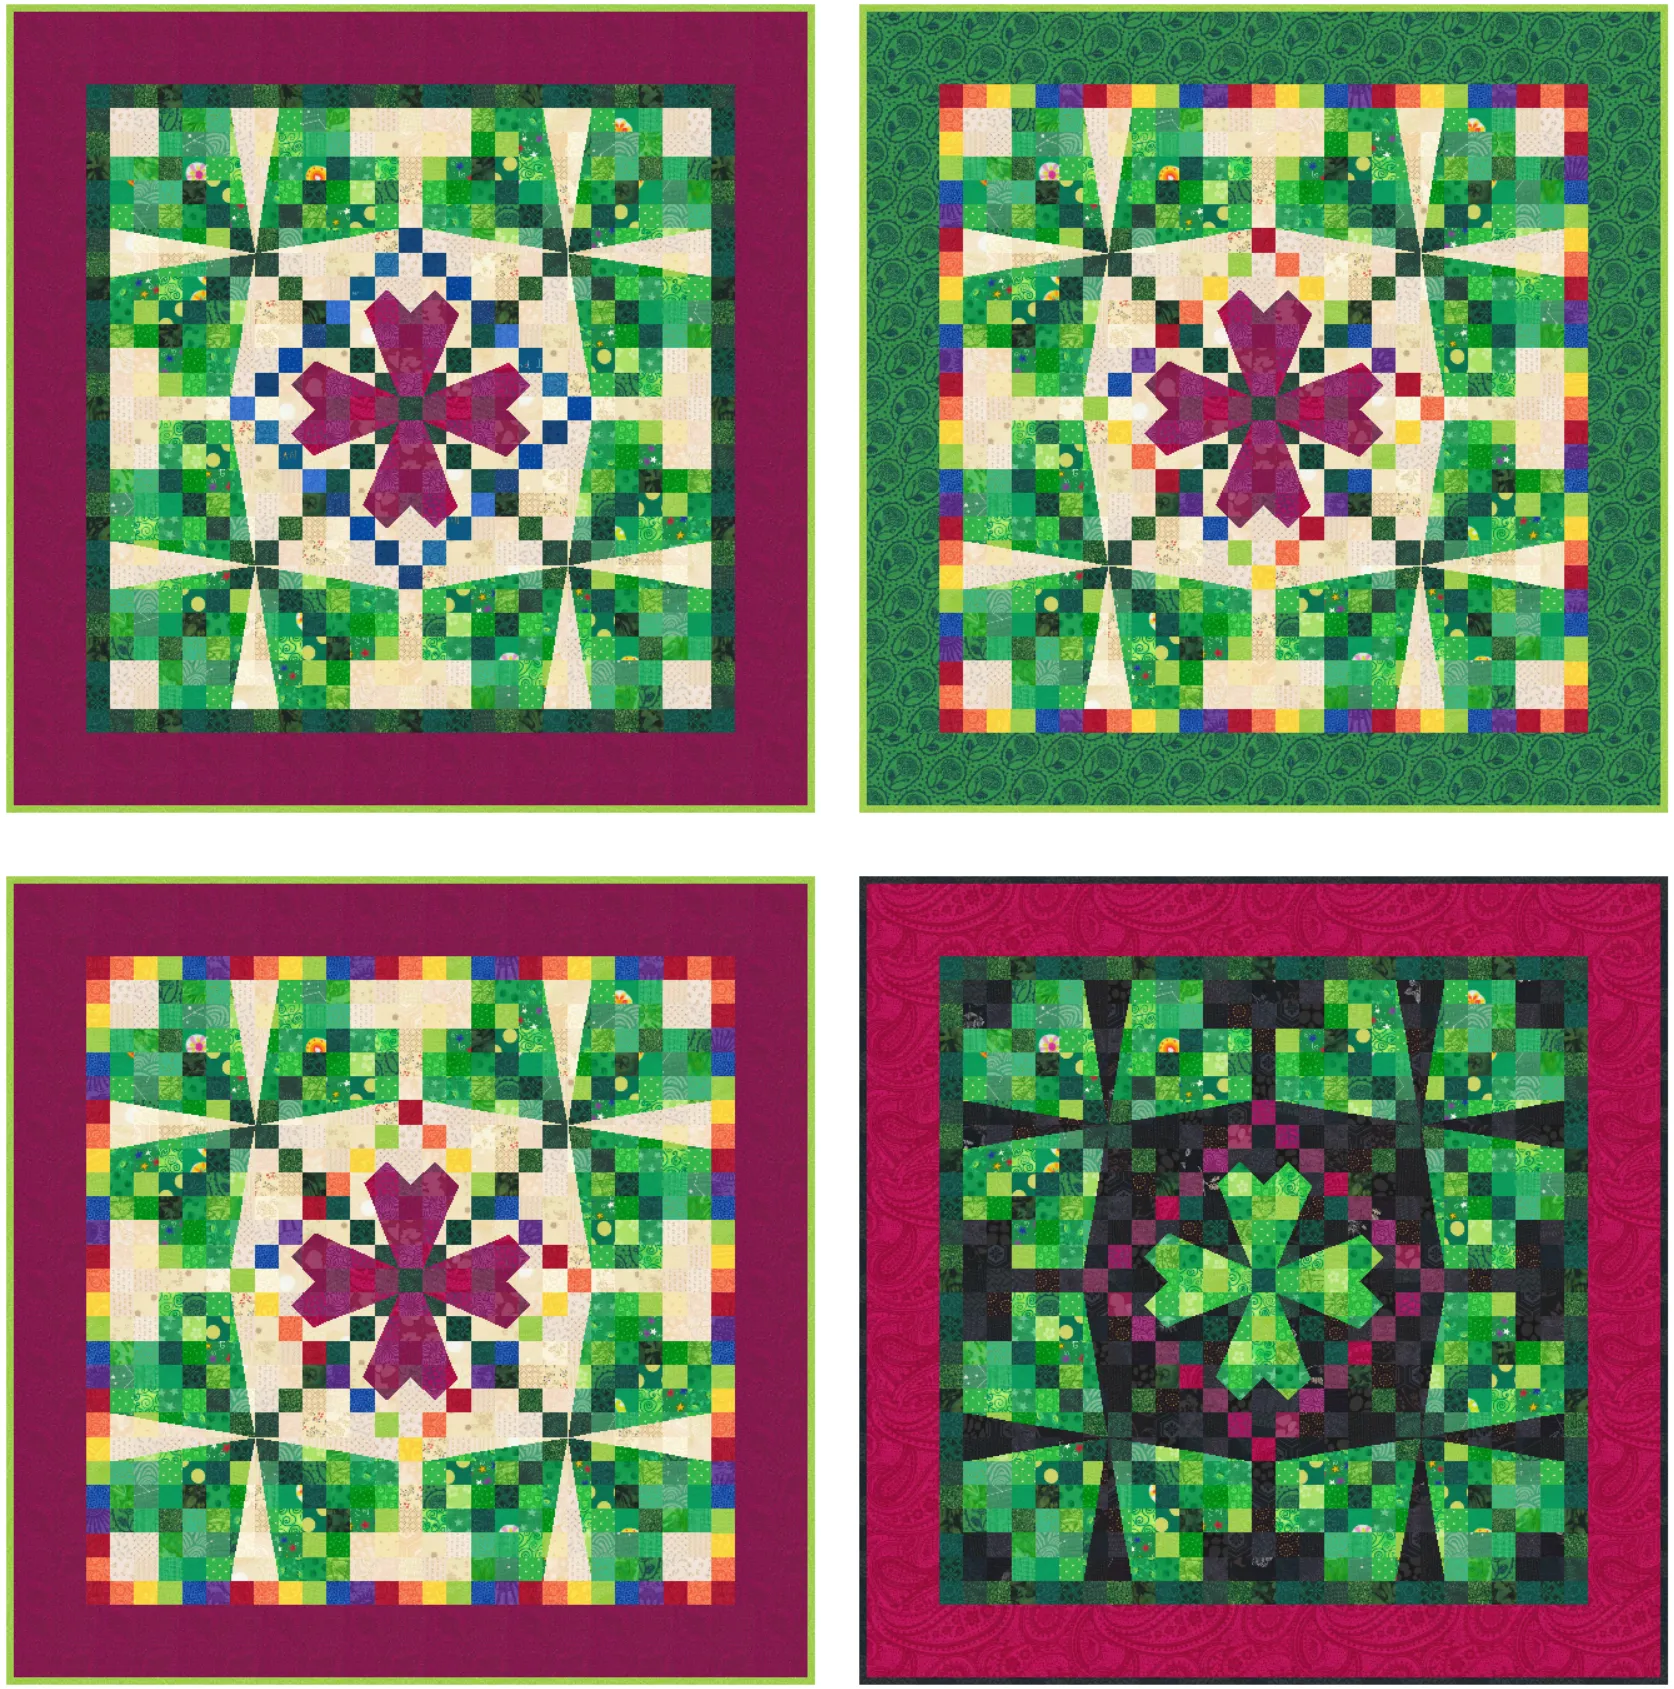
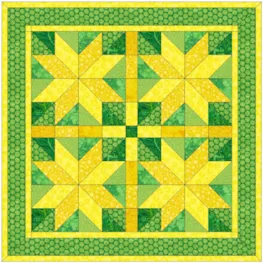
- Click the Fabric Tools and use any of the recoloring tools to color the quilt as desired.
- Have fun mixing it up!
- Click Add to Project Sketchbook
 for any variations you would like to keep. If the project is unnamed EQ8 will prompt you to do so. (To be saved, your item needs to be in the Sketchbook AND your project needs to be named. Here is more information.)

If you want to post images of your quilt, here is how to export the images.
To post your image click to comment on this post. Fill in your info and then click Browse.
Go to: Documents\My EQ8\Images
I can’t wait to see what you’ve done! I hope you enjoyed the lesson!
If you have questions about the lesson feel free to post them below.
If you have questions about something else EQ related, please contact techsupport@electricquilt.com.
If you have suggestions for new Design & Discover lessons feel free to comment below or email Heidi@electricquilt.com.


