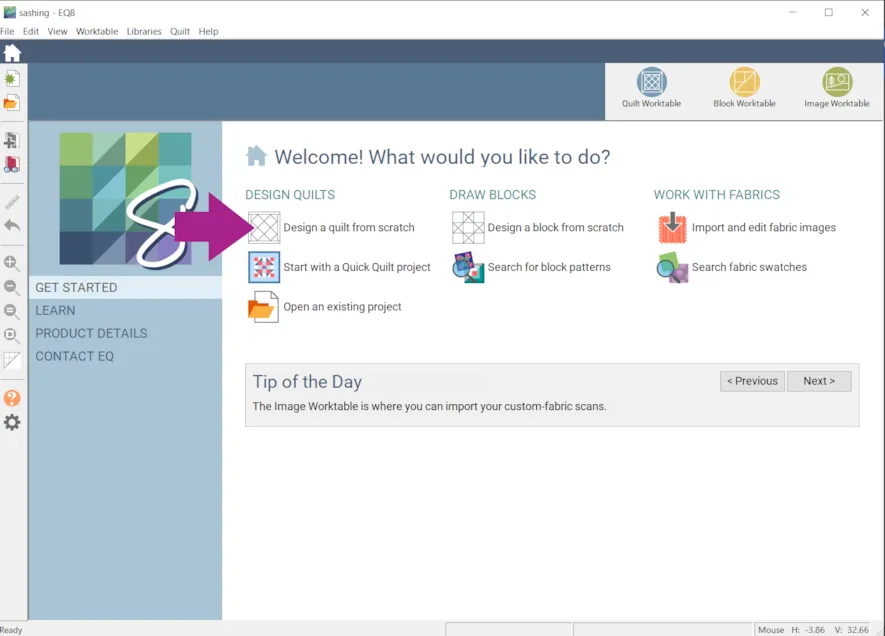
This month we’ll be learning a few different ways to design with sashing!
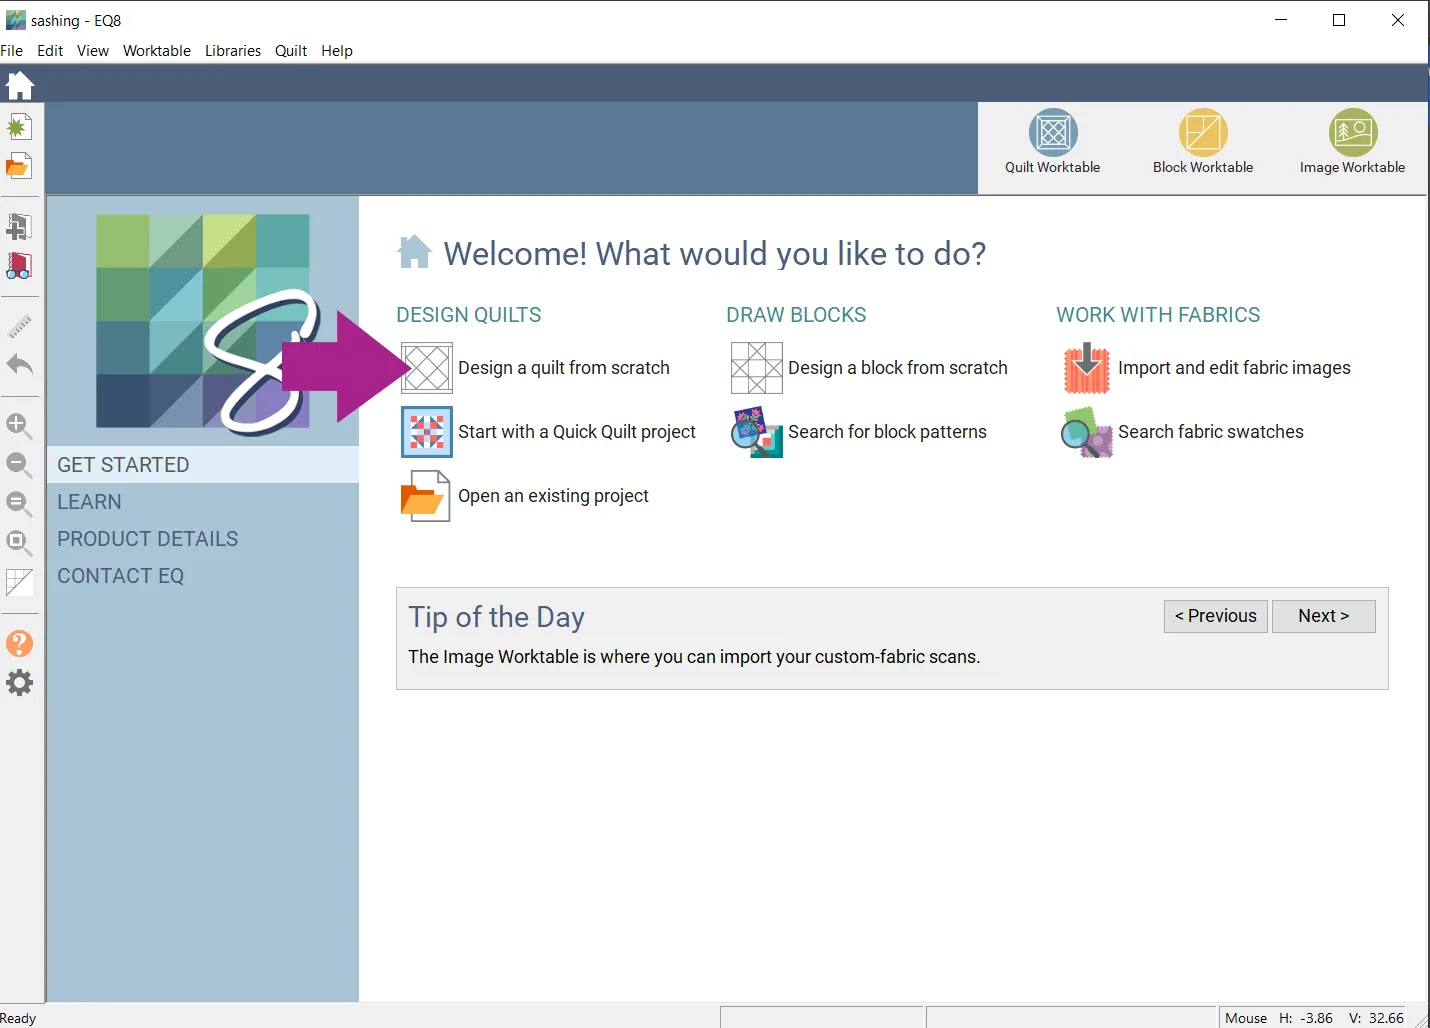
- Open EQ8 and click Design a quilt from scratch.
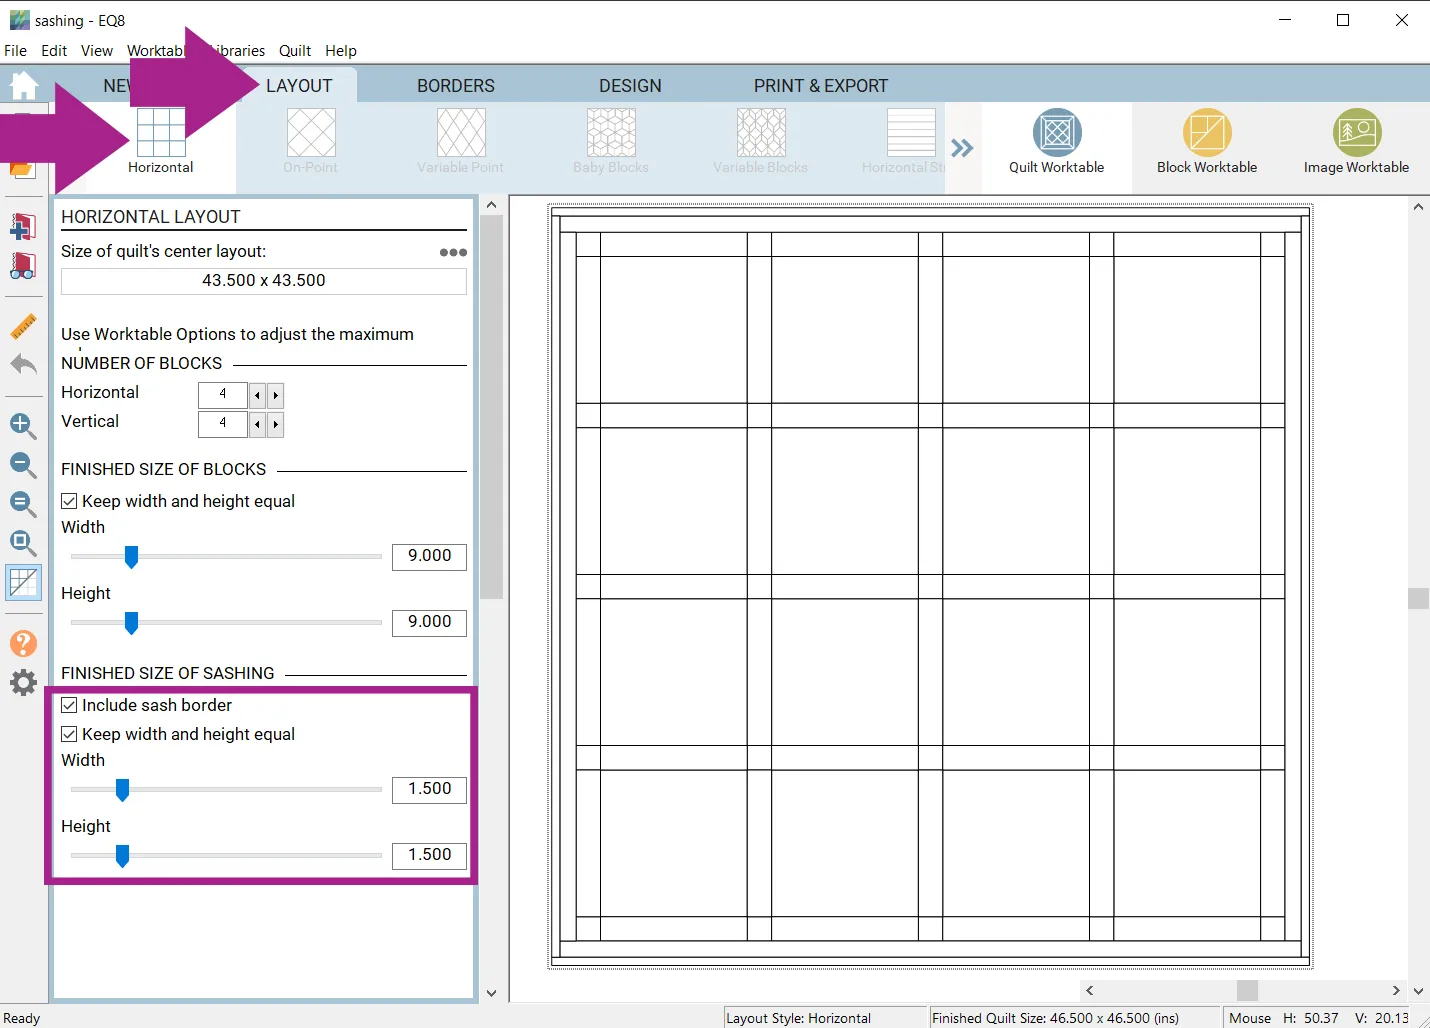
- Click Horizontal
- Click LAYOUT
- Use the sliders to choose the width and height of the sashing (for this example, mine are 1.5).
You can also choose to check or uncheck Include sash border and Keep width and height equal.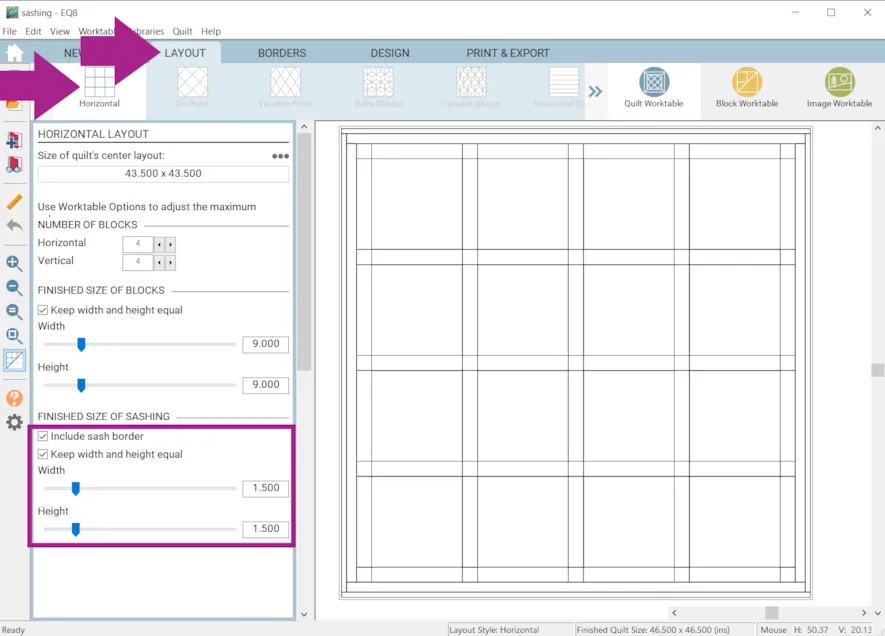
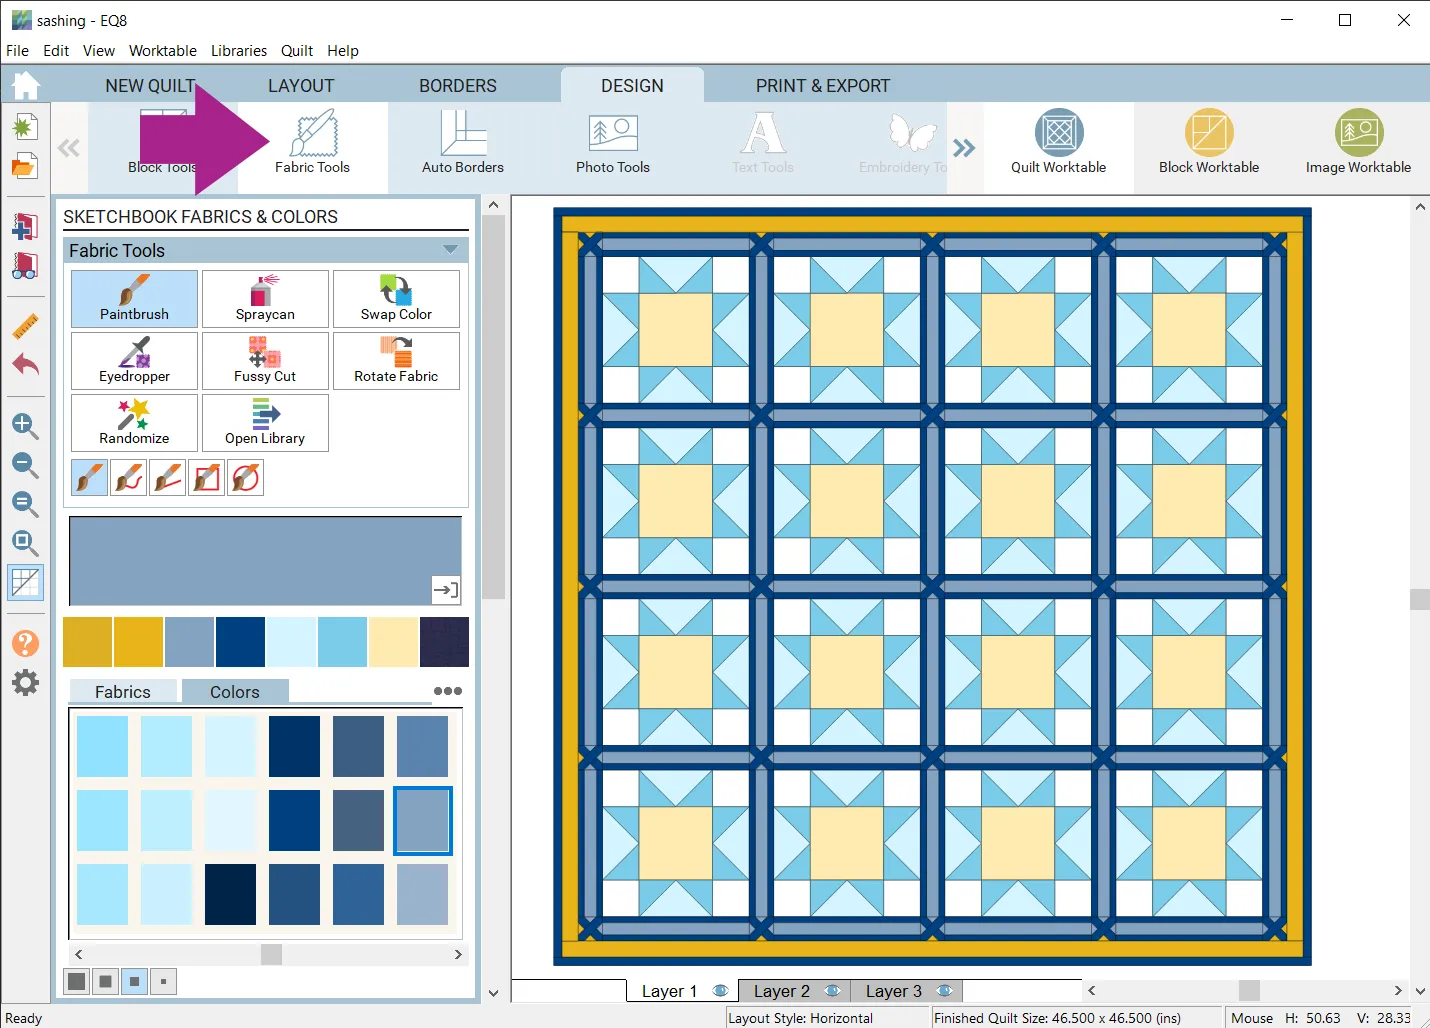
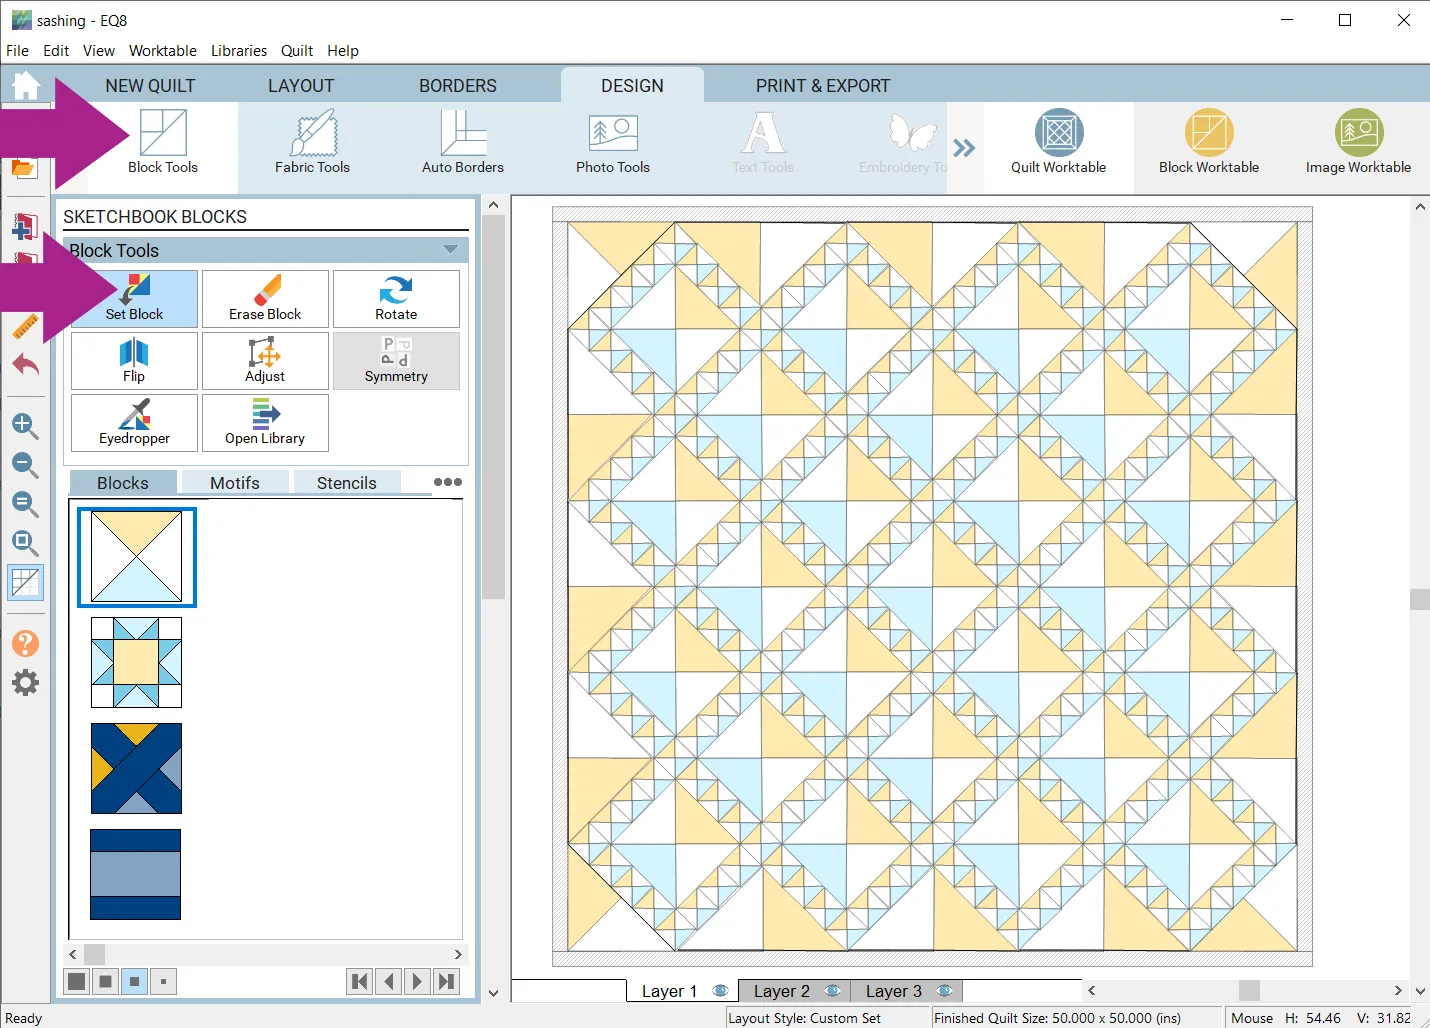
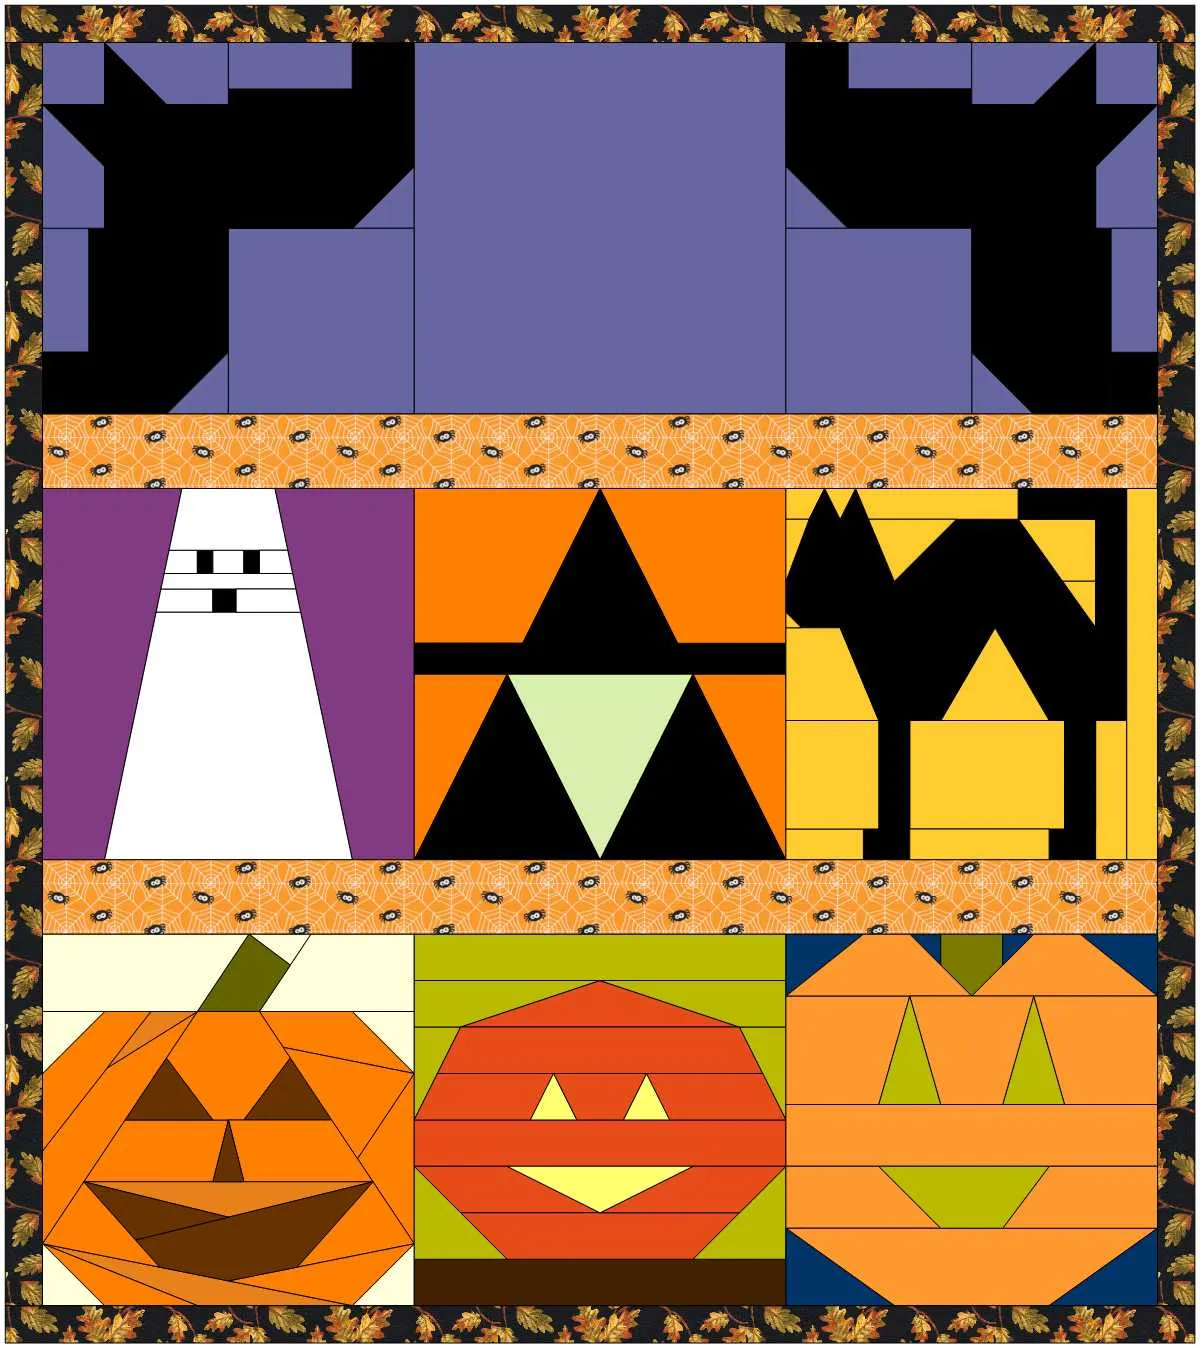
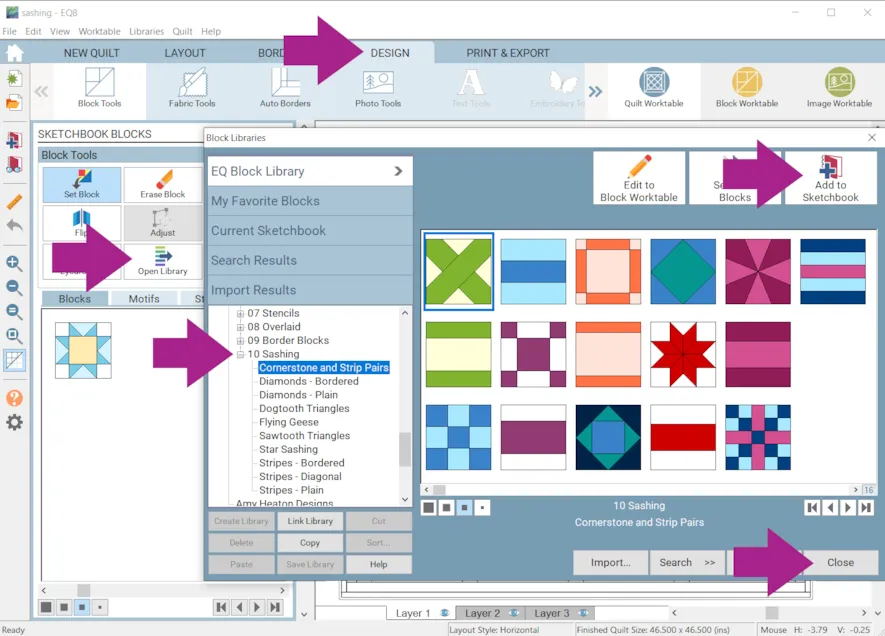
- Click the DESIGN tab
- Click Open Library
Any block can be placed in sashing but there are specific blocks designed to fit well. - Click the plus sign + next to 10 Sashing to see some block options.
- Choose a few blocks and click Add to Sketchbook.
- Click Close.
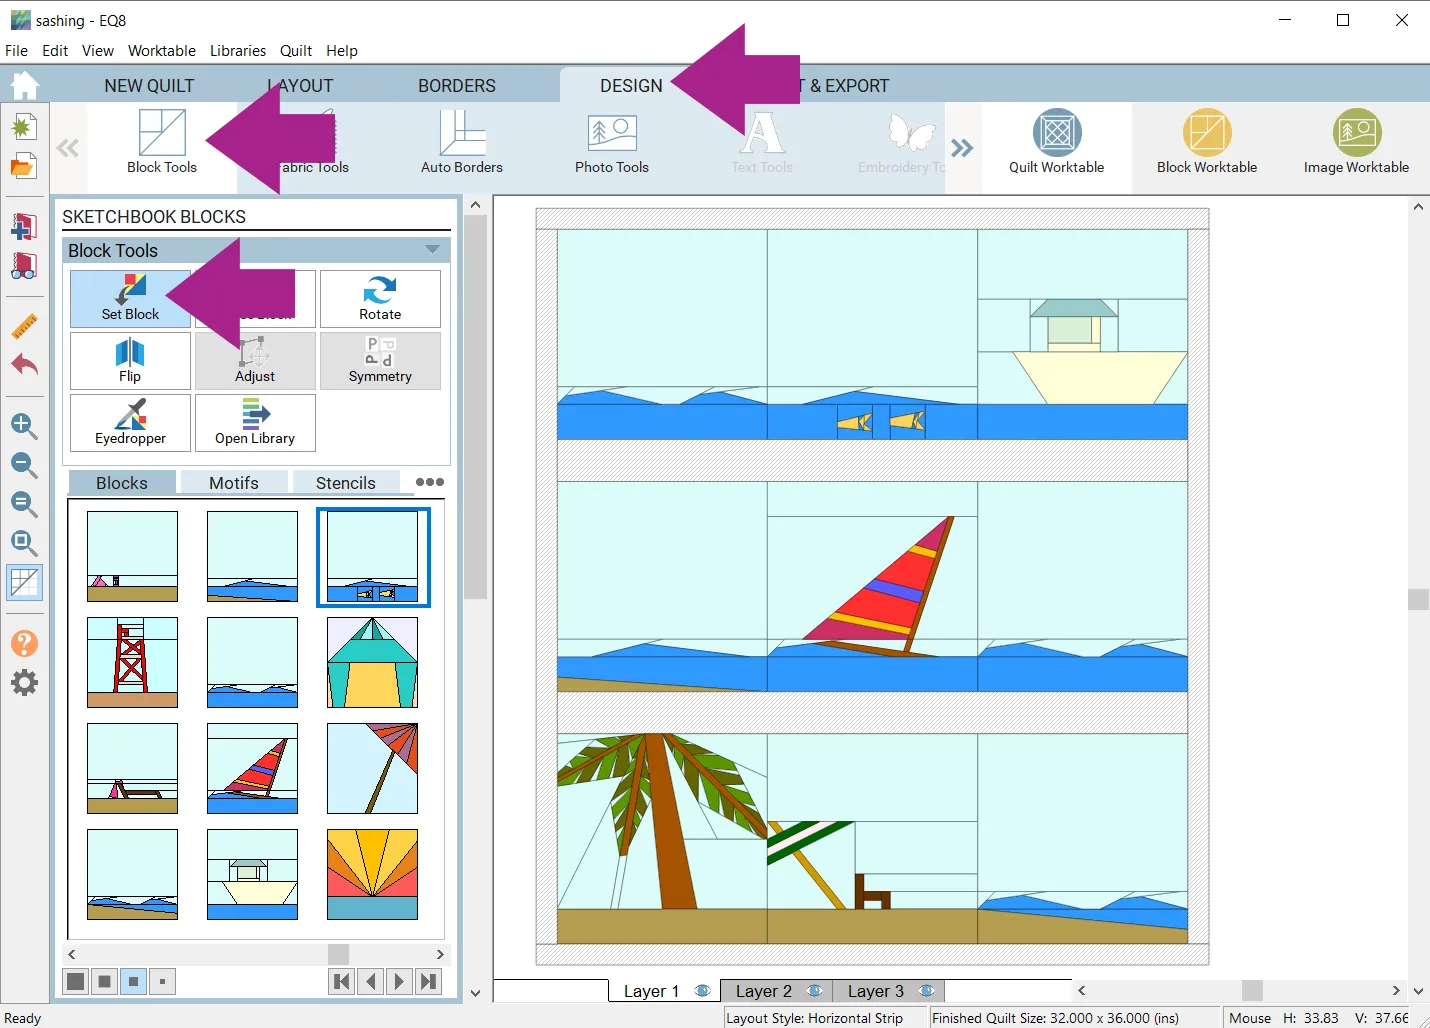
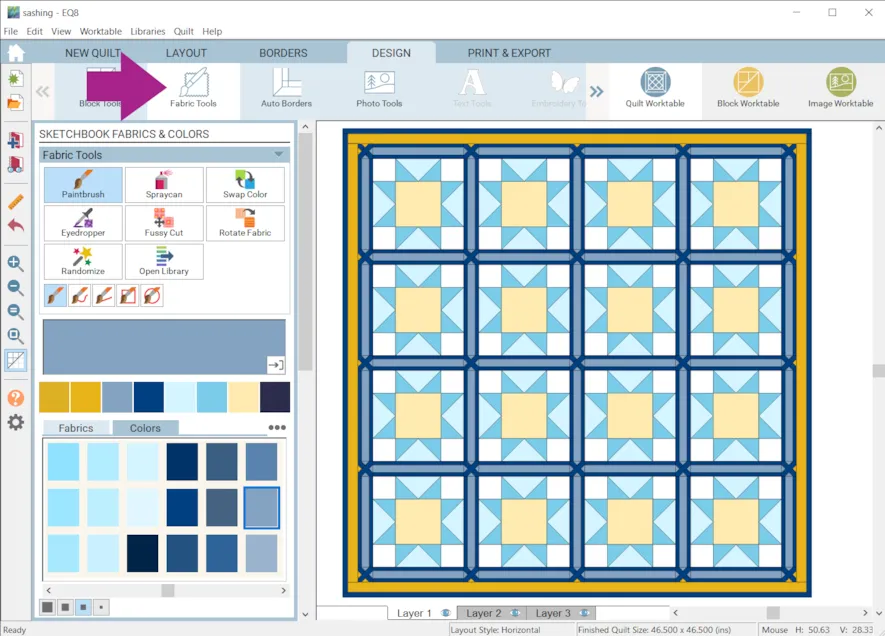
- Click the Set Block tool to place the blocks.
- Click the Rotate tool to rotate the vertical sash blocks.
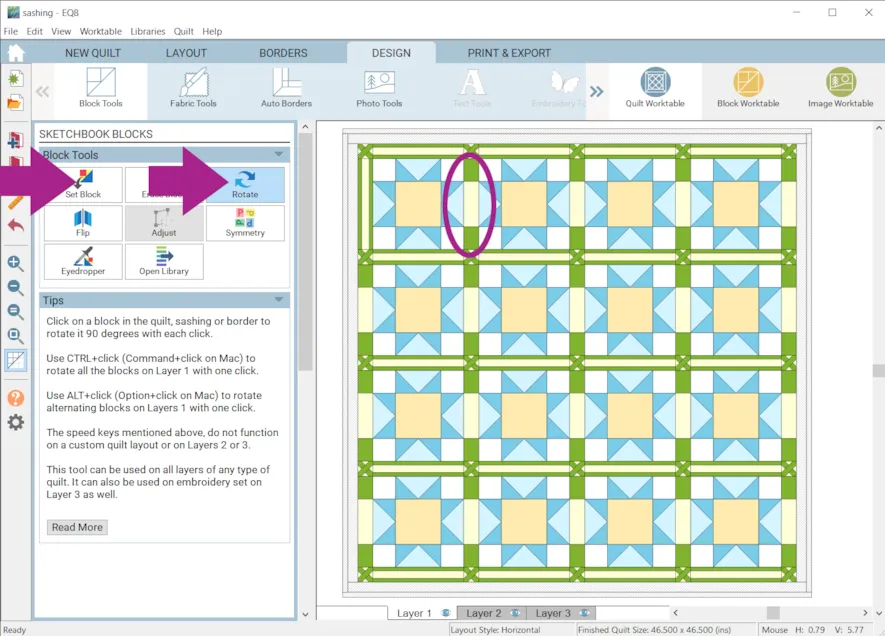
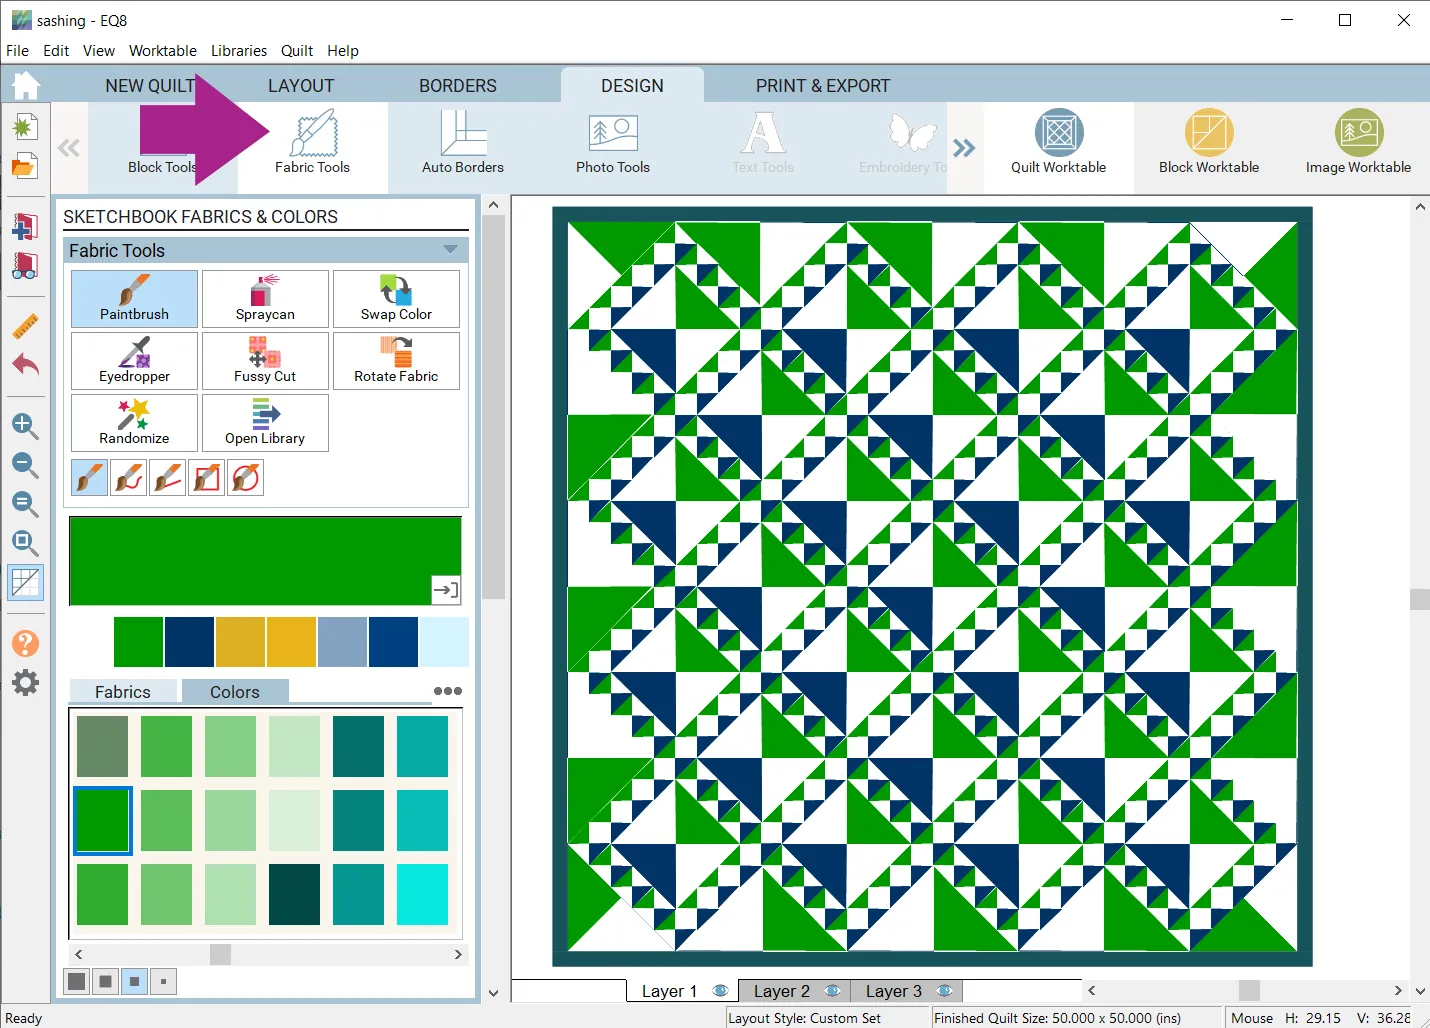
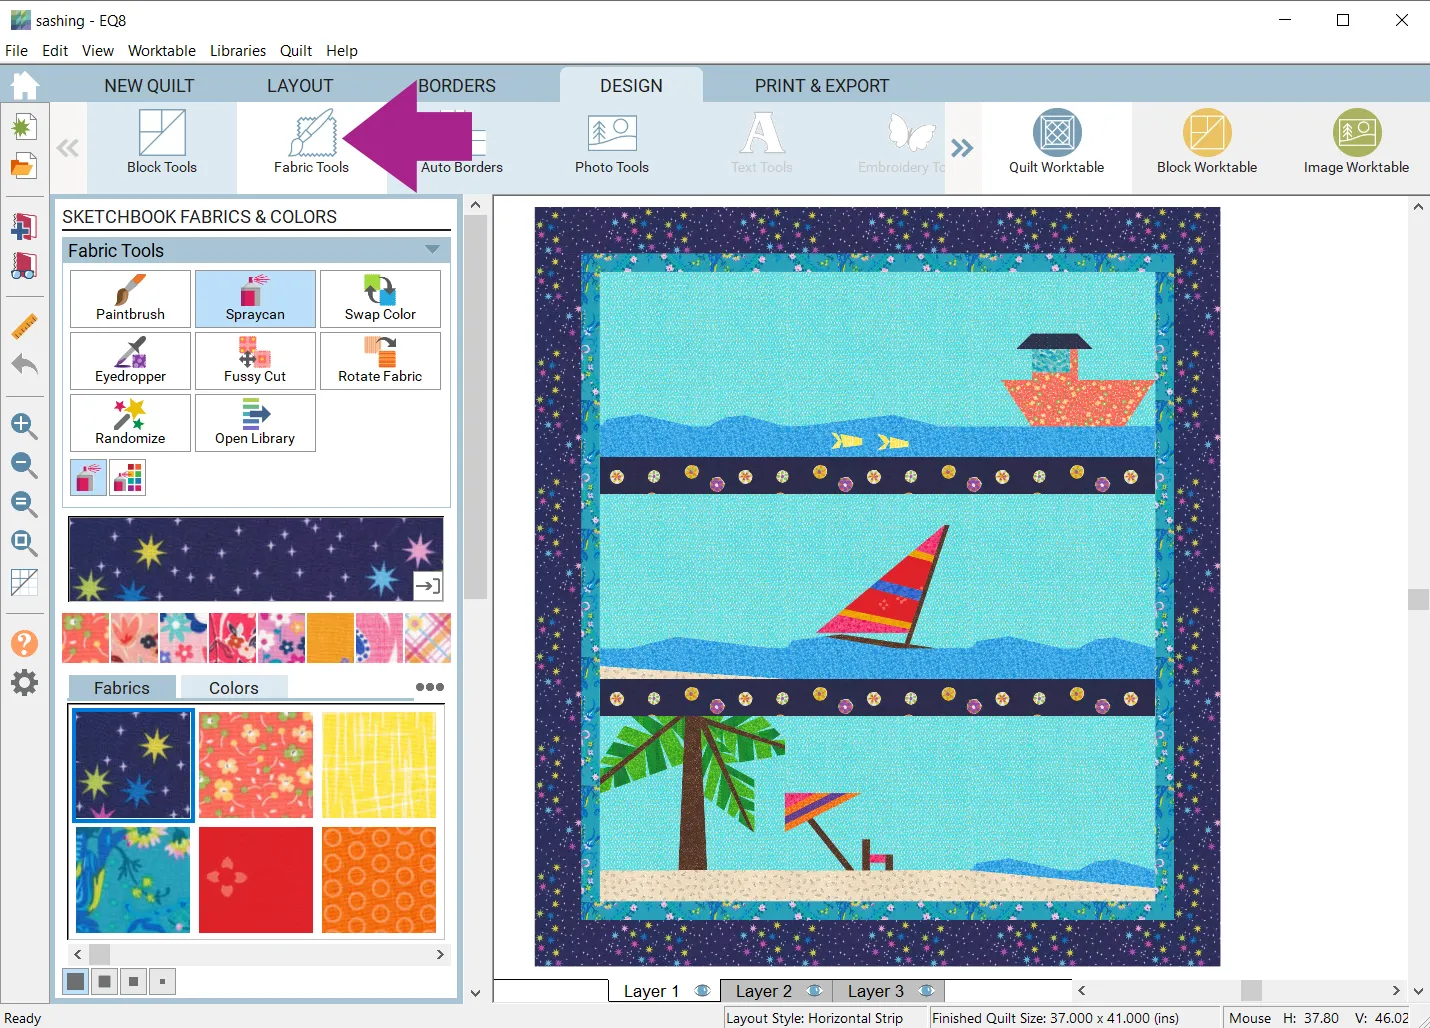
- Click Fabric Tools and recolor as desired.
- Click Add to Project Sketchbook
 . If you haven’t named your project yet, EQ8 will prompt you to do so. (To be saved, your item needs to be in the Sketchbook AND your project needs to be named. Here is more information.)
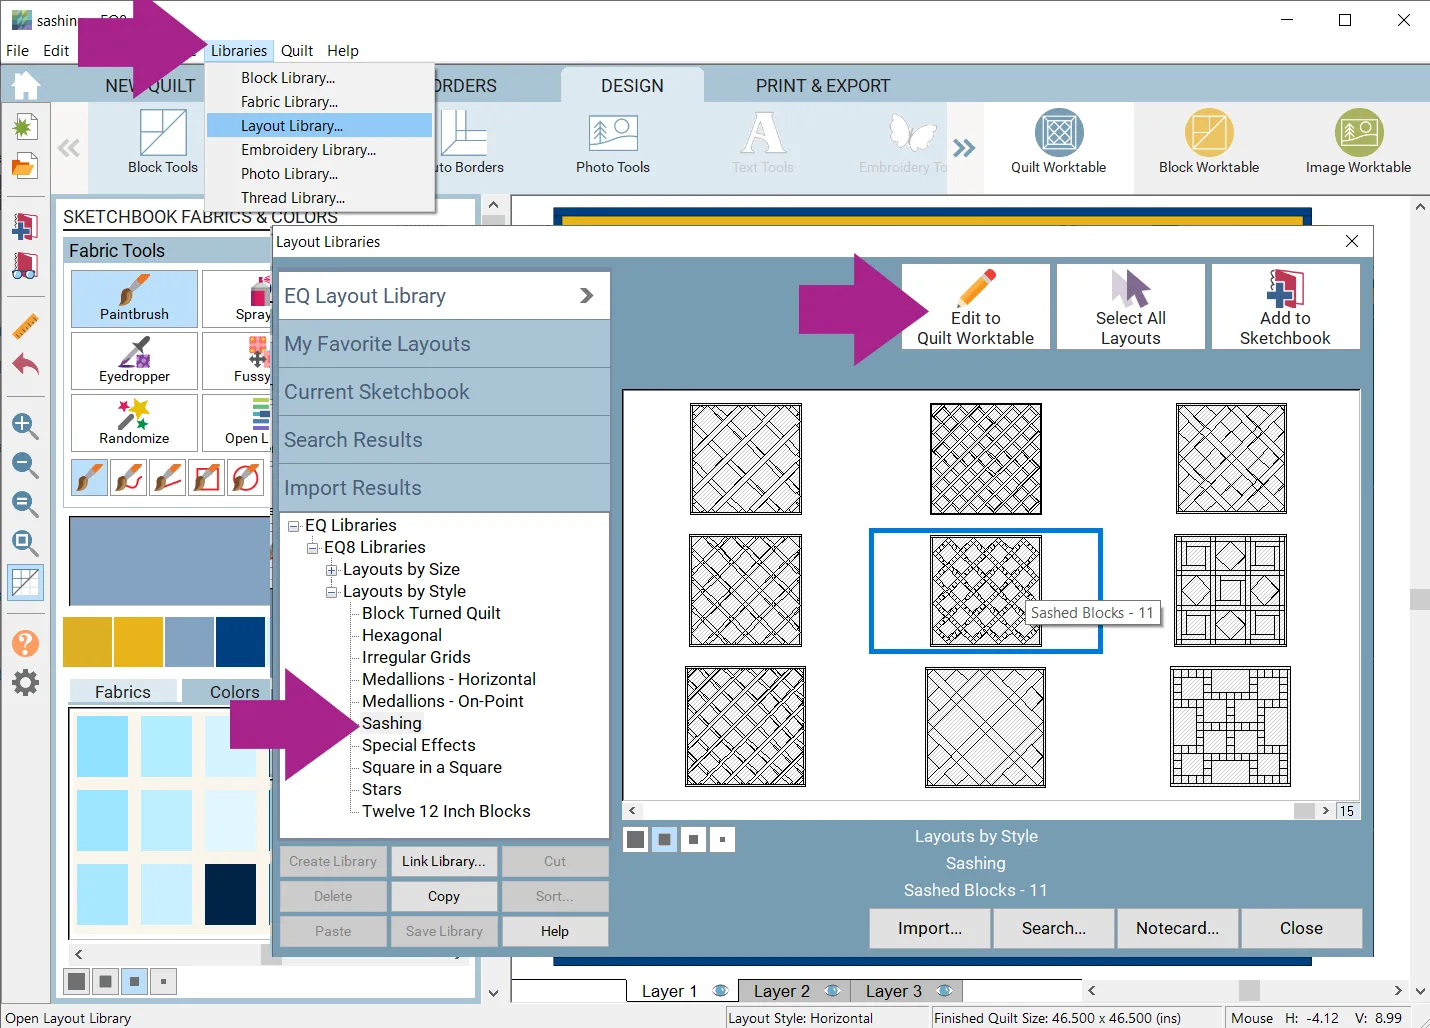
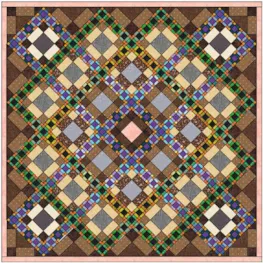
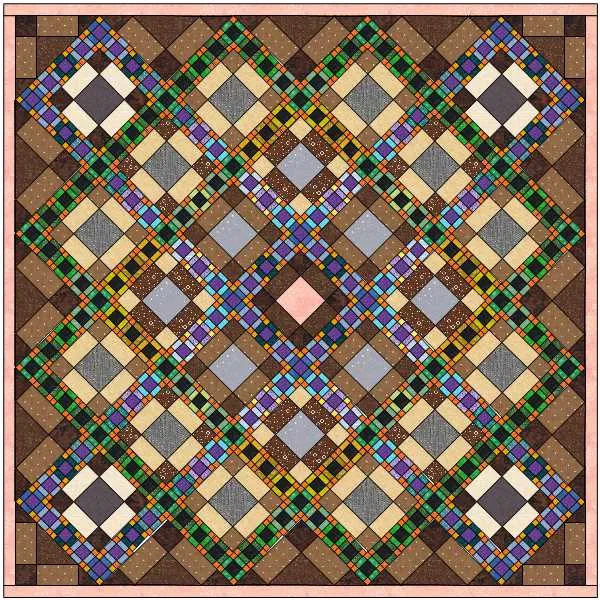
Another way to work with sashing is to use a layout from the Layout Library.
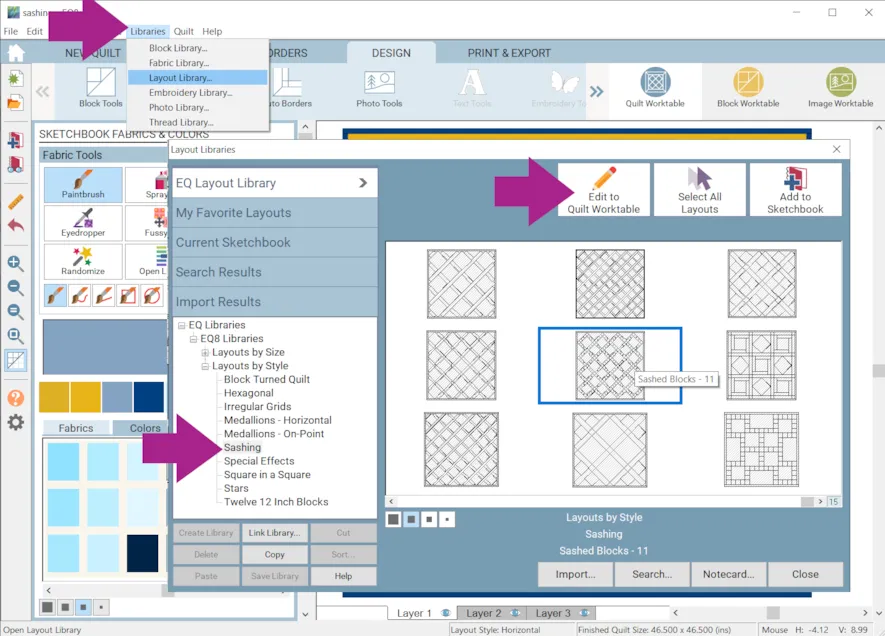
- Click Libraries > Layout Library…
- Under Layouts by Style click Sashing
- Click on a layout and click Edit to Quilt Worktable
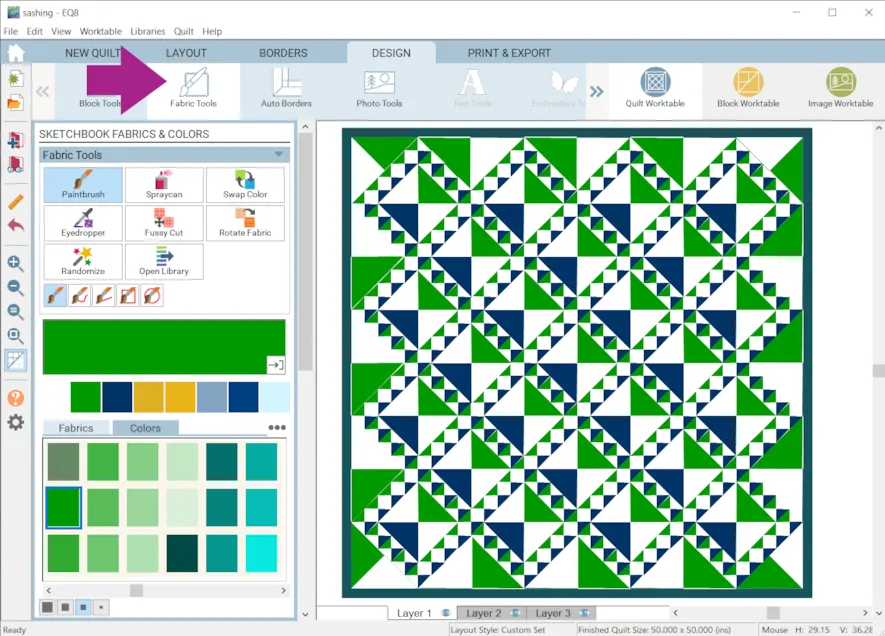
- Click Block Tools
- Click Set Block and design the quilt as you would like.

- Click Fabric Tools and recolor as desired.
- Click Add to Project Sketchbook
.
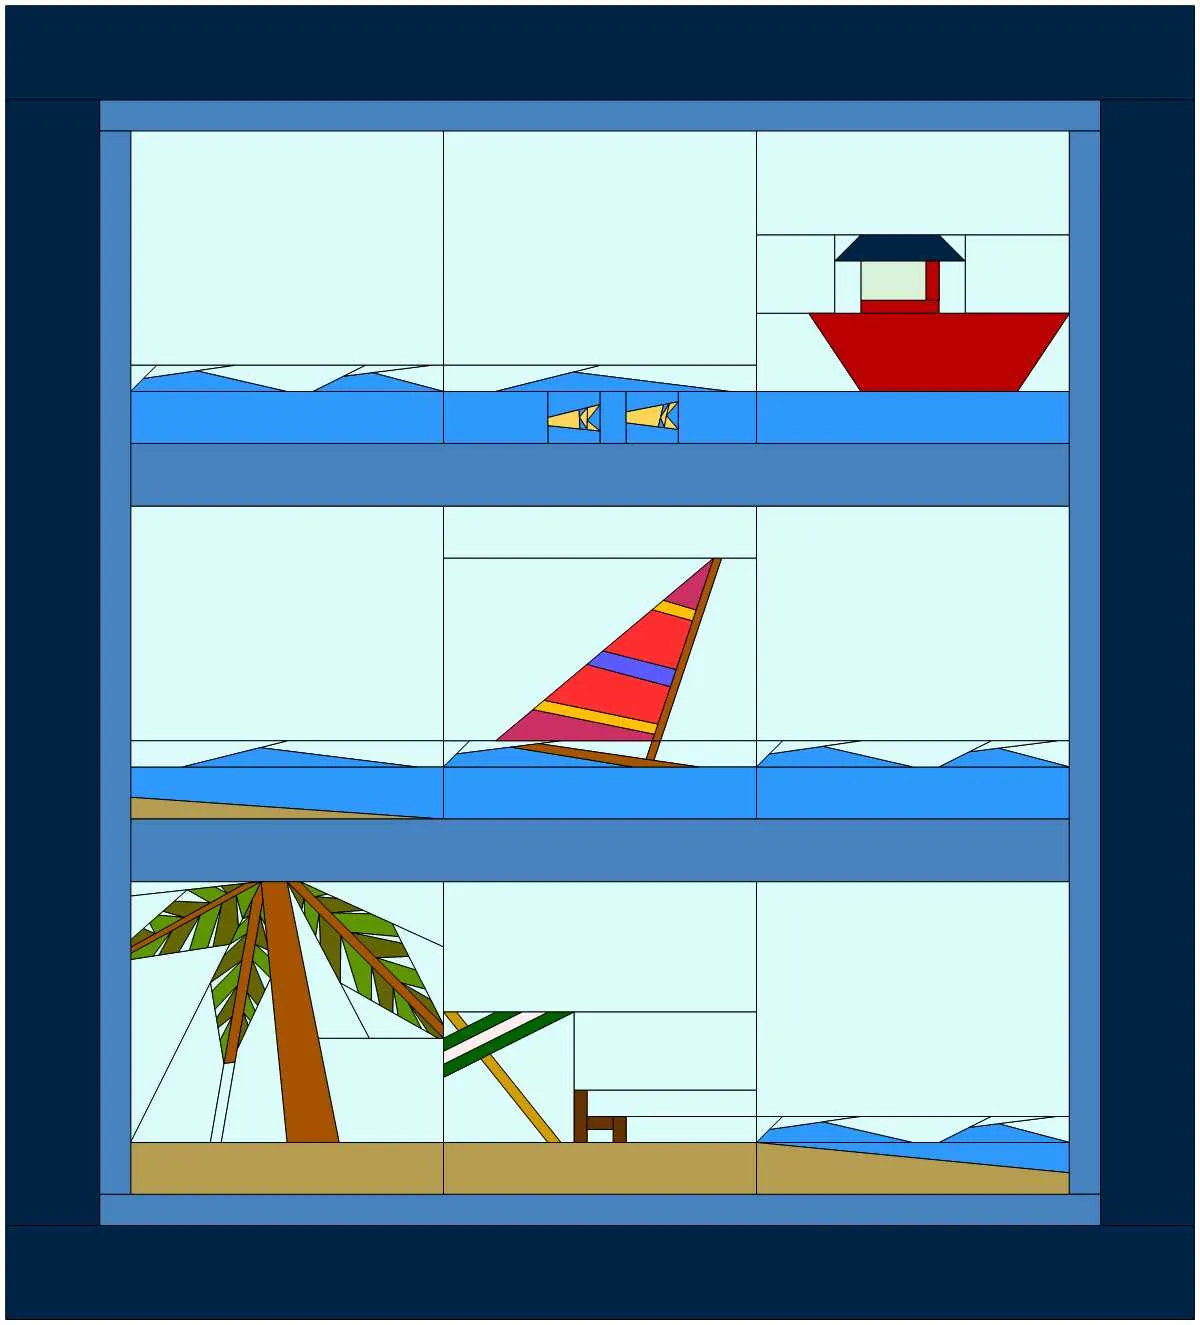
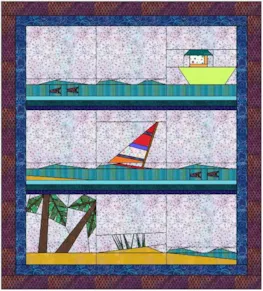
For the last example of sashing we’ll be using a horizontal strip quilt so that there aren’t any cornerstones.
- Click NEW QUILT
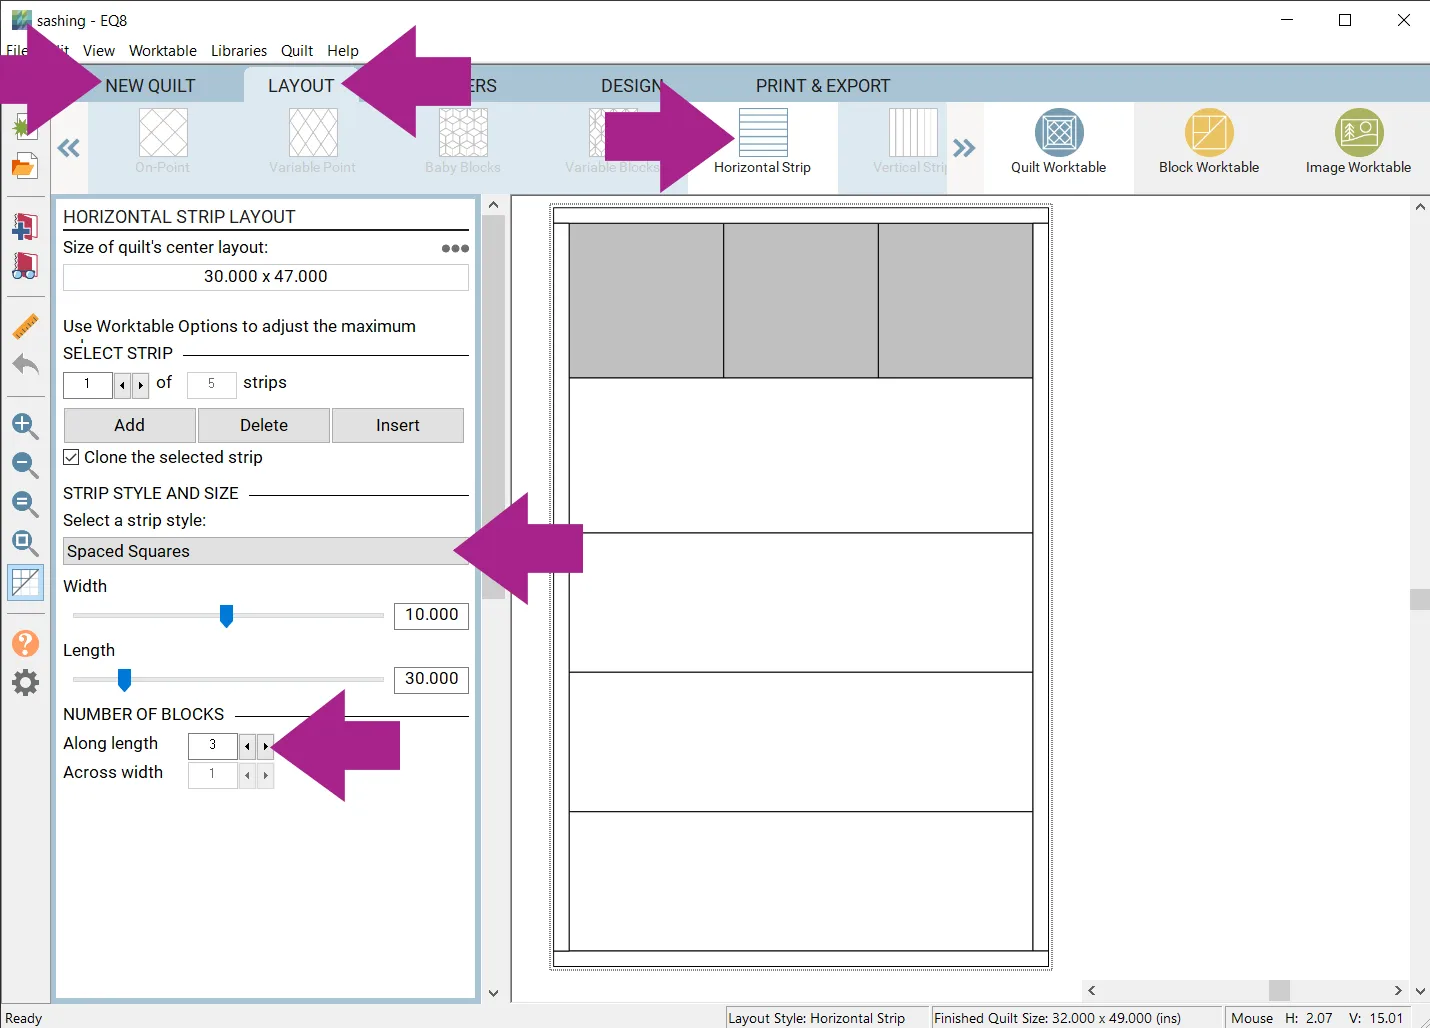
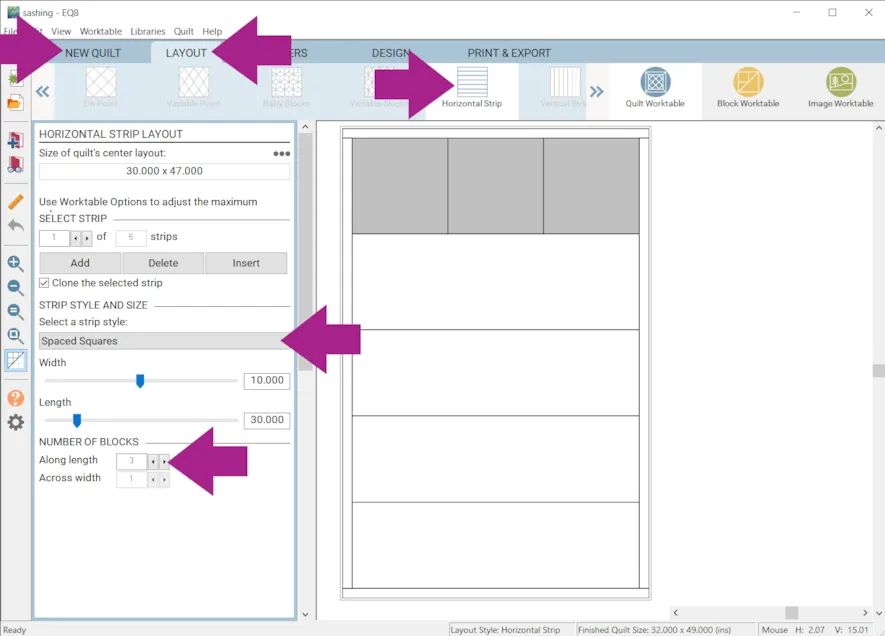
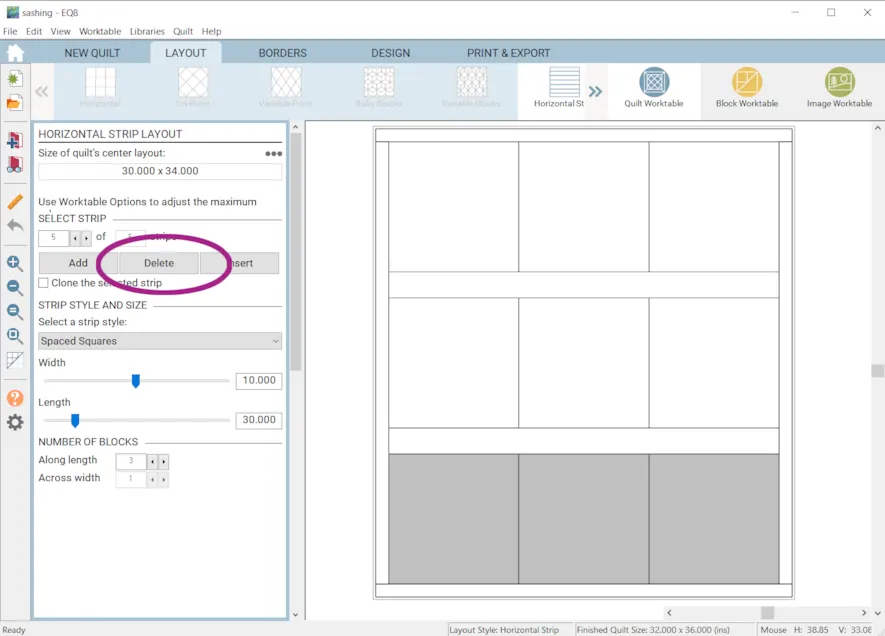
- Click Horizontal Strip
- Click the LAYOUT tab
- Under Select a strip style choose Spaced Squares
- Under Number of Blocks choose 3
- Make the width 10 and the length 30.Once the Length is set, it will be the same for all strips. Here is more information on creating strip quilts.
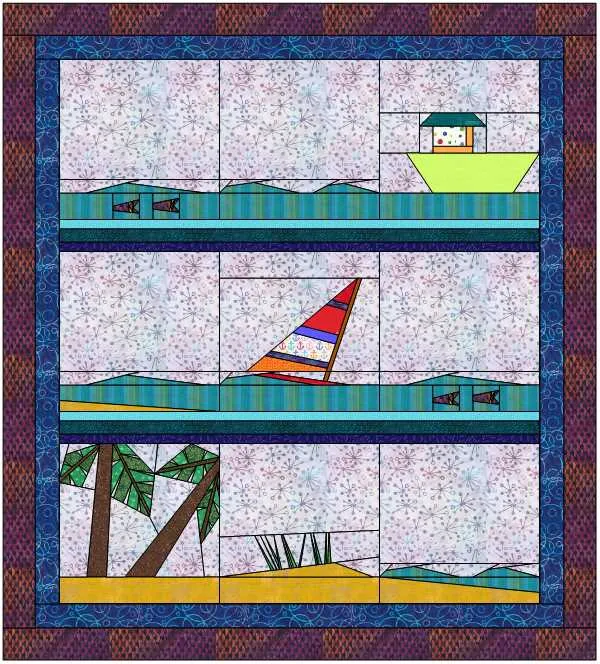
- Click on the second strip and under Select a strip style choose Plain.
You can click directly on the strip in the layout or you can use the arrow buttons to select the strip.
- Make the width 2 and the length 30.
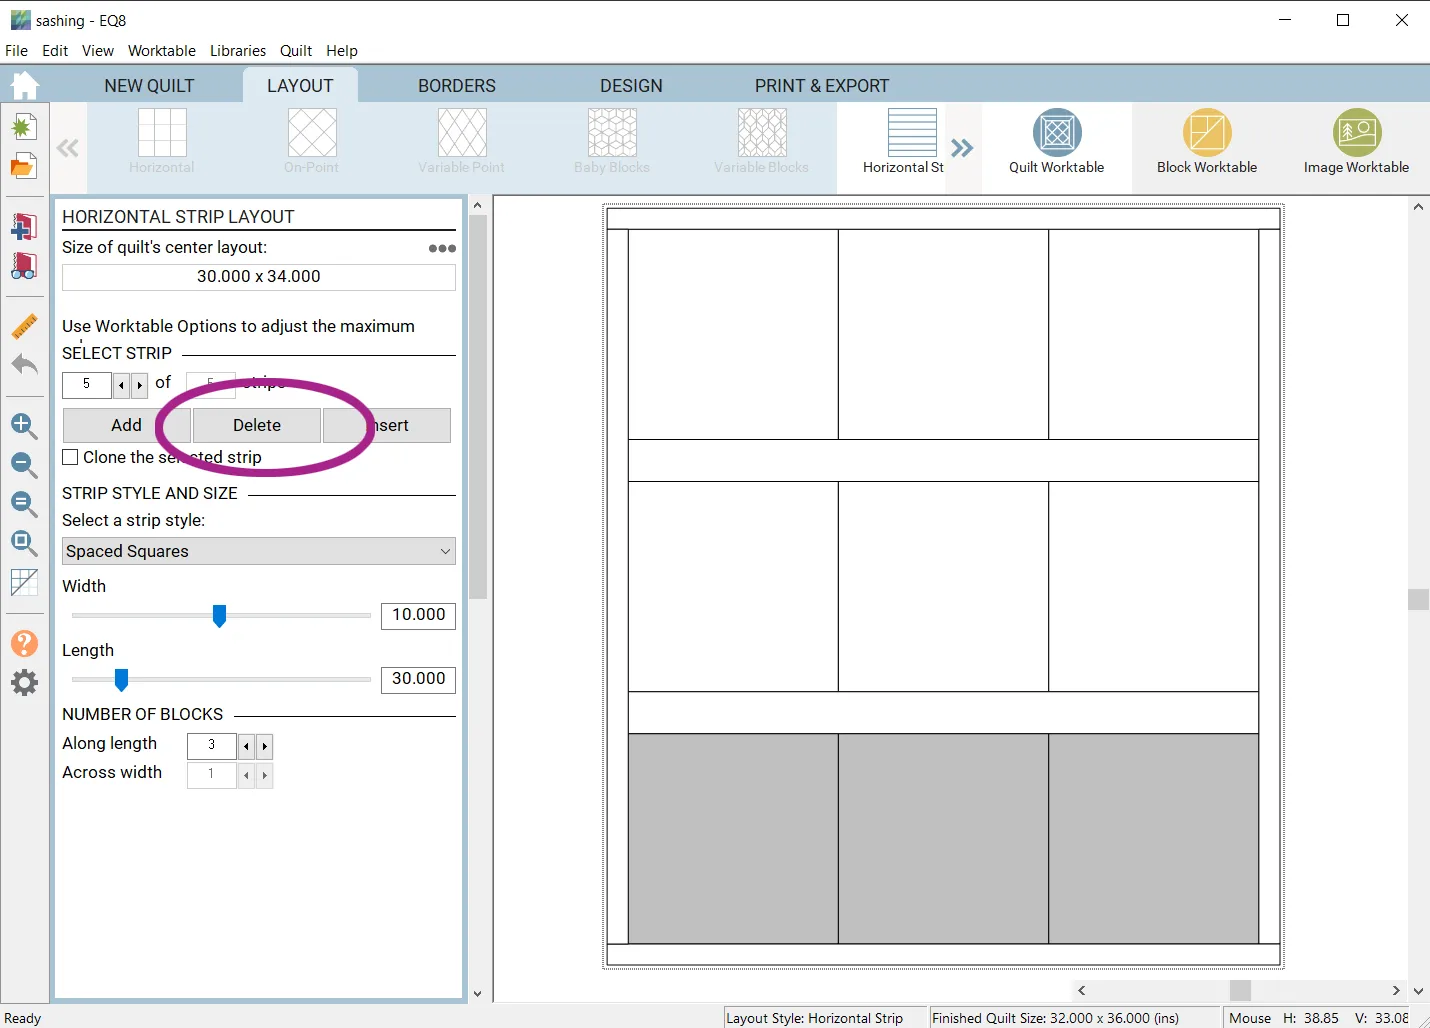
- Make the third and fifth strip match the first strip.
- Make the fourth strip match the second strip.
- Delete any additional strips.
- Click the DESIGN tab > Block Tools > Set Block to place some blocks.
Blocks from 03 Foundation Pieced > Beach are used in the example.

- Click Fabric Tools and recolor as desired.
In the example I also added an additional border. - Click Add to Project Sketchbook
.

If you want to post images of a quilt you’ve designed from this lesson, here is how to export the images.
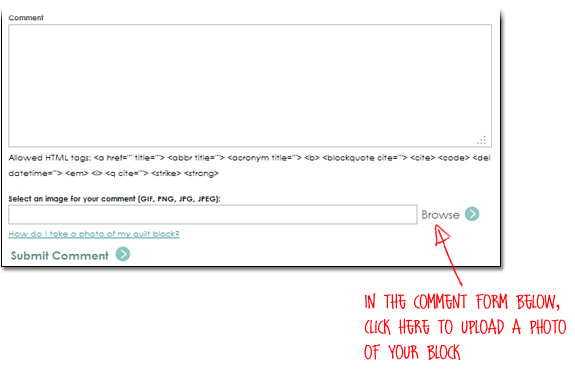
To post your image click to comment on this post. Fill in your info and then click Browse.Go to: Documents\My EQ8\Images
I can’t wait to see what you’ve done! I hope you enjoyed the lesson! If you have questions about the lesson feel free to post them below. If you have questions about something else EQ related, please contact techsupport@electricquilt.com. If you have suggestions for new Design & Discover lessons feel free to comment below or email Heidi@electricquilt.com