We’ve updated Club EQ (again!)! Now you can follow along with a lesson and submit your version of the design right on the blog with a link up!
To Link Up Your Photo
Scroll down to the comment form at the end of this post. Fill in your info and make sure you select an image for your comment (this will be the photo of your quilt).

If you have a blog, make sure to add your site too. Let’s visit each others’ blogs and all get to know each other!
Now on to the lesson…
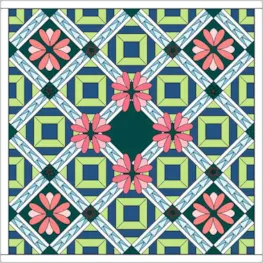
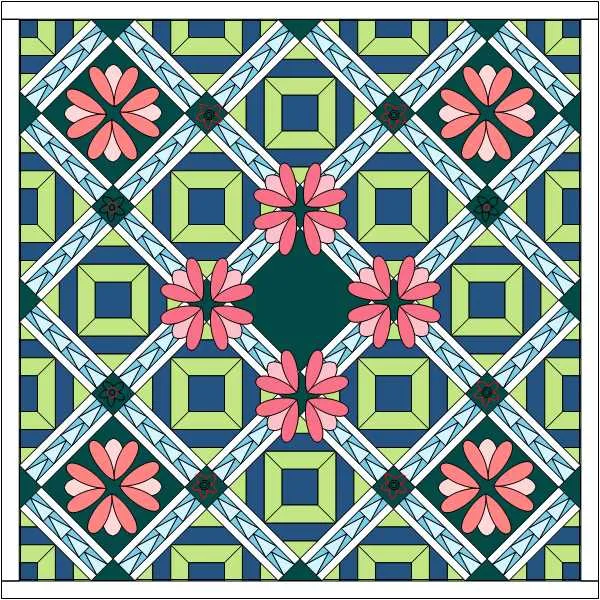
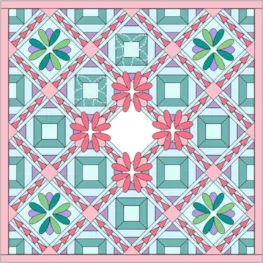
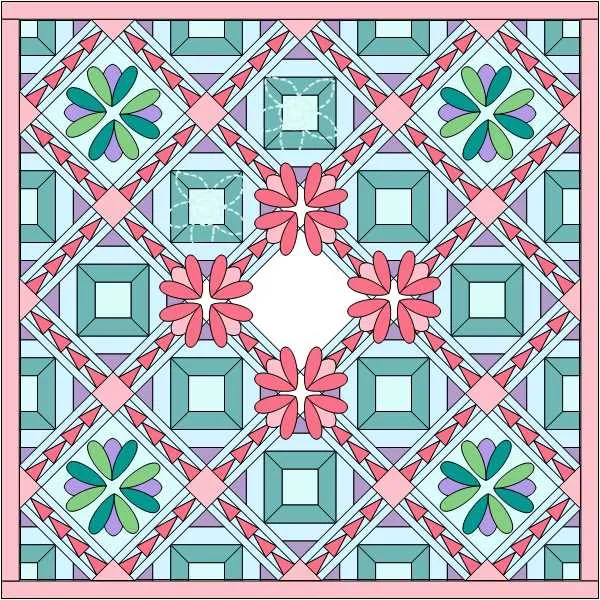
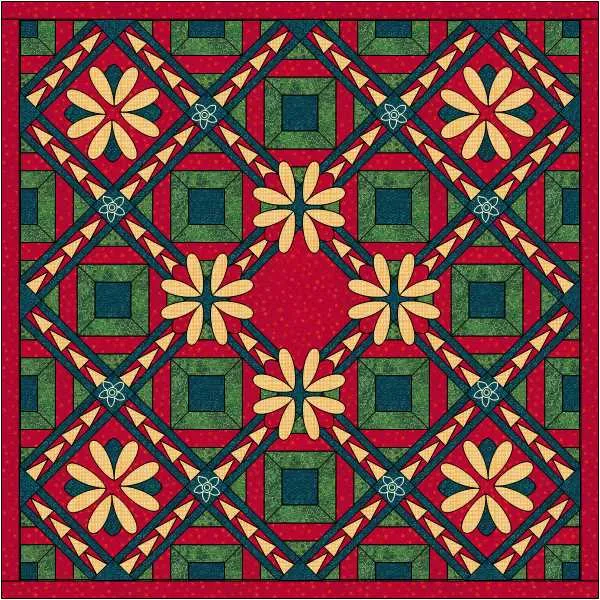
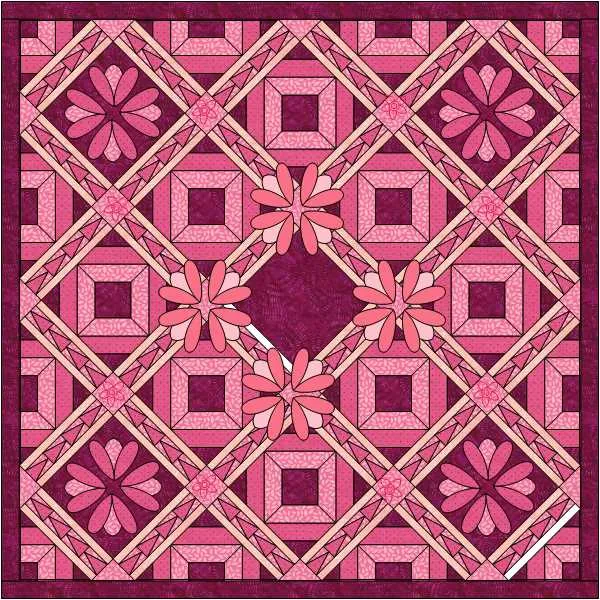
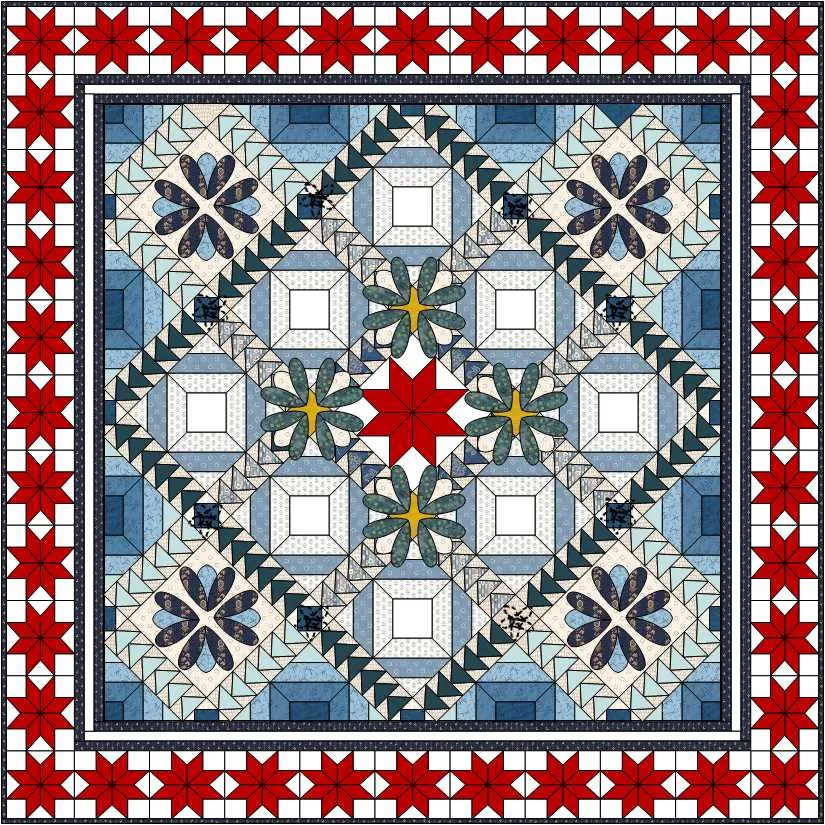
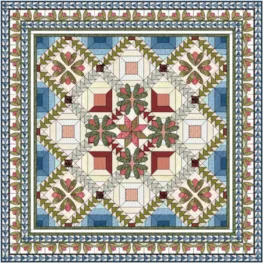
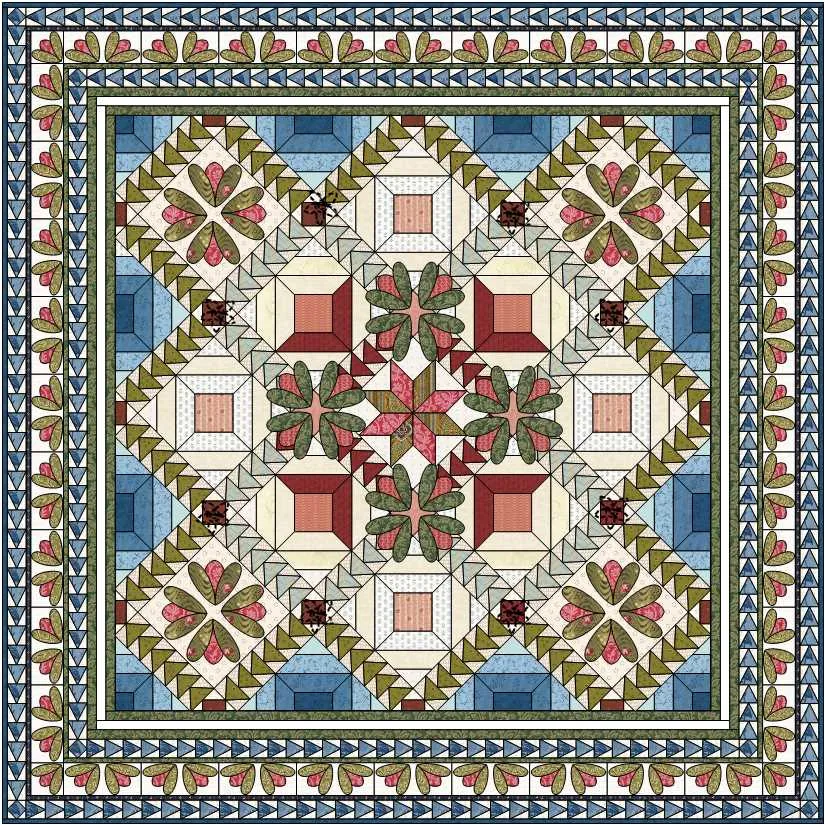
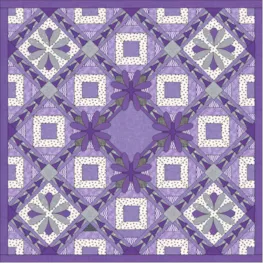
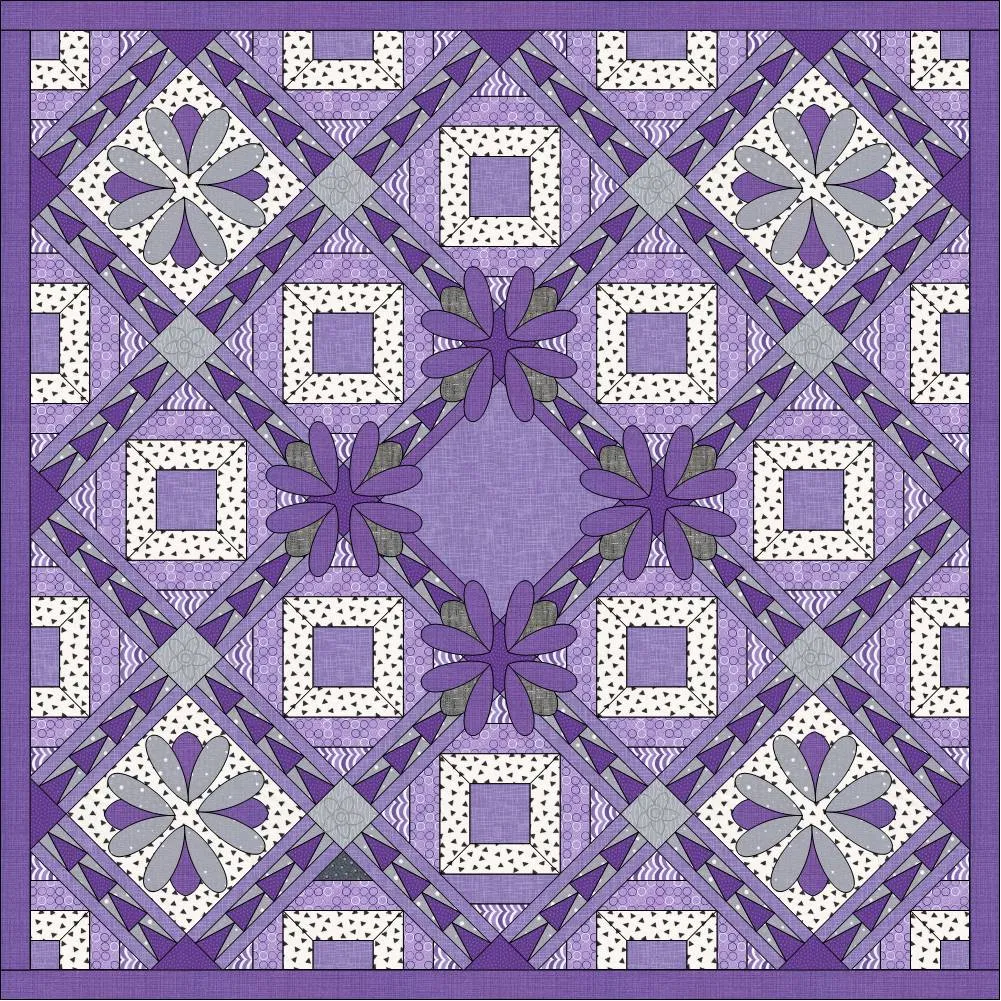
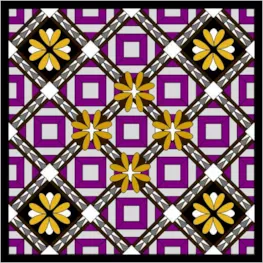
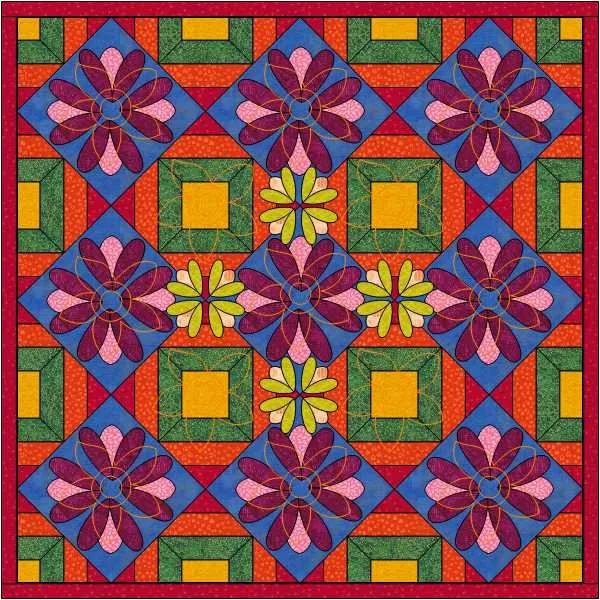
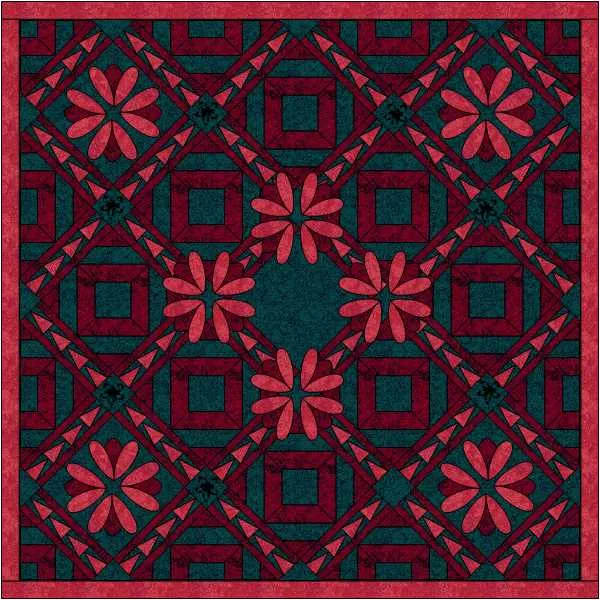
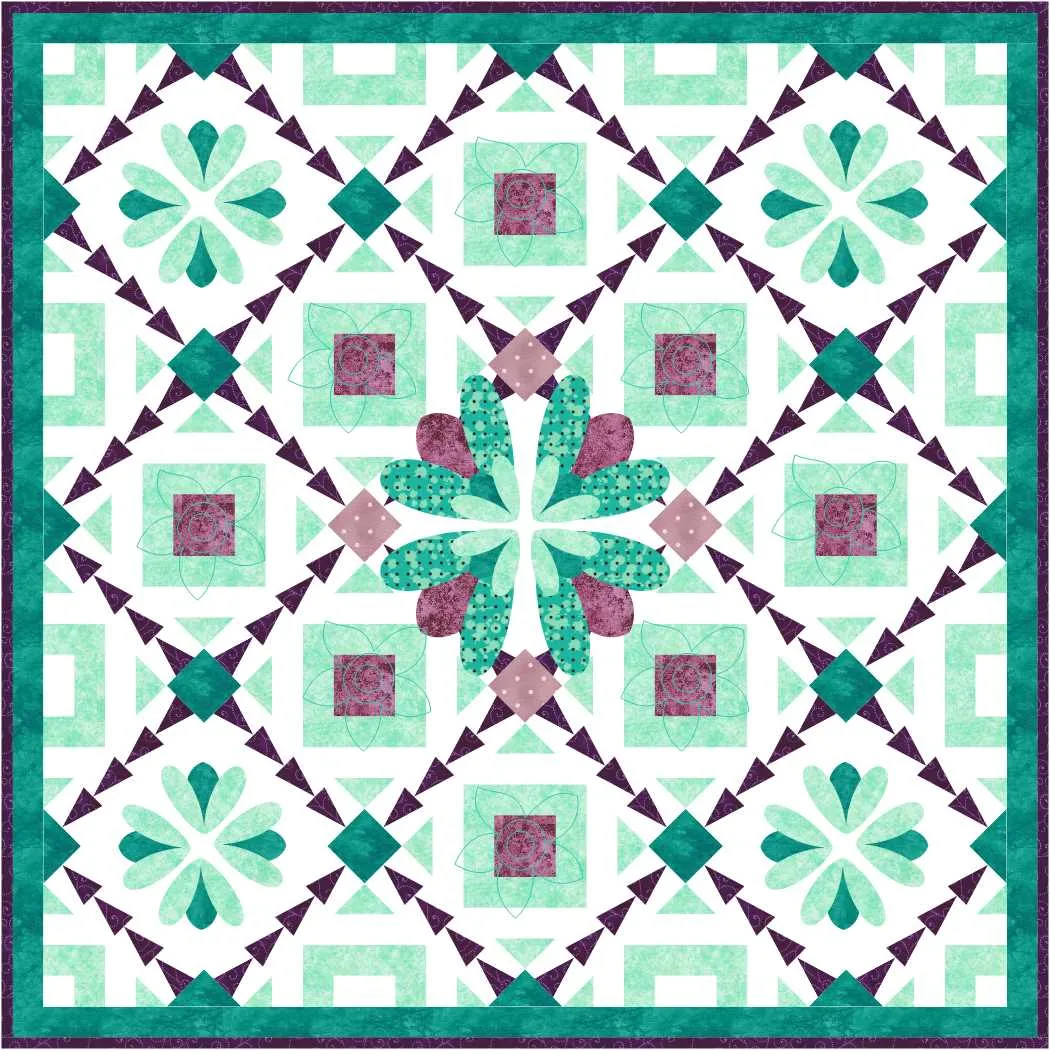
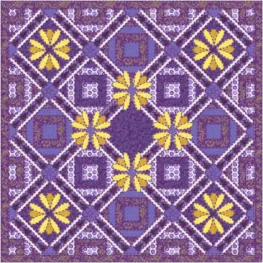
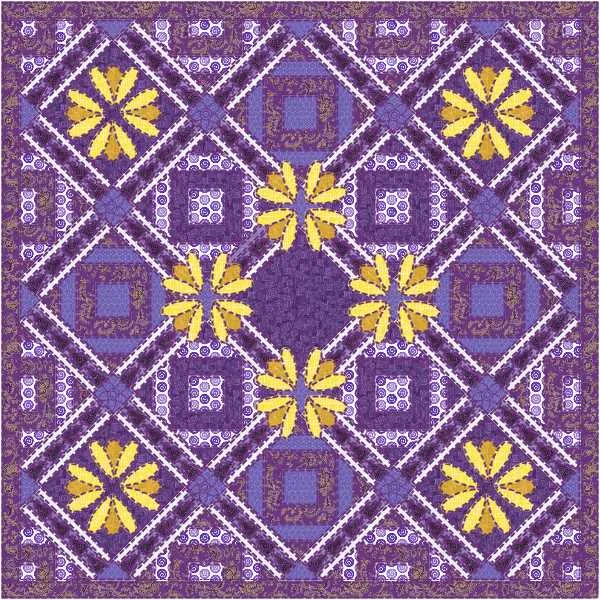
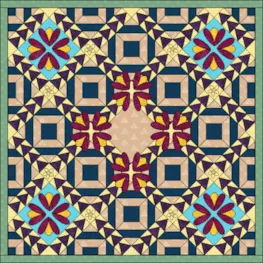
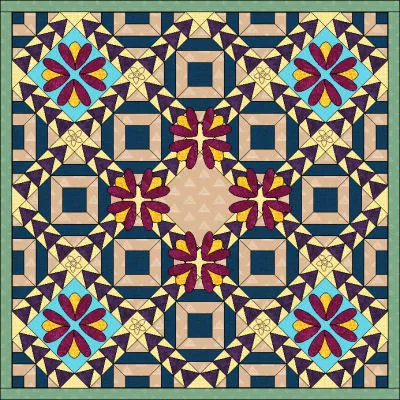
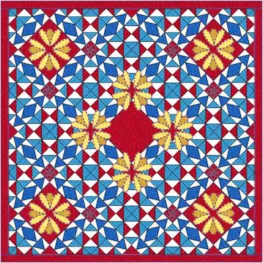
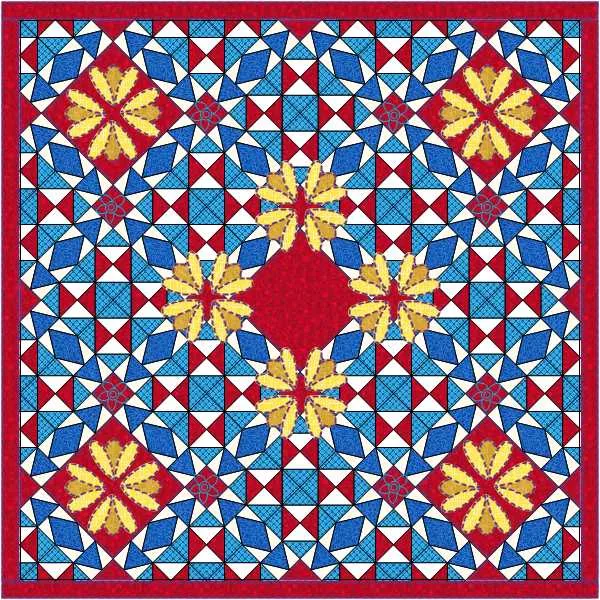
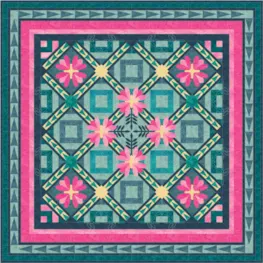
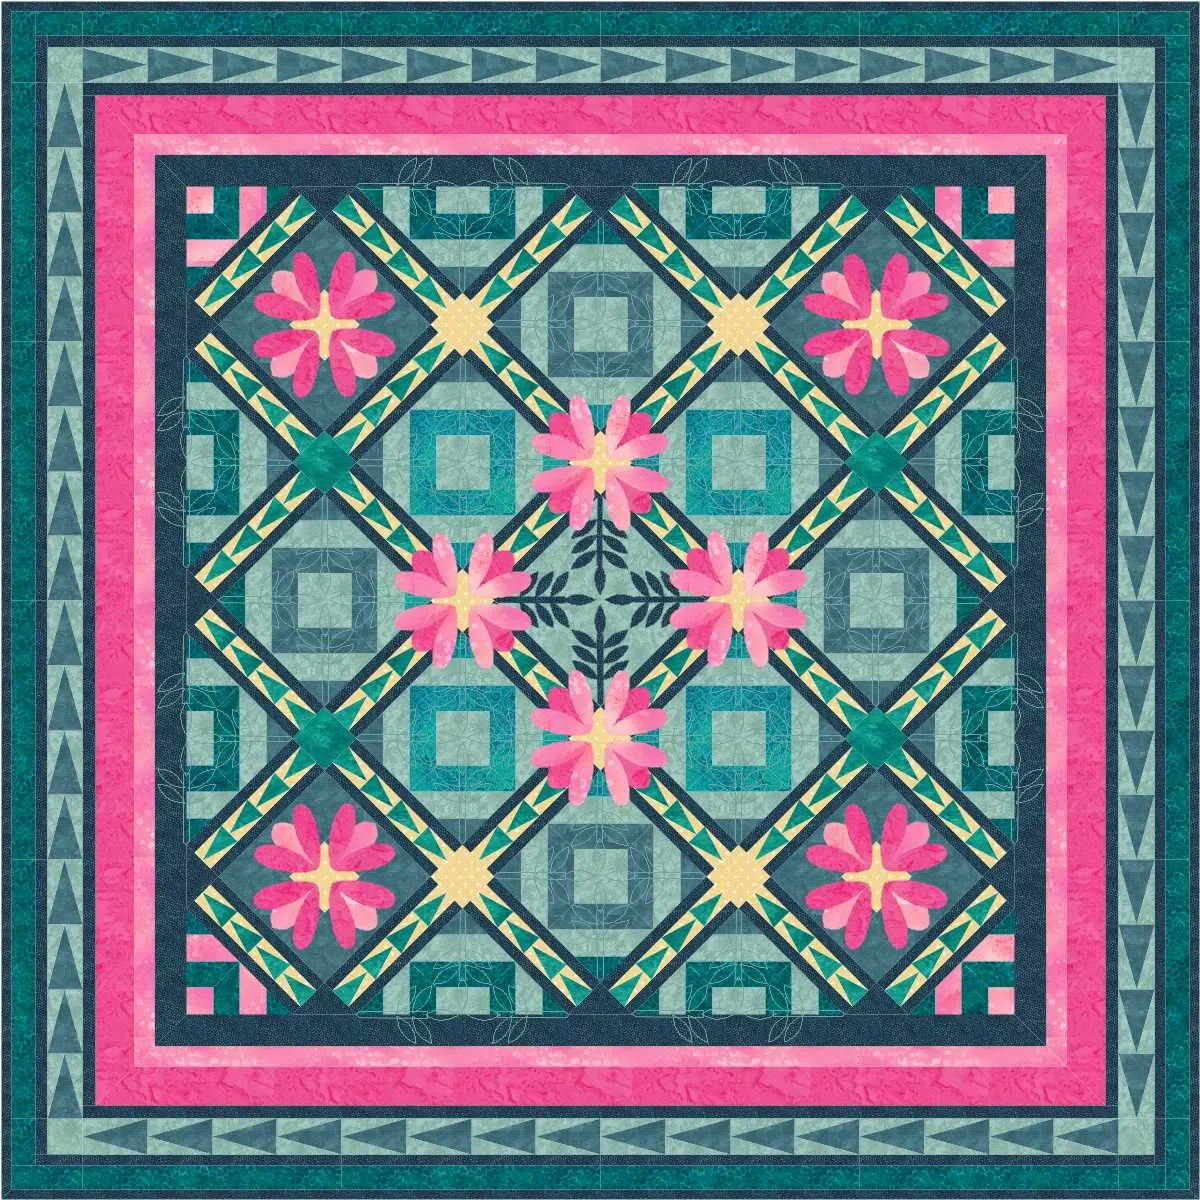
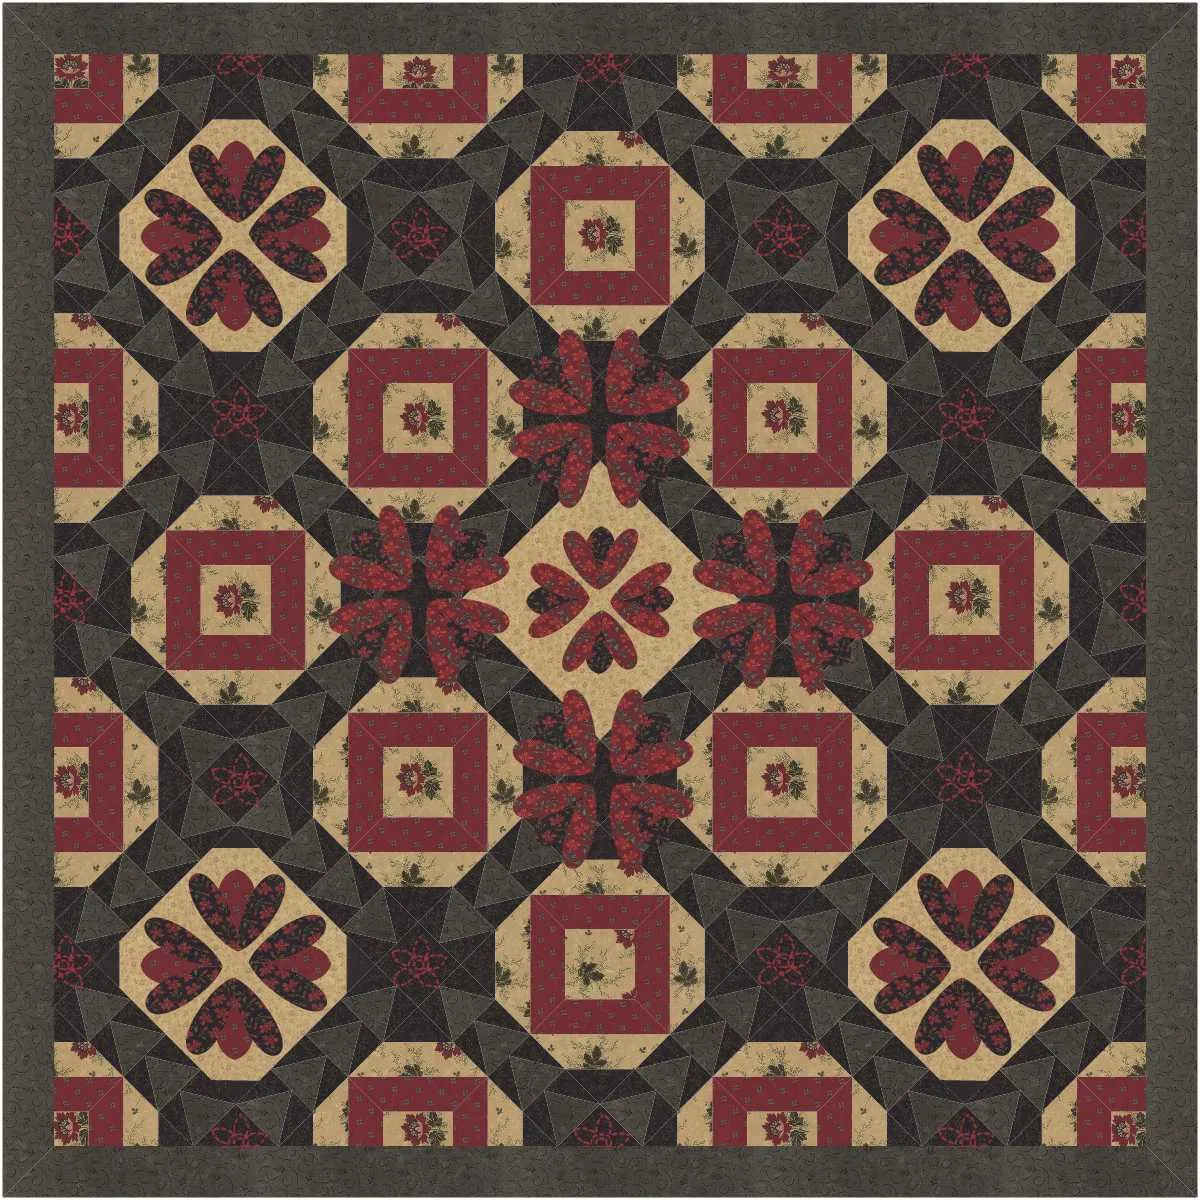
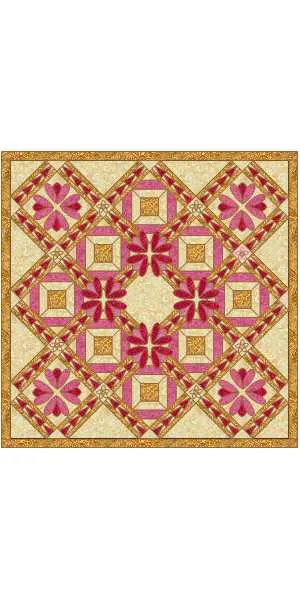
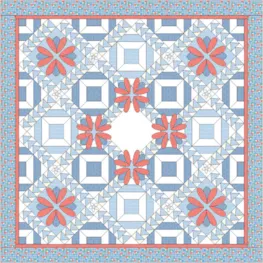
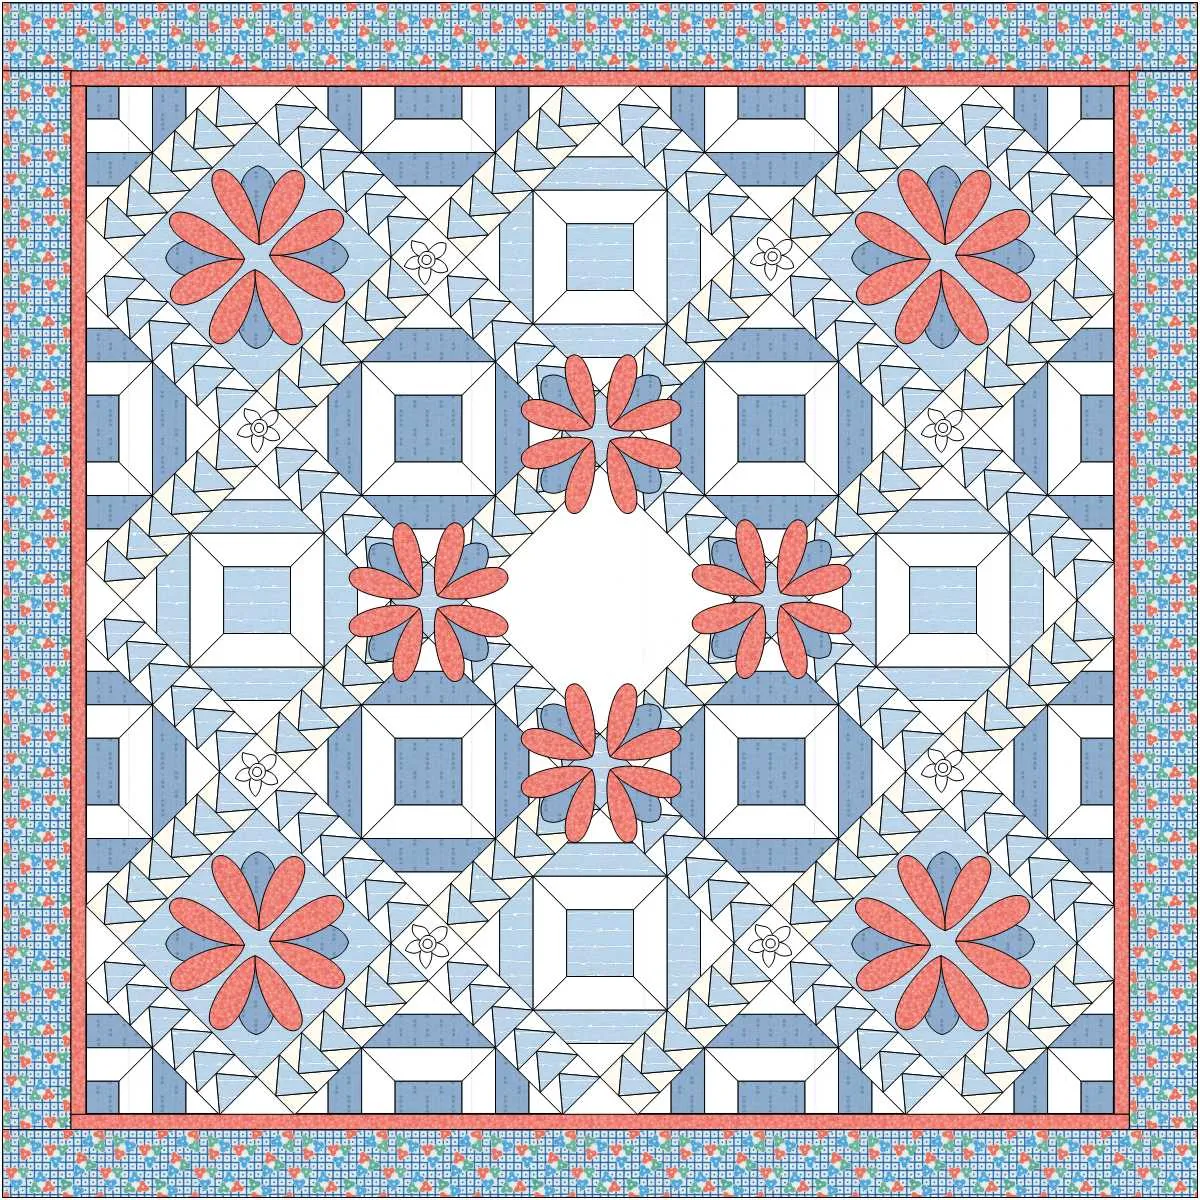
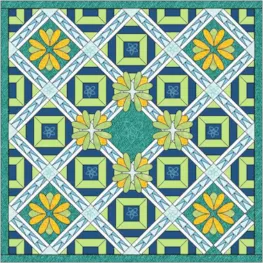
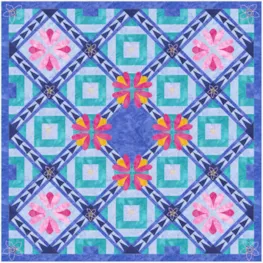
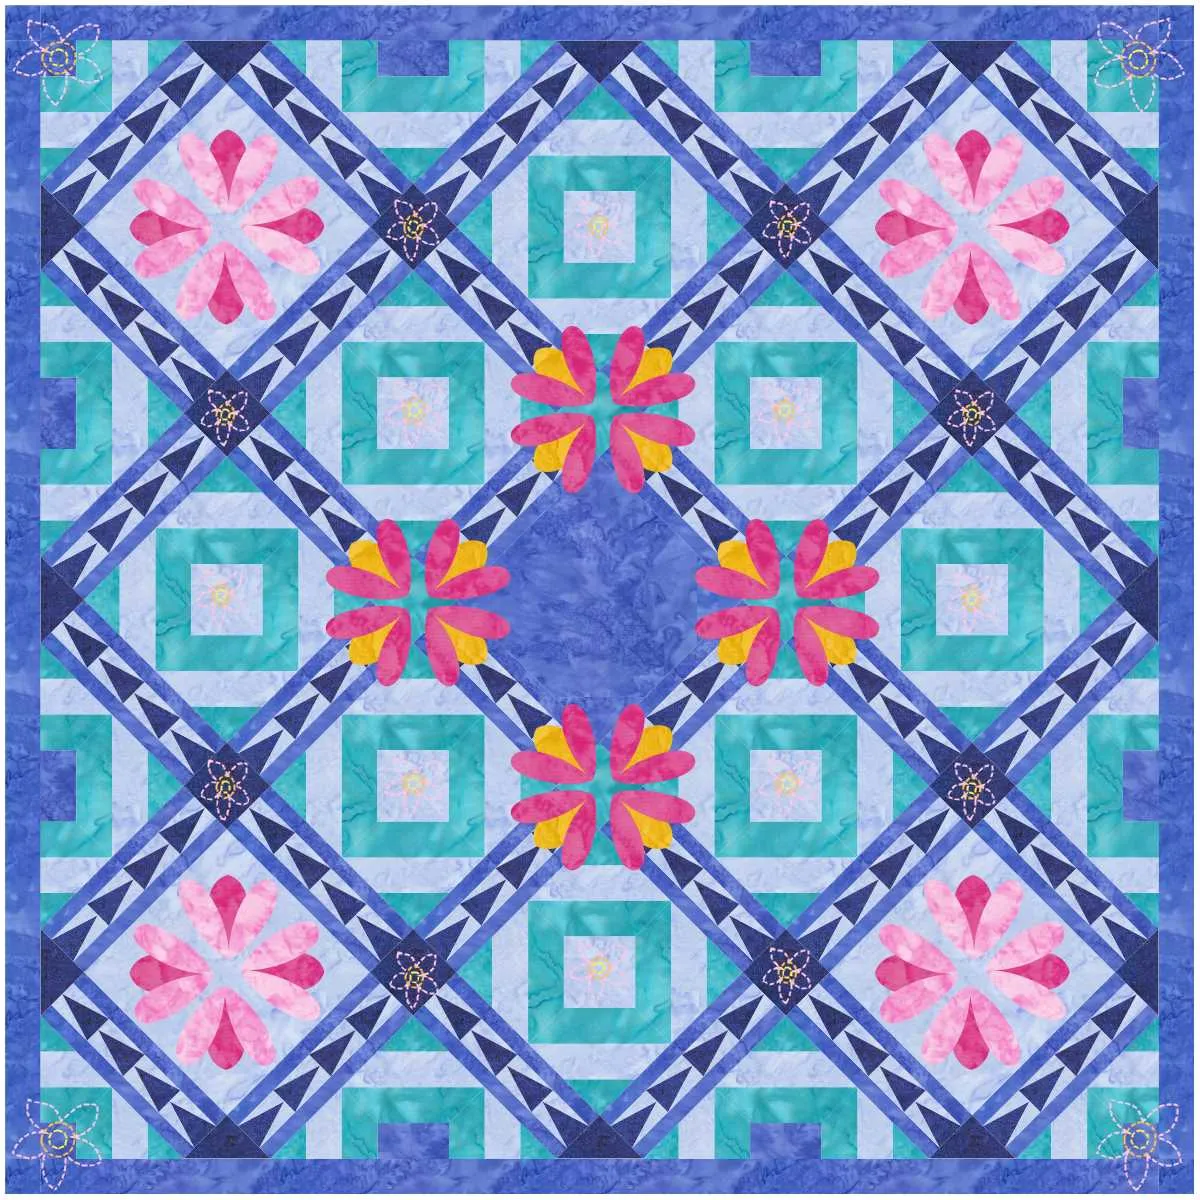
We are going to be making this quilt (or your own variation! If you don’t want to use the specific blocks I’ve used, that’s OK!). It has things on different layers, sashing, stencils…lots of fun stuff!

Click on Quilt Worktable

Click On-Point Layout

Enter these settings:

Click the Design tab

Click Block Tools

Click Open Library

Click the Search button and choose By Notecard

Type “Mosaic, No. 1(2)” and click the Search button

Click on the block and click Add to Sketchbook
If you want to add some other blocks you’d like to audition in the quilt, feel free to add them to the Sketchbook too!
Click Close

Click on the block. Hold down your ALT key on your keyboard and click on the spaces marked with the X to place the block in the spaces as shown. (Usually holding down the ALT key will place the block in every other space but it works a little differently with on-point layouts.)

Click on EQ Default Flying Geese (EQ8 comes with default blocks already loaded so you don’t even need to get it from the Block Library!)
(Or, if you like the look of another block feel free to use that!)

Hold down the CTRL key on your keyboard and click in the sashing in two different areas.

Click Rotate, hold down the CTRL key on your keyboard and click the block marked with the X.

Click Open Library

Click the Search button and choose By Notecard
Type in “Tulip Heads” and click the Search button

Click on the block and click the Add to Sketchbook button

This block is actually a motif so, to see it you will need to click the Motifs tab.

Click Layer 2 at the bottom of your screen.

Click the Set Block tool, and click on the block. Now, hold down the SHIFT key on your keyboard and click and drag to set the motif on the quilt. Don’t worry about size or placement.

Click the Adjust tool and make the motif 5.5 x 5.5 by typing the size in for the Width and Height. You can move it into place by using your mouse or the X and Y axis show in the purple rectangle.

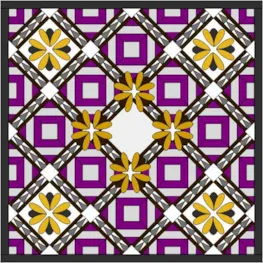
Copy and paste the motif and place 3 more as shown.

Now I want to make my motif into a block to put into the blank squares. (You COULD place them just like we did the motifs, but just in case you would ever want to do this in the future.)
Click View Sketchbook

Click Blocks and click the Motifs tab

Click the Tulip Heads block and click Edit

On your keyboard press CTRL + A to select all. You will see little black squares on the outside of your block to show that it is selected.

On your keyboard press CTRL + C to copy
Click Block > New Block > Applique Block

On your keyboard press CTRL + V to paste
Click Center in Block

Click the Color tab and color it as you wish

Click Add to Sketchbook

Click Quilt Worktable

Click Layer 1 at the bottom of your screen.
Click on the block as click in the spaces as shown to place it in the quilt. Notice that the motif version shows without a background and covers other blocks. The block version pops into the quilt grid.

If you put this block (or motif) or any other block or motif you put on Layer 3 it will show up as a stencil.
Click Open Library

Click the Search button and choose By Notecard
Type in daffodil and click Search

Click on the daffodil stencil and click Add to Sketchbook and click Close.

Click on Layer 3 at the bottom of your screen. Again, and block, motif or stencil you put on this Layer will show as a stencil.
Now, click the Stencils tab.

Hold down the SHIFT key on your keyboard and click and drag out the stencil.

Click the Adjust tool to change the size and location of the stencil.

Click Thread Tools
Here you can change the Color, Style and Weight of your Thread.

Click Block Tools

Click Add to Sketchbook to save the thread coloring

Click the Adjust tool and now you can copy and paste your stencil to place it in all the appropriate spots in the quilt. If you can’t seem to get it exactly the right spot you can also use the X-Axis and Y-Axis to place the stencils

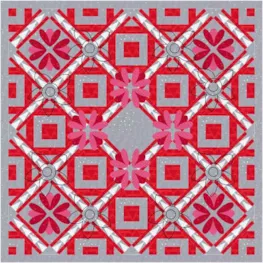
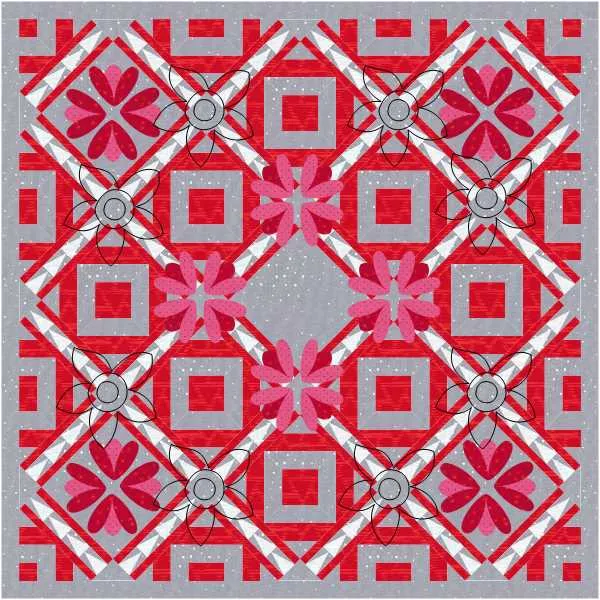
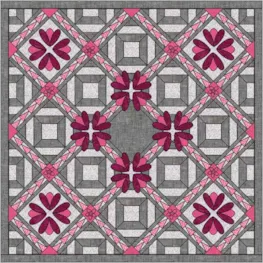
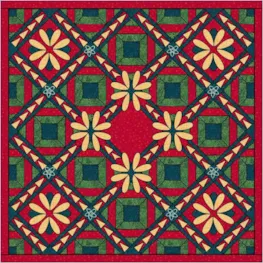
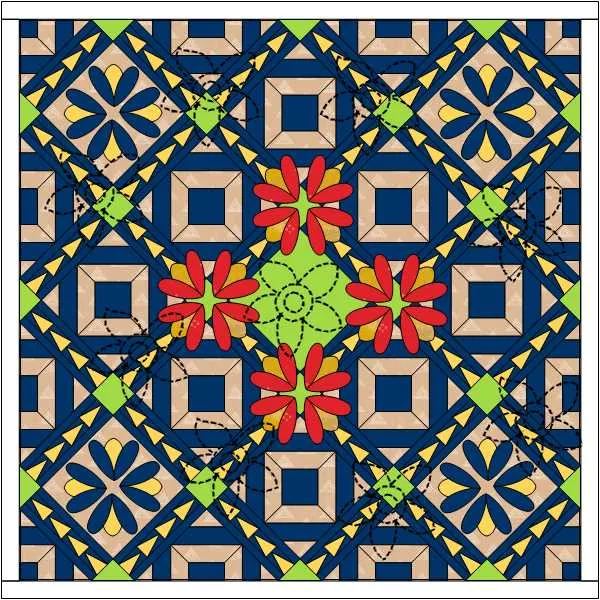
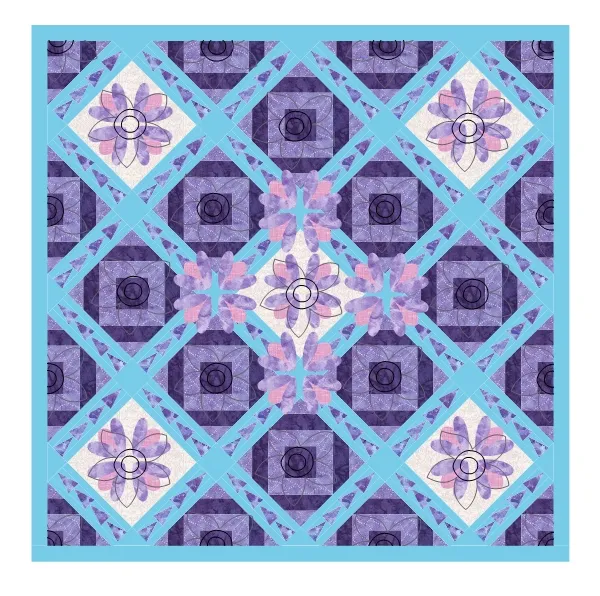
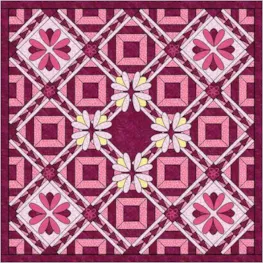
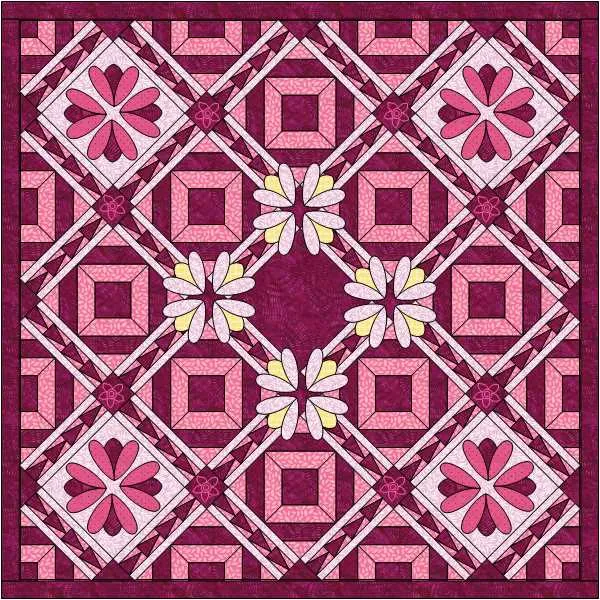
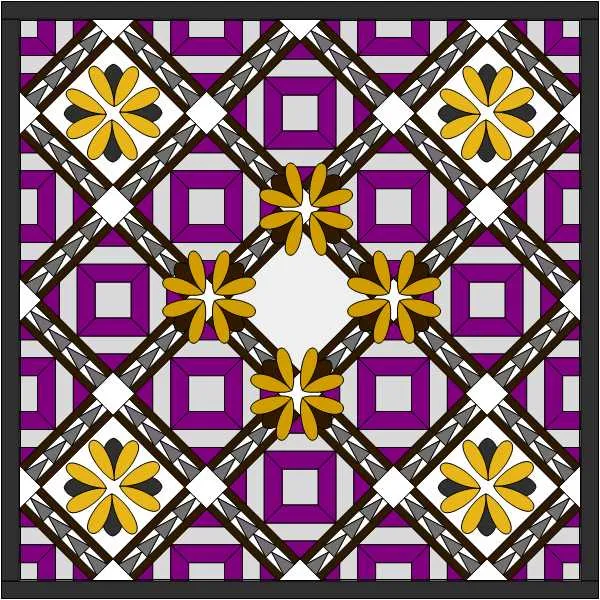
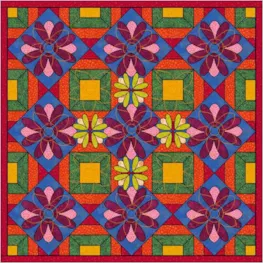
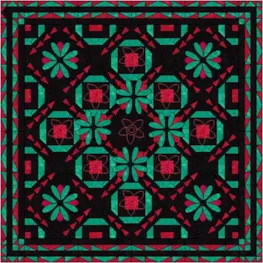
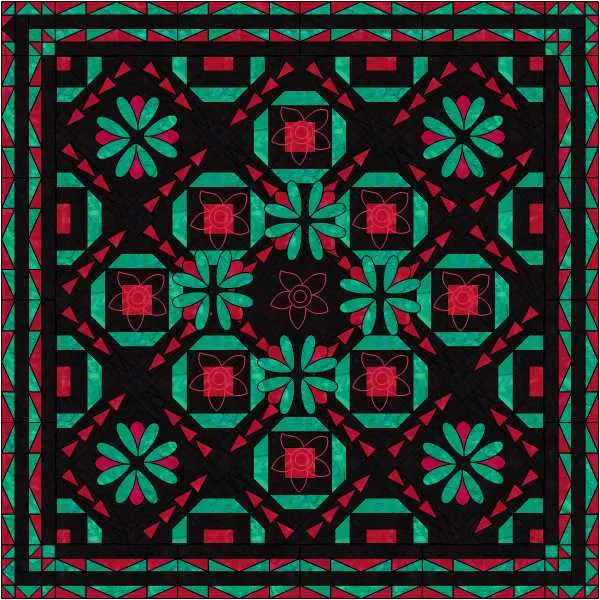
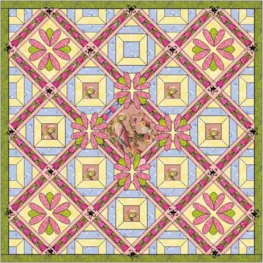
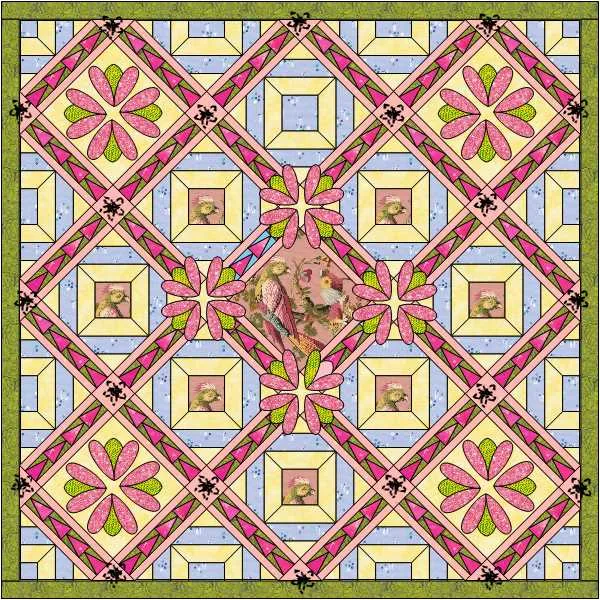
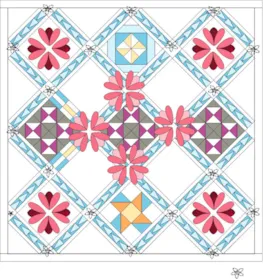
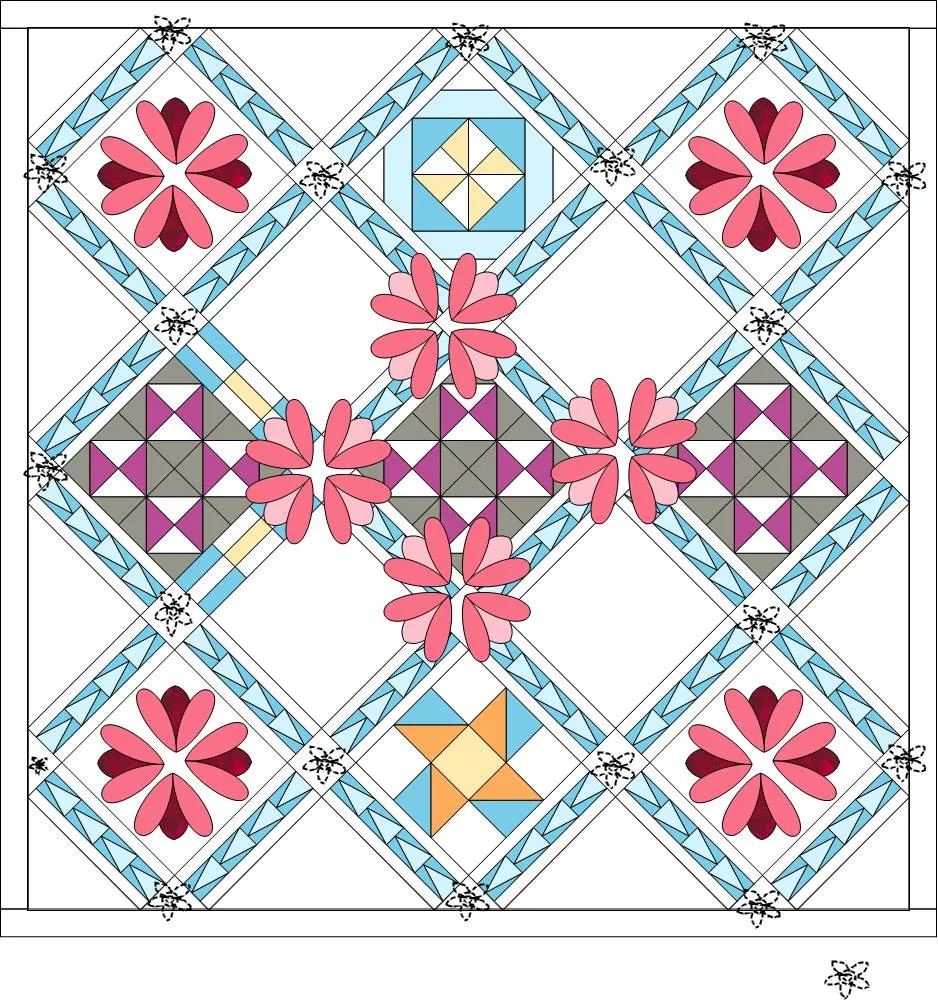
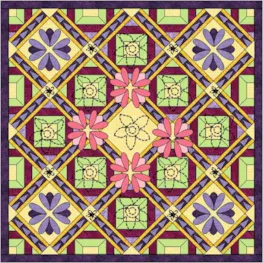
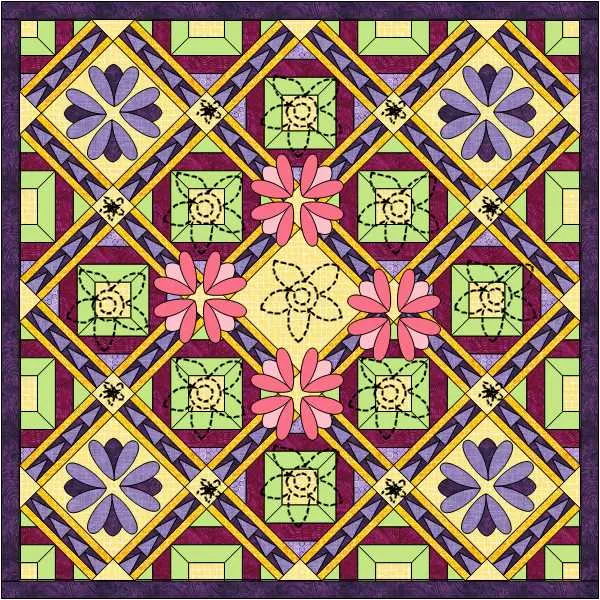
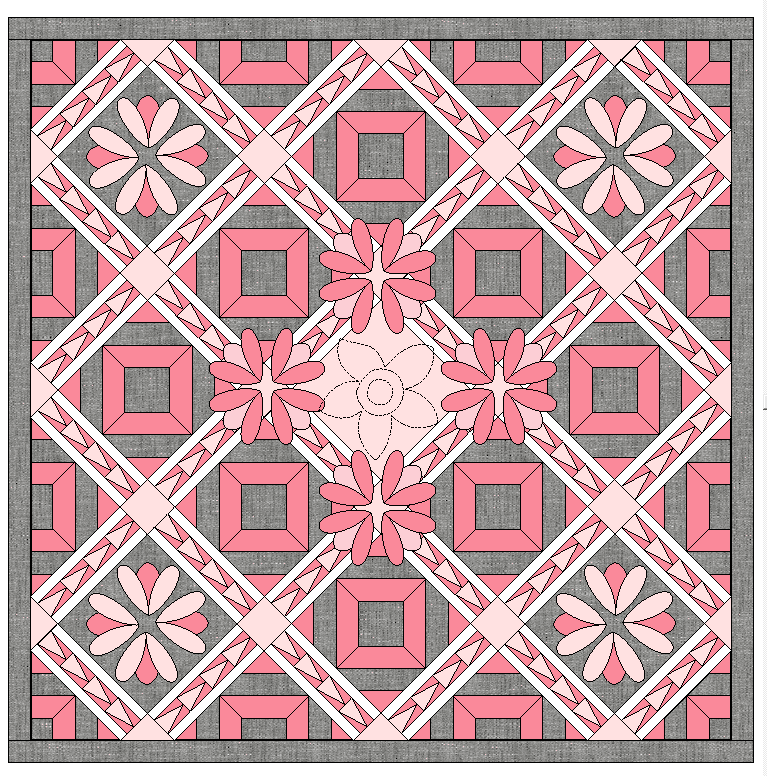
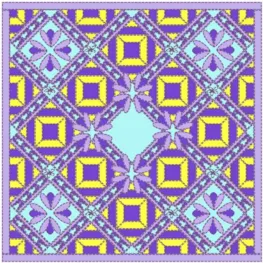
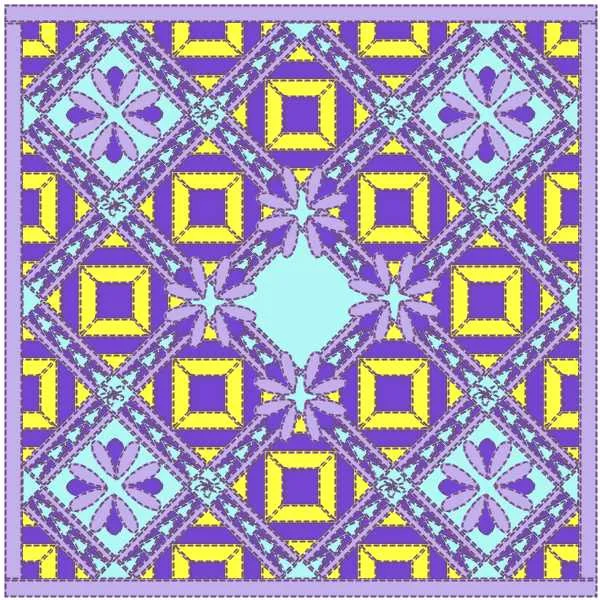
Click on Layer 1 and recolor the quilt as you’d like. Then click on Layer 2 and recolor and Layer 3 if you want as well. You can use the Layer Icons to hide and show layers. As you can see in this example Layer 1 is hidden.

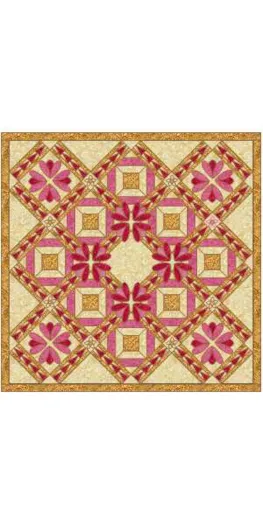
When you have your quilt designed just the way you want, remember to Add to Sketchbook.
Then, click the Print & Export tab and click Export

Type in a file name and click Save

To post your image click to comment on this post. Fill in your info and then click Browse. Go to: Documents\My EQ8\Images
We hope you like this new format and lesson! I can’t wait to see the quilts you design!