

I hope everyone had a great Christmas this last week. I am busy writing lessons during this holiday season. I write lessons several weeks/months in advance. Right now I am looking at what lesson content I will include in the upcoming EQ Academy retreat in Ohio. There are a few openings left so be sure to head on over to the EQ website and register soon. This is the very best way to learn a software program with hands on lessons and step by step instruction. The interaction with other students with the same interests also adds to the learning .
Open the EQStitch program.

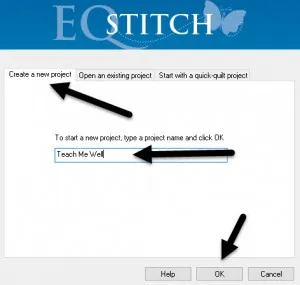
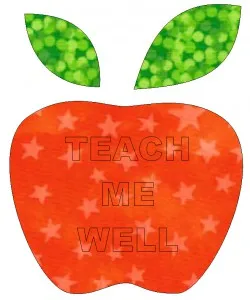
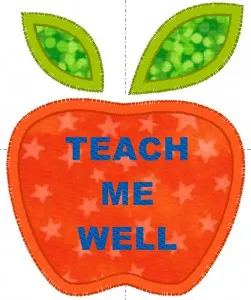
Name a new project called ‘Teach Me Well’.
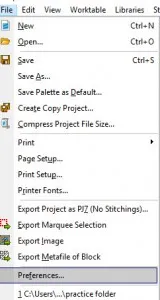
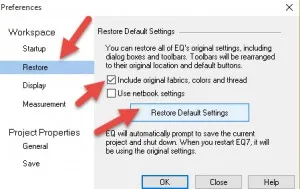
Set the preferences for the project back to the default settings of the software.
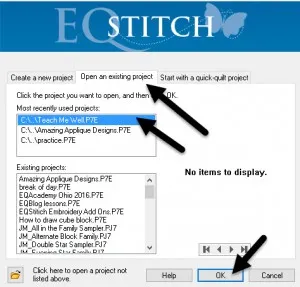
Relaunch the program and open the existing project named ‘Teach Me Well’.
Click on the ‘work on stitching’ icon![]() at the top of the screen.
at the top of the screen.
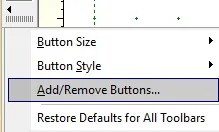
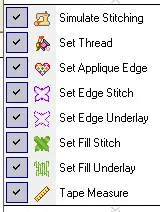
Click and hold the black arrow at the bottom of the toolbar and then click on add/remove buttons.
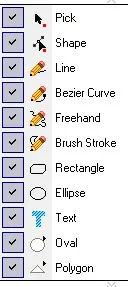
Place a check mark in front of all the tools to add them to the toolbar. Click anywhere on a white space on the screen to close the selection box.
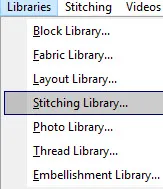
Click on LIBRARIES>Stitching Library
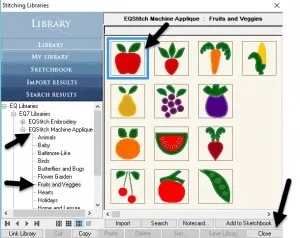
In the library box click on the EQStitch Applique heading on the left and then click on the Fruits and Veggies title. Click on the red applique apple to select it. Click on ‘add to sketchbook’ and click on ‘close’ in the bottom of the library box.
Click on ‘view sketchbook’ icon ![]() on the bar at the top of the screen.
on the bar at the top of the screen.
Click on the stitching heading and then click on the machine applique tab at the top. Click on the apple to select it and then click on the word edit at the bottom of the box.
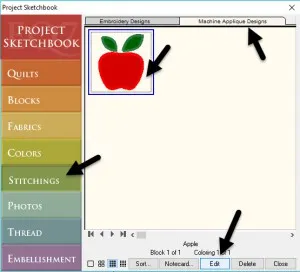
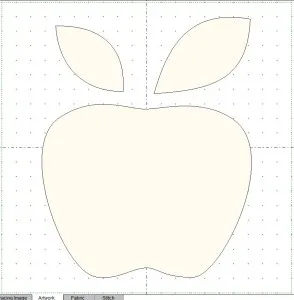
The design opens on the machine applique worktable.
Click on the text tool ![]() to select it from the toolbar.
to select it from the toolbar.
Move the cursor over to the body of the apple and click/hold/drag/release a text box on the shape.
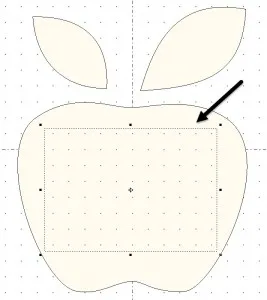
On the text properties bar at the top of the screen, select the arial black font and set the size to 10 mm and the center justification.

Double click inside the text box to see the flashing cursor. Type the words ‘Teach Me Well’ into the box.
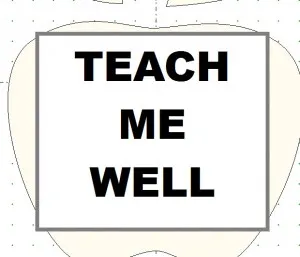
Add the design to the sketchbook.![]()
By adding the design to the sketchbook it will automatically change the typed text into patches. Text must be a patch before you can add stitch properties to it.
Click on the fabric tab and select fabrics for the apple and leaves.
Click on the stitch tab at the bottom of the screen.
Click on the ‘set thread’ icon![]() on the toolbar and select a color for your edge stitches of the apple. Click directly on the edge stitches to apply the thread colors.
on the toolbar and select a color for your edge stitches of the apple. Click directly on the edge stitches to apply the thread colors.
The edge stitches are too thick for the text letters. You need more tools to change the stitch properties of the text.
Add the tools to the toolbar by clicking on the black arrow at the bottom of the toolbar.

Click on the ‘set fill stitch’ icon ![]() on the toolbar. The smooth fill is the default setting.
on the toolbar. The smooth fill is the default setting.
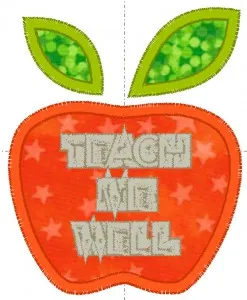
Move the cursor over to the text letters and click once on each letter to add the fill stitches.
The text is so small you can not see the fill stitches because of the thick edge stitch.
Click on the ‘set edge stitch’ icon ![]() on the toolbar.
on the toolbar.
Click on the red ‘X’ on the properties bar at the top of the drawing board.

Move the cursor over to the edge stitches of the text and click once on each letter to remove the edge stitches.
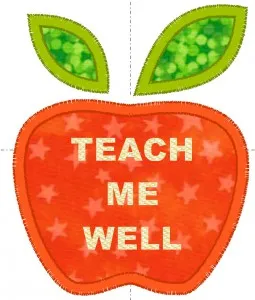
Click on the ‘set thread’ icon![]() on the toolbar and select a color thread for your text. Click on the text to apply the color.
on the toolbar and select a color thread for your text. Click on the text to apply the color.
Add the design to your sketchbook.![]()


12-27-2015
12:38 pm
Thank you for this lesson. I have been avoiding Stitch thinking it was something for fancy sewing machines to incorporate by electronics and magic. Never crossed my mind it could be used for applique. Silly me!!!!!
12-27-2015
1:15 pm
Stitch is a little program that creates machine embroidery files. Applique is one type of machine embroidery that can be created. Although it is an entry level beginner digitizing program, it does have some pretty powerful tools.
01-01-2016
2:01 pm
is the functionality of EQ *Stitch* mostly for creating files compatible with computerized Machine Embroidery ? (apart from the fun of playing around with virtual applique designs, I mean.) Thank you, KJ
01-01-2016
2:13 pm
EQStitch is for the computerized embroidery machines that have a hoop attached to an arm on the machine. The hoop moves the fabric under the needle to create the stitches. The designs are digitized in the EQStitch software program and sent to your machine to stitch out the design. If you don’t have a computerized embroidery machine, EQStitch would not be useful to you.