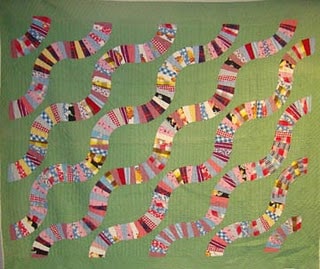
Inspired by Barbara Brackman’s post about playing with “Snakes”.
GET STARTED
To start this lesson, download and open the Playing with Snakes project file.
If the Sketchbook opens, click Close to put the Sketchbook away.
SET UP A LAYOUT
- Click WORKTABLE > Work on Quilt.
- Click QUILT > New Quilt > Horizontal.
- Click the Layout tab (at the bottom).
Number of blocks: 5 Horizontal, 4 Vertical
Finished size of blocks: Width 8.00 Height 8.00
Sashing: 0.00 - Click the Layer 1 tab.
- Click the Set Block tool. You’ll see 9 blocks from Barbara Brackman’s BlockBase software. We’ve added them to the Sketchbook so you could play with designs.
QUILT 1
- To mock up the quilt above, click the 4th block in the palette: #3352.

- Hold down your keyboard CTRL key as you click on the quilt layout. This will set the block into every square in your quilt.
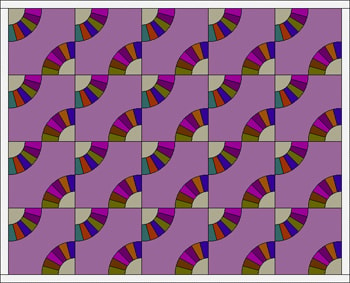
COLOR THE BACKGROUND
- Click the Paintbrush tool.
- Click the Colors tab to go to the solid colors.
- Find and click on green similar to the green in the QUILT 1 photo above.
- CTRL+click on the quilt (right on one of the large purple areas between fans), to change all of the plain purple to green. (Remember, if you make a mistake coloring, just click EDIT > Undo.)
- CTRL+click on one of the tan semi circles inside the fans, to color them all green. You’ll need to do this twice.
- Now CTRL+click on the border. Your quilt should now be all green except for the fan blades.

COLOR THE FAN BLADES
- Click the Fabrics tab on the Fabrics and Colors palette, to see fabrics. If you’d like, go to LIBRARIES > Fabric Library and browse through the fabrics to add any you like to your Sketchbook. Any newly added fabrics will now appear in the Fabrics and Colors palette at the very end. Use the scrollbar on the palette to find them.
- Now have fun coloring the fan blades. If you have colored a blade, and want to find that fabric again, use the Eyedropper tool.
- Done coloring? Click Add to Sketchbook to save your quilt.If you would like the snakes to wind into one another like the antique quilt, try the bonus block we’ve included. It’s the first block in the project.
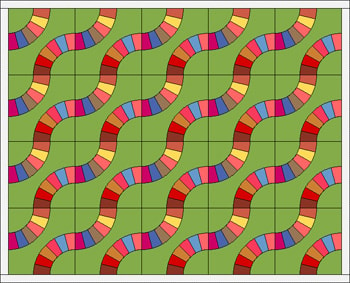
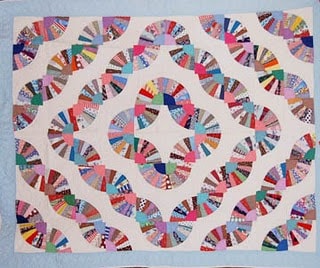
QUILT 2
Quilt 2 is a fan quilt arranged to form concentric rings. Whenever you design a quilt like this, you want an EVEN number of blocks. Quilt 2 has 10 blocks across and 8 down. Let’s make it!
- Click QUILT > New Quilt > Horizontal.
- Click the Layout tab.
Number of blocks: 10 Horizontal, 8 Vertical
Finished size of blocks: Width 6.00, Height 6.00
Sashing: 0.00 - Click the Layer 1 tab.
- Click the Set Block tool.
- Click the last block in the palette: #3306.
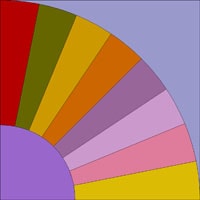
Rather than filling the whole quilt with blocks, then rotating, let’s work from the center out, which will be a little easier.
CENTER:
- Fill the 4 center squares with Block #3306, so your quilt looks like this:

- Click the Rotate Block tool.
- Click each block to rotate so fans point toward the center. Your quilt should now look like this:

RING 1:
- Click the Set Block tool.
- Set 12 blocks all around your quilt’s center 4 blocks:
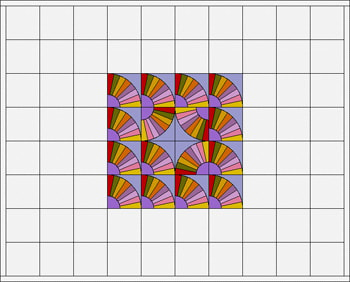
- Click the Rotate Block Tool. Rotate each block in your outer ring of blocks around the center 4 blocks, to form this design:
RING 2:
- Click the Set Block tool.
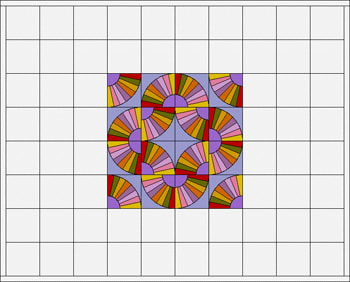
- Set 20 blocks around this center group.
- Click the Rotate Block tool.
- Rotate your outer ring of blocks to form this design.
TIP: Watch the light blue background as you rotate and think of it as forming “rivers” between the fans. Your quilt now should look like this:

RING 3:
- Click the Set Block tool.
- Set 28 blocks around your center group.
- Click the Rotate Block tool.
- Rotate each block in your outer ring of blocks to form this design.

REMAINING BLOCKS:
- Click the Set Block tool.
- Set the block into the remaining 16 block spaces at each side.
- Click the Rotate Block tool.
- Rotate each of these blocks, to form the final design:
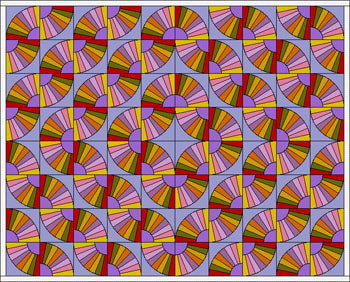 Yay! Are your eyes crossing by now? Let’s color.
COLOR YOUR QUILT
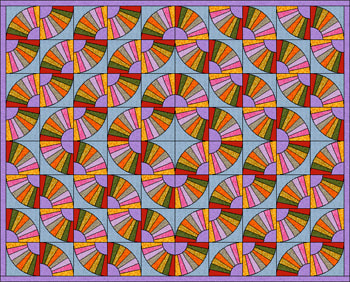
- Click the Paintbrush tool. Color as you’d like, then click Add to Sketchbook to save your newly colored quilt.
TIP: By holding down your Keyboard CTRL key as you color, you can recolor the same patch on each block with each click.
PLAYTIME
- Click the Layout tab (at the bottom).
Number of blocks: 4 Horizontal, 4 Vertical
Finished size of blocks: Width 12.00 Height 12.00
Sashing: 0.00 - Click the Layer 1 tab.
- Click the Set Block tool and choose any block in the palette.
- CTRL+click on the quilt layout. This sets the block into every square in your quilt.
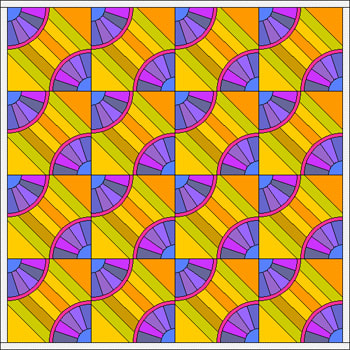
- Click the Symmetry tool.
- CTRL+click on the quilt layout. Each click creates a different design, up to 16 clicks.
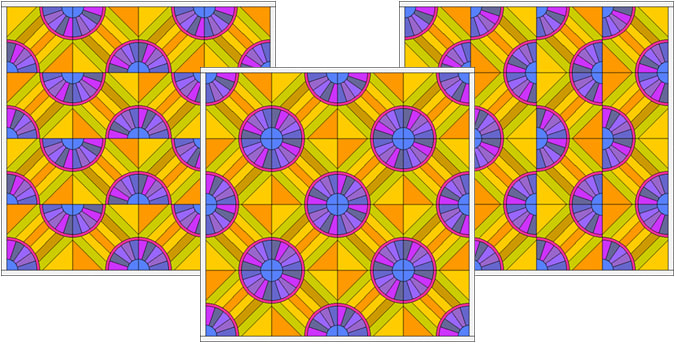
SAVE ANY DESIGNS YOU LIKE
- Click Add to Sketchbook to add any design to your project file.
Have fun playing with snakes! Here’s the link to Barbara’s snake post again, for more inspiration
http://barbarabrackman.blogspot.com/2011/04/snakes.html

