Here’s a fast way to create your own appliqué.
- Open EQ6 or EQ7 and start a new project. Name it whatever you wish. (I named mine “2007 Scrolls”.)
- Click the Work on Block button.

- Click BLOCK > New Block > PatchDraw Block.
- BLOCK > Drawing Board Setup. Verify the block size and snaps.
- Under (General) Block Size, make the width 12 and height 6.
- Under (General) Snap Grid, make the horizontal grid points 24 and the vertical grid points 12.
- Click OK.
- Go straight to the Applique tab.

- If the Brush Stroke tool is not on your toolbar, right-click the toolbar to add it. Click Add/Remove Buttons…, then put a check next to Brush Stroke.
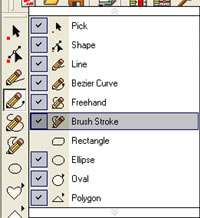
- Click away from the list to deselect it and make it disappear.
- Click the Brush Stroke tool on the toolbar.

- Make sure you can see the Precision Bar. (Click VIEW > Precision Bar if it is not at the top of your screen.)
- In the Precision Bar, set your Brush Stroke settings to match the ones in this image. (You want a straight style and pointy ends. Make the min. width 1 and boldness 3.)

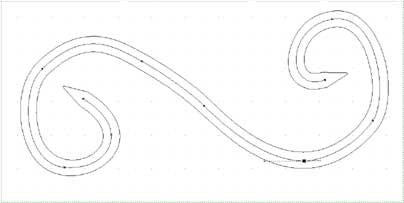
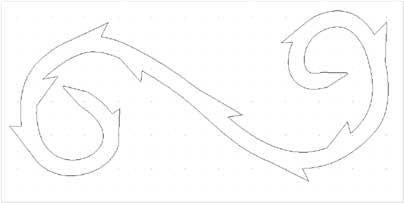
- Click and hold as you drag your cursor across the block. You want to draw on the block to make an “S” with a little curlier ends. (Kind of like a scroll.) You’ll see a blue spine draw as you move your cursor.
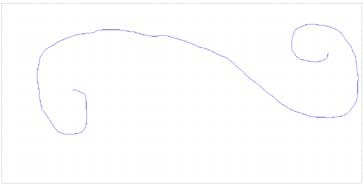
- When you release the stroke will go to the settings you specified in step 10. You will still see the spine.
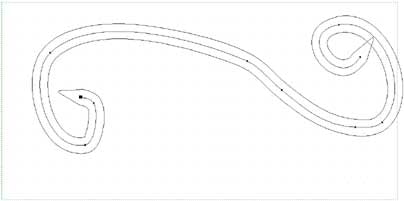
- Use the Shape tool
 to fix any bumps on the spine, reshape the patch so it doesn’t overlap itself, or to move the parts of the stroke away from the block edge. Because the brush stroke draws two parallel lines at the same time around the spine, editing the spine moves both!
 - Click EDIT > Undo whenever you make a change you do not like.
- So, what you want to do is drag and drop the nodes to new locations within the block. And, use the handles on each node to reshape the patch.
- Once you have the spine the way you want it, click the Convert to Patch button
 on the Precision Bar. (If you can’t find it, switching from the Color tab back to the Applique tab does the same thing.)
 - Click the Shape tool again. Make sure you click the red square so you get the Edit Arc box. (Note, not all the buttons will light up at the same time… it depends on what you have selected.)
- Double-click in two places on the same side of the curve (about 1 inch apart). This adds new nodes. (You can use existing nodes if you like. Just be careful of distorting the shape.)
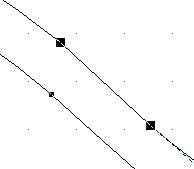
- Click to select the curve between the two nodes you added. Both nodes will be bold.
- On the Edit box, click “To Line.”
- Double-click in the center of the line to add one more node.

- Click on this third node and drag it out slightly from the curve.
- Repeat steps 18-22 around the rest of the block. Then Add to Sketchbook.

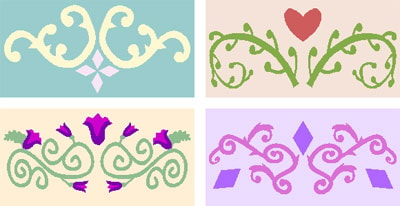
Use these directions and combine your scrolls with other blocks to make your own masterpiece!