I love the ability to use the Custom Set Quilt Layout in EQ7 to help with my designing. What does that have to do with EQStitch? It works really well for me to be able to ‘see’ my quilt layout and where my machine embroidery designs would best be placed to enhance the entire quilt project. I was a quilter first and a machine embroiderer second so now almost all of my embroidery ends up in a quilt.
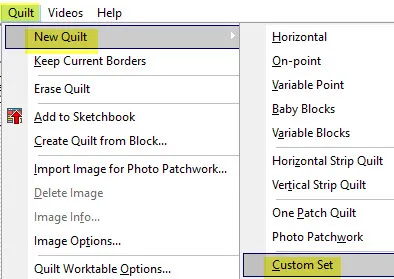
From the quilt worktable![]() , click on QUILT>New Quilt>Custom Set.
, click on QUILT>New Quilt>Custom Set.
On layer 1 of the quilt layout, click on the ‘set block’ icon![]() on the toolbar and ‘while holding down the shift key’ on the keyboard, click/hold/drag/release the blocks you have designed for your quilt layout.
on the toolbar and ‘while holding down the shift key’ on the keyboard, click/hold/drag/release the blocks you have designed for your quilt layout.
Scatter the blocks around the quilt layout area giving lots of space between the blocks. (Your blocks may be pieced, appliqued, or an image printed on fabric.)
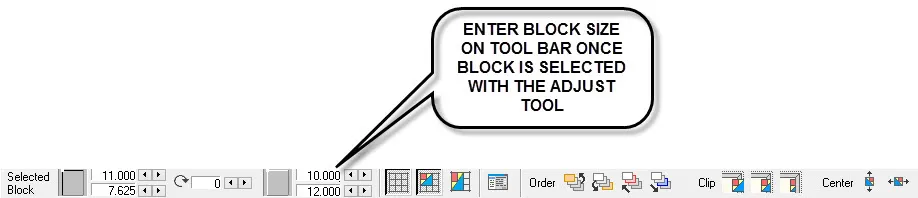
Click on each of the blocks with the ‘adjust’ tool ![]() and set the size of the blocks on the layout to be the size of the blocks you have all ready created on the properties bar at the top of the screen.
and set the size of the blocks on the layout to be the size of the blocks you have all ready created on the properties bar at the top of the screen.
Continue adding your all ready created blocks and sizing them correctly across the quilt layout.
Now add plain blocks in various sizes around the all ready constructed blocks using the same steps to fill in all the areas of the quilt layout.
I use the size of the plain blocks to determine the size of embroidery fields I have to work with when creating my custom quilt.
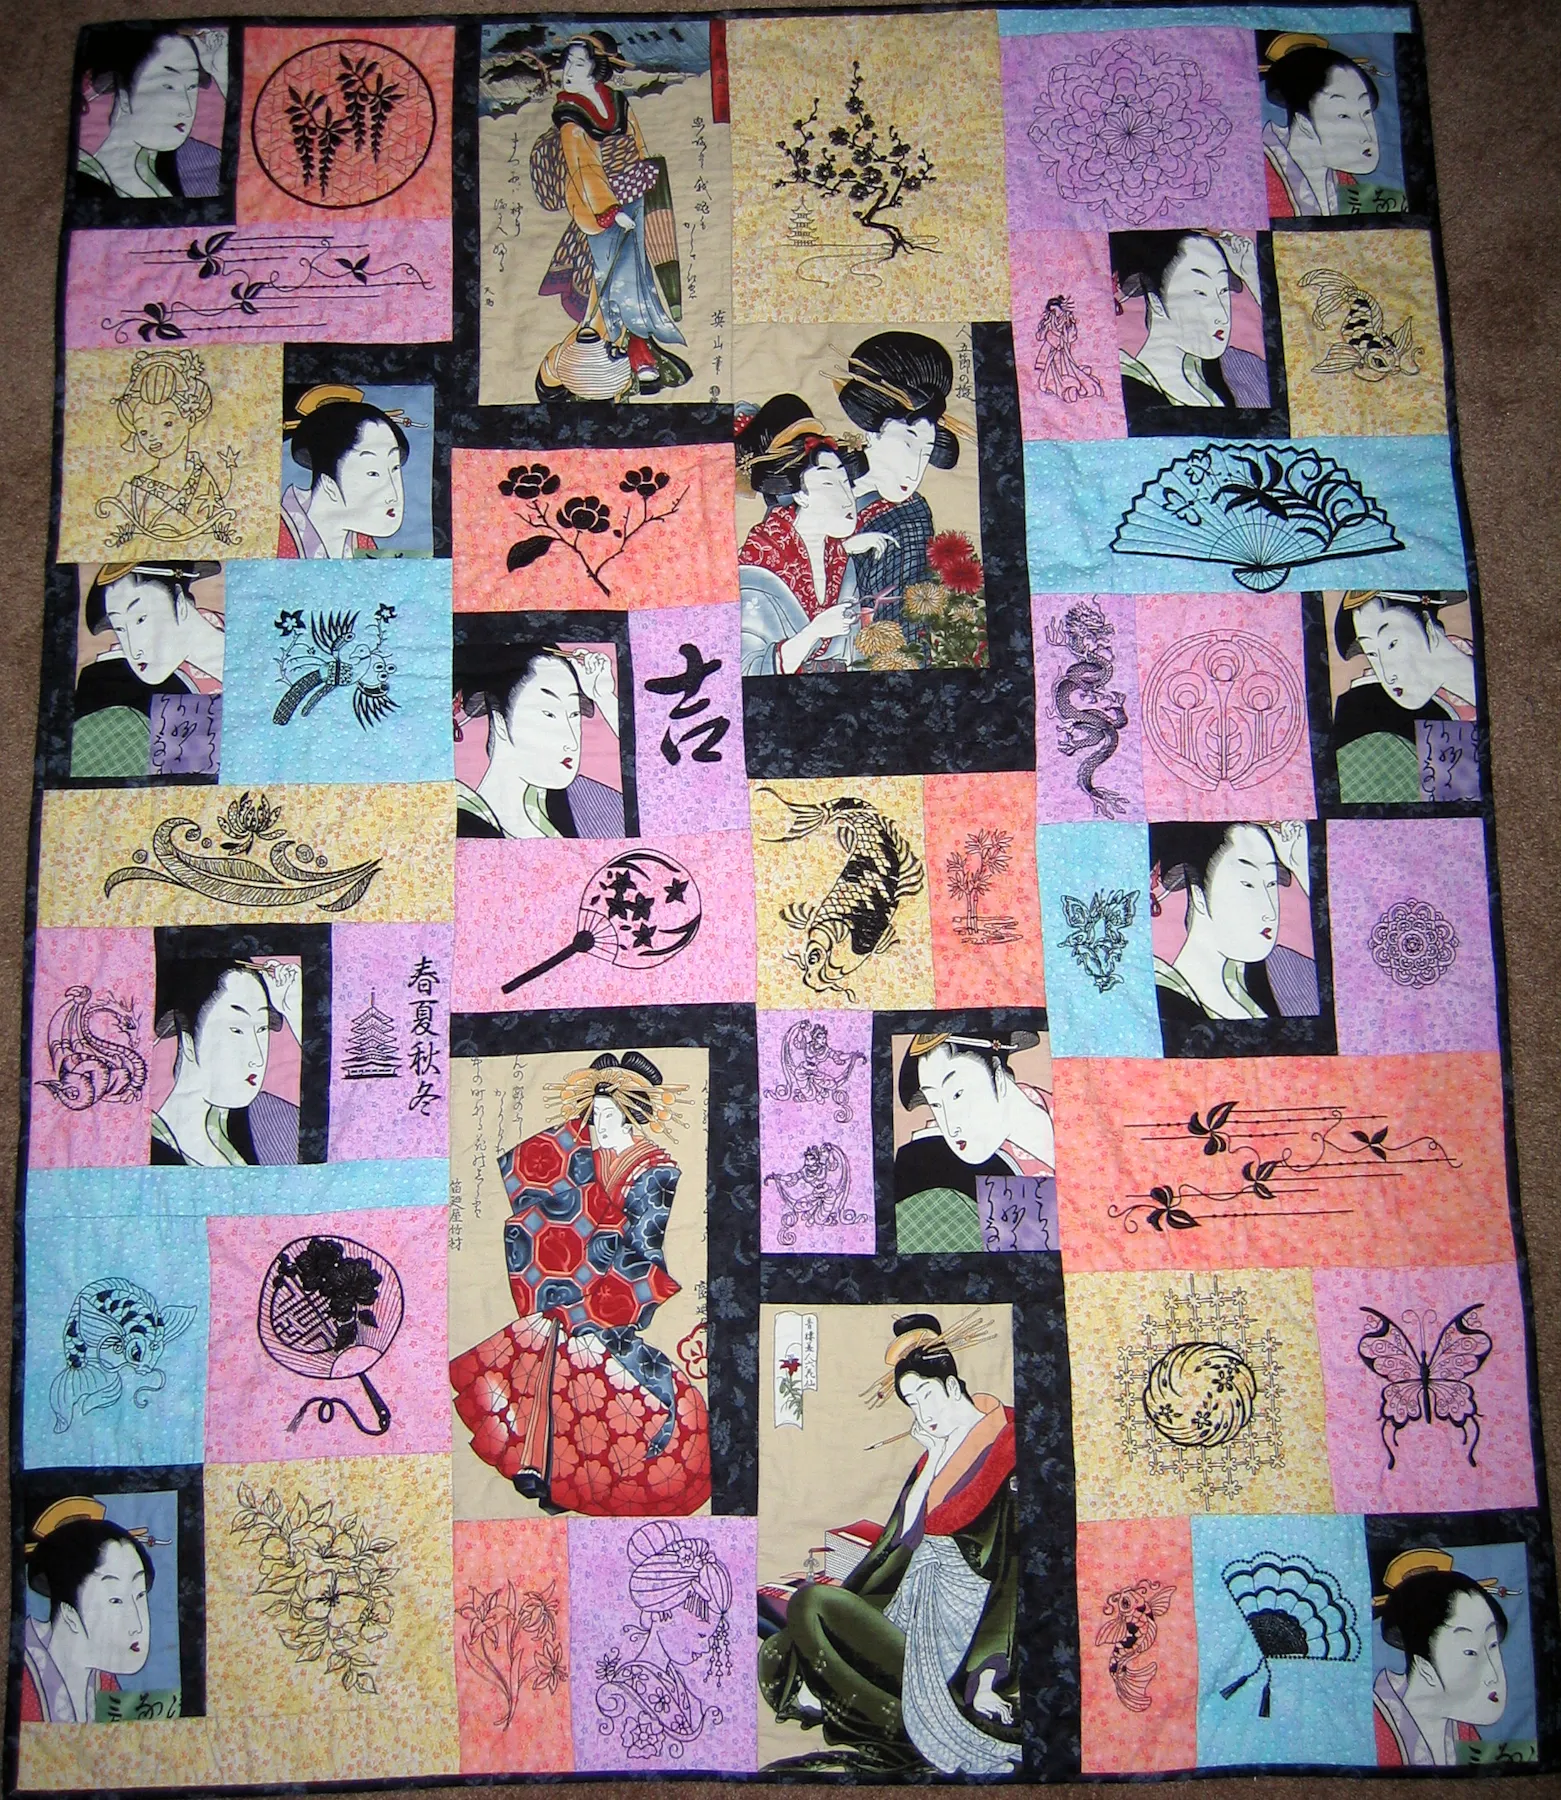
Below is a picture of a custom set layout of a commissioned quilt I made using fabric with various sizes of oriental ladies printed on it. I fussy cut the ladies images out and added small black borders to create blocks with an even size to them so it would be easier adding plain spacer blocks around them. Then I added machine embroidery designs to each of the plain spacer blocks with the same oriental theme to complete the quilt top. This is a great way in incorporate your machine embroidery designs created with EQStitch into your quilt layouts.