Sometimes all I need is a cup of coffee to refresh myself. A little quiet time and a chance to decompress goes a long way.
Did you know that EQStitch has designs all ready digitized for you to use? You can use them as they are or edit them for your personal touch.
Launch your EQStitch program from the desktop.

Set the program back to the default settings to start the new project. Click on FILE>Preferences and restore the defaults.

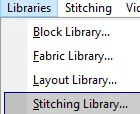
Find a design all ready digitized in the stitching library. Click on LIBRARIES>Stitching Library.
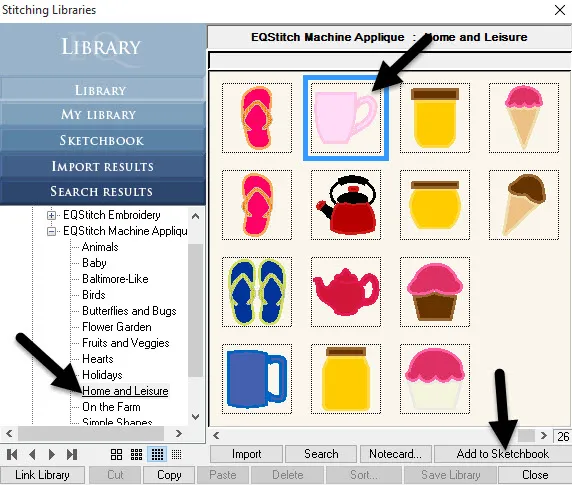
Choose any design you want from the library. I need a cup of coffee. I want an applique design. In the library box, under the EQStitch Machine Applique heading, click on ‘home and leisure’ heading and locate the pink coffee cup. Click on the cup to select it and then click on ‘add to sketchbook’ at the bottom of the box. Close the box by clicking on the word ‘close’ at the bottom of the box.
Click on the view sketchbook icon ![]() at the top of the screen.
at the top of the screen.
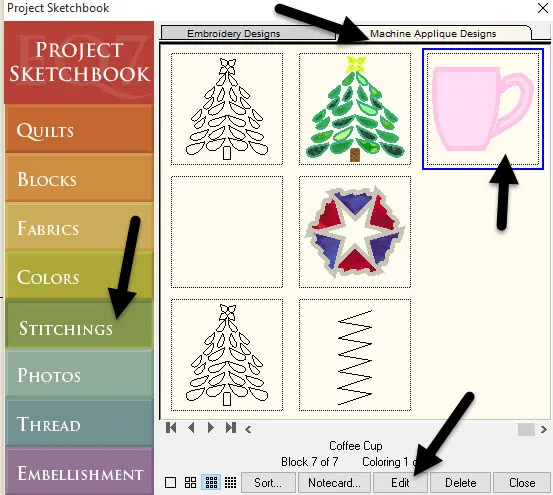
In the sketchbook, click on the ‘stitchings’ heading at the left, then click on the ‘machine applique tab’ at the top of the box. Locate the coffee cup and click on it to select it. A blue box will appear around it. Click on the word ‘edit’ at the bottom of the box.
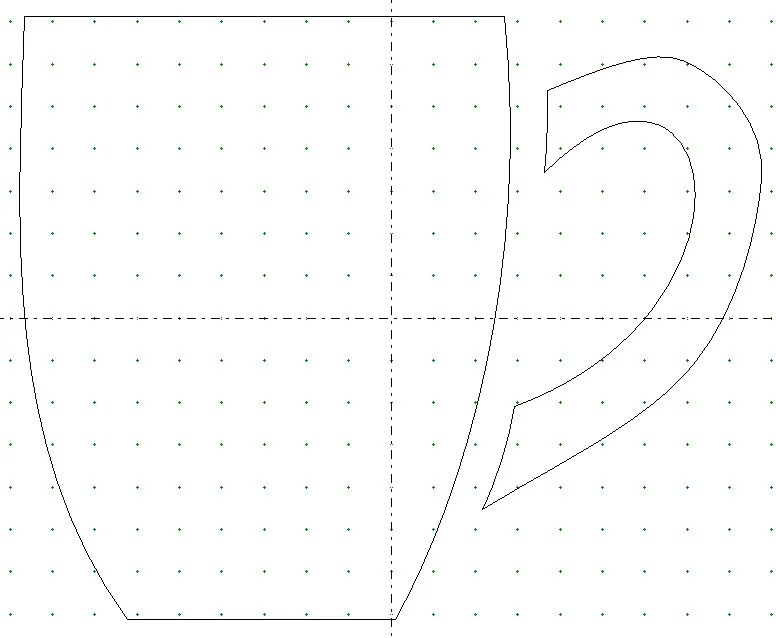
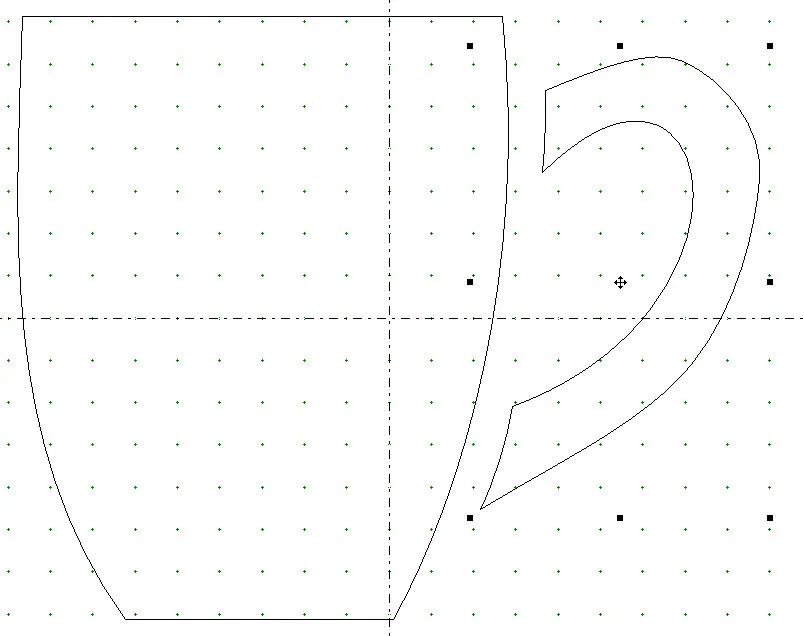
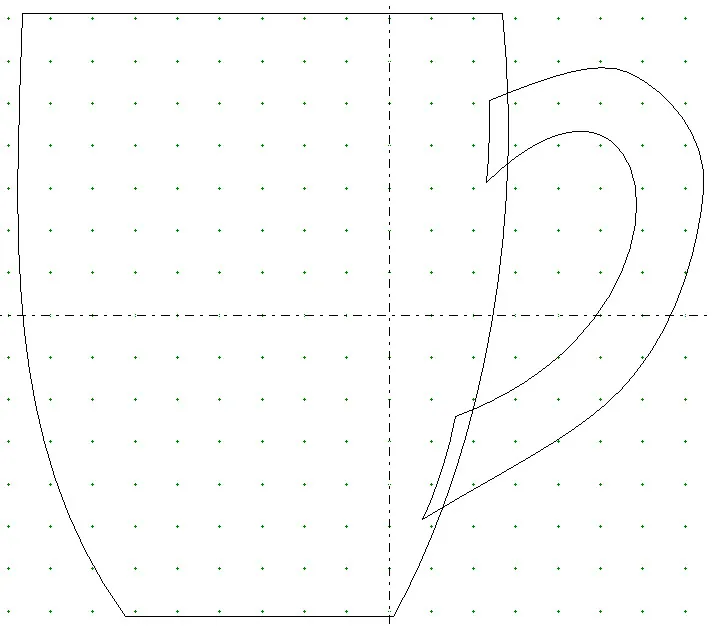
The design will appear on the machine applique worktable. It was designed to be stitched as two separate elements. I want to edit this.
Click on the fabric tab at the bottom of the screen. You will see that both elements all ready have fabric applied. Click on any fabric of your choice to apply a new color. I do not want the handle to be separate or as an applique so I will leave it as is.
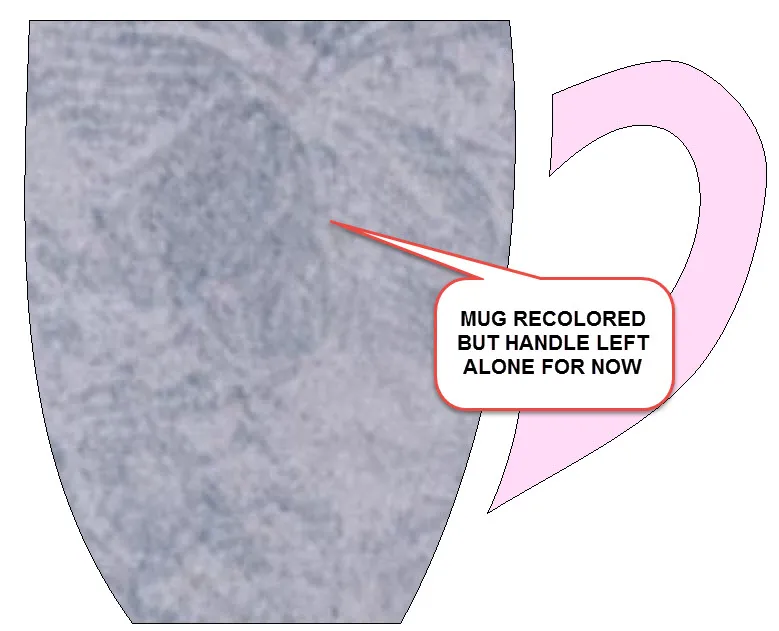
There is no ‘remove fabric’ option from the design available so I need to re-create the handle to make it a stitch element instead. Click on the artwork tab at the bottom of the screen.
Click on the ‘pick tool’![]() to select it and then move it over to the handle and click once to see the selection handles around the coffee mug handle only.
to select it and then move it over to the handle and click once to see the selection handles around the coffee mug handle only.
Click on control +C to copy the handle. (Command + C for the Mac). This places a copy of the handle on the clipboard.
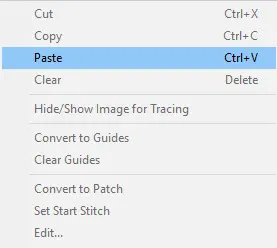
Click on the delete key on the keyboard to remove the handle. RIGHT CLICK> Paste to place the copy back onto the worktable. This will make the program think it is an entirely new design element.
Click on the fabric tab. You will see that there is no fabric added. Leave it empty and click on the stitch tab instead.

Click on the stitch tab and add the embroidery tools to the toolbar.
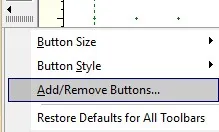
The machine applique worktable does not have the stitch tools and they need to be added.
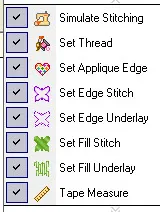
Click on the ‘set fill icon’![]() and select a stitch type for the handle. Click on the ‘set edge stitch icon’
and select a stitch type for the handle. Click on the ‘set edge stitch icon’ ![]() and click on the red ‘X’ on the properties bar to turn off the edge stitches then click on the stitch design to remove the outline stitches.
and click on the red ‘X’ on the properties bar to turn off the edge stitches then click on the stitch design to remove the outline stitches.

Click on the artwork tab at the bottom of the screen.
Click on the ‘pick tool’![]() and then click on the handle to select it. Click on the ‘send to back’ icon
and then click on the handle to select it. Click on the ‘send to back’ icon ![]() on the properties bar so the handle will sew first before the applique mug stitches.
on the properties bar so the handle will sew first before the applique mug stitches.
Move the cursor over the center cross hairs on the handle and click/hold/drag it inwards so it is slightly under the mug element.
Click on the stitch tab at the bottom of the screen and color all the stitch elements.
You can personalize the design even further by adding decorative elements or adding text. The ability to customize the design is completely up to you. Add whatever you wish to make it your own.