|
|
The Auto Borders Tool |
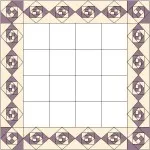
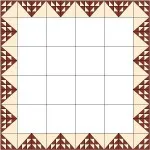
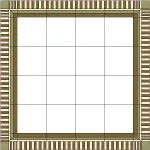
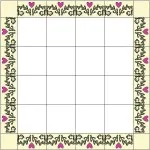
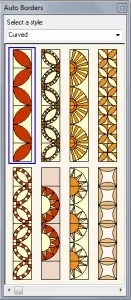
The Set Auto Borders tool allows you to choose predesigned border styles to use in your quilts. There are 13 styles in the Auto Borders palette for you to choose from.
You may not see the Set Auto Borders ![]() tool. If not, here is how to get it:
tool. If not, here is how to get it:
1. Click the Customize Toolbar ![]() tool in the bottom, right hand corner of your screen.
tool in the bottom, right hand corner of your screen.
2. Click Add/Remove Buttons…
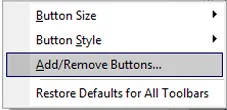
3. Choose Set Auto Borders from the list.
To Set Auto Borders on a Quilt:
1. Click the Set Auto Border ![]() tool.
tool.
2. Select the style of border from the drop-down list.
3. Click on a border in the palette.
4. Click on the border on your quilt.
5. Click the Borders tab to adjust the size of the border.
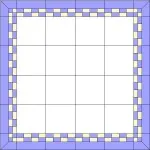
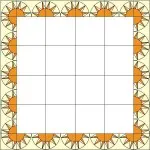
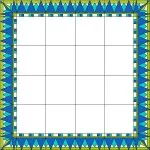
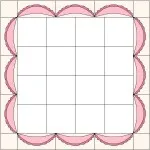
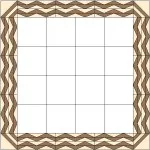
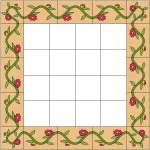
Here are a few examples. Click on each one for a larger view.
|
|
|
|
|
|
|
|
|
|
Each time you click to “try on” an auto border, it is as if you’ve added the blocks to your project and set them into the border yourself. In other words, blocks get added to your Project Sketchbook automatically when using the Auto Borders tool. You can always delete blocks that are unused. To delete multiple blocks at once, use the Sketchbook section of the Block Library dialog.
The Set Auto Borders tool is available on Layer 1 of any type of quilt.




02-10-2015
8:15 pm
Thank you, Heidi! This was timely, as I was designing a new quilt. The Auto Borders tip saved me valuable time. Very, very nice!
Al
02-13-2015
11:20 am
Thanks Al! Glad to help
03-11-2015
5:49 pm
My EQ7 does not have this option in any of the lists on any if the layers even after I restore defaults on all toolbars. What have I done incorrectly? I have started a new quilt but the options for the borders under more quilt worktable options doesn’t even work.
And on my screen, the customize toolbar symbol is either on the middle left or top center?
Help?
03-12-2015
8:27 am
Hi Cheryl,
Let’s try this…Click File > Preferences > Restore > and click the Restore Default Settings button and click Ok. Now, make sure you are on the Quilt Worktable, on Layer 1. On the right hand side at the bottom there is a Customize Toolbar (don’t use the one at the top that adds different things). Click Customize Toolbar then click Add and Remove Buttons and choose set Auto Borders.
If that doesn’t help, please contact techsupport@electricquilt.com
Thanks,
Heidi
09-07-2017
12:24 am
I just discovered this function. Its amazing, makes life so much easier