| You can use these cute little bags as a place card at your holiday dinner or, just as a treat bag. |
| Download the project here. |
| I drew a very basic shape for the “envelope”. I tried printing it out a few times and figured out that for a good cookie-sized envelope, you can fit two to a page, horizontally. |
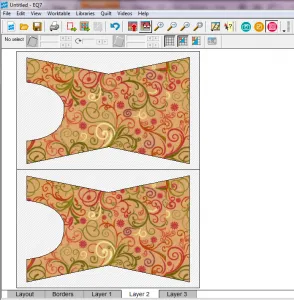
|
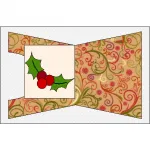
| To add some designs I picked some blocks from Library > Block Library > 05 Contemporary Applique > Holiday or Christmas. If you put one of the blocks, as is, on Layer 2, it won’t look right. |
|
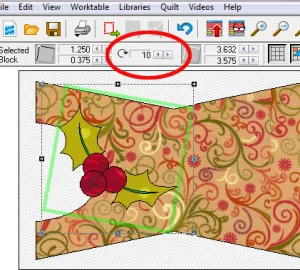
| Open the block you want on the Block Worktable. Click the Applique Tab. Select all. Copy. Block > New Block > PatchDraw Motif. Paste. Center |
|
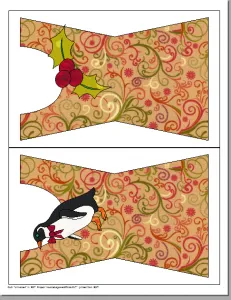
| To print click Print > Print Quilt. Here is what the Print Preview should look like. |
|
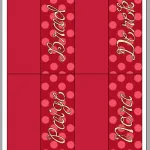
| To make the name tag part of the bag, I figured out that you could print four to one sheet of paper. So, I made my quilt 2 x 2. I then drew a block with a line down the center. CTRL + click to get the block in all four of the squares. I then rotated the blocks and used the Set Applique Text |
| When you are ready to print click Print > Print Quilt. Your preview should look similar. |
|
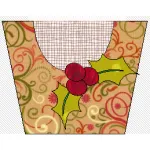
| Once you have all your pieces printed out, cut all the shapes out (don’t cut the back of the name tag off of the front, though). Then, it’s time to assemble. Fold the envelope printouts in half, so that it looks like this. |
|
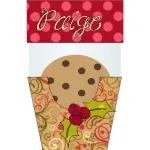
| Staple (or glue, or stitch) the sides as needed. Put your cookies or treats in a plastic bag. Place the cookie bag in the envelope. Fold the name tag in half and staple it to the top of the bag. |
|
Holiday Cookie Place Cards (or just treat bags!)
Posted 12-23-2012 by Heidi | Posted in: Heidi Finds Uncategorized
Leave a comment!
By submitting a comment you grant The Electric Quilt Blog a perpetual license to reproduce your words and name/web site in attribution. Inappropriate and irrelevant comments will be removed at an admin’s discretion. Your email is used for verification purposes only, it will never be shared without your permission.


12-24-2012
10:06 am
I wanted to print this but I didn’t want the applique. How do I get it off the pattern? Thanks. I really like this idea and would like to use it for a late Christmas gathering.
12-24-2012
10:22 am
If you open the envelope “quilt” in EQ7, on Layer 2, use the Adjust Tool to select the applique then delete them. On Layer 1 you can change the fabric or color. I hope you enjoy them. Merry Christmas!